extreme-detail
New member
- Mar 2, 2007
- 61
- 0
we got this job on the back off the scotish motor fair
when we were setting up the 3 lambo`s that our clients very kindly lent us for the weekend the owner of the spyker came over and said WOW when can you do the spyker not even how much will it cost but when. he then said our cars on display are showing up his 3 cars
so on monday there it was leave the house at 5 in the morning rubbing the sleep out of my eye`s, so went to pick up and then down that A9 following that sat nav to livingstone
so first off was pre soak the spyker with the citrus then to put the extreme foam ontop leave to dwell then rinse off. after the pre soak time to wash with the 2 buckets and wash mitts and dry off with the sonus der wunder towel
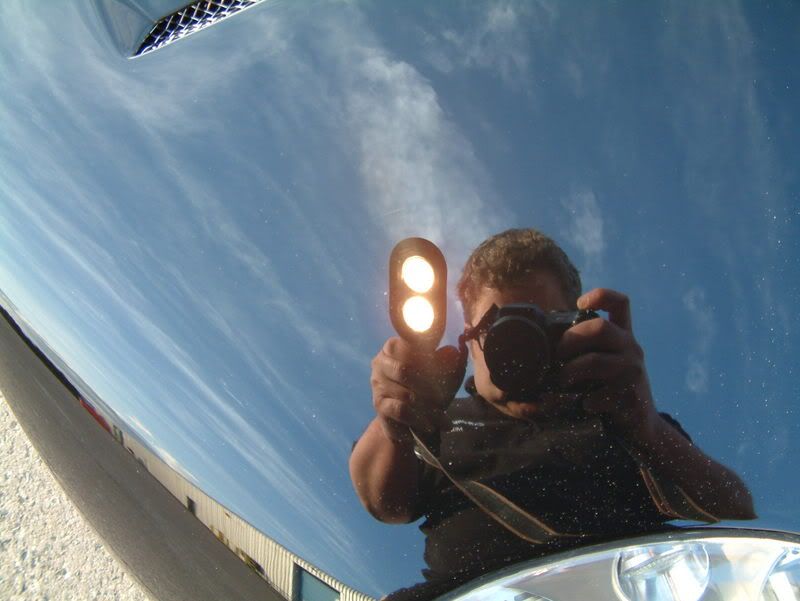
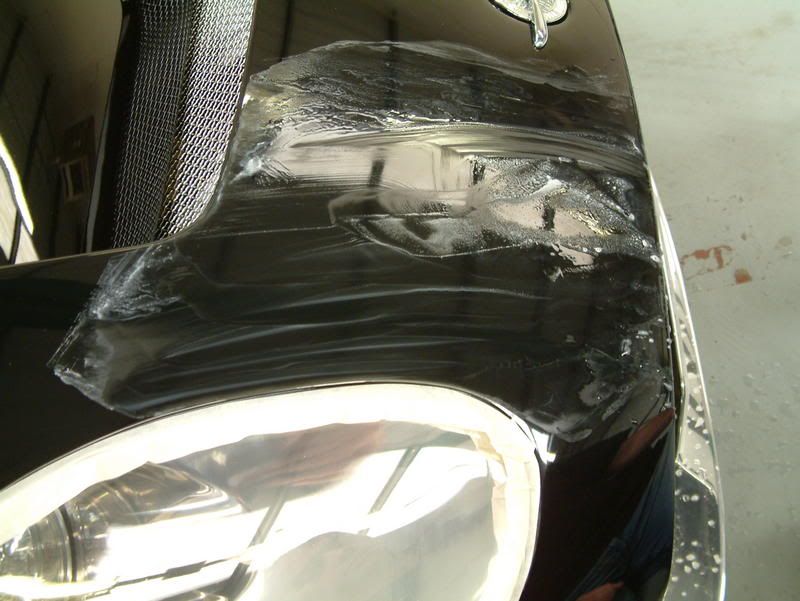
now time to check the paint :doublesho
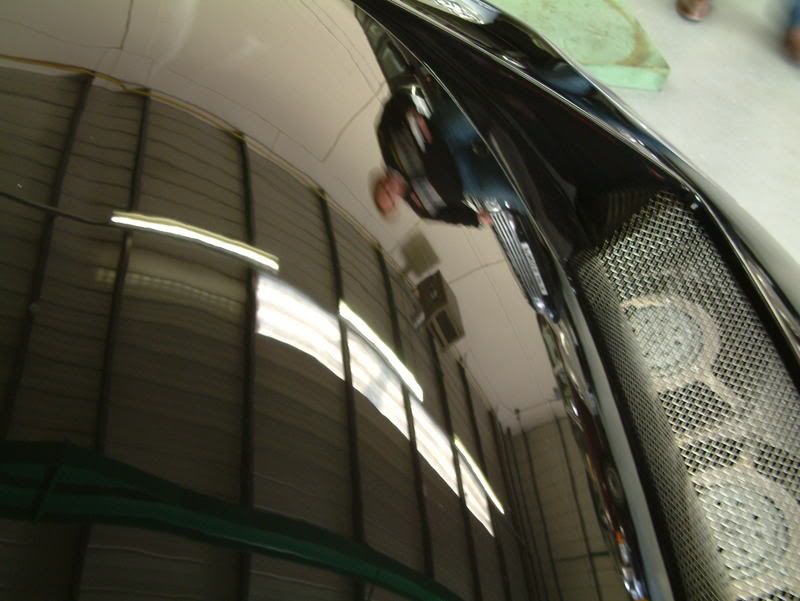
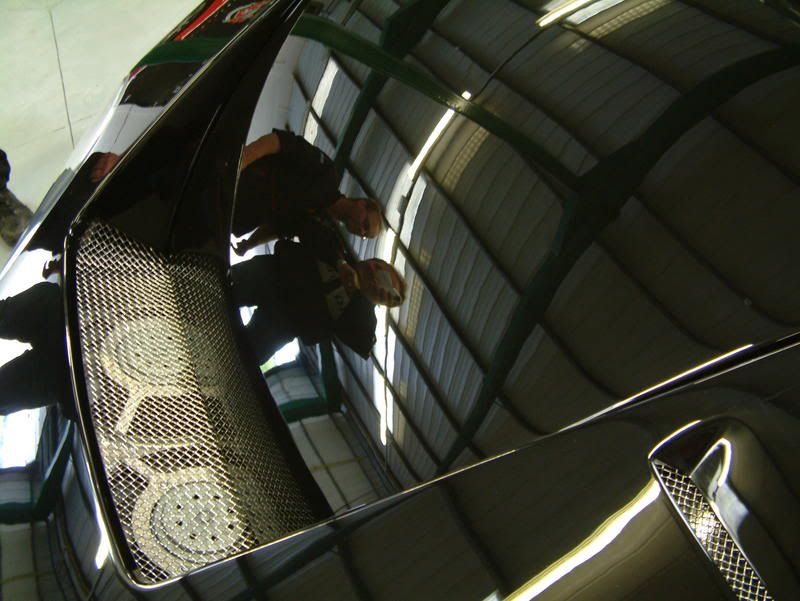
now this car is new and only 254 miles on the clock and god what a mess
not only with very bad swirls but it was also covered in light scratches as if someone had taken one of those ruber blades to dry it off and also the front looked as if there had been stone chips touched up
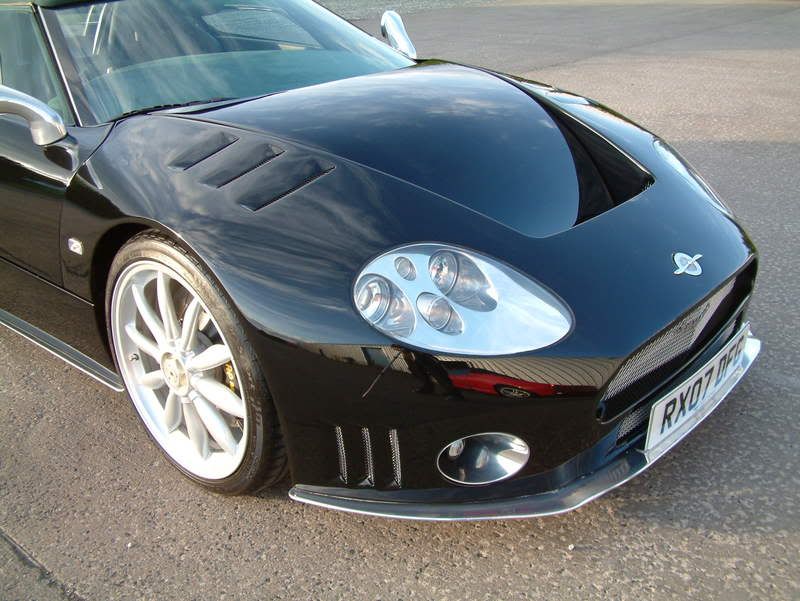
before
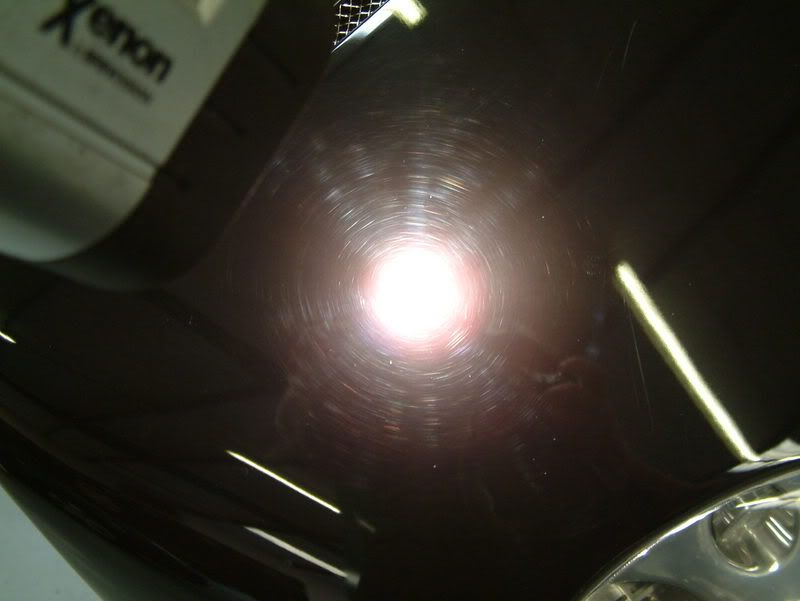
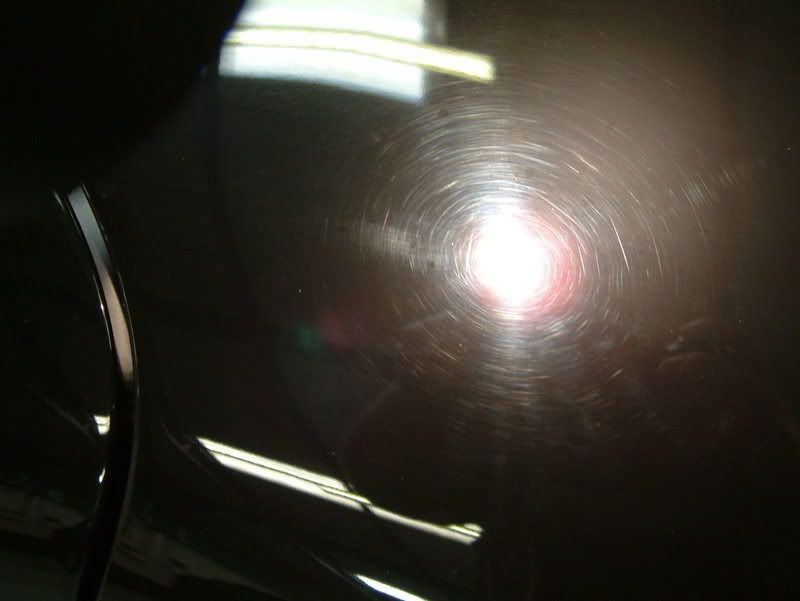
as you can see its a bit of a mess
so we took the paint readings on all panels and downloaded to the laptop
then masked up the car using nearly 3 rolls of tape
the front needed wet sanded along with the rear off side qaurter panel as we felt the state of the paint was that bad the only way to get a perfect finish was wet sanding
wet sanding we used meg`s unigritt 2500
after the wet sanding we got the makita`s out with cutting pads and the power gloss
we also had to use the power gloss on most of the other panels
next was the menzerna IP with a 3m polishing pad for the whole of the car
after the IP we went for the menzerna final finishing polish with a 3m finishing bad
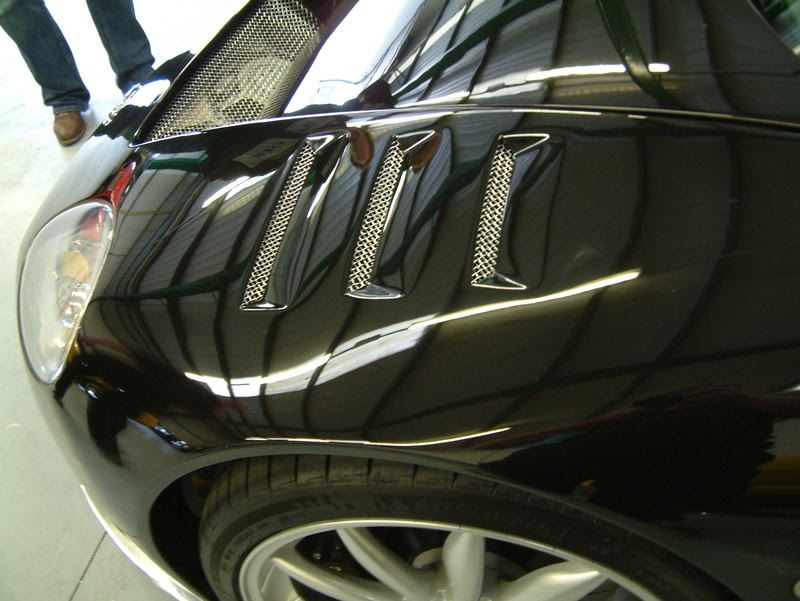
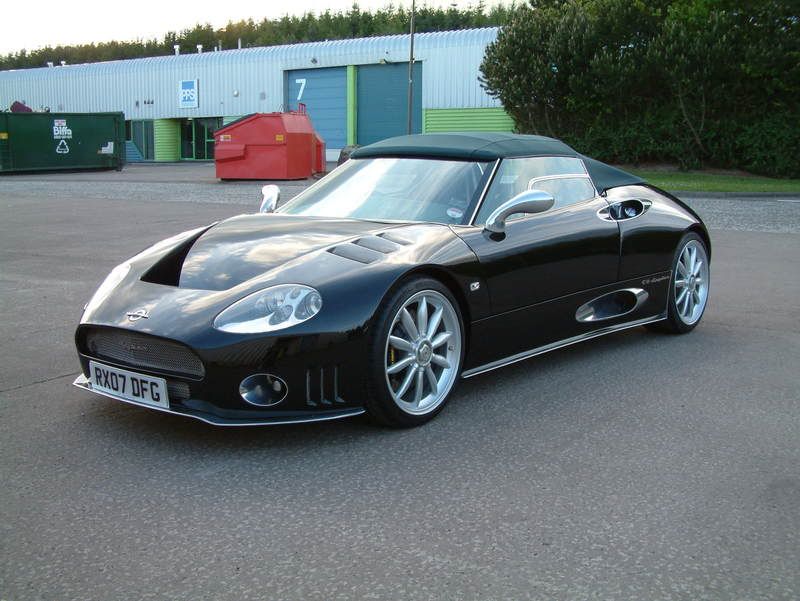
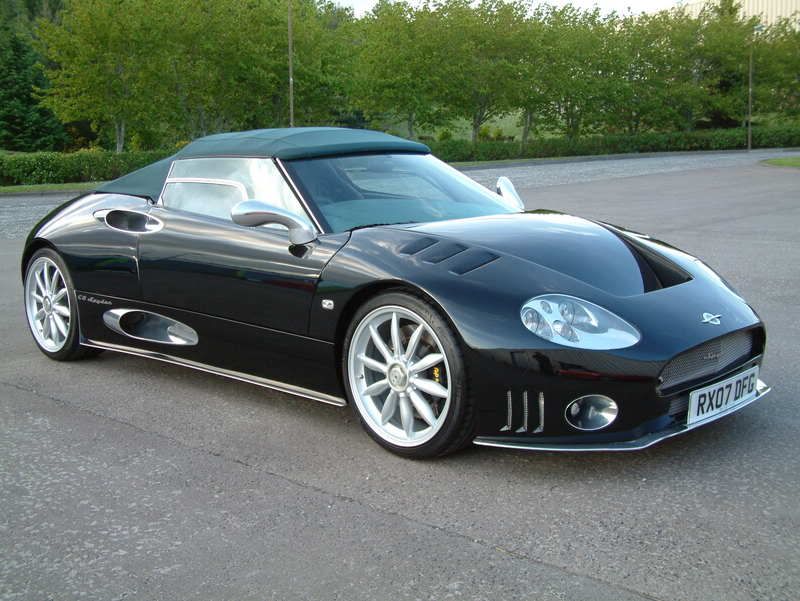
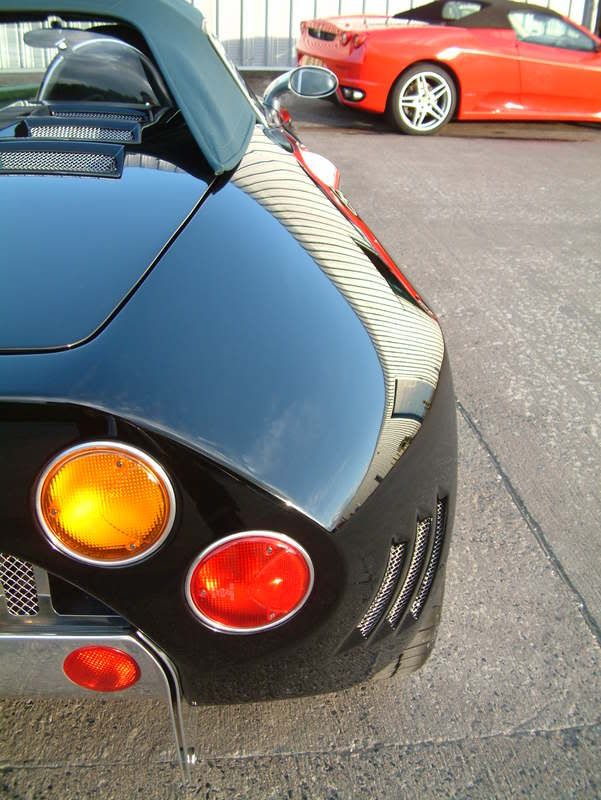
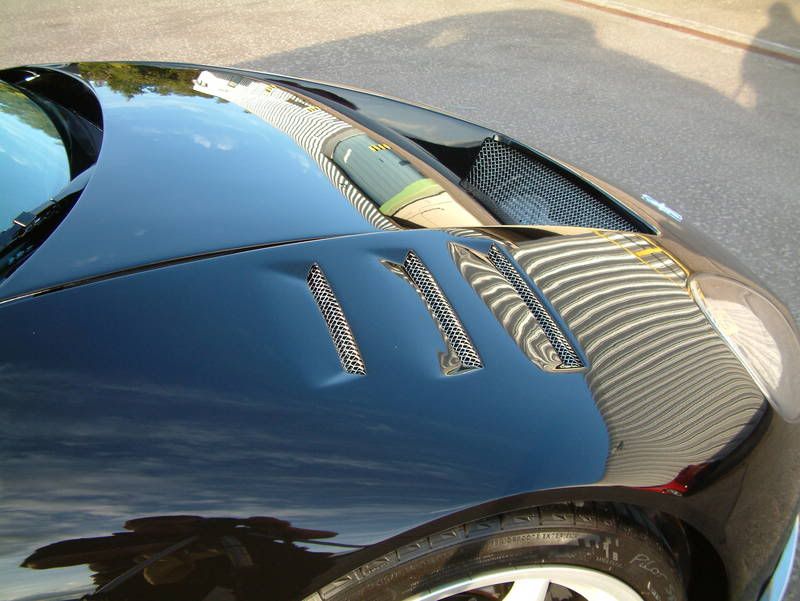
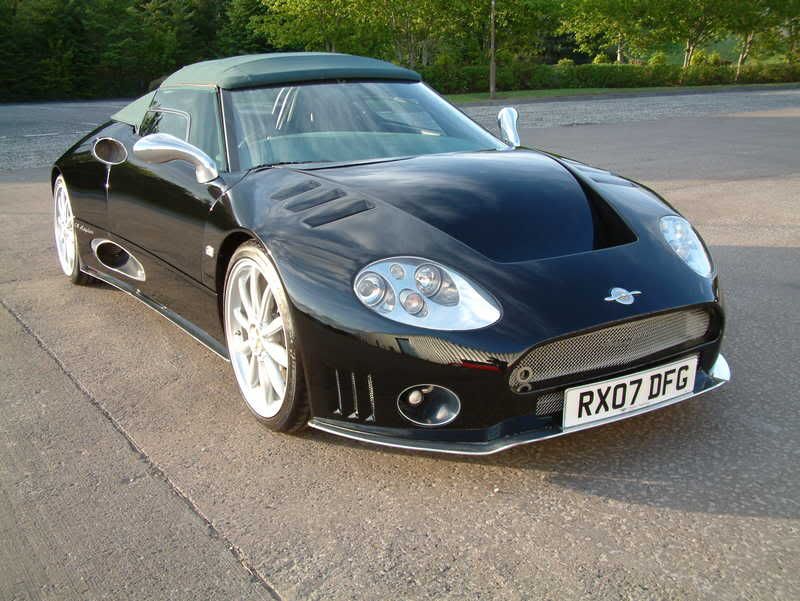
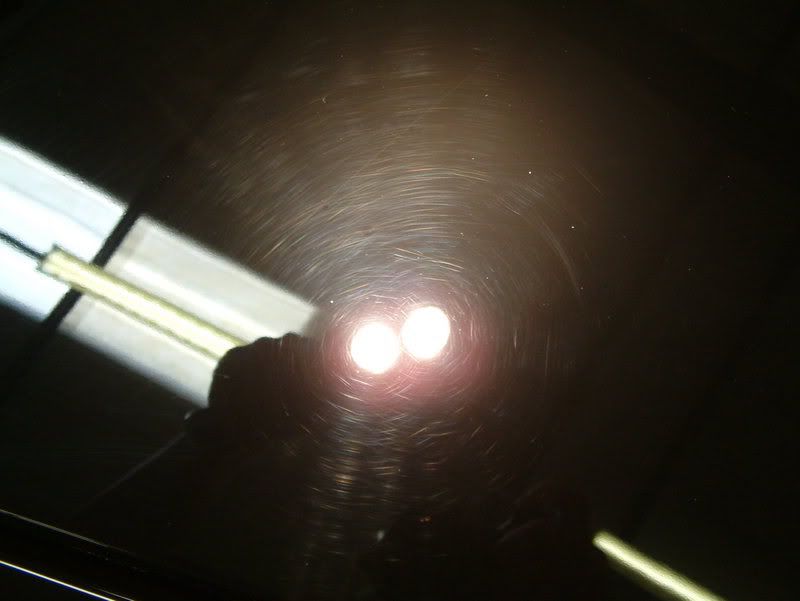
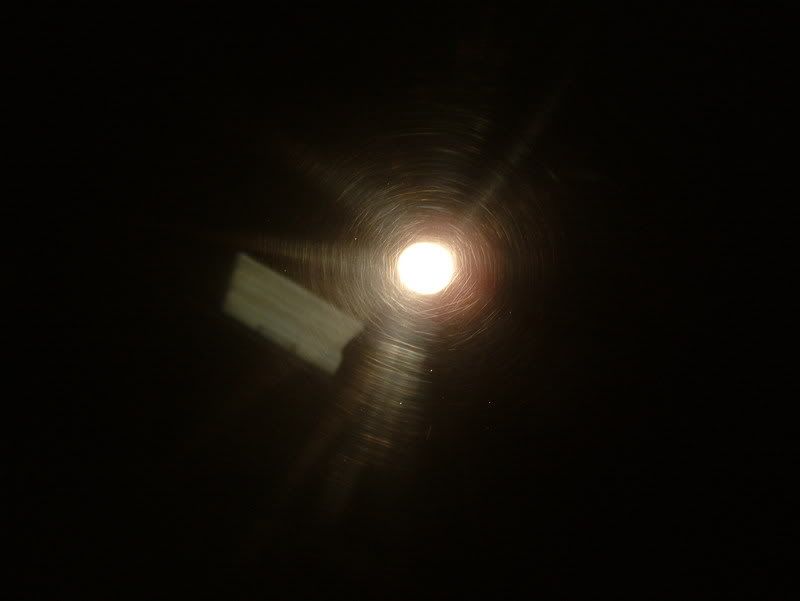
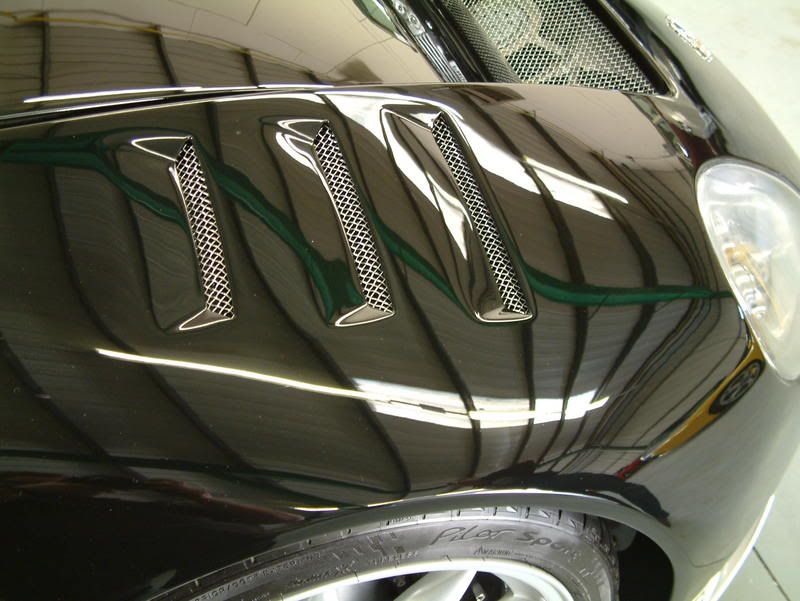
after
we finished the taping of the car at 10 and we finished the paint work corection at 5 :wall: onlly stopping for 15 mins for lunch
once we were happy with the paint it was time to cleanse the paint work
so out with the HD cleanse this helps the wax to bond with the paint and for this we dont use any other product
so now the paint work was cleansed it was time to get the vintage out
as always the vintage was put on with my bare hands
the wheels were also treated to the HD cleanse and vintage
the glass was cleaned with the HD cleanse
all alloy was polished up
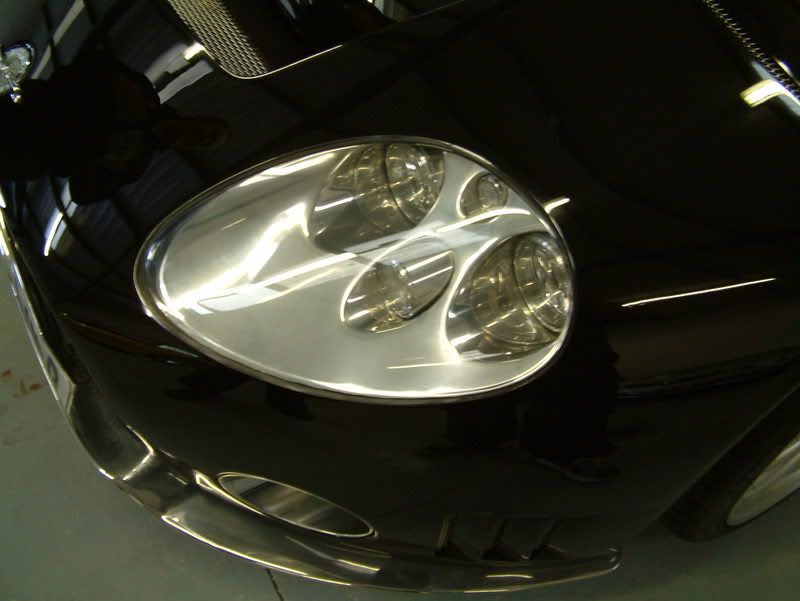
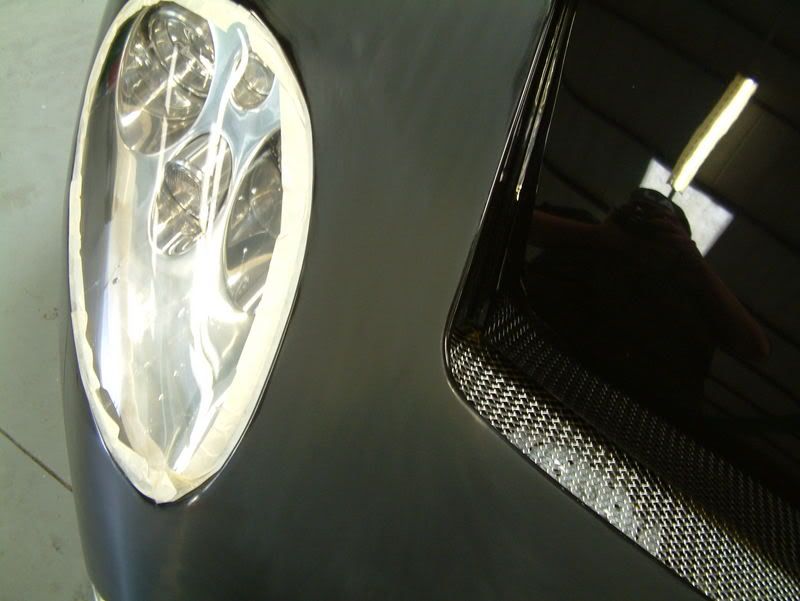
the head lights were de swirled
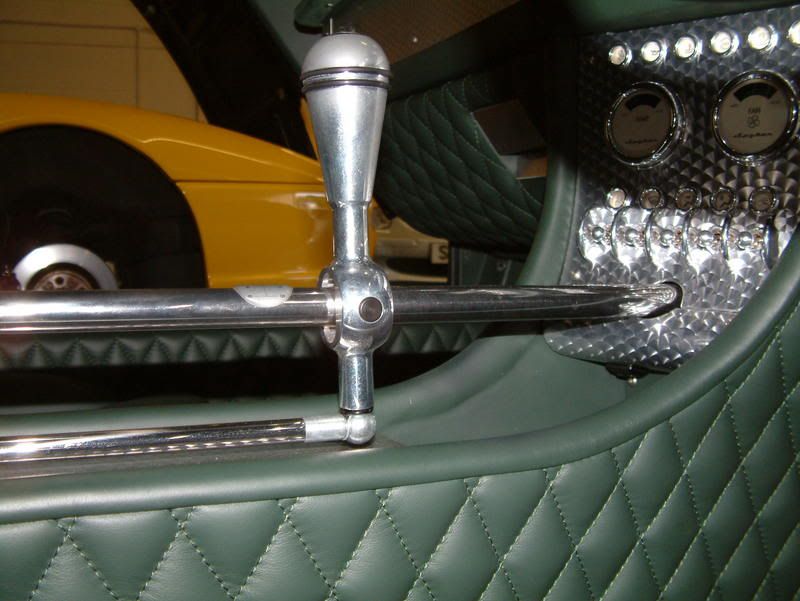
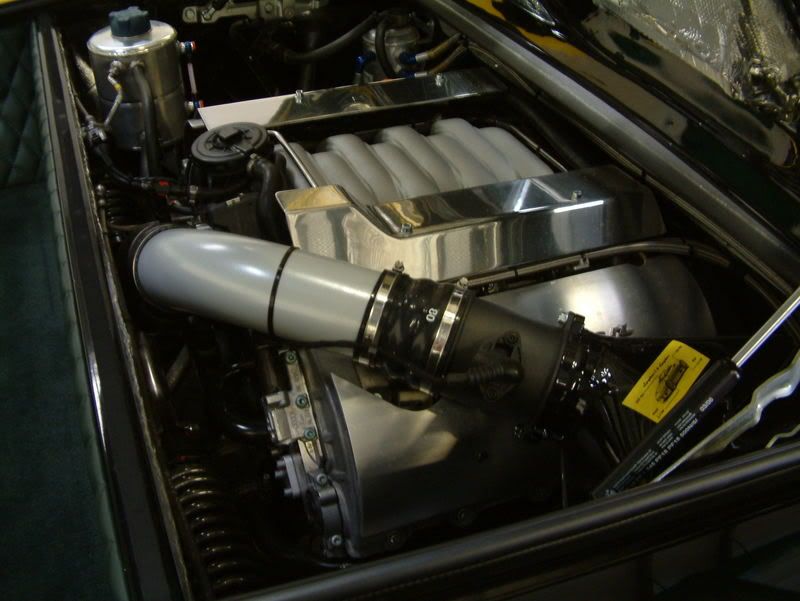
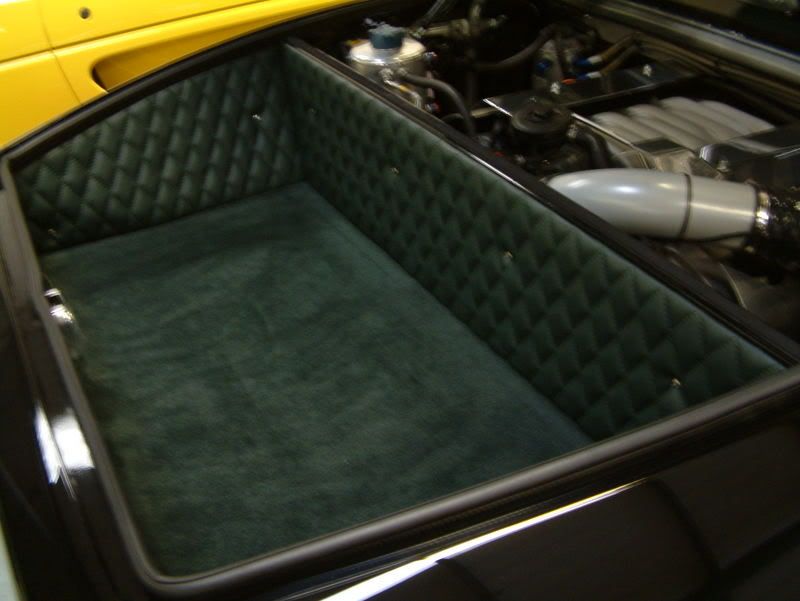
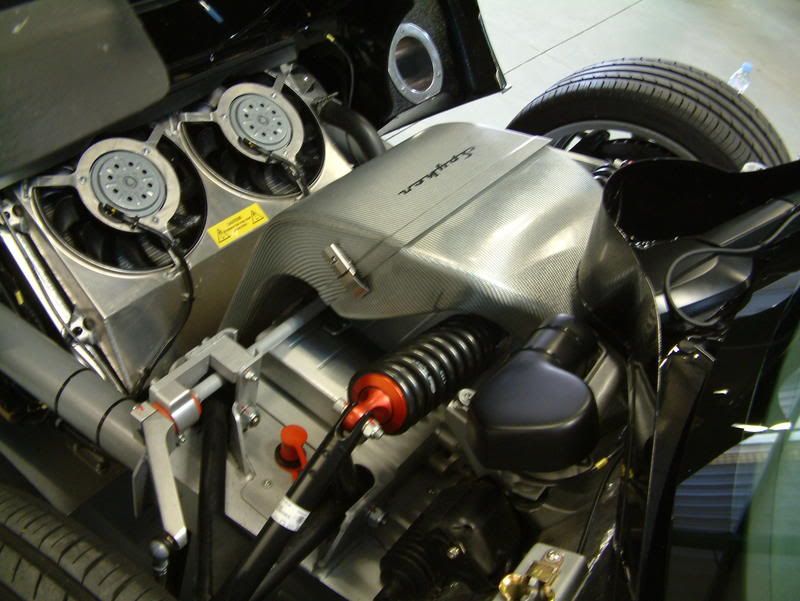
here`s some after pics hope you like
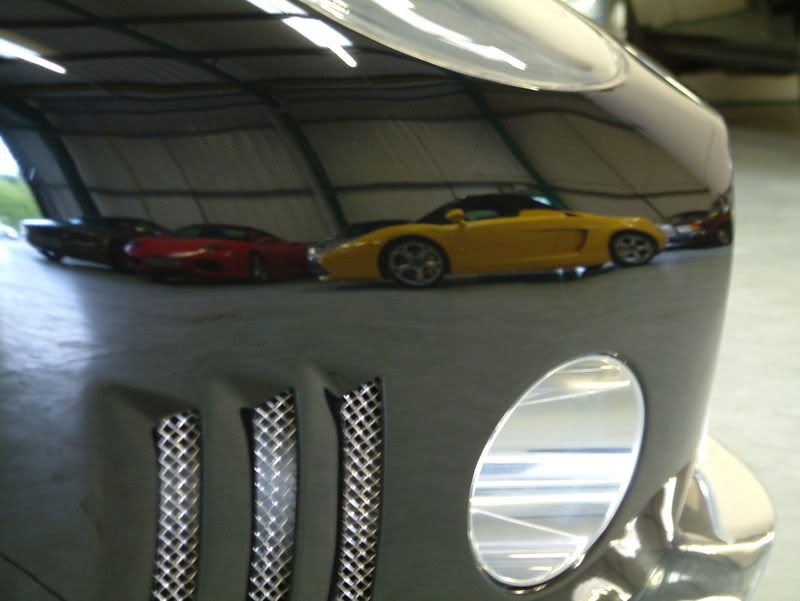
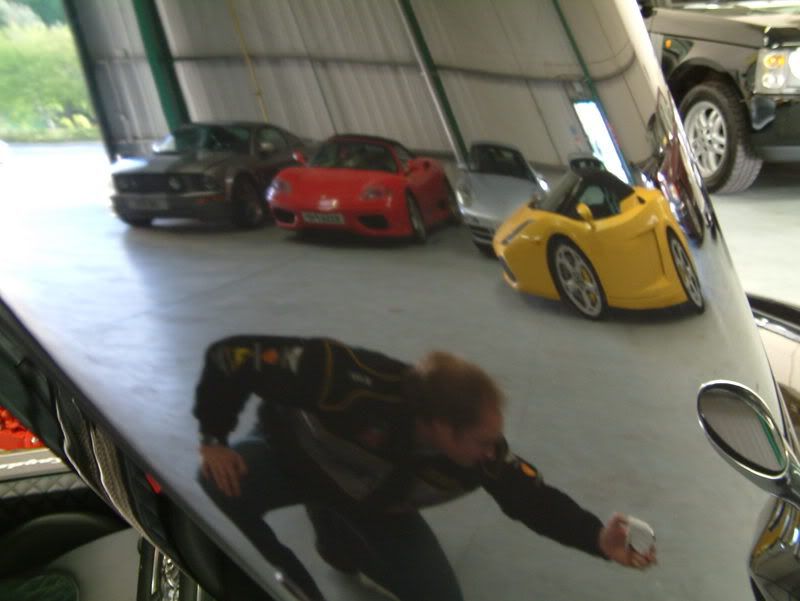
when we were setting up the 3 lambo`s that our clients very kindly lent us for the weekend the owner of the spyker came over and said WOW when can you do the spyker not even how much will it cost but when. he then said our cars on display are showing up his 3 cars
so on monday there it was leave the house at 5 in the morning rubbing the sleep out of my eye`s, so went to pick up and then down that A9 following that sat nav to livingstone
so first off was pre soak the spyker with the citrus then to put the extreme foam ontop leave to dwell then rinse off. after the pre soak time to wash with the 2 buckets and wash mitts and dry off with the sonus der wunder towel
now time to check the paint :doublesho
now this car is new and only 254 miles on the clock and god what a mess
not only with very bad swirls but it was also covered in light scratches as if someone had taken one of those ruber blades to dry it off and also the front looked as if there had been stone chips touched up
before
as you can see its a bit of a mess
so we took the paint readings on all panels and downloaded to the laptop
then masked up the car using nearly 3 rolls of tape
the front needed wet sanded along with the rear off side qaurter panel as we felt the state of the paint was that bad the only way to get a perfect finish was wet sanding
wet sanding we used meg`s unigritt 2500
after the wet sanding we got the makita`s out with cutting pads and the power gloss
we also had to use the power gloss on most of the other panels
next was the menzerna IP with a 3m polishing pad for the whole of the car
after the IP we went for the menzerna final finishing polish with a 3m finishing bad
after
we finished the taping of the car at 10 and we finished the paint work corection at 5 :wall: onlly stopping for 15 mins for lunch
once we were happy with the paint it was time to cleanse the paint work
so out with the HD cleanse this helps the wax to bond with the paint and for this we dont use any other product
so now the paint work was cleansed it was time to get the vintage out
as always the vintage was put on with my bare hands
the wheels were also treated to the HD cleanse and vintage
the glass was cleaned with the HD cleanse
all alloy was polished up
the head lights were de swirled
here`s some after pics hope you like