Mike Phillips
Active member
- Dec 5, 2022
- 51,004
- 8
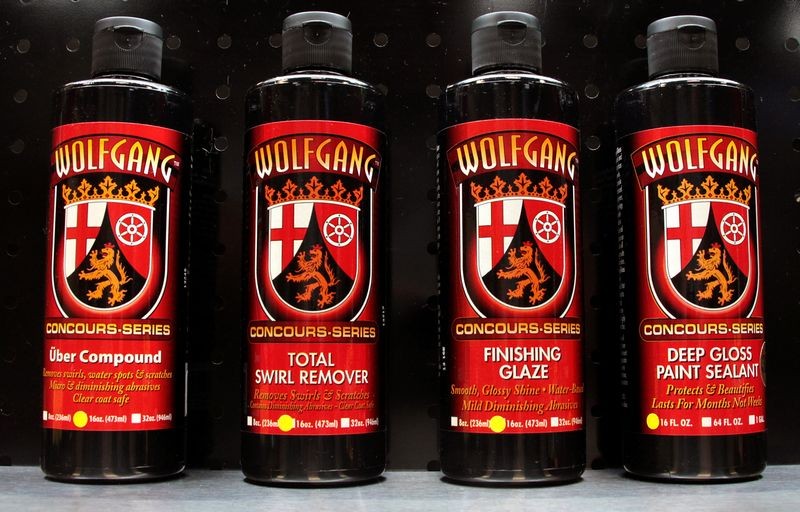
The Wolfgang Four
Here are four products that will take care of about 99.9% of any exterior paint correction product you'll ever have in your garage.
The Wolfgang Four
Forum member RFulmer coined this term, (due credit where credit is due), and since there's been a lot of questions about what each product is, what they do, the order of aggressiveness and when you use one over the other, here's some info...
Uber Compound
Total Swirl Remover
Finishing Glaze
Deep Gloss Paint Sealant 3.0
Synergistic Chemical Compatibility
Each product is chemically compatible and chemically beneficial when used as a system approach to take a diamond in the rough and turn it into a glistening gemstone. Using the entire line in the correct order or just a few of the product in the correct order is an example of working forward in the paint polishing process.
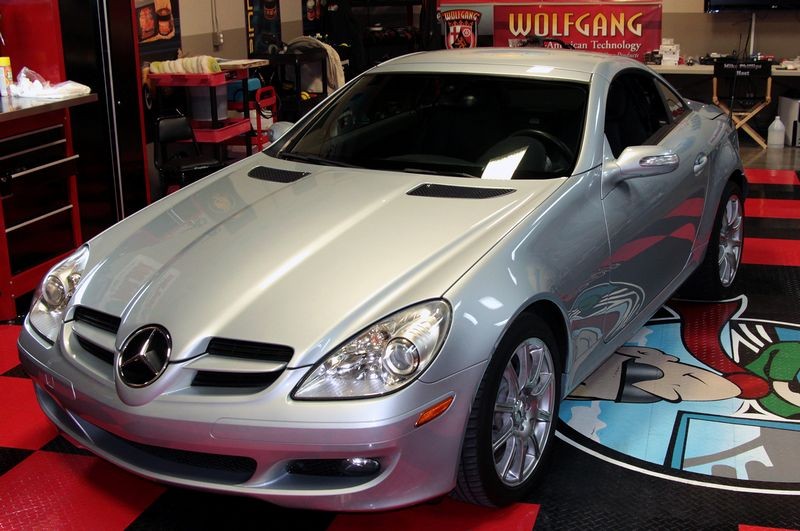
All Inclusive System-Approach
This group of four products with just about any tool, any pad and even by hand will produce not only show car results but do it consistently across a VERY wide spectrum of paint systems including,
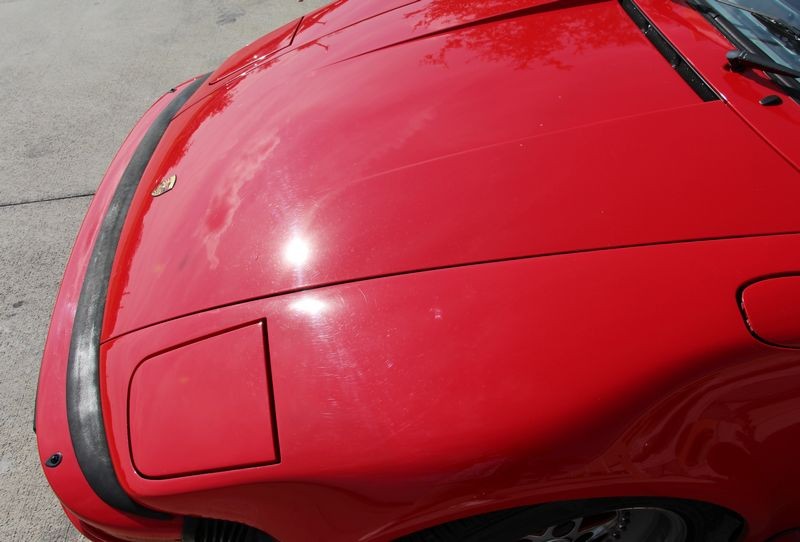
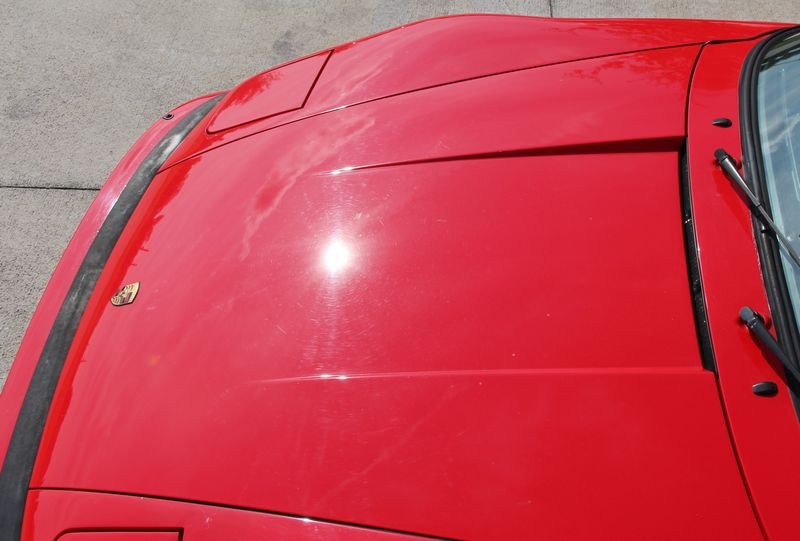
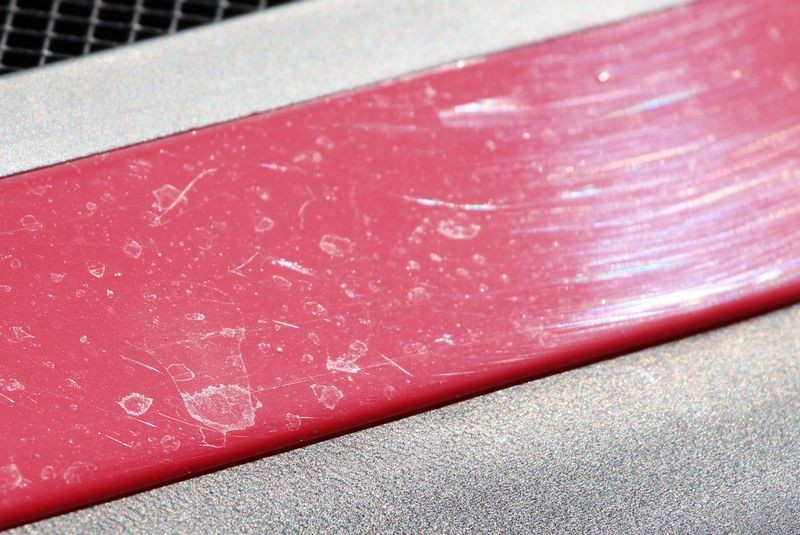
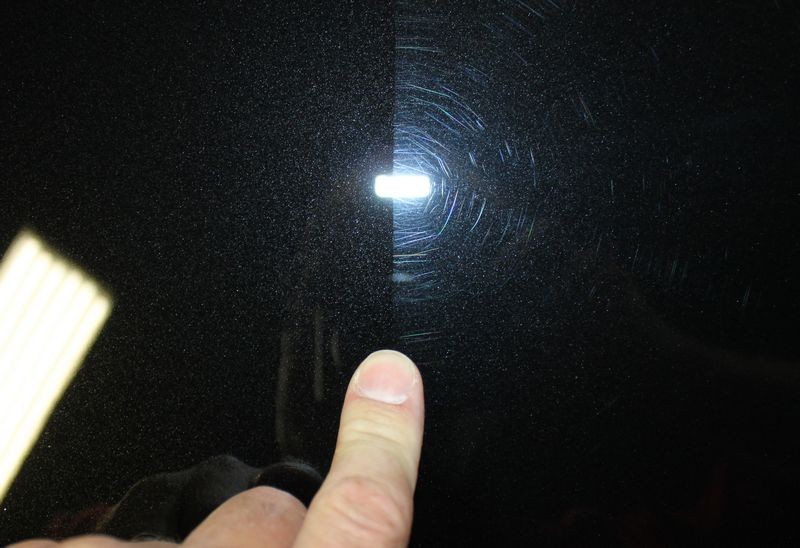
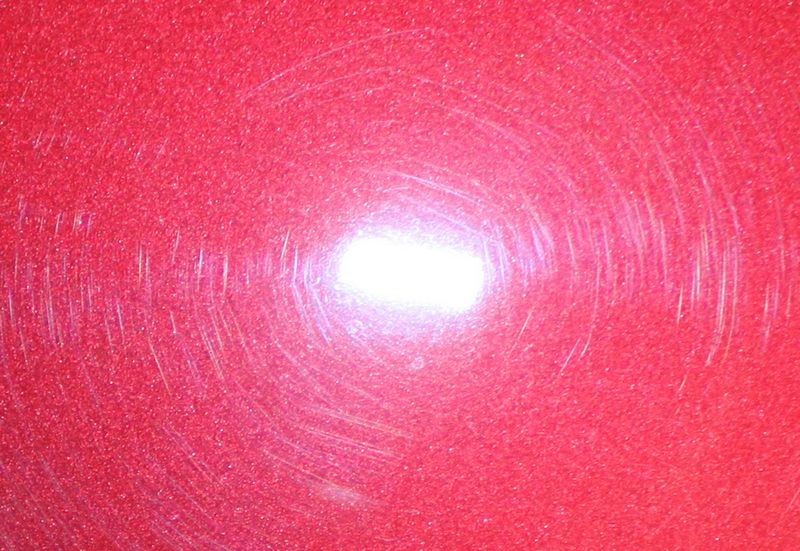
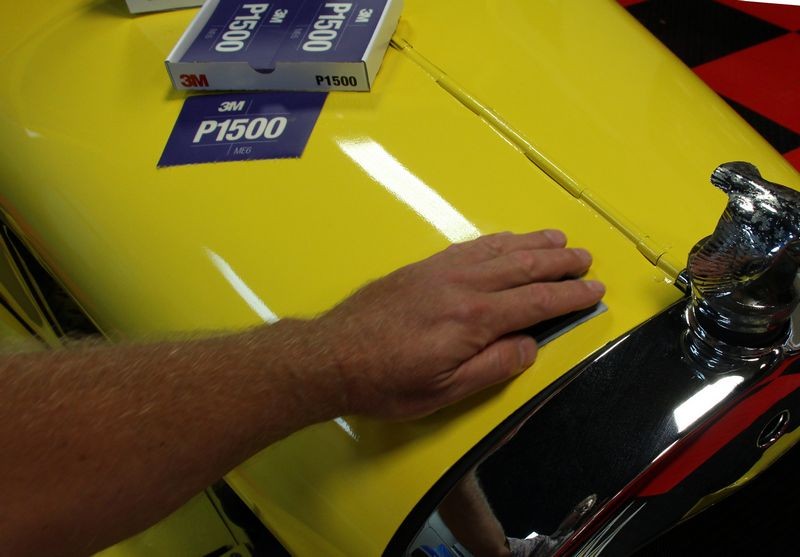
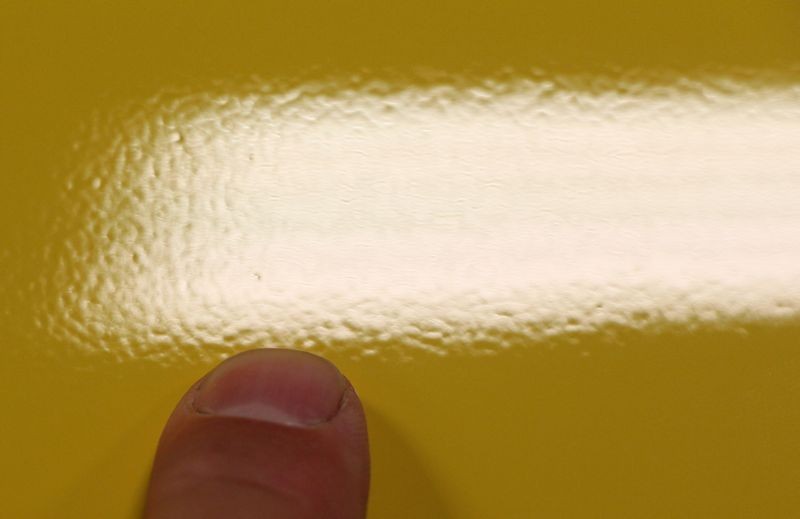
Which product you'll need depend upon the condition of the paint on the car. Click to my list of paint condition categories and read through the descriptions for the different categories. Then after washing and drying your car, inspect the paint both with your sense of touch, (The Baggie Test), and visually with your eyes in bright light for swirls and scratches.
Then determine which category your car's paint fall into. Here are some general guidelines but the best way to determine which exact product you'll need to remove the defects and restore the finish on your car to your expectations can only be determined by doing a Test Spot
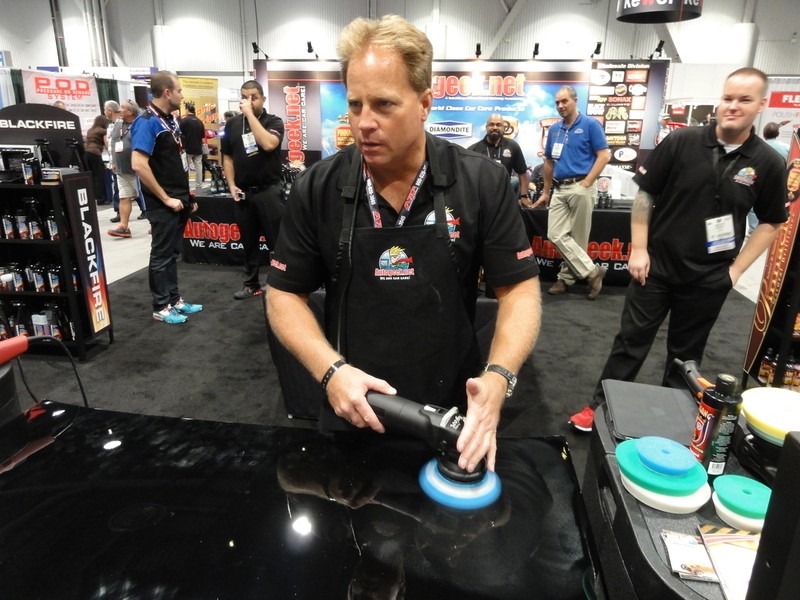
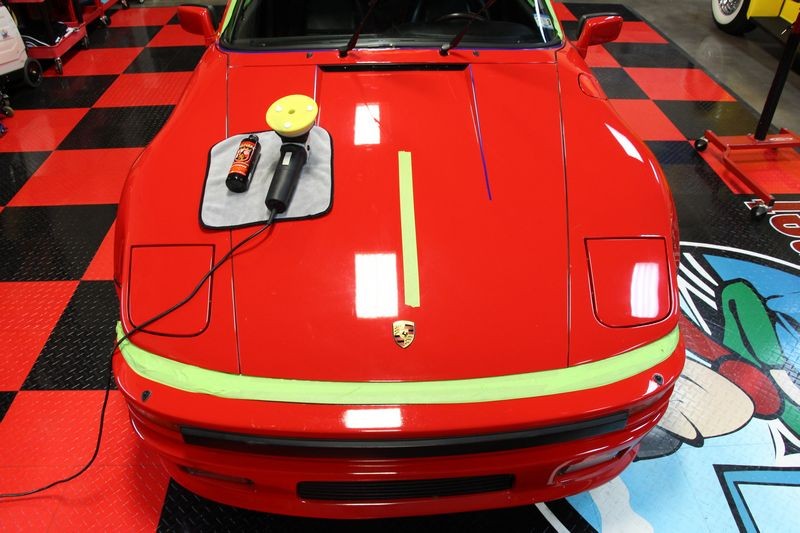
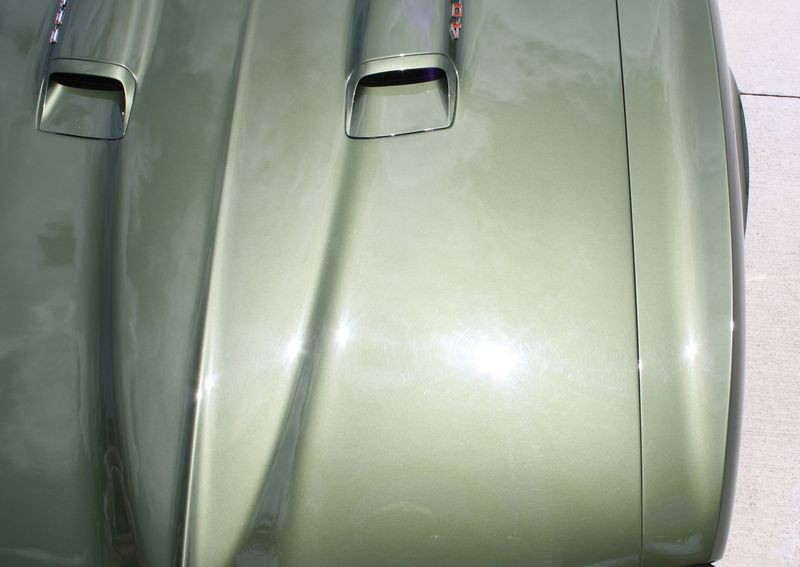
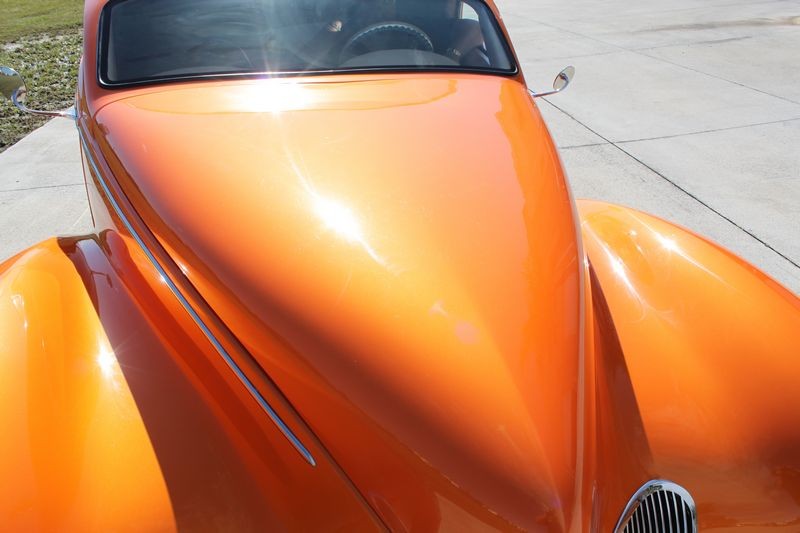
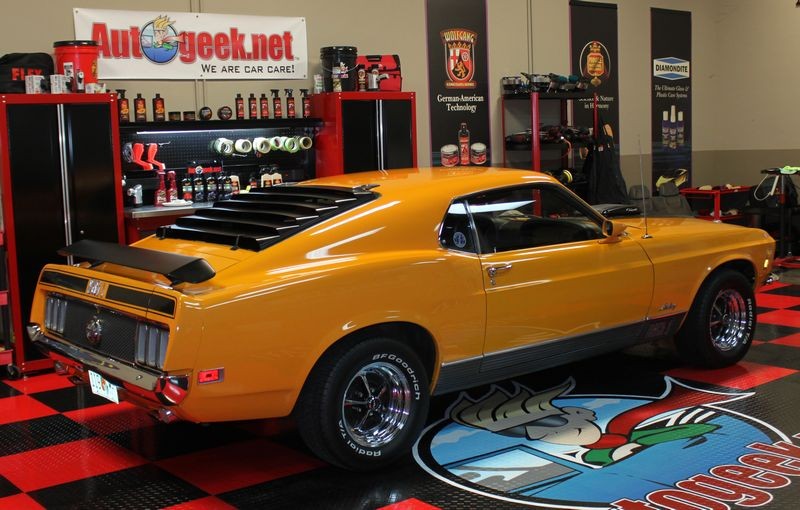
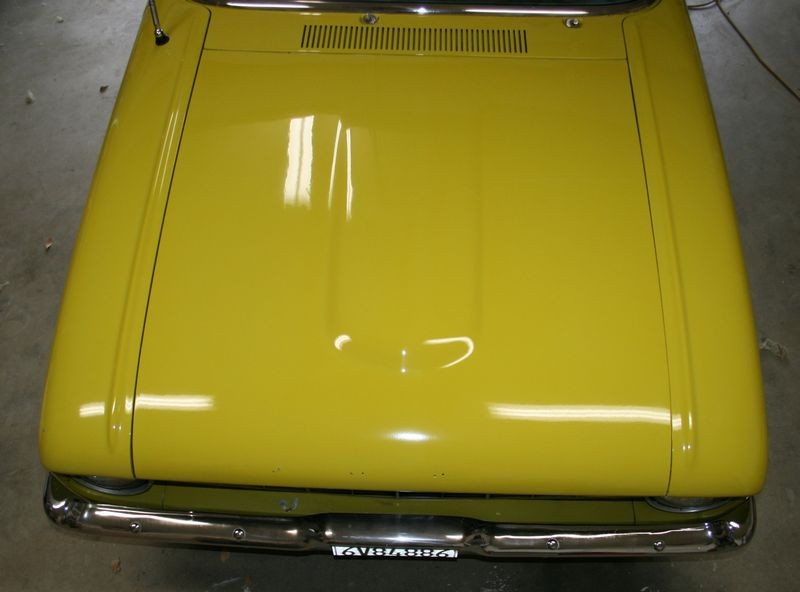
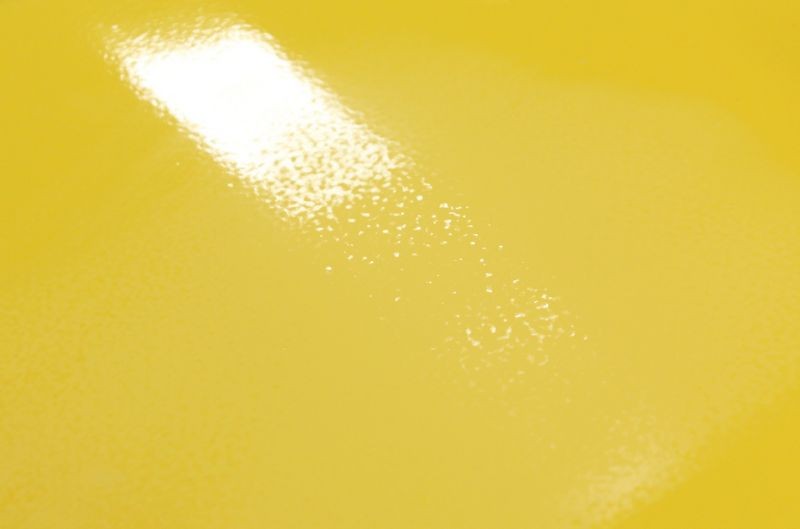
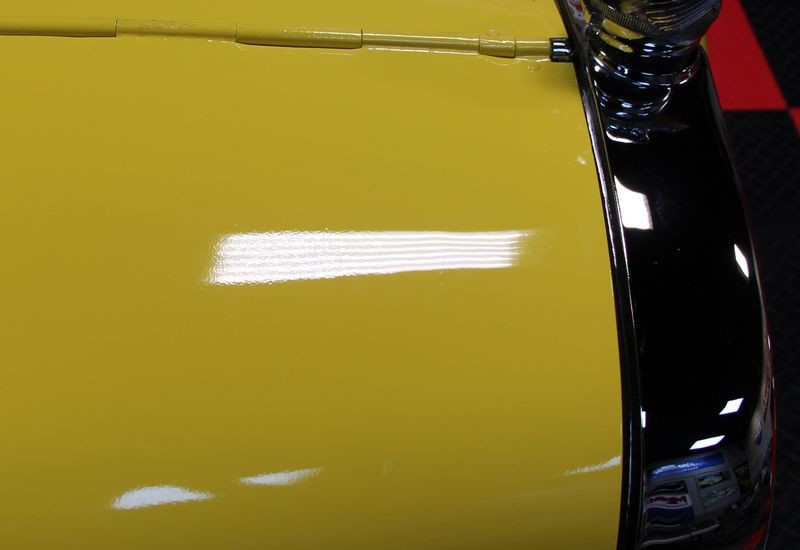
How To Do a Test Spot
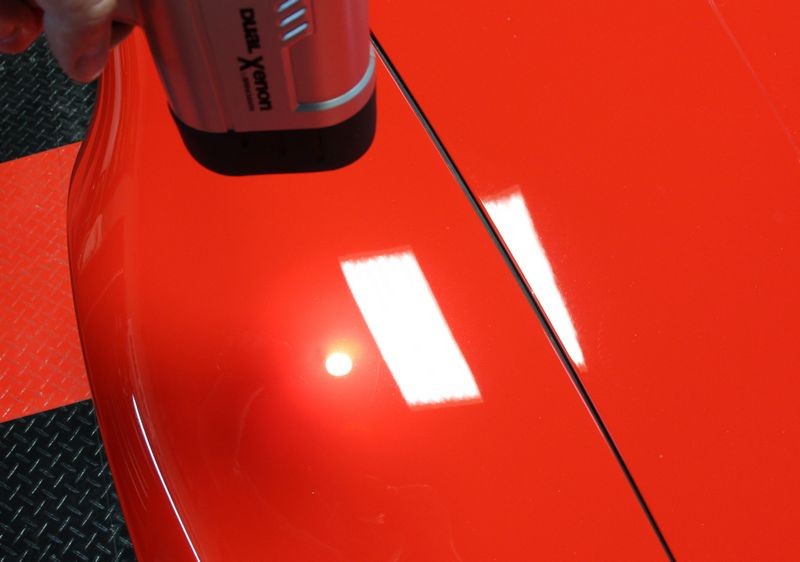
Test Spot results showing the before and after difference...
On Autogeek.net
Wolfgang Uber Compound 3.0
Total Swirl Remover
Finishing Glaze
Deep Gloss Paint Sealant 3.0
And if you don't have a 5" backing plate and 5.5" pads get them...
5 inch Backing Plates on Meguiar's, Griot's and Porter Cable DA Polishers
:xyxthumbs:
Here are four products that will take care of about 99.9% of any exterior paint correction product you'll ever have in your garage.
The Wolfgang Four
Forum member RFulmer coined this term, (due credit where credit is due), and since there's been a lot of questions about what each product is, what they do, the order of aggressiveness and when you use one over the other, here's some info...
Uber Compound
- Aggressive Compound - More aggressive than Wolfgang Total Swirl Remover and Wolfgang Finishing Glaze.
- For use with any type of polisher/buffer and can be used by hand.
- Body Shop Safe = Can be used in a fresh paint. environment (body shop) and can be used on fresh paint, (paint just sprayed and less than 30 days old).
- Safe for Ceramiclear paints.
- Cafe for all clear coat paints.
- Safe for all single stage paints.
- For some people on some cars it can be used as a compound/polish after which the paint can be sealed with a wax or synthetic paint sealant.
Total Swirl Remover
- Medium Cut Polish - Less aggressive than Uber Compound and more aggressive than Wolfgang Finishing Glaze.
- For use with any type of polisher/buffer and can be used by hand.
- Body Shop Safe = Can be used in a fresh paint. environment (body shop) and can be used on fresh paint, (paint just sprayed and less than 30 days old).
- Safe for Ceramiclear paints.
- Cafe for all clear coat paints.
- Safe for all single stage paints.
- Should be tested before using Uber Compound to see if it will remove defects to our satisfaction in keeping with the practice of using the least aggressive product to get the job done.
Finishing Glaze
- Fine Cut Polish - Much less aggressive than Wolfgang Total Swirl Remover and of course dramatically less aggressive than Wolfgang Uber Compound.
- For use with any type of polisher/buffer and can be used by hand.
- Body Shop Safe = Can be used in a fresh paint. environment (body shop) and can be used on fresh paint, (paint just sprayed and less than 30 days old).
- Safe for Ceramiclear paints.
- Cafe for all clear coat paints.
- Safe for all single stage paints.
- Should be tested before using Wolfgang Total Swirl Remover to see if it will remove defects to our satisfaction in keeping with the practice of using the least aggressive product to get the job done.
- Great "Maintenance Polish" for use removing shallow swirls that show up over time from normal wear-n-tear on daily drivers and after a person has already performed a multi-step procedure to remove serious paint defects.
Deep Gloss Paint Sealant 3.0
- German engineered synthetic paint sealant.
- Non-cleaning, pure synthetic - Paint must be in excellent condition as in brand new or previously polished to like new condition before use.
- Can be applied by hand or any type of dual action polisher wit foam pads.
- This product "seals" the paint in the say way a car wax or paint coating will seal the paint. It is water insoluble and as such like all synthetic paint sealants, car waxes and paint coatings is not body shop safe.
- Requires 30 to 45 minutes of drying time before removal.
- Oxygen activated. After buffing off the excess sealant the remaining protection ingredients should be allowed to cure and fully set-up for an approximate 12 hour window of time before the vehicle is put back into service where it will be exposed to water.
Synergistic Chemical Compatibility
Each product is chemically compatible and chemically beneficial when used as a system approach to take a diamond in the rough and turn it into a glistening gemstone. Using the entire line in the correct order or just a few of the product in the correct order is an example of working forward in the paint polishing process.
All Inclusive System-Approach
This group of four products with just about any tool, any pad and even by hand will produce not only show car results but do it consistently across a VERY wide spectrum of paint systems including,
- Hard paints, soft paints and everything in-between.
- Factory OEM paints and aftermarket repaints at your local body shop or custom paint shop.
- Single stage and basecoat clearcoat.
Which product you'll need depend upon the condition of the paint on the car. Click to my list of paint condition categories and read through the descriptions for the different categories. Then after washing and drying your car, inspect the paint both with your sense of touch, (The Baggie Test), and visually with your eyes in bright light for swirls and scratches.
Then determine which category your car's paint fall into. Here are some general guidelines but the best way to determine which exact product you'll need to remove the defects and restore the finish on your car to your expectations can only be determined by doing a Test Spot
How To Do a Test Spot
Test Spot results showing the before and after difference...
On Autogeek.net
Wolfgang Uber Compound 3.0
Total Swirl Remover
Finishing Glaze
Deep Gloss Paint Sealant 3.0
And if you don't have a 5" backing plate and 5.5" pads get them...
5 inch Backing Plates on Meguiar's, Griot's and Porter Cable DA Polishers
:xyxthumbs:


")