lawrenceSA
New member
- Feb 7, 2012
- 1,713
- 0
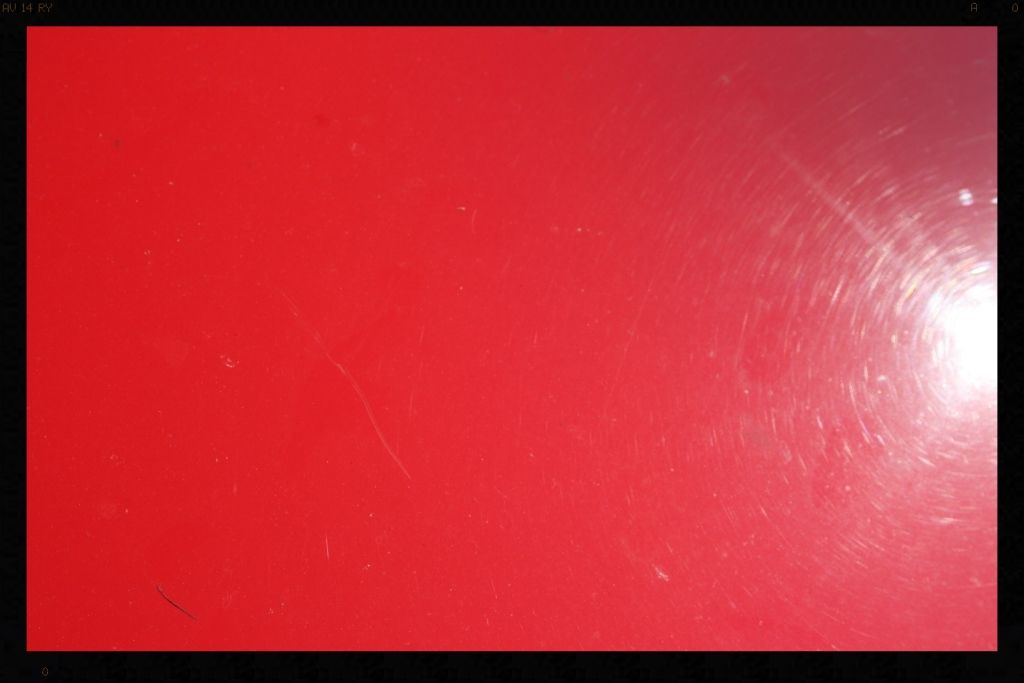
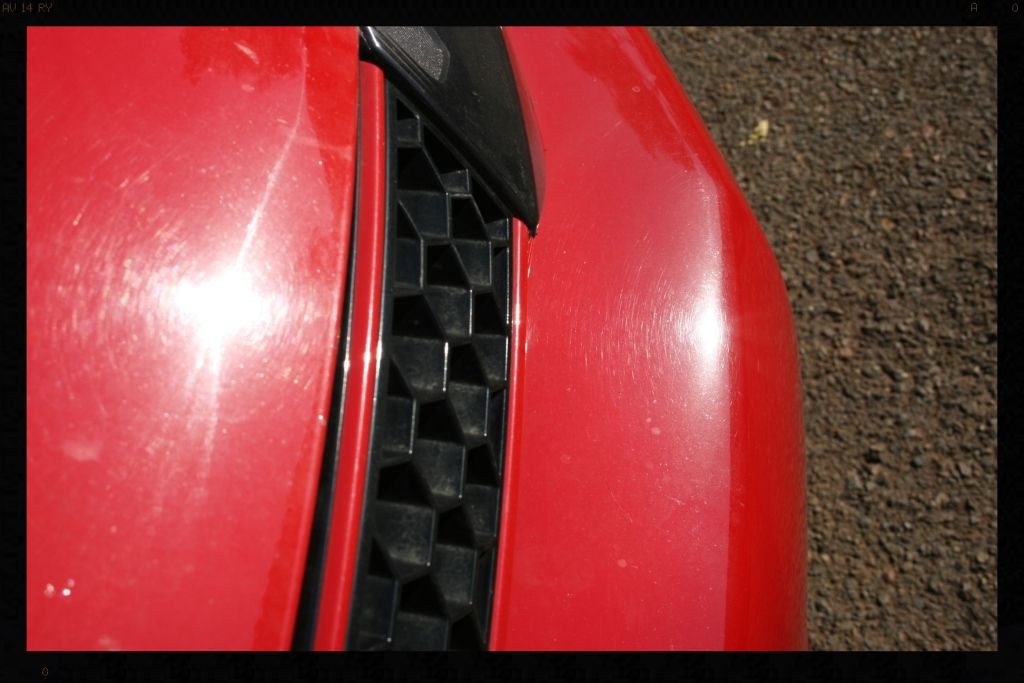
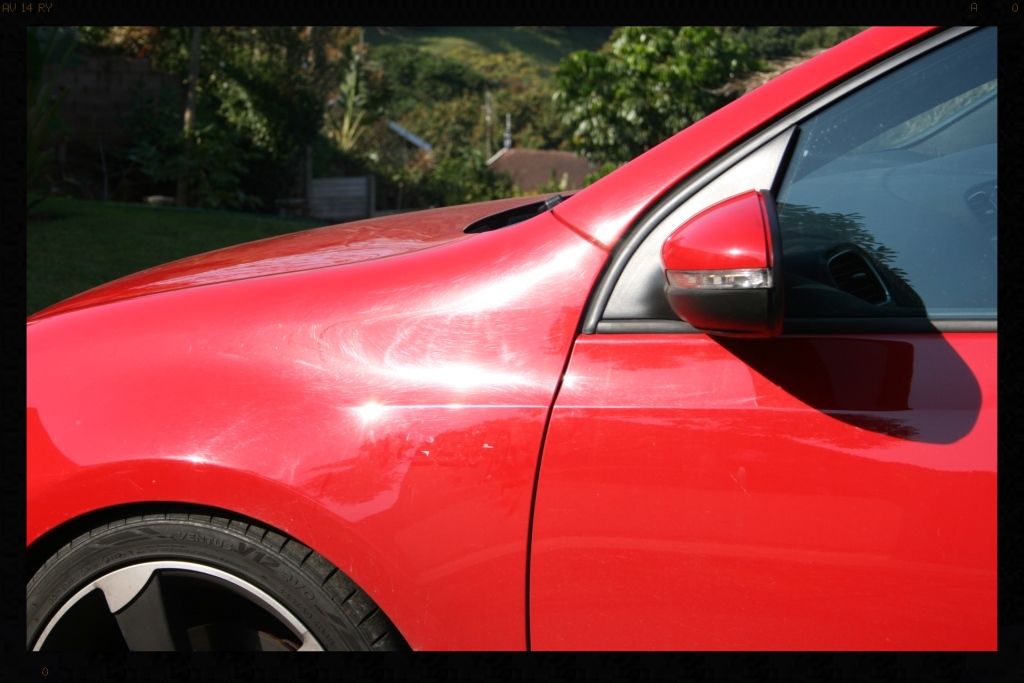
I know that the owner of this vehicle (a fellow VW Club SA member - 5p33dy) and I had both been quite excited about this detail. He looking forward to getting his car back looking brand new, and me excited at the chance to work on some red paint for a change - the bulk of my details have been white, black and silver cars with the odd blue car in between and this was only the second red vehicle I have done :crazy:
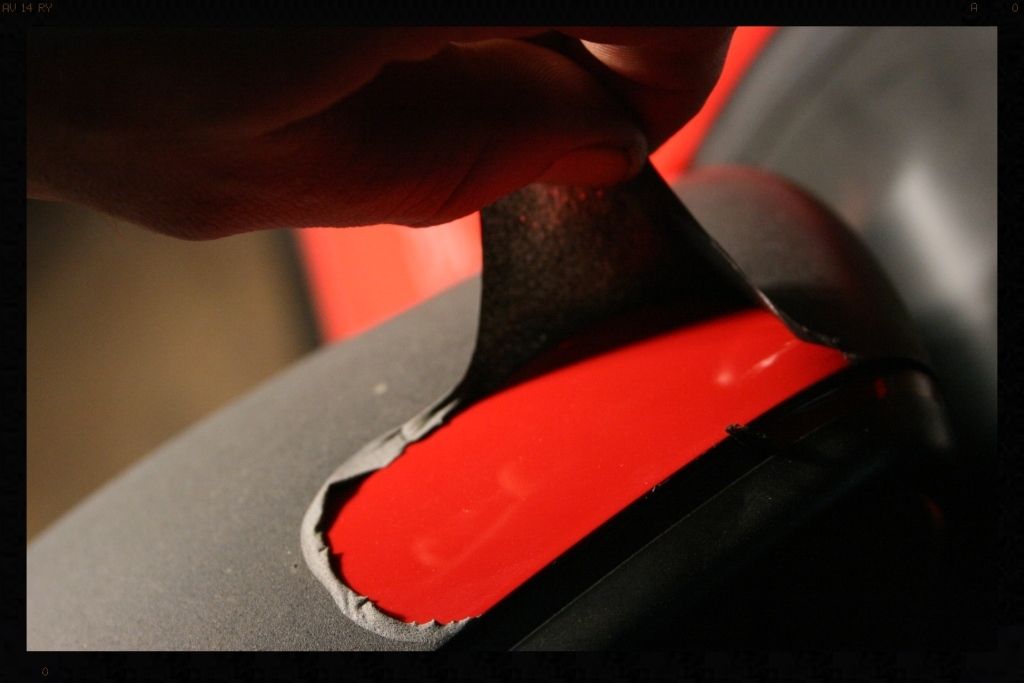
So the car was dropped off on Friday evening and got to work removing the plastidip from the mirrors (at the owner's request) which was removed relatively easily, except for a the little recess between the mirror frame and cover.
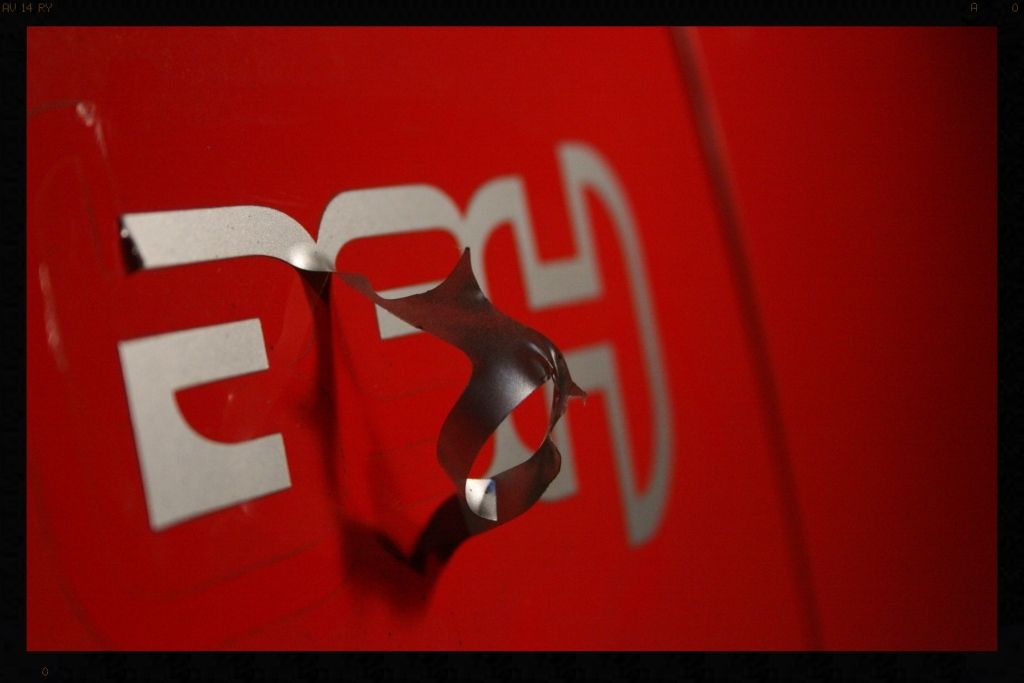
I then removed some stickers from the windows and car itself.
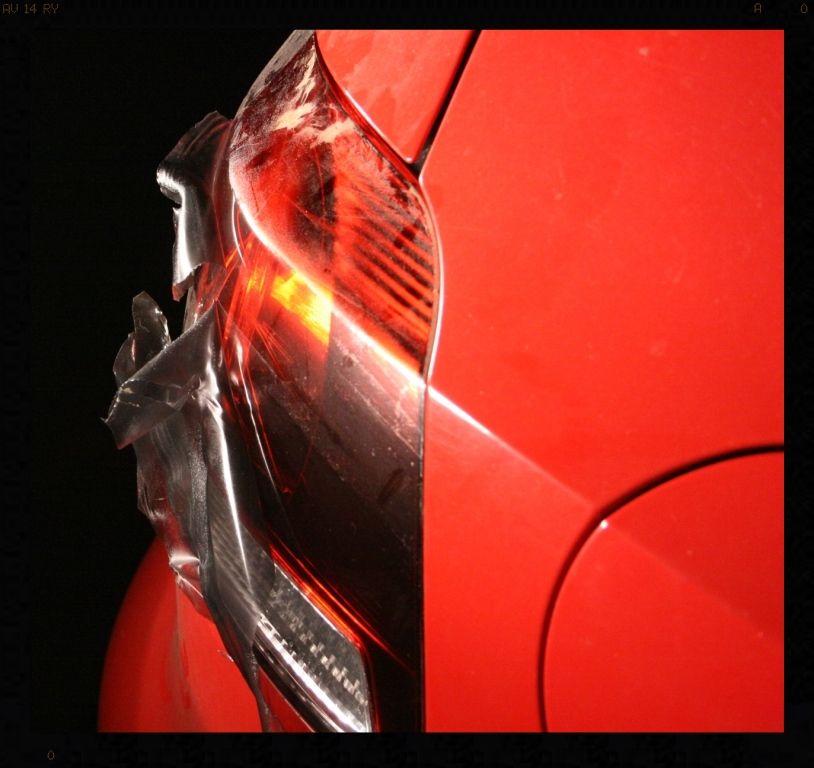
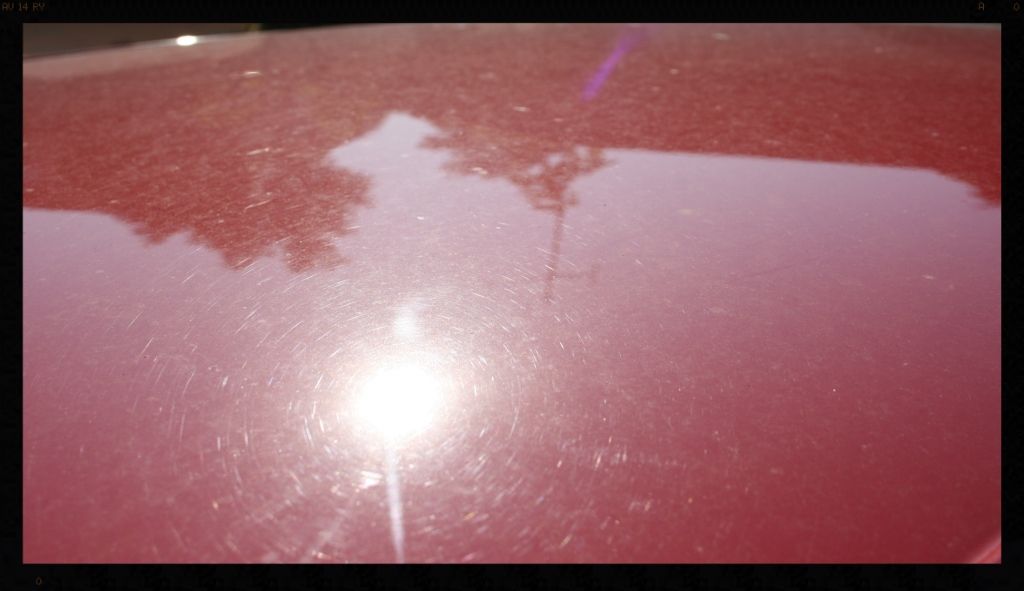
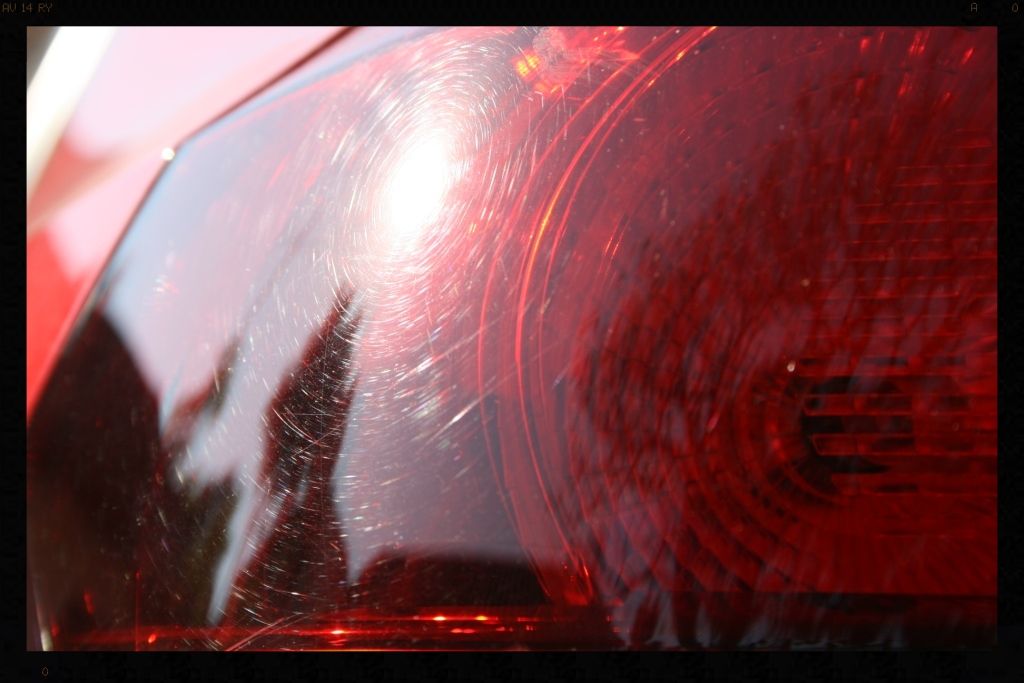
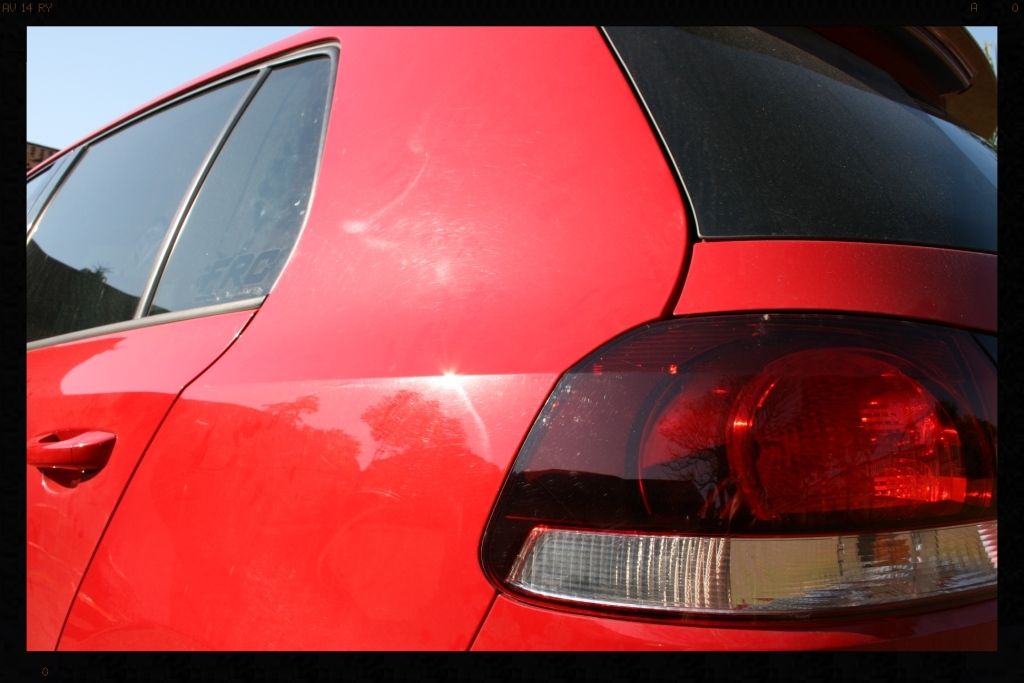
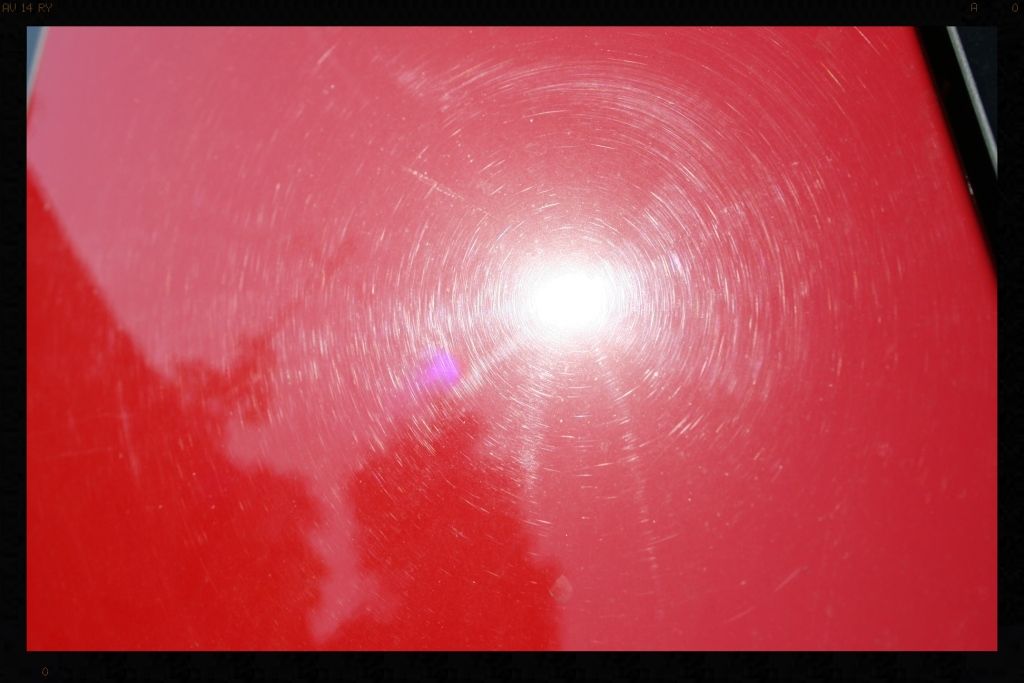
Lastly I removed the laminex off the tail lights.... I struggled a little with the first one, but quickly realized that by leaving the halogens focused on the tail light for a while, it heated the laminex up nicely and made removal much easier. Any remaining glue residue was removed with AF Oblitarate.
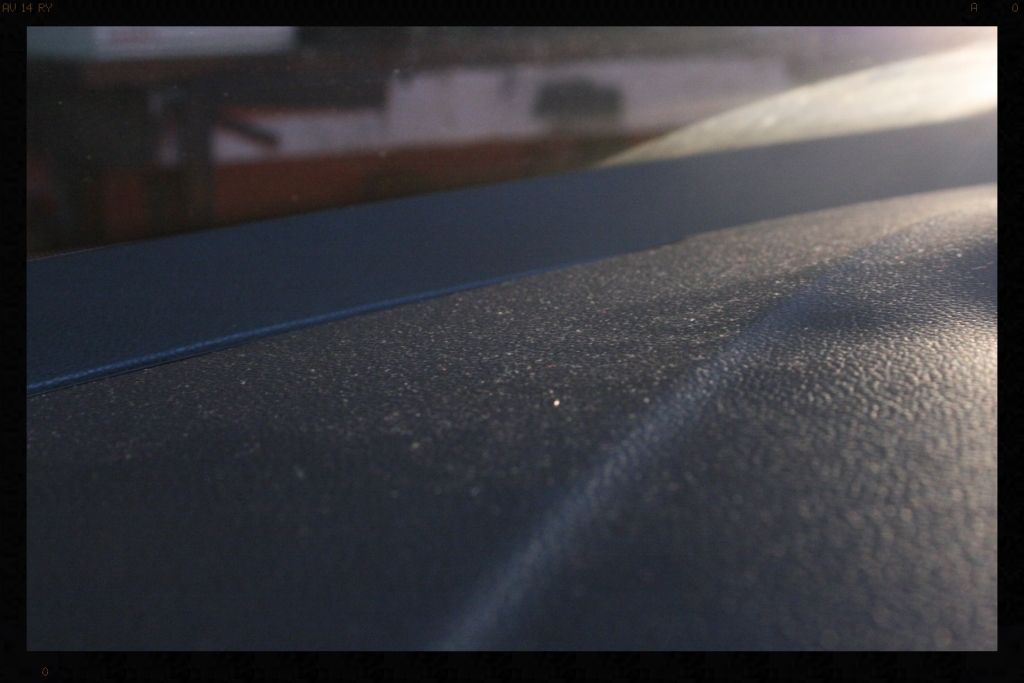
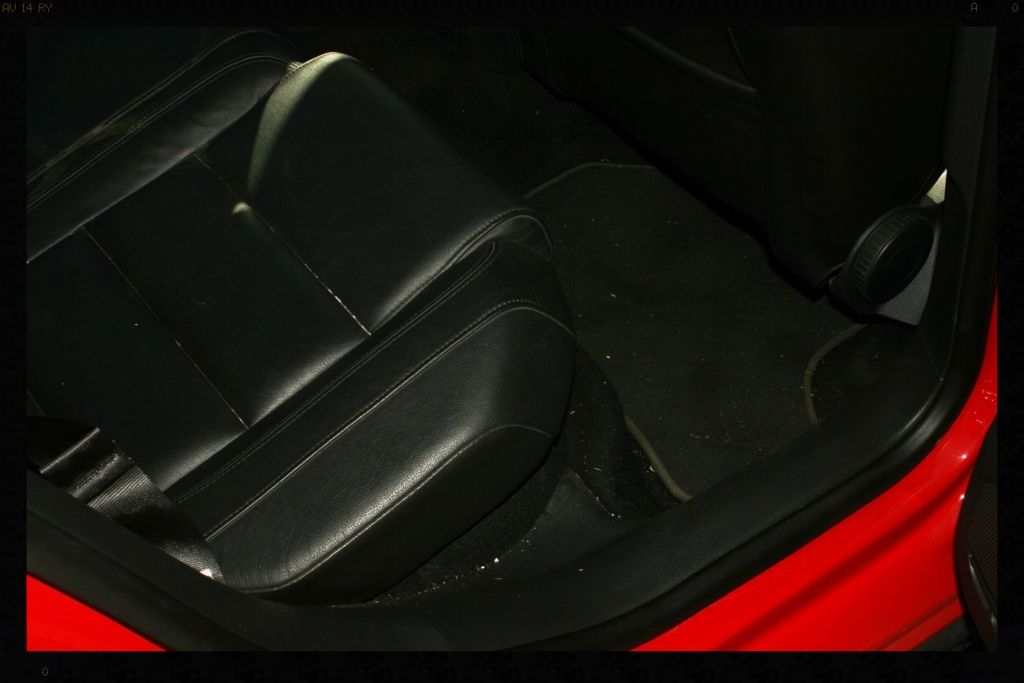
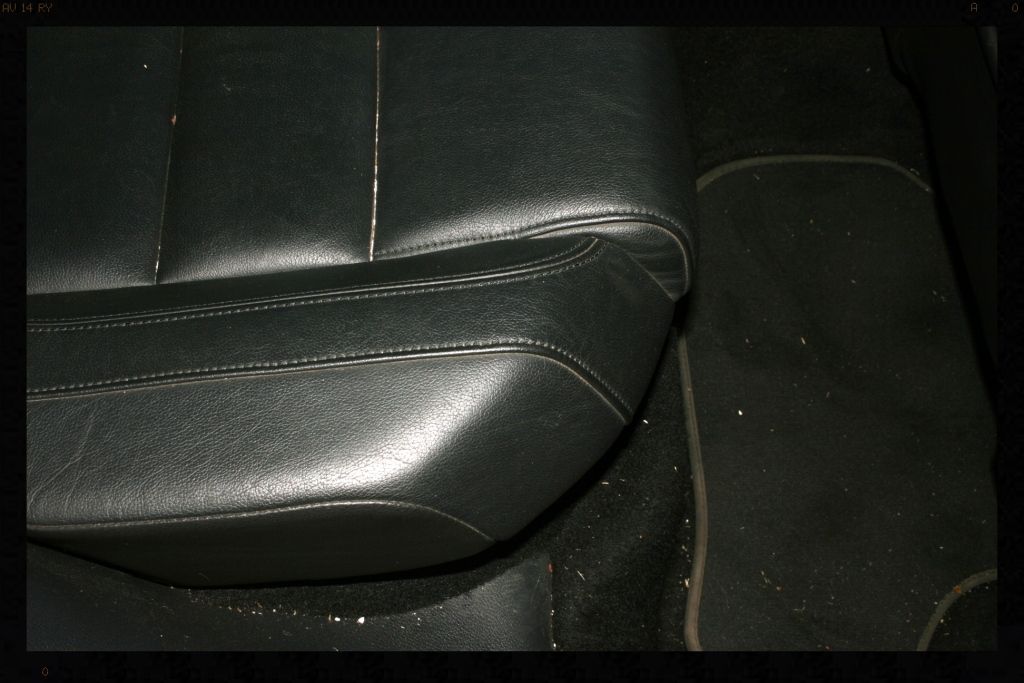
Once this was done I got to work on the interior of the car. All the plastic trim, dashboard and leather surfaces were thoroughly cleaned using a 20:1 mix of Cyclo CM30, various brushes and MF towels and obviously a vacuum cleaner (with a handy blower function). The leather was then conditioned using Smartwax Smart Leather and the plastic trim dressed with Smartwax Smartdressing.
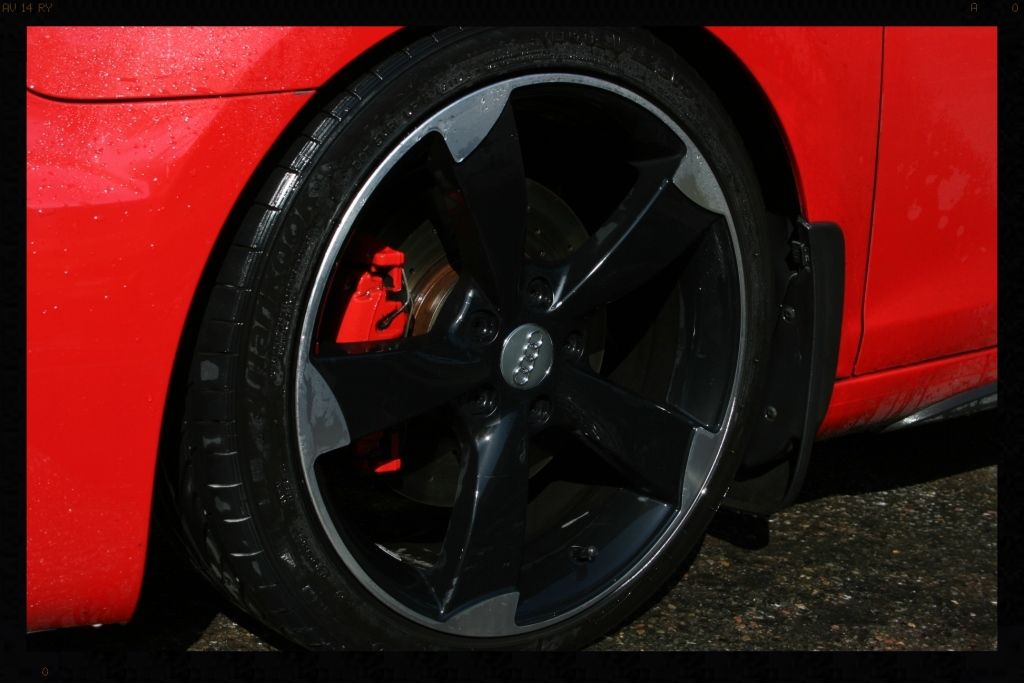
Saturday morning saw me start (as always) with the wheels, tires and arches.
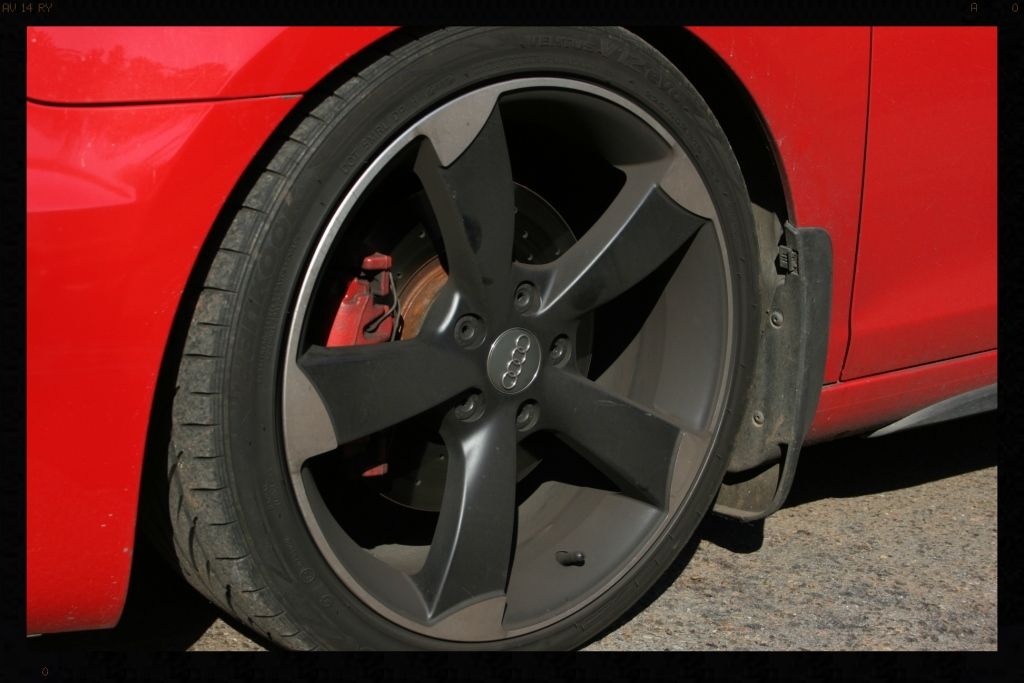
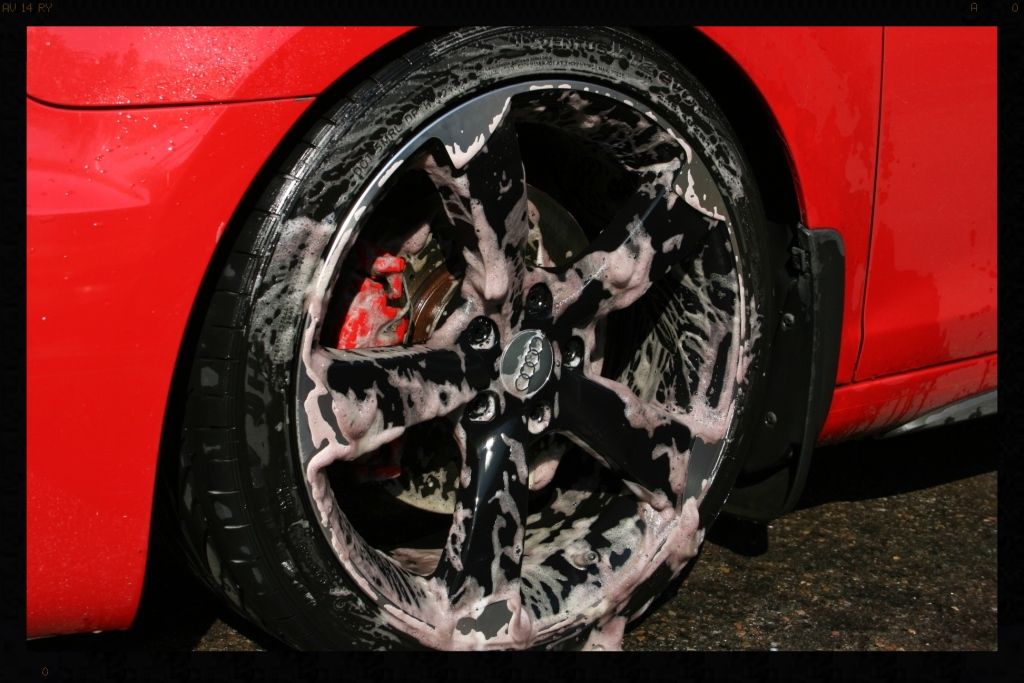
The wheels and tires were first cleaned using Meguiars Hot Rims All Wheel and Tire Cleaner

This left them looking a lot better
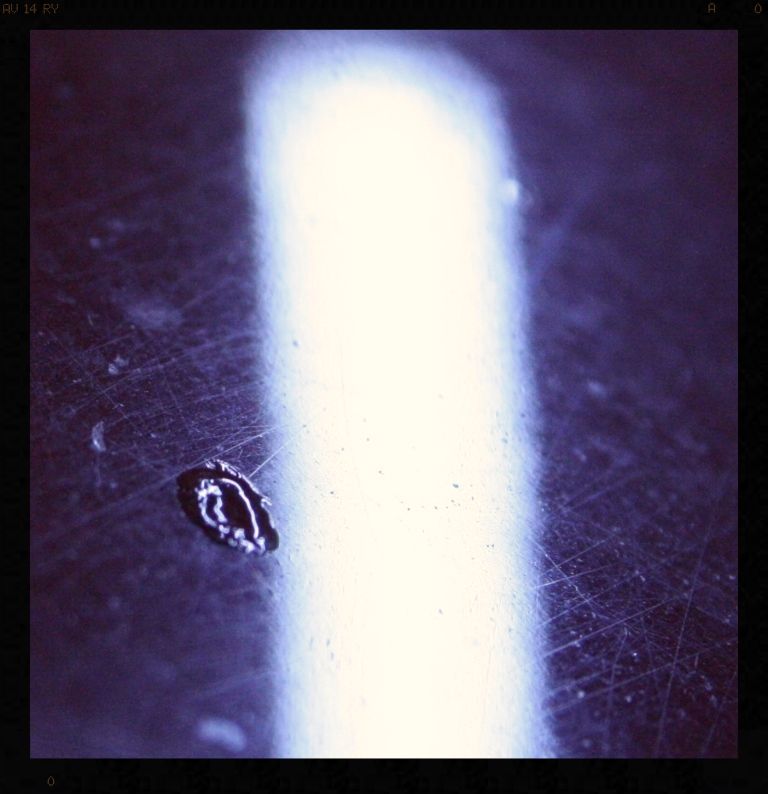
But after using some Autofinesse Oblitarate to remove the tar residue and then hitting them with Autofinesse Iron Out, you can see that more dirt and iron (evidenced by where the clear liquid has turned purple subsequent to coming into contact with iron particles) was removed.
The arches were the scrubbed using a Mothers Fenderwell brush and Cyclo CM30. Once dried the arches were dressed with Chemical Guys Bare Bones and the tires dressed using Optimum Opti Bond Tire Gel
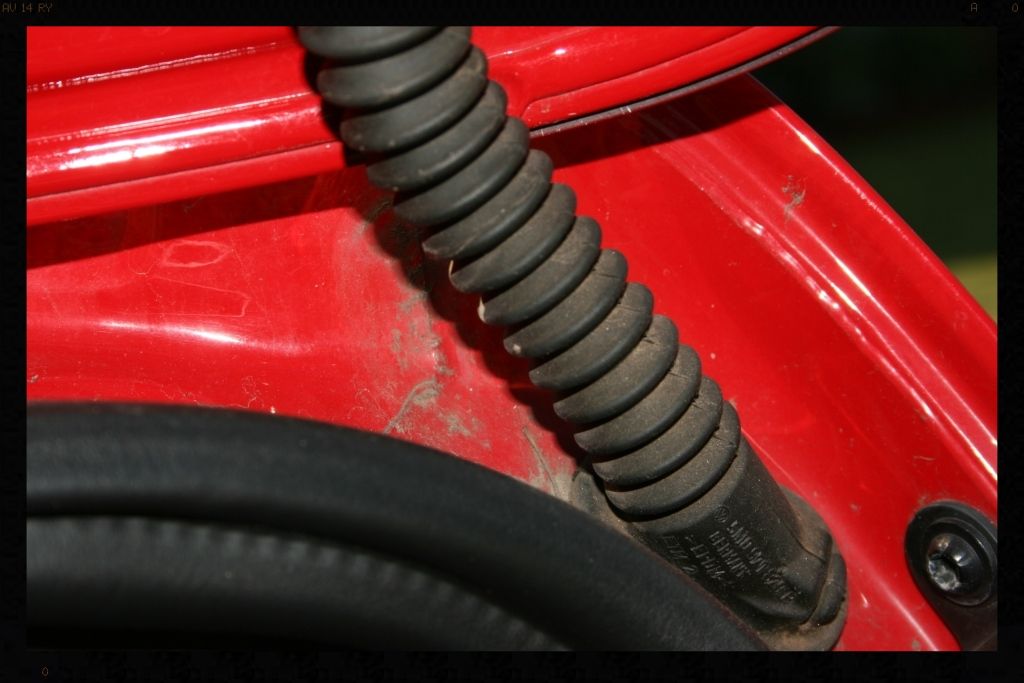
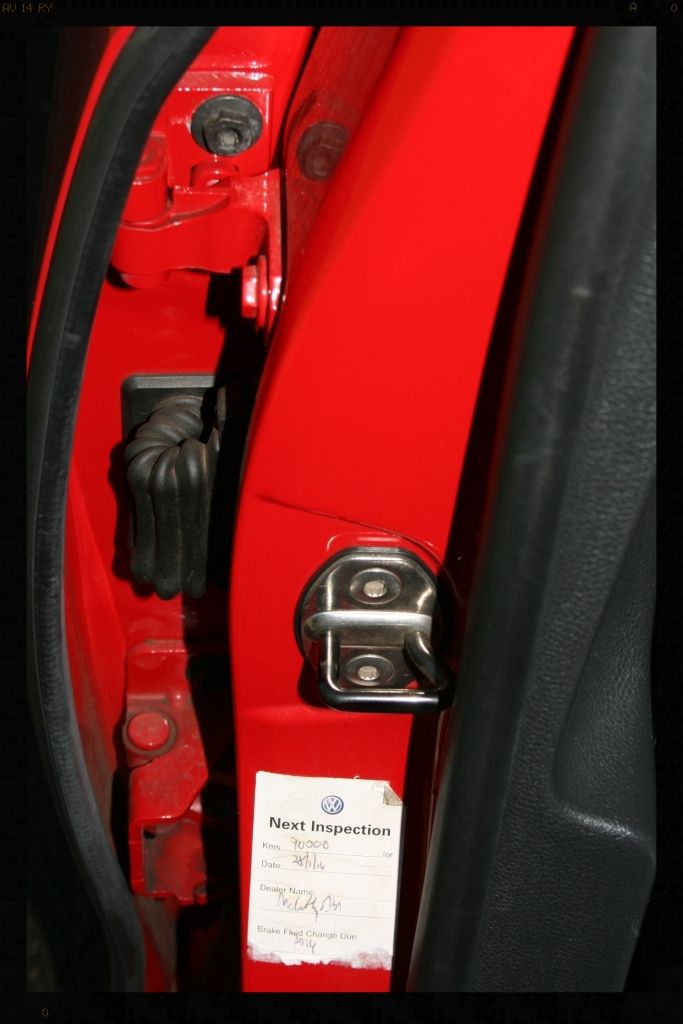
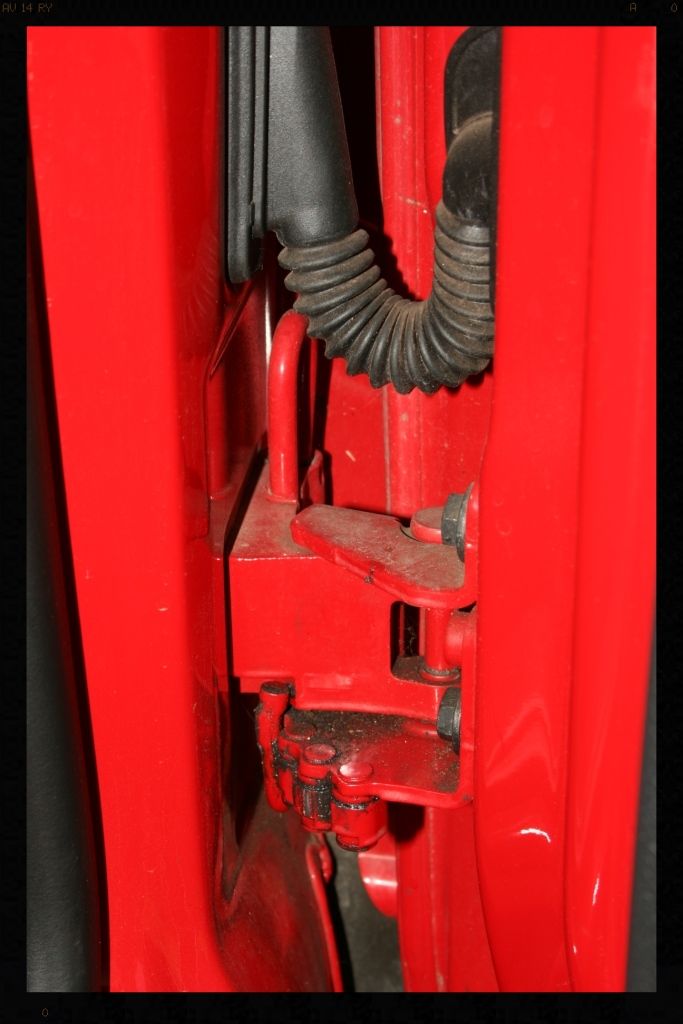
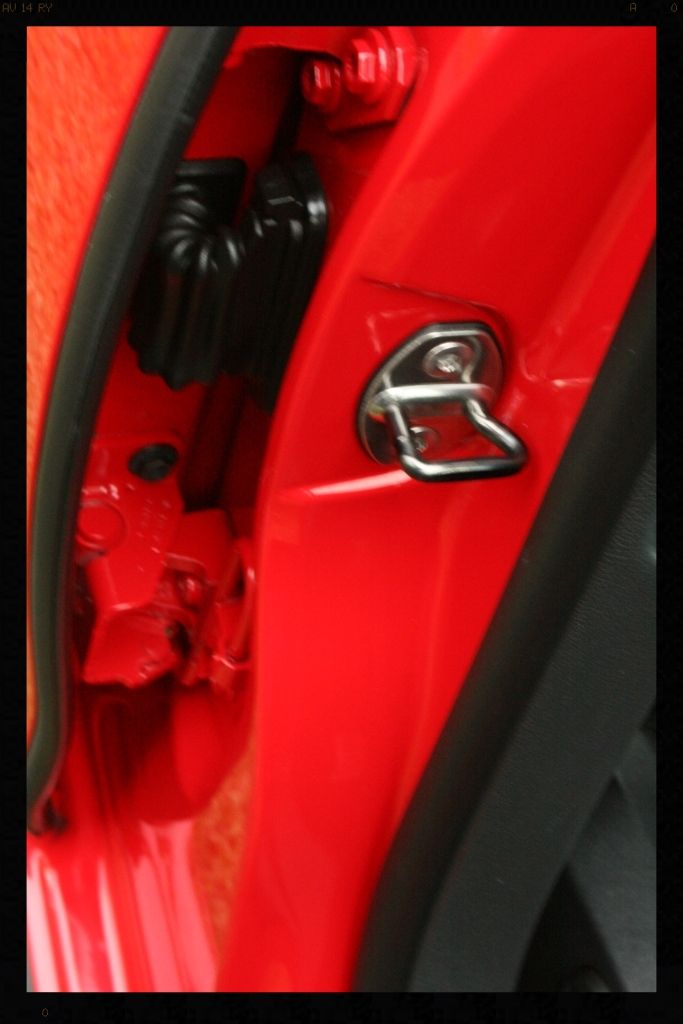
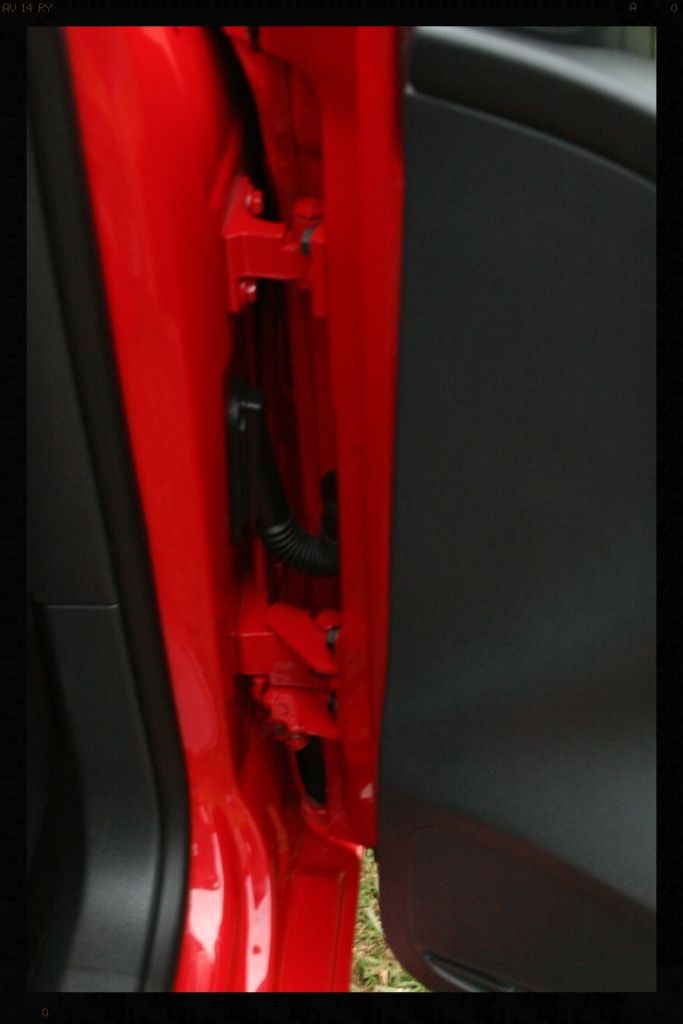
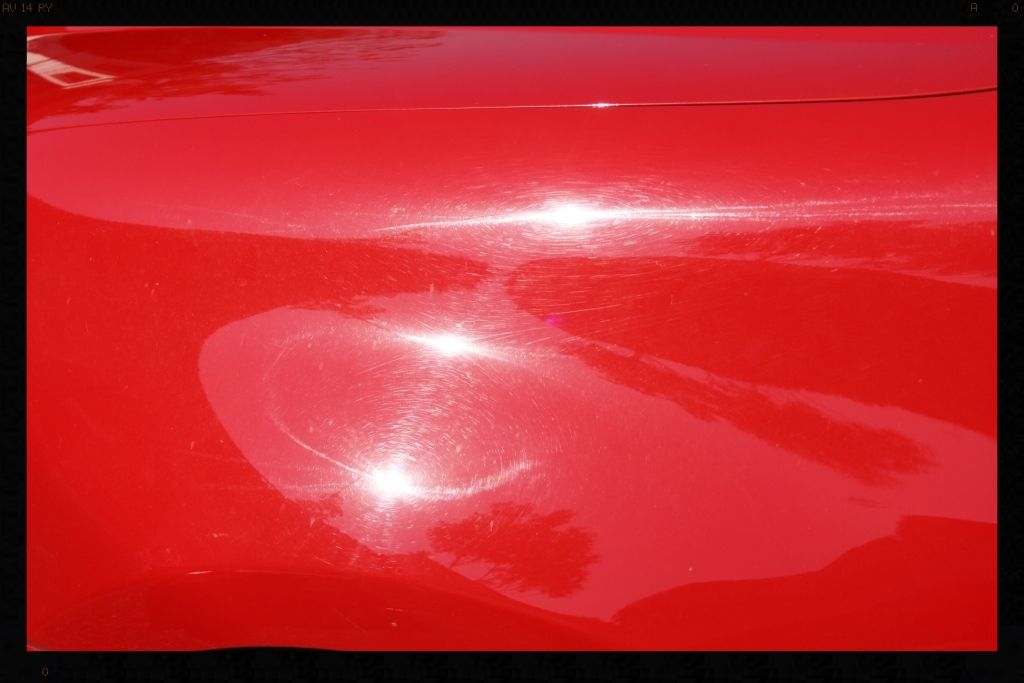
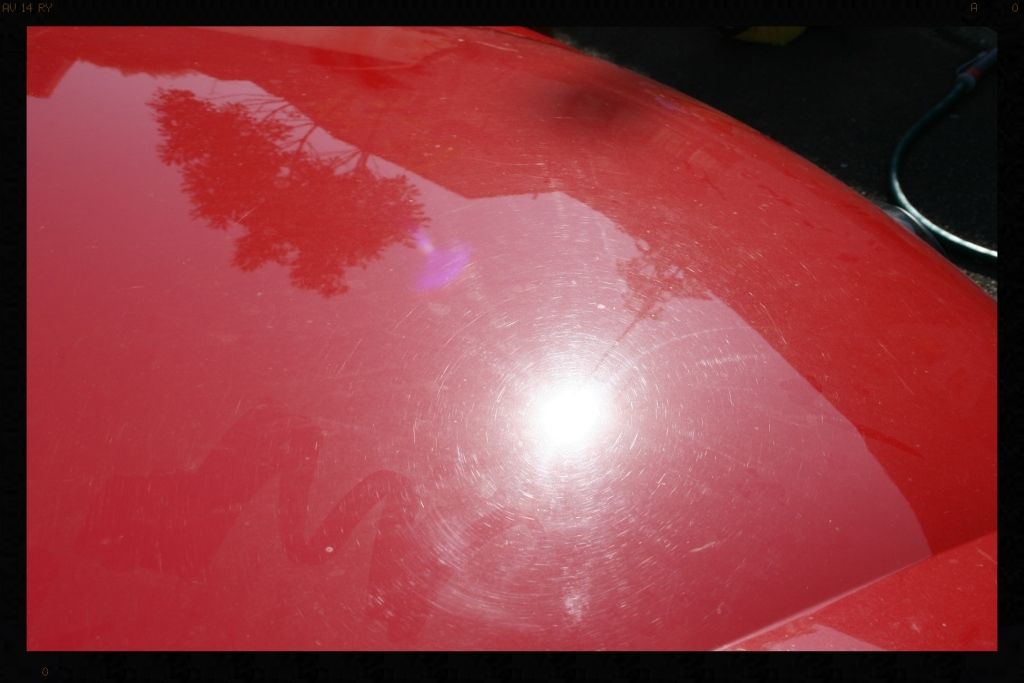
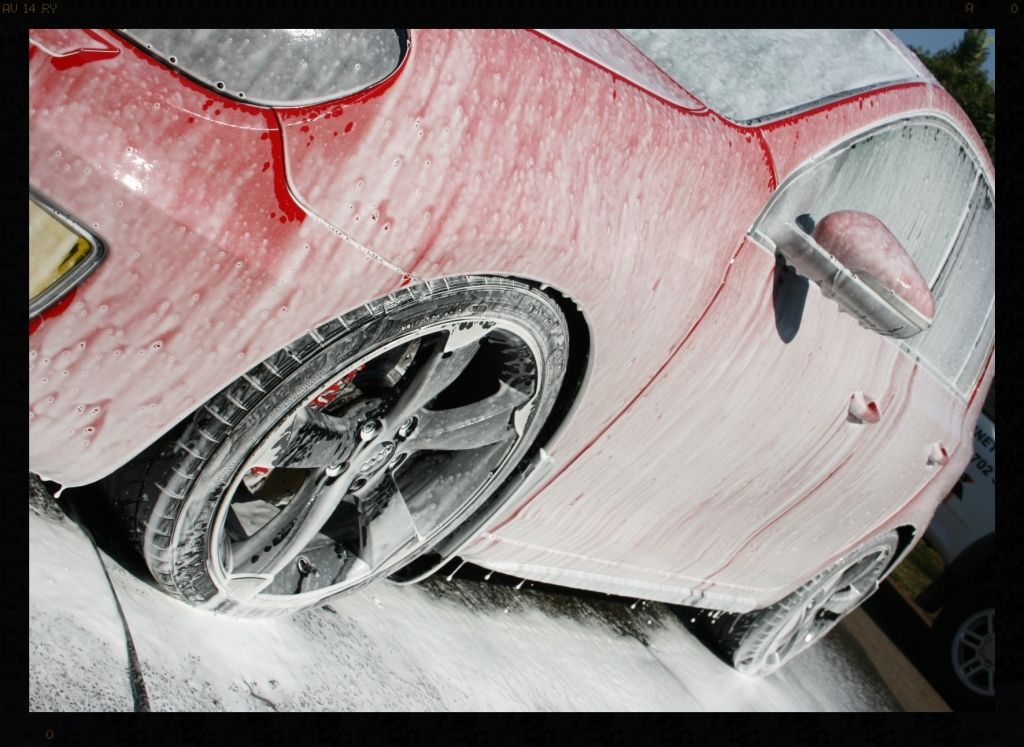
I then moved on to cleaning up the door/boot shuts. I sprayed on some Cyclo CM30 at 3:1, left it to dwell for a few minutes before agitating with various brushes. I then rinsed them, removed some of the dealer service stickers, clayed them and followed up with some Meguiars Cleaner wax by hand.
Before

After (excuse the terrible pics )
)
Next up was the engine bay. For this I used sprayed on some Cyclo CM30 at 3:1, left it to dwell for a few minutes before agitating with various brushes. I then rinsed it and blew it dry. The bay was then dressed using Chemical Guys Bare Bones.
Before
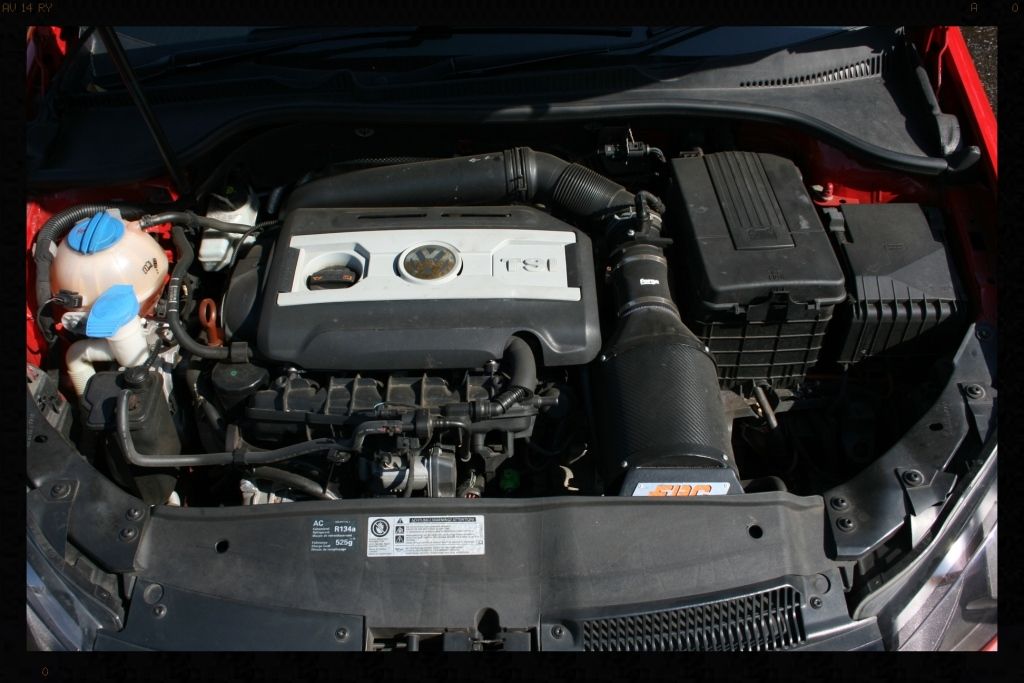
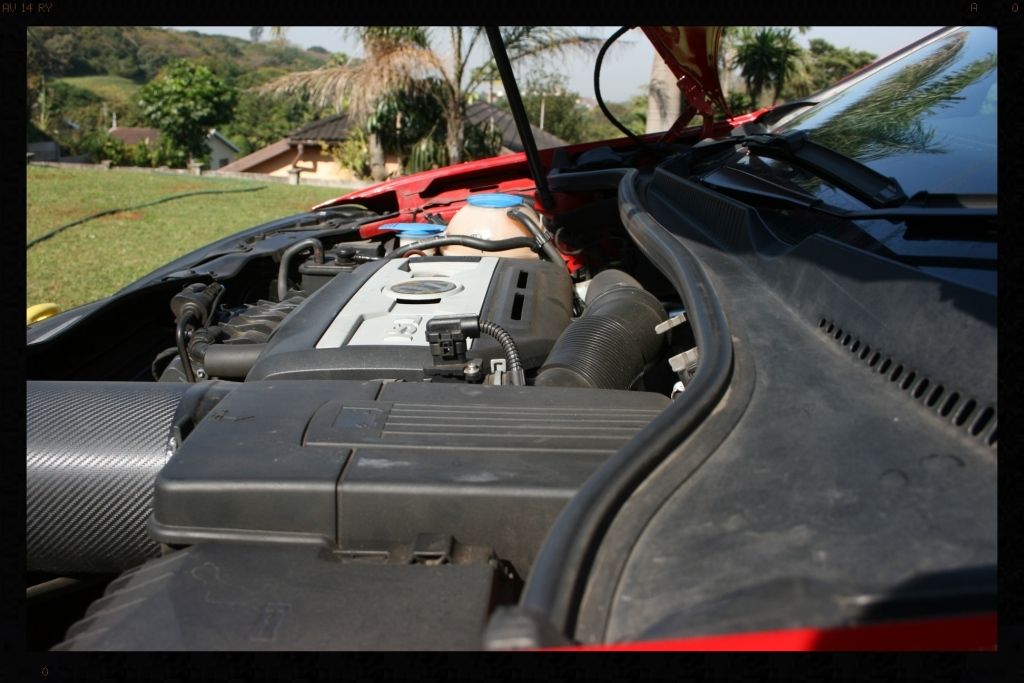

After

So the car was dropped off on Friday evening and got to work removing the plastidip from the mirrors (at the owner's request) which was removed relatively easily, except for a the little recess between the mirror frame and cover.
I then removed some stickers from the windows and car itself.
Lastly I removed the laminex off the tail lights.... I struggled a little with the first one, but quickly realized that by leaving the halogens focused on the tail light for a while, it heated the laminex up nicely and made removal much easier. Any remaining glue residue was removed with AF Oblitarate.
Once this was done I got to work on the interior of the car. All the plastic trim, dashboard and leather surfaces were thoroughly cleaned using a 20:1 mix of Cyclo CM30, various brushes and MF towels and obviously a vacuum cleaner (with a handy blower function). The leather was then conditioned using Smartwax Smart Leather and the plastic trim dressed with Smartwax Smartdressing.
Saturday morning saw me start (as always) with the wheels, tires and arches.
The wheels and tires were first cleaned using Meguiars Hot Rims All Wheel and Tire Cleaner
This left them looking a lot better
But after using some Autofinesse Oblitarate to remove the tar residue and then hitting them with Autofinesse Iron Out, you can see that more dirt and iron (evidenced by where the clear liquid has turned purple subsequent to coming into contact with iron particles) was removed.
The arches were the scrubbed using a Mothers Fenderwell brush and Cyclo CM30. Once dried the arches were dressed with Chemical Guys Bare Bones and the tires dressed using Optimum Opti Bond Tire Gel
I then moved on to cleaning up the door/boot shuts. I sprayed on some Cyclo CM30 at 3:1, left it to dwell for a few minutes before agitating with various brushes. I then rinsed them, removed some of the dealer service stickers, clayed them and followed up with some Meguiars Cleaner wax by hand.
Before
After (excuse the terrible pics
)
Next up was the engine bay. For this I used sprayed on some Cyclo CM30 at 3:1, left it to dwell for a few minutes before agitating with various brushes. I then rinsed it and blew it dry. The bay was then dressed using Chemical Guys Bare Bones.
Before
After
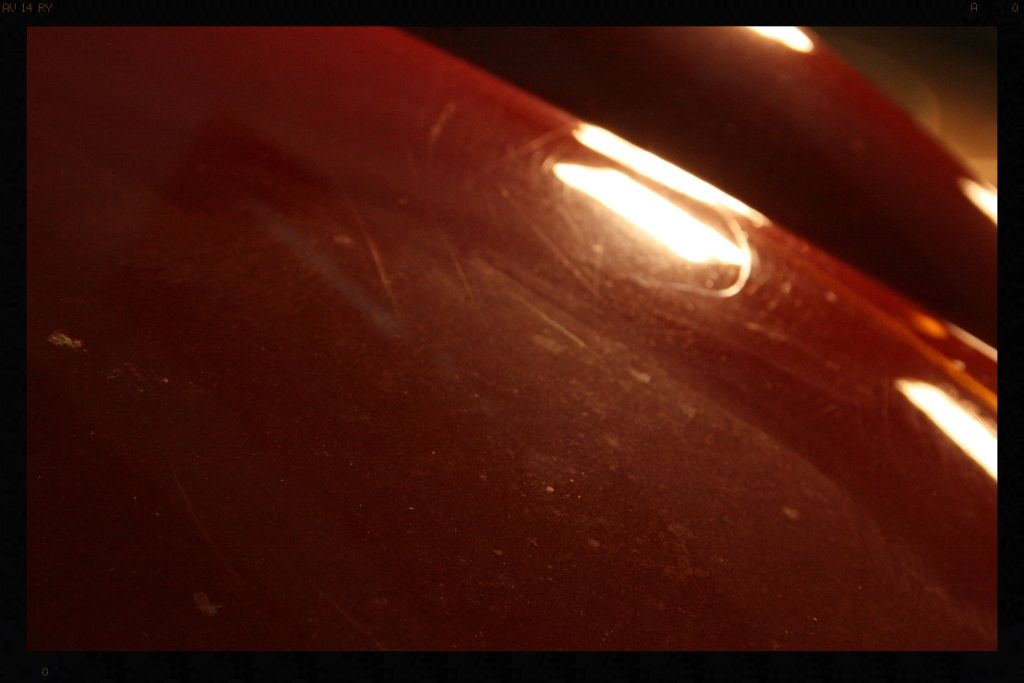
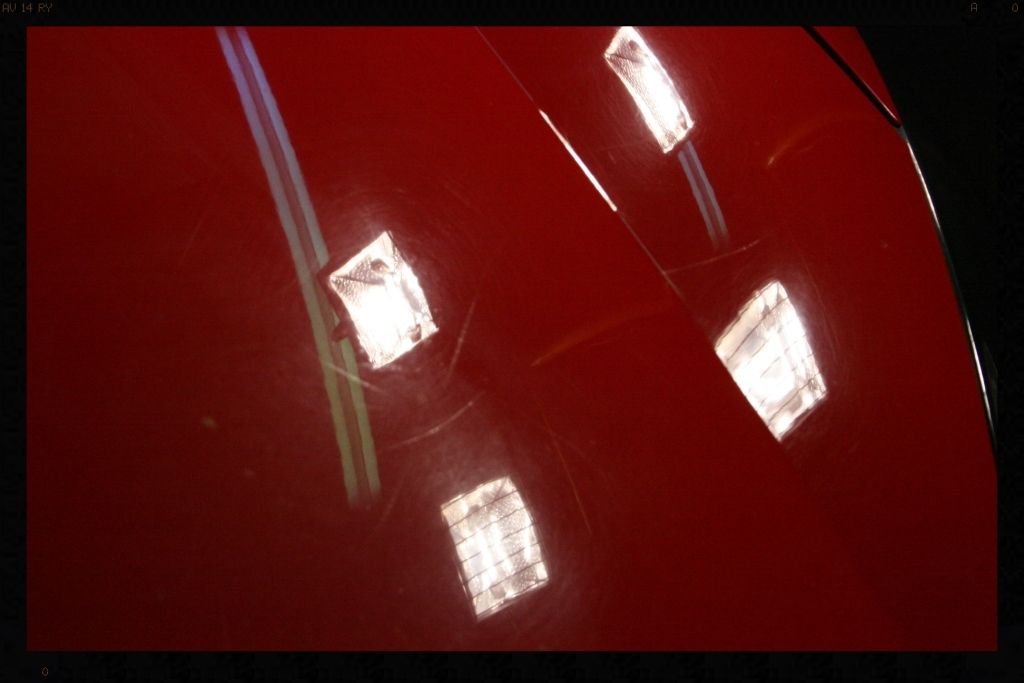
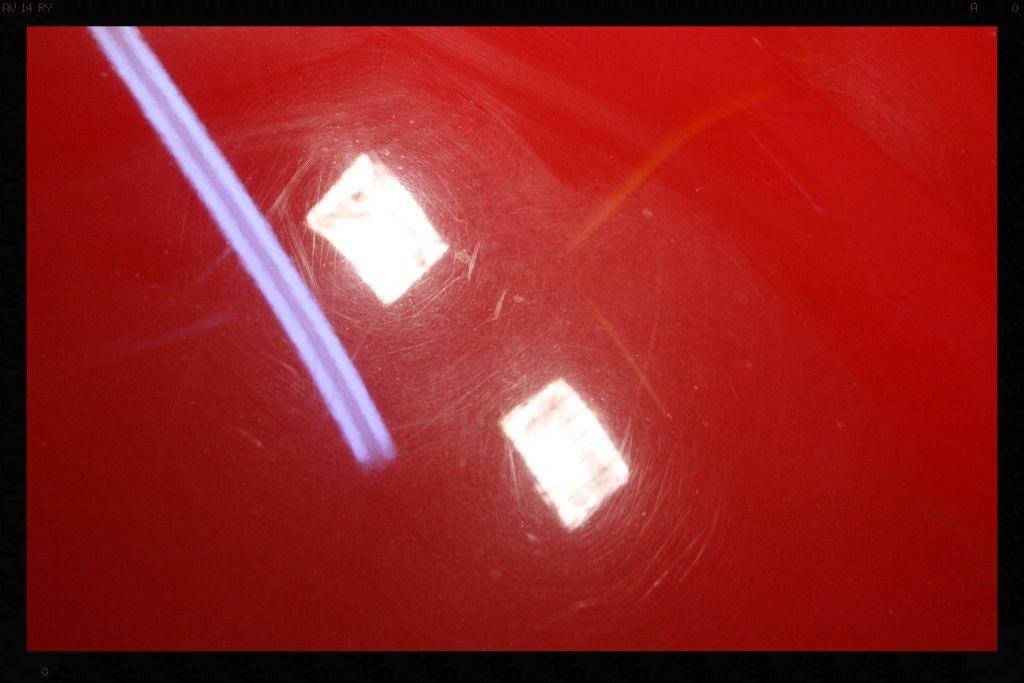

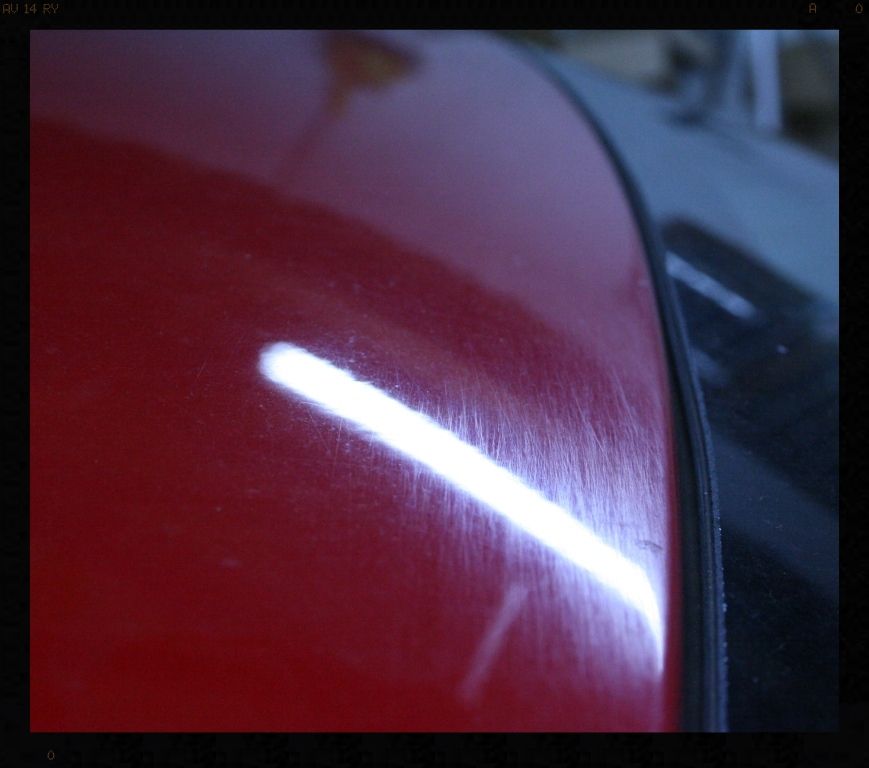
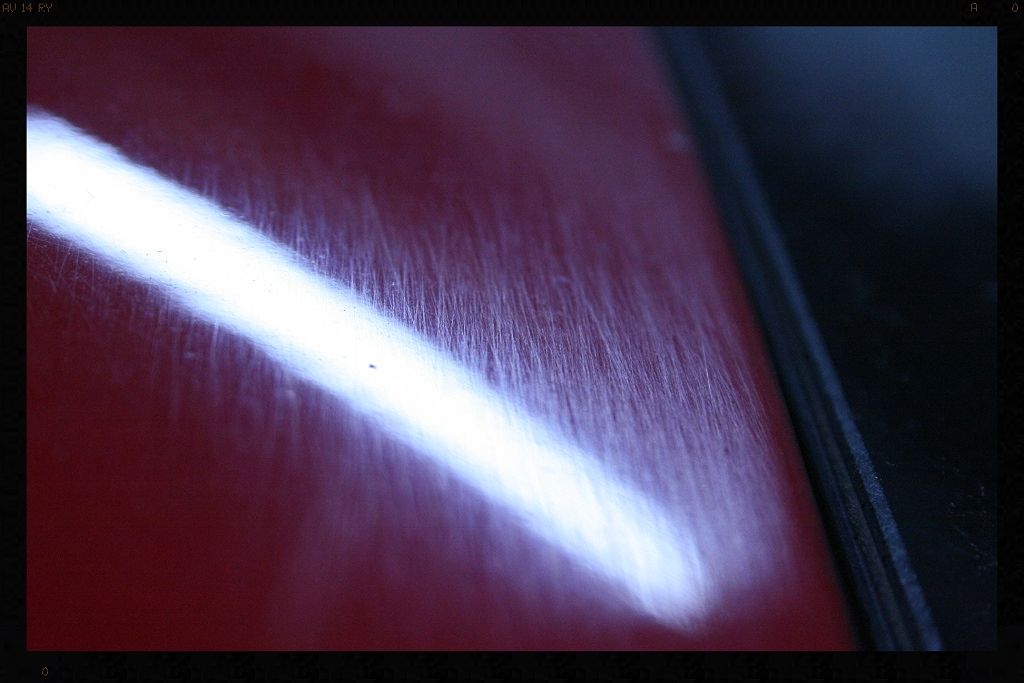
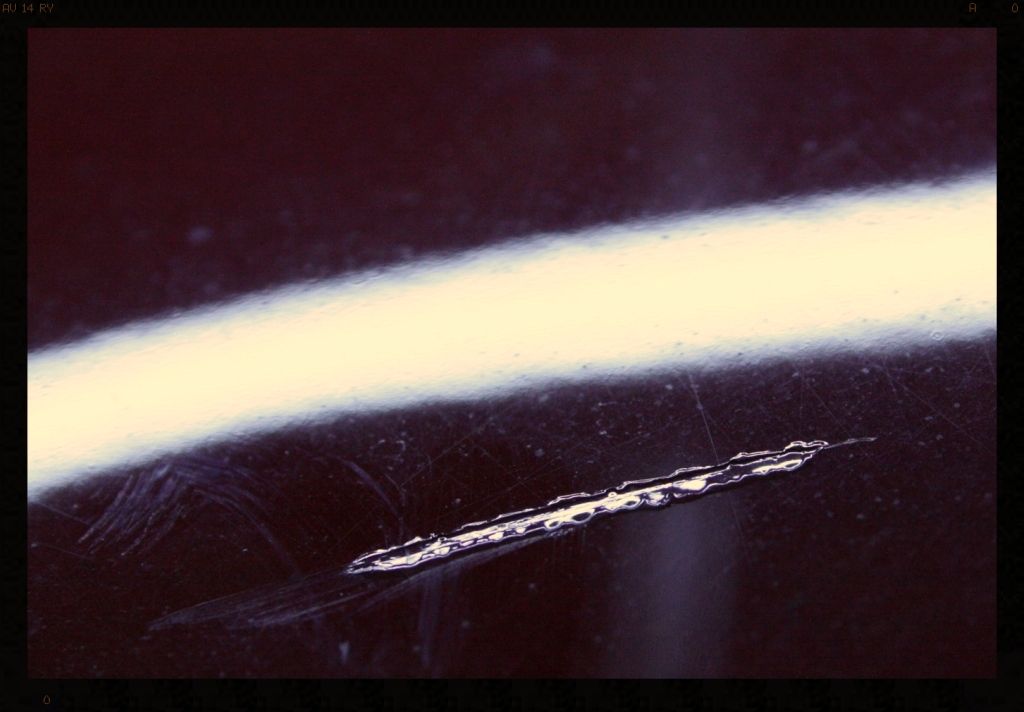
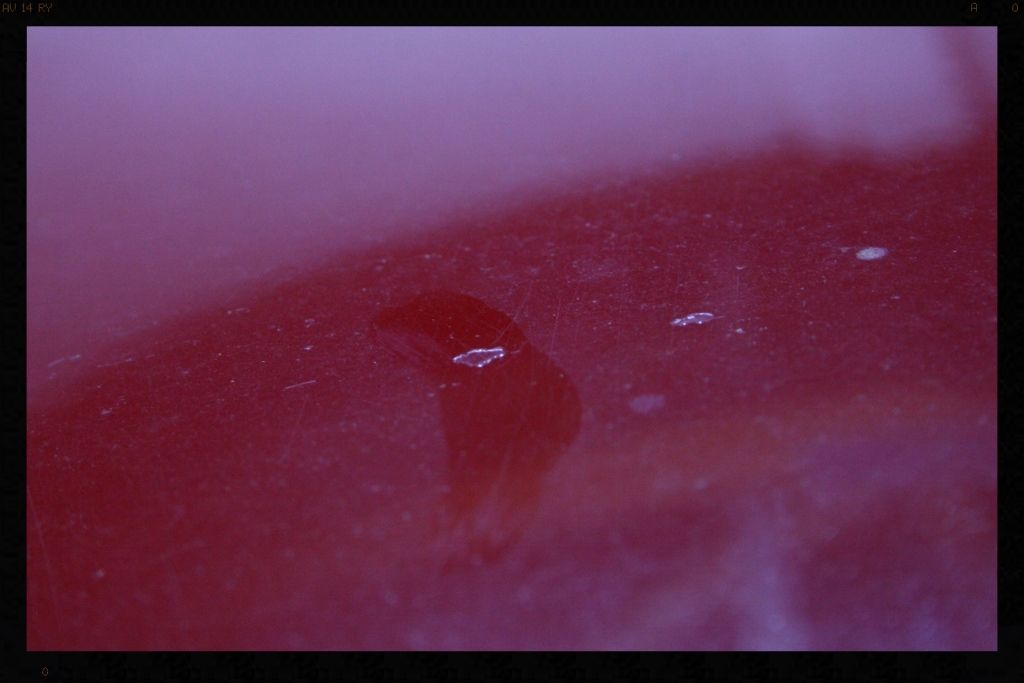


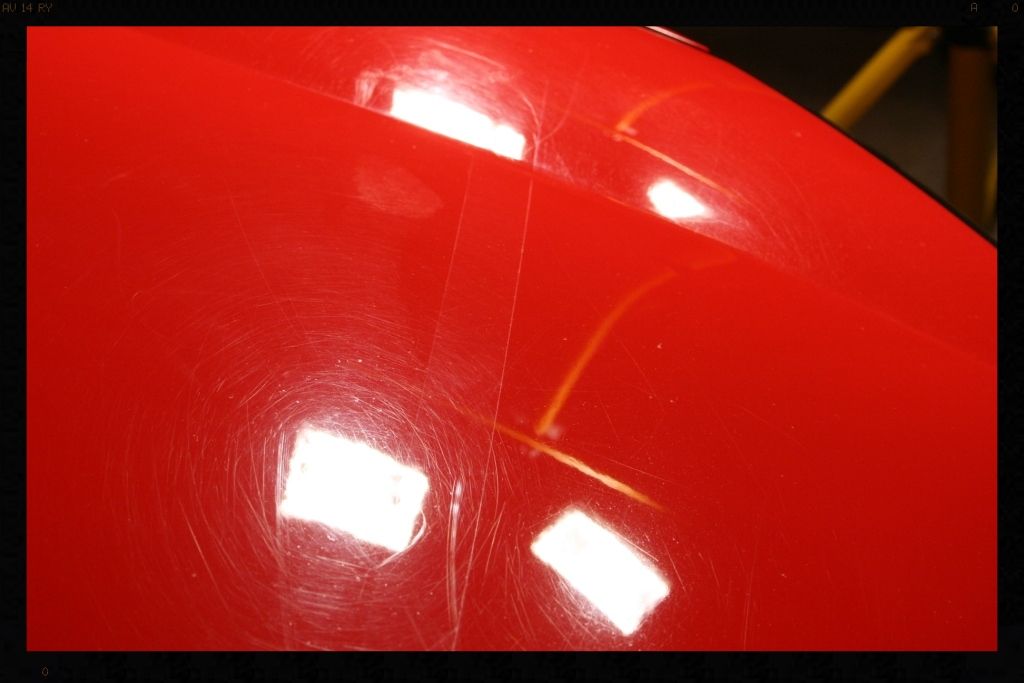
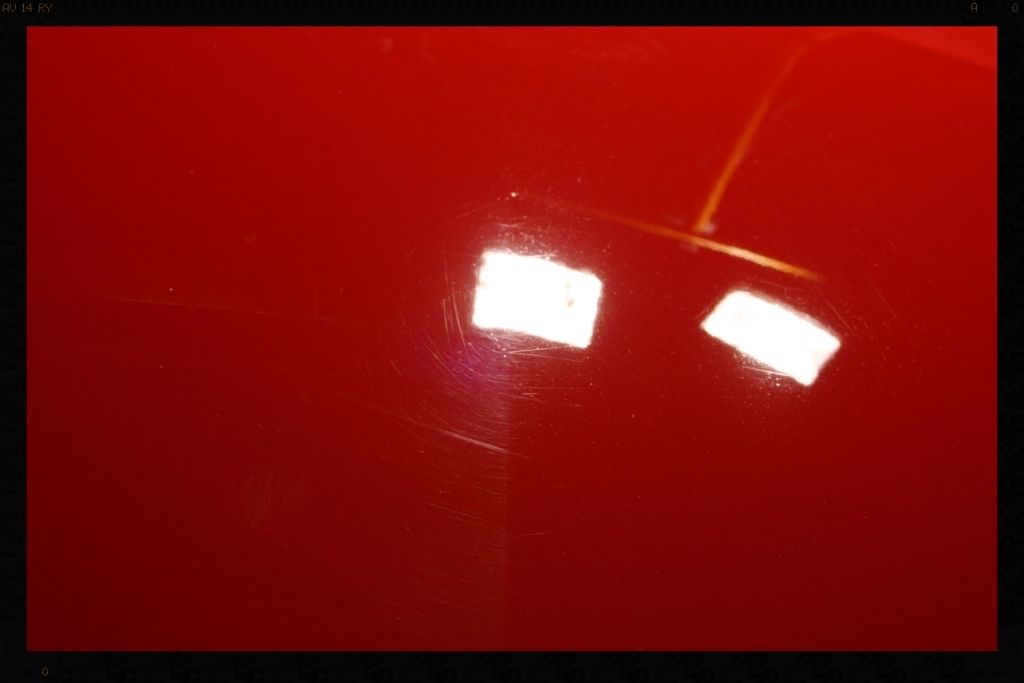
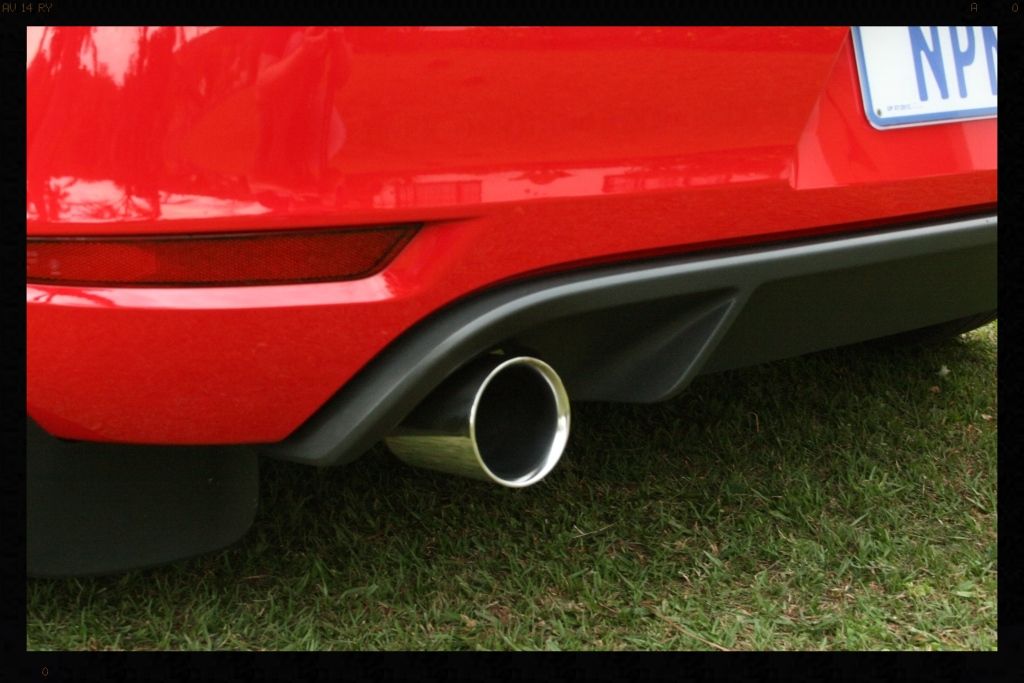
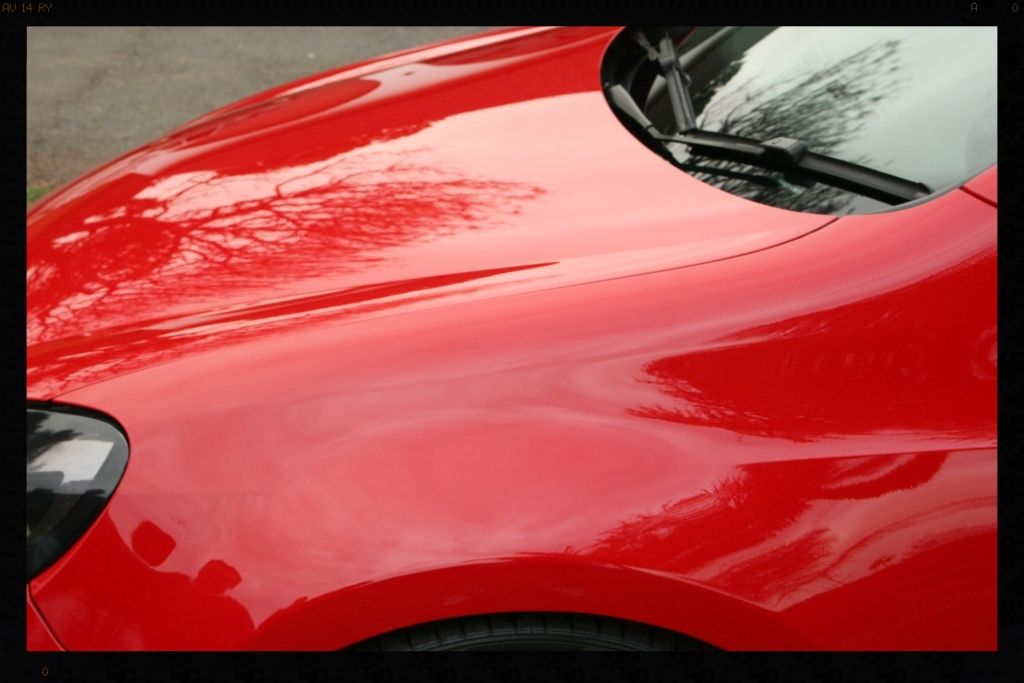
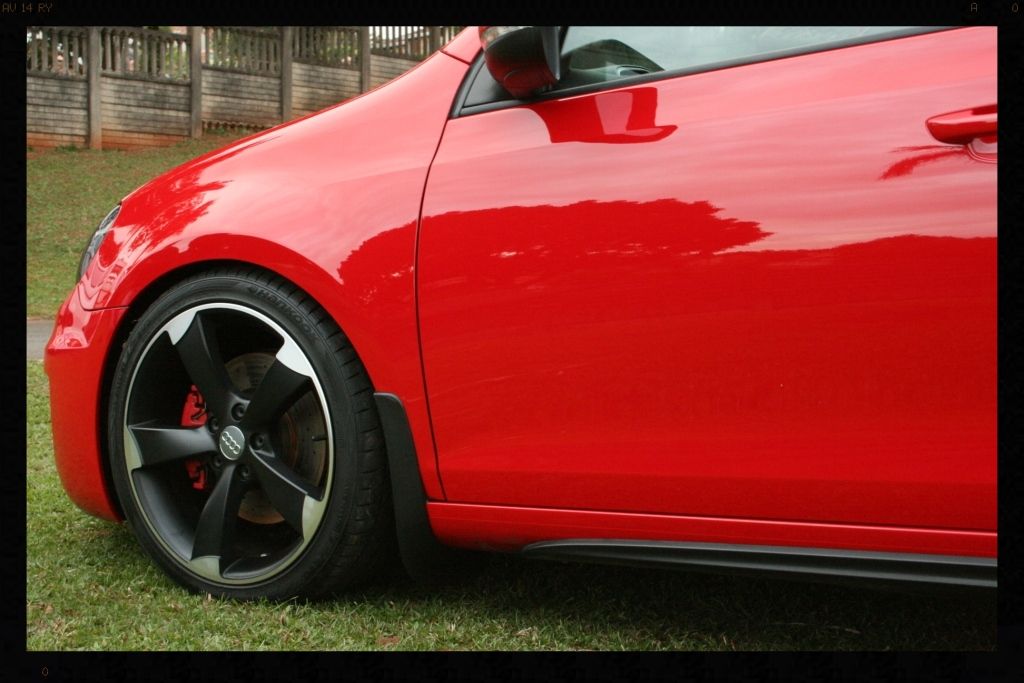
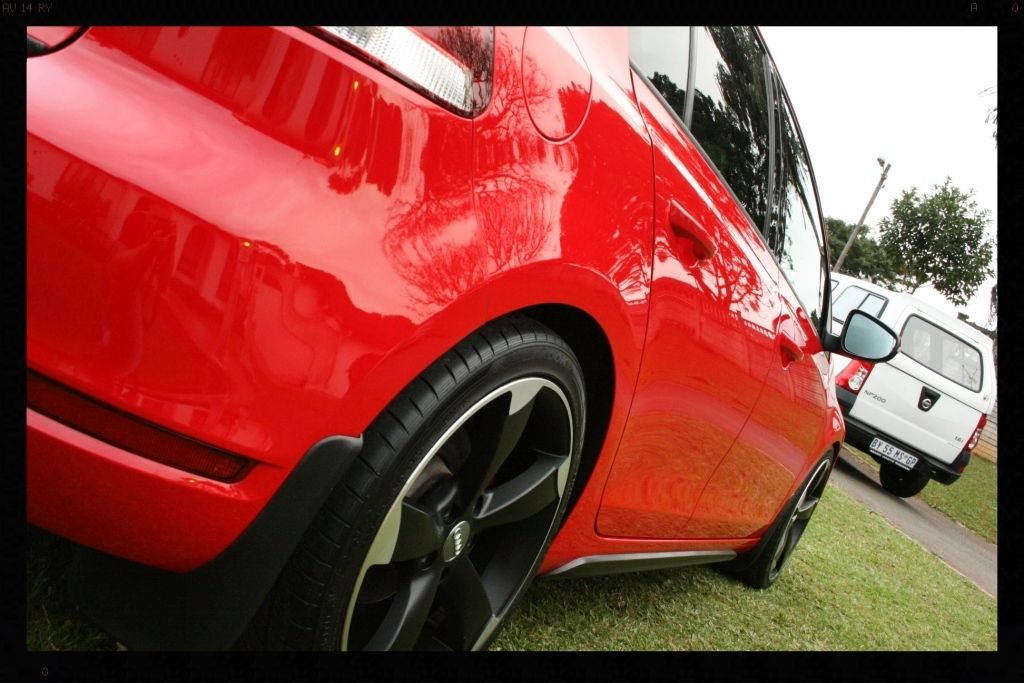
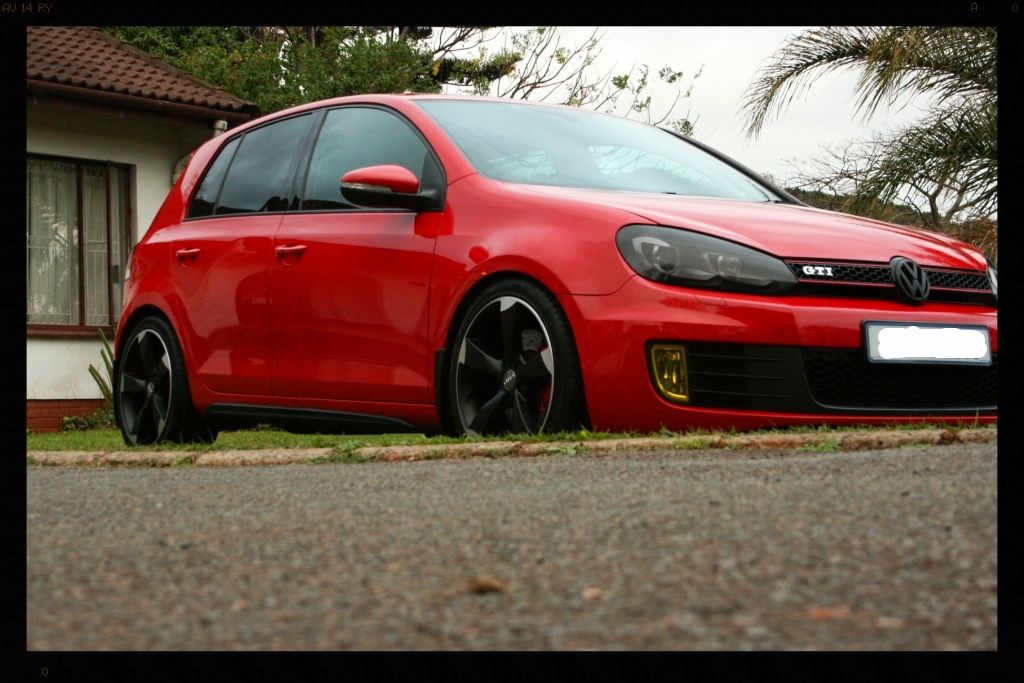
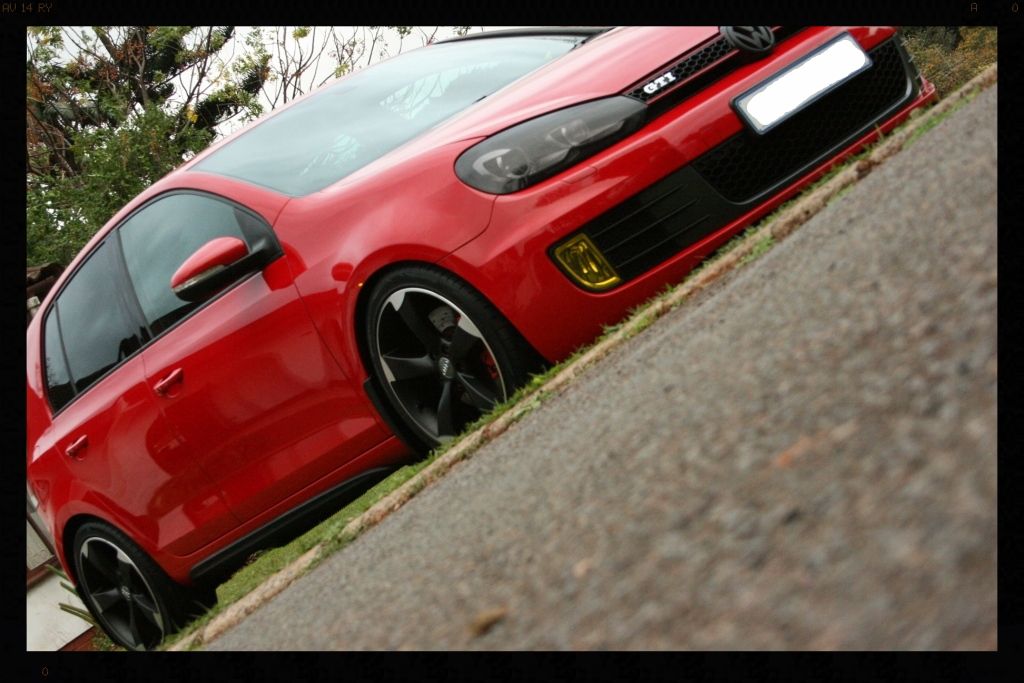
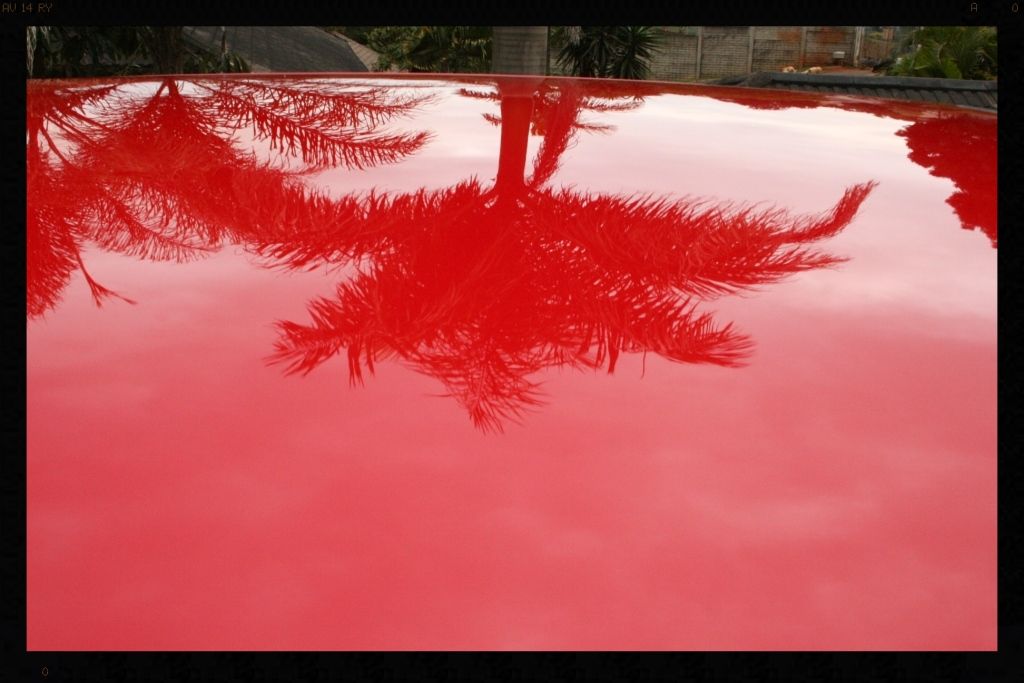
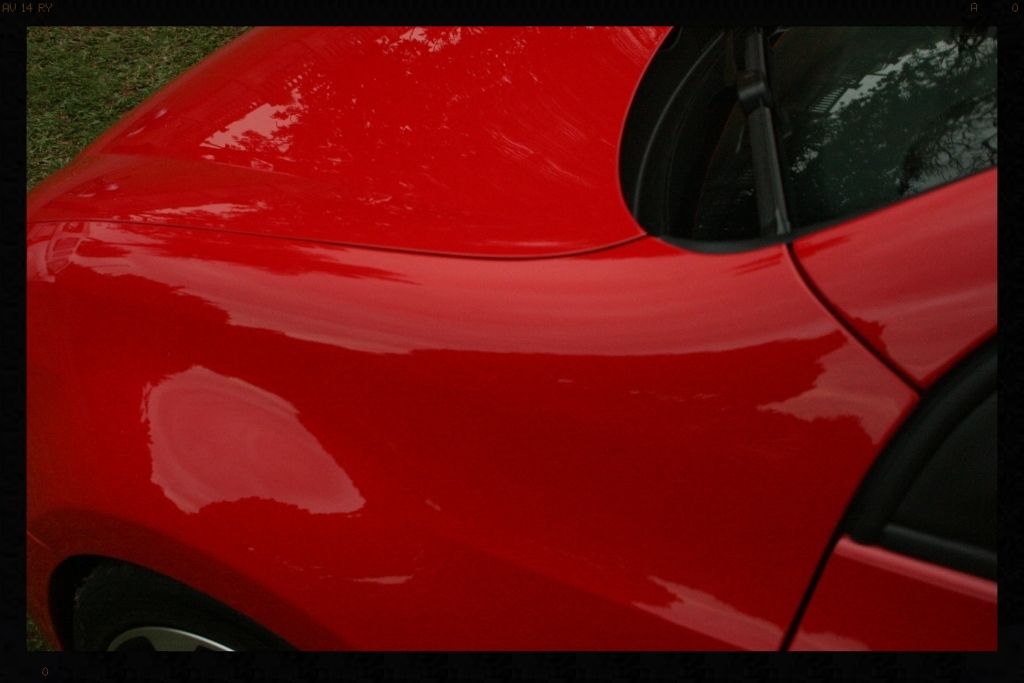
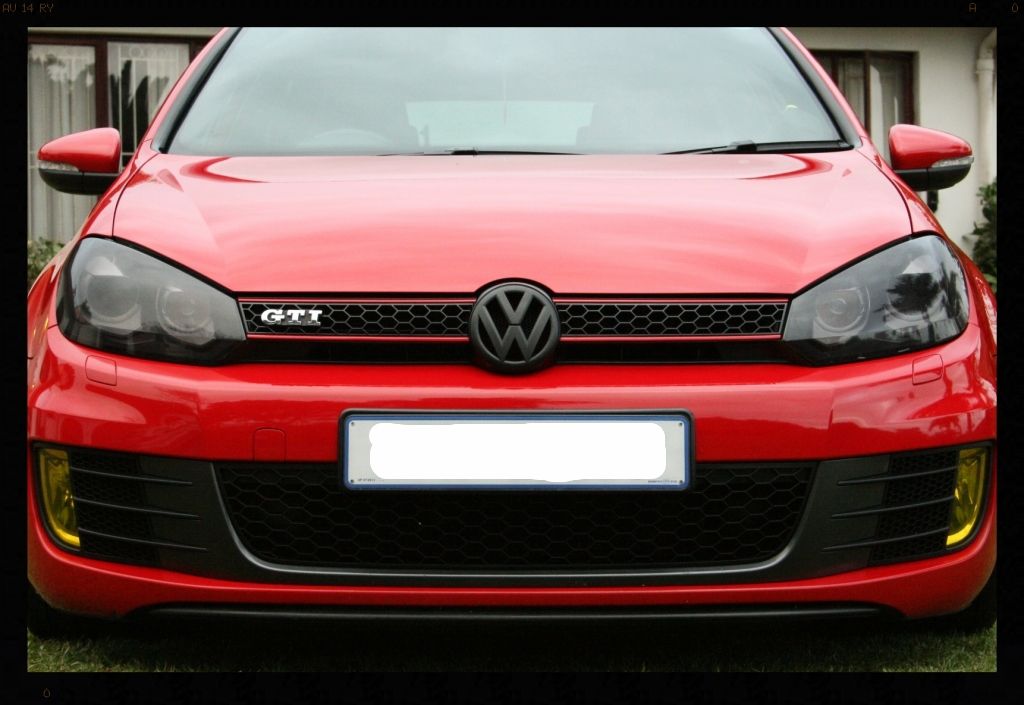
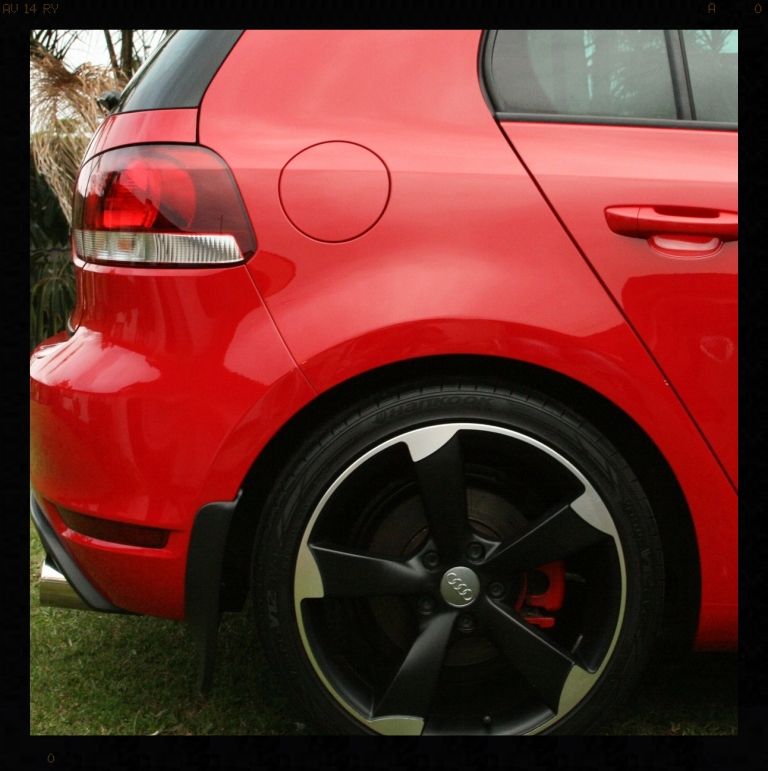
 but nonetheless here are a few 'after' shots I managed to snap quickly.