justin_murphy
New member
- May 7, 2006
- 2,852
- 0
****Most of us has heard this gentleman's name by now. We have seen the youtube vids and heard of his 8000.00 details. After reading this, I can see why! This is what I'm striving to accomplish. Hope you all enjoy..........I sure did!****
vxr astra and zymol royale - 56k xxx warning...
FRIDAY
PICK UP FROM DEALERSHIP
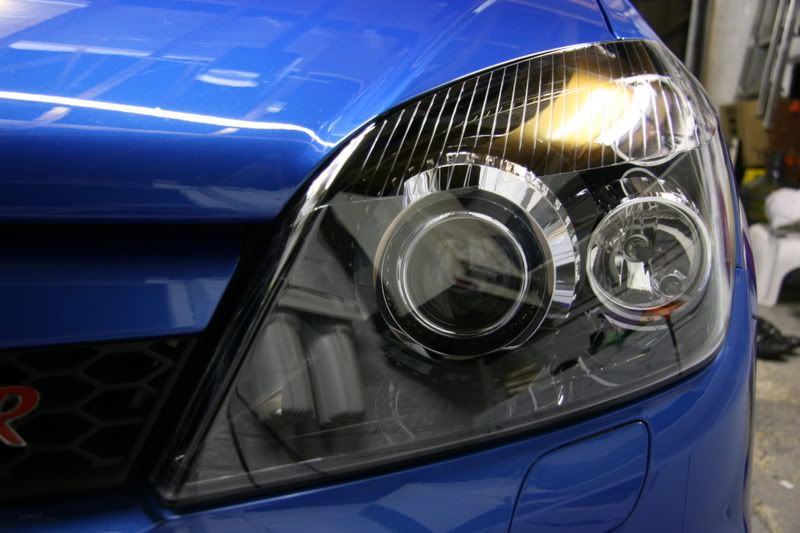
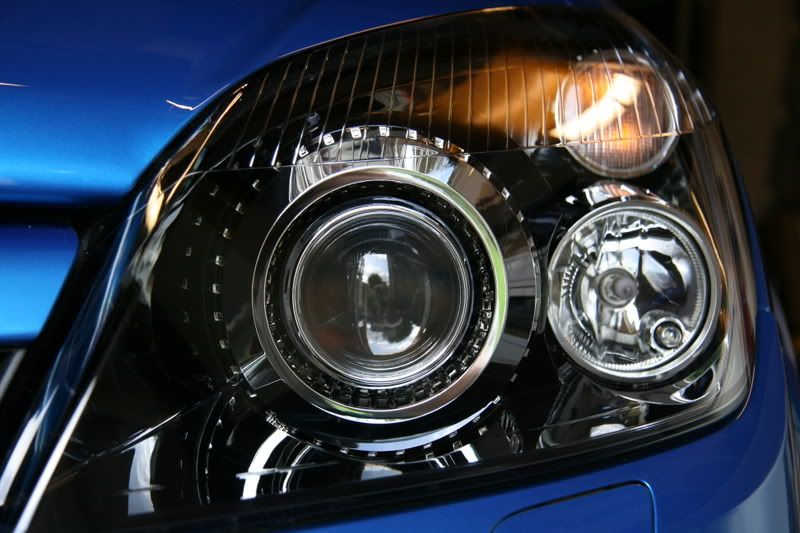
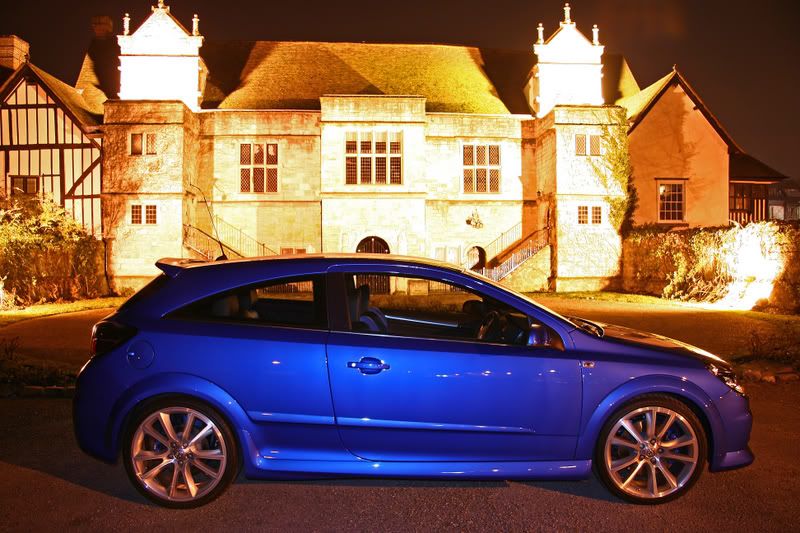
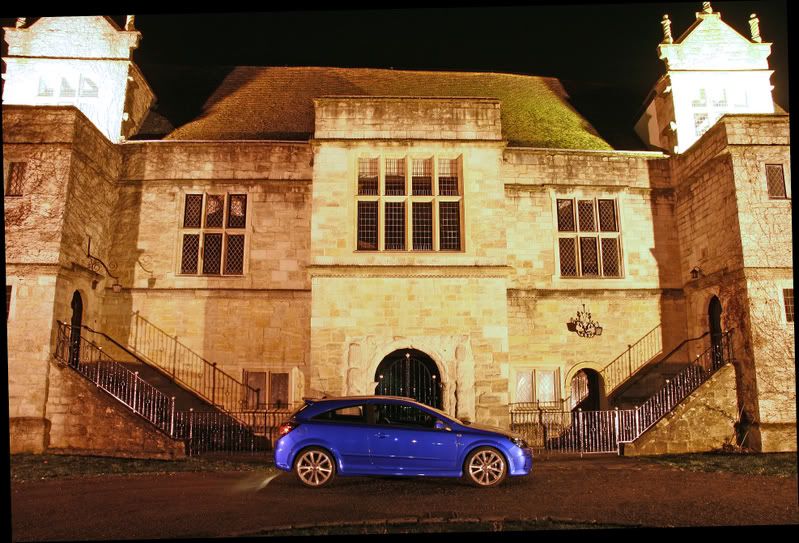
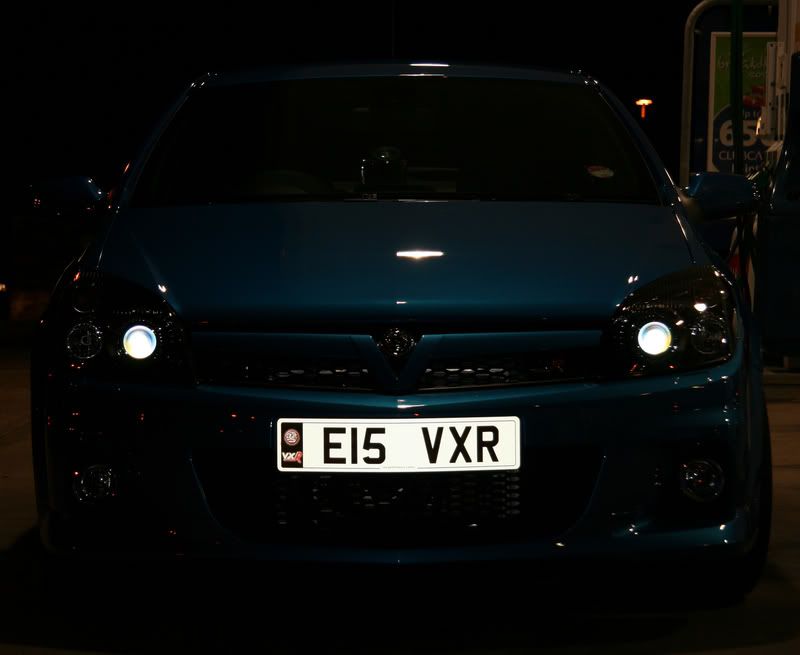
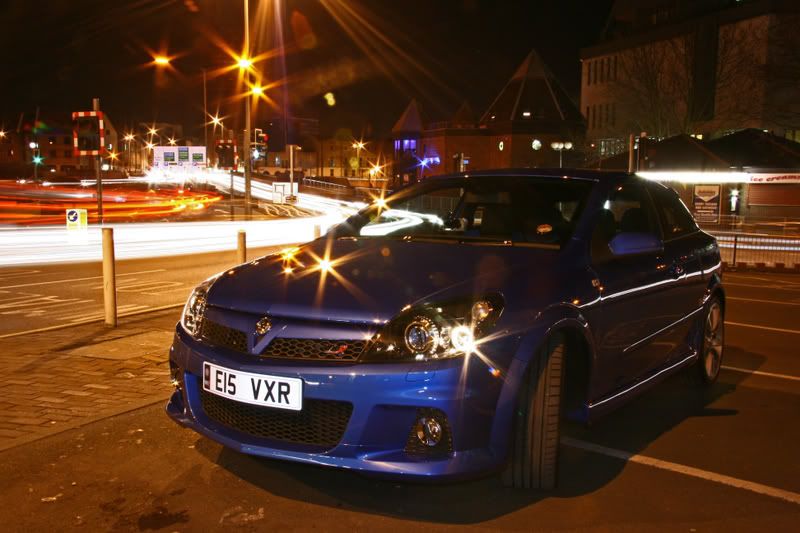
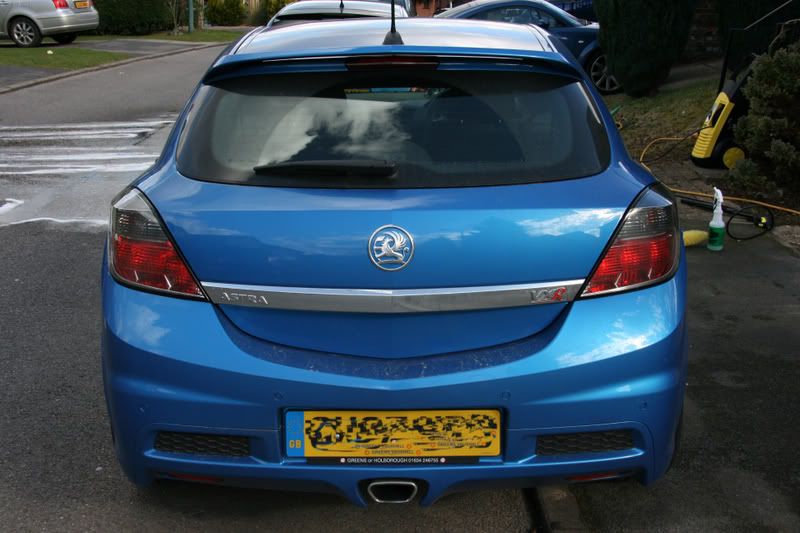
Well after nearly six months of waiting my vxr astra finally arrived at Greens of Holborough my local Vauxhalldealership....
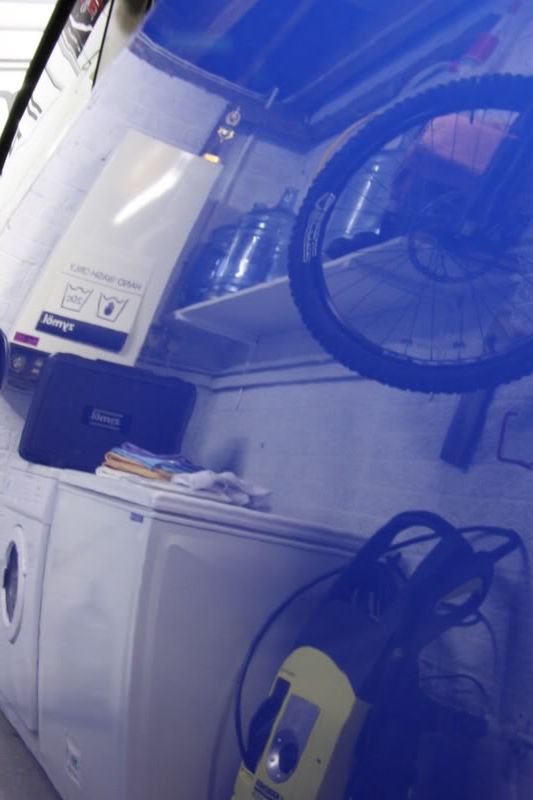
I knew from the start what i wanted from this car and had prearranged with the dealer principal to help me out while the car was in their care so they agreed to put the car on ramps for a week to enable me to have the wheels sent off .....
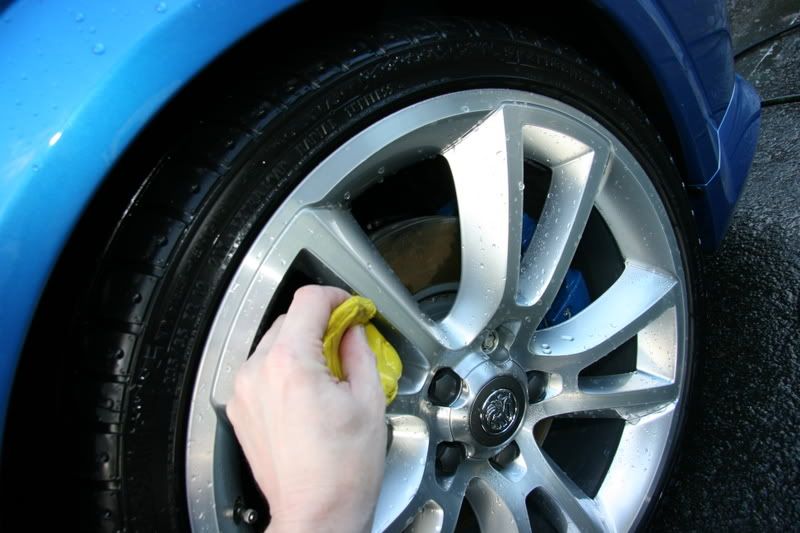
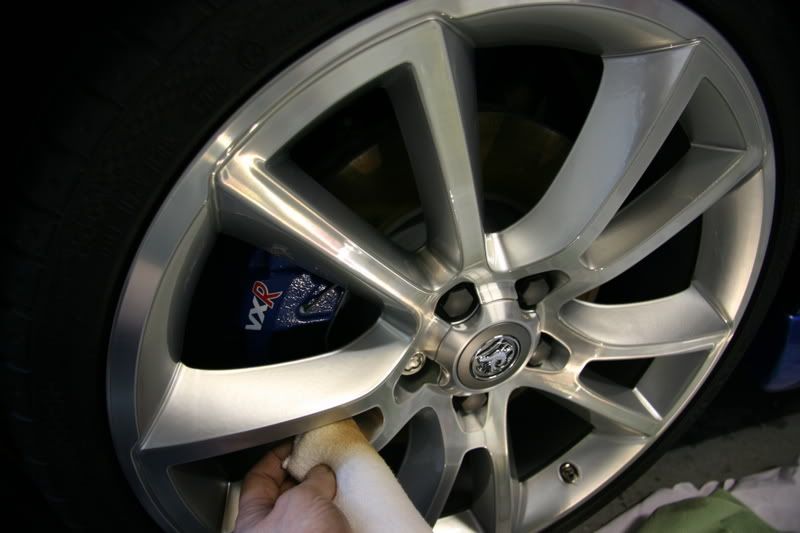
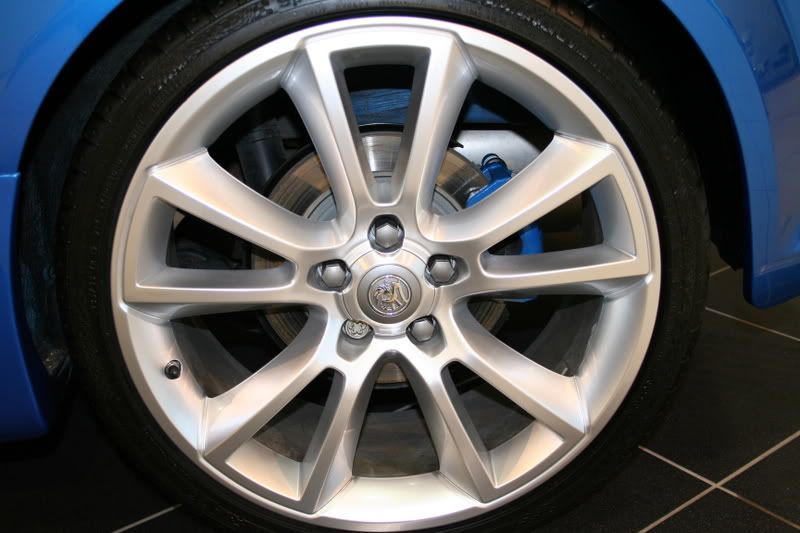
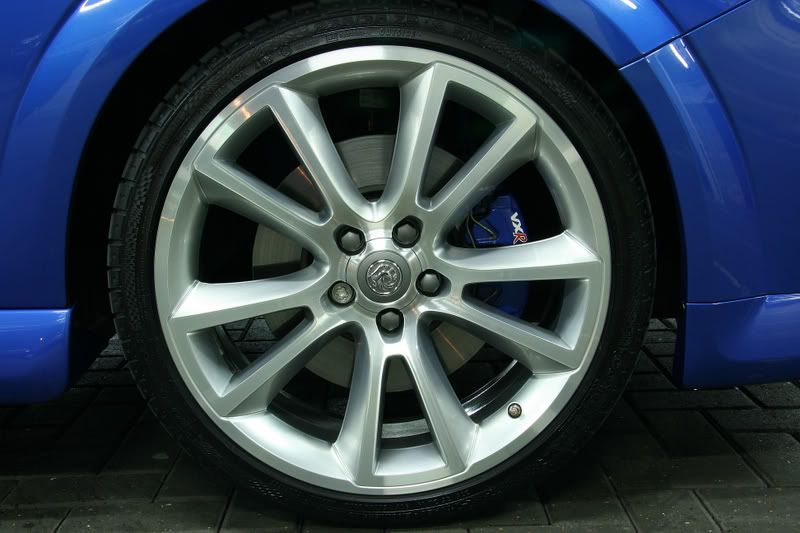
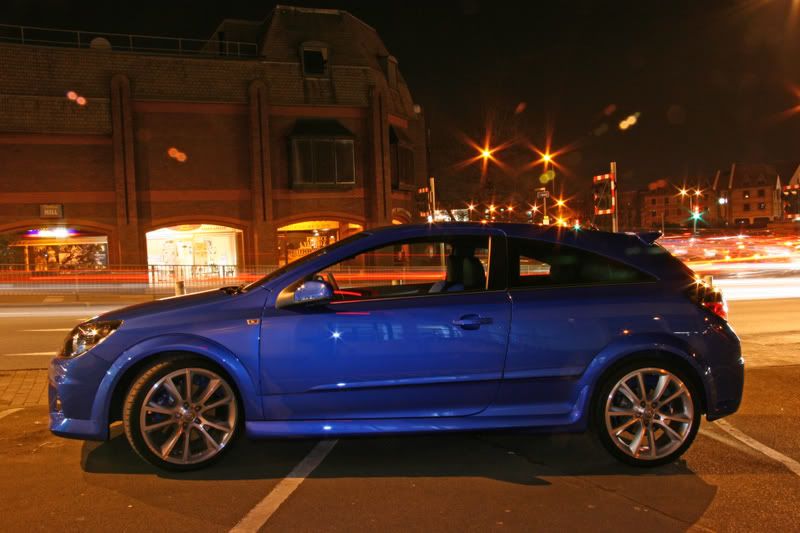
The car was then placed on vectra vxr 19" alloys...

SATURDAY
INTERIOR...
Next was a trip to Leicester to classic car services a professional leather re-trimmers and upholsters with whom i had discussed what i wanted from the interior of the vxr and had sent me samples as well as different ideas of what would suit the style and colour of the car....
I chose classic car services from a list of 7 due to the fact that they were a well established company who have produced interiors for show cars aswell as magazine shoots and they came highly recommended....
They agreed to let me replace my vxr recaros with like for like seats for a week which meant i could return in 1 week to pick my new seats up!!

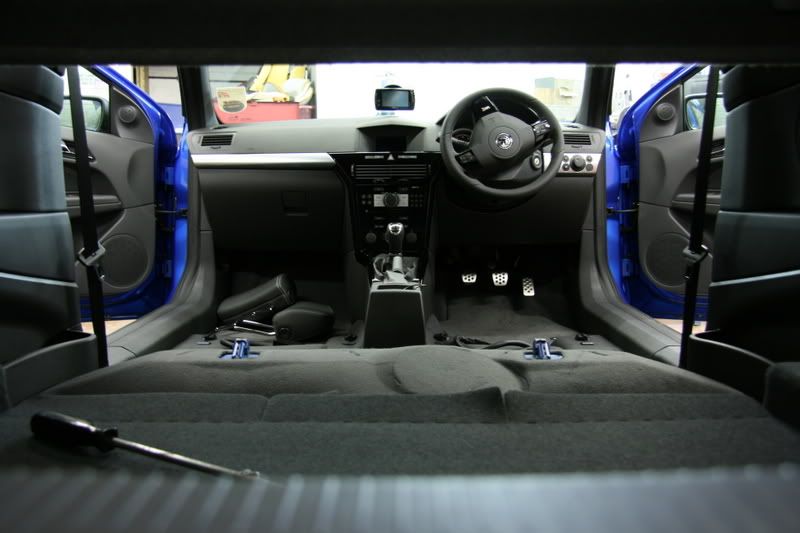
The spec i had decided on with Steve was for a top quality Scottish Weir which had been dyed and matched the metallic Arden Blue paintwork
I also requested vxr embroiderry on the headrests...
2 hours later and i returned from Leicester ready to start the detail...
The car was nice and dirty ready for my detail..
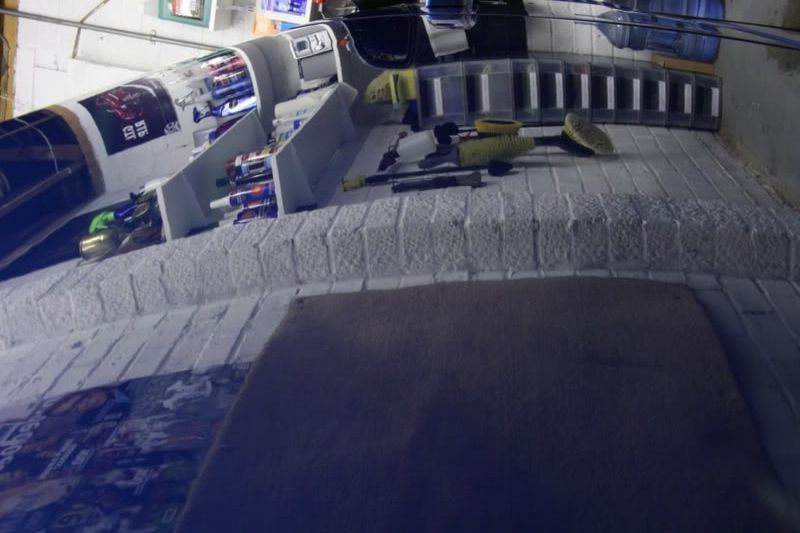
FOAMBATH...

I decided to give the car a foam bath first using autobrites foam lance and supersnow foam....I also sprayed the arches with megs apc diluted 4:1
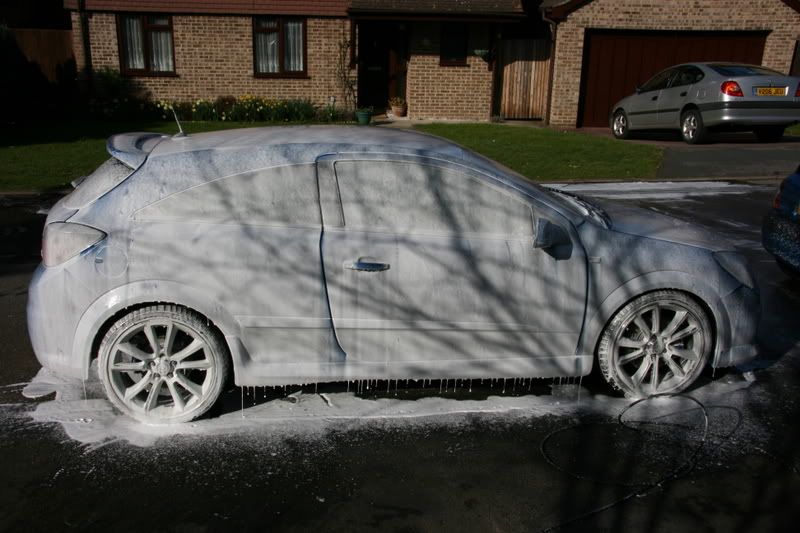
Before karchering the car i was surprised at how the foam was running down the sides of the car dirty so it was obviously eating in to the dirt nicely...

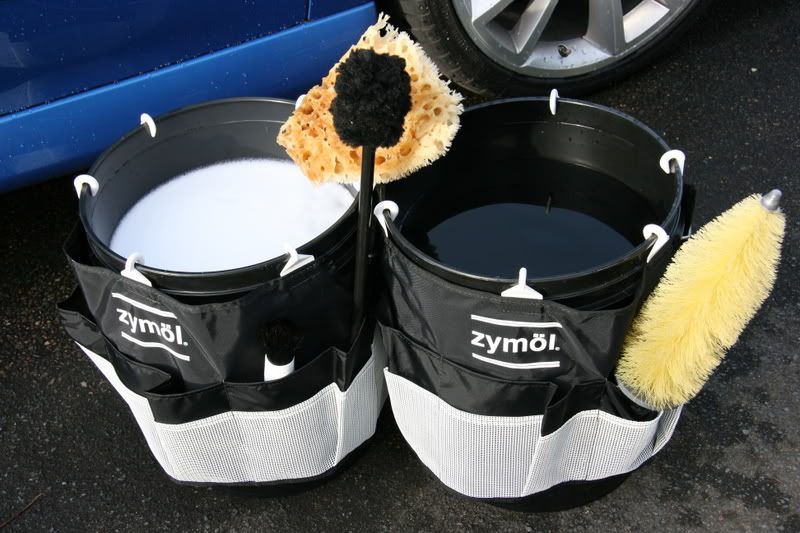
WASH
Next using zymol autowash and a natural sea sponge i used the 2 bucket method to wash the car before spraying off and pouring 100 litres of zero ppm r.o water over it...
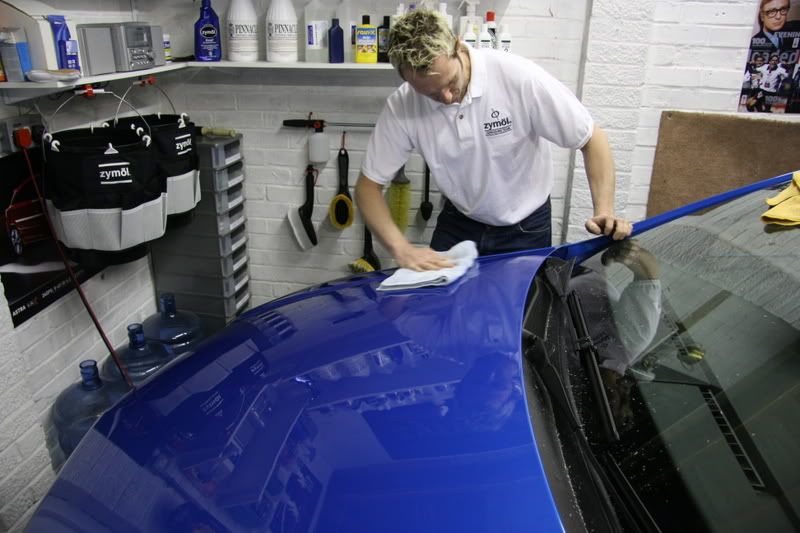
DRYING...
I then put the car into the garage and using sonus ultimate drying towels and aquatouch towels proceeded to dry the car whilst using Megs last touch to aid with the drying...

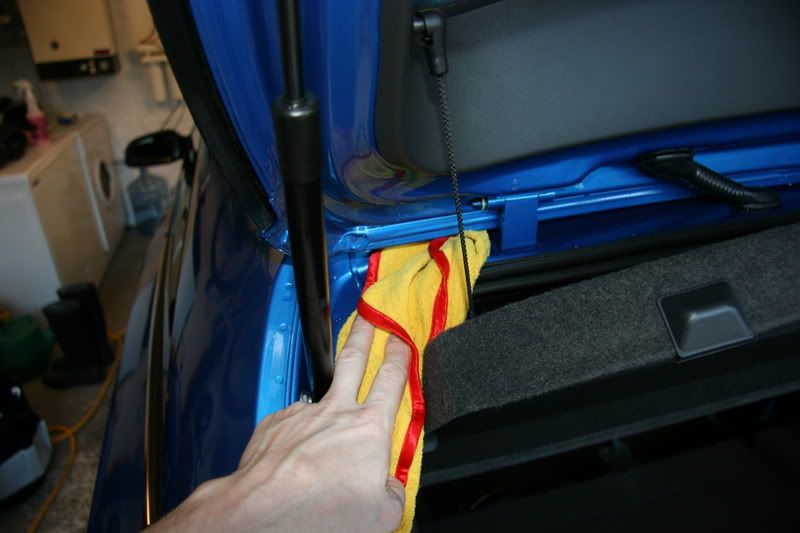
I paid particular attention to door and boot shuts...
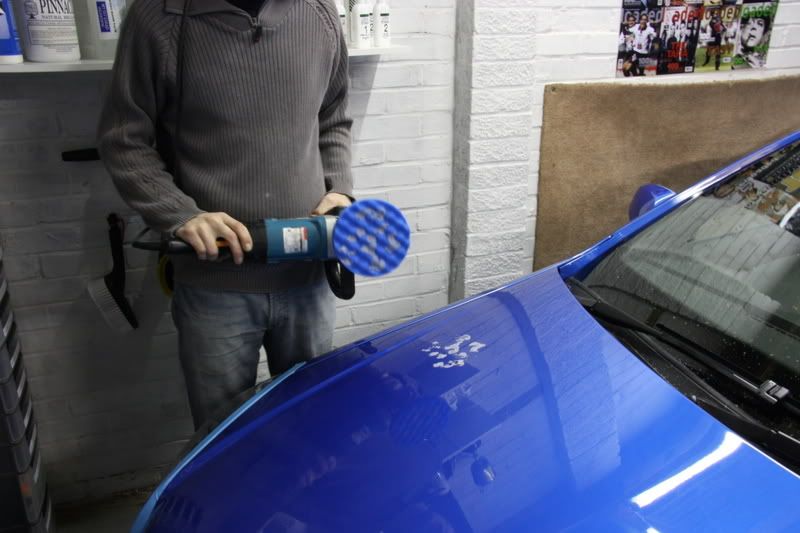
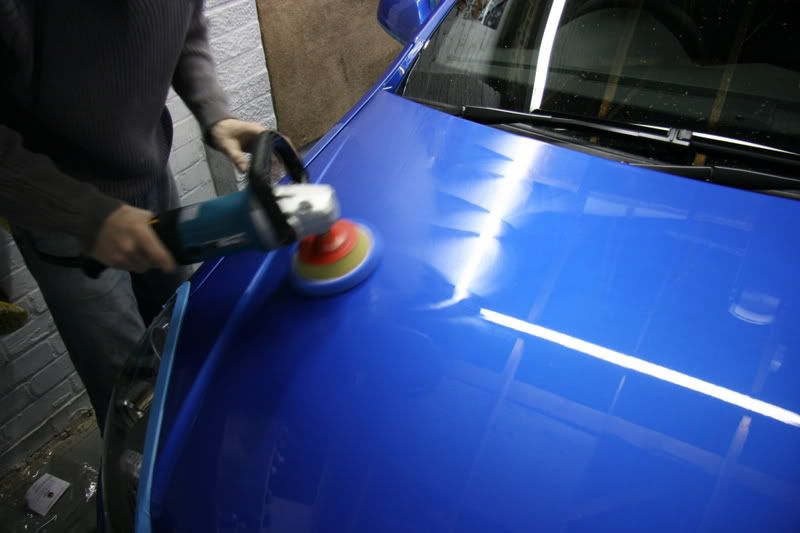
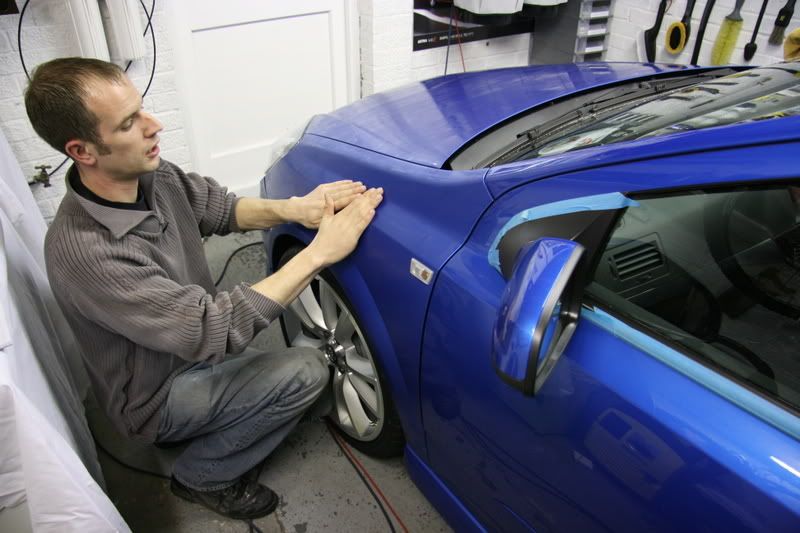
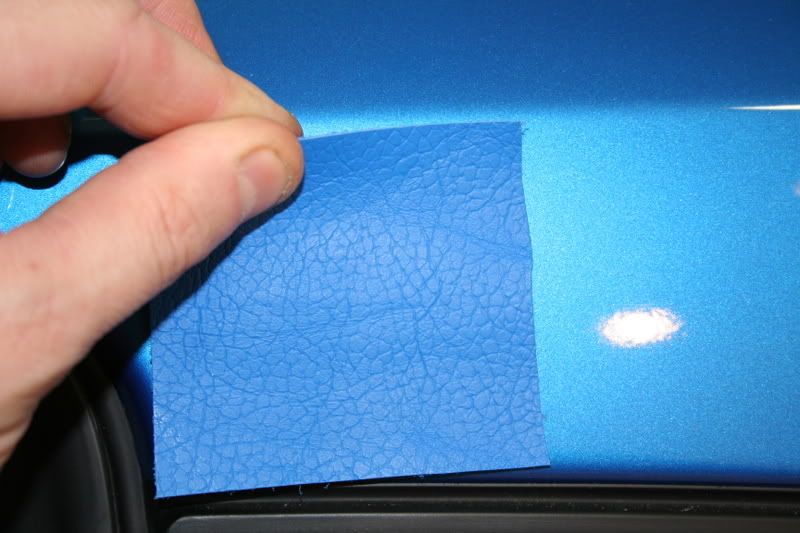
CLAYING...
Now the car was dry i decided to clay the car. The clay i used was zymols lehm clayjust simply because i have had good results with this before and it was a toss up between this and sonus green....
I made a mixture of claylube from zymol autowash and zero ppm r.o water...
Once i started to clay the car i noticed what i can only describe as a fine pitting and rough surface which felt like overspray but could not visibly see anything...

After a panel the clay was not actually to dirty so i proceeded to clay the whole car regularly turning the claybar and this was the worst it got

The paintwork felt silky smooth now and i was happy that i had no marring on the paintwork probably due to being over cautious with the clay lube on a new car!!!!
I then washed the car again , dryed and placed in the garage overnight ready for sunday and paintwork correction....
I asked Paul Dalton to give me some advice on this issue being a new car and how he felt about helping me to get the result that i was looking for and to give the car the best start with regards to its bodywork...We eventually went out for the night and thrashed out a deal we were both happy with over the space of 4 days to get the look i wanted!
SUNDAY
INSPECTION...
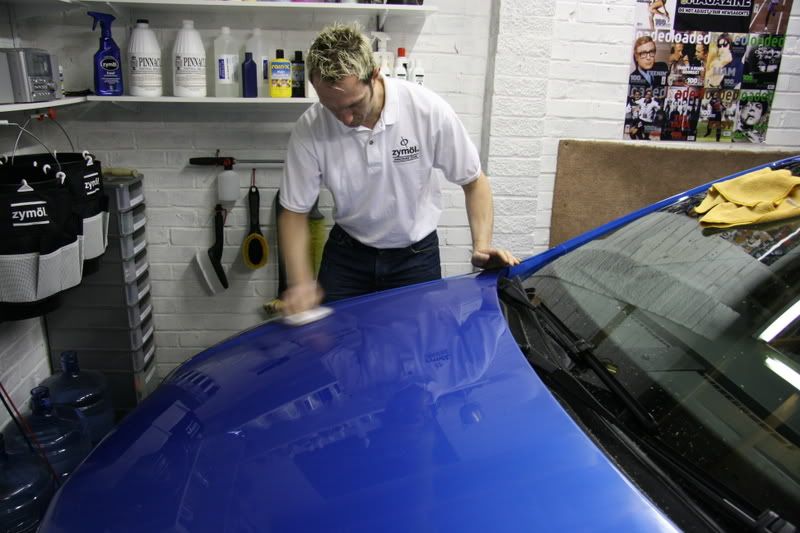
Paul arrived on the dot at 9am and saw the car for the first time.
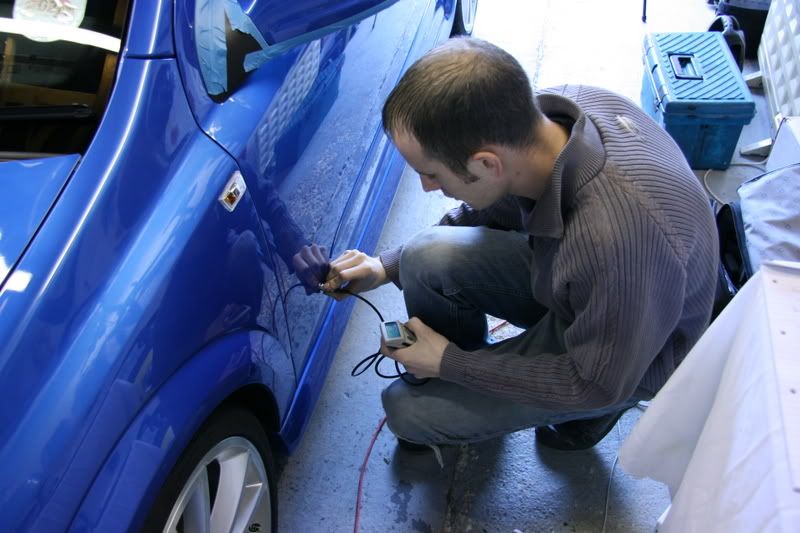
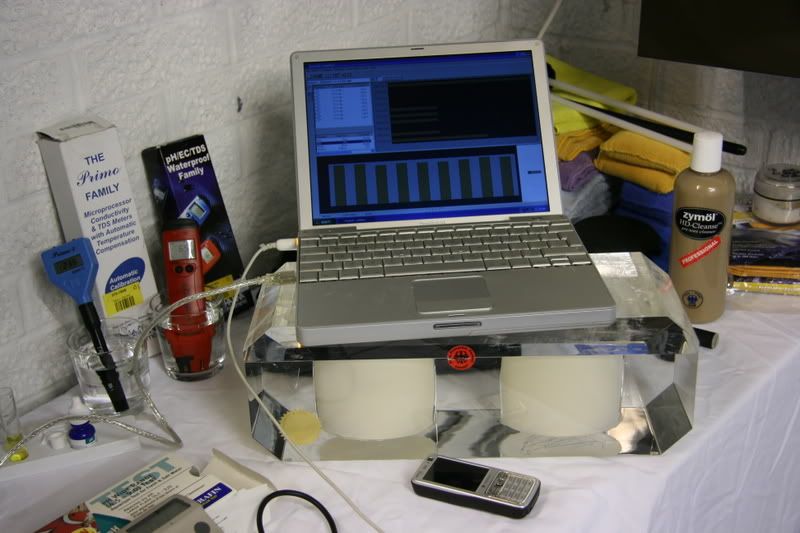
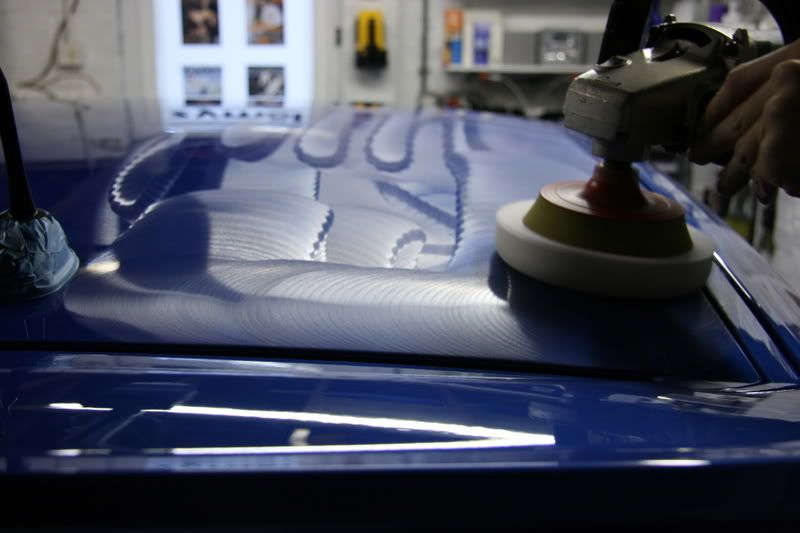
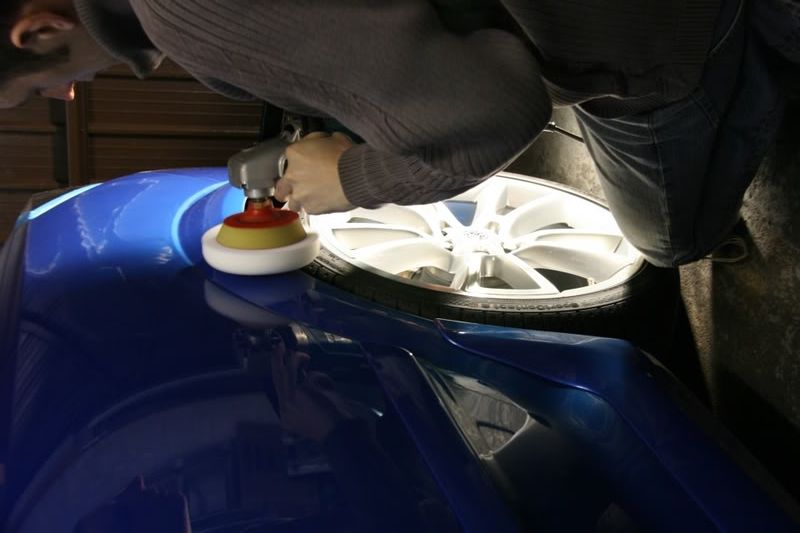
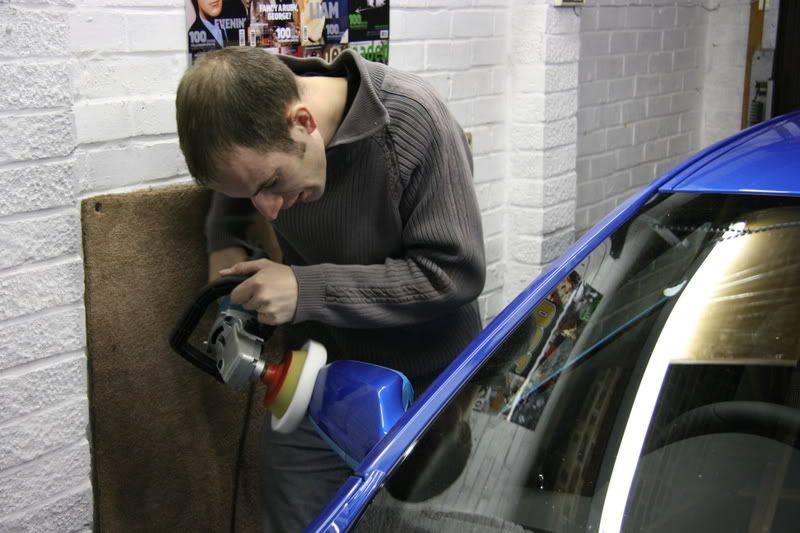
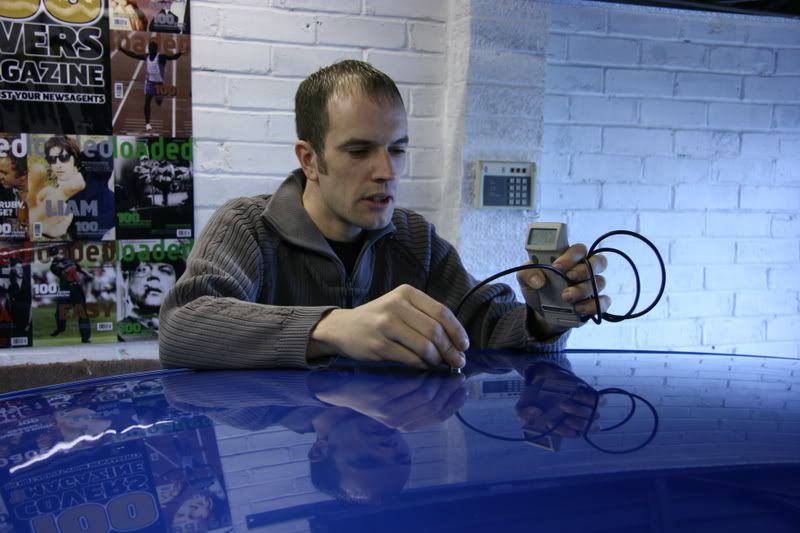
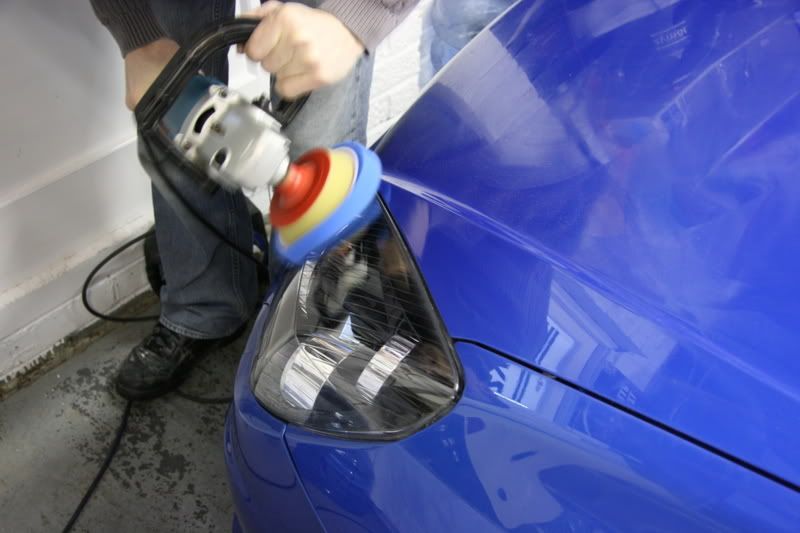
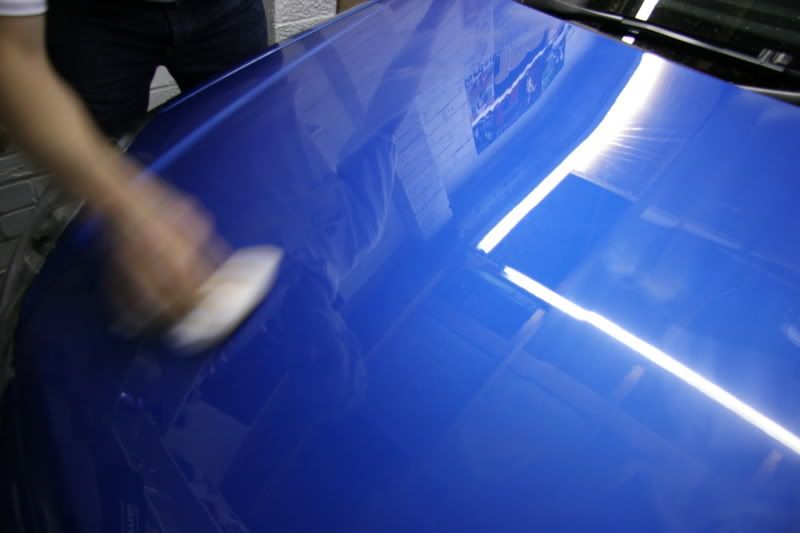
Before he did anything he looked the car over and pointed out that to get the perfect result he would need to do some tests and paint gauge readings to accertain what he needed to do paintwork correction wise to rid the paintwork of the hills and valleys and to get a nice level surface for maximum reflection...
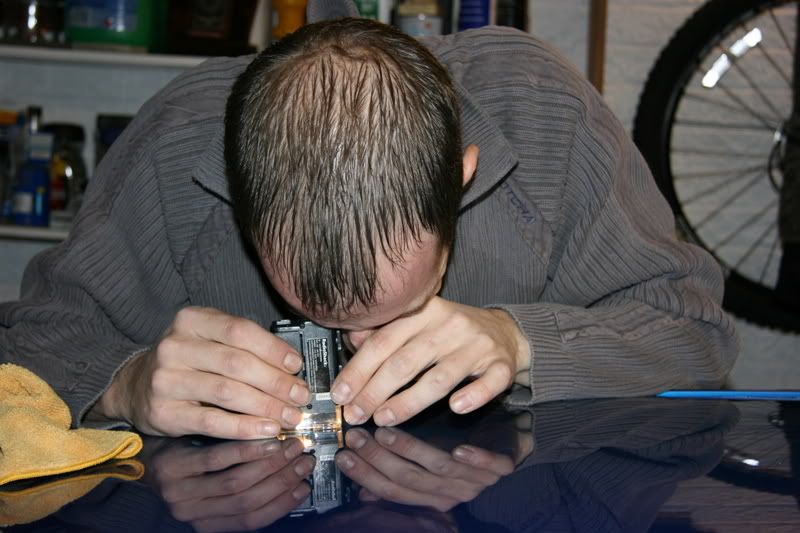
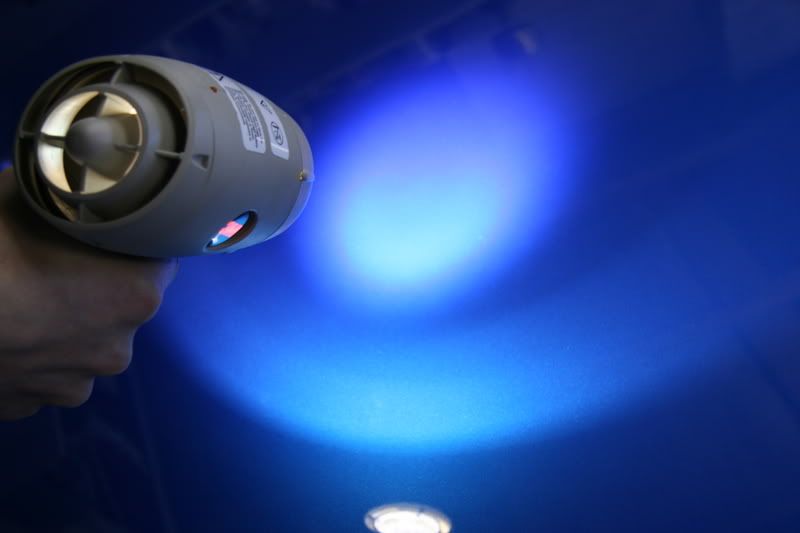
First he checked the car for blemishes with a 3m pps colour checklight ..
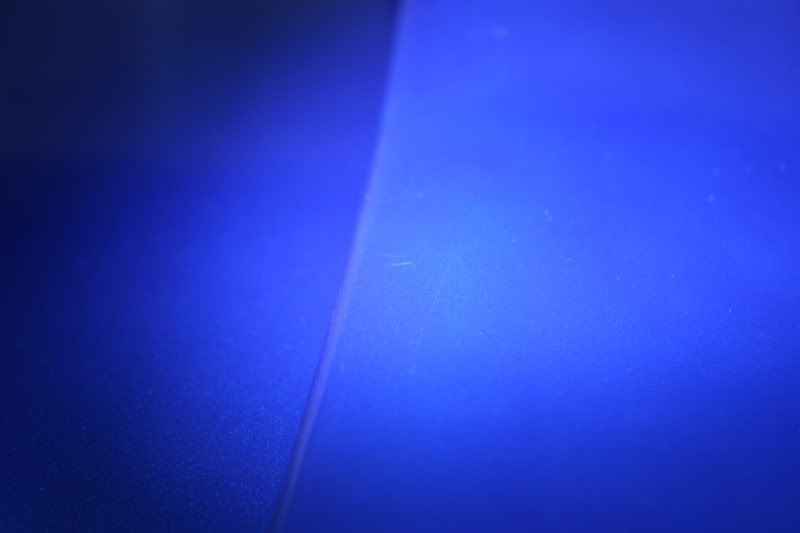
Straight away he found some scratches that must have come from factory (pray i didnt do them). I had instructed my dealership Greens of Holborough not to touch the car upon delivery off the transporter even to the point of leaving all window stickers on!!!! They did this perfectly for me.
vxr astra and zymol royale - 56k xxx warning...
FRIDAY
PICK UP FROM DEALERSHIP
Well after nearly six months of waiting my vxr astra finally arrived at Greens of Holborough my local Vauxhalldealership....
I knew from the start what i wanted from this car and had prearranged with the dealer principal to help me out while the car was in their care so they agreed to put the car on ramps for a week to enable me to have the wheels sent off .....
The car was then placed on vectra vxr 19" alloys...
SATURDAY
INTERIOR...
Next was a trip to Leicester to classic car services a professional leather re-trimmers and upholsters with whom i had discussed what i wanted from the interior of the vxr and had sent me samples as well as different ideas of what would suit the style and colour of the car....
I chose classic car services from a list of 7 due to the fact that they were a well established company who have produced interiors for show cars aswell as magazine shoots and they came highly recommended....
They agreed to let me replace my vxr recaros with like for like seats for a week which meant i could return in 1 week to pick my new seats up!!
The spec i had decided on with Steve was for a top quality Scottish Weir which had been dyed and matched the metallic Arden Blue paintwork
I also requested vxr embroiderry on the headrests...
2 hours later and i returned from Leicester ready to start the detail...
The car was nice and dirty ready for my detail..
FOAMBATH...
I decided to give the car a foam bath first using autobrites foam lance and supersnow foam....I also sprayed the arches with megs apc diluted 4:1
Before karchering the car i was surprised at how the foam was running down the sides of the car dirty so it was obviously eating in to the dirt nicely...
WASH
Next using zymol autowash and a natural sea sponge i used the 2 bucket method to wash the car before spraying off and pouring 100 litres of zero ppm r.o water over it...
DRYING...
I then put the car into the garage and using sonus ultimate drying towels and aquatouch towels proceeded to dry the car whilst using Megs last touch to aid with the drying...
I paid particular attention to door and boot shuts...
CLAYING...
Now the car was dry i decided to clay the car. The clay i used was zymols lehm clayjust simply because i have had good results with this before and it was a toss up between this and sonus green....
I made a mixture of claylube from zymol autowash and zero ppm r.o water...
Once i started to clay the car i noticed what i can only describe as a fine pitting and rough surface which felt like overspray but could not visibly see anything...
After a panel the clay was not actually to dirty so i proceeded to clay the whole car regularly turning the claybar and this was the worst it got
The paintwork felt silky smooth now and i was happy that i had no marring on the paintwork probably due to being over cautious with the clay lube on a new car!!!!
I then washed the car again , dryed and placed in the garage overnight ready for sunday and paintwork correction....
I asked Paul Dalton to give me some advice on this issue being a new car and how he felt about helping me to get the result that i was looking for and to give the car the best start with regards to its bodywork...We eventually went out for the night and thrashed out a deal we were both happy with over the space of 4 days to get the look i wanted!
SUNDAY
INSPECTION...
Paul arrived on the dot at 9am and saw the car for the first time.
Before he did anything he looked the car over and pointed out that to get the perfect result he would need to do some tests and paint gauge readings to accertain what he needed to do paintwork correction wise to rid the paintwork of the hills and valleys and to get a nice level surface for maximum reflection...
First he checked the car for blemishes with a 3m pps colour checklight ..
Straight away he found some scratches that must have come from factory (pray i didnt do them). I had instructed my dealership Greens of Holborough not to touch the car upon delivery off the transporter even to the point of leaving all window stickers on!!!! They did this perfectly for me.