Tato
New member
- Nov 27, 2013
- 2,157
- 0
Greetings.
This work was a bit different from what I receive generally (full details).
Long history short, owner came to me after looking for other 2 professionals who suggested a new paint job for her entire car, after it being vandalized with 'Super Glue'.
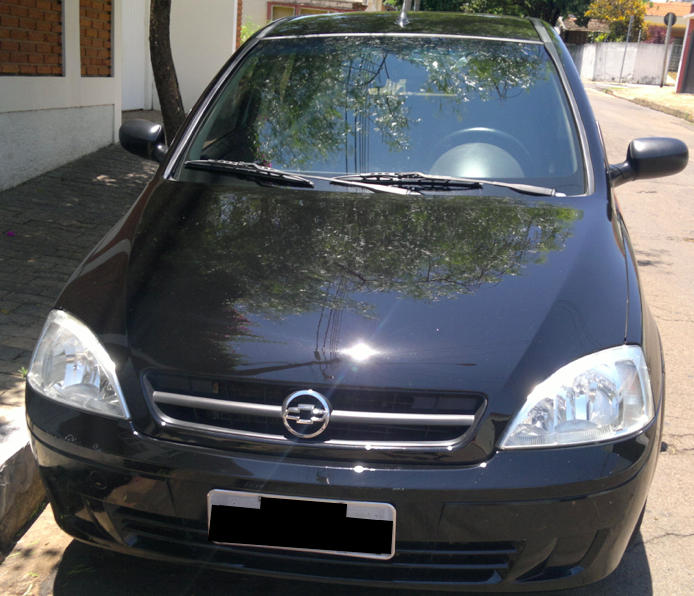
Looking at what happened, I though I could at least try something to save that poor Madam... It's not a luxury car, neither a classic, it's a popular GM Corsa 'Joy' 2006.
But 'if it has paint', it can (and have to) be polished!
On that day, I was able to test and remove the glue from the hood and polished it to a high gloss. She went home very happy after what happened and scheduling full removal.
I don't have before pictures from that day, just the after when the car arrived for full service. It was badly glued like the rest of car you can see on pictures.
Just to advance, I've tried some solvents with much care (like Acetone), but results were little to absent. The risks of using it was much higher than benefits in this case.
Yesterday she came with the car for the full work.
Follow the before / after,
Pictures:
---------
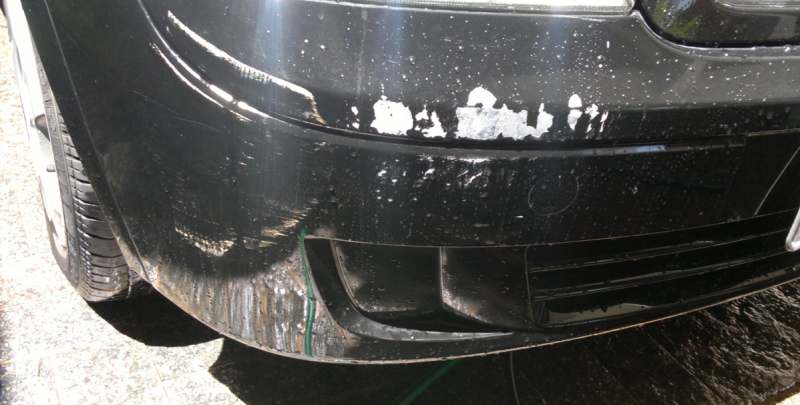
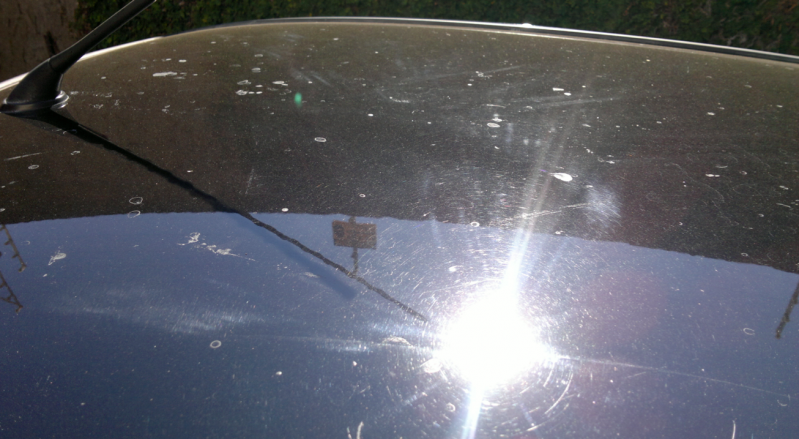
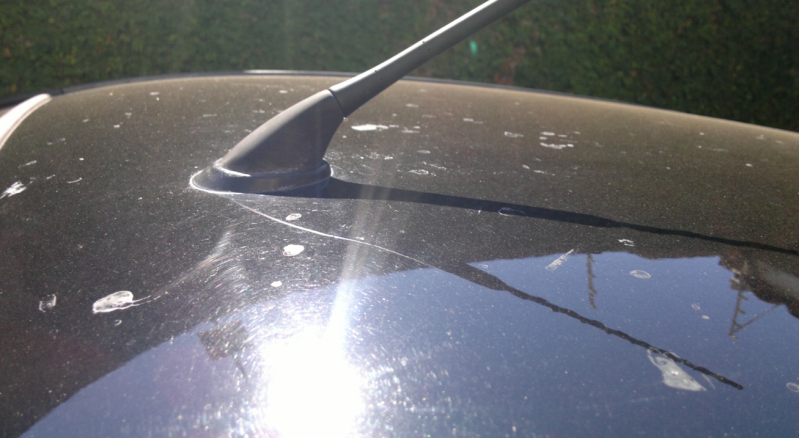
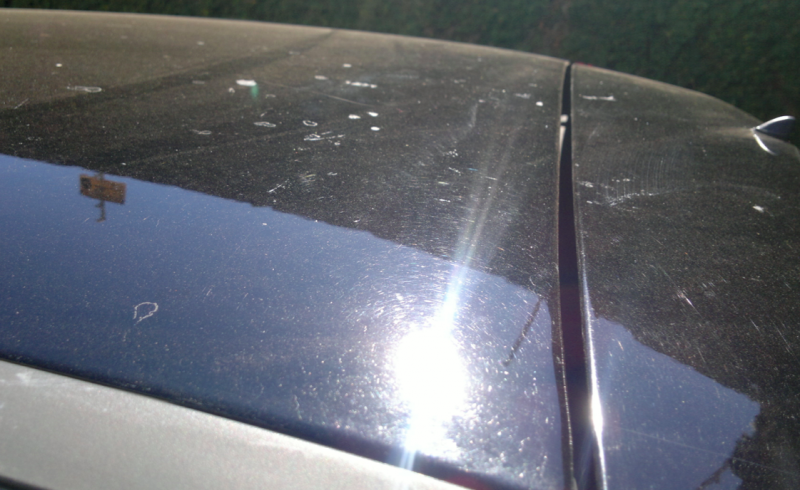
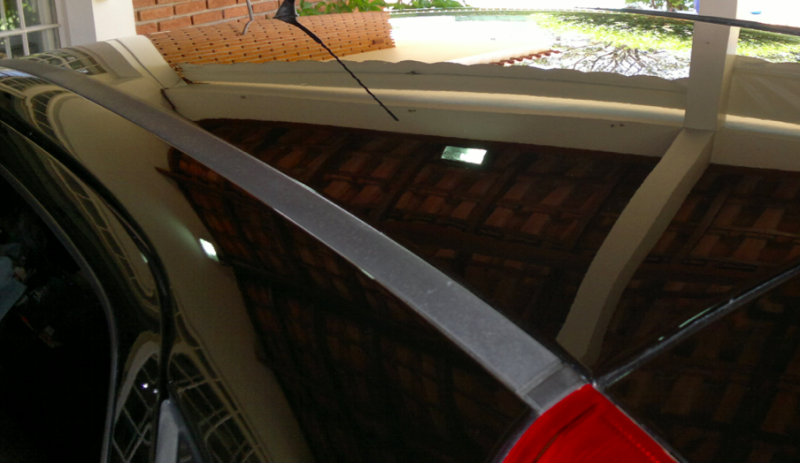
Car's fully messed up with Glue, more on horizontal panels but also some drops on vertical panels as well
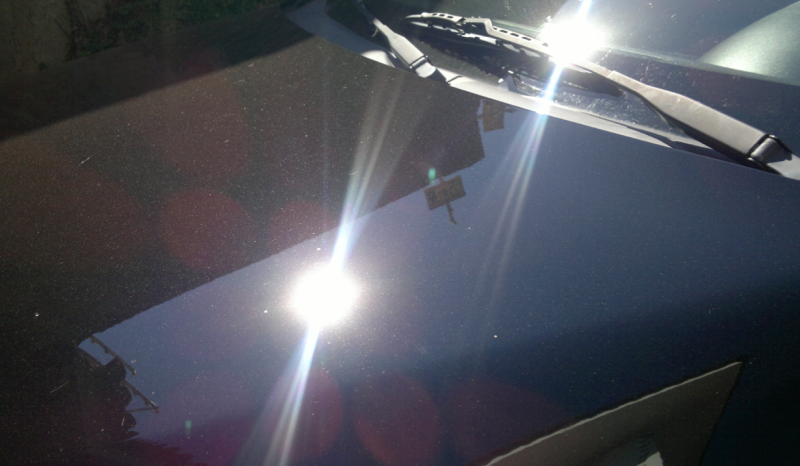
Here's the after from my test spot (whole hood) the day she came after me, a bit dusty, but looking good!:
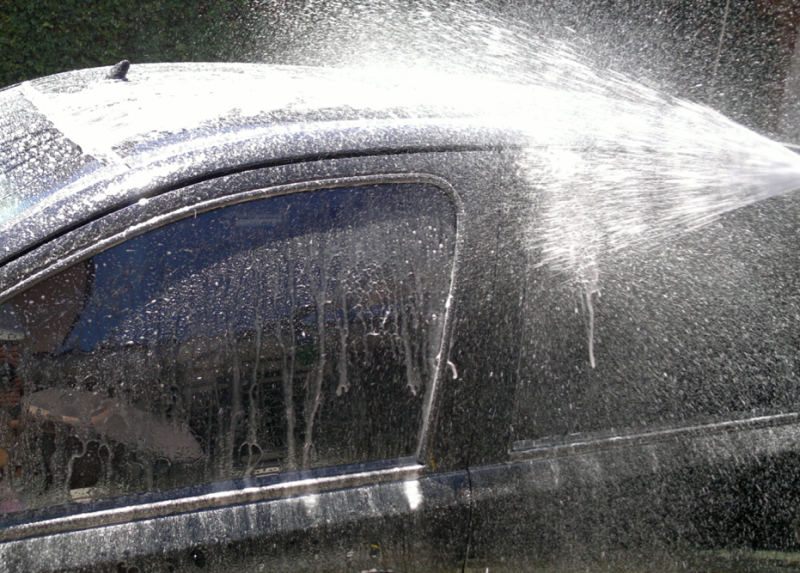
Thoroughly Wash followed by clay to start
Sanded every spot of glue I could find around the whole car, 1500/2000/3000.

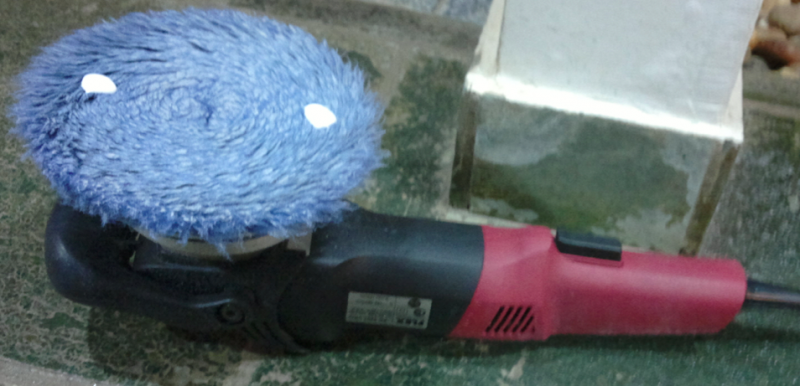
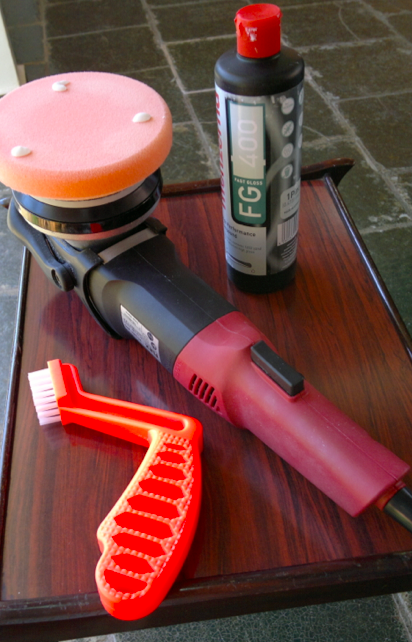
Used Flex 3401 + Hybrid Wool Pad with Menzerna FG400 to compound the whole car where 6.5" fitted.
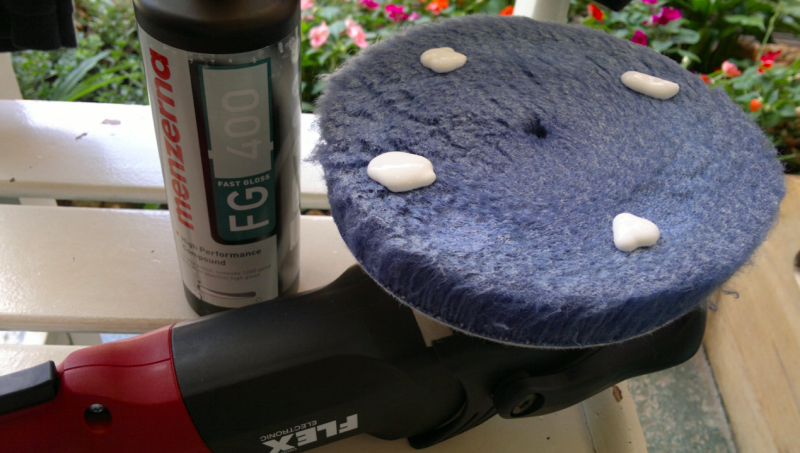
Depending on area being compounded, I've used more (picture above) or less (bellow picture) product.

Less for this area:
Hybrid wool pad was used on 4 speed, medium pressure and 6-8 passes. It just kicks swirls **s, defects were literally vanished from the paint. However, in some points it finished a bit hazy.

After compounding, the whole car was polished with White Hybrid Pad and SF4000 (3-4 passes on speed 5), and haze / minor swirls was absolutely gone.
On smaller parts, I've equipped the Flex with 5" Hybrid Orange Pad and FG400 on a LC 4" backing plate.
Door 'Pilars' swirled and spot sanded:

Swirls went away, but I had to re-sand a bit more to get rid of all the glue on that place. Here's the de-swirled RE-sanded part:

Finished part (notice minor swirls to be removed by SF4000 later on):

Here are some finished pictures after sealing the job with Wolfgang Deep Gloss Paint sealant. I've used 3401 on speed 3.2 (lol) with Meguiar's 6.5" finishing pad.


That's it.
Owner went away very happy with her 'new paint job'.
Hope you've liked,
*Forgot to say (sorry), glue was removed from glass using a razor blade with #34 Final Inspection. Then it was cleaned with Pinnacle Waterspot Remover and sealed with the same sealant used on paint (WGDGPS3.0).
Questions, comments, critics, suggestions... always, welcome!
Thank you everyone for watching.
Kind Regards.
This work was a bit different from what I receive generally (full details).
Long history short, owner came to me after looking for other 2 professionals who suggested a new paint job for her entire car, after it being vandalized with 'Super Glue'.
Looking at what happened, I though I could at least try something to save that poor Madam... It's not a luxury car, neither a classic, it's a popular GM Corsa 'Joy' 2006.
But 'if it has paint', it can (and have to) be polished!
On that day, I was able to test and remove the glue from the hood and polished it to a high gloss. She went home very happy after what happened and scheduling full removal.
I don't have before pictures from that day, just the after when the car arrived for full service. It was badly glued like the rest of car you can see on pictures.
Just to advance, I've tried some solvents with much care (like Acetone), but results were little to absent. The risks of using it was much higher than benefits in this case.
Yesterday she came with the car for the full work.
Follow the before / after,
Pictures:
---------
Car's fully messed up with Glue, more on horizontal panels but also some drops on vertical panels as well
Here's the after from my test spot (whole hood) the day she came after me, a bit dusty, but looking good!:
Thoroughly Wash followed by clay to start
Sanded every spot of glue I could find around the whole car, 1500/2000/3000.
Used Flex 3401 + Hybrid Wool Pad with Menzerna FG400 to compound the whole car where 6.5" fitted.
Depending on area being compounded, I've used more (picture above) or less (bellow picture) product.
Less for this area:
Hybrid wool pad was used on 4 speed, medium pressure and 6-8 passes. It just kicks swirls **s, defects were literally vanished from the paint. However, in some points it finished a bit hazy.
After compounding, the whole car was polished with White Hybrid Pad and SF4000 (3-4 passes on speed 5), and haze / minor swirls was absolutely gone.
On smaller parts, I've equipped the Flex with 5" Hybrid Orange Pad and FG400 on a LC 4" backing plate.
Door 'Pilars' swirled and spot sanded:
Swirls went away, but I had to re-sand a bit more to get rid of all the glue on that place. Here's the de-swirled RE-sanded part:
Finished part (notice minor swirls to be removed by SF4000 later on):
Here are some finished pictures after sealing the job with Wolfgang Deep Gloss Paint sealant. I've used 3401 on speed 3.2 (lol) with Meguiar's 6.5" finishing pad.
That's it.
Owner went away very happy with her 'new paint job'.
Hope you've liked,
*Forgot to say (sorry), glue was removed from glass using a razor blade with #34 Final Inspection. Then it was cleaned with Pinnacle Waterspot Remover and sealed with the same sealant used on paint (WGDGPS3.0).
Questions, comments, critics, suggestions... always, welcome!
Thank you everyone for watching.
Kind Regards.
 rops:
rops:")