Good day again,
ahh.. christmas is just around the corner and i have been detailing so much lately. i've hurt my back since a month ago, yeap.. been squatting alot to work on door panel/rims too much. guess i really need a holiday soon, to take a break and of course spend time with my loved ones. detailing takes alot of prep work to make it to perfection, so many steps that you need to do to just prep the surface and of course the amount of effort and time you put. passion will lead me and give me power to restore every car. simply say, i love restoring. no matter how much time i have to spend, how many prep work to do i will try my best seeking the easiest way to bring a car to a whole new level, just like bringing antique to the modern world.
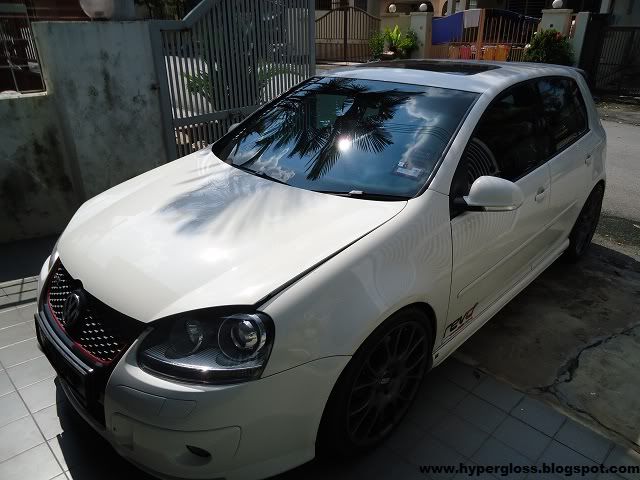
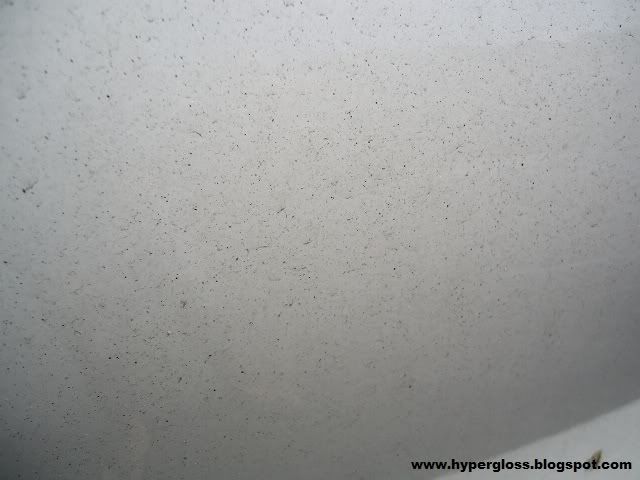
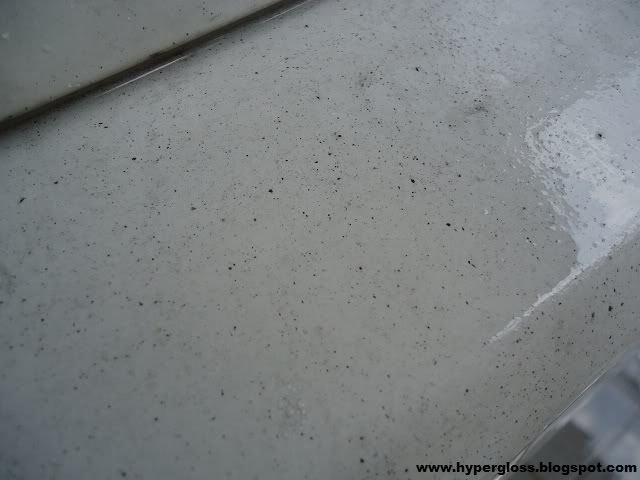
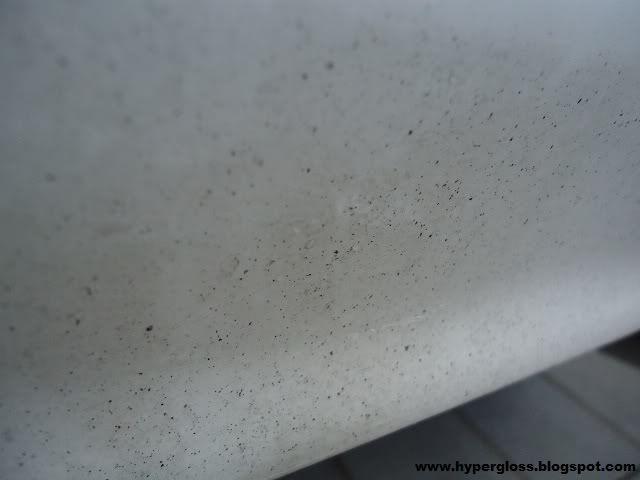
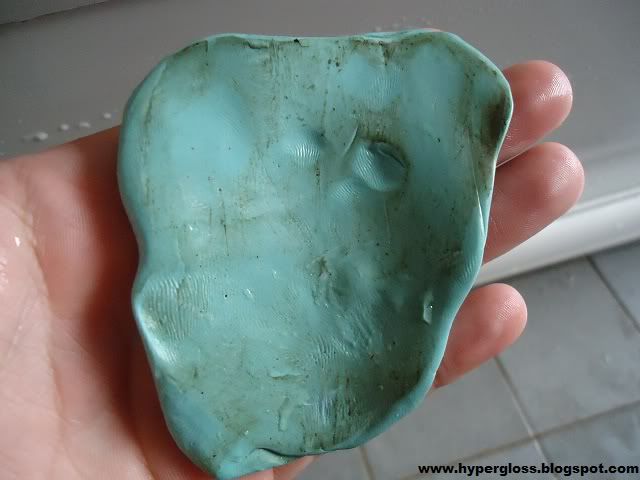
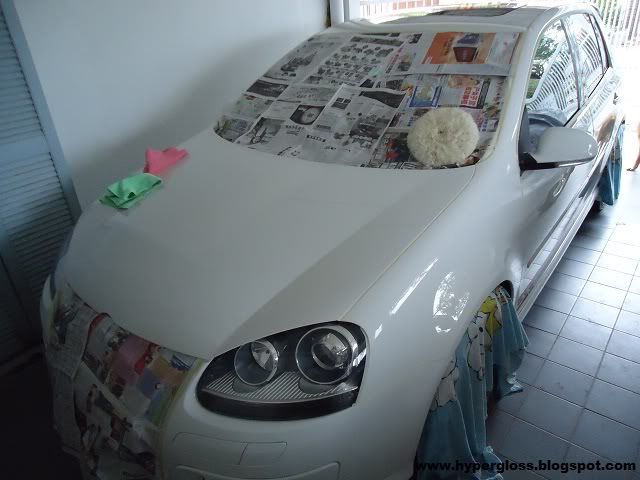
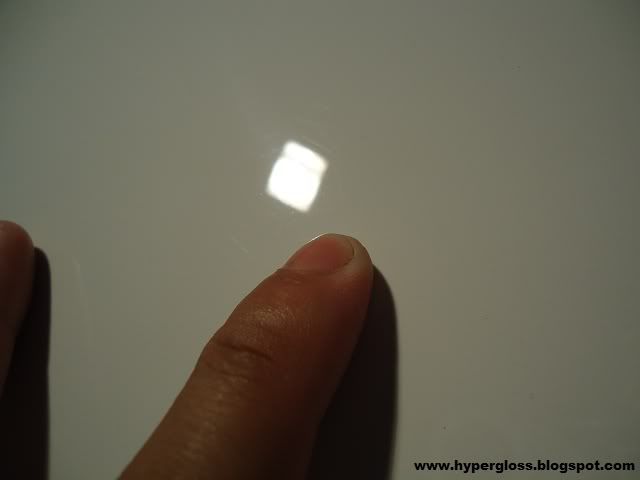
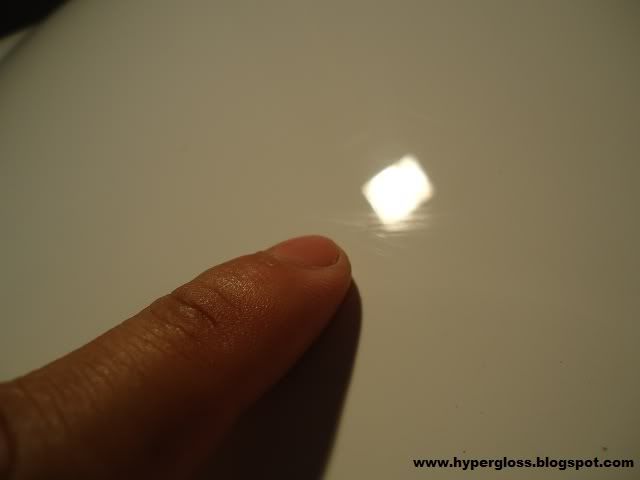
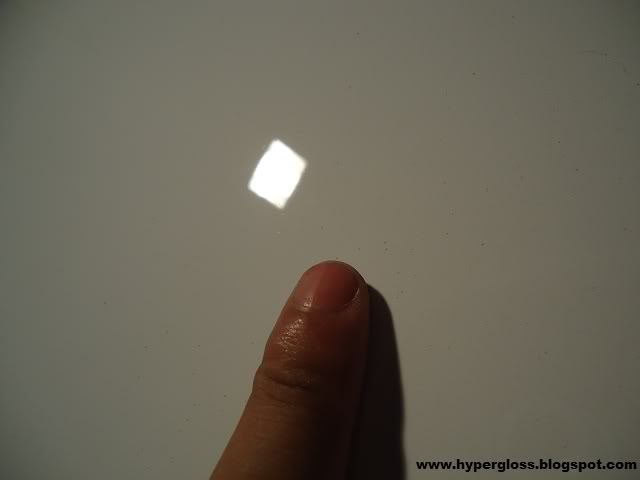
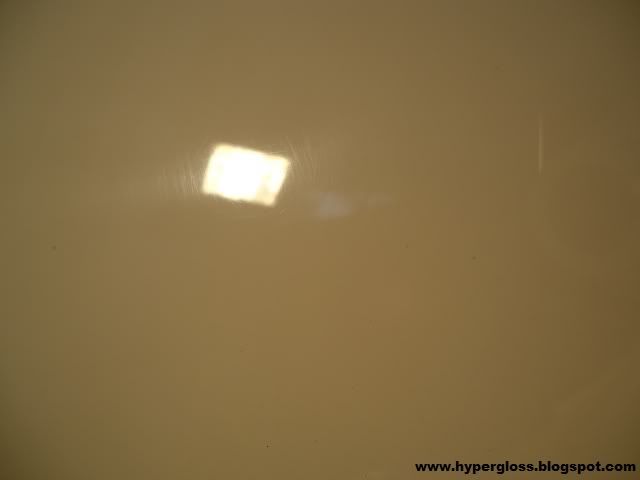
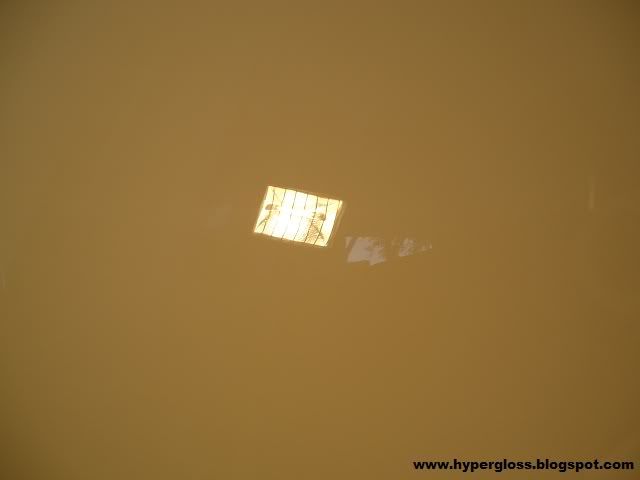
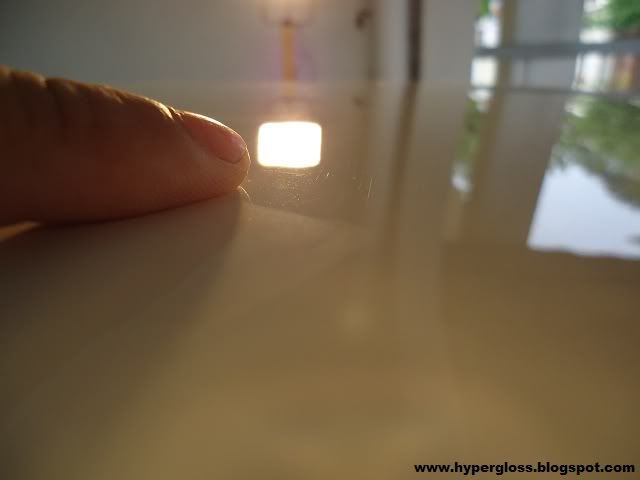
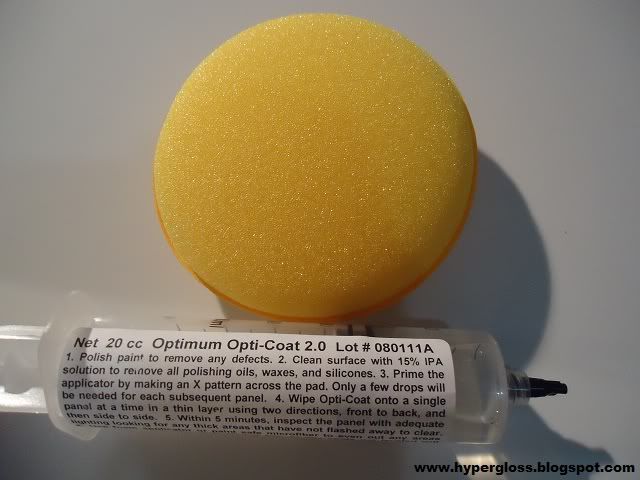
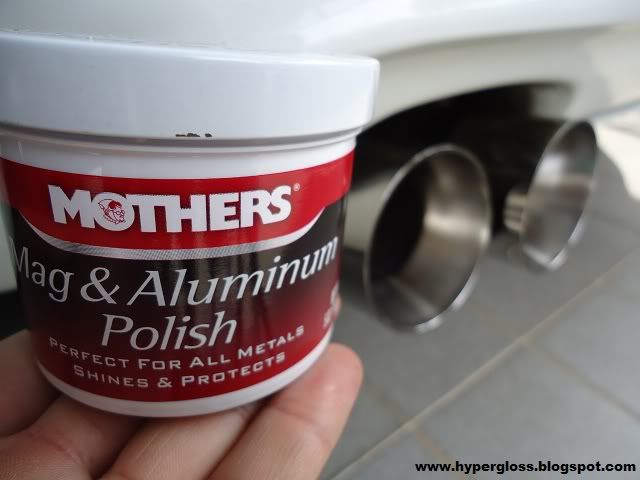
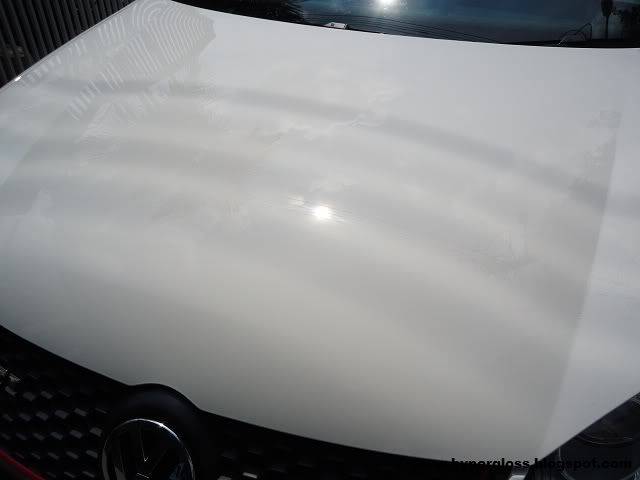
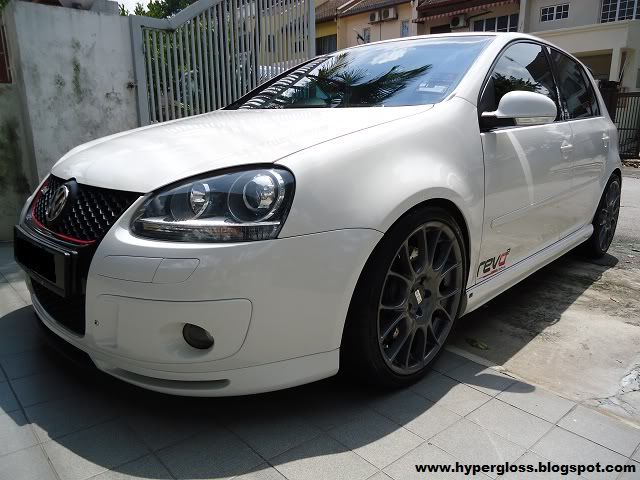
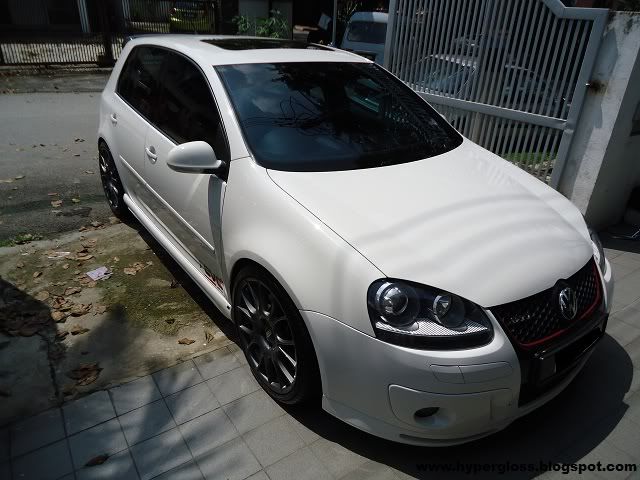
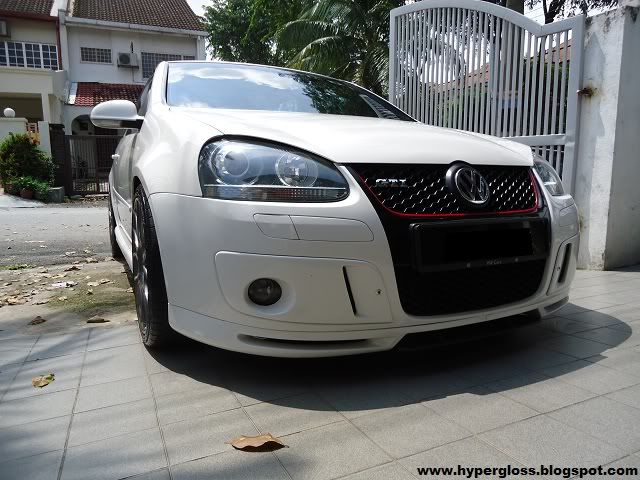
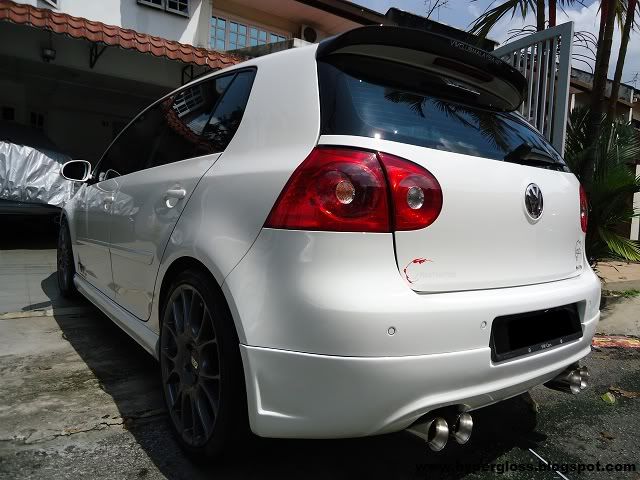
today here i have is a VW Golf GTI as known as Mk5. the surface have build up alot dirt, because of the surface did not have a layer of protection so the dirt simply will sit on the surface and did not repel. after discussing with the owner, i suggested him to coat his car. Opti-Coat will perform a layer of permanent clear coat on the surface and because its permanent, your original clear coat will protected by the top of Opti-Coat, meanwhile you get to enjoy long lasting gloss and dont have to be afraid of environment falls out which will harm your paint!
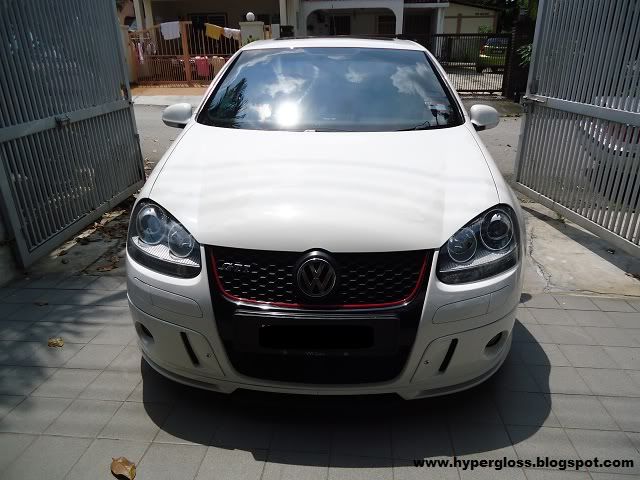
upon arrival
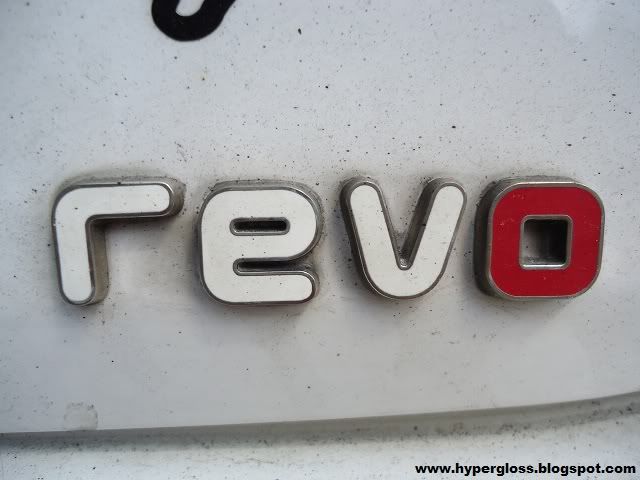
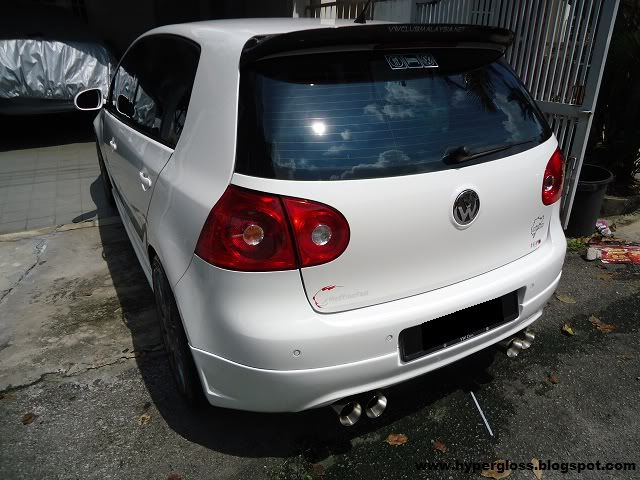
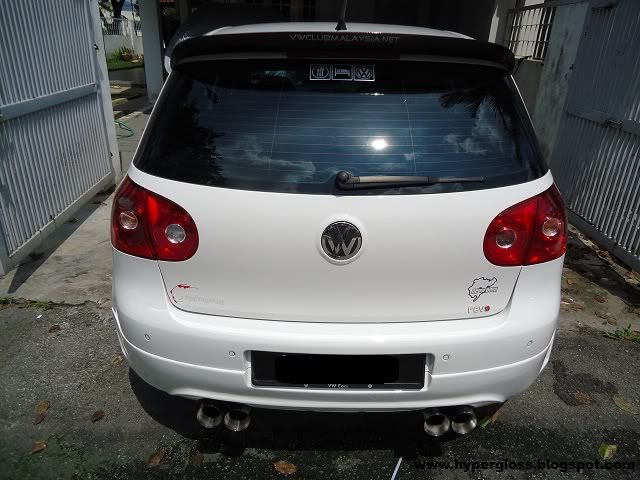
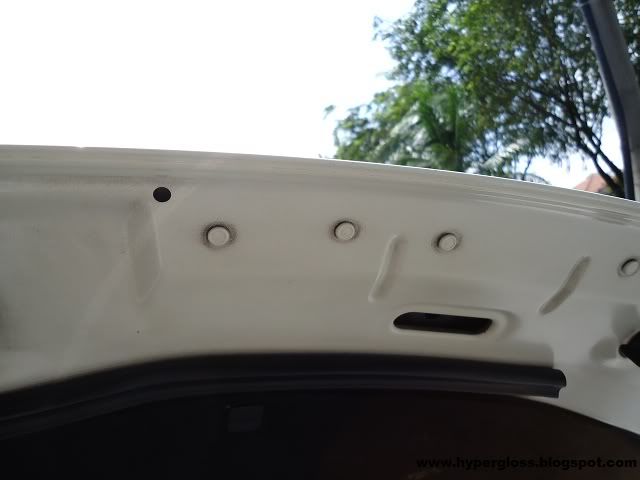
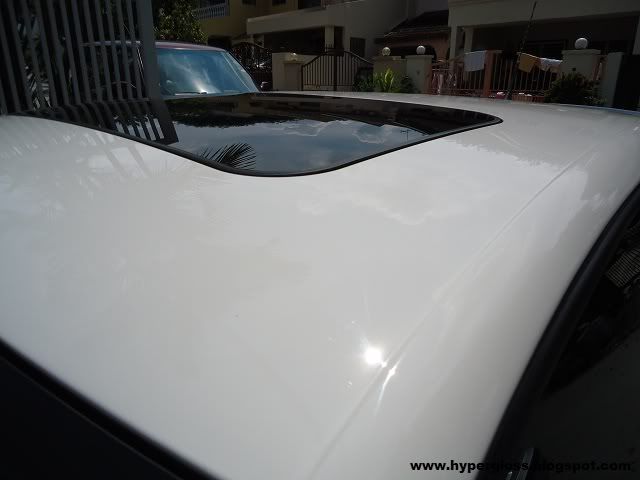
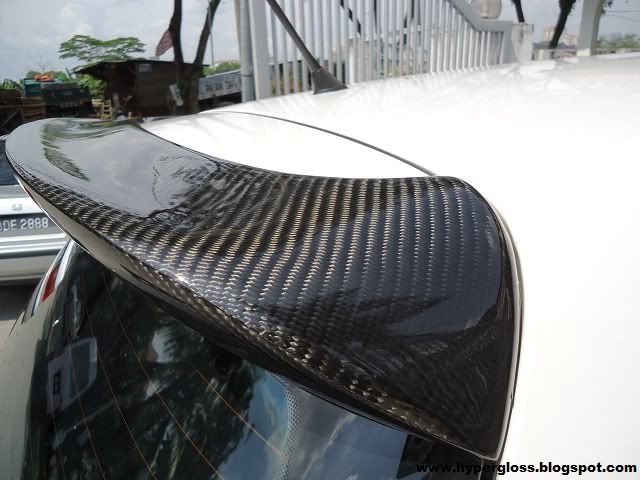
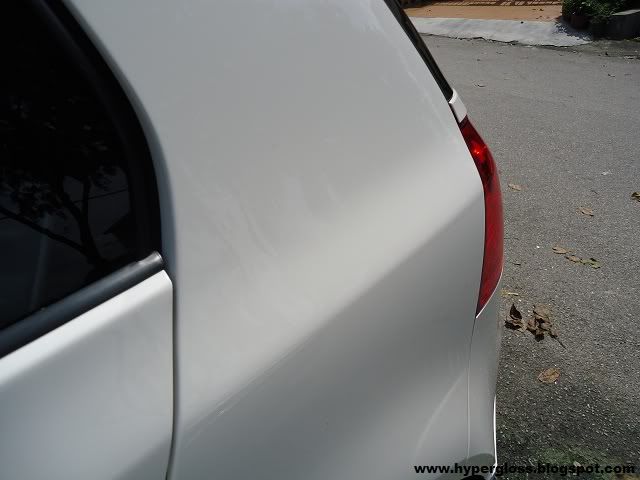
rear trunk
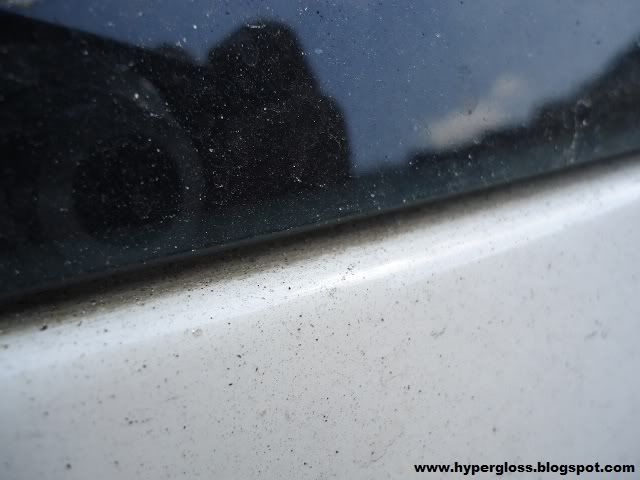
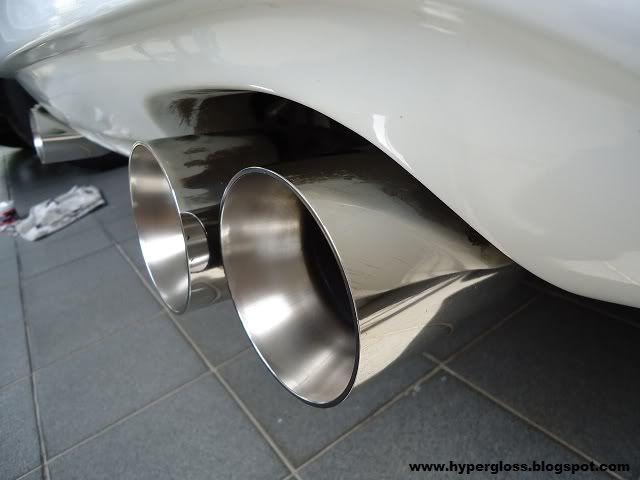
ear bumper
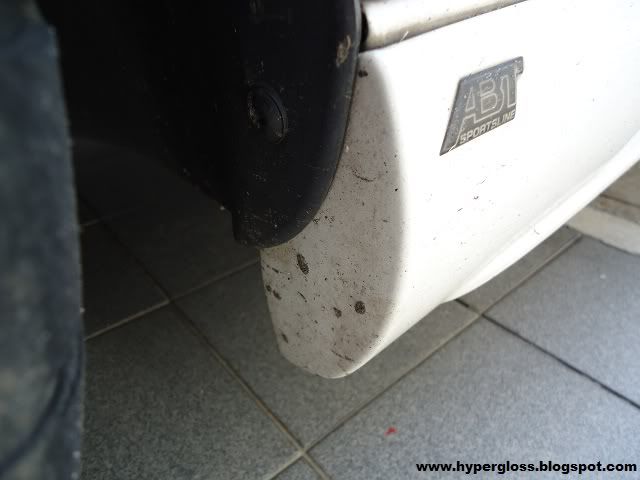
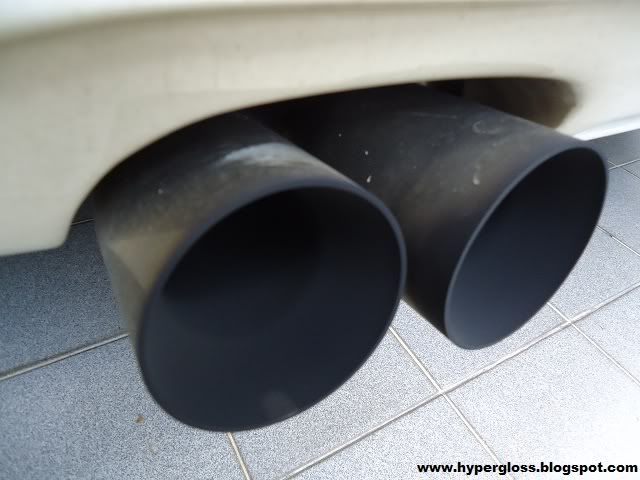
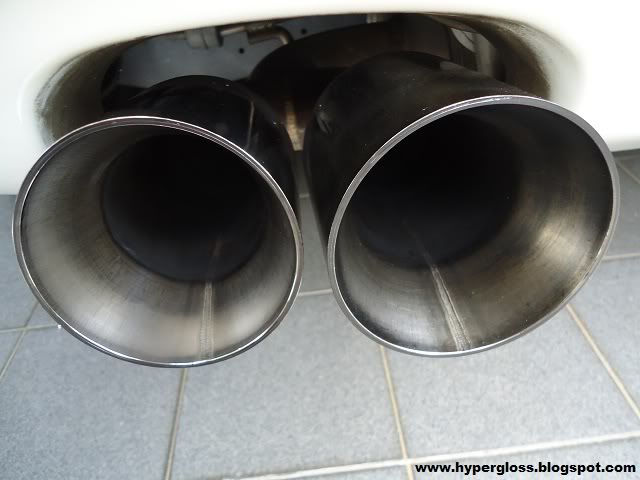
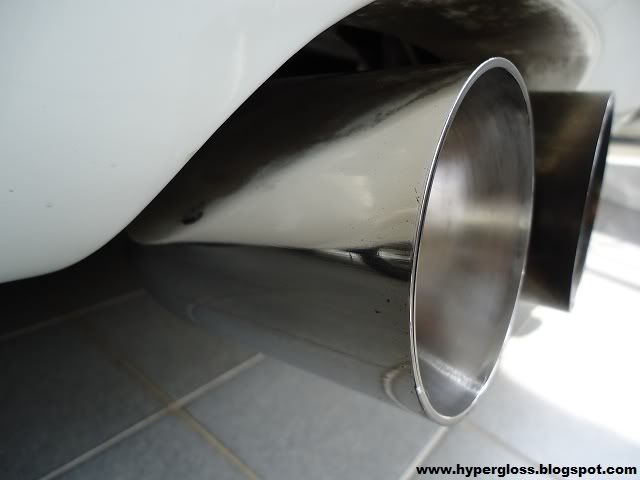
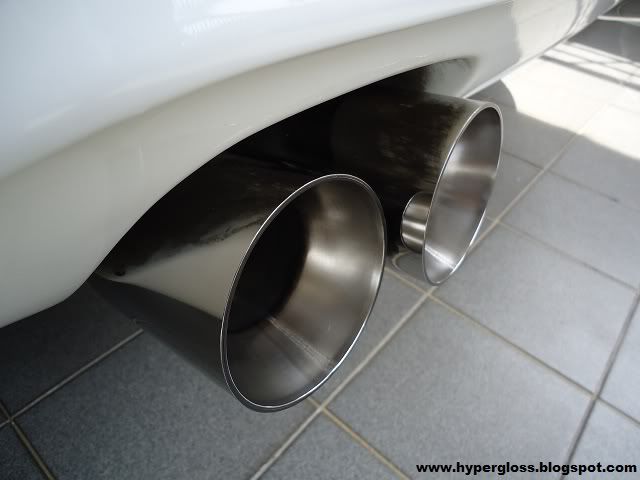
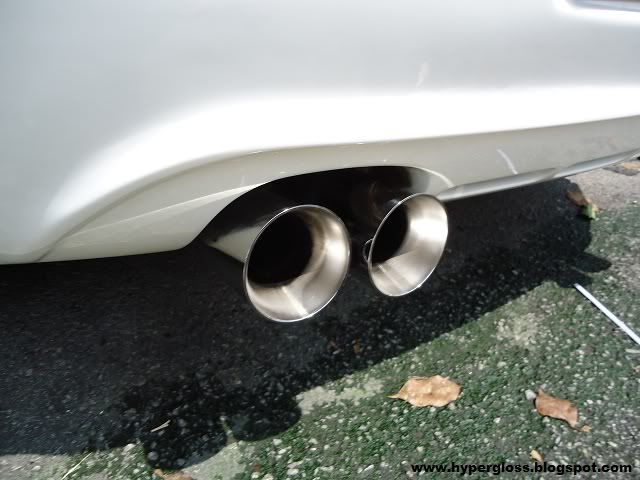
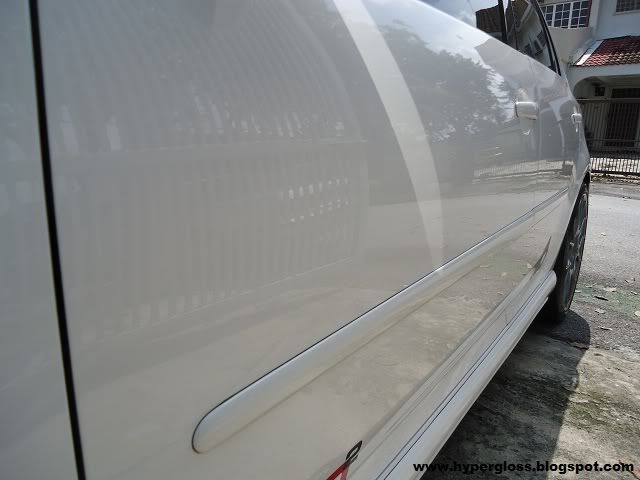
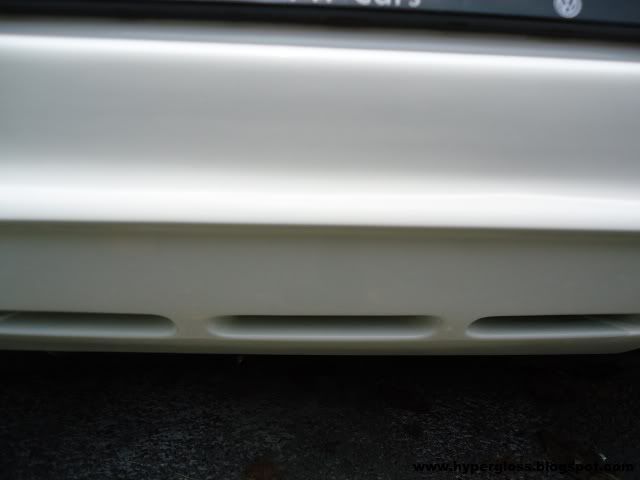
rear lower skirting
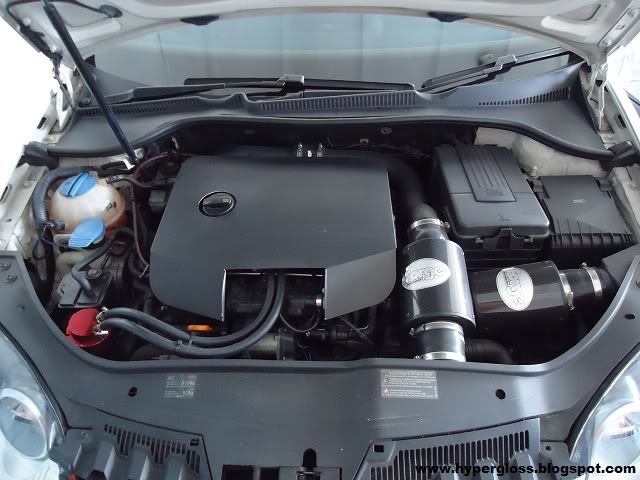
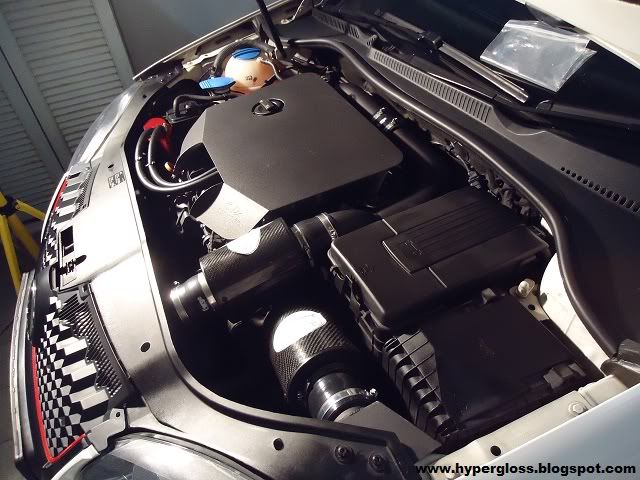
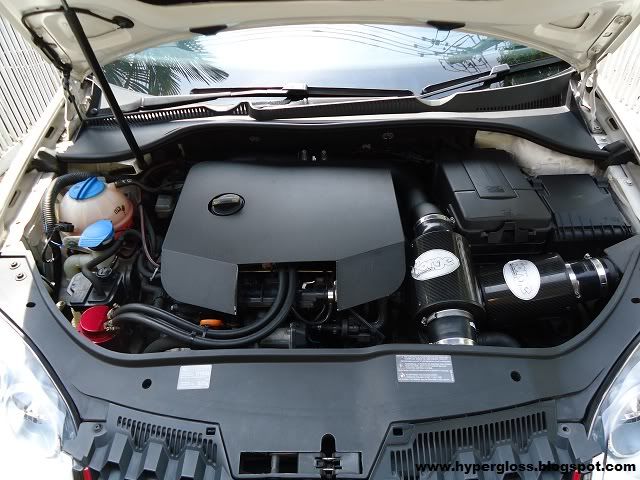
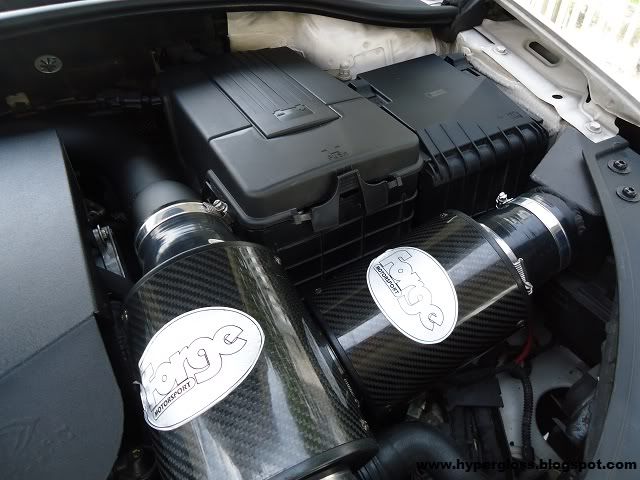
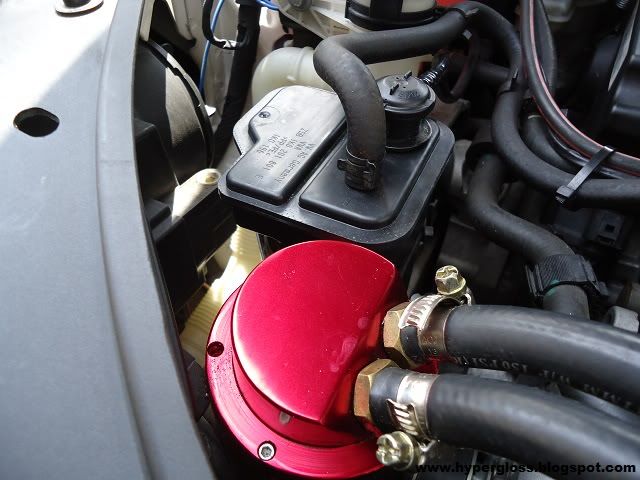
engine
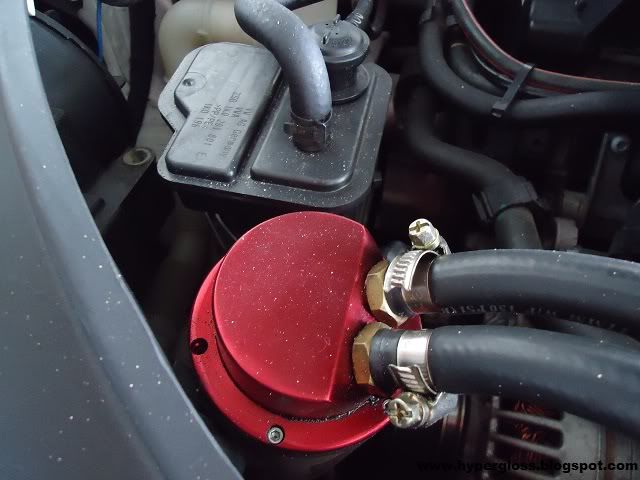
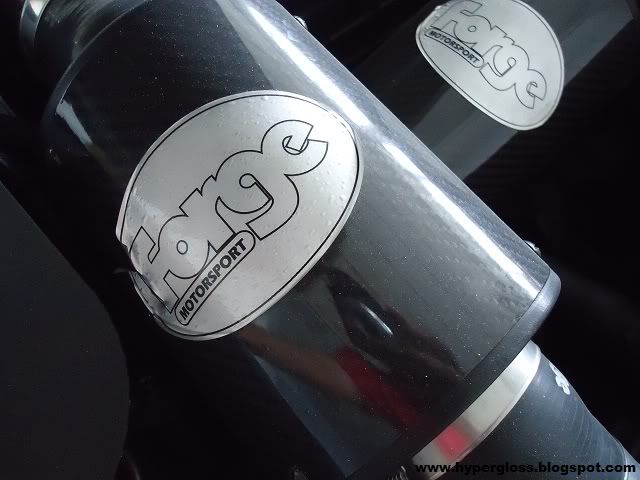
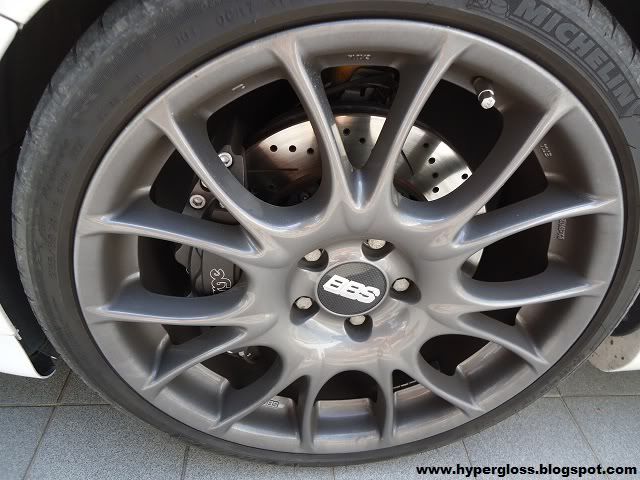
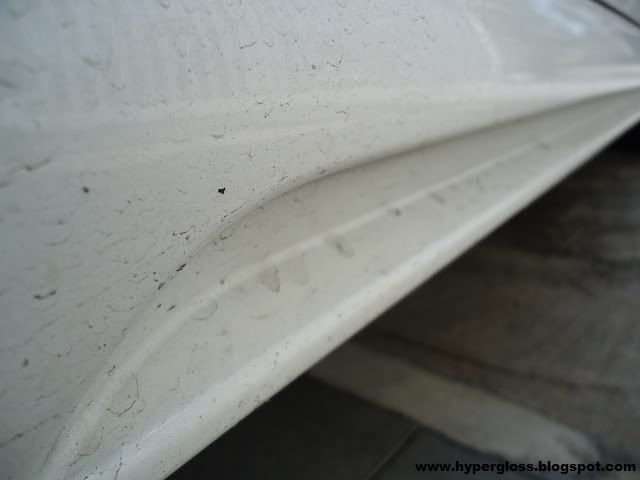
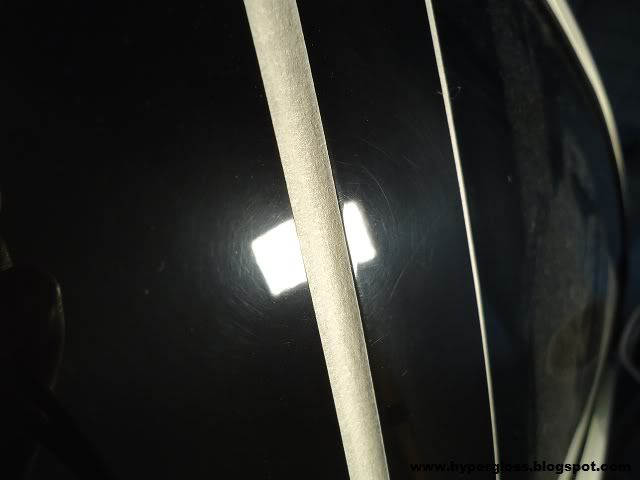
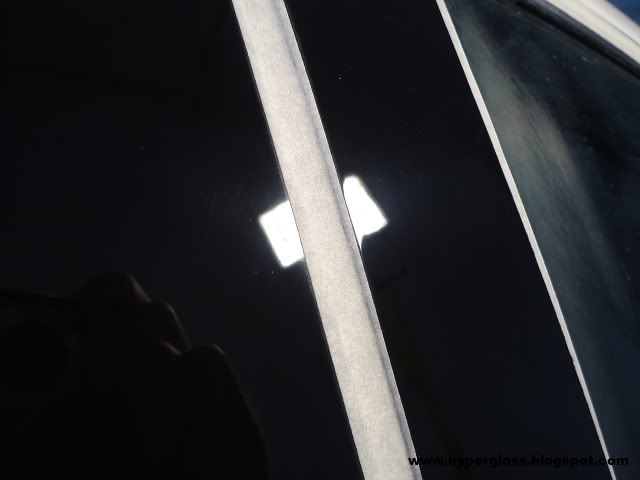
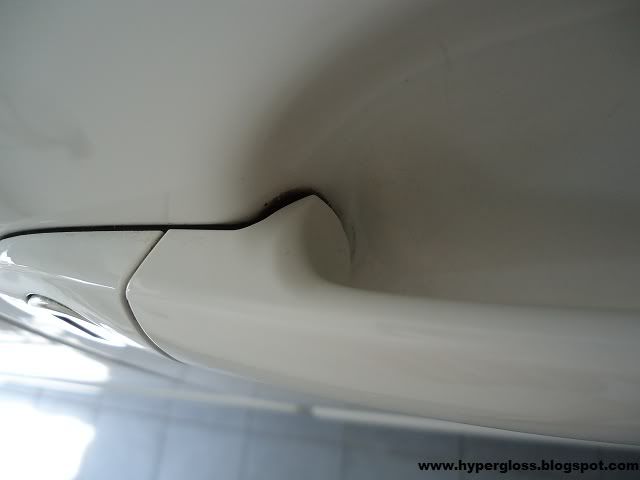
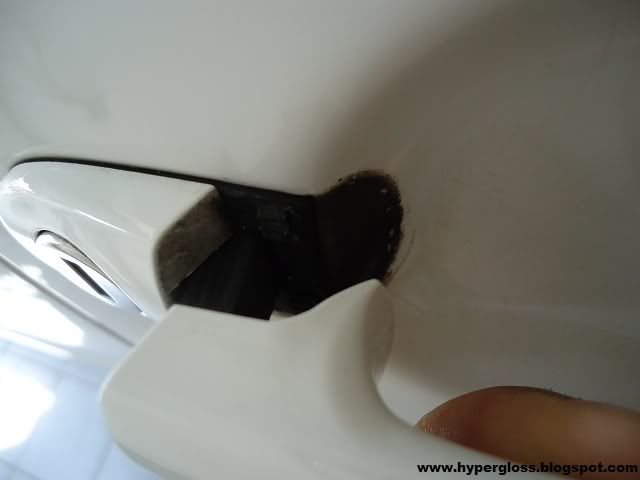
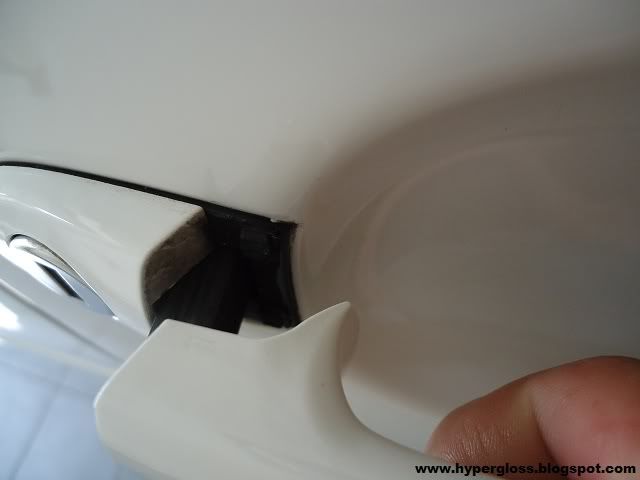
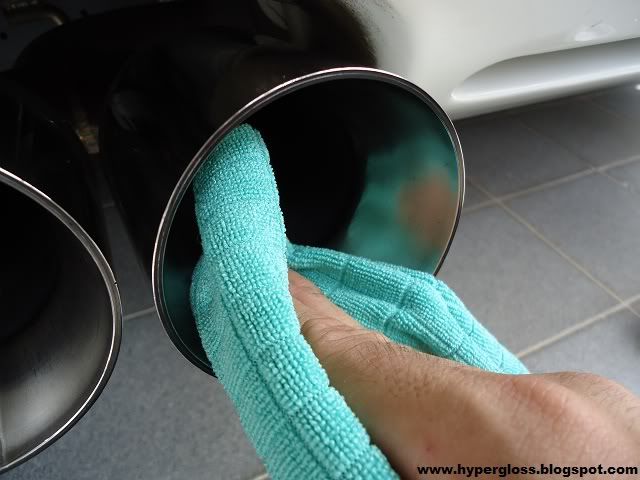
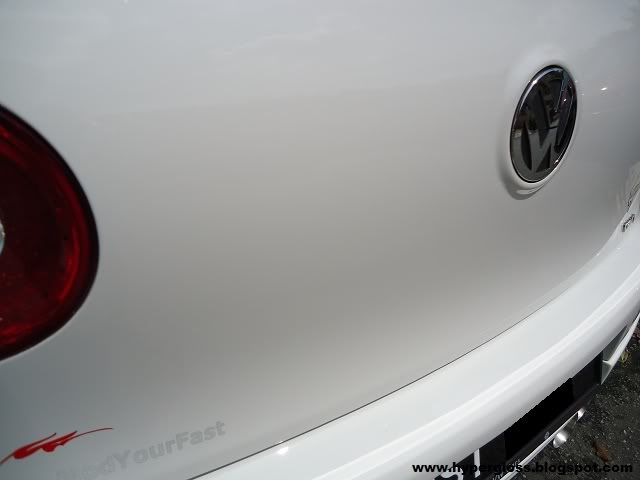
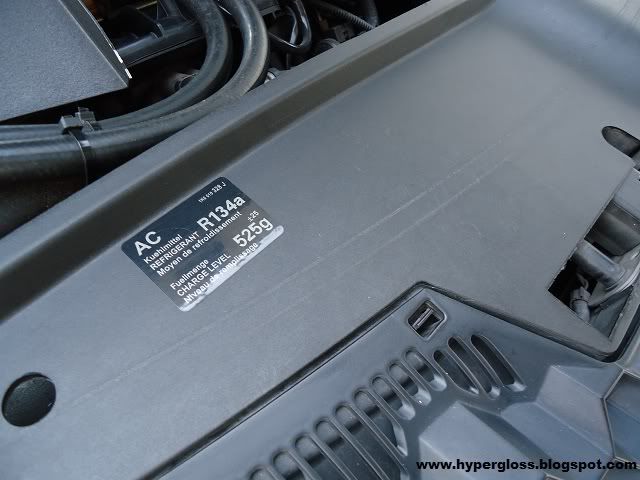
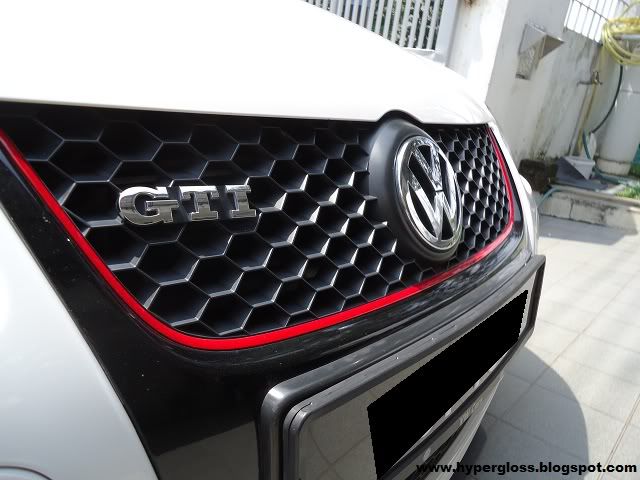
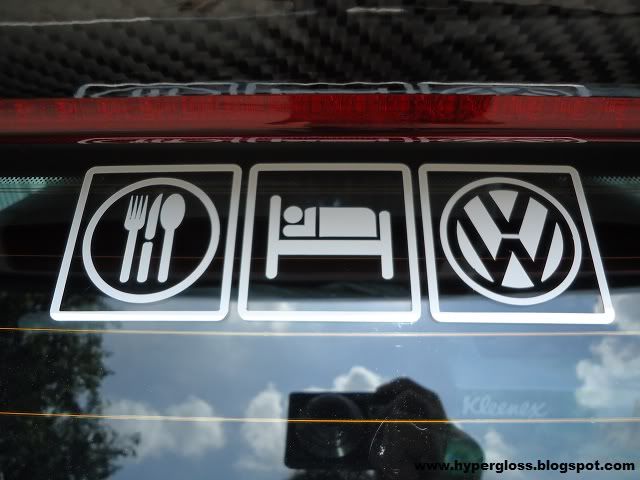
close up

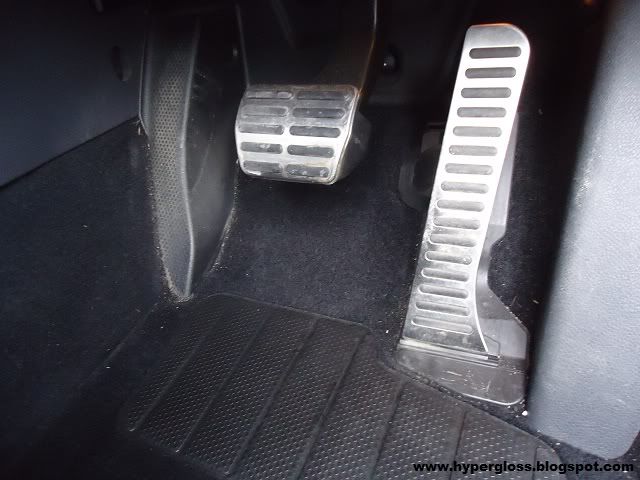
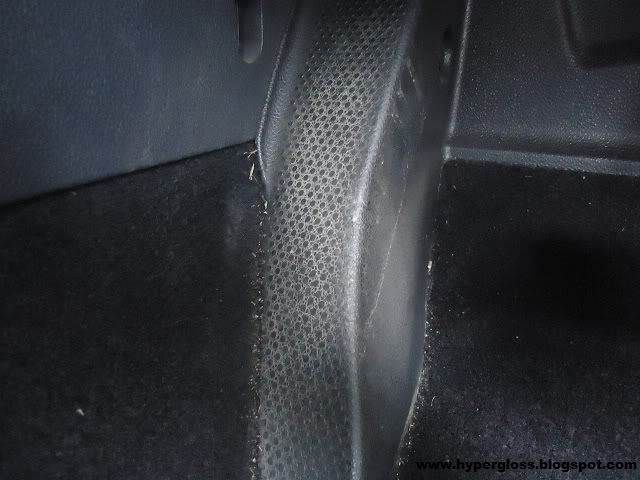
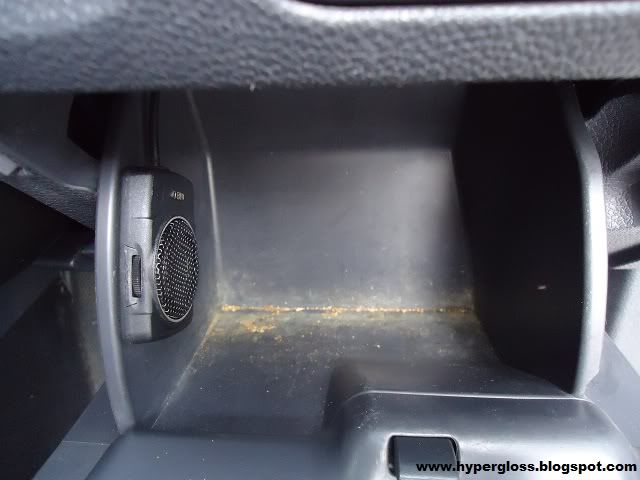
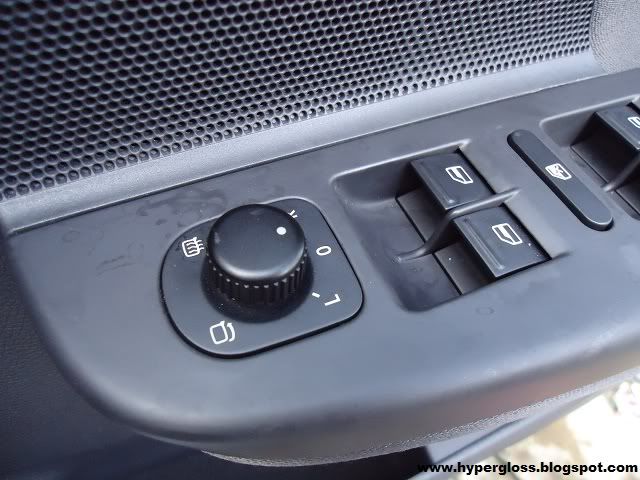
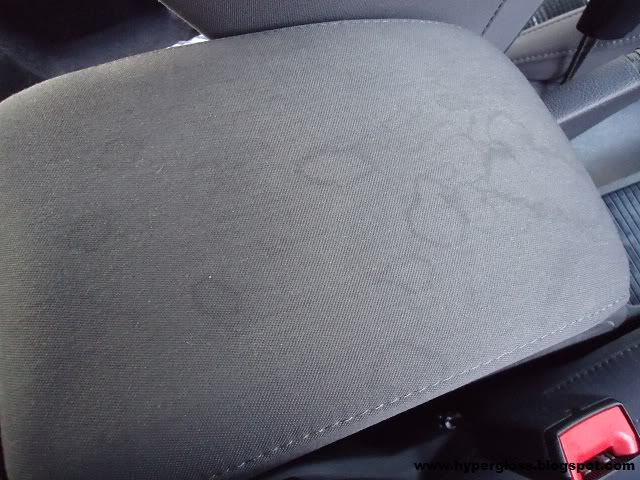
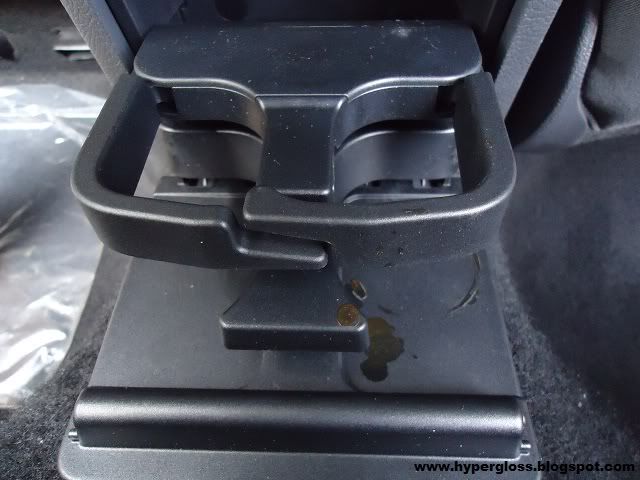
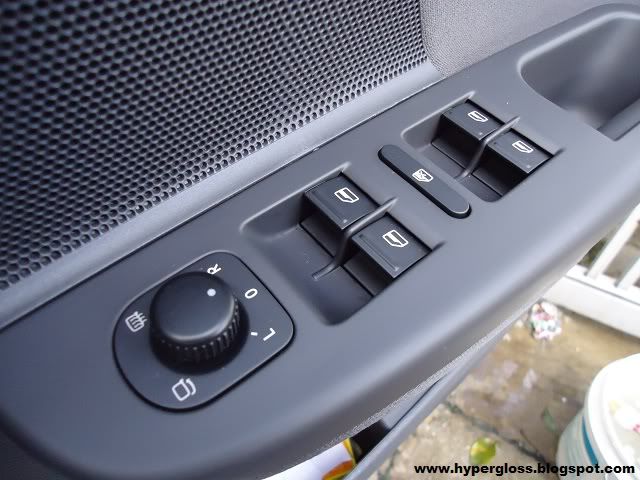
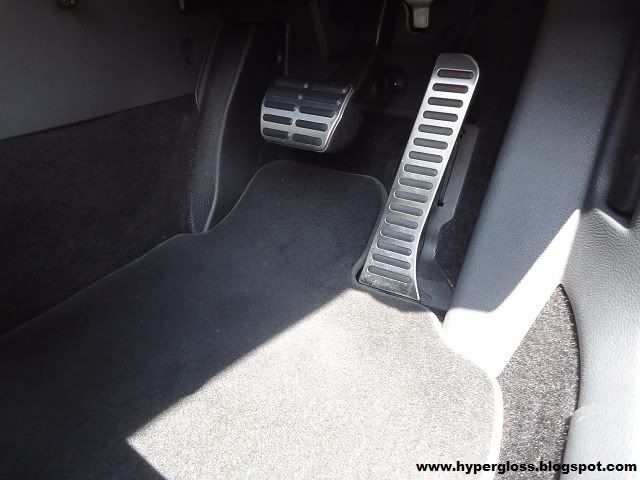
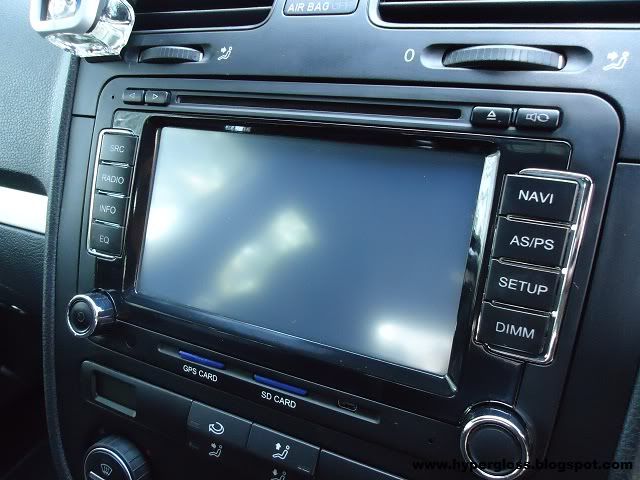
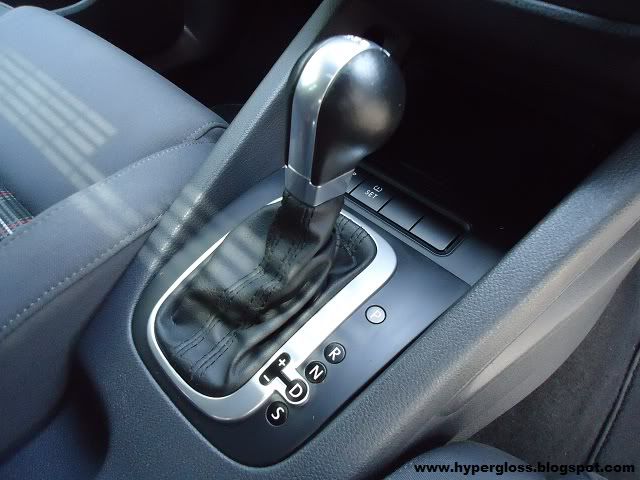
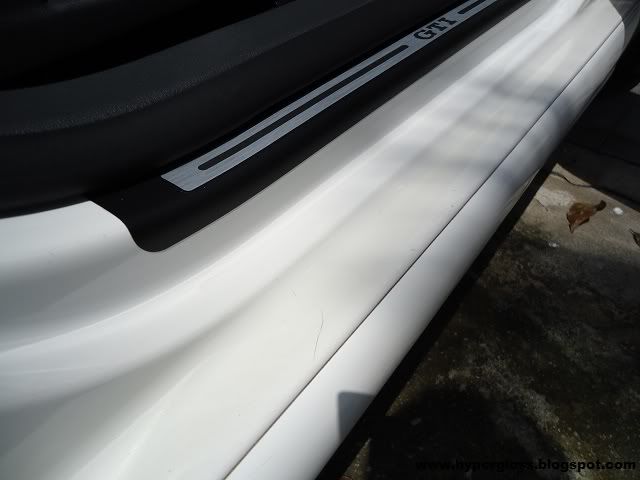
interior
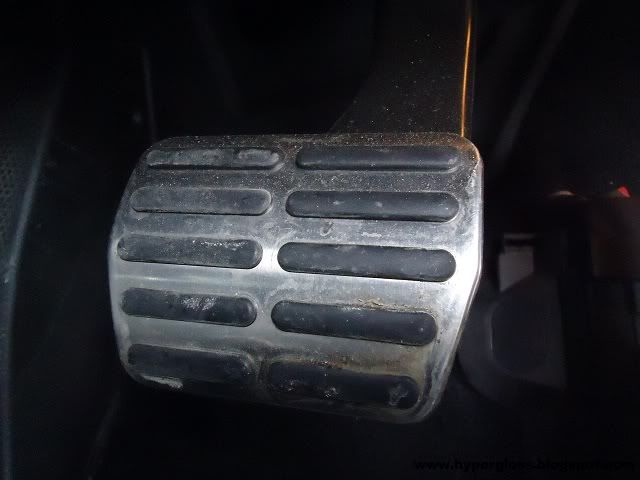
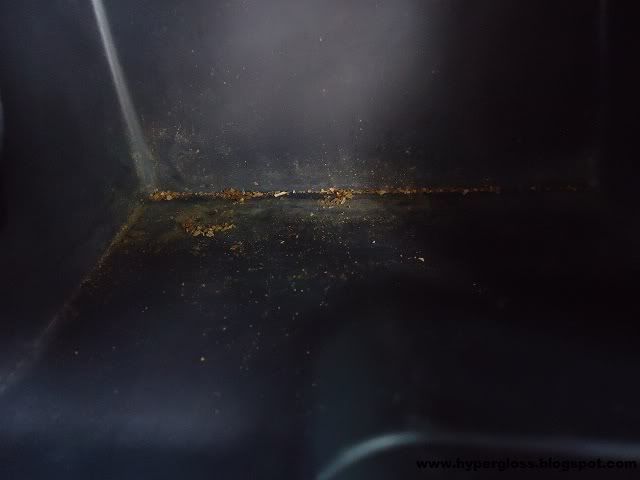
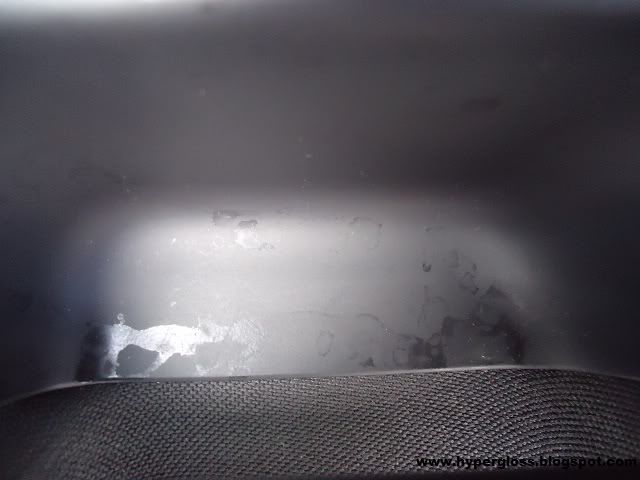
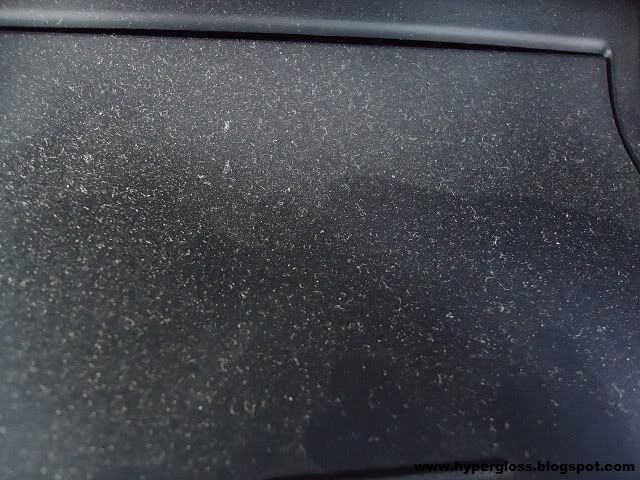
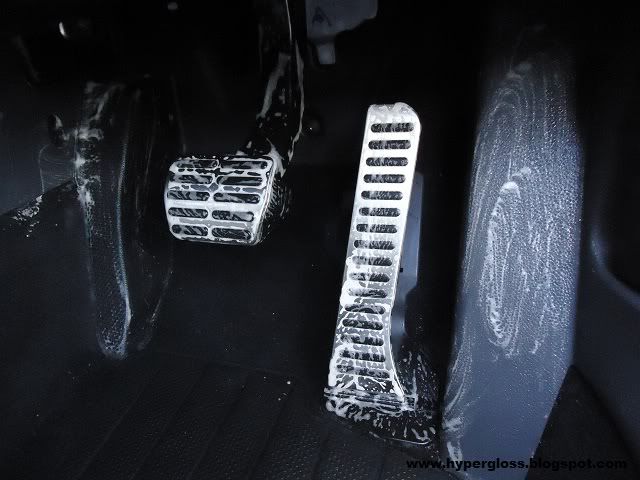
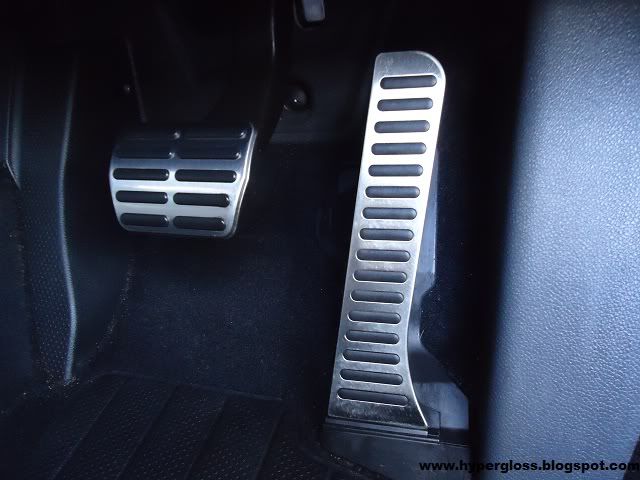
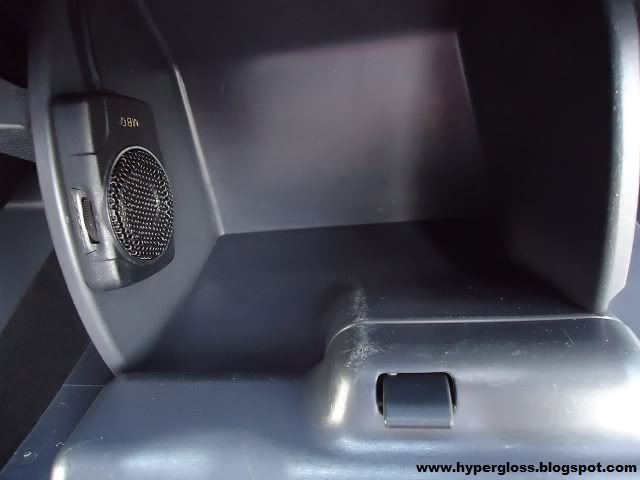
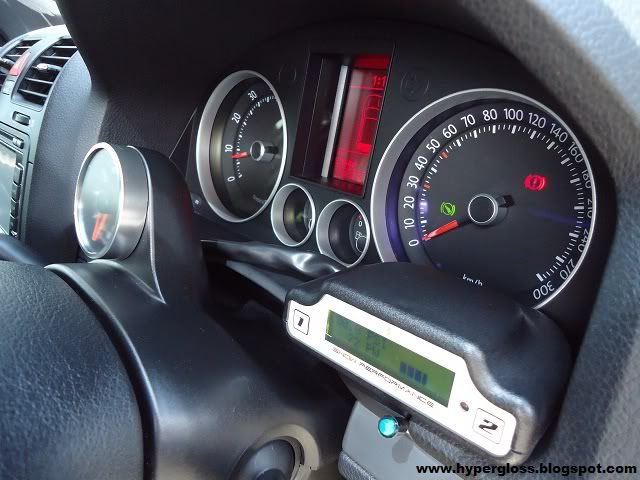
close up
ahh.. christmas is just around the corner and i have been detailing so much lately. i've hurt my back since a month ago, yeap.. been squatting alot to work on door panel/rims too much. guess i really need a holiday soon, to take a break and of course spend time with my loved ones. detailing takes alot of prep work to make it to perfection, so many steps that you need to do to just prep the surface and of course the amount of effort and time you put. passion will lead me and give me power to restore every car. simply say, i love restoring. no matter how much time i have to spend, how many prep work to do i will try my best seeking the easiest way to bring a car to a whole new level, just like bringing antique to the modern world.
today here i have is a VW Golf GTI as known as Mk5. the surface have build up alot dirt, because of the surface did not have a layer of protection so the dirt simply will sit on the surface and did not repel. after discussing with the owner, i suggested him to coat his car. Opti-Coat will perform a layer of permanent clear coat on the surface and because its permanent, your original clear coat will protected by the top of Opti-Coat, meanwhile you get to enjoy long lasting gloss and dont have to be afraid of environment falls out which will harm your paint!
upon arrival
rear trunk
ear bumper
rear lower skirting
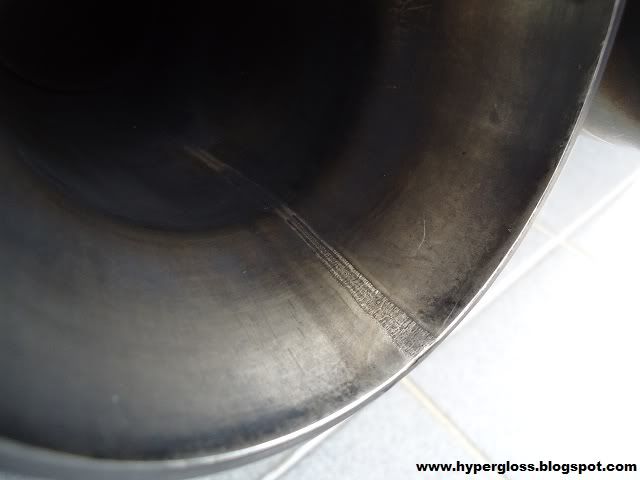
engine
close up
interior
close up


 rops:
rops: