Mike Phillips
Active member
- Dec 5, 2022
- 51,004
- 7
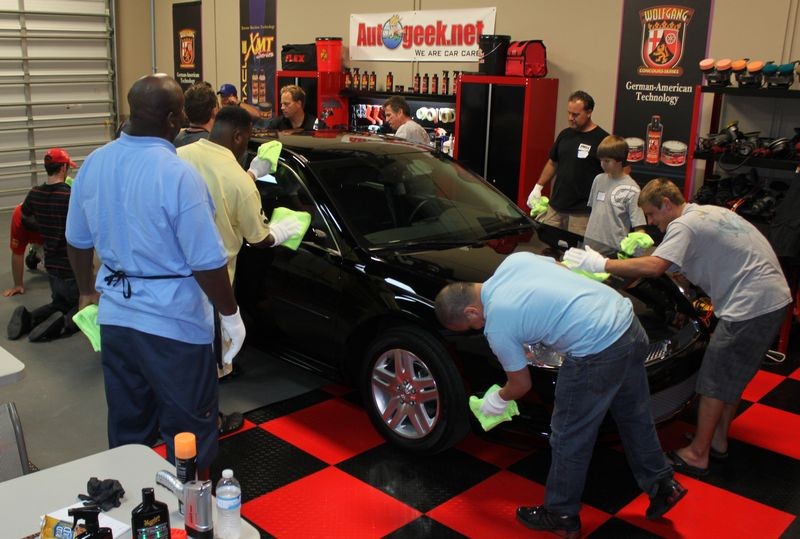
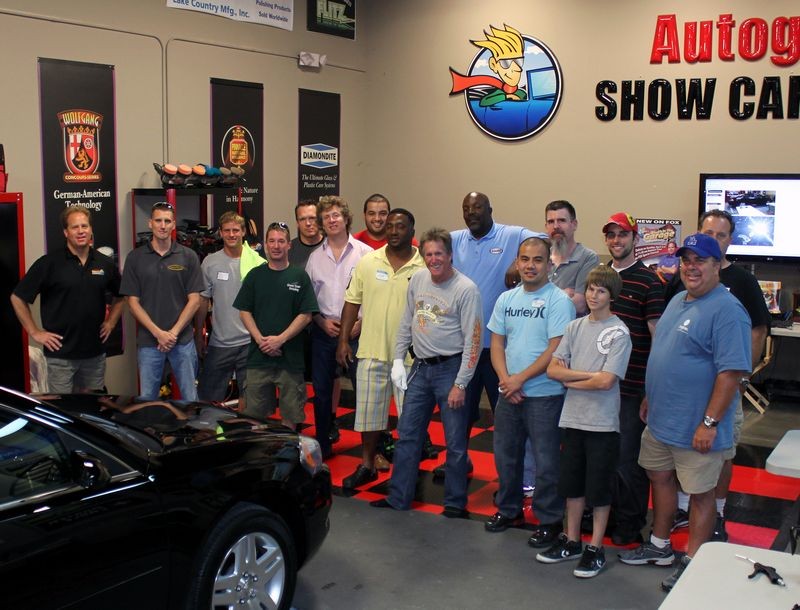
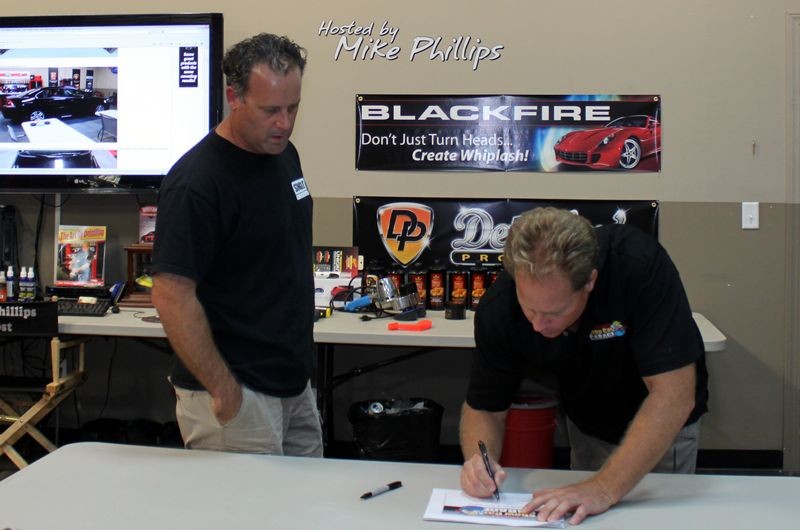
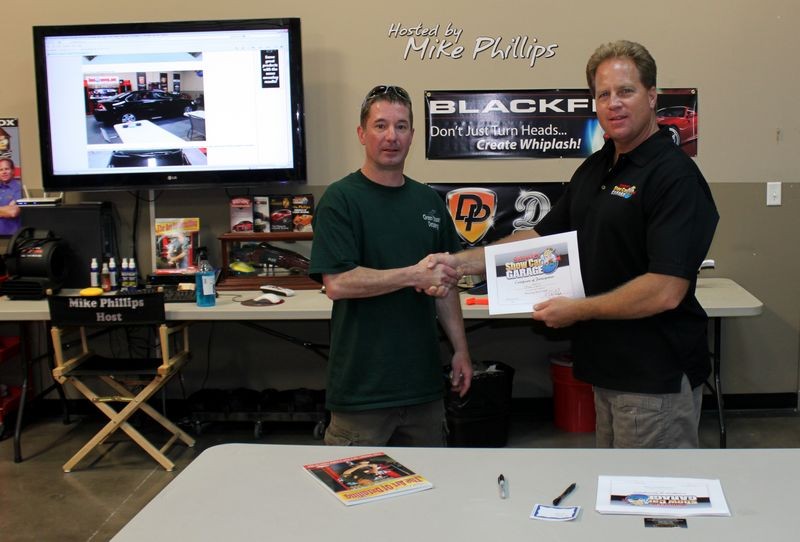
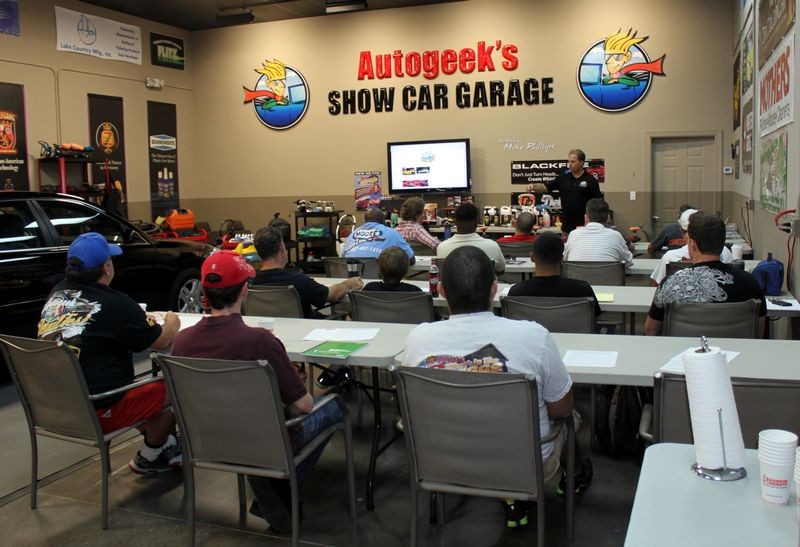
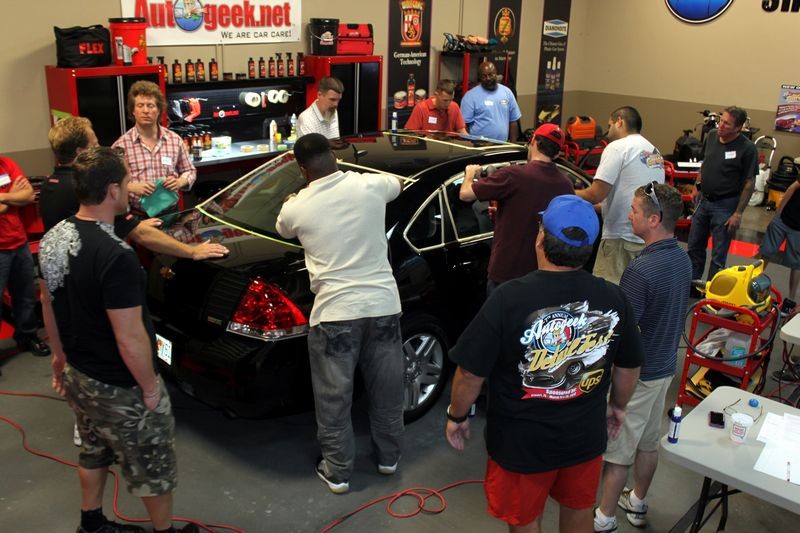
Wetsanding and Rotary Buffer Pictures from Autogeek's Detailing Boot Camp Classes
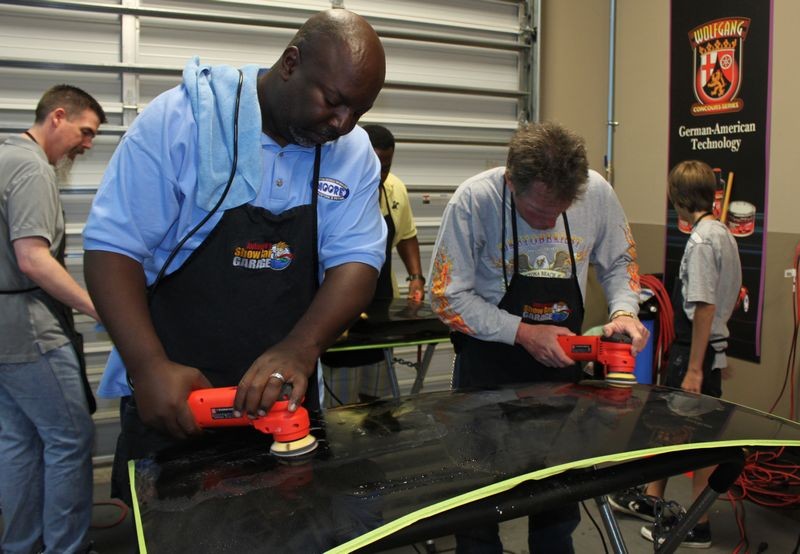
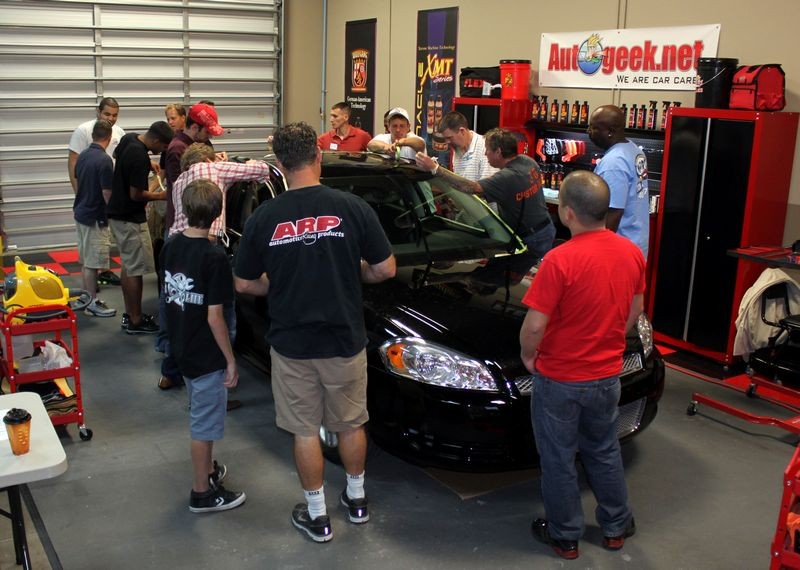
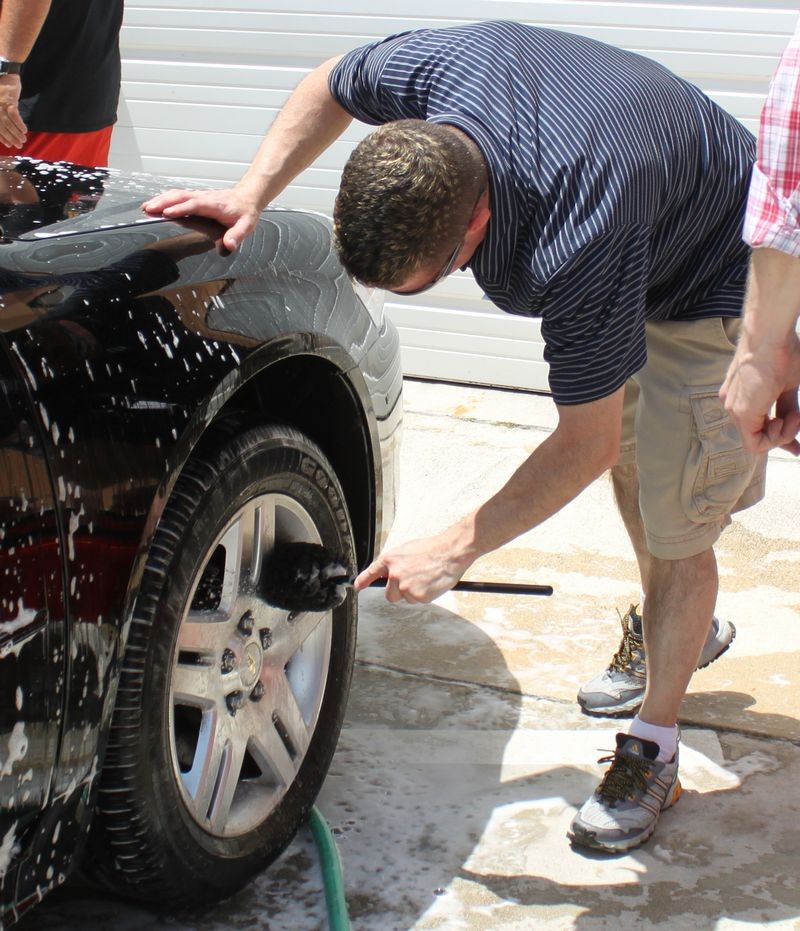
Here's some pictures showing hands-on action with people learning to,
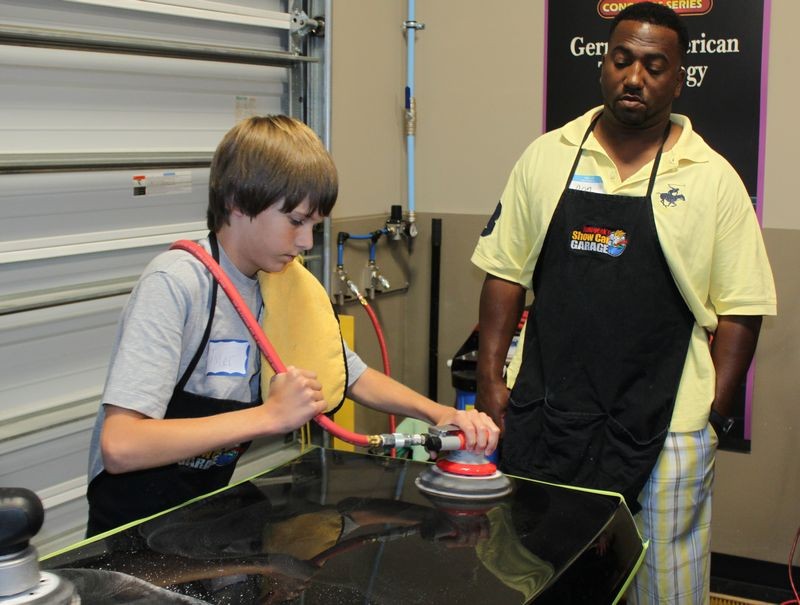
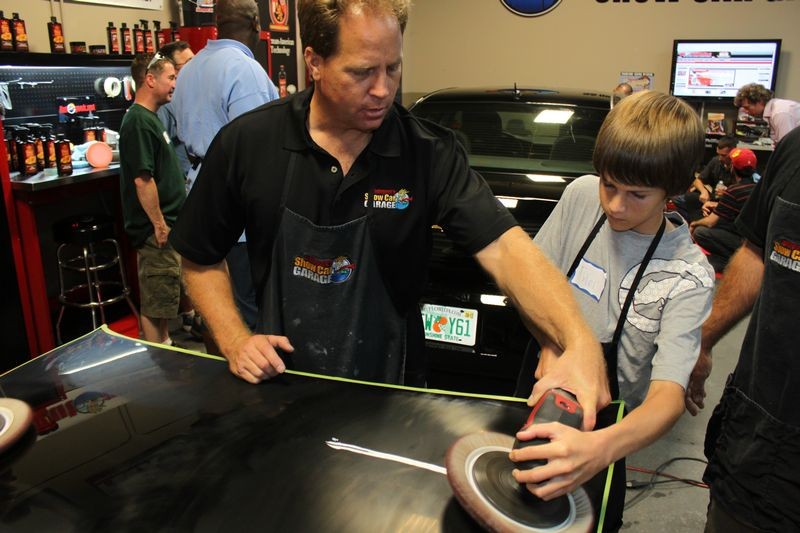
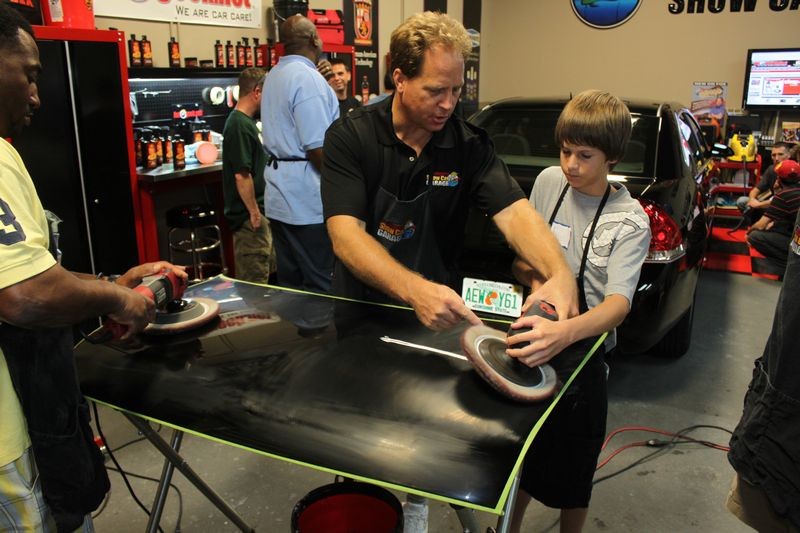
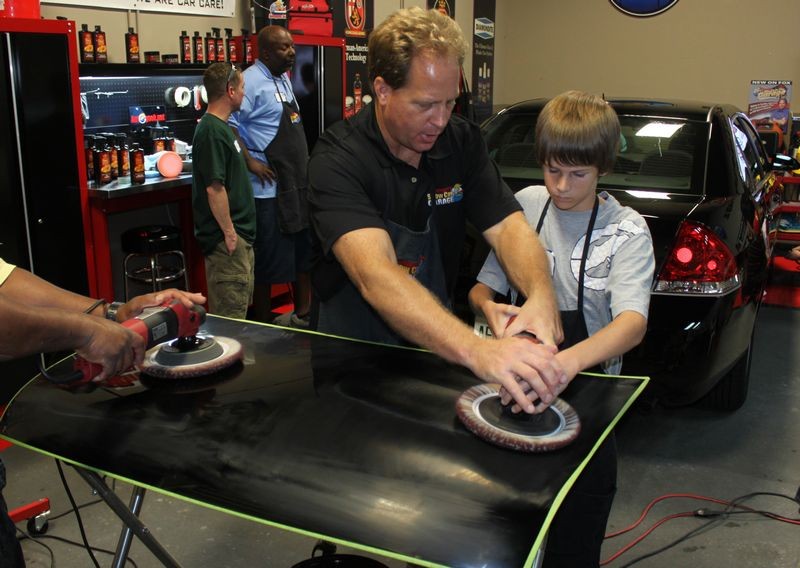
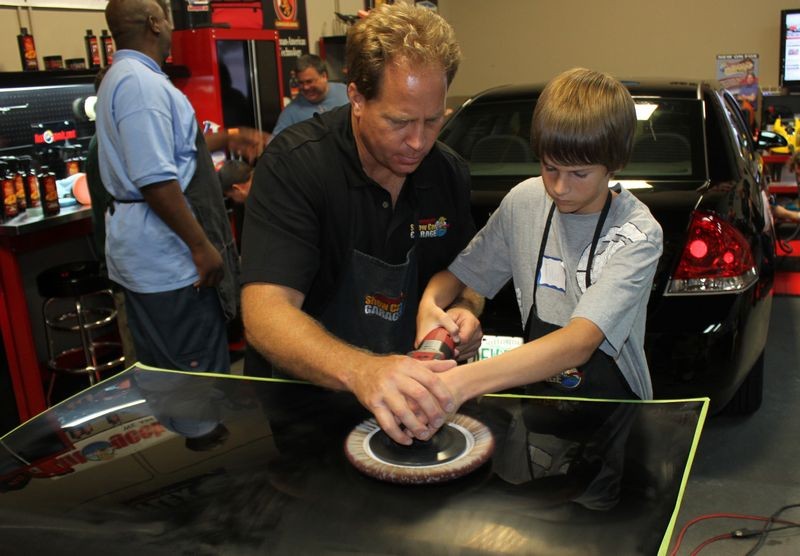
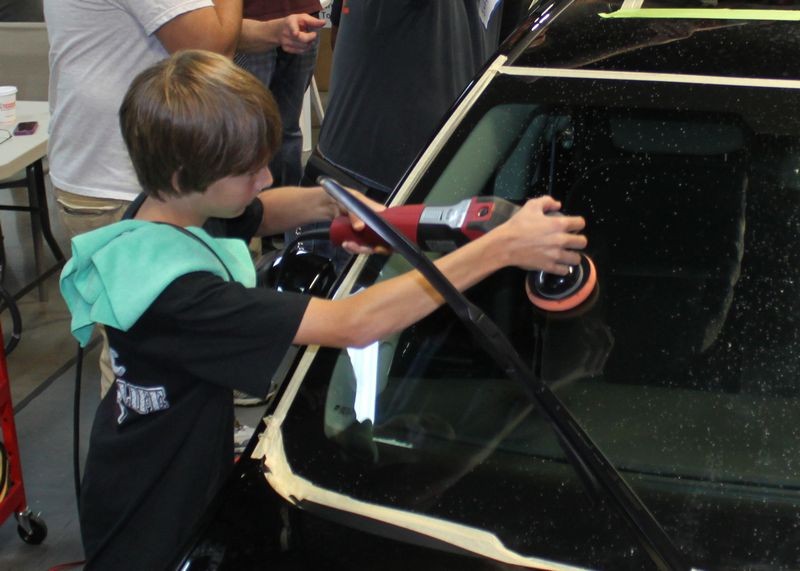
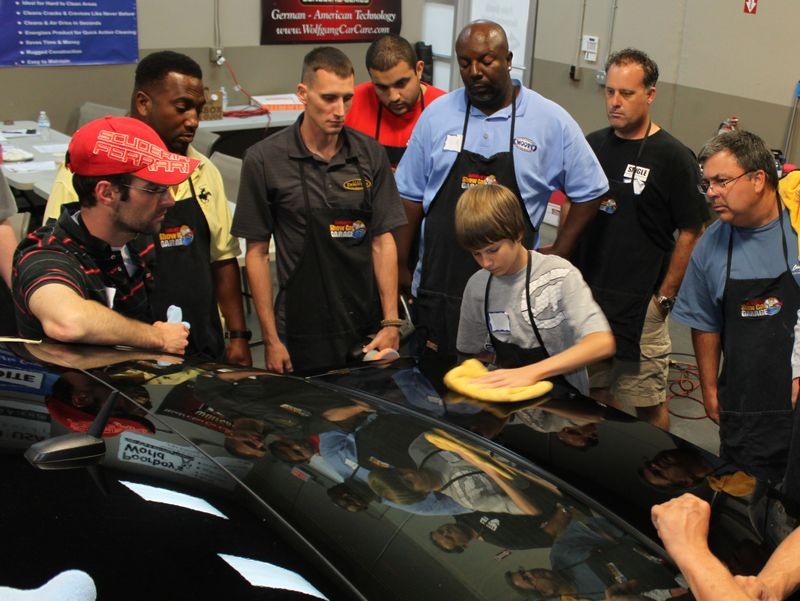
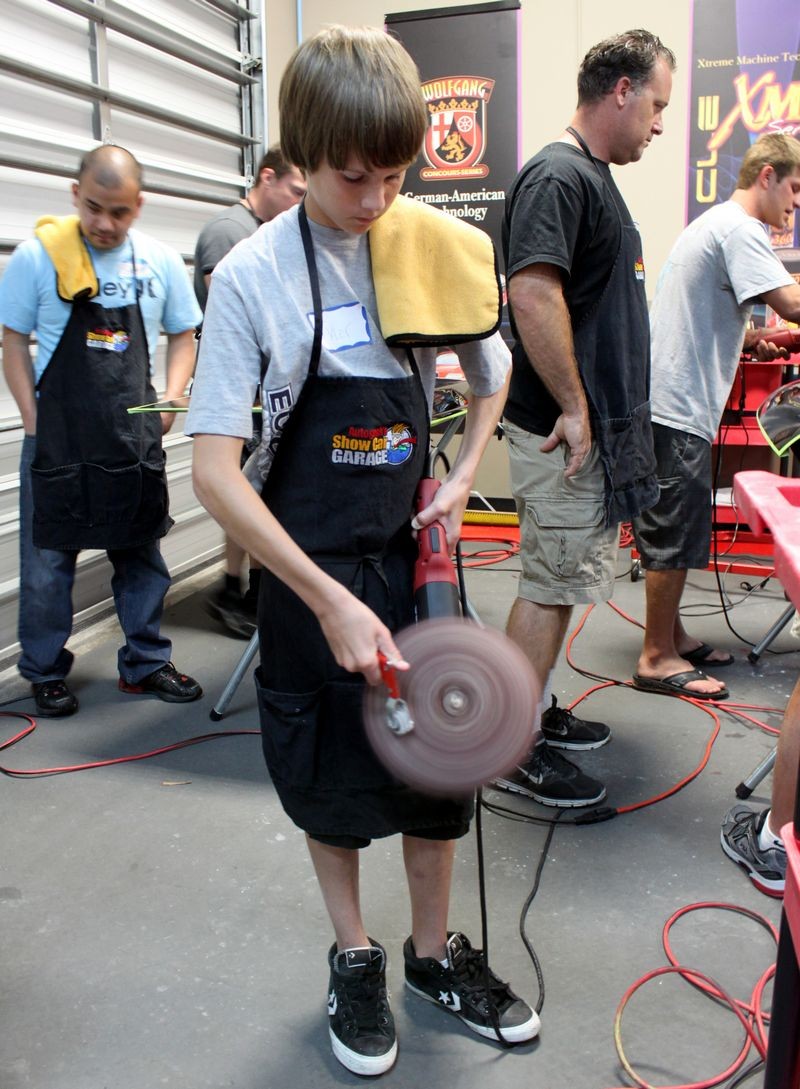
You'll see a wide range of ages including Tyler, age 15 learning the craft of detailing cars and the art of polishing paint.
Here's Tyler, age 15 use a Flex 3401...

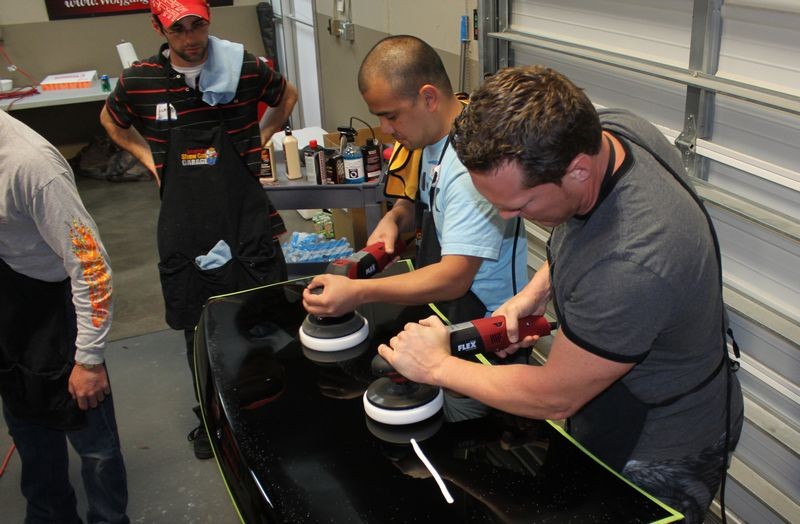
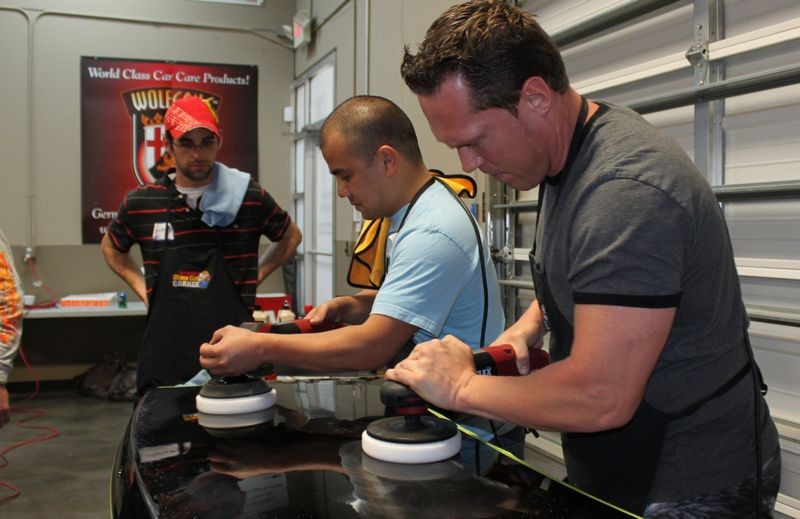
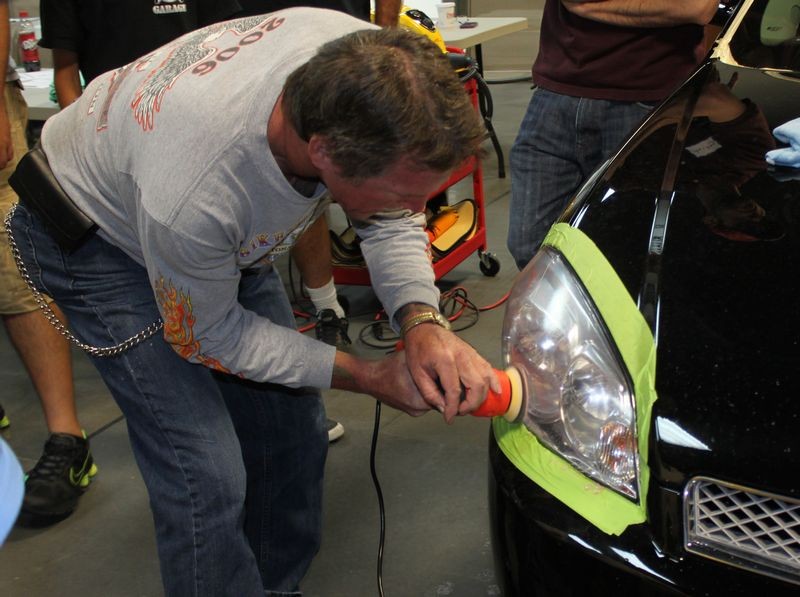
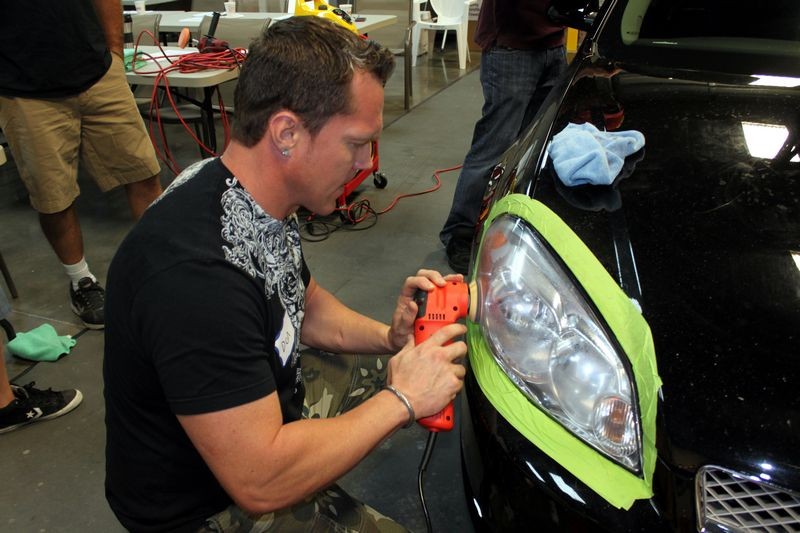
At our classes everyone gets a chance to use ALL the different types and brands of polishers to see which one they like best...

Here's Mackay using a Spur to clean a wool pad on a rotary buffer

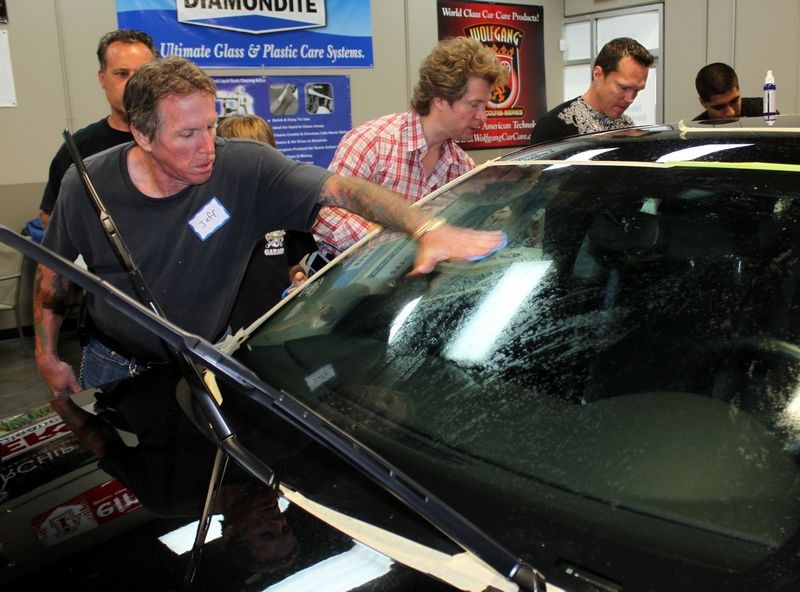
Mackay and Tim Machine Sanding. Mackay is using the Porter Cable 7424XP as a Dampsander and Tim is using the 3M Orbital Air Sander to Dampsand. Both guys are using Meguiar's Unigrit Foam Backed Finishing Discs.

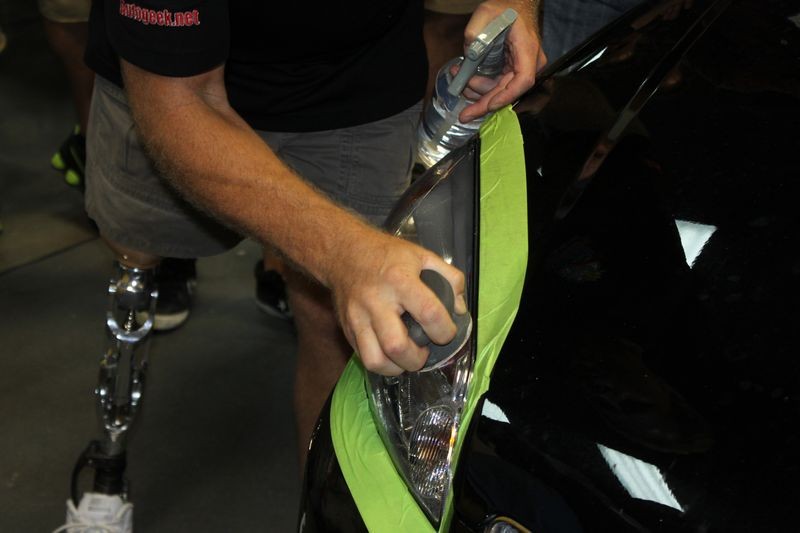
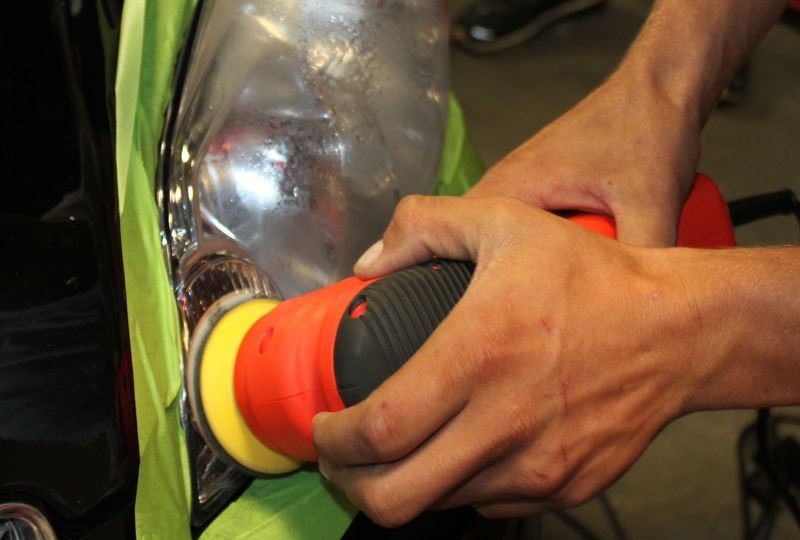
Here's Steve from Executive Auto Detail dampsanding using a 3" Griot's Garage Mini Polisher, the perfect tool for doing surgical wetsanding. Steve drove here all the way from Houston, Texas to attend this class!

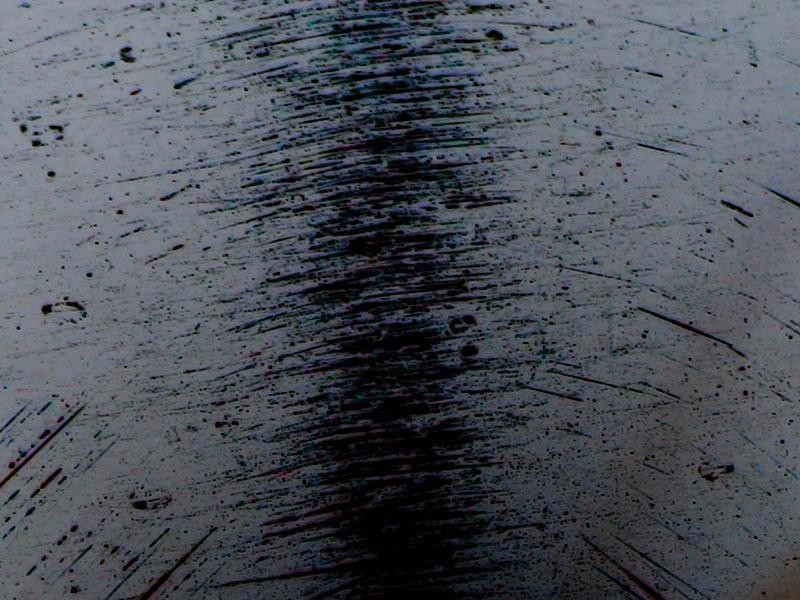
Here's Sean learning to hand sand using Meguiar's Nikken Unigrit Finishing Papers...

Here's Sean using the 3" Meguiar's Unigrit Discs to dampsand right up to and edge...


Here's Mackay learning to machine dampsand using a 3M Orbital Air Sander...

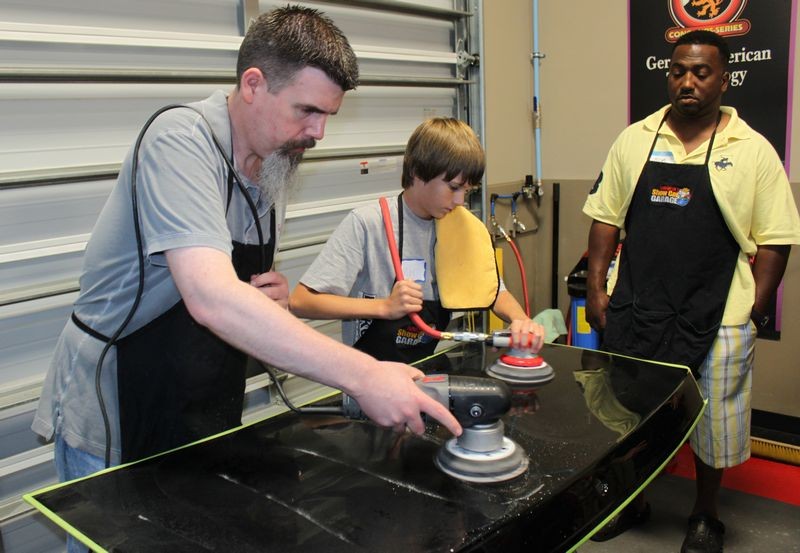
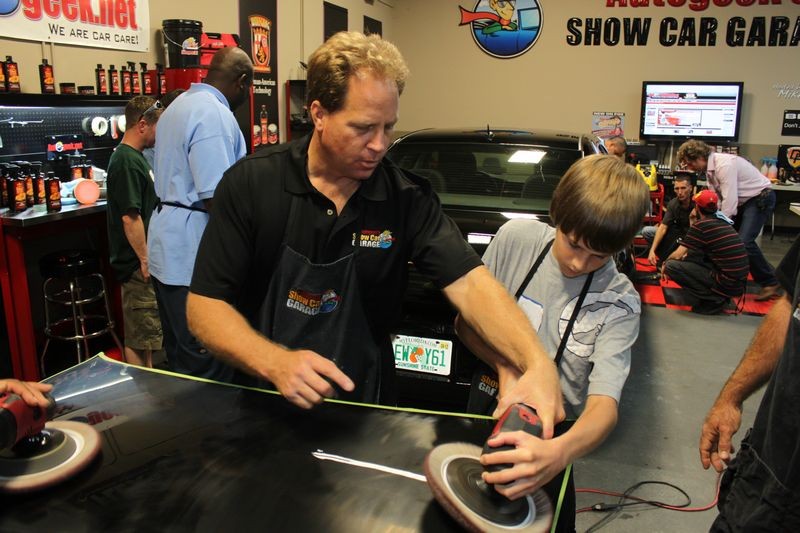
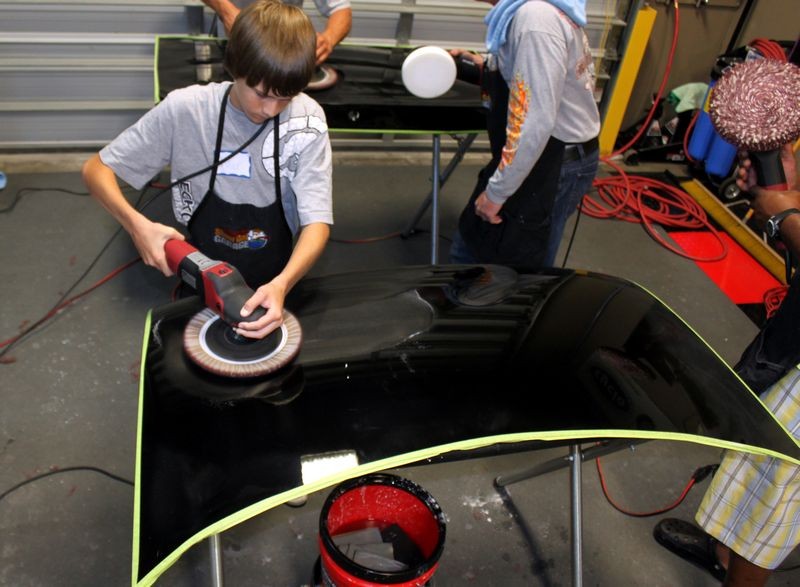
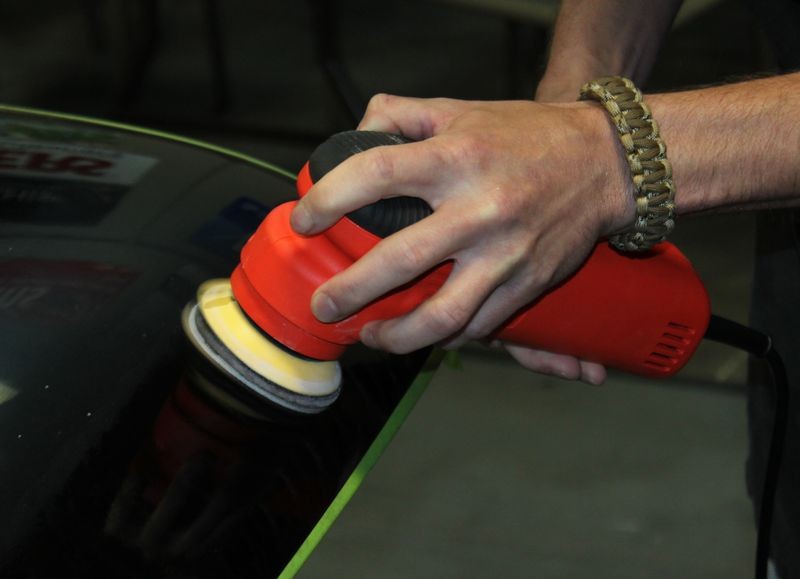
Here's Tyler, showing all the men how to leave a swirl free finish using a Porter Cable 7424XP DA Polisher...

Here's Tyler showing the proper way to remove polish residue so that you don't put toweling scratches back into the paint.
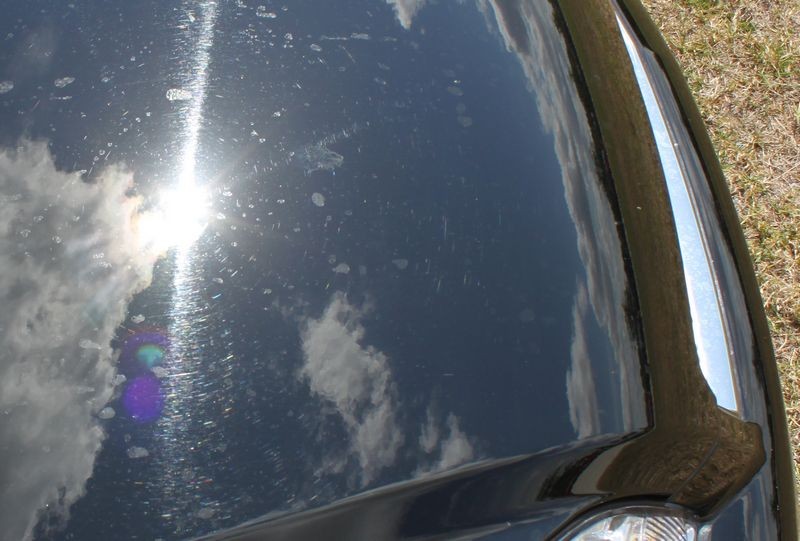
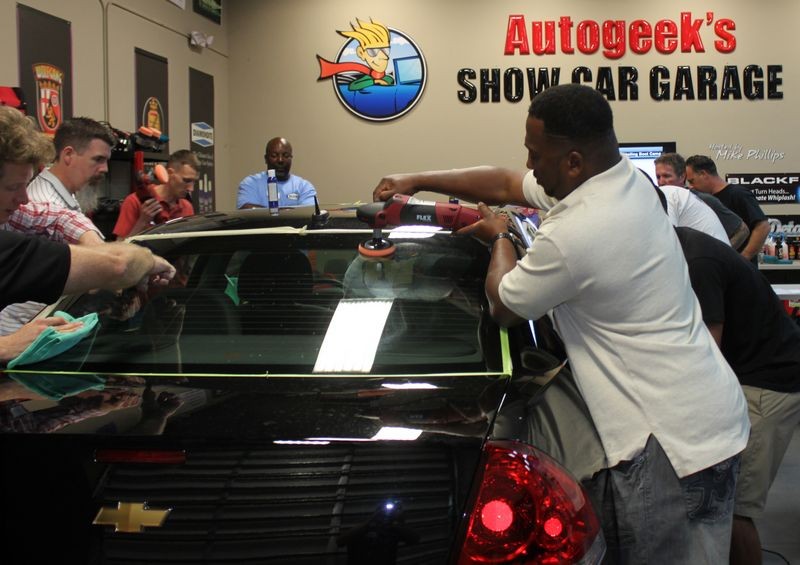
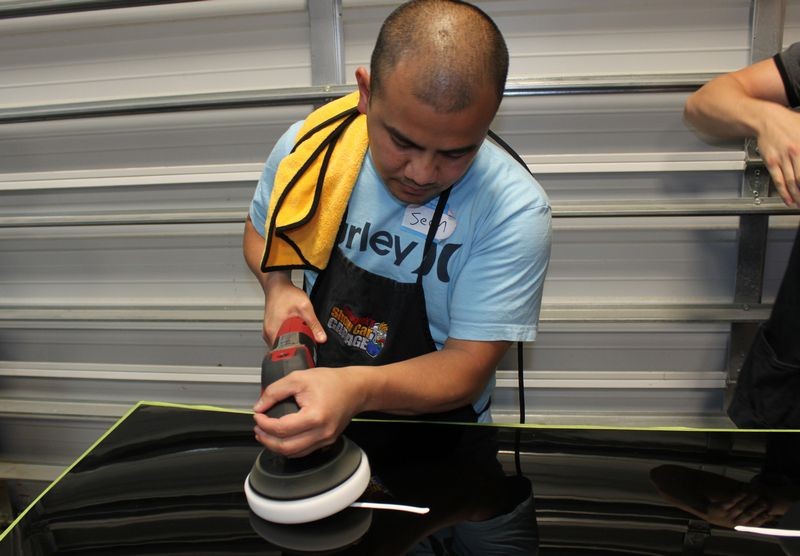
Here's Sean using a wool cutting pad on a Flex Rotary Buffer to remove sanding marks...

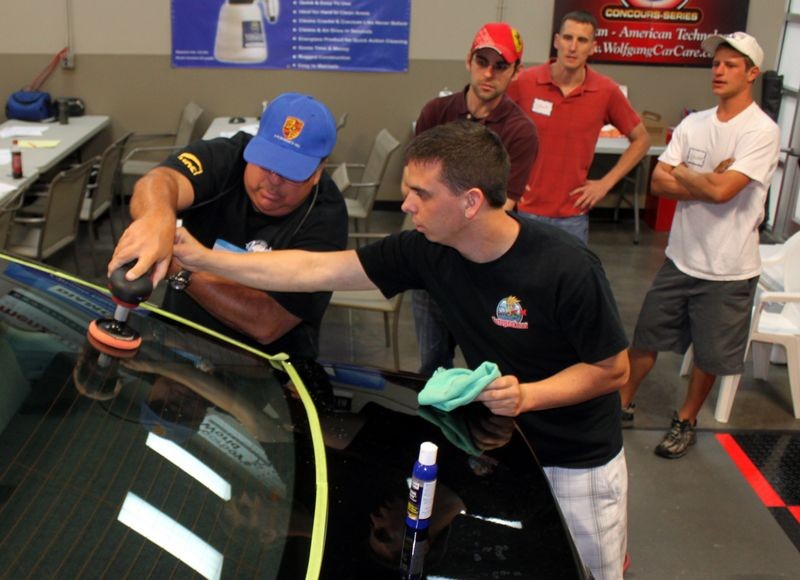
Here's Jeff learning how to pick up his bead using the 10 @ 10 Technique with a Flex PE14 Rotary Buffer and a Wool Cutting pad with M105

Here's Tyler using the Grit Guard Universal Pad Cleaner to clean a wool cutting pad after the compounding step...

After cleaning the wool pad in the pad cleaner Tyler then re-fluffs the wool fibers using a steel pad cleaning spur.


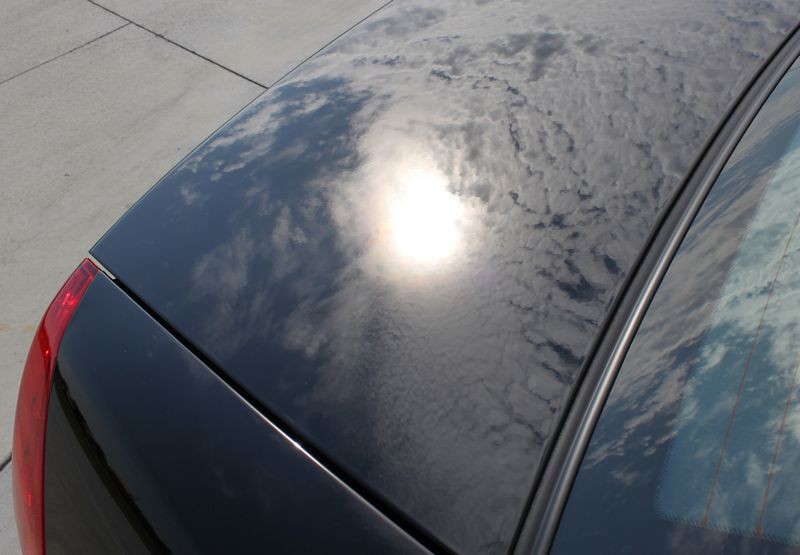
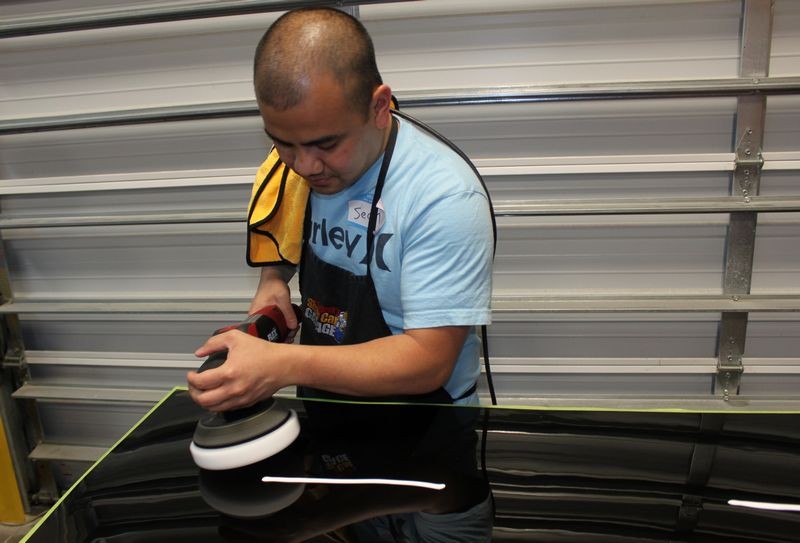
Here's Sean using a Flex PE14 Rotary Buffer with a foam polishing pad after using a wool pad to remove swirls and create a clear, high gloss finish. He's also demonstrating how to pick up a bead of product using the 10 @ 10 Technique.


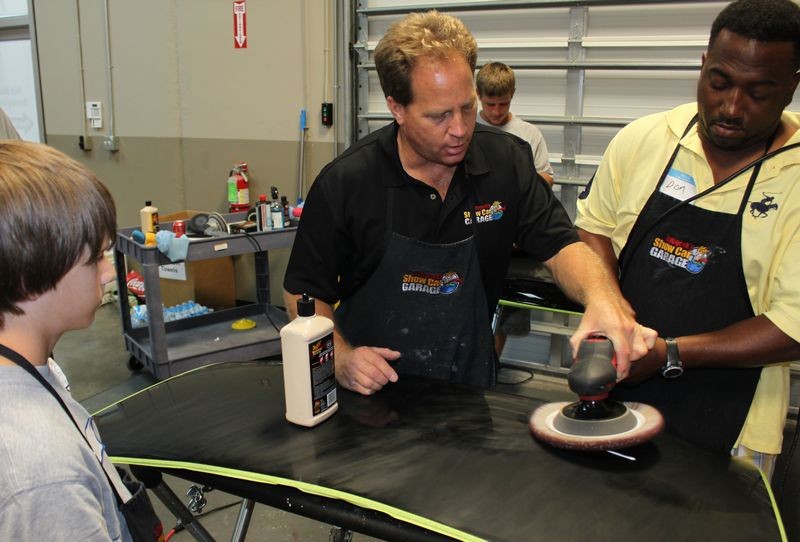
These classes are very much hands-on and jamb-packed with learning correct techniques for detailing cars...
The next class is coming up on September 29th and 30th and there's only a few spaces left.

")
Here's some pictures showing hands-on action with people learning to,
- Hand sand
- Machine sand with 3M Orbital Air Sanders
- Machine sand with DA Polishers
- Use Rotary Buffers
- Use DA Polishers
- Clean Pads
- Apply Coatings
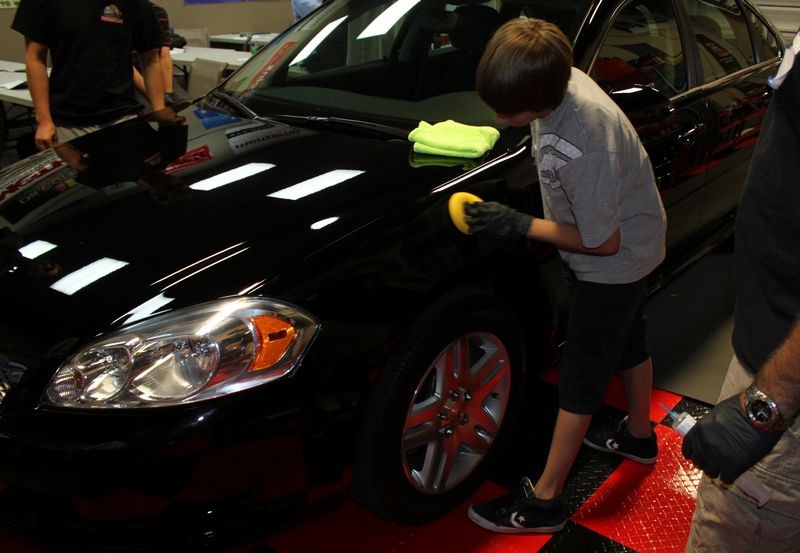
You'll see a wide range of ages including Tyler, age 15 learning the craft of detailing cars and the art of polishing paint.
Here's Tyler, age 15 use a Flex 3401...
At our classes everyone gets a chance to use ALL the different types and brands of polishers to see which one they like best...
Here's Mackay using a Spur to clean a wool pad on a rotary buffer
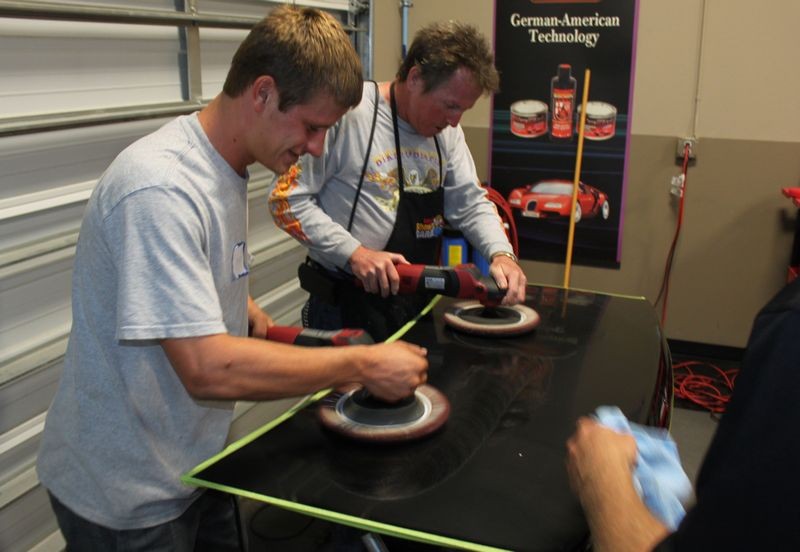
Mackay and Tim Machine Sanding. Mackay is using the Porter Cable 7424XP as a Dampsander and Tim is using the 3M Orbital Air Sander to Dampsand. Both guys are using Meguiar's Unigrit Foam Backed Finishing Discs.
Here's Steve from Executive Auto Detail dampsanding using a 3" Griot's Garage Mini Polisher, the perfect tool for doing surgical wetsanding. Steve drove here all the way from Houston, Texas to attend this class!
Here's Sean learning to hand sand using Meguiar's Nikken Unigrit Finishing Papers...
Here's Sean using the 3" Meguiar's Unigrit Discs to dampsand right up to and edge...
Here's Mackay learning to machine dampsand using a 3M Orbital Air Sander...
Here's Tyler, showing all the men how to leave a swirl free finish using a Porter Cable 7424XP DA Polisher...
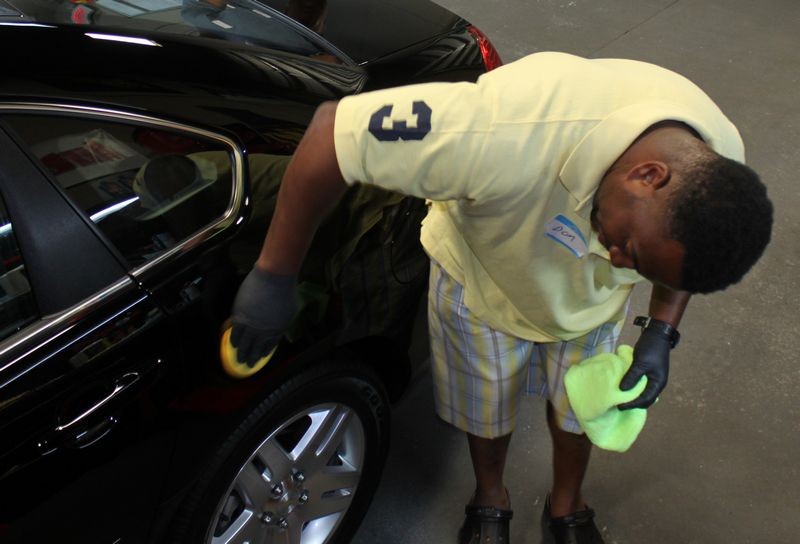
Here's Tyler showing the proper way to remove polish residue so that you don't put toweling scratches back into the paint.
Here's Sean using a wool cutting pad on a Flex Rotary Buffer to remove sanding marks...
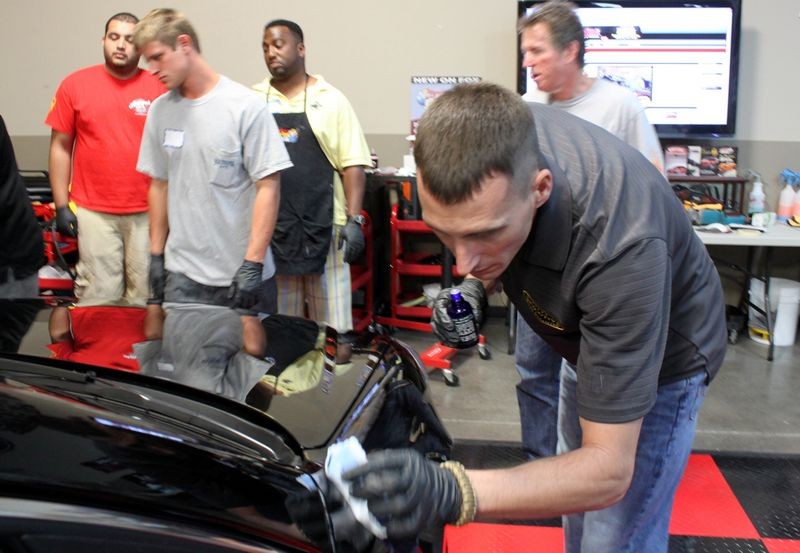
Here's Jeff learning how to pick up his bead using the 10 @ 10 Technique with a Flex PE14 Rotary Buffer and a Wool Cutting pad with M105
Here's Tyler using the Grit Guard Universal Pad Cleaner to clean a wool cutting pad after the compounding step...
After cleaning the wool pad in the pad cleaner Tyler then re-fluffs the wool fibers using a steel pad cleaning spur.
Here's Sean using a Flex PE14 Rotary Buffer with a foam polishing pad after using a wool pad to remove swirls and create a clear, high gloss finish. He's also demonstrating how to pick up a bead of product using the 10 @ 10 Technique.
These classes are very much hands-on and jamb-packed with learning correct techniques for detailing cars...
The next class is coming up on September 29th and 30th and there's only a few spaces left.
Next Detailing Boot Camp Class In September!
 rops:
rops: