JayMartin
New member
- Mar 26, 2015
- 7
- 0
Hello,
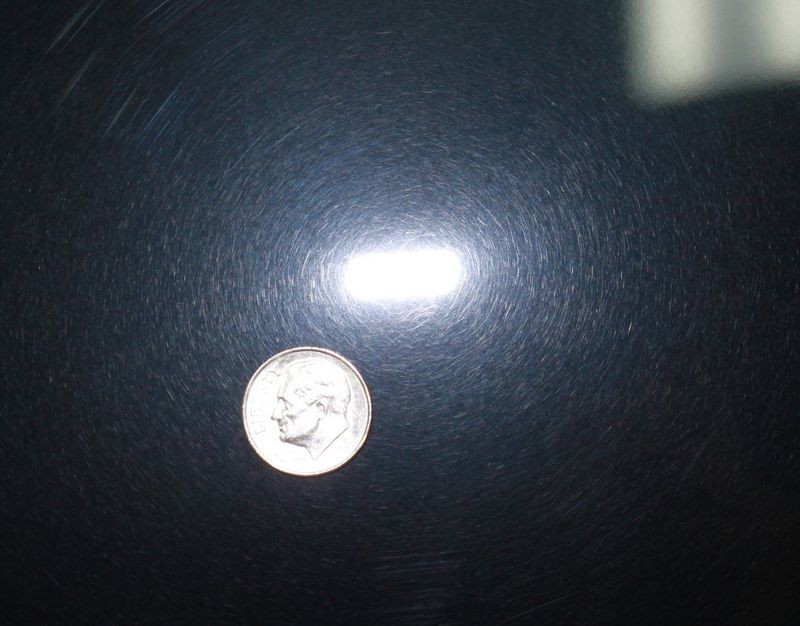
Did I skip a step? I just got my new Porter Cable 7424XP and products and put them to use on a 20 year old red pickup truck. On the one hand, the results are nothing short of fantastic. On the other hand if I look carefully, I can now see thousands of ultra fine scratches. What have I done wrong?
What I did—I first used orange Lake Country pads with Menzerna PG 1000, following the 6 passes in both directions as per the instructional video. I then applied Wolfgang Deep Gloss Paint Sealant 3.0 with a blue pad. Finally, I applied some Carnauba wax I had on the shelf, using another blue pad.
Was I not aggressive enough with step one? If not, do I need a more aggressive compound, pad, or both? Or have I introduced swirls and should have used some sort of swirl remover before the paint sealer? The fine scratches are pretty much straight lines, so I don't think of them as swirls. I am also confused on swirl remover as the Go With The Flow Diagram states, “Compounds tend to leave compounding swirls. A medium grade swirl remover will eliminate these swirls.” But then the Wax Cut Chart does not have a medium grade swirl remover offering from Wolfgang.
Again, this finish blows me away. But I'm using this first vehicle for learning the basics and would like to understand what I could be doing better.
Thanks for any advice you can offer,
Jay

 rops:
rops: