What is this on the paint?

:iagree:

I'm surprised how many people said it looks like bird crap etching or clear coat failure/crows feet...

That is absolutely pigtails from machine sanding. It was probably a pneumatic single-action sander (it just vibrates in little circles, no rotation) that was used to remove orange peel. Good thing it's a test panel and you can practice sanding it out without much fear. I bet you can get them out without too much trouble. Spot sand by hand, compound and polish. Looking forward to seeing your results!

Yeah, I felt the same way. Only one thing can create a pattern such as that. I certainly don't think birds have that kind of aim, haha.
 
Might as well go get the touch up now so you can apply it later (after more pigtail removal) and leave it to dry overnight and play with more sanding/compounding/polishing tomorrow.
 
Might as well go get the touch up now so you can apply it later (after more pigtail removal) and leave it to dry overnight and play with more sanding/compounding/polishing tomorrow.


Is already 7pm I dont know of any store that may have a red touch up. Those piggies are goners lol, well on that one spot im working of course there are more spots all over the hood with em
 
I wouldn't normally be so gun ho about experimenting. But this is just a test panel! It would be good for him to ruin it. Then he'll know his boundaries.

Well that's not what I was referring to, but I agree -- better for someone to realize that they can ruin a finish when they don't know what they're doing than to think they're invincible.
 
I just bought a red Miata trunk lid for the same purpose. Just testing my limits and see what I could restore. I also wanted to practice wet sanding and touch up. I will start a thread and post my own pics.

BTW, x2 for pig tails.

Tim
 
This is one of those threads I read through and can't help but think "people really scare me..."

:bolt:

yeah, i know exactly what you mean, and you and i are on the SAME EXACT page
23r47wk.jpg
 

From the photo it looks like the panel was repainted and the prep work was sort of shoddy. This is very typical when debris becomes stuck to the sanding disk then leaves marks in the repair material and painted over.
 
Classic marks from a DA Sander. Way too perfect and uniform to be environmental etching.
 
If its on the clearcoat, then it'll be easy to fix.

Sometimes these pigtails take place while sanding the primer and then the whole paint shows the pigtails through it, and to remove that = repaint!
 
Finally guys the write up is here from the test panel.

But first I would like to thank Flatstick for sending me some free samples of some great products. Without his nice help I would have not be able to complete this test project.


Now I know some of my pictures may or may not be good I APOLOGIZE but I do not own a real good camera like you guys do. So I did some videos and took pictures the best I could with my EVO.

You should be able to see somewhat different I went tru all the evidence I am posting and I can tell, but I know I can tell better when I look at the panel myself obviously. lol


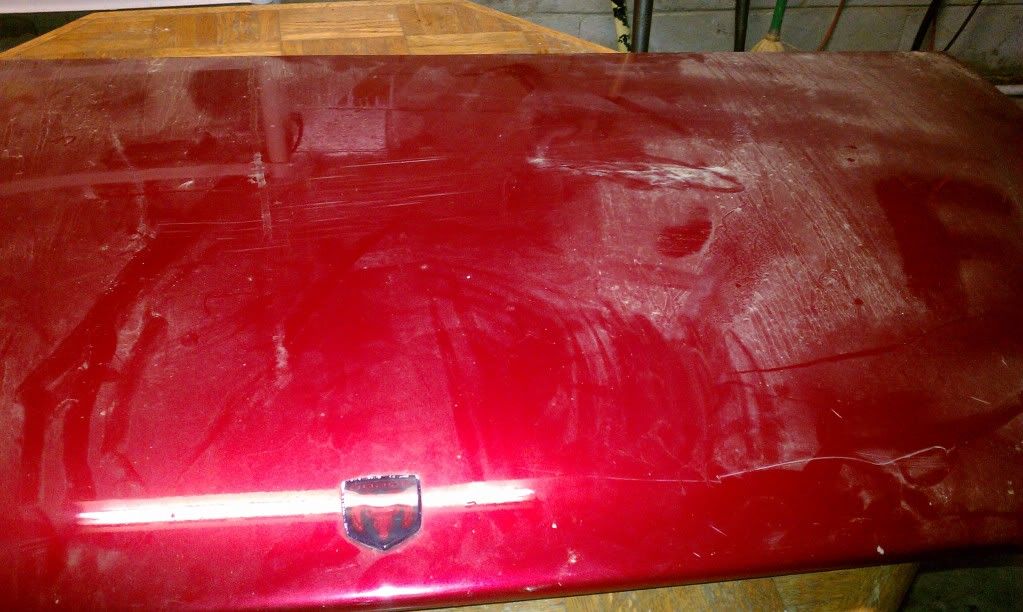
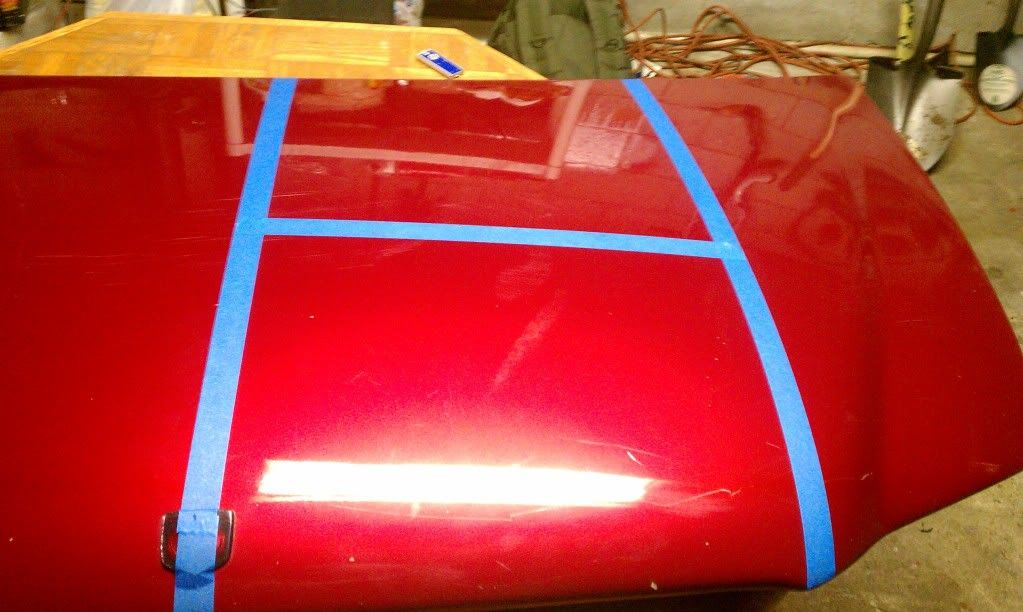
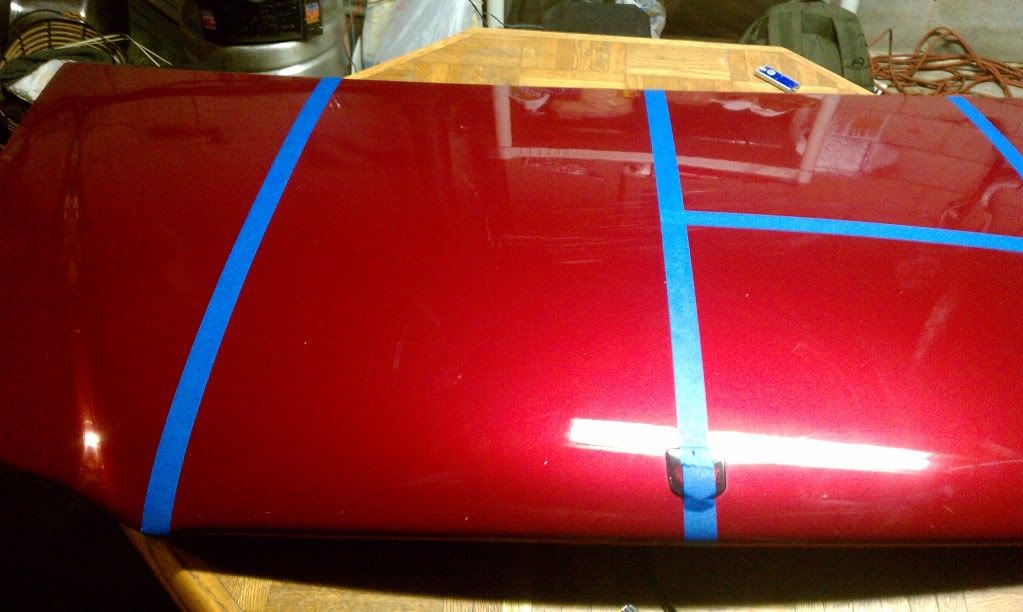
So first thing I wash the hood it was dirty!!! I rinse it real good with my electric PW 2K PSI. I didn't feel like using soap at all so I rinse it real good.

Towel dry it and then did the baggie test and was obvious clay was needed.

Clay it with blue magic clay, did the whole test spot I was working on. Wipe it down with MF and did another layer of clay.

It was smooth like baby ass :D 
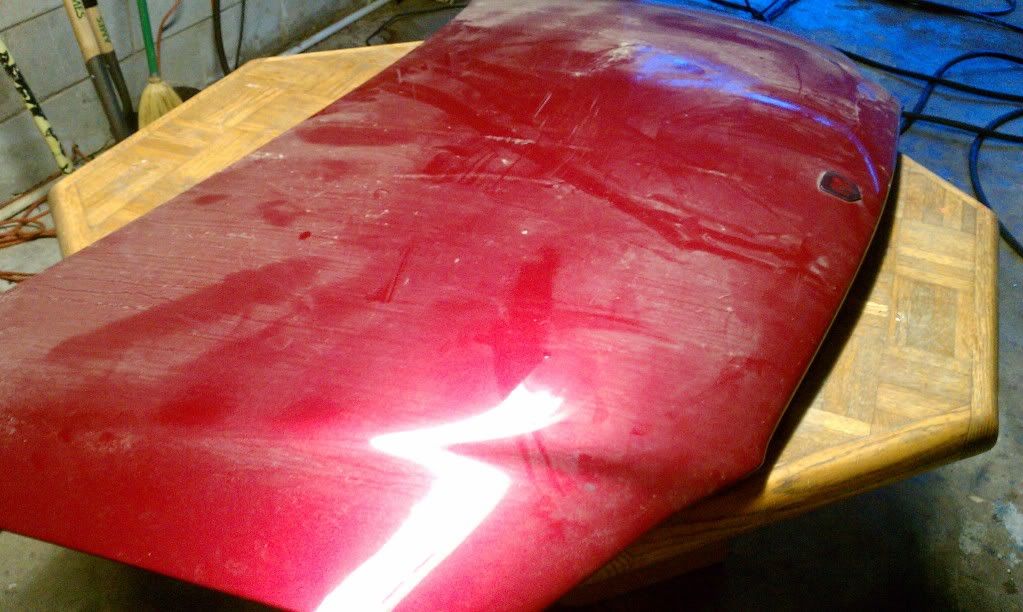
so I then proceed to wet sanding.

I cut out a piece of 1500 did the whole spot and then I used my 3M block with a 2K paper and sanded evenly the whole spot again. I could still see those freaking etching on the clear coat we were all talking about here so I then hit those spots specifically only with a 1K piece. I went back to even out the whole spot with my 3M block with a 2K paper.


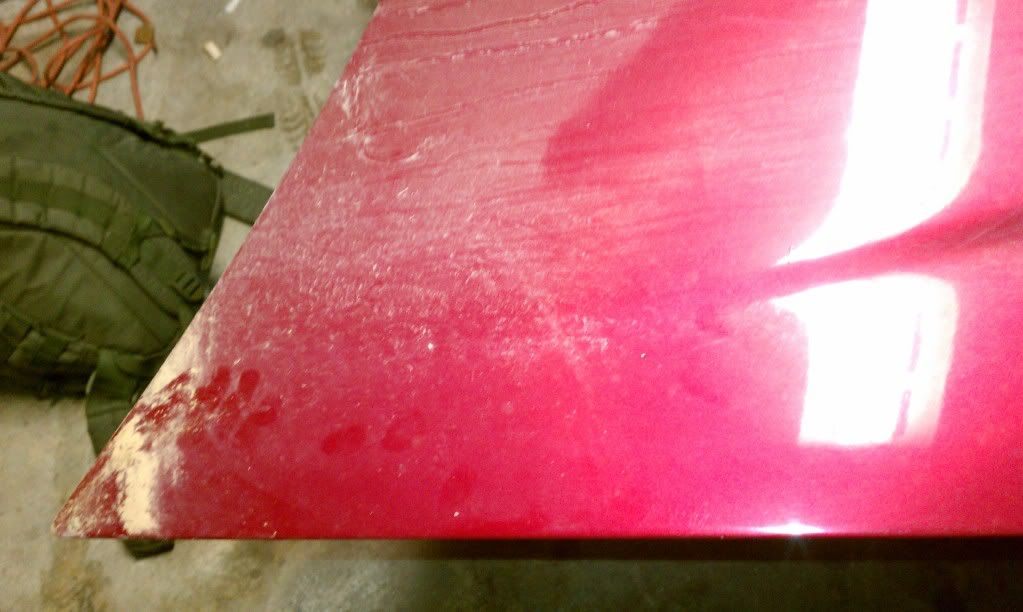
Buffed out the color sand without leaving any holograms behind using the LC wool foam pad I think is 5.5" or 6" with Meg diamond cut compound and would spray mist of water to break the compound to it finest without heating the paint too fast. (between 1200 and 1400 rmp)

Did an IPA wipe and buff it out one more time and IPA wipe again.

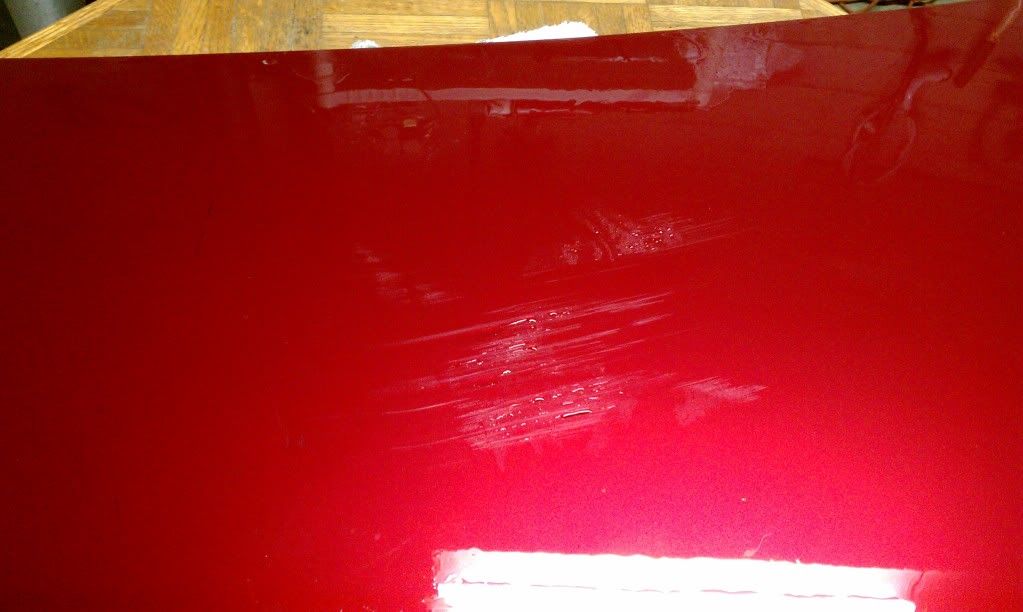
I did 2 coats of menzerna polish & LC Orange flat pad and IPA wipe between the coats.

Poorboys EX sealant with LC white flat pad one coat and left it on 24 hrs and the wipe it off with an MF and did another coat and waited an hour wipe it off.

Last but not least I applied auto glym wax with the red pad it came with and left it on 24 hrs and then wipe it off.

I will post pictures in a bit and videos
 
IMAG0333.jpg


IMAG0332.jpg


IMAG0331.jpg


IMAG0346.jpg


This picture right here most of the scratches shown here were included in the spot I tape out to work on.
 
[ame=http://www.youtube.com/watch?v=5U2T-8TqW-A]YouTube - Dodge Red Hood Paint Corrections[/video]

IMAG0350.jpg


IMAG0351.jpg


[ame=http://www.youtube.com/watch?v=dMwOj5-Up84]YouTube - Dodge Red Hood Paint Corrections[/video]
 
Color sand here

[ame=http://www.youtube.com/watch?v=rTSQXtuRHNc]YouTube - Dodge Red Hood Paint correction Pt 2[/video]
 
Back
Top