lawrenceSA
New member
- Feb 7, 2012
- 1,713
- 0
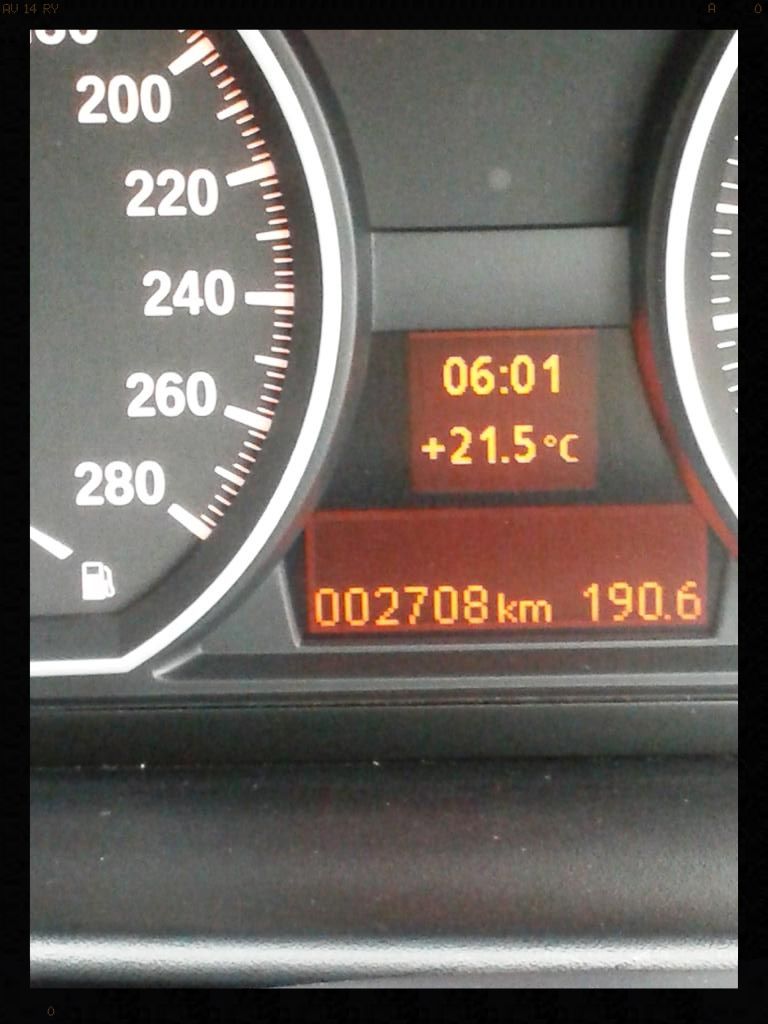
I knew before this beauty arrived that it was a 2010 model that had not seen much tarmac in its life. What I didn't know was that the trip from this car's garage to mine on Saturday morning was the first time it had ever been driven on a wet road. :shock:
Saturday
The owner arrived little after 05:30 and after a chat with him to understand the history of the car a bit better, and agreeing that if the weather was wet once I had finished, that I would hang on to the car until the next dry day. And thus my first 'garage queen' detail began.
It was starting to dry out and already getting nice and warm but was still overcast.
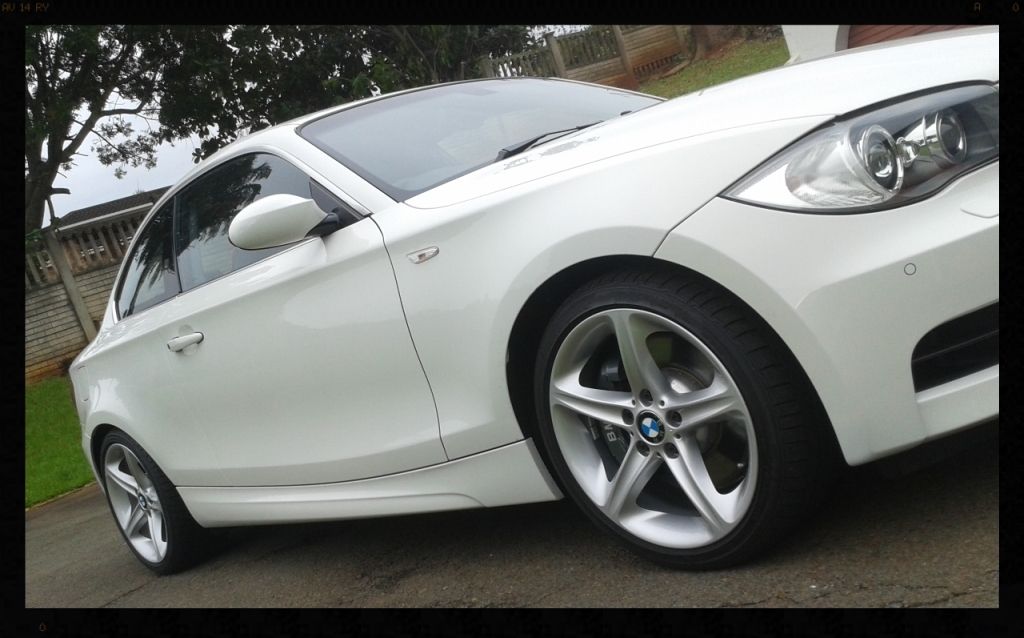
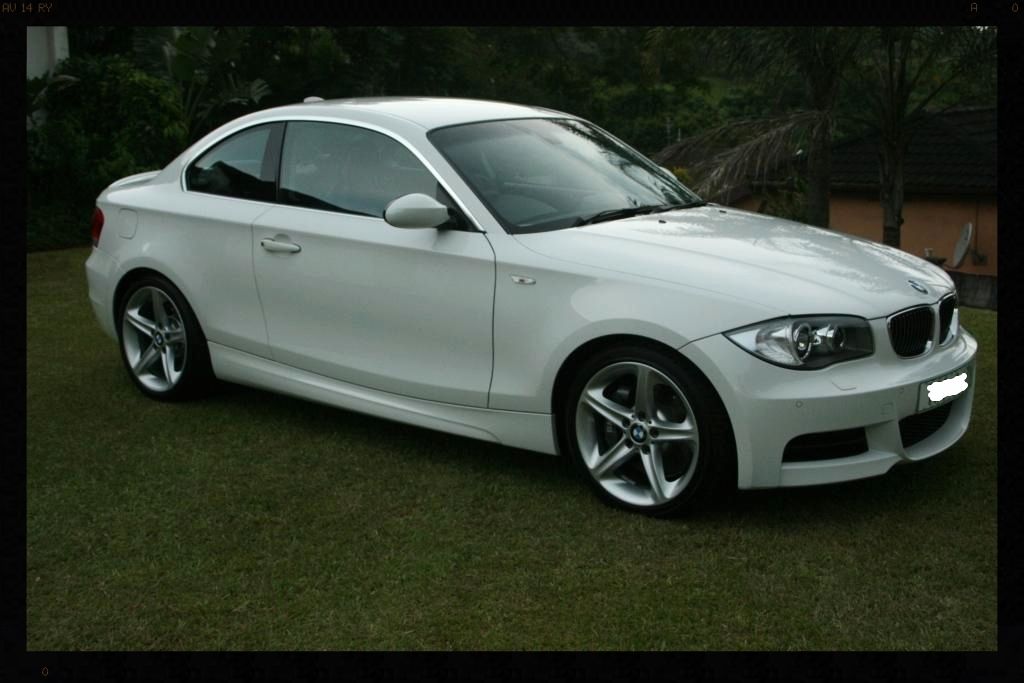
A few pics of what the car looked like on arrival.
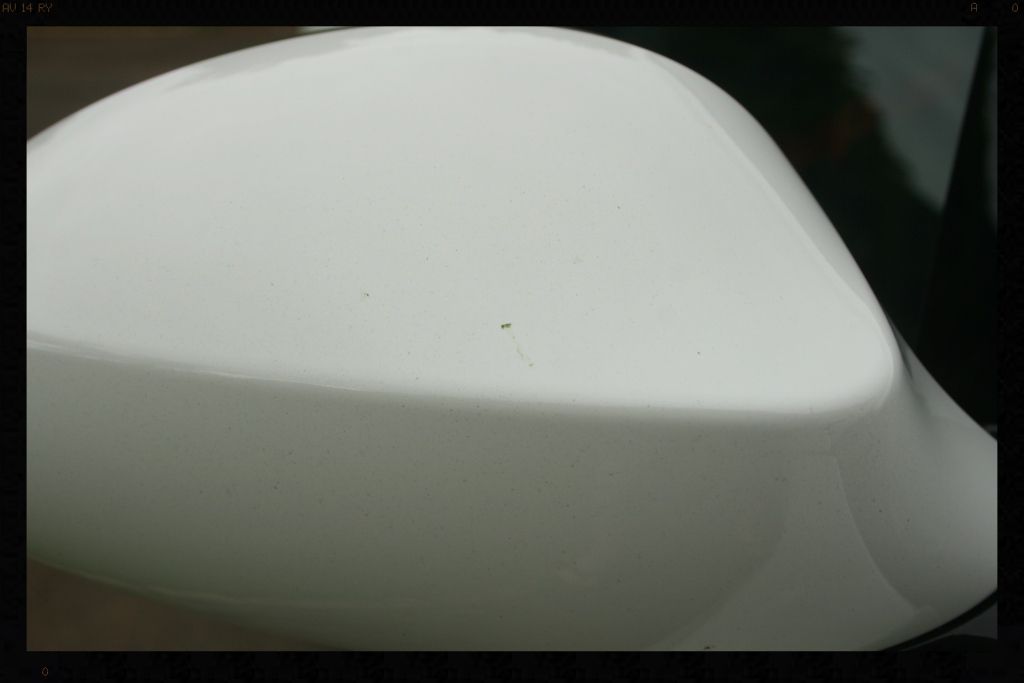
Not too bad without the sun shining on it
Virgin dirt :laughing:
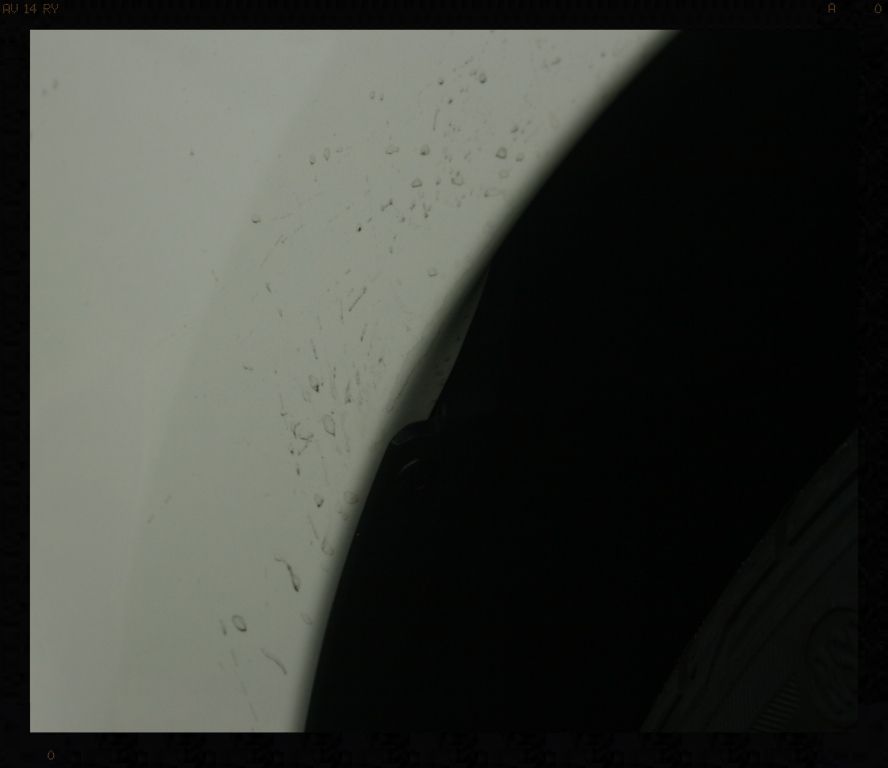
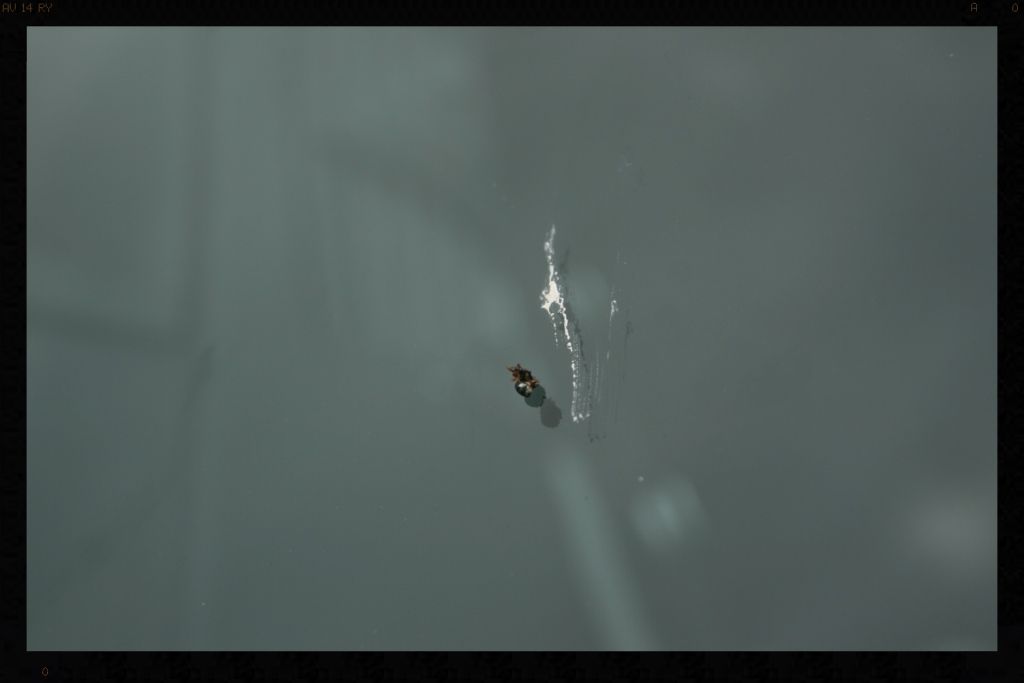
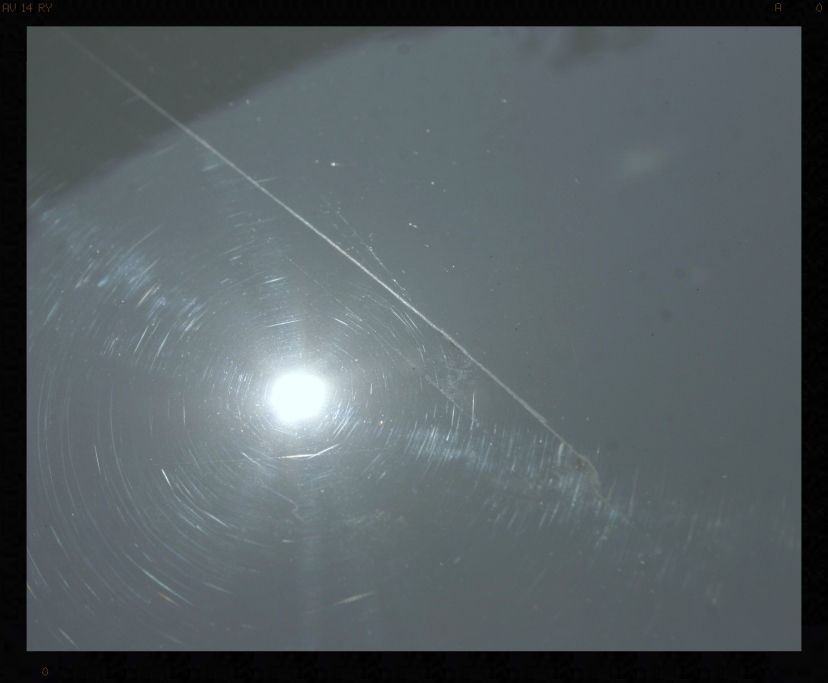
A lucky landing.... on the glass. It is much harder for the uric acid :evil: to etch into the glass than it is in paint.
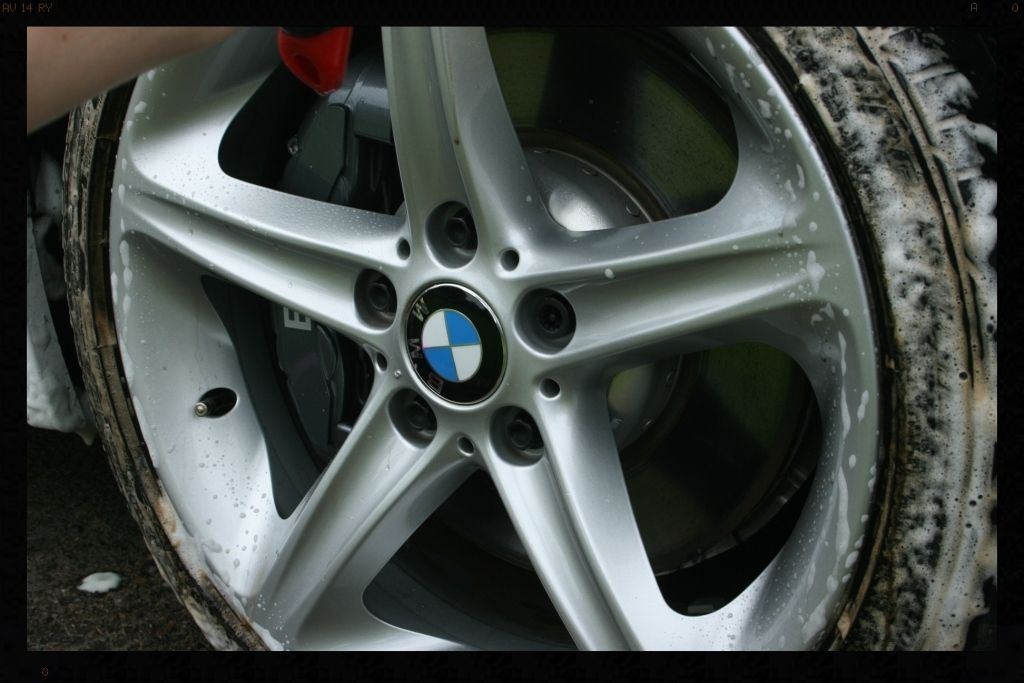
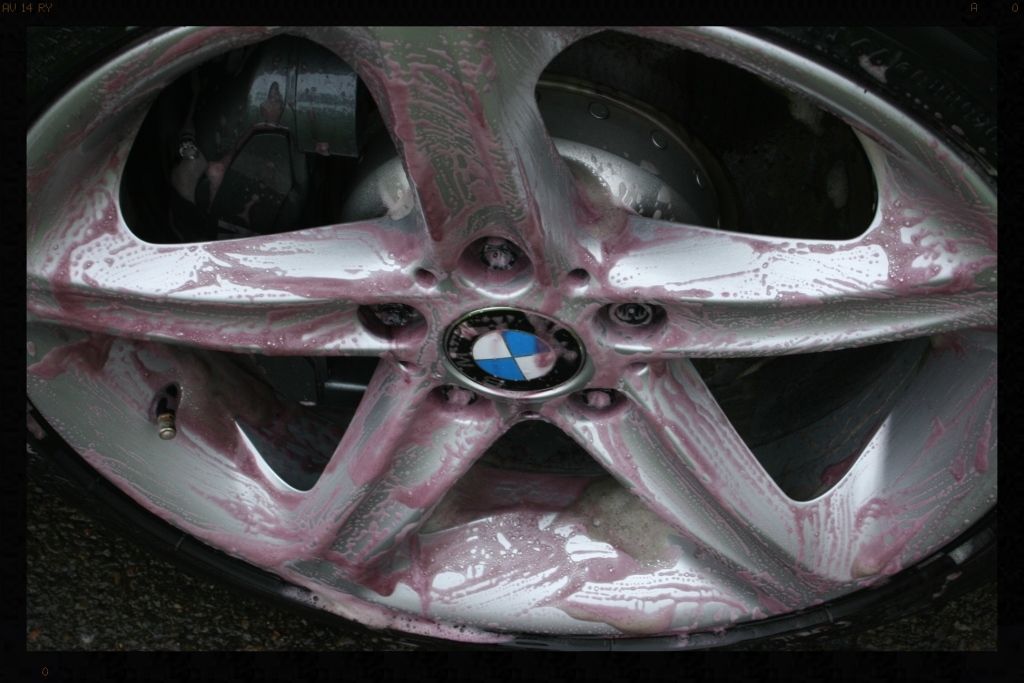
First up as always are the wheel arches, tires and wheels.
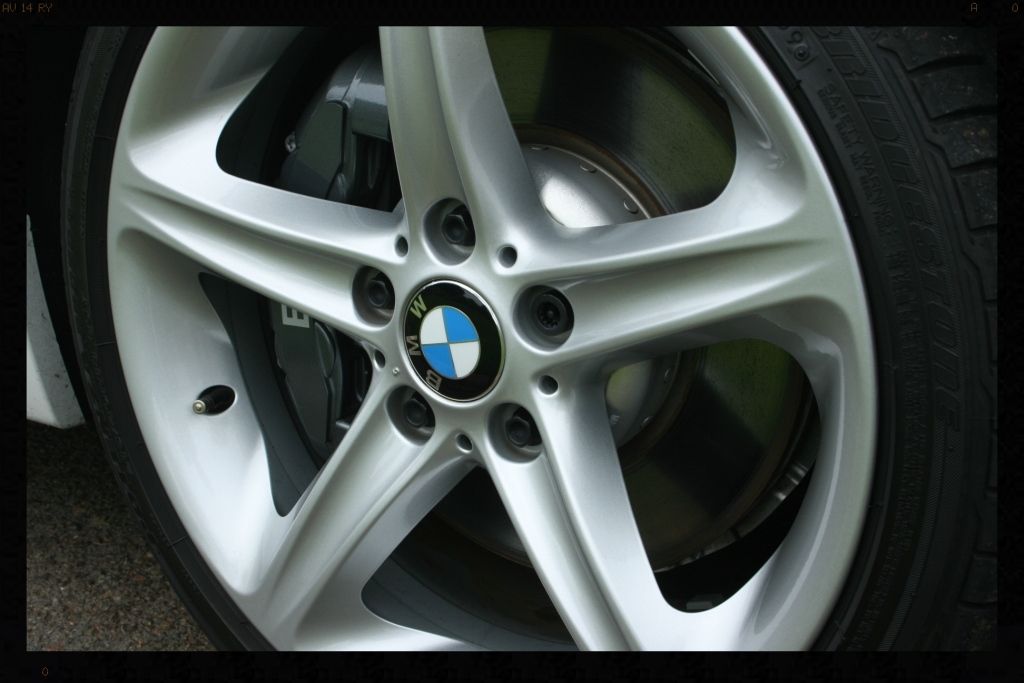
So what do wheels that have done less than 3000km look like. They look pretty clean.
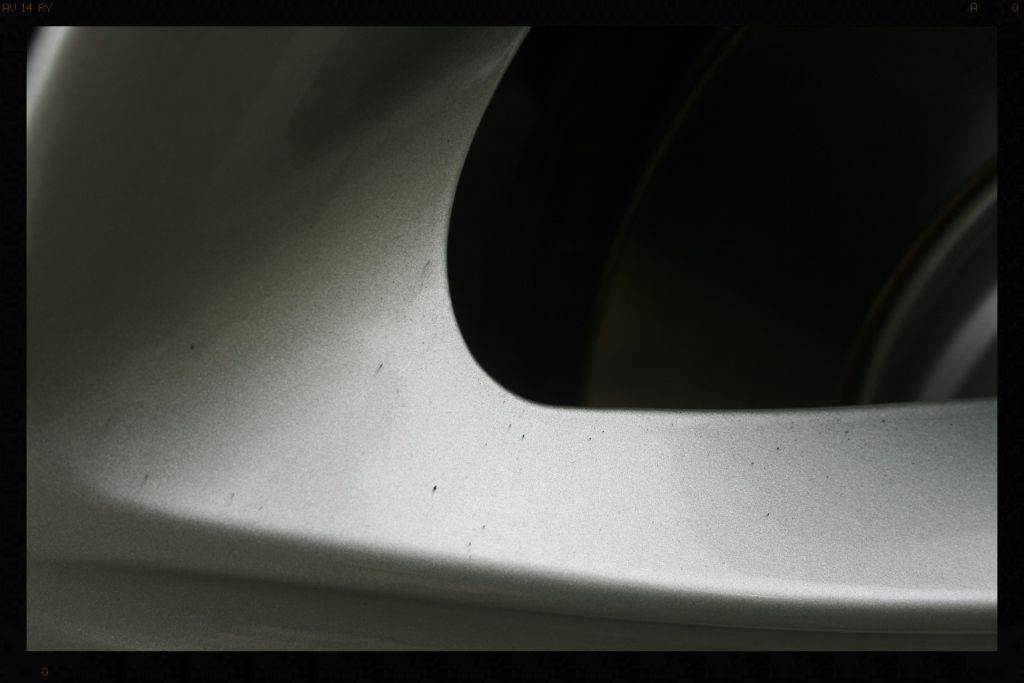
But looking closer
Barrels had a fair amount of dirt.

Faces had a little too
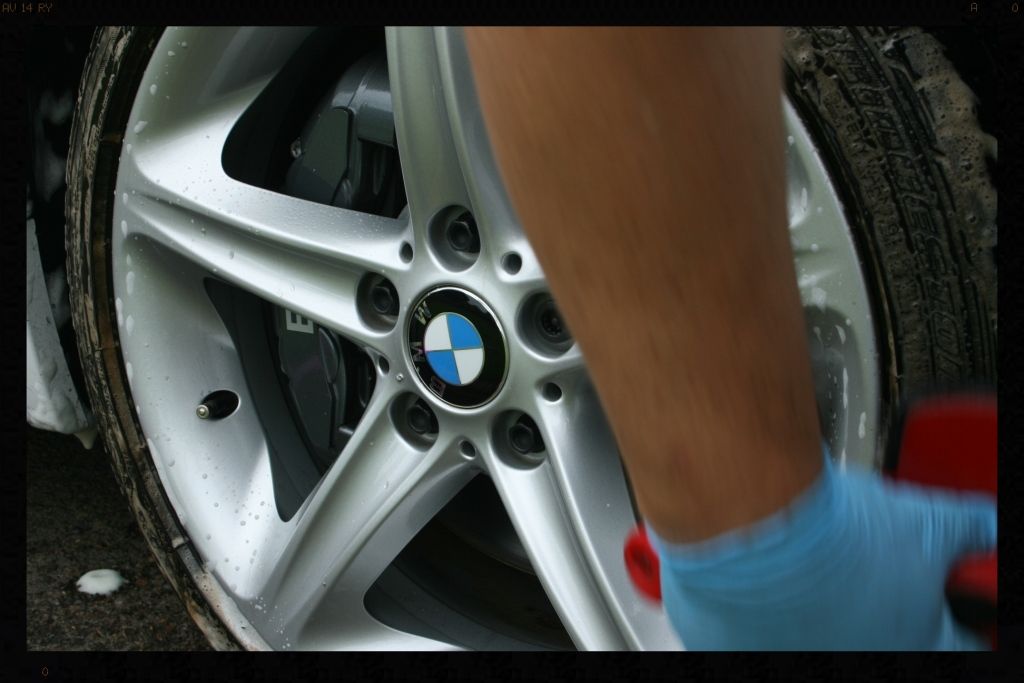
So let's clean some tires
The tires were sprayed with Meguiars All Wheel and Tire Cleaner.

As you can see before I even start agitating it using a Mothers Tire Brush it starts to pull the dirt, road grime and antiozonant out of the tire
After brushing though the dirt really starts to come out
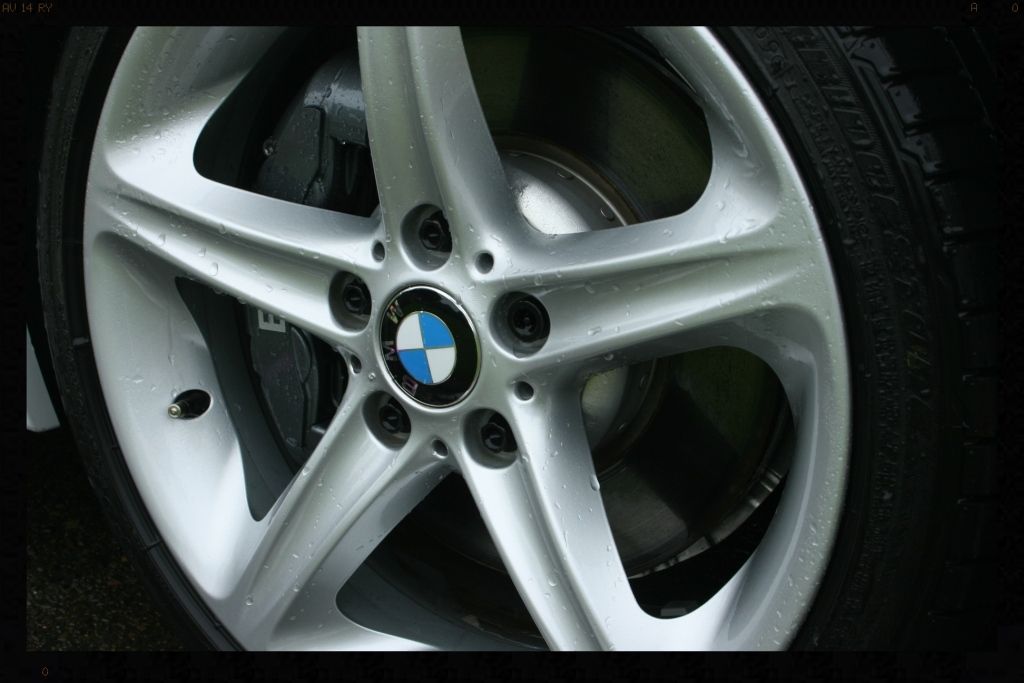
After a HP rinse, the tires are now clean. This will ensure when the tire dressing applied it will be able to properly bond with the rubber.
I then used Cyclo APC 5:1 and a Daytona Jnr brush to clean the wheels. This was followed by Autofinesse Oblitarate to remove any tar residue and then Cyclo APC 5:1 again, to clean any remnants of the tar remover off the wheels to ensure that the the iron remover would not be hindered from making contact with the wheels through this 'film'. I used the Daytona Jnr to 'work' the Autofinesse Iron Out over the barrels, behind the spokes and the faces of the wheels.
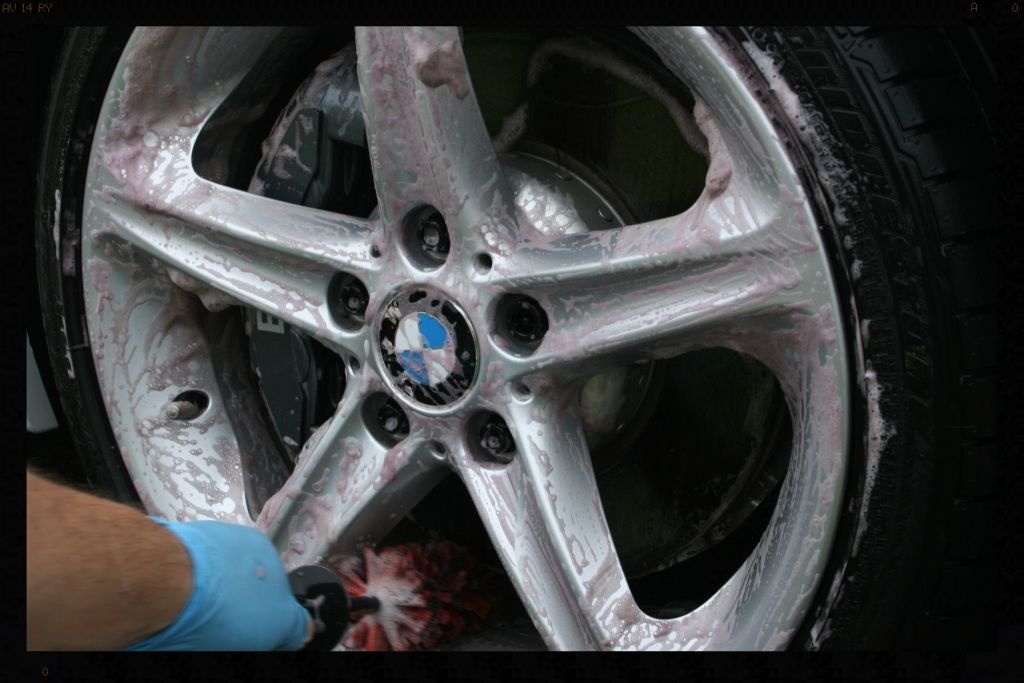
The wheels were then HP rinsed before being clayed with Autoglym Fine Detailing Clay and Carways Mist and Wipe as lube.
Next up the arches
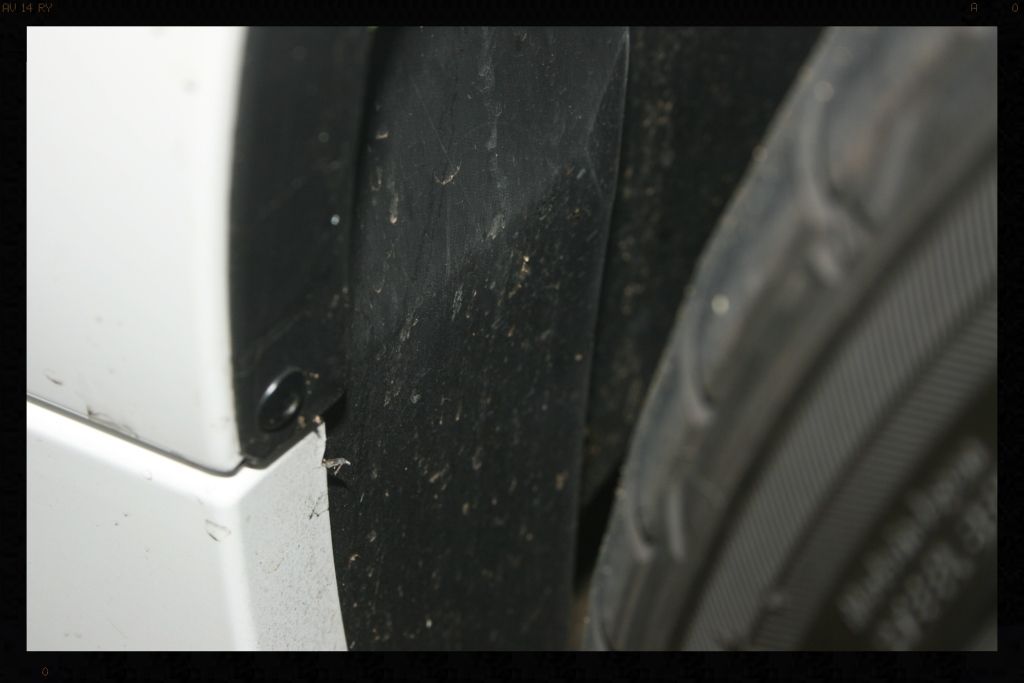
Cyclo APC 5:1 via foaming trigger head was sprayed into the arches and left to dwell, then agitated with a Mothers Fender Well Brush and HP rinsed.
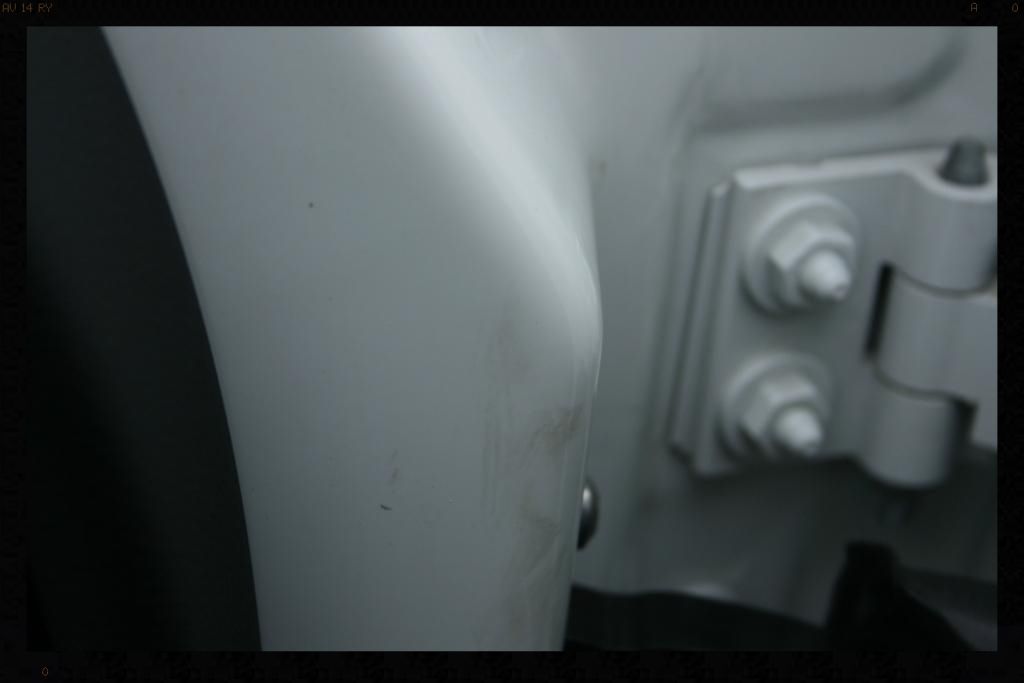
The door and boot shuts were very clean - this was about the most dirt I found - and did not need my usual cleaning methods so these were simply wiped clean during the wash with a wool wash mitt
The car was then pre-foamed using a foam cannon and a mix of Chemical Guys Maxi Suds II and Cyclo APC. This was followed by a 2BM/grit guard/wool mitt/rinse/sheet dry/WW drying towel.
I then removed all tar and iron deposits using Autofinesse Oblitarate and Iron Out respectively. Both steps yielded minimal contamination. A re-foaming of the car was conducted between these 2 steps to remove any remnants of the tar remover before allowing the iron remover to get to work.
The car was then foamed again to remove any remnants of the iron remover before being dried and pulled into the garage. Claying (Autoglym Fine Detailing Clay / Carways Mist and Wipe) yielded a lot of contamination (the owner later explained that the car is parked at his workshop which happens to have a 'factory' opposite it which spews out a lot of contaminants.
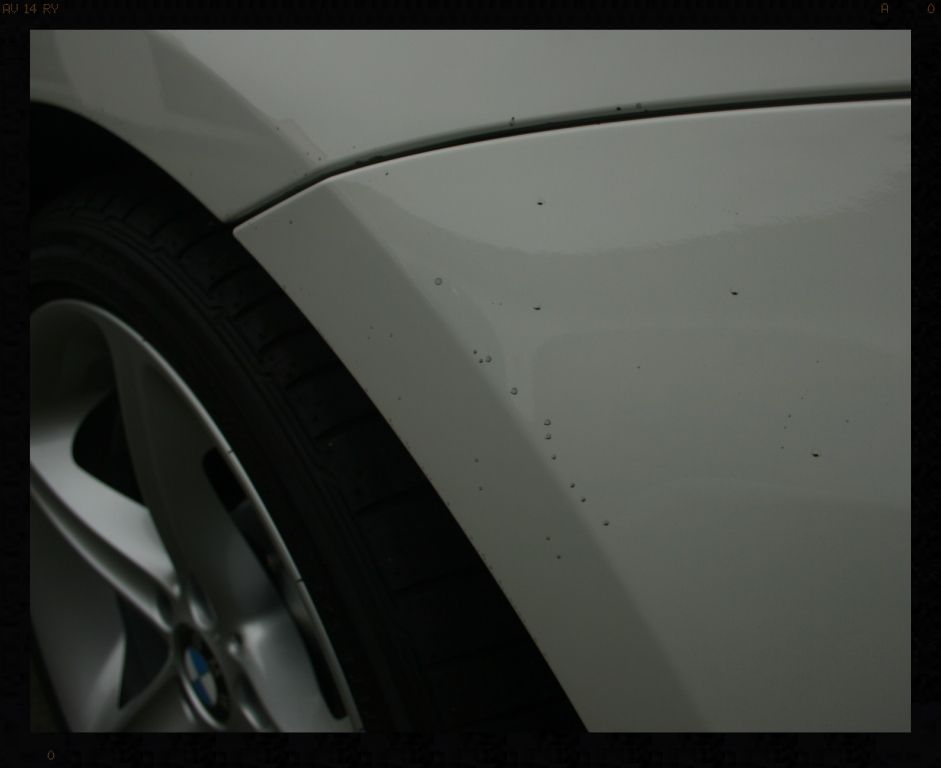
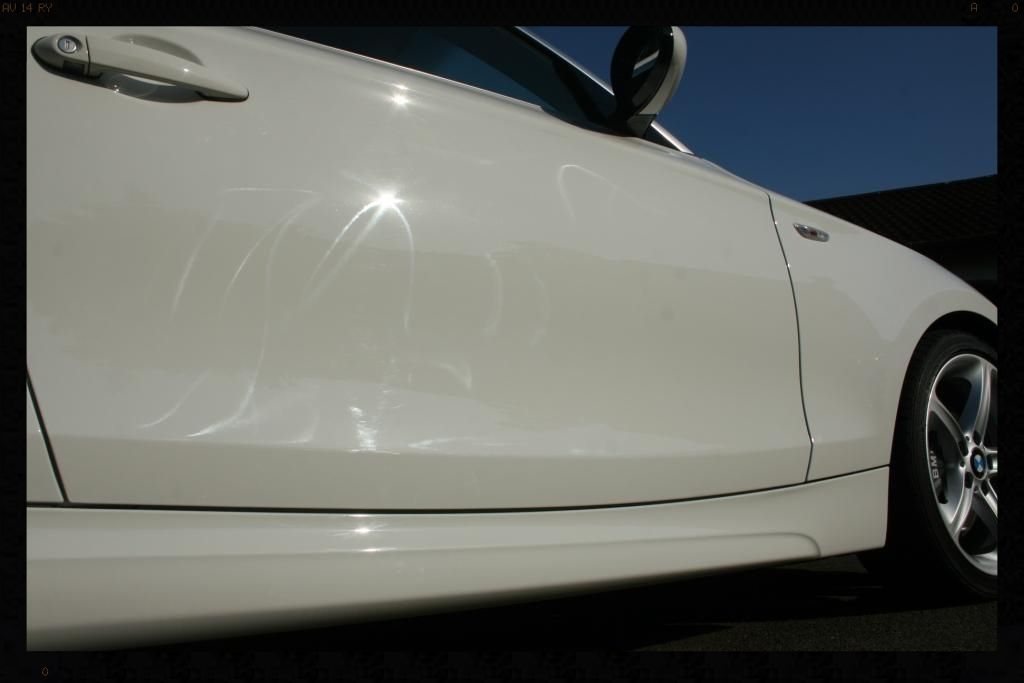
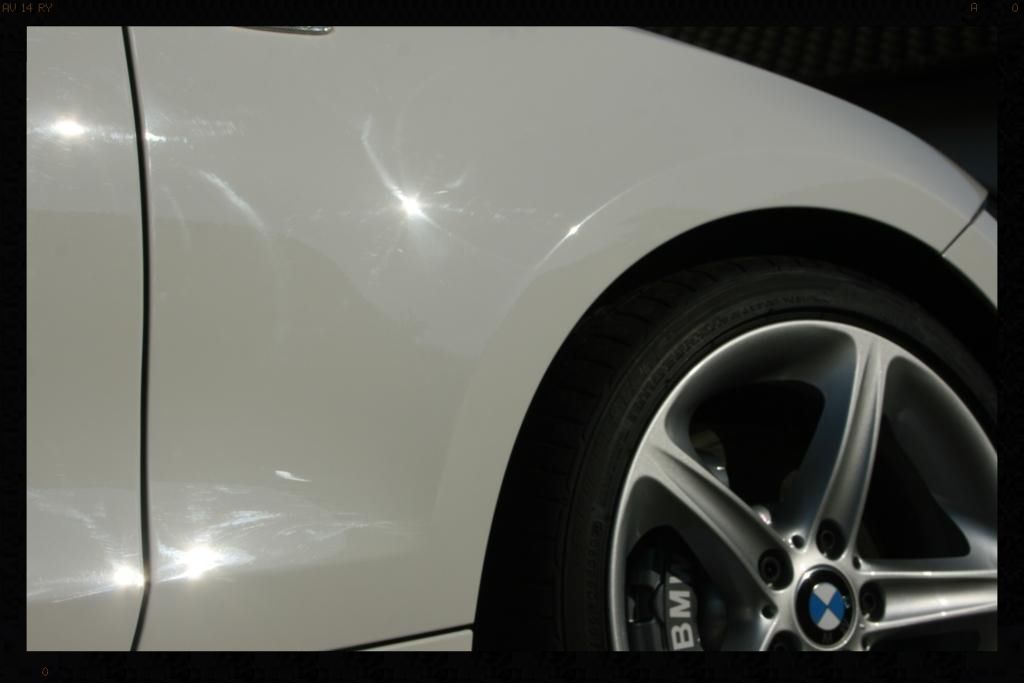
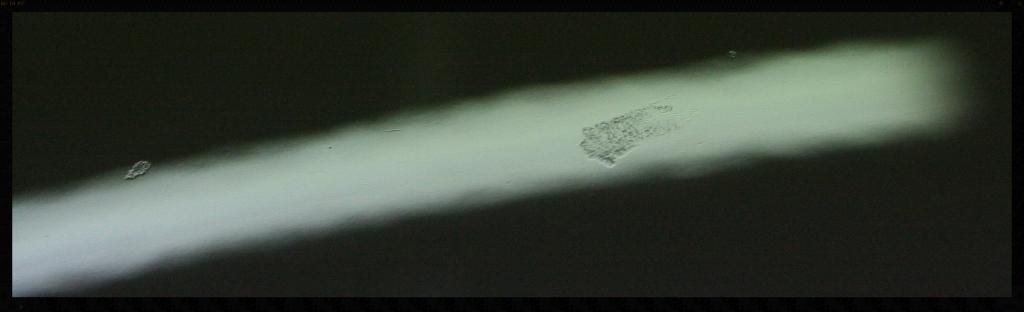
By this time the sun had come out and I managed to see what was really going on with the paint and unfortunately, all the usual defects were present.
Swirls
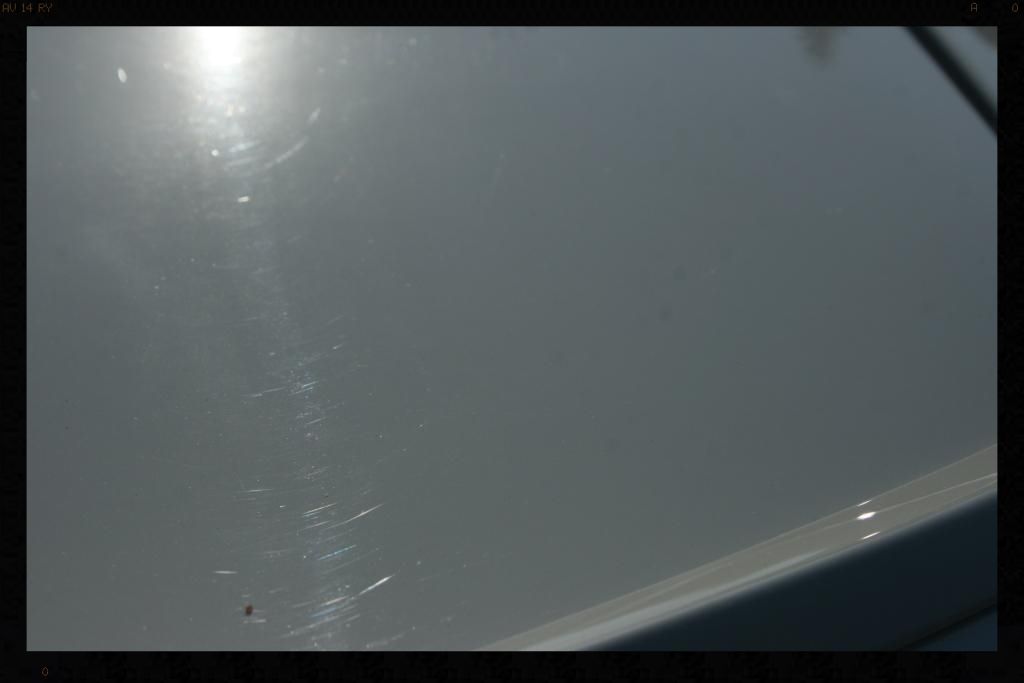
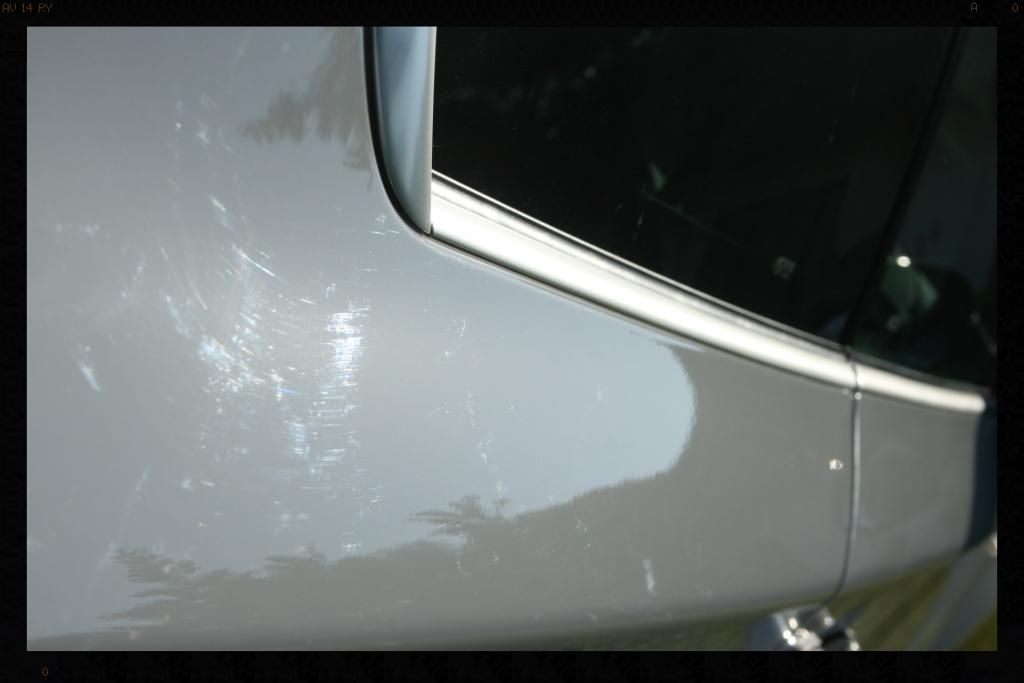
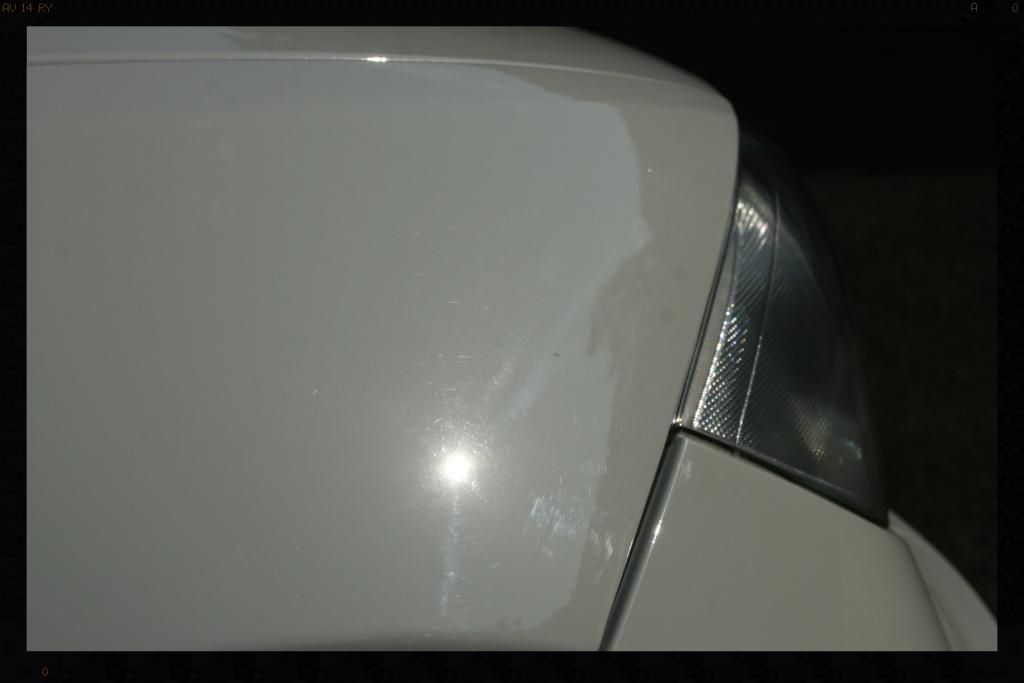
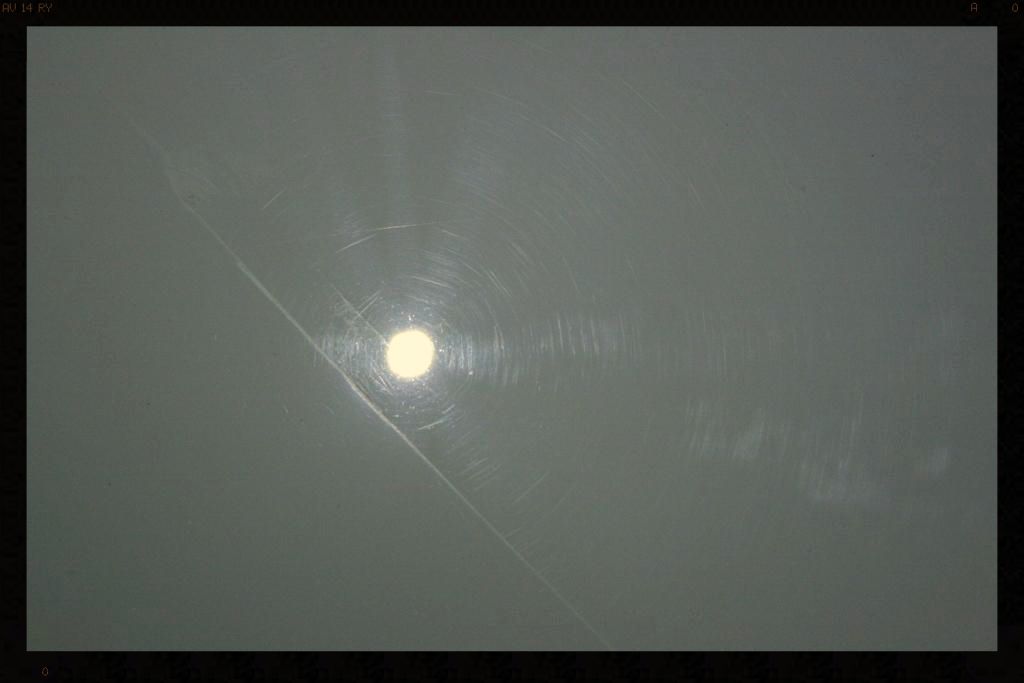
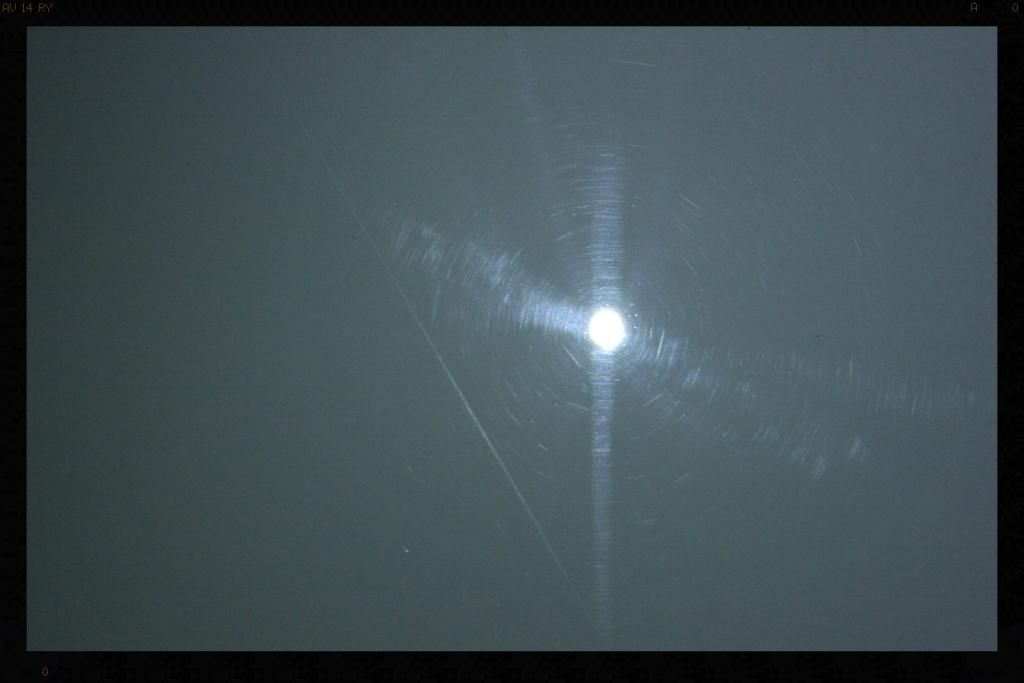
And buffer trails :evil:
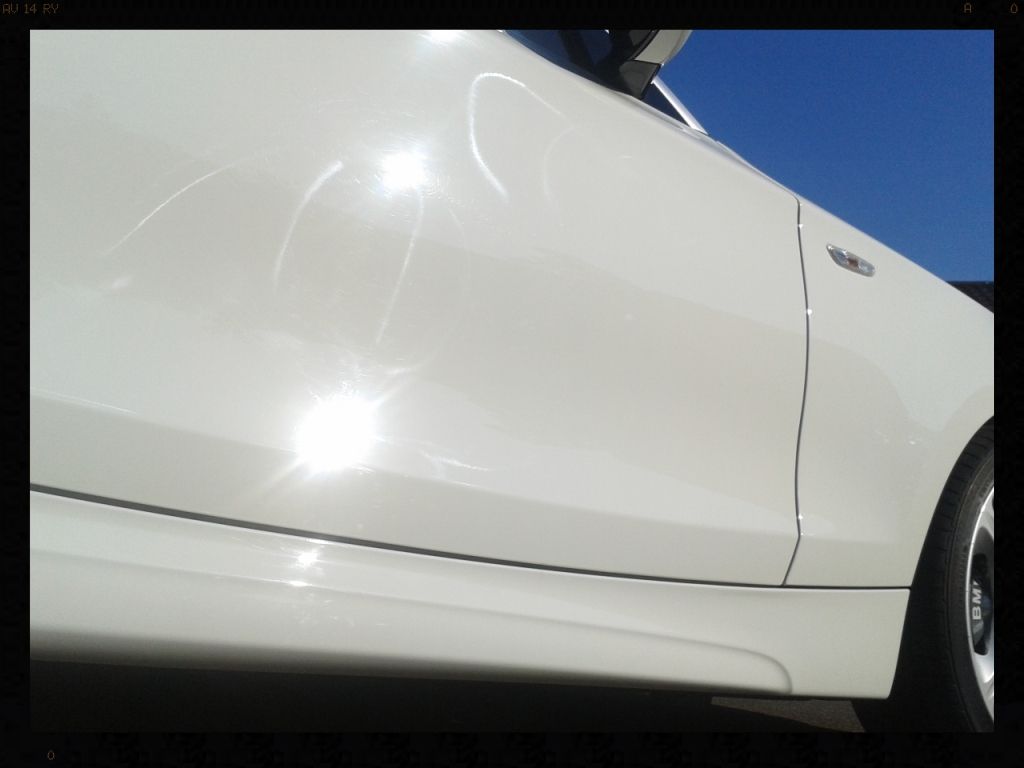
And even some etching
A 1-step correction had been agreed on and so my weapon of choice on this German beauty.... was ze German polish, Menzerna PF2500, coupled with a Lake Country 5.5'' HT Tangerine pad on a DA worked at speed 5 with a really slow arm speed.
Sunday
I completed correcting the paint and then applied a coat of Menzerna Powerlock via the DA with a Menzerna Black finishing pad.
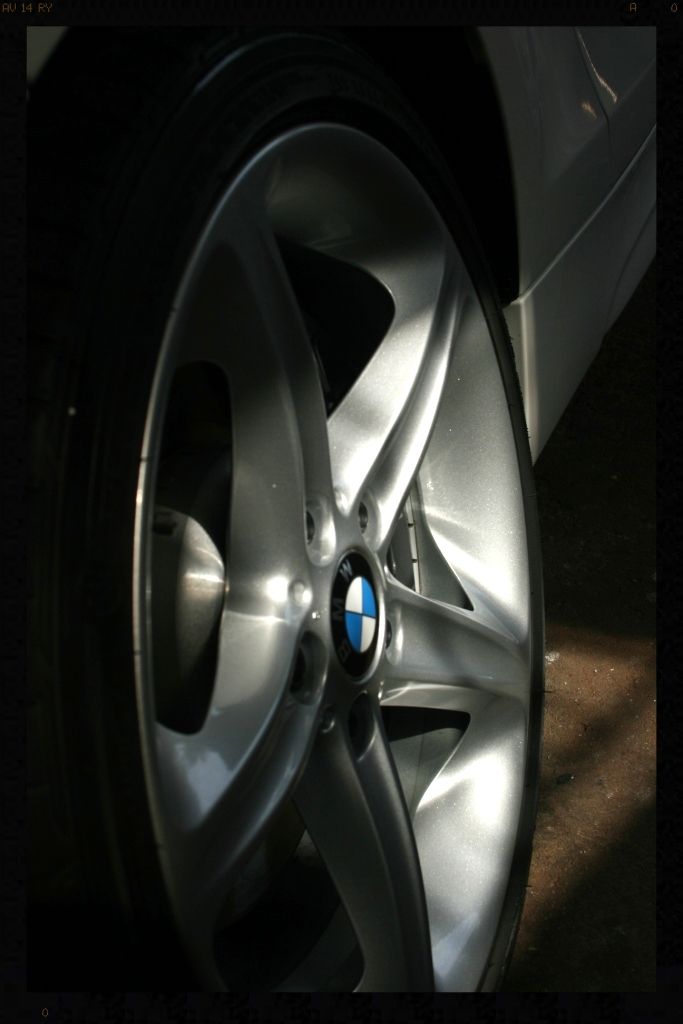
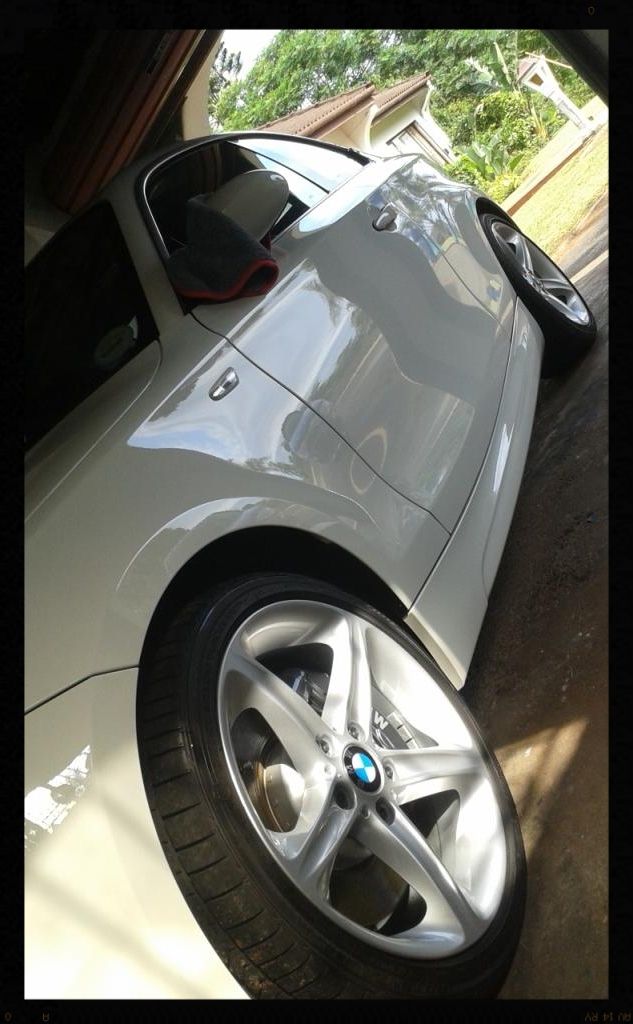
Powerlock was applied to the wheels and tire dressed with Optimum Optibond Tire Gel. For some reason I just really like this pic of the wheels with the natural light from the garage window shining on it.
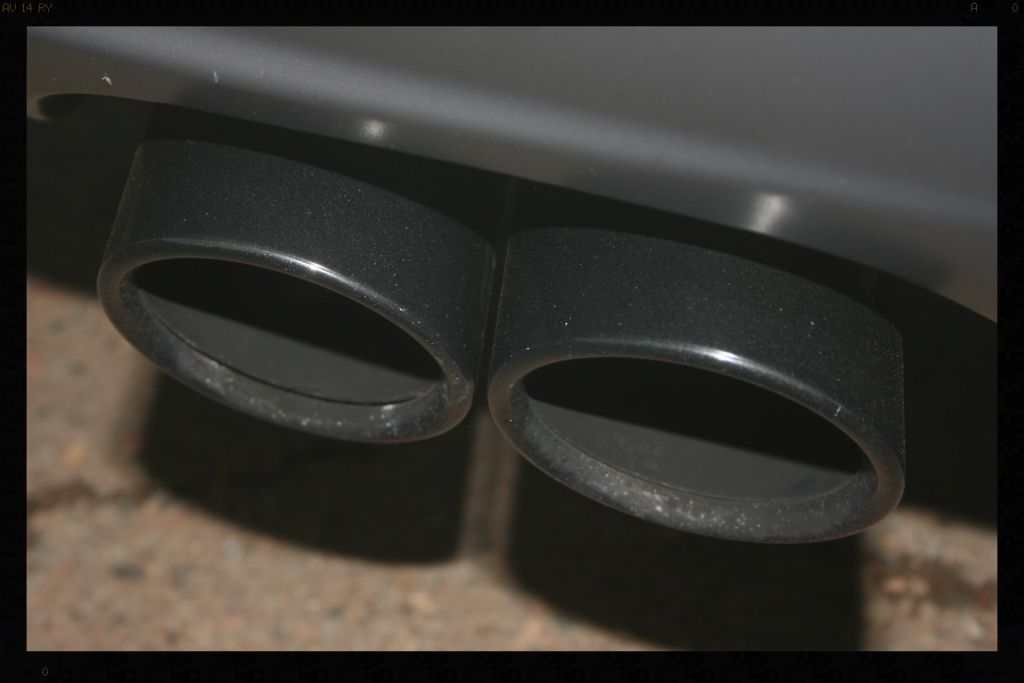
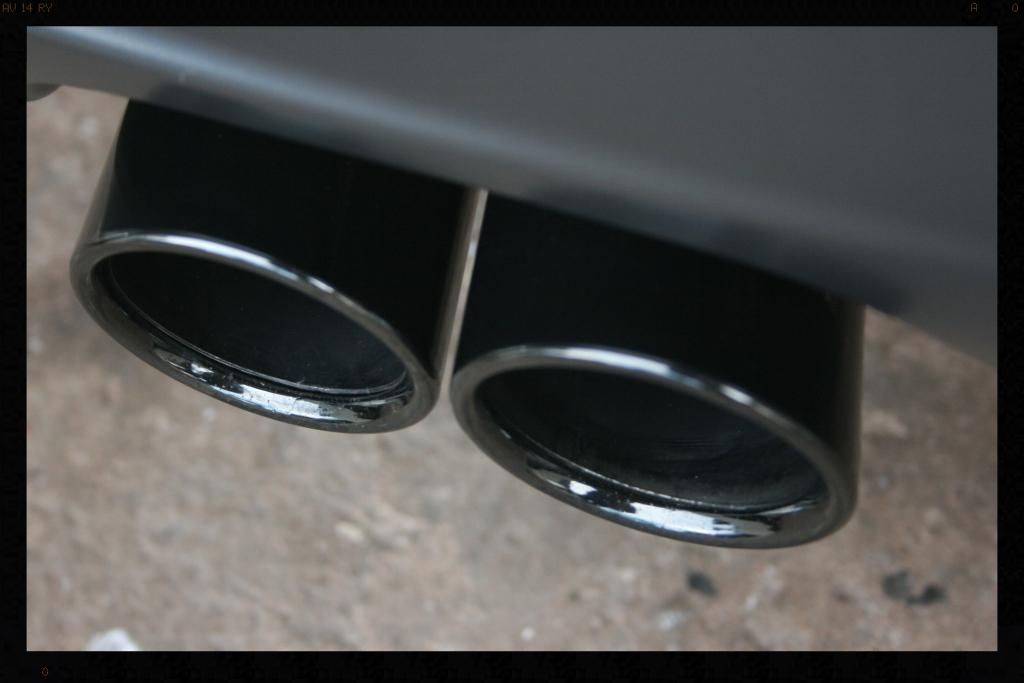
The exhaust tips were cleaned using Meguiars Paint Cleaner
Before
After
The door rubbers were then cleaned using Shield Heavy Duty Vinyl and Rubber cleaner and dressed using Smartwax Smartdressing.
Before (forgot to take an after pic )
)
The glass was then cleaned using Autoglym Fast Glass
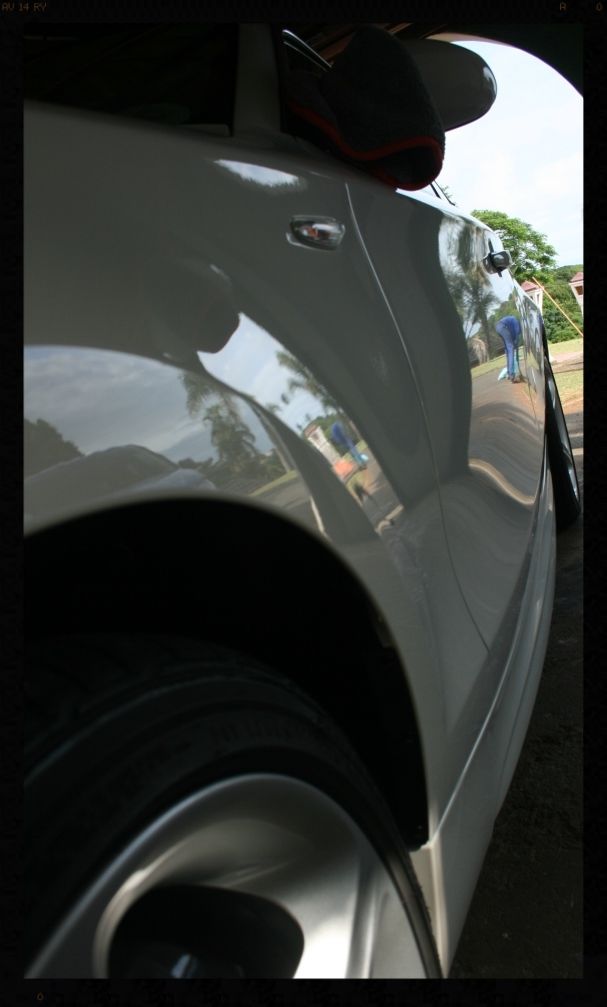
I managed to snap these pics while still the car was still in the garage
The sun then started disappearing rather quickly and the weather started turning. Not sure if the customer would collect or not, I never pulled the car out for any further pics in case it started raining.
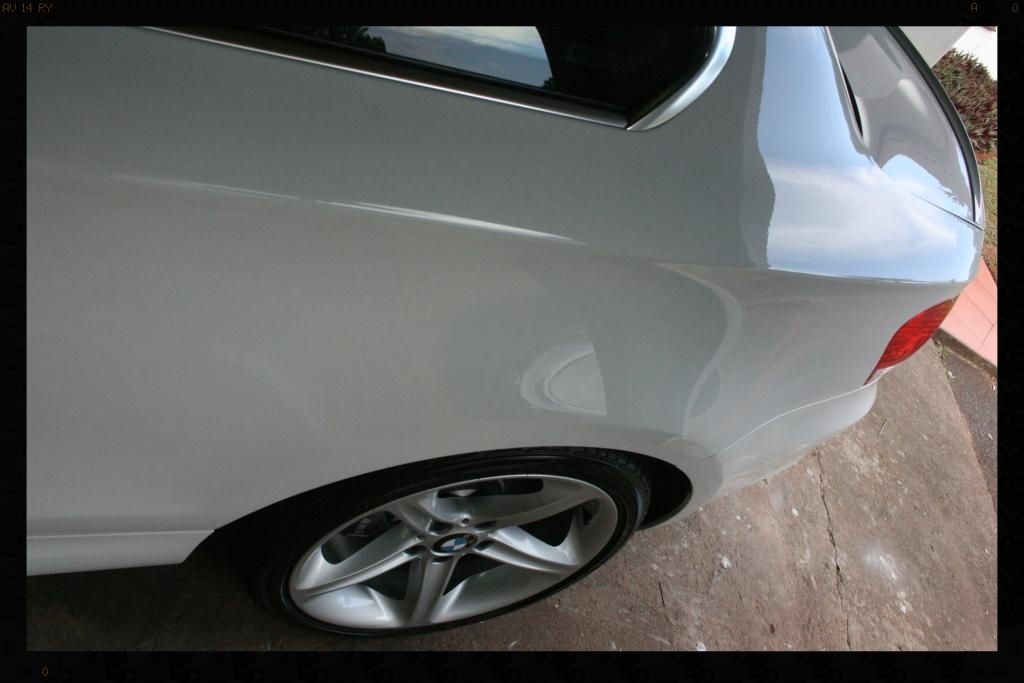
The owner however decided to collect and I managed 2 additional quick pics before he left.

Total time spent = 20 hours
Thanks for looking and as always any questions or comments are welcome.
Saturday
The owner arrived little after 05:30 and after a chat with him to understand the history of the car a bit better, and agreeing that if the weather was wet once I had finished, that I would hang on to the car until the next dry day. And thus my first 'garage queen' detail began.
It was starting to dry out and already getting nice and warm but was still overcast.
A few pics of what the car looked like on arrival.
Not too bad without the sun shining on it
Virgin dirt :laughing:
A lucky landing.... on the glass. It is much harder for the uric acid :evil: to etch into the glass than it is in paint.
First up as always are the wheel arches, tires and wheels.
So what do wheels that have done less than 3000km look like. They look pretty clean.
But looking closer
Barrels had a fair amount of dirt.
Faces had a little too
So let's clean some tires
The tires were sprayed with Meguiars All Wheel and Tire Cleaner.

As you can see before I even start agitating it using a Mothers Tire Brush it starts to pull the dirt, road grime and antiozonant out of the tire
After brushing though the dirt really starts to come out
After a HP rinse, the tires are now clean. This will ensure when the tire dressing applied it will be able to properly bond with the rubber.
I then used Cyclo APC 5:1 and a Daytona Jnr brush to clean the wheels. This was followed by Autofinesse Oblitarate to remove any tar residue and then Cyclo APC 5:1 again, to clean any remnants of the tar remover off the wheels to ensure that the the iron remover would not be hindered from making contact with the wheels through this 'film'. I used the Daytona Jnr to 'work' the Autofinesse Iron Out over the barrels, behind the spokes and the faces of the wheels.
The wheels were then HP rinsed before being clayed with Autoglym Fine Detailing Clay and Carways Mist and Wipe as lube.
Next up the arches
Cyclo APC 5:1 via foaming trigger head was sprayed into the arches and left to dwell, then agitated with a Mothers Fender Well Brush and HP rinsed.
The door and boot shuts were very clean - this was about the most dirt I found - and did not need my usual cleaning methods so these were simply wiped clean during the wash with a wool wash mitt
The car was then pre-foamed using a foam cannon and a mix of Chemical Guys Maxi Suds II and Cyclo APC. This was followed by a 2BM/grit guard/wool mitt/rinse/sheet dry/WW drying towel.
I then removed all tar and iron deposits using Autofinesse Oblitarate and Iron Out respectively. Both steps yielded minimal contamination. A re-foaming of the car was conducted between these 2 steps to remove any remnants of the tar remover before allowing the iron remover to get to work.
The car was then foamed again to remove any remnants of the iron remover before being dried and pulled into the garage. Claying (Autoglym Fine Detailing Clay / Carways Mist and Wipe) yielded a lot of contamination (the owner later explained that the car is parked at his workshop which happens to have a 'factory' opposite it which spews out a lot of contaminants.
By this time the sun had come out and I managed to see what was really going on with the paint and unfortunately, all the usual defects were present.
Swirls
And buffer trails :evil:
And even some etching
A 1-step correction had been agreed on and so my weapon of choice on this German beauty.... was ze German polish, Menzerna PF2500, coupled with a Lake Country 5.5'' HT Tangerine pad on a DA worked at speed 5 with a really slow arm speed.
Sunday
I completed correcting the paint and then applied a coat of Menzerna Powerlock via the DA with a Menzerna Black finishing pad.
Powerlock was applied to the wheels and tire dressed with Optimum Optibond Tire Gel. For some reason I just really like this pic of the wheels with the natural light from the garage window shining on it.
The exhaust tips were cleaned using Meguiars Paint Cleaner
Before
After
The door rubbers were then cleaned using Shield Heavy Duty Vinyl and Rubber cleaner and dressed using Smartwax Smartdressing.
Before (forgot to take an after pic
)
The glass was then cleaned using Autoglym Fast Glass
I managed to snap these pics while still the car was still in the garage
The sun then started disappearing rather quickly and the weather started turning. Not sure if the customer would collect or not, I never pulled the car out for any further pics in case it started raining.
The owner however decided to collect and I managed 2 additional quick pics before he left.
Total time spent = 20 hours
Thanks for looking and as always any questions or comments are welcome.
")