Dellinger
New member
- May 26, 2013
- 117
- 0
This is going to be a long one. Thanks for your patience!
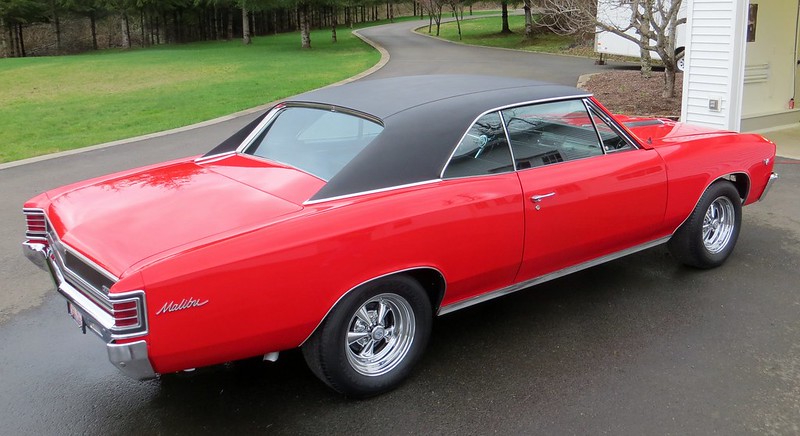
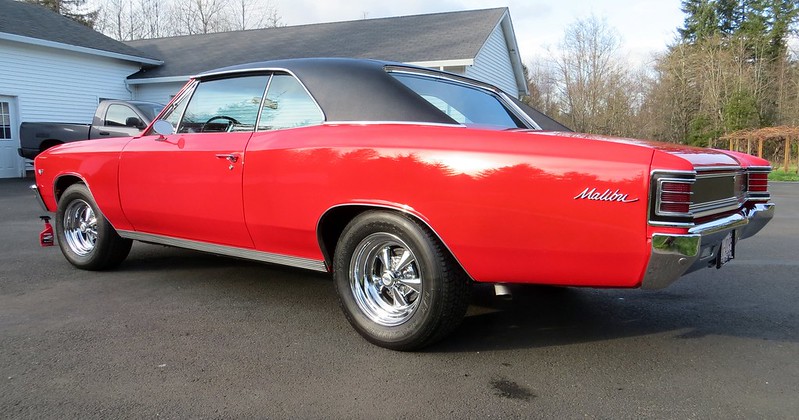
This was a special detail for me, not only because the car is mine but for quite a few reasons I will mention as this post moves along.
(I apologize for the pictures... this solid red was really hard to photograph. Sometimes I had to washout the picture to capture defects... so the red paint is going to take on many different shades.)
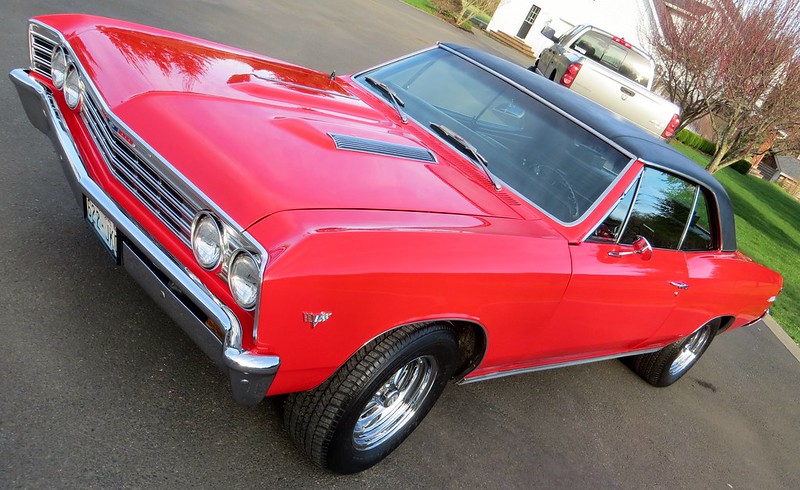
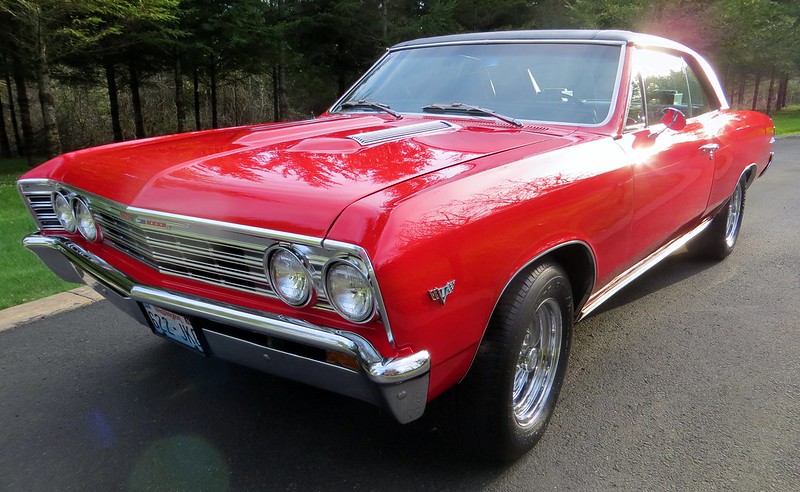
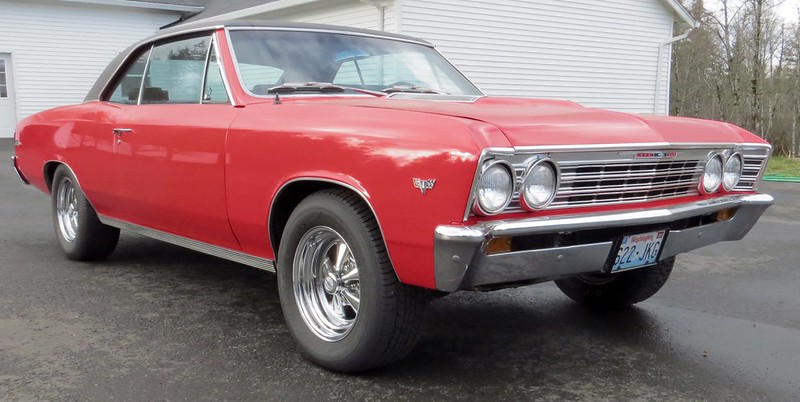
The Chevelle's condition after sitting unused for 4 years
IMG_7316 by GabeDellinger, on Flickr
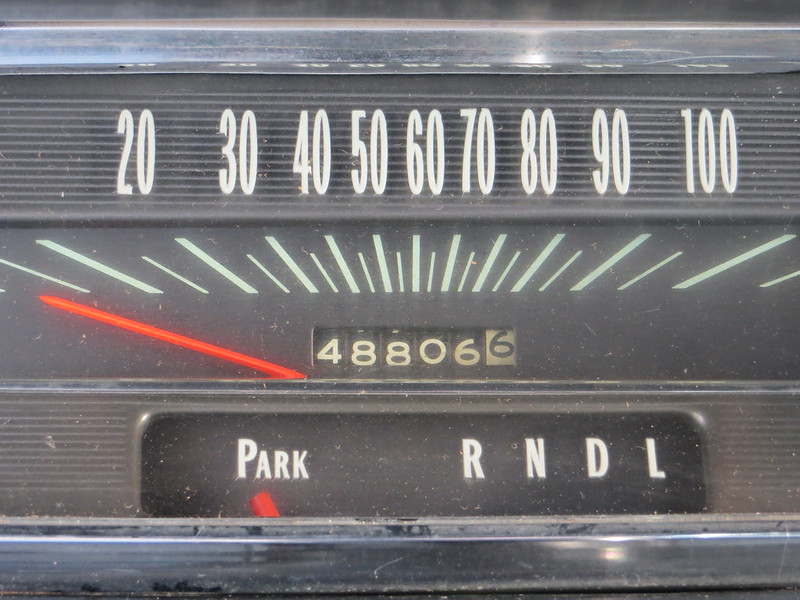
My dad purchased the car back in 1994 for $2,500 out of California. Quite a bit to give, then, for a Malibu. However, the car was low milage with 37,000 on the odometer. It does have some interesting options... factory A/C, factory tinted glass, factory smog pump (removed but still have the unit and special headers) and some nasty, nasty, undercoating. He wanted a project for us to both work on. The odometer now reads...
IMG_7306 by GabeDellinger, on Flickr
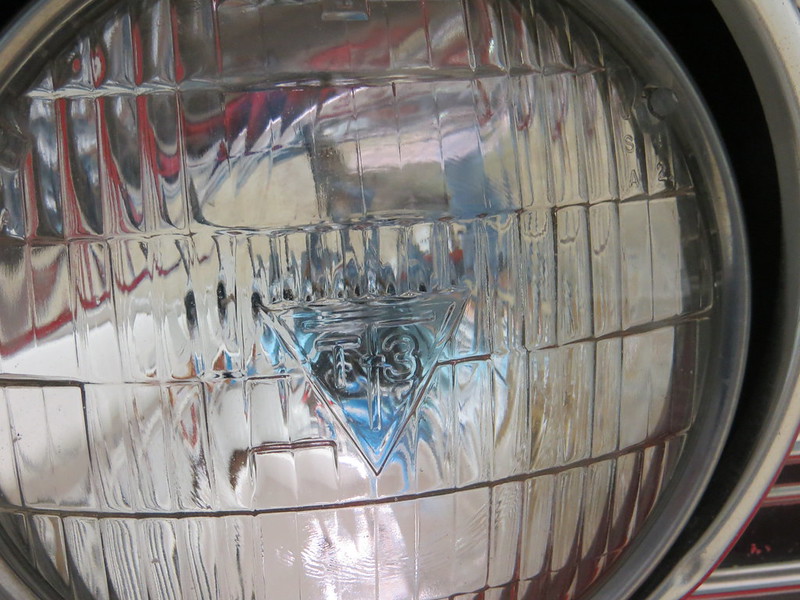
Original T-3 headlight...(3 of them are still OEM to the car.)
IMG_7520 by GabeDellinger, on Flickr
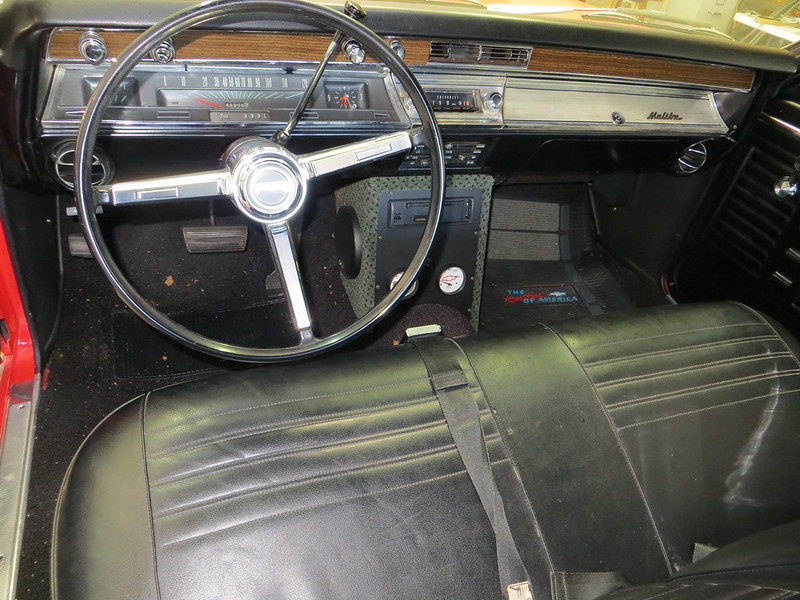
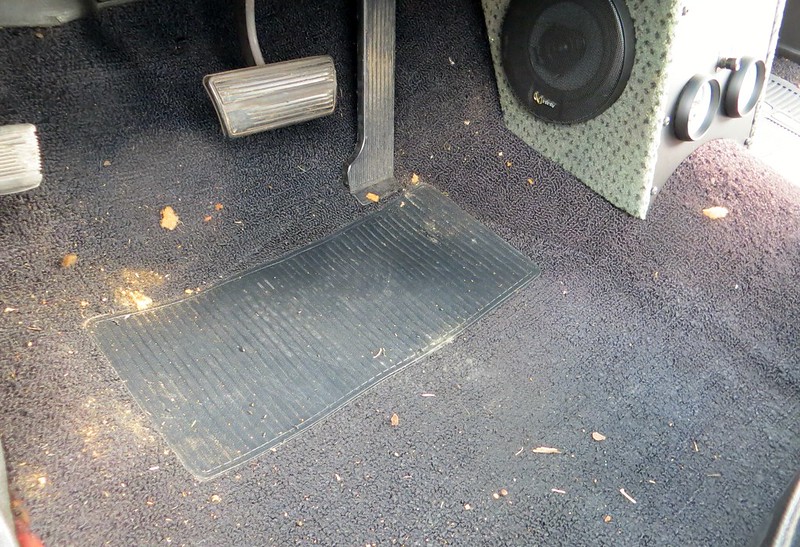
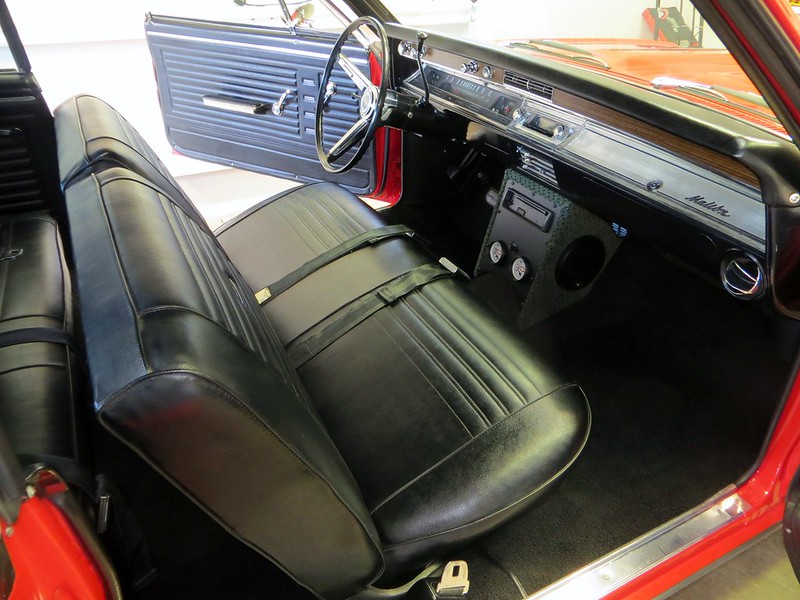
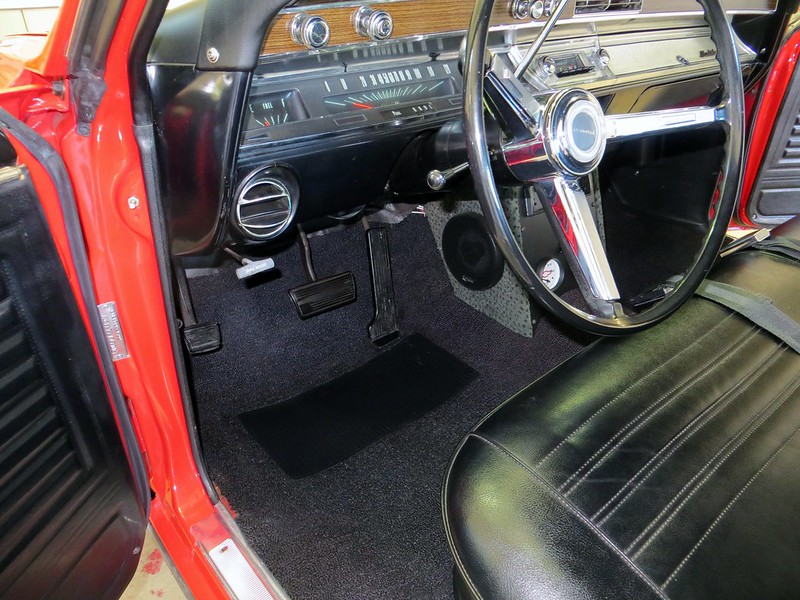
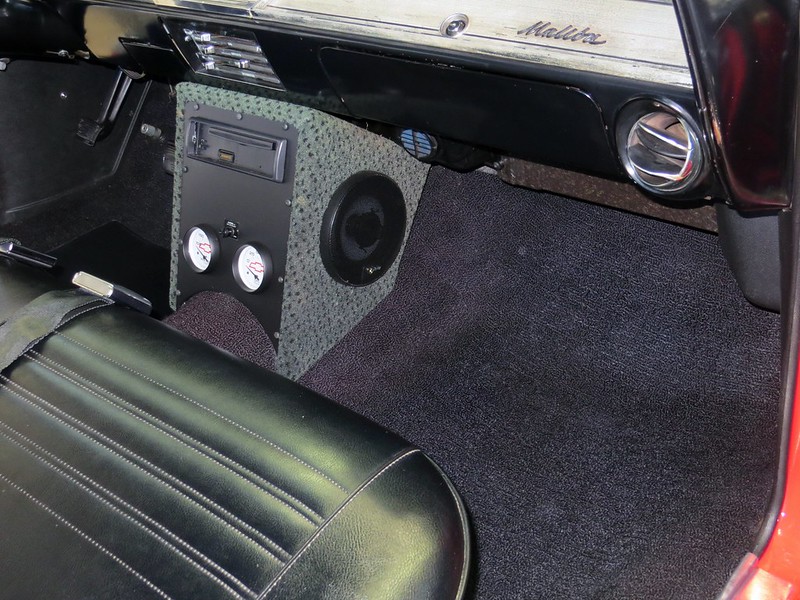
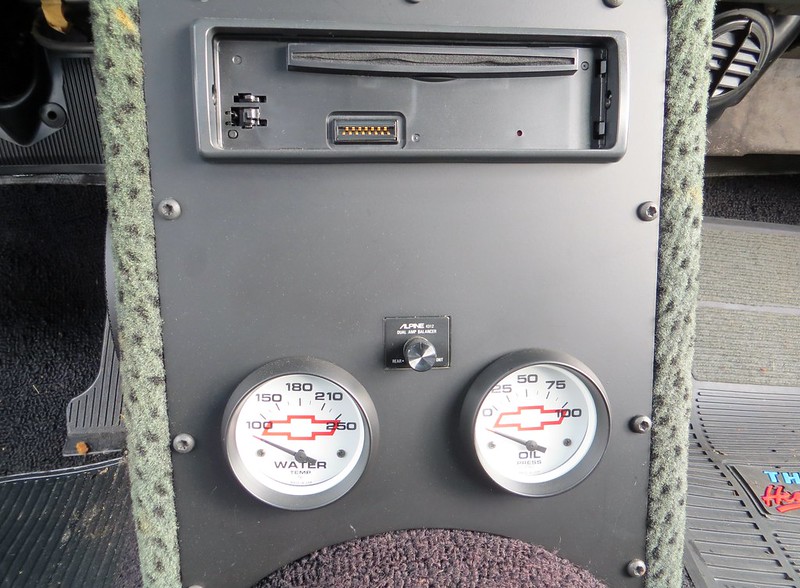
Here is the center console my dad made... the carpet surrounding the sides appears a feint green... it's faded over time and used to be a dark grey.
IMG_7311 by GabeDellinger, on Flickr
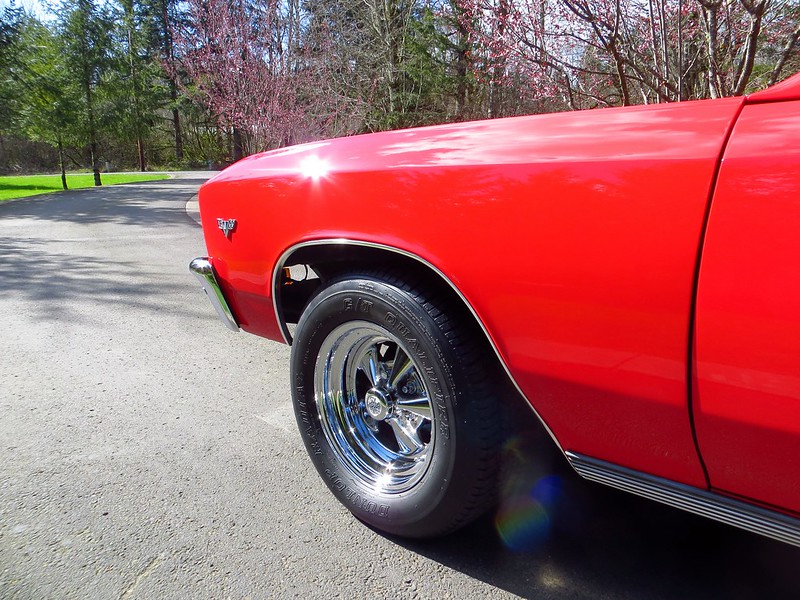
The original color was 'Granada Gold'. I was a freshman in high school when my family took possession of it. I was pretty underwhelmed when I first saw the car.... especially when I was wanting a '69 Camaro SS/ 4-speed. It had hubcaps, ugly gold paint, and a 283, 2 barrel 195hp version and a 2-speed Powerglide auto. (We installed new rings, bearings, aluminum intake, Carter AFB, HEI ignition, and a very mild camshaft to spruce up the 283.)
My dad and I spent a solid 4 years on the car. Every weekend we worked on it. I can't say it was fun then... but after it was done... I've been a car nut ever since.
The paint and bodywork took 18 months. There was one quarter that had been hit but there were zero rust problems or need for patch panels anywhere. The floor pans were solid so there wasn't anything too crazy regarding body work.
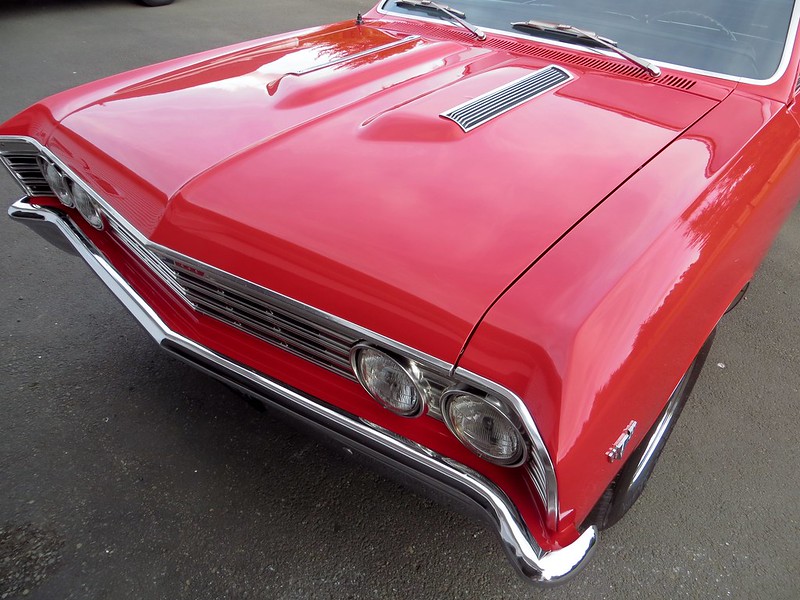
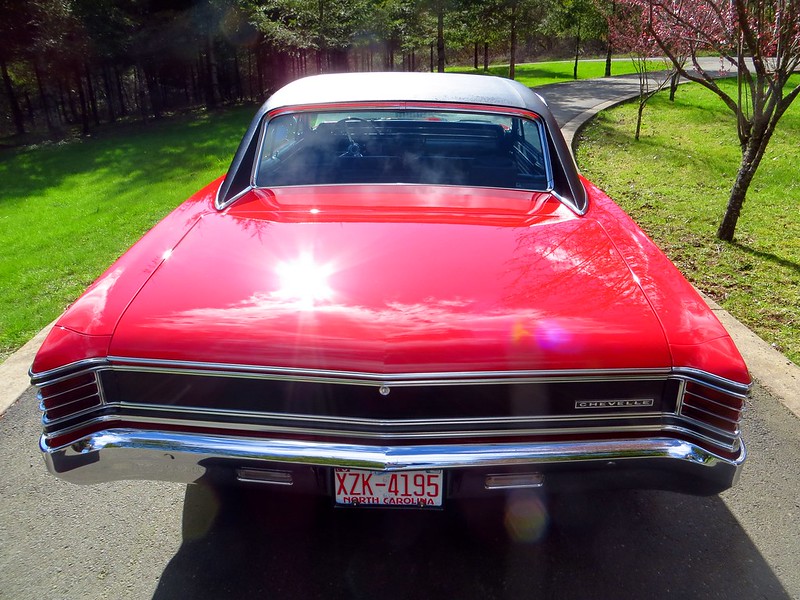
As you have probably already noted, we exchanged some of the Malibu trim for SS stuff. Back in the mid-90's, a person could even locate NOS OEM '67 Chevelle SS trim! We did from a local Chevy parts dealer on Swan Island in Portland, OR. The SS hood was an GM piece but well used from the previous owner. It looked like a heard of elephants walked on it. We patched it up as best we could but there's lots of body filler.
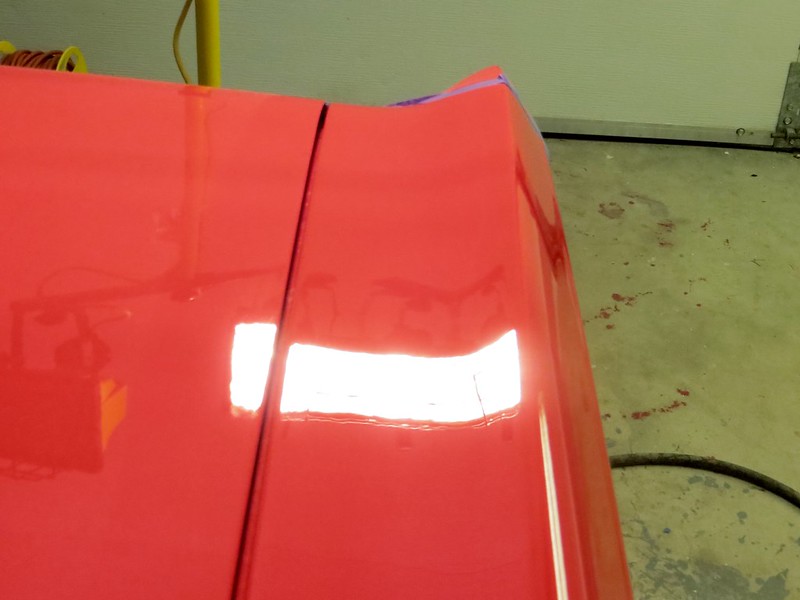
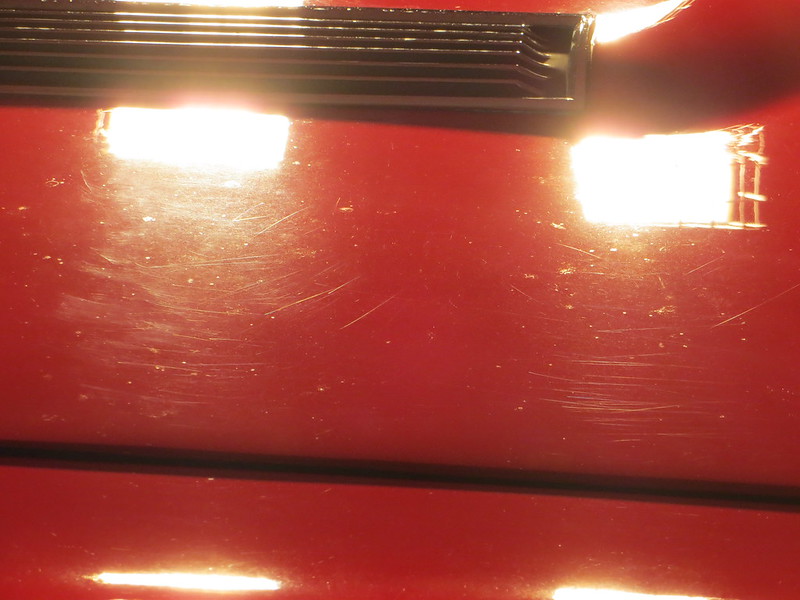
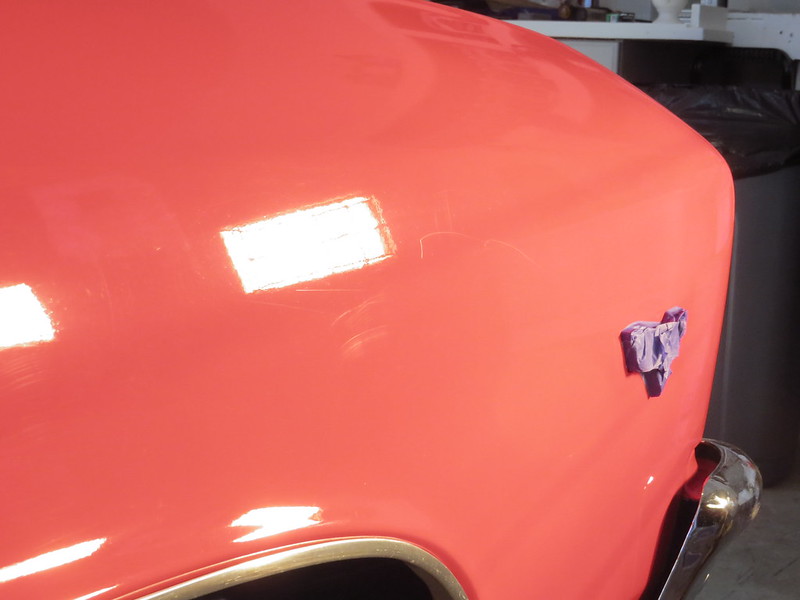
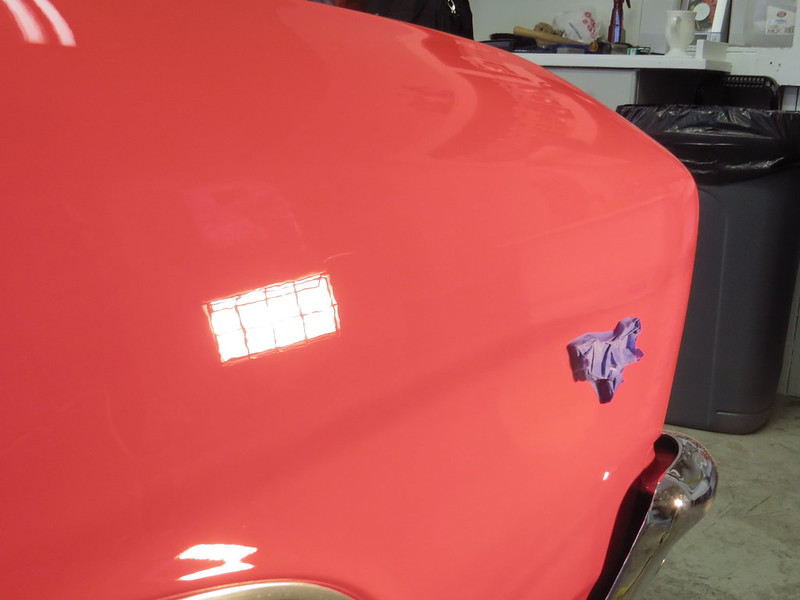
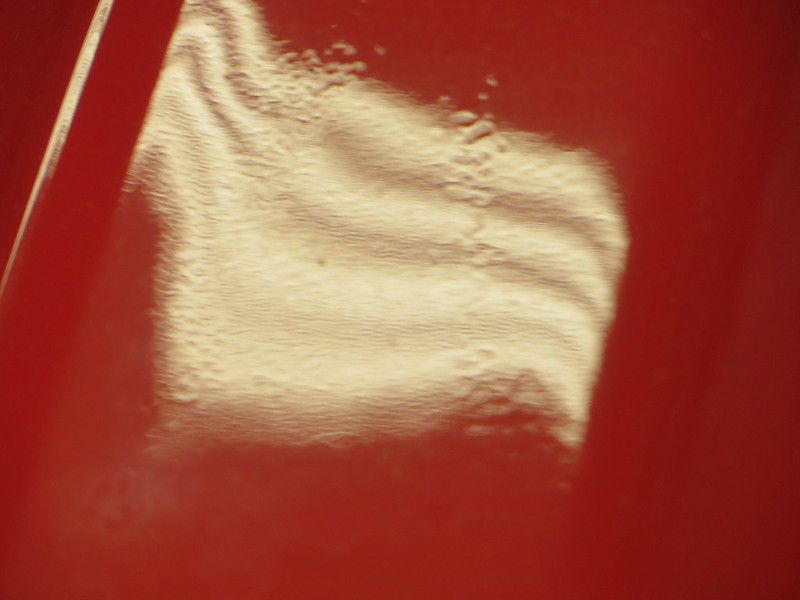
Hood... texture of paint showing shrinking/ sinking of body filler. These appeared about 2 years after painting.
IMG_7336 by GabeDellinger, on Flickr
We built a makeshift down-draft paint booth in our attached garage with filters, fans, lights, etc... My dad chose to spray Porsche Guard's Red using the DuPont Chromabase paint system.
By now, you are beginning to understand why the detail was special. The car I'm presenting today was where I learned some fundamentals on bodywork, block sanding, wet sanding, and high-speed buffing. It's kind of neat to look back and see just 'how horrible' some of my work was. But that's ok. I love the car, the time I spent working on it, and especially love the lessons it taught me. Not many detailers or car lovers, in general, get too look back at the car they first buffed.
Moreover, I'm highly impressed my father let me make some of my own mistakes... and you'll see them I move forward through this project.
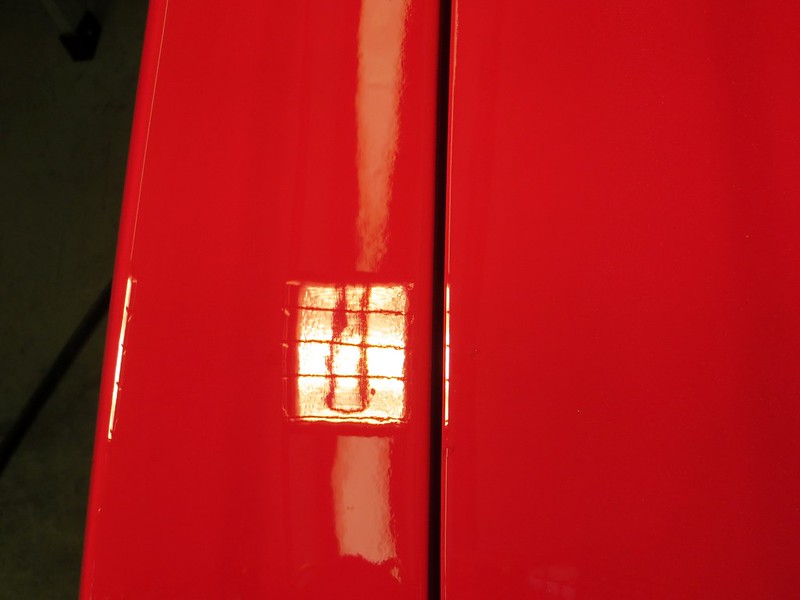
Here's my first ever strike through circa 1998. I laughed pretty hard when I was getting ready to correct the rear decklid and found it (again)... what was I thinking buffing that edge!
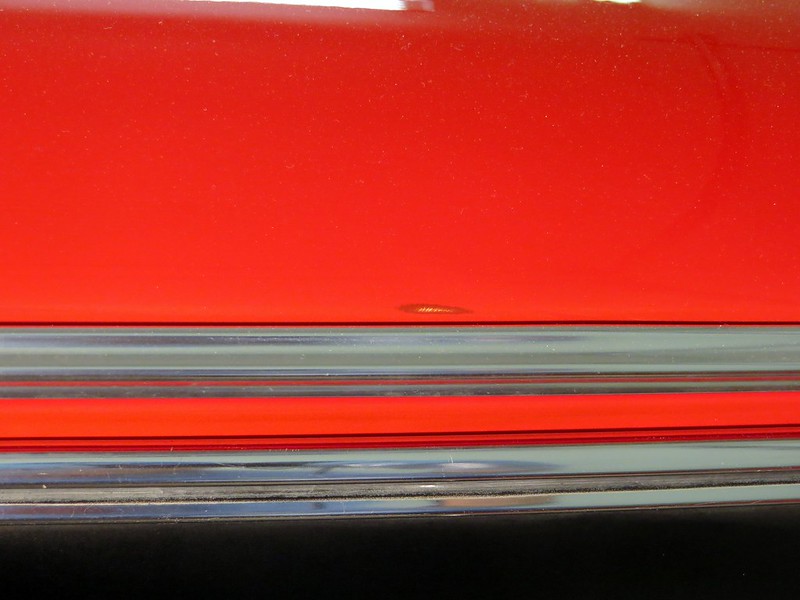
IMG_7630 by GabeDellinger, on Flickr
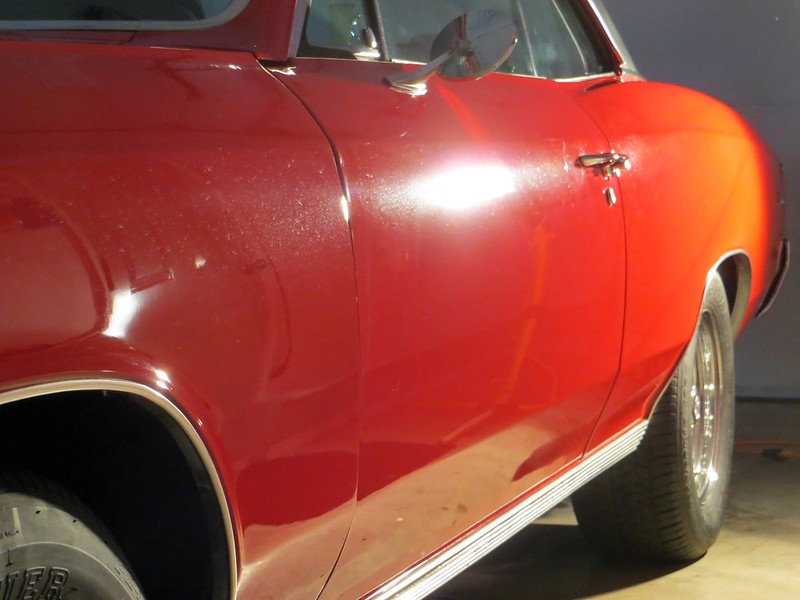
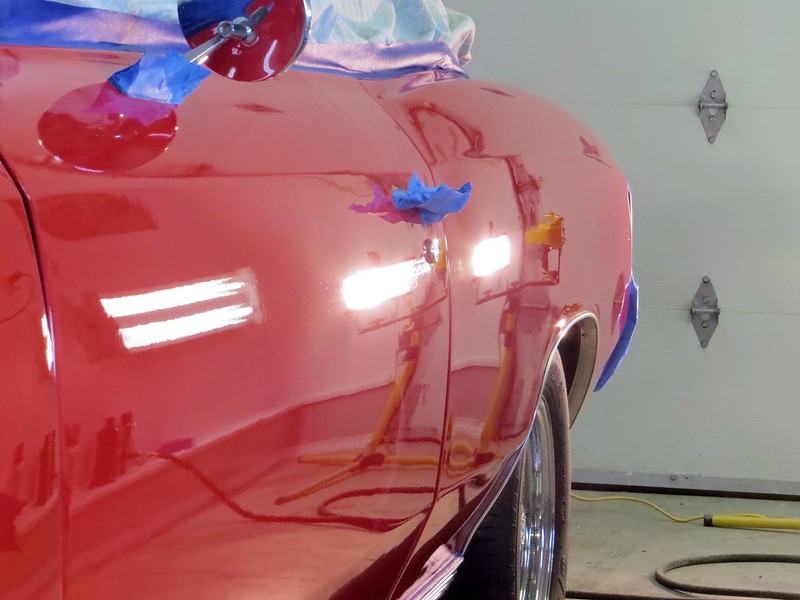
Sun inspection, prior to wash/ decon...
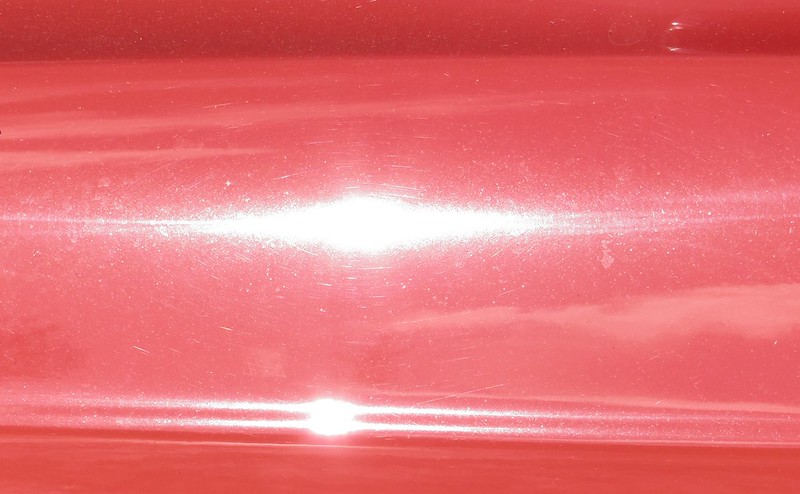
IMG_7265 by GabeDellinger, on Flickr
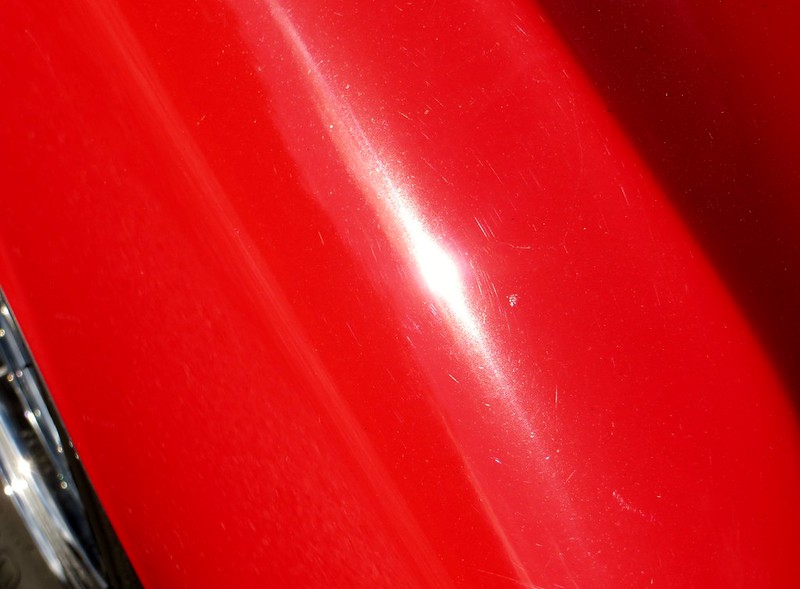
IMG_7271 by GabeDellinger, on Flickr
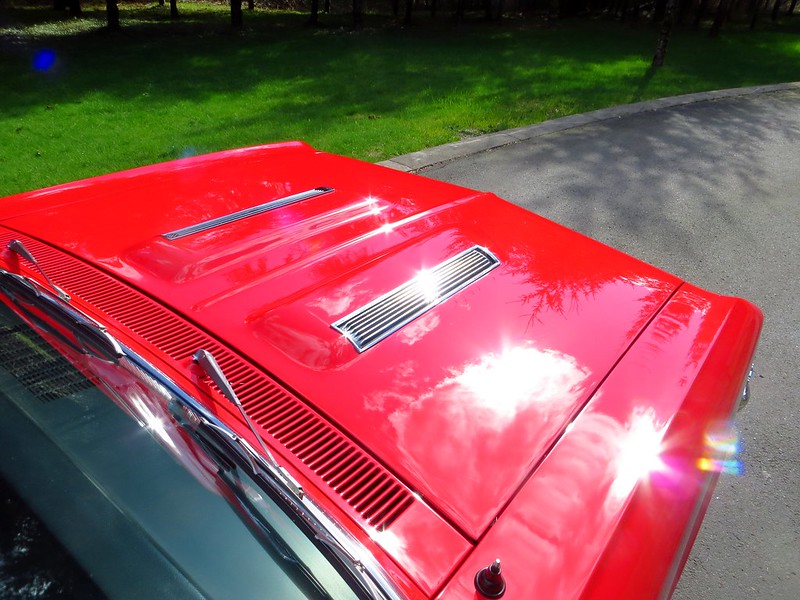
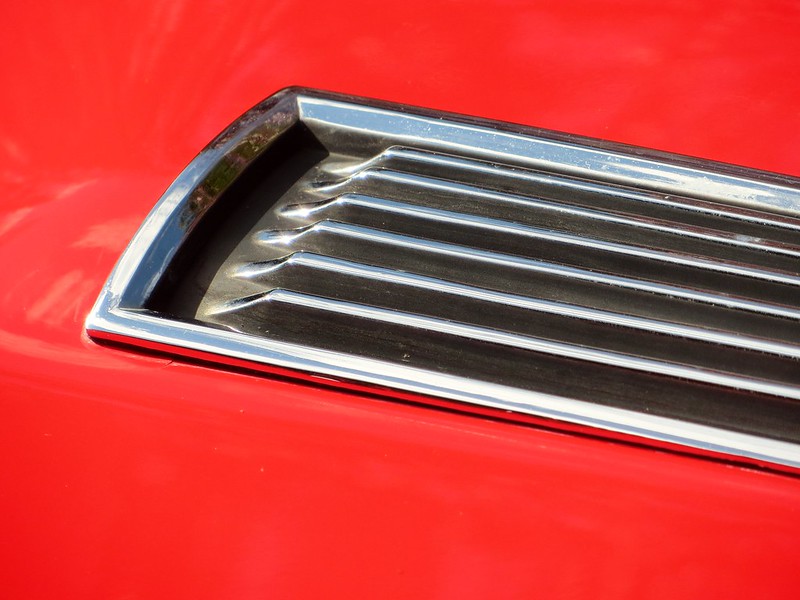
Hood louver inserts looking weathered... with some old wax residue
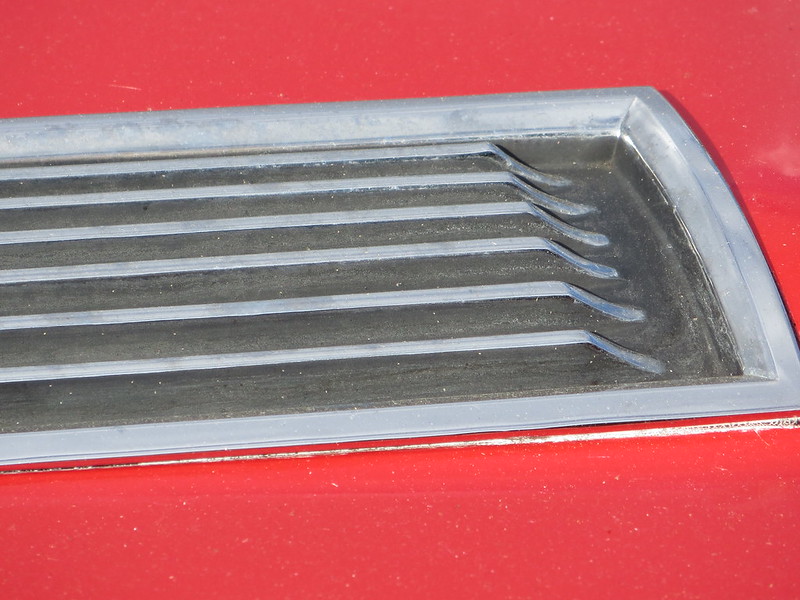
IMG_7301 by GabeDellinger, on Flickr
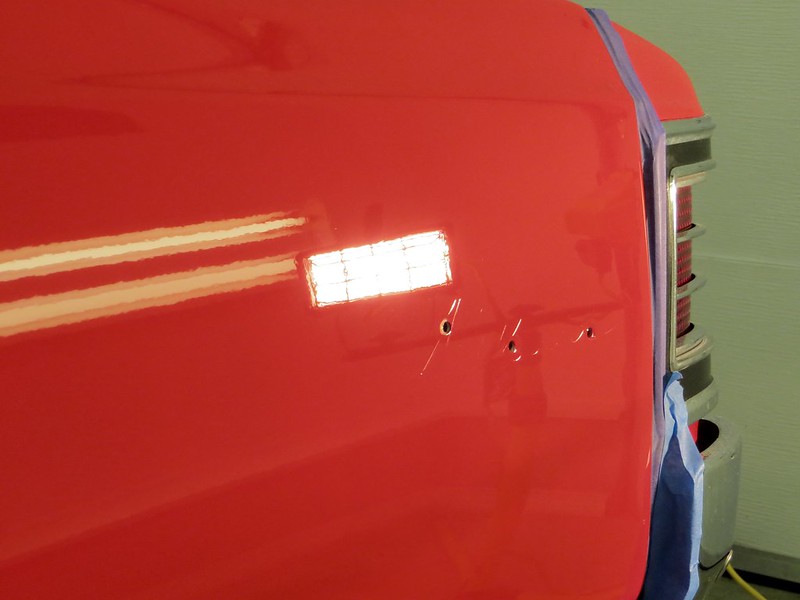
Driver's side rear quarter showing sanding marks which were never removed in 1998
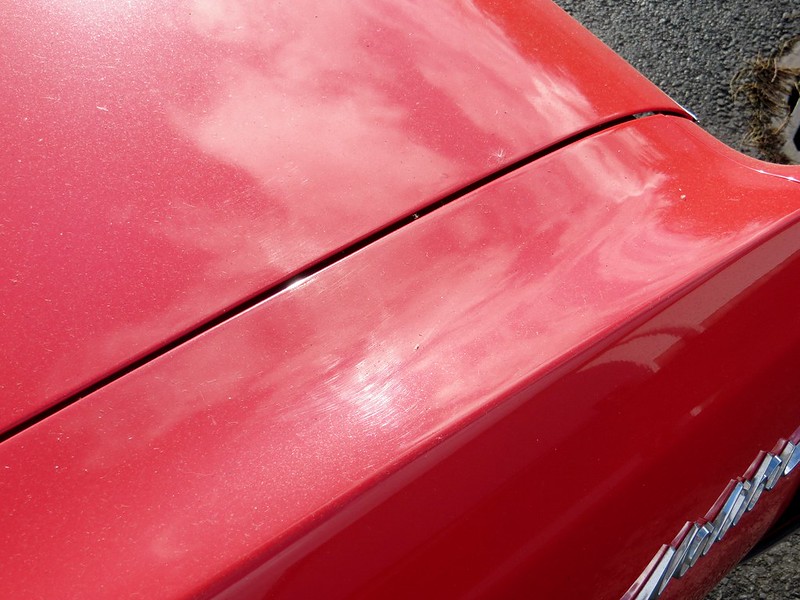
IMG_7276 by GabeDellinger, on Flickr
Hood showing damage from car cover
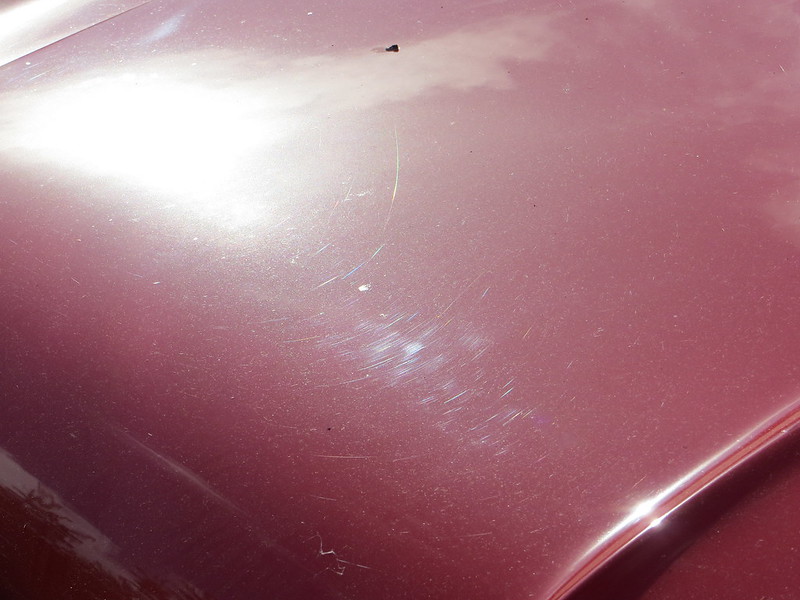
IMG_7275 by GabeDellinger, on Flickr
A cobweb here... cobweb there

IMG_7326 by GabeDellinger, on Flickr
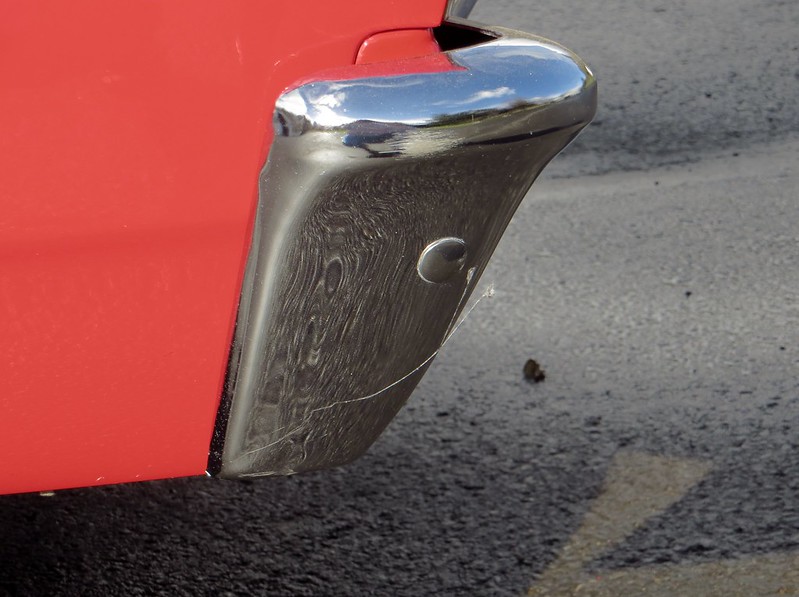
IMG_7270 by GabeDellinger, on Flickr
Condition of original vinyl top

IMG_7286 by GabeDellinger, on Flickr
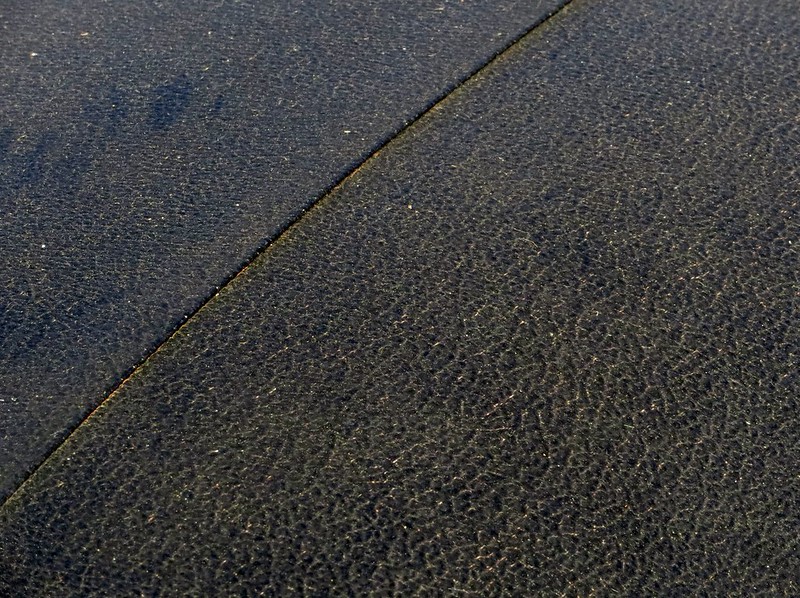
IMG_7287 by GabeDellinger, on Flickr
Wash/Decon-
Meg's Rinse Free Express Wash, 1oz per gallon (GDM)
Meg's APC 10:1 & 5:1
Various brushes
Goof off
Meg's Mirror Glaze Clay, medium
Meg's Last Touch 1:1
I usually pre-spray the panel with D114 and then wipe...

IMG_7381 by GabeDellinger, on Flickr
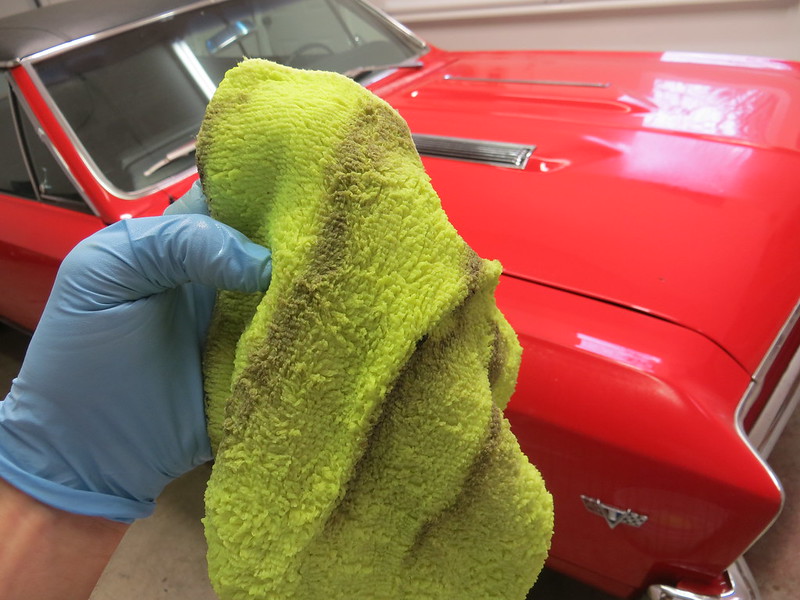
IMG_7371 by GabeDellinger, on Flickr
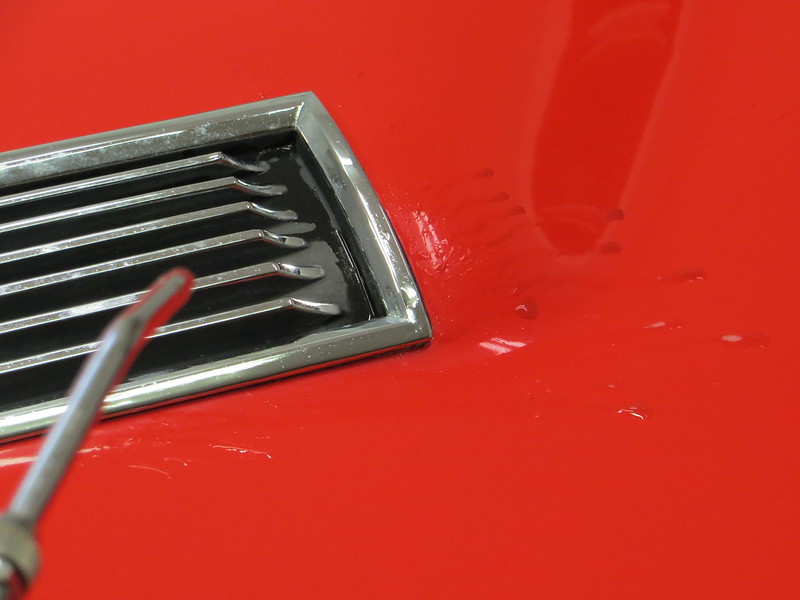
Quite a bit of brush work. Megs APC @ 10:1 on the hood louvers. There is usually some tender and delicate flat black associated with a fair bit of muscle car trim...and when it has some age on it... better to be mild than strong.

IMG_7375 by GabeDellinger, on Flickr
Dirty!
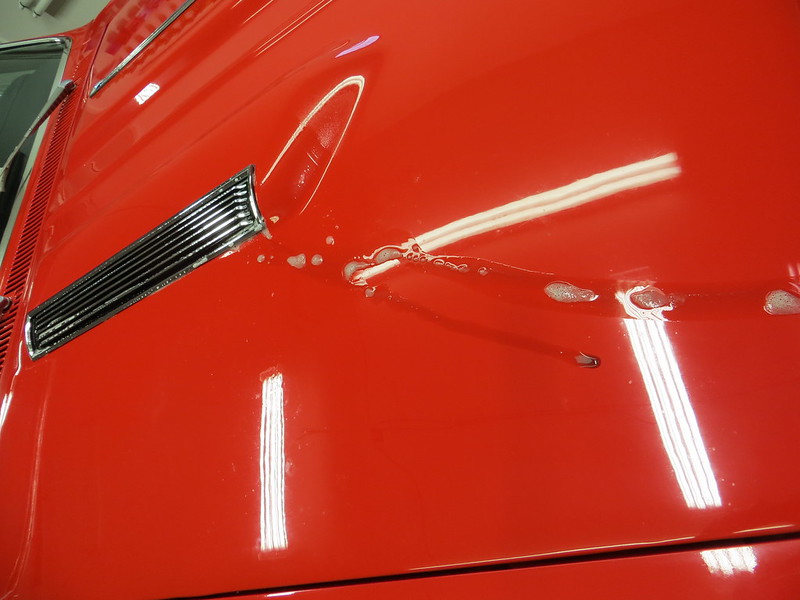
IMG_7380 by GabeDellinger, on Flickr
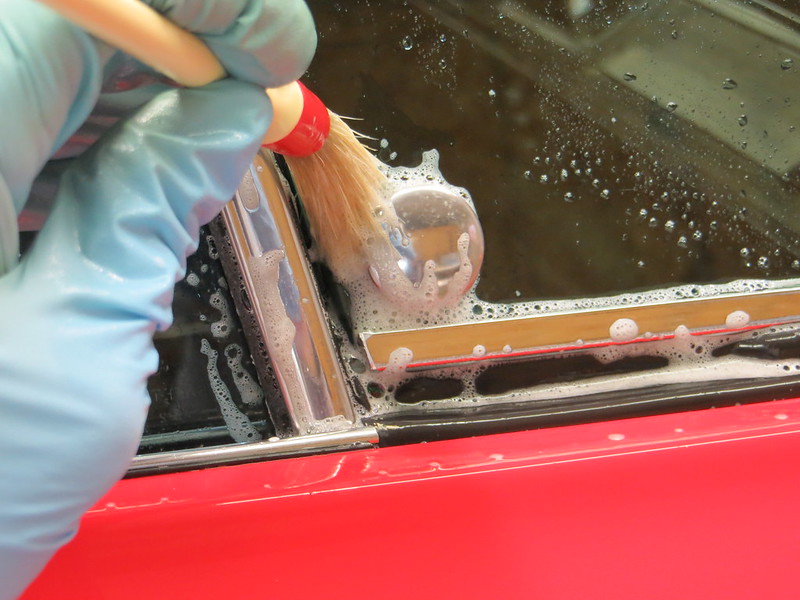
IMG_7391 by GabeDellinger, on Flickr
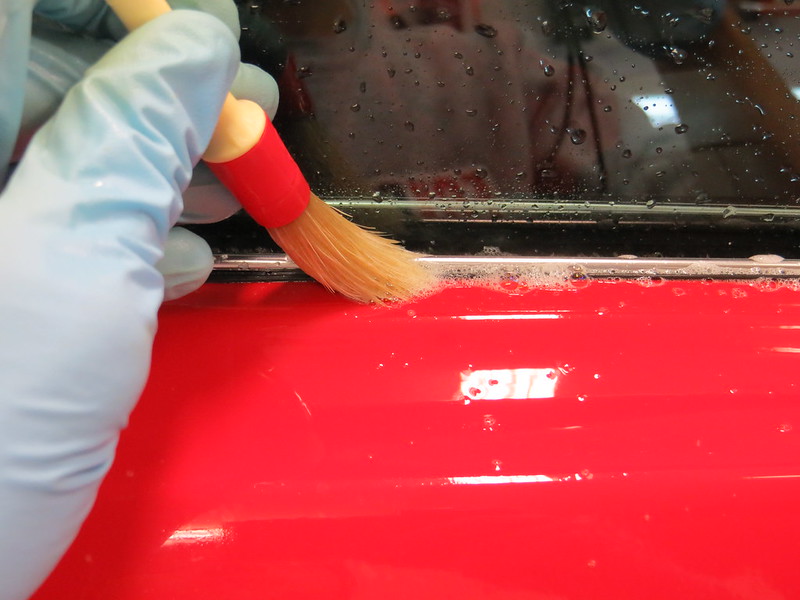
IMG_7394 by GabeDellinger, on Flickr
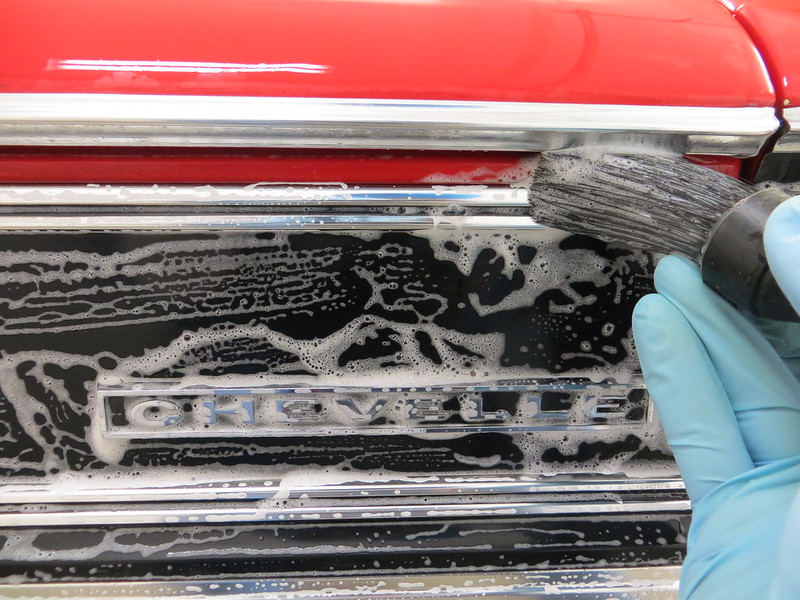
IMG_7399 by GabeDellinger, on Flickr
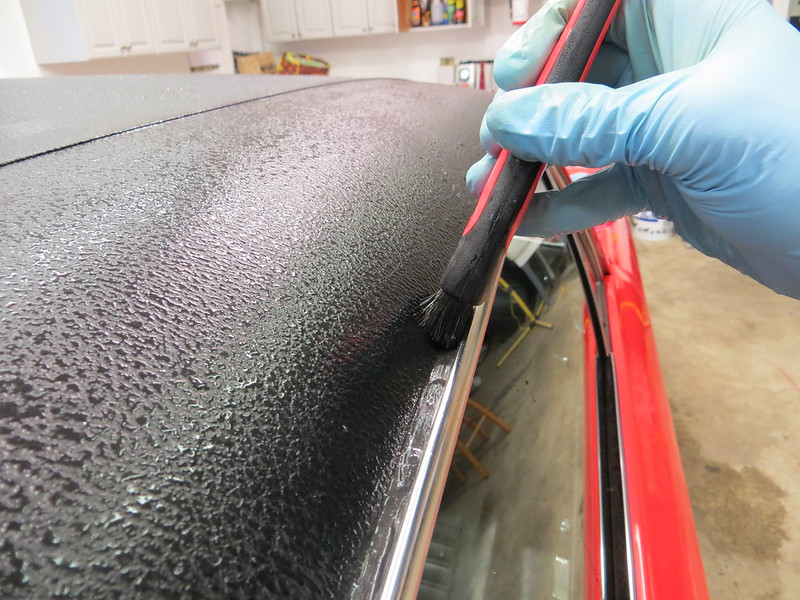
IMG_7425 by GabeDellinger, on Flickr
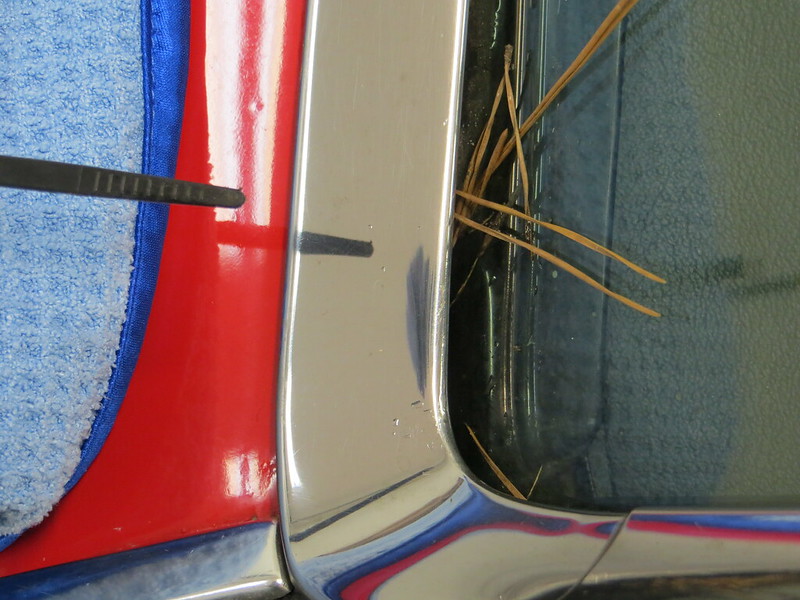
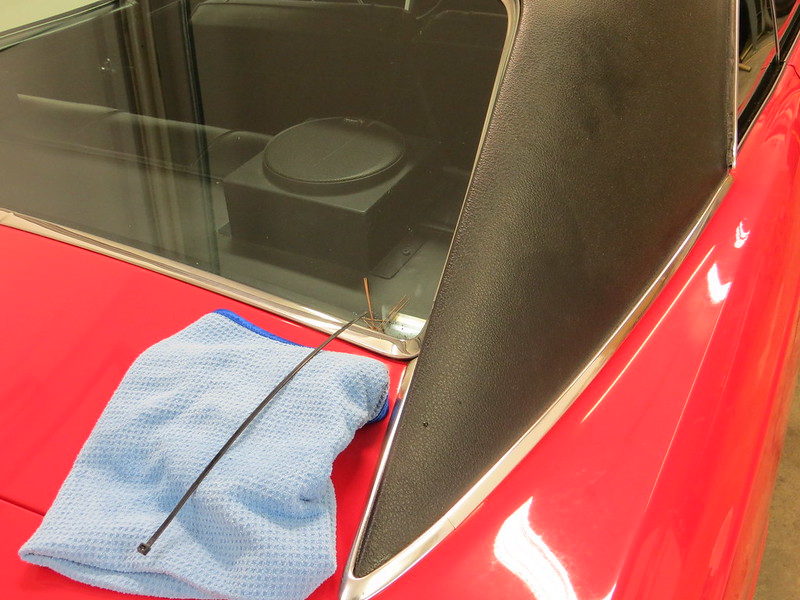
Quite a bit of 'air' work... (I find it imperative to use compressed air to get all the water and soap out of trim/ crevices/ etc... all pictures showing places after being dried... amazing what's left behind in trim areas on older classics. Another reason I do rinse-less washes exclusively on these types.)
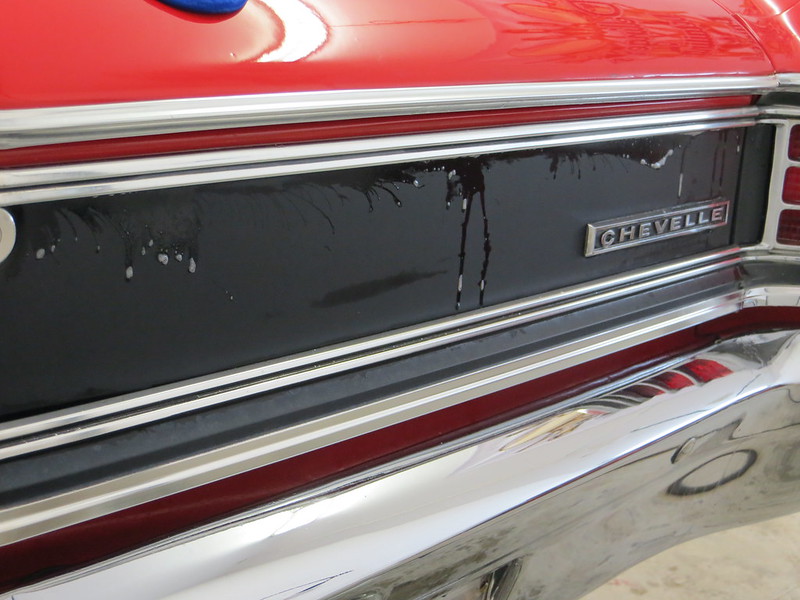
IMG_7400 by GabeDellinger, on Flickr
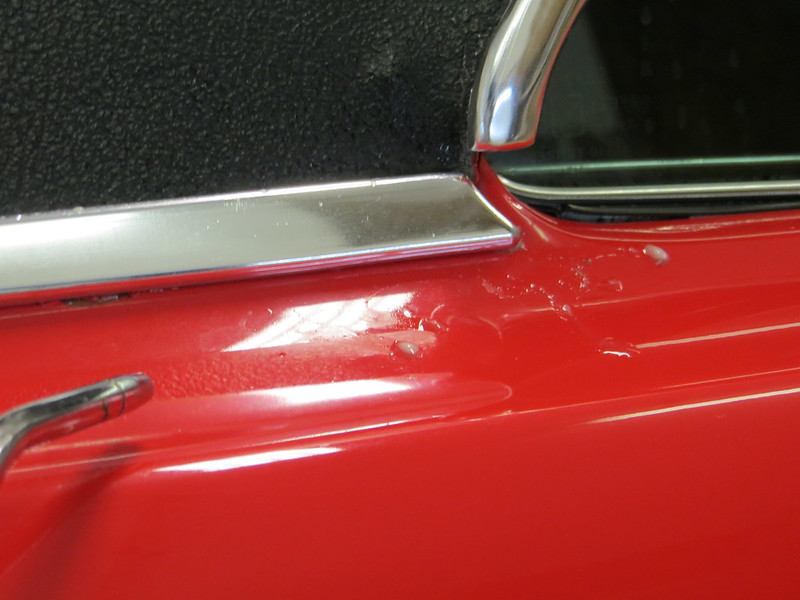
IMG_7396 by GabeDellinger, on Flickr
IMG_7390 by GabeDellinger, on Flickr

IMG_7385 by GabeDellinger, on Flickr
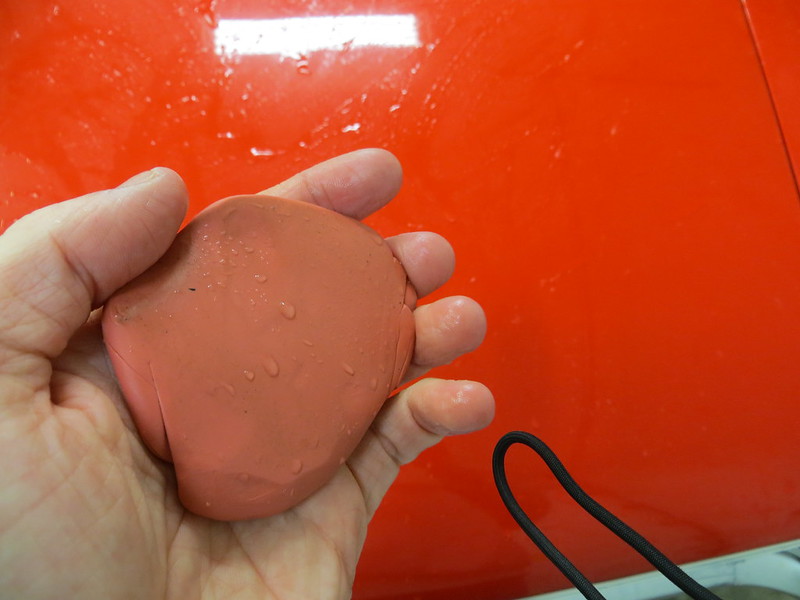
Clay didn't pick up much... but then again, the car hasn't been driven extensively
IMG_7433 by GabeDellinger, on Flickr
More goodies as I worked around the car one panel at a time.
IMG_7423 by GabeDellinger, on Flickr
IMG_7424 by GabeDellinger, on Flickr
And bottom of the deck lid and jambs received some love... (black 'ring' is weather stripping transfer)
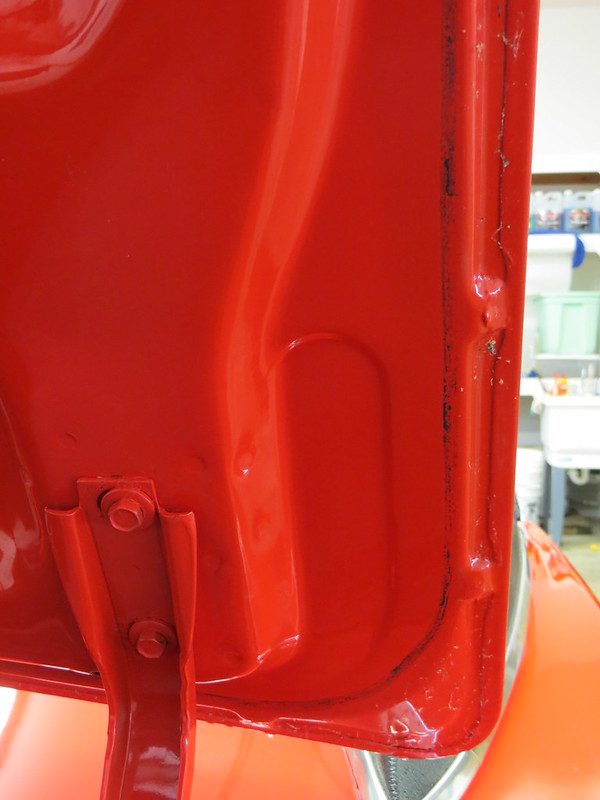
IMG_7404 by GabeDellinger, on Flickr
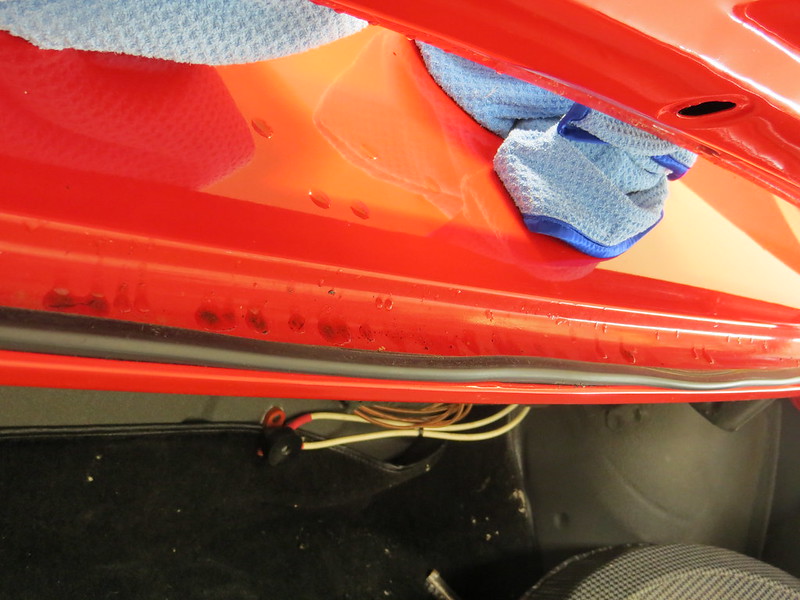
IMG_7406 by GabeDellinger, on Flickr
Meg's Rinse Free... doing its thang.
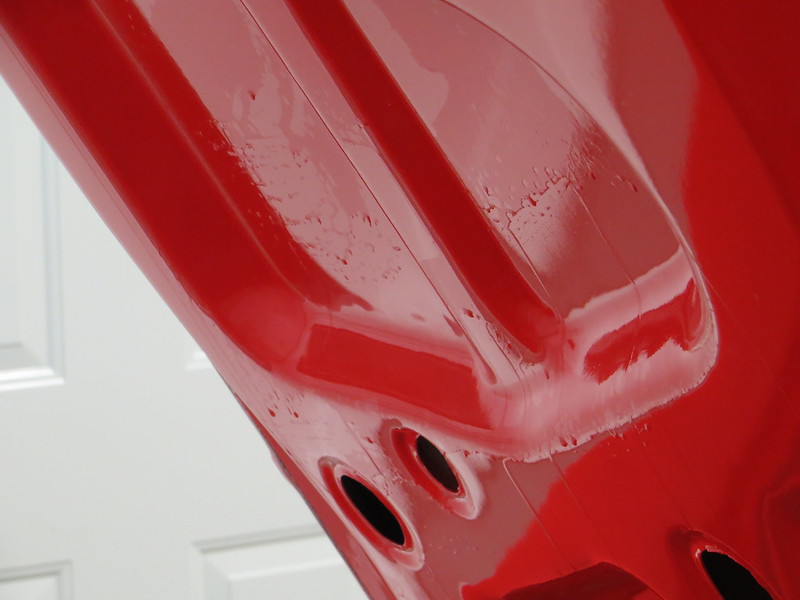
IMG_7409 by GabeDellinger, on Flickr
Called in some Goof Off and a foam pad...

IMG_7415 by GabeDellinger, on Flickr
Looking better

IMG_7421 by GabeDellinger, on Flickr
Just an area of caution if you are working under the deck lid of a muscle car. Usually jack instructions are pasted somewhere and the decal (original or re-pop) is usually very delicate and not robust. Try to keep an APC or water off of it!

IMG_7411 by GabeDellinger, on Flickr
Inspection after wash/decon...under the lights
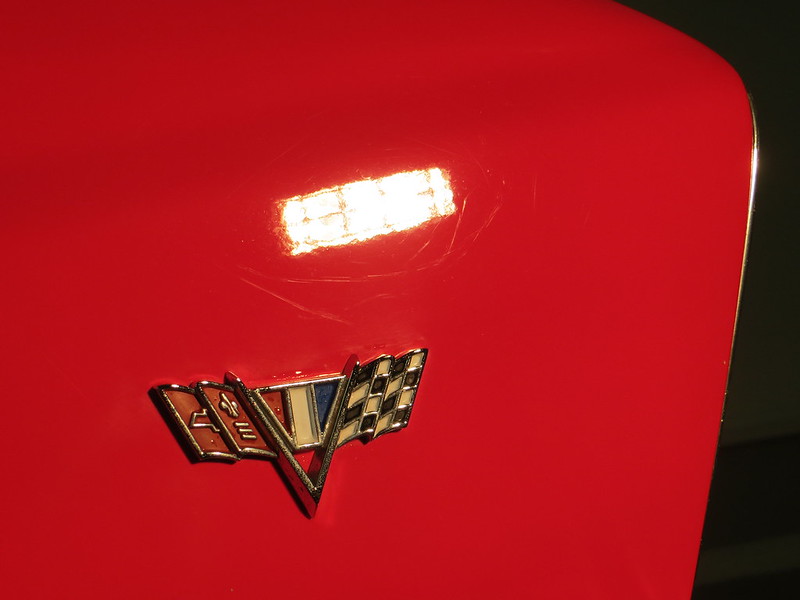
IMG_7437 by GabeDellinger, on Flickr
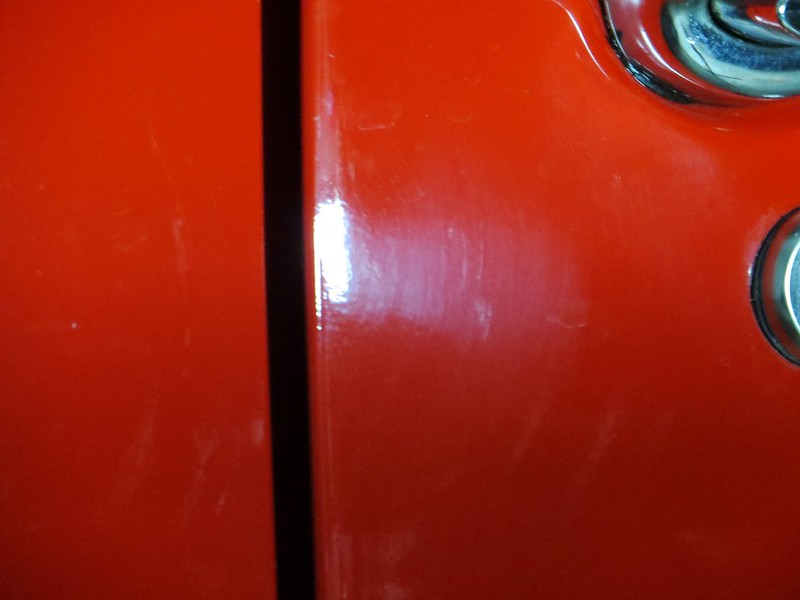
IMG_7461 by GabeDellinger, on Flickr
More sanding marks I left behind in '98
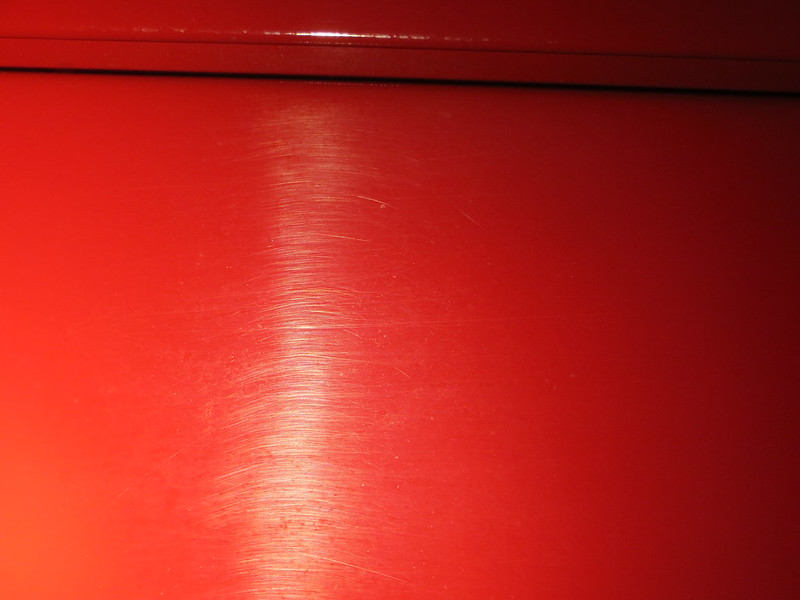
IMG_7472 by GabeDellinger, on Flickr
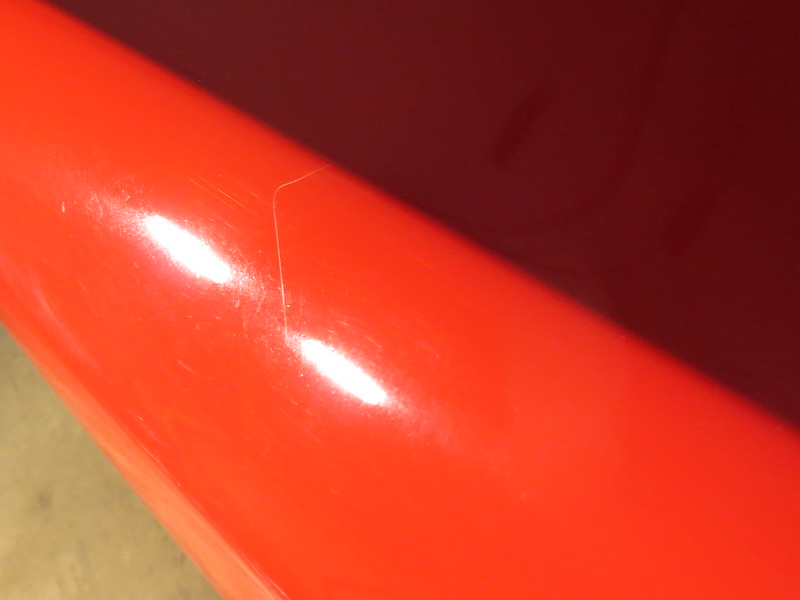
IMG_7492 by GabeDellinger, on Flickr
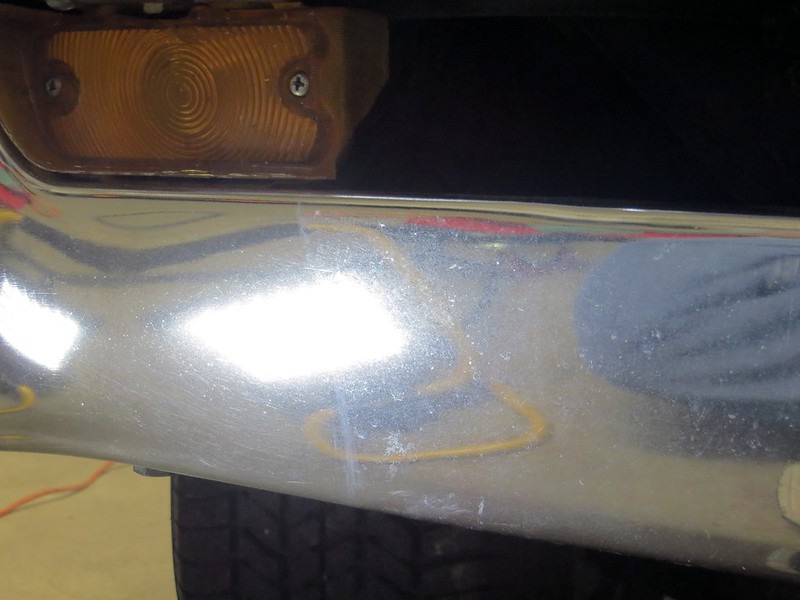
Heavy oxidation, poor washing methods, etc...

IMG_7496 by GabeDellinger, on Flickr
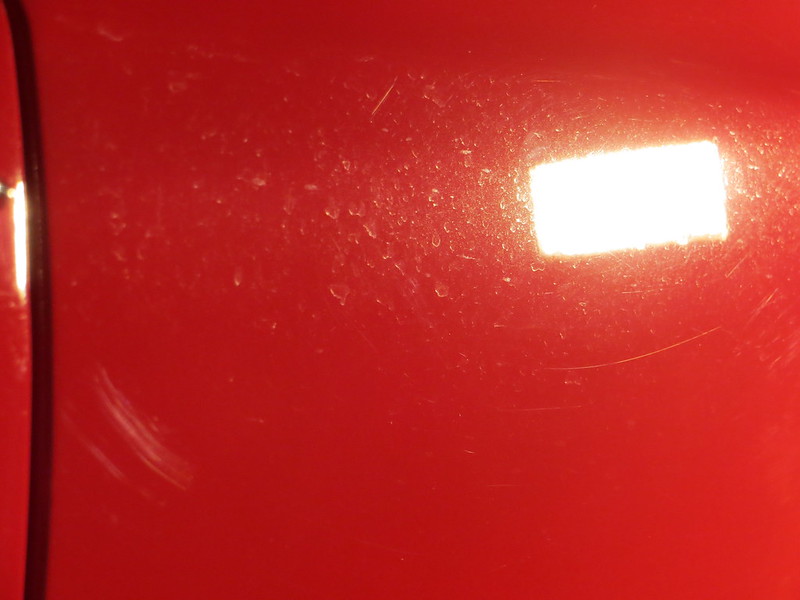
IMG_7503 by GabeDellinger, on Flickr

IMG_7509 by GabeDellinger, on Flickr
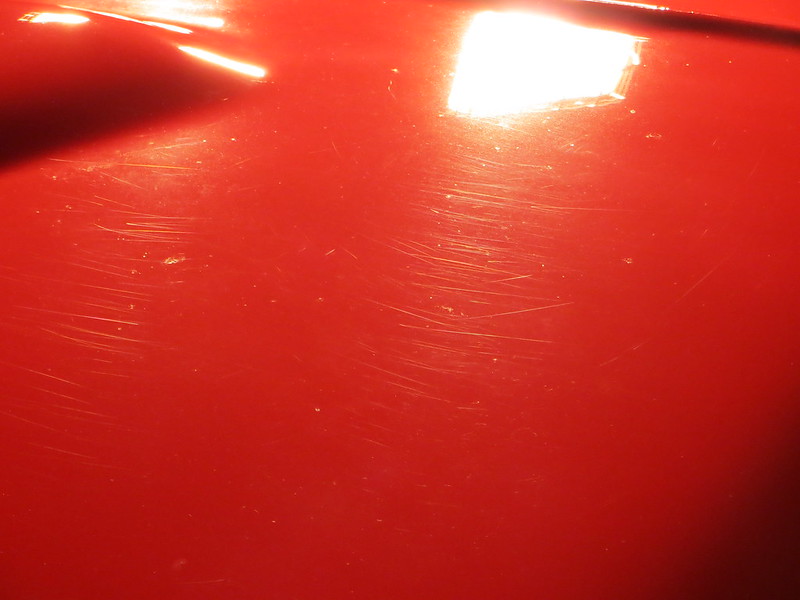
IMG_7511 by GabeDellinger, on Flickr
The correction process was pretty clumsy on my part... it took a while to find what the paint wanted. I started with Rupes 21, D300, and Megs MF cutting pad. It left a good finish but it was taking too long to cut. The DuPont Chromabase was proving to be the hardest paint I've come across yet... but at the same time being a little finicky to finish down haze/mar free.
I ended up doing the following...
Makita Rotary/ 5/1" HD lambswool pad/ M100 @ 1500 (lowest speed my old Makita will go)
Rupes/Orange B&S 5.5"/ HD Uno
Rupes/White B&S 5.5"/ M205
Rupes/Black B&S 5.5"/ HD Polish
Smaller areas...
HF D/A / 3" Meg's Burgundy/ M101
.........../ 3" White B&S/ M205
.........../ 3" Black B&S/ HD Polish
I like to be organized when starting off...
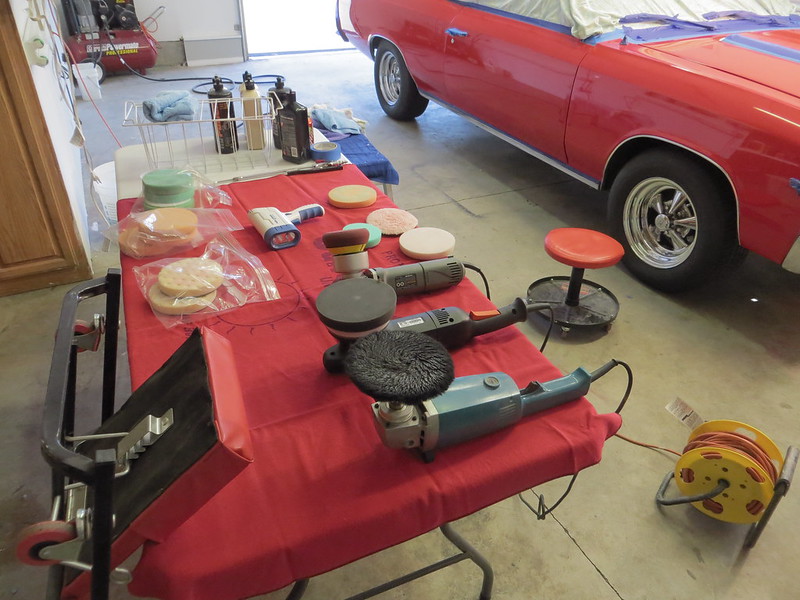
IMG_7560 by GabeDellinger, on Flickr
Good amount of build on the car....
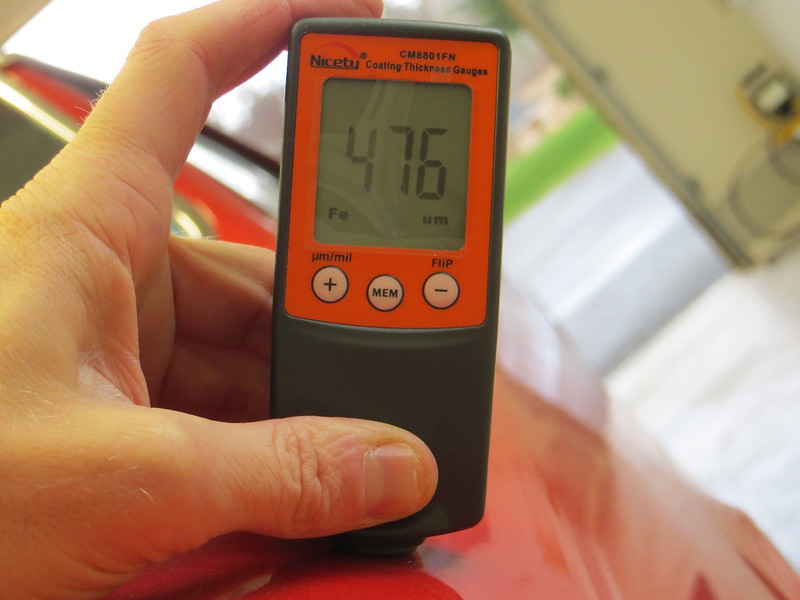
IMG_7363 by GabeDellinger, on Flickr
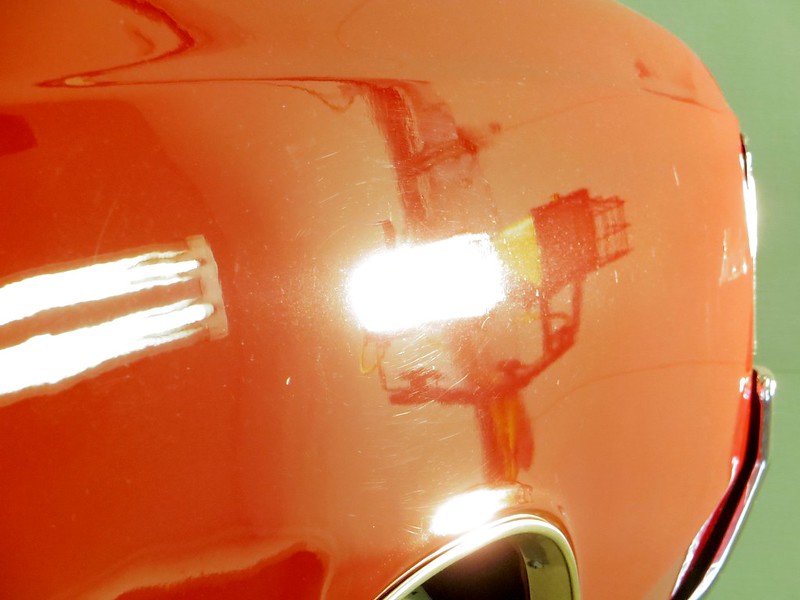
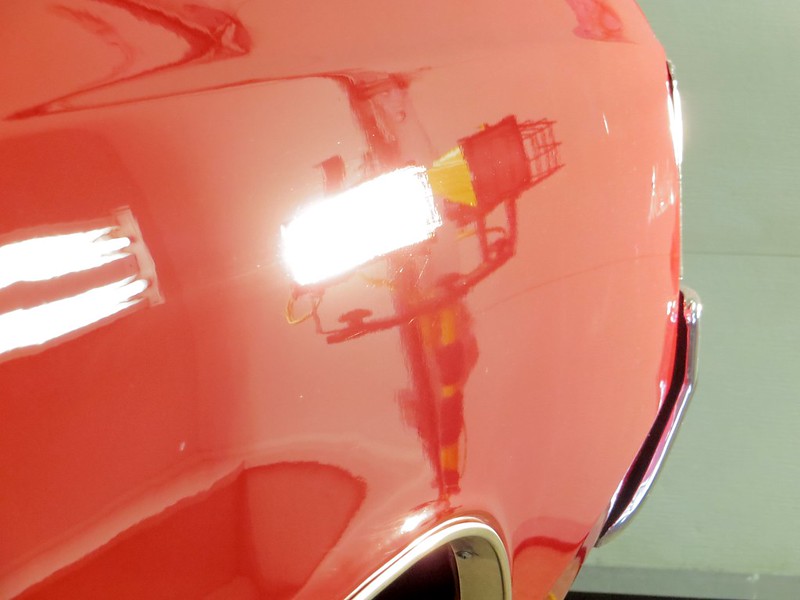
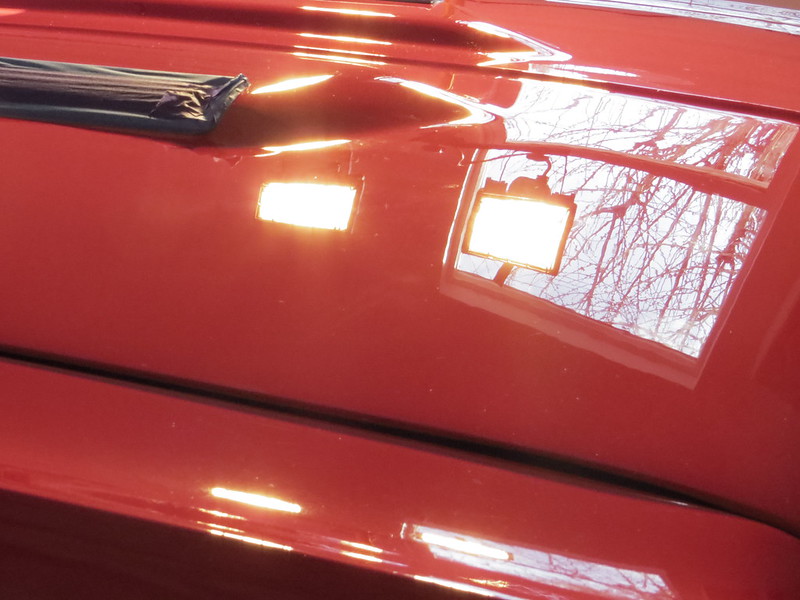
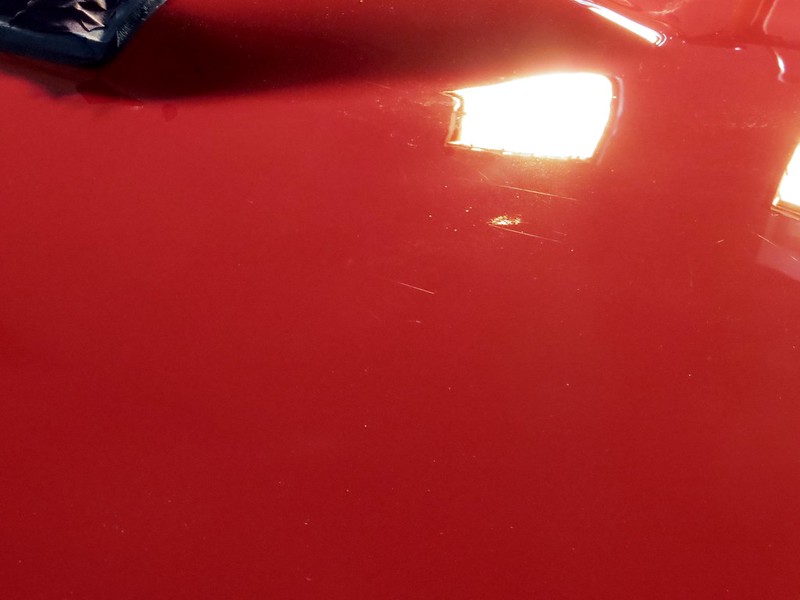
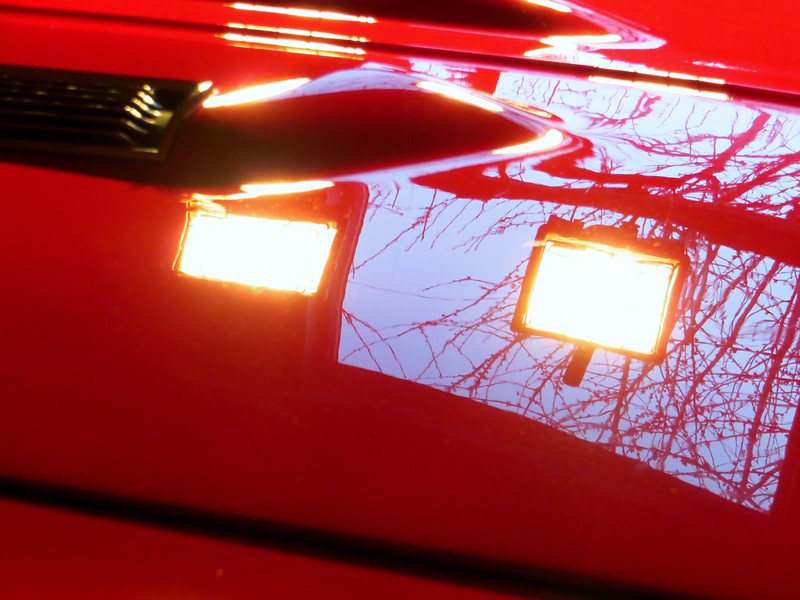
Some 50/50s
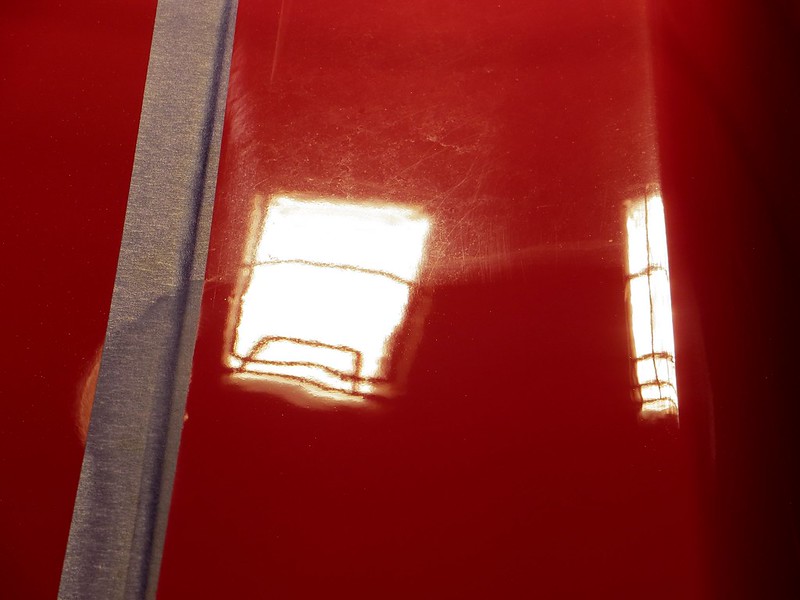
IMG_7543 by GabeDellinger, on Flickr

IMG_7556 by GabeDellinger, on Flickr

IMG_7563 by GabeDellinger, on Flickr
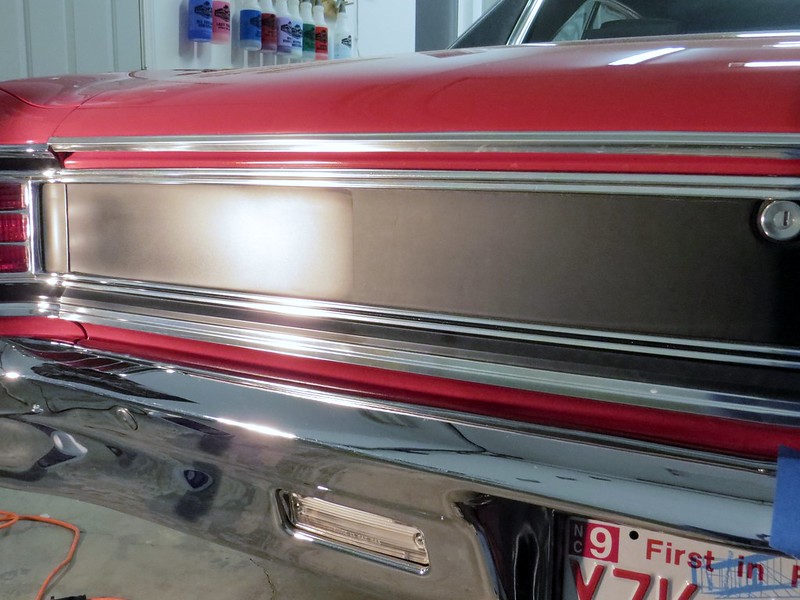
Extra care was taken with the black, DP-90... black B&S 3" pad and DG501 for a very light clean up of area below deck lid. The light sheen is how it should look.
IMG_7626 by GabeDellinger, on Flickr
To be continued... give me an hour or so...
This was a special detail for me, not only because the car is mine but for quite a few reasons I will mention as this post moves along.
(I apologize for the pictures... this solid red was really hard to photograph. Sometimes I had to washout the picture to capture defects... so the red paint is going to take on many different shades.)
The Chevelle's condition after sitting unused for 4 years

IMG_7316 by GabeDellinger, on Flickr
My dad purchased the car back in 1994 for $2,500 out of California. Quite a bit to give, then, for a Malibu. However, the car was low milage with 37,000 on the odometer. It does have some interesting options... factory A/C, factory tinted glass, factory smog pump (removed but still have the unit and special headers) and some nasty, nasty, undercoating. He wanted a project for us to both work on. The odometer now reads...

IMG_7306 by GabeDellinger, on Flickr
Original T-3 headlight...(3 of them are still OEM to the car.)

IMG_7520 by GabeDellinger, on Flickr
Here is the center console my dad made... the carpet surrounding the sides appears a feint green... it's faded over time and used to be a dark grey.

IMG_7311 by GabeDellinger, on Flickr
The original color was 'Granada Gold'. I was a freshman in high school when my family took possession of it. I was pretty underwhelmed when I first saw the car.... especially when I was wanting a '69 Camaro SS/ 4-speed. It had hubcaps, ugly gold paint, and a 283, 2 barrel 195hp version and a 2-speed Powerglide auto. (We installed new rings, bearings, aluminum intake, Carter AFB, HEI ignition, and a very mild camshaft to spruce up the 283.)
My dad and I spent a solid 4 years on the car. Every weekend we worked on it. I can't say it was fun then... but after it was done... I've been a car nut ever since.
The paint and bodywork took 18 months. There was one quarter that had been hit but there were zero rust problems or need for patch panels anywhere. The floor pans were solid so there wasn't anything too crazy regarding body work.
As you have probably already noted, we exchanged some of the Malibu trim for SS stuff. Back in the mid-90's, a person could even locate NOS OEM '67 Chevelle SS trim! We did from a local Chevy parts dealer on Swan Island in Portland, OR. The SS hood was an GM piece but well used from the previous owner. It looked like a heard of elephants walked on it. We patched it up as best we could but there's lots of body filler.
Hood... texture of paint showing shrinking/ sinking of body filler. These appeared about 2 years after painting.

IMG_7336 by GabeDellinger, on Flickr
We built a makeshift down-draft paint booth in our attached garage with filters, fans, lights, etc... My dad chose to spray Porsche Guard's Red using the DuPont Chromabase paint system.
By now, you are beginning to understand why the detail was special. The car I'm presenting today was where I learned some fundamentals on bodywork, block sanding, wet sanding, and high-speed buffing. It's kind of neat to look back and see just 'how horrible' some of my work was. But that's ok. I love the car, the time I spent working on it, and especially love the lessons it taught me. Not many detailers or car lovers, in general, get too look back at the car they first buffed.
Moreover, I'm highly impressed my father let me make some of my own mistakes... and you'll see them I move forward through this project.
Here's my first ever strike through circa 1998. I laughed pretty hard when I was getting ready to correct the rear decklid and found it (again)... what was I thinking buffing that edge!

IMG_7630 by GabeDellinger, on Flickr
Sun inspection, prior to wash/ decon...

IMG_7265 by GabeDellinger, on Flickr

IMG_7271 by GabeDellinger, on Flickr
Hood louver inserts looking weathered... with some old wax residue

IMG_7301 by GabeDellinger, on Flickr
Driver's side rear quarter showing sanding marks which were never removed in 1998

IMG_7276 by GabeDellinger, on Flickr
Hood showing damage from car cover

IMG_7275 by GabeDellinger, on Flickr
A cobweb here... cobweb there

IMG_7326 by GabeDellinger, on Flickr

IMG_7270 by GabeDellinger, on Flickr
Condition of original vinyl top

IMG_7286 by GabeDellinger, on Flickr

IMG_7287 by GabeDellinger, on Flickr
Wash/Decon-
Meg's Rinse Free Express Wash, 1oz per gallon (GDM)
Meg's APC 10:1 & 5:1
Various brushes
Goof off
Meg's Mirror Glaze Clay, medium
Meg's Last Touch 1:1
I usually pre-spray the panel with D114 and then wipe...

IMG_7381 by GabeDellinger, on Flickr

IMG_7371 by GabeDellinger, on Flickr
Quite a bit of brush work. Megs APC @ 10:1 on the hood louvers. There is usually some tender and delicate flat black associated with a fair bit of muscle car trim...and when it has some age on it... better to be mild than strong.

IMG_7375 by GabeDellinger, on Flickr
Dirty!

IMG_7380 by GabeDellinger, on Flickr

IMG_7391 by GabeDellinger, on Flickr

IMG_7394 by GabeDellinger, on Flickr

IMG_7399 by GabeDellinger, on Flickr

IMG_7425 by GabeDellinger, on Flickr
Quite a bit of 'air' work... (I find it imperative to use compressed air to get all the water and soap out of trim/ crevices/ etc... all pictures showing places after being dried... amazing what's left behind in trim areas on older classics. Another reason I do rinse-less washes exclusively on these types.)

IMG_7400 by GabeDellinger, on Flickr

IMG_7396 by GabeDellinger, on Flickr

IMG_7390 by GabeDellinger, on Flickr

IMG_7385 by GabeDellinger, on Flickr
Clay didn't pick up much... but then again, the car hasn't been driven extensively

IMG_7433 by GabeDellinger, on Flickr
More goodies as I worked around the car one panel at a time.

IMG_7423 by GabeDellinger, on Flickr

IMG_7424 by GabeDellinger, on Flickr
And bottom of the deck lid and jambs received some love... (black 'ring' is weather stripping transfer)

IMG_7404 by GabeDellinger, on Flickr

IMG_7406 by GabeDellinger, on Flickr
Meg's Rinse Free... doing its thang.

IMG_7409 by GabeDellinger, on Flickr
Called in some Goof Off and a foam pad...

IMG_7415 by GabeDellinger, on Flickr
Looking better

IMG_7421 by GabeDellinger, on Flickr
Just an area of caution if you are working under the deck lid of a muscle car. Usually jack instructions are pasted somewhere and the decal (original or re-pop) is usually very delicate and not robust. Try to keep an APC or water off of it!

IMG_7411 by GabeDellinger, on Flickr
Inspection after wash/decon...under the lights

IMG_7437 by GabeDellinger, on Flickr

IMG_7461 by GabeDellinger, on Flickr
More sanding marks I left behind in '98

IMG_7472 by GabeDellinger, on Flickr

IMG_7492 by GabeDellinger, on Flickr
Heavy oxidation, poor washing methods, etc...

IMG_7496 by GabeDellinger, on Flickr

IMG_7503 by GabeDellinger, on Flickr

IMG_7509 by GabeDellinger, on Flickr

IMG_7511 by GabeDellinger, on Flickr
The correction process was pretty clumsy on my part... it took a while to find what the paint wanted. I started with Rupes 21, D300, and Megs MF cutting pad. It left a good finish but it was taking too long to cut. The DuPont Chromabase was proving to be the hardest paint I've come across yet... but at the same time being a little finicky to finish down haze/mar free.
I ended up doing the following...
Makita Rotary/ 5/1" HD lambswool pad/ M100 @ 1500 (lowest speed my old Makita will go)
Rupes/Orange B&S 5.5"/ HD Uno
Rupes/White B&S 5.5"/ M205
Rupes/Black B&S 5.5"/ HD Polish
Smaller areas...
HF D/A / 3" Meg's Burgundy/ M101
.........../ 3" White B&S/ M205
.........../ 3" Black B&S/ HD Polish
I like to be organized when starting off...

IMG_7560 by GabeDellinger, on Flickr
Good amount of build on the car....

IMG_7363 by GabeDellinger, on Flickr
Some 50/50s

IMG_7543 by GabeDellinger, on Flickr

IMG_7556 by GabeDellinger, on Flickr

IMG_7563 by GabeDellinger, on Flickr
Extra care was taken with the black, DP-90... black B&S 3" pad and DG501 for a very light clean up of area below deck lid. The light sheen is how it should look.

IMG_7626 by GabeDellinger, on Flickr
To be continued... give me an hour or so...
