lawrenceSA
New member
- Feb 7, 2012
- 1,713
- 0
So first let's detail the details of the detail :lol:
Arches: Rinsed with a HP washer, sprayed with Cyclo APC via a foaming trigger head and allowed to dwell and then agitated with a Mothers Fender Well Brush. This was followed with another HP Rinse. The arches were then dressed with Glossworx Extreme Tyre Shine
Tires: Cleaned with Glossworx Wheel and Tire Cleaner and a Mothers Tire Brush and later dressed with 2 coats of Optimum Optibond Tire Gel 12 hours apart.
Wheels: Wheel nut covers were removed, washed and dressed. The wheels were then rinsed with a HP washer then cleaned using AF Imperial Wheel Cleaner and a Daytona Jnr and Valet Pro Boar Hairs brushes and dried. The wheels were then thoroughly sprayed with AF Iron Out which was agitated after being allowed to dwell for a few minutes, using the same brushes, and then thoroughly rinsed and dried them. I then used Valet Pro Citrus Tar & Glue Remover to remove any tar spots. The wheels were then sprayed with Cyclo APC via foaming trigger and this was left to dwell in order to ensure there were no remaining residues. They would then be sprayed down when the car was pre-foamed as a final clean. The wheels were then clayed using Autoglym Fine Grade Clay and sealed with Collinite 845
Brake Calipers: Rinsed with a HP washer, sprayed with Cyclo APC via a foaming trigger head and allowed to dwell and then agitated with a Valet Pro Boars Hair Brush. This was followed with AF Iron out to help remove some of the stubborn brake dust. The calipers would later be further cleaned up and protected with Meguiars Cleaner Wax
Engine Bay: Sprayed with Cyclo APC via a foaming trigger head, agitated with Valet Pro Brushes then HP Rinse (mist setting) and dried out with compressed air. The bay was then dressed using Glossworx Extreme Tire Shine
Door shuts, window rubbers, fuel flap, badges: Cleaned using Cyclo APC with Valet Pro brushed and then HP Rinsed. The jambs were then polished and protecred using Meguiars Cleaner Wax.
Wash: Prefoamed using Chemical Guys Maxisuds II via foam cannon followed by a 2BM wash with Lambswool wash mitts and Autofiness Lather. The car was then rinsed and dried using ONR at QD strength with WW Drying towels
Decontamination: A baggie test was conducted revealing a fair amount of contamination. First the car was sprayed with ample AF Iron Out which was allowed to dwell before being thoroughly rinsed. I then used Valet Pro Citrus Tar & Glue Remover to remove any tar spots and re-foamed the car and rinsed and dried it before beginning claying, which was done using Autoglym Fine Grade clay and
ONR as lube
Paint correction: Menzerna PF 2500 with 5.5" LC Tangerine Hydrotech pads and 4" LC White CCS pads.
Protection: Chemical Guys EZ Creme Glaze and Chemical Guys Pete's 53
Glass : Autoglym Fine Grade Clay / ONR at clay lube strength / Autoglym Fast Glass / StreakFree Microfiber Glass Cleaning Cloth
Door rubbers, plastic trim : Shield Heavy Duty Vinyl and Rubber Cleaner was used to clean and Glossworx Silky Shine used for dressing
Interior: Blown out with compressed air, all the vents brushed cleaned, vacuumed and all the trim cleaned using Shield Heavy Duty Vinyl and Rubber Cleaner and dressed using Glossworx Silky Shine
Leather: Glossworx Leather Cleaner used in conjunction with Valet Pro brushes and MF Towels to cleaned the leather before conditioning it with Glossworx Leather Conditioner.
Exhaust tips: Cyclo CM30 APC / Various brushes / Meguiars NXT Metal Polish
Ok so let's take a look at what I was up against...
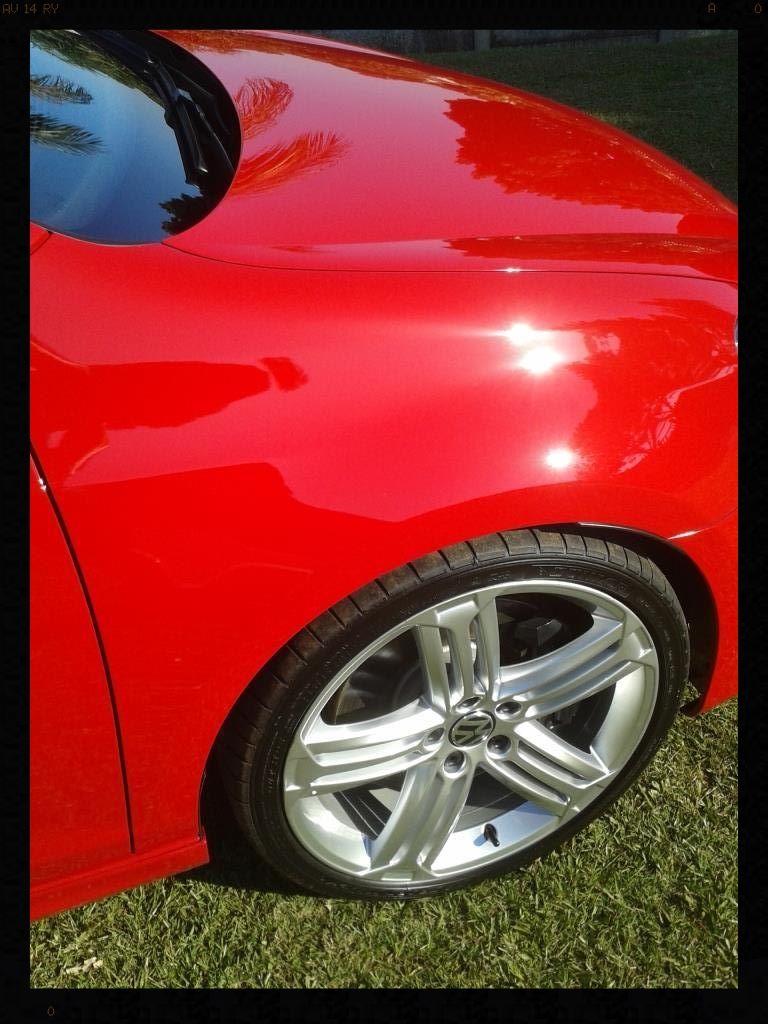
Wheels
Before - they actually don't look too bad
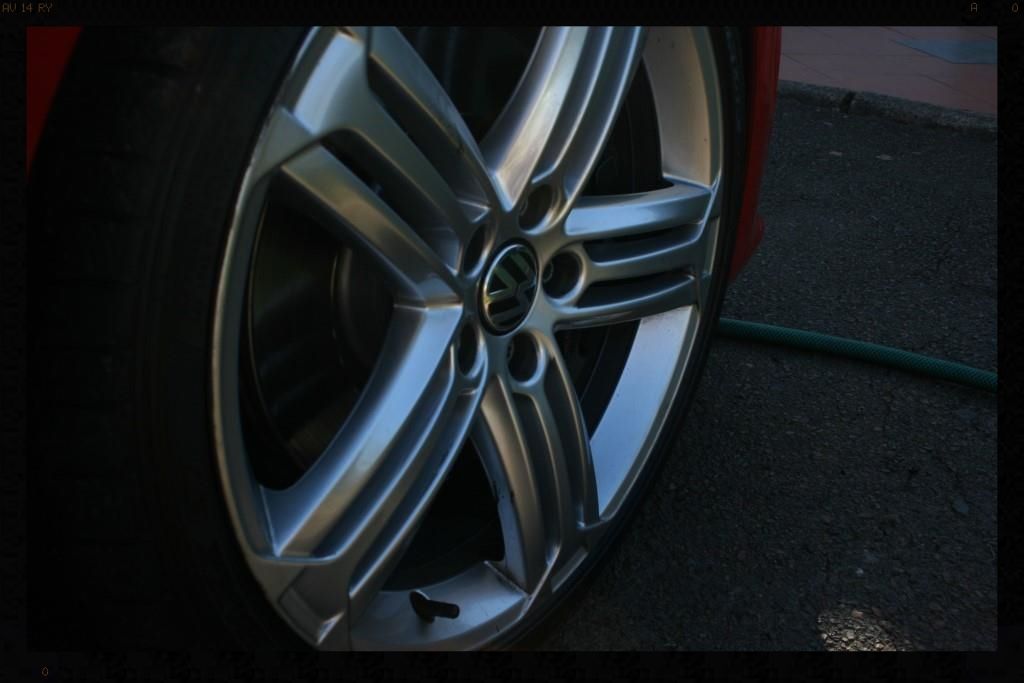
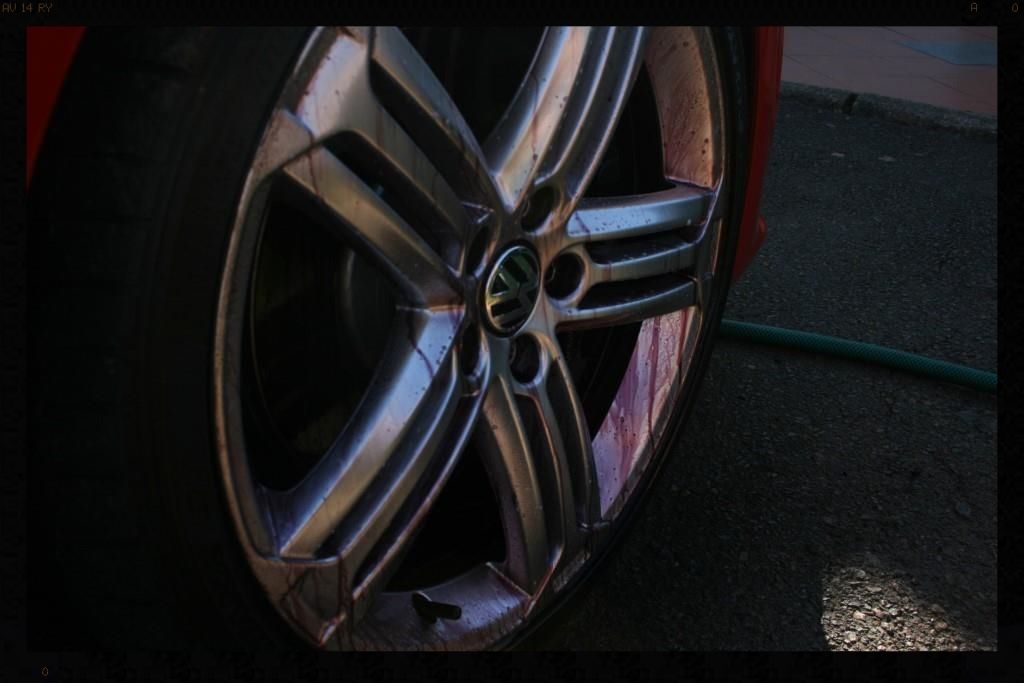
But then you start seeing how much iron is still coming off of them after an initial clean
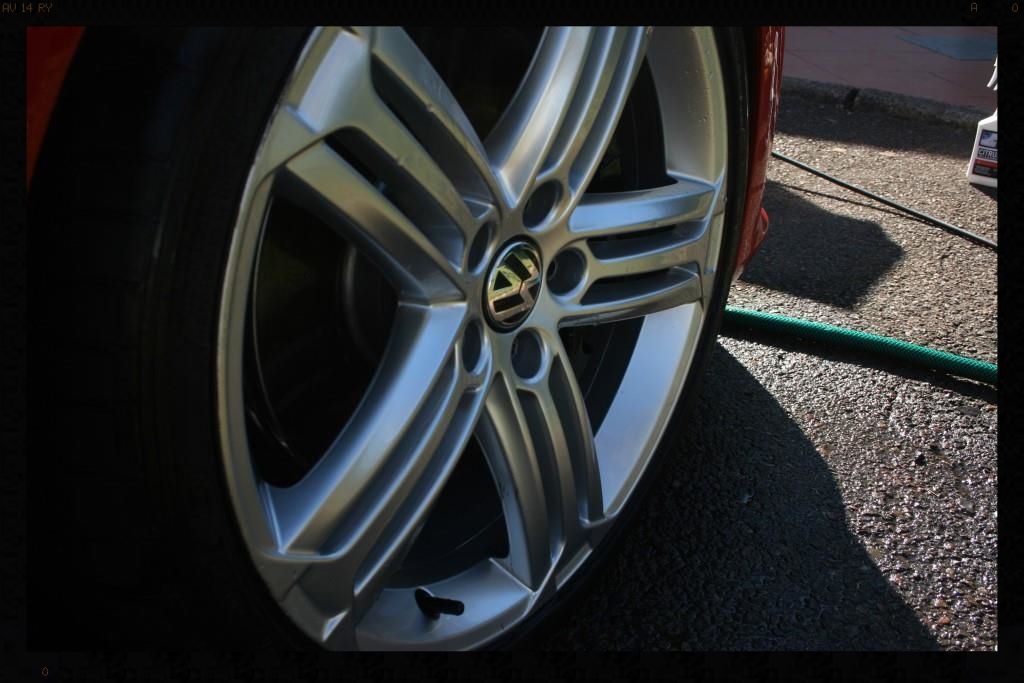
That's better
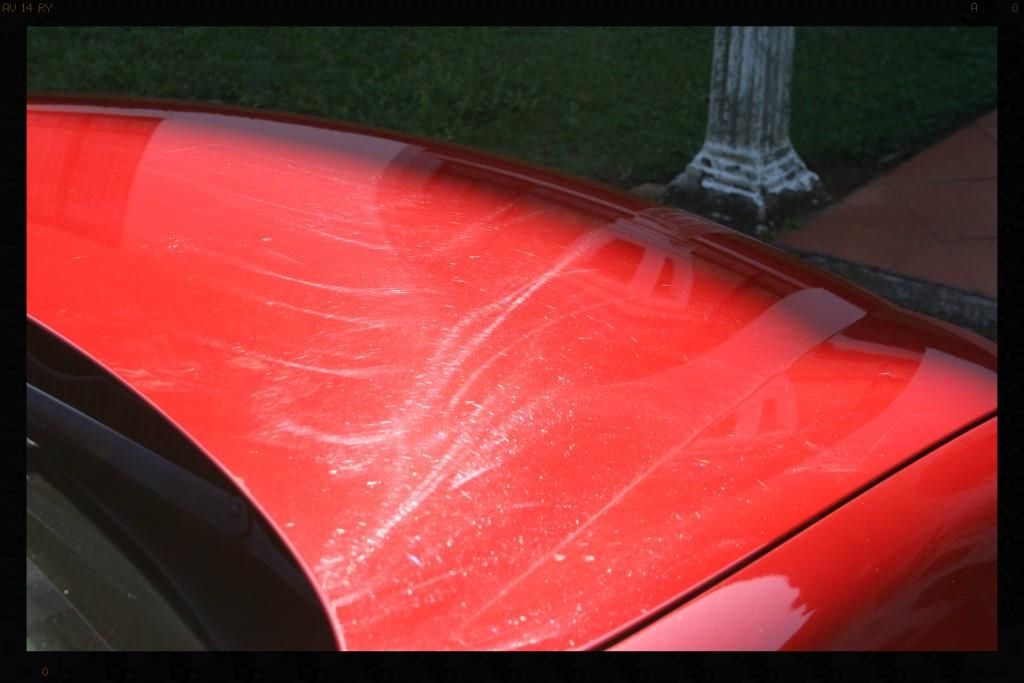
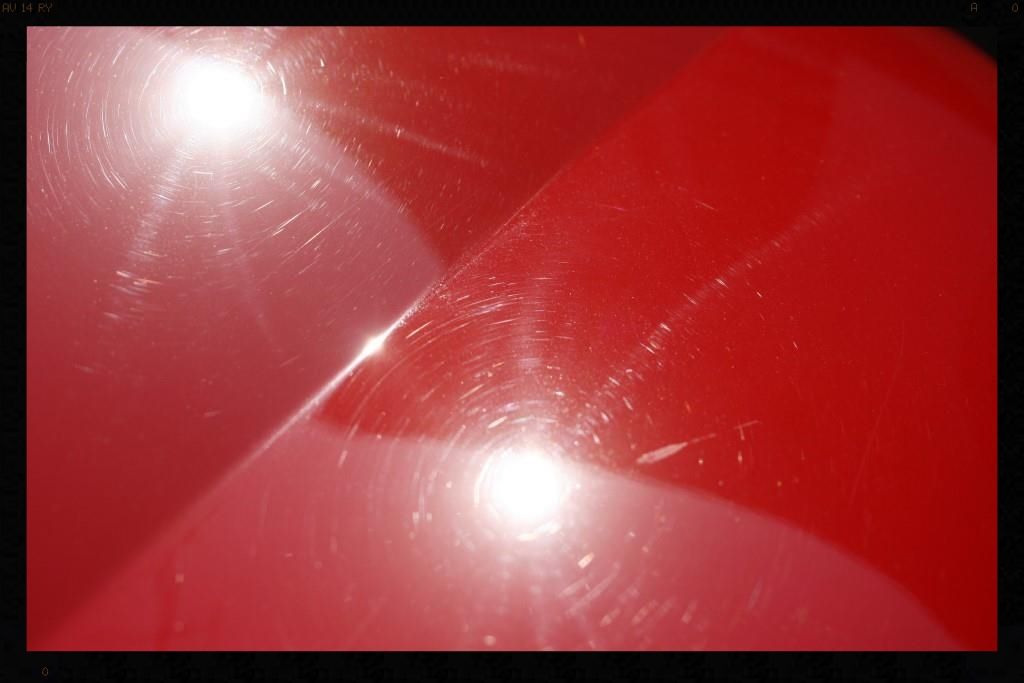
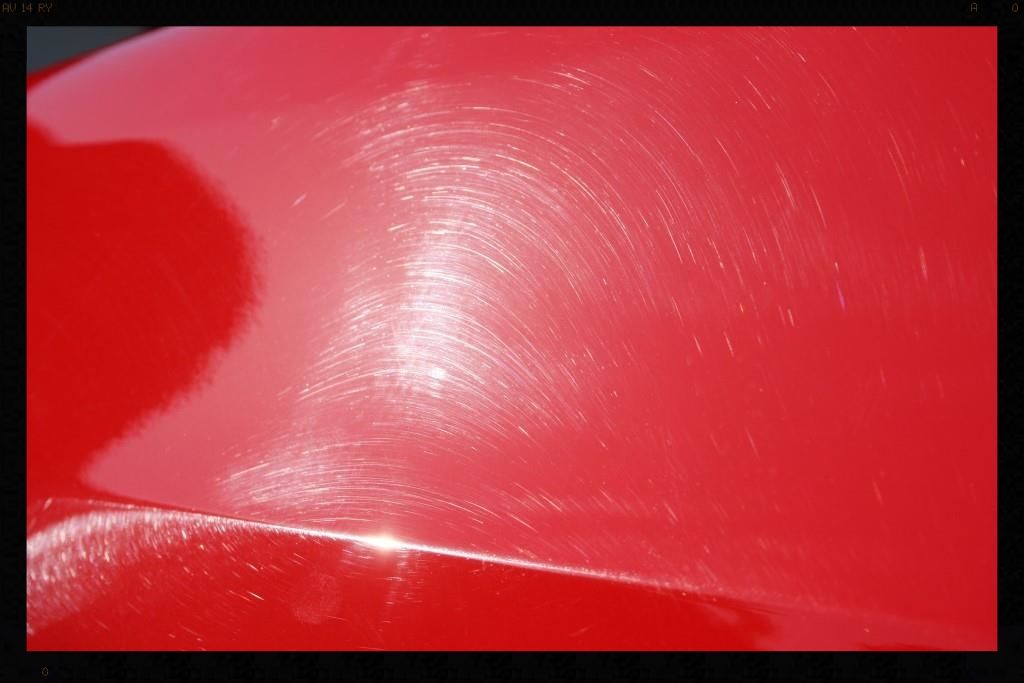
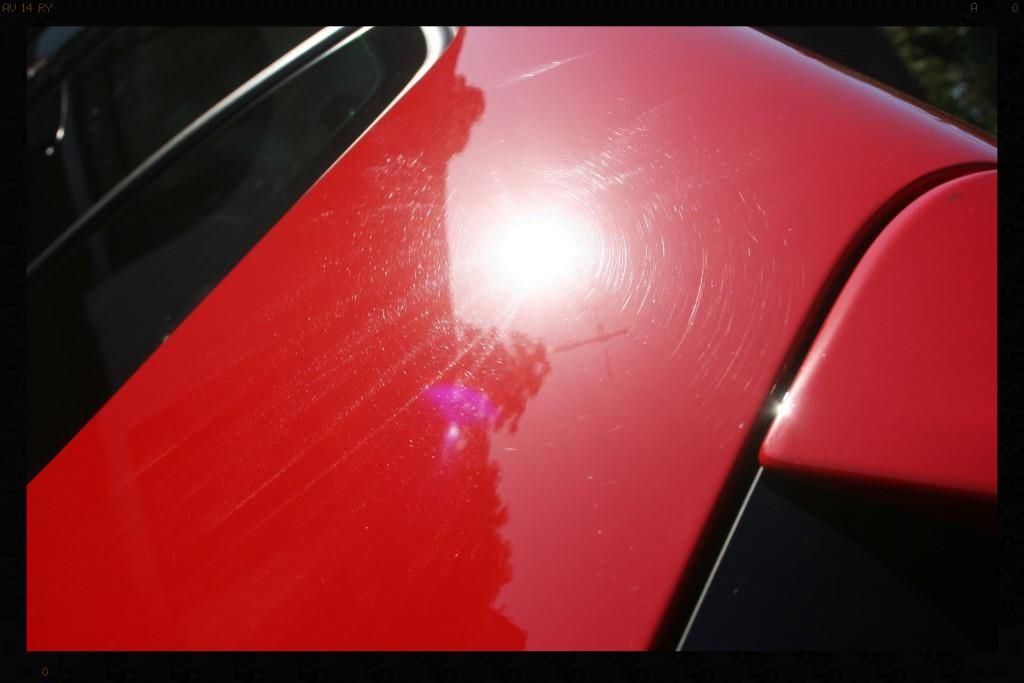
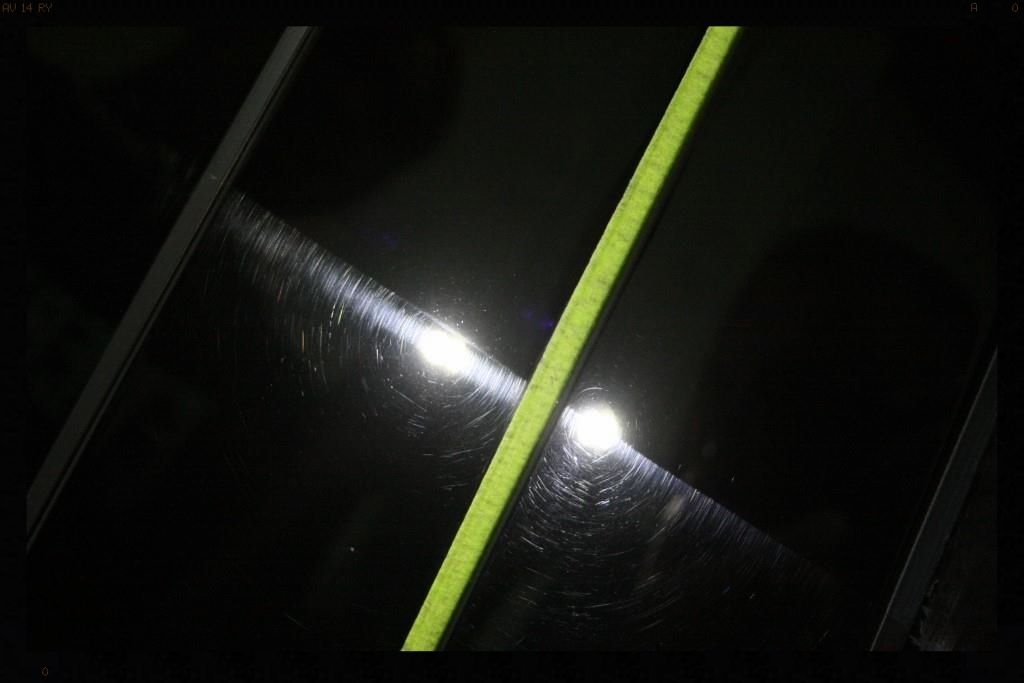
Now let's look at the condition of the paint itself...
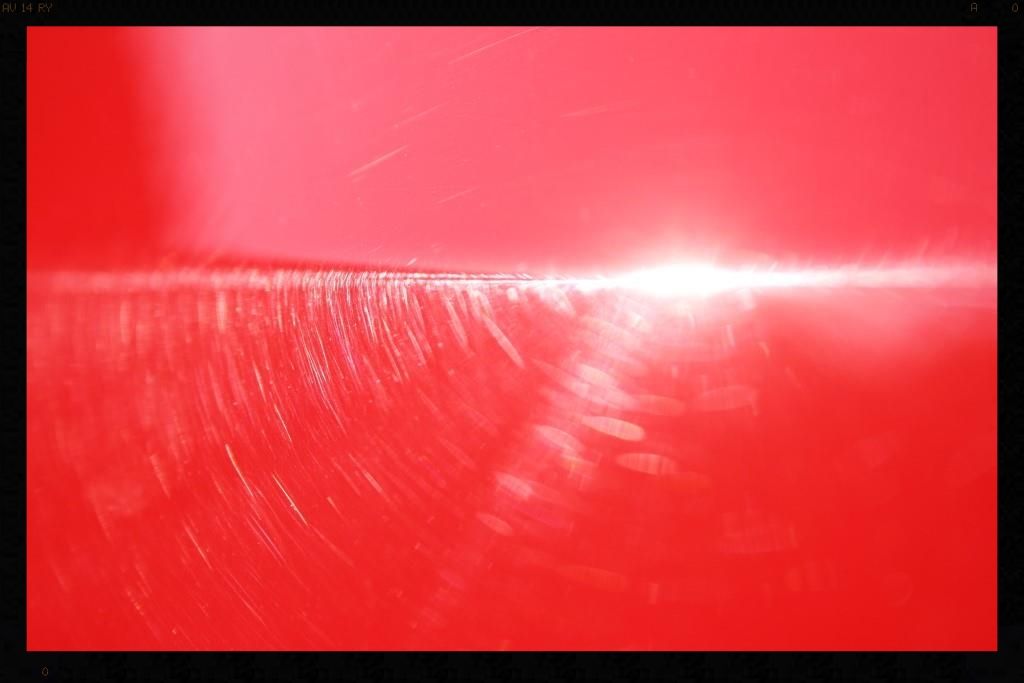
These are some of the worst buffer trails I have seen

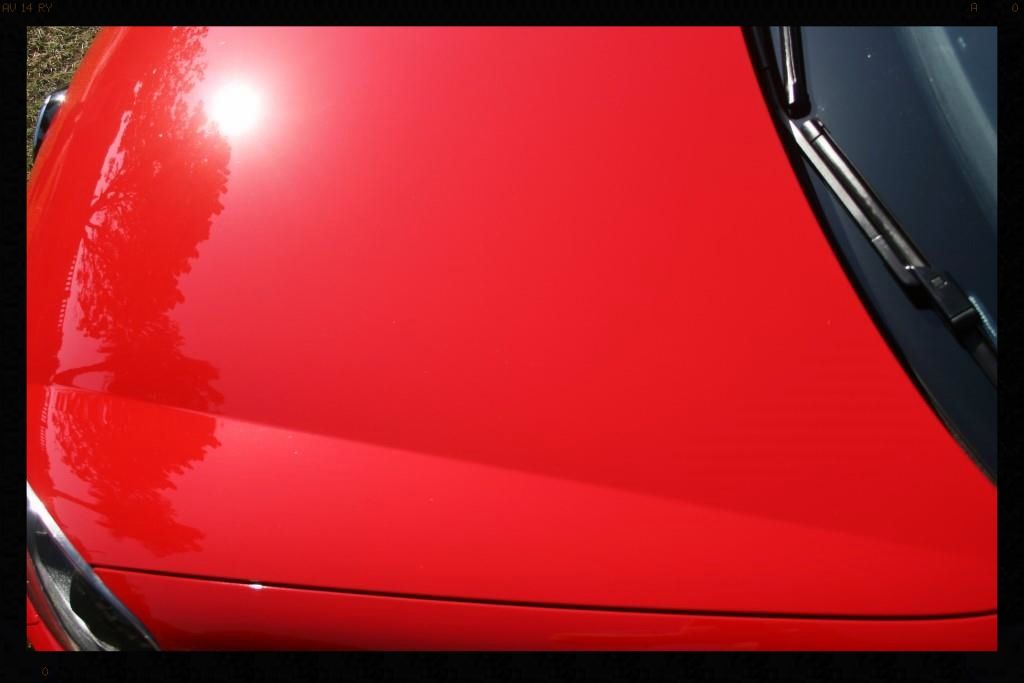
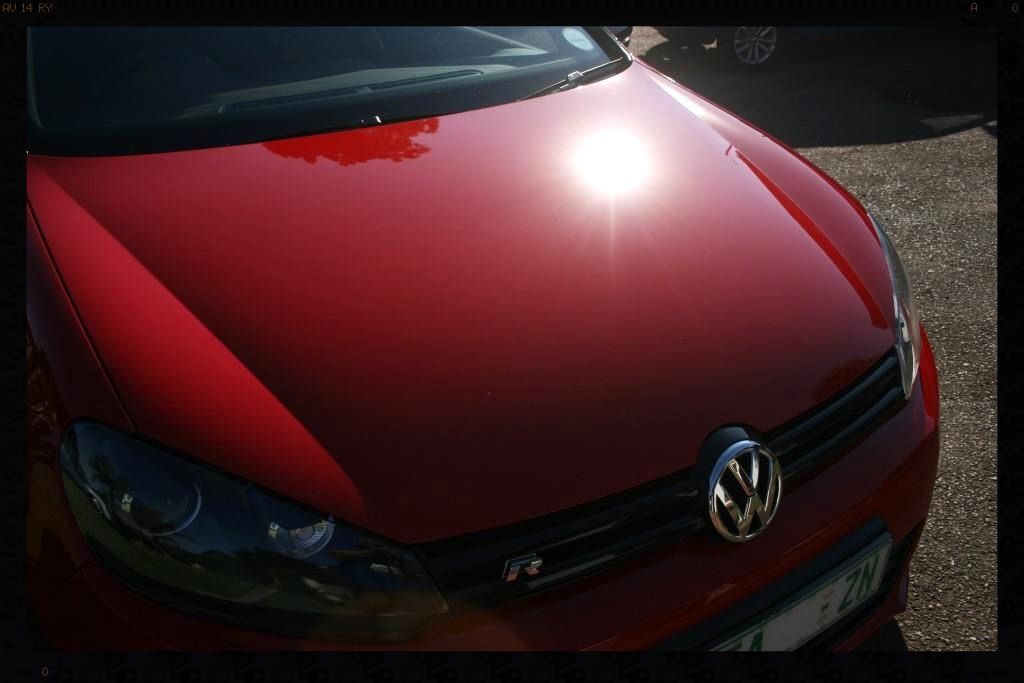
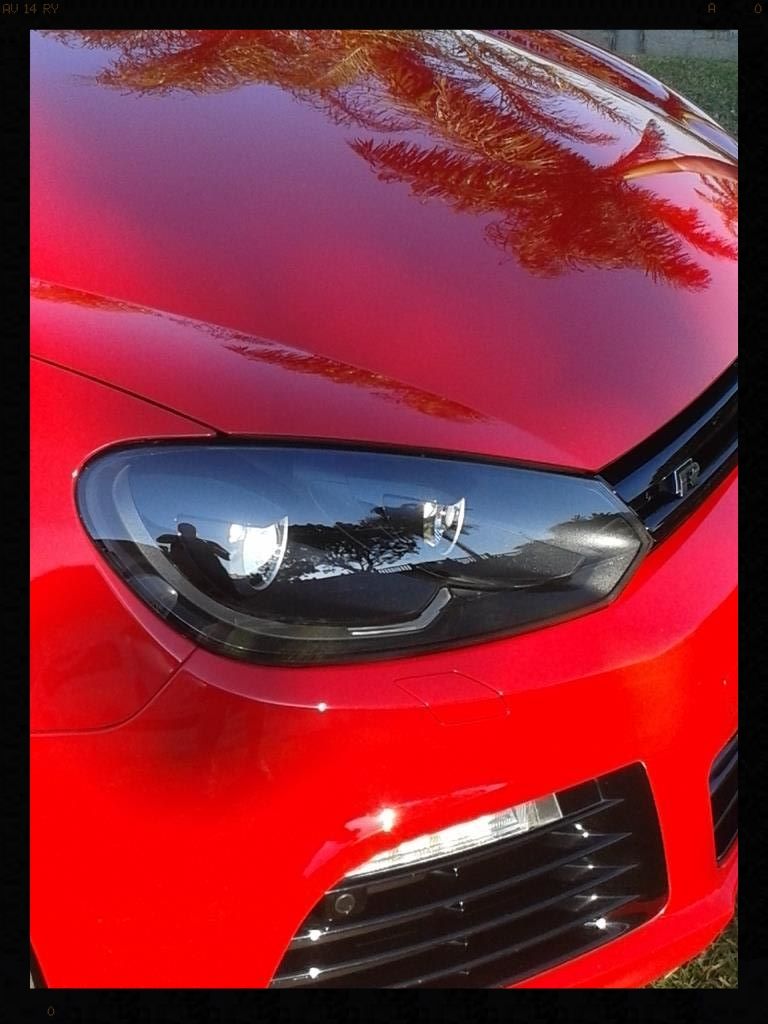
Bonnet
After
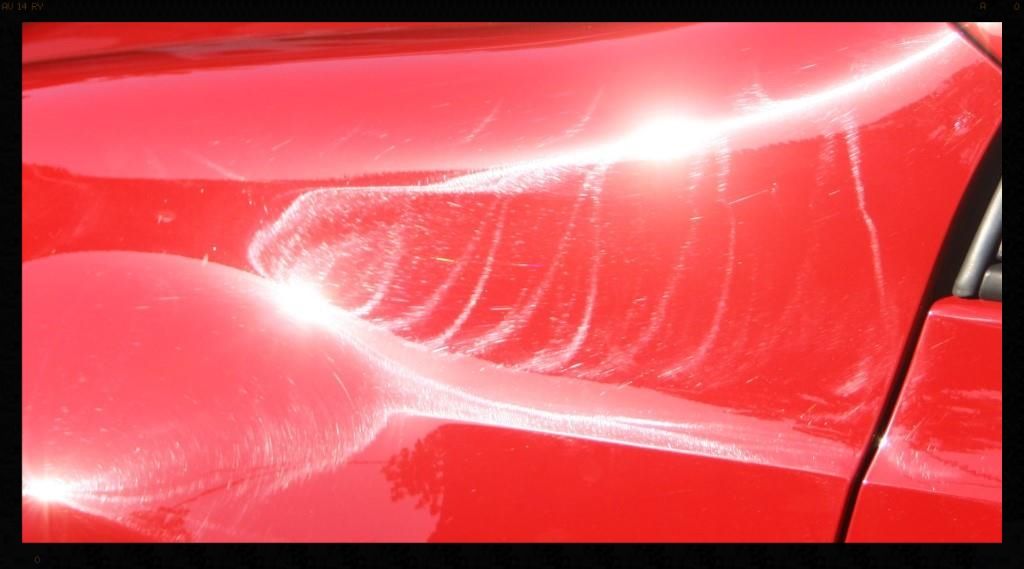
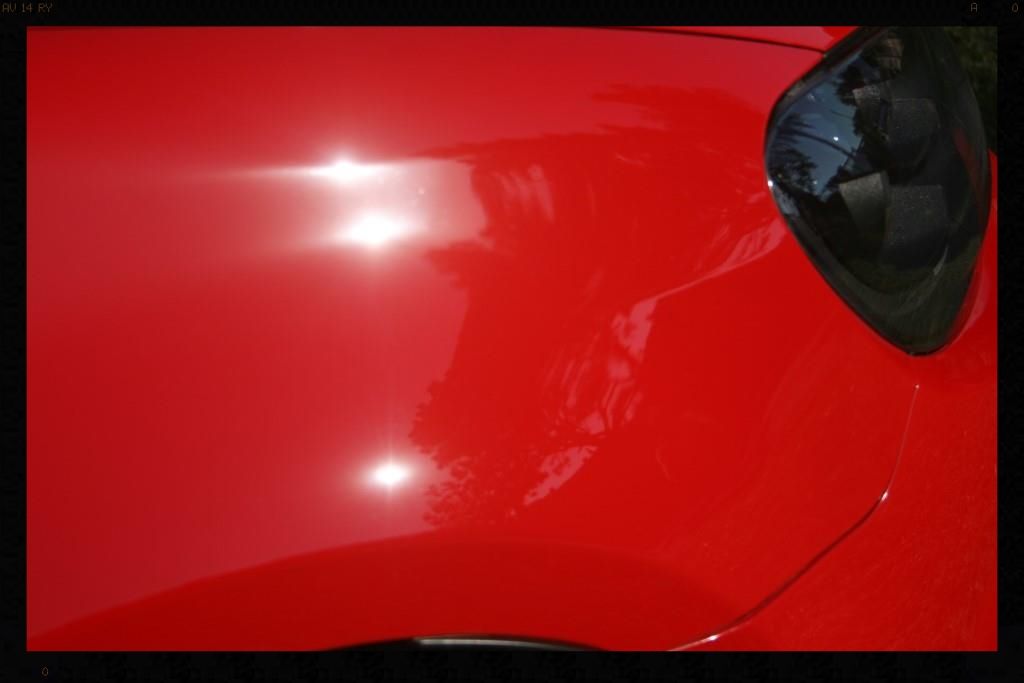
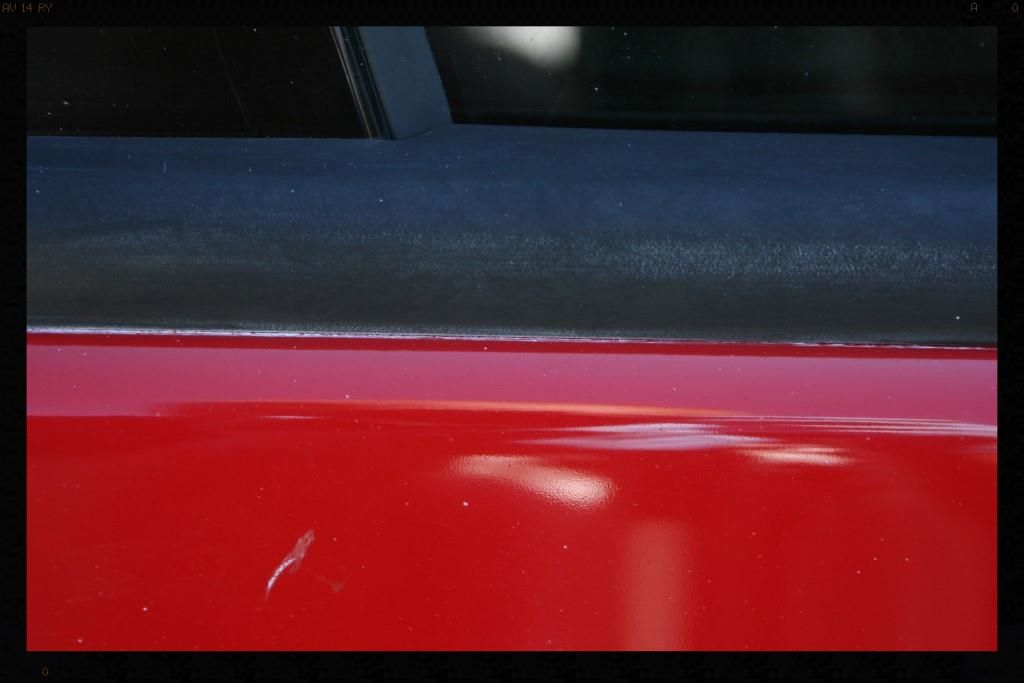
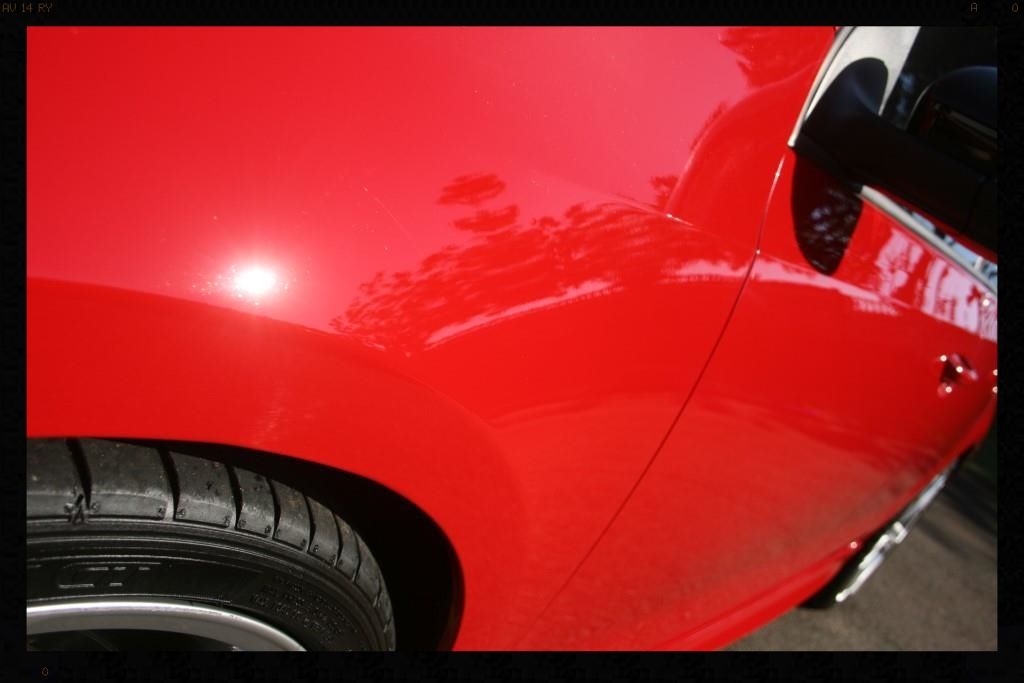
Fender
Before
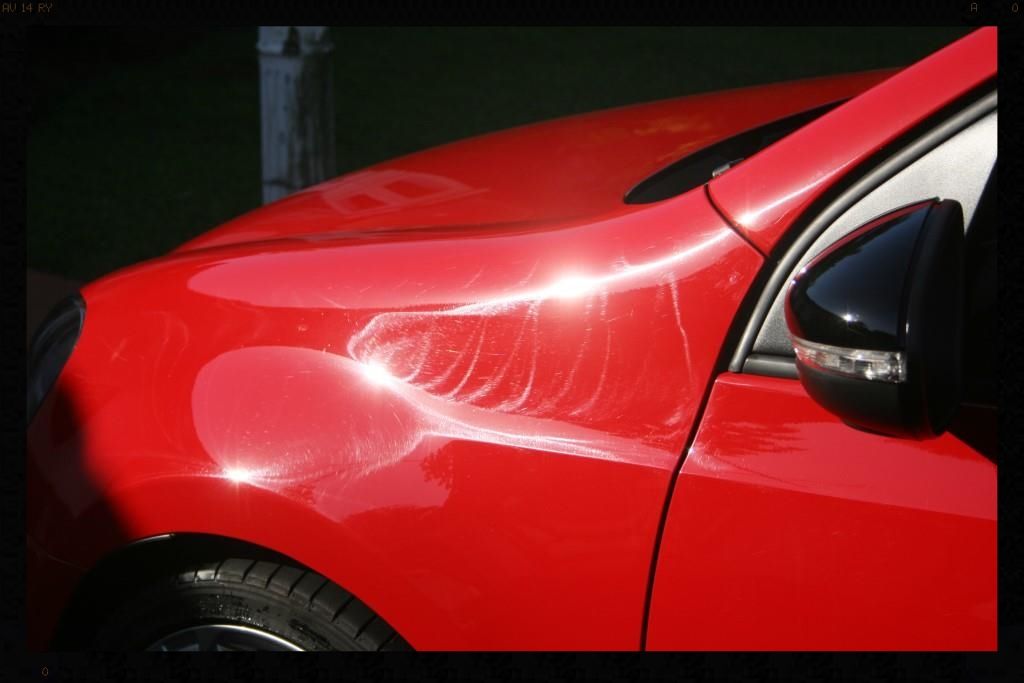
Look closer and you can see the path that person (although it could quite easily have been a blind monkey) behind the rotary polisher has taken when polishing this panel and how they have rolled over the sharp crease lines, abrading off the already thin paint (remember gravity will take hold of the paint before it dries and so it will naturally dry thinner on these sections, which is why it is so important that you chose a detailer who not only can actually make your paint LOOK better, but also take due care not to remove any more than is necessary and who actual has regard for the longevity of your paint). People like this make me uke: and given that this car has less than 30k km's on the clock, it is just that much more sad.
The unfortunate reality though is that for most people, even if they were to even notice the buffer trails (believe me, some don't) and decided to take the car back to the panel beater [in this case] or the 'detailer', the problem is that they will have to polish off even more paint to rectify the situation, if their skill set even allows them to do so, but will more than likely just polish off more of what paint is left. :bang:
Again, I cannot stress enough the risk you expose yourselves to if you choose to be penny wise and pound foolish in respect of who you let [strikethrough]sand[/strikethrough] polish paint OFF your car
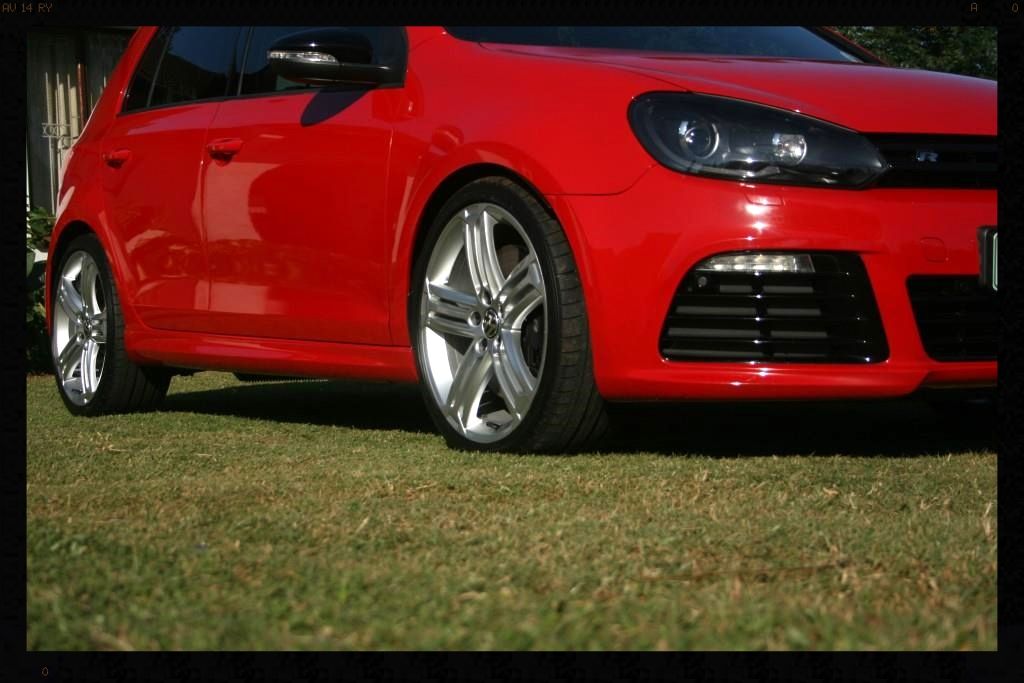
After
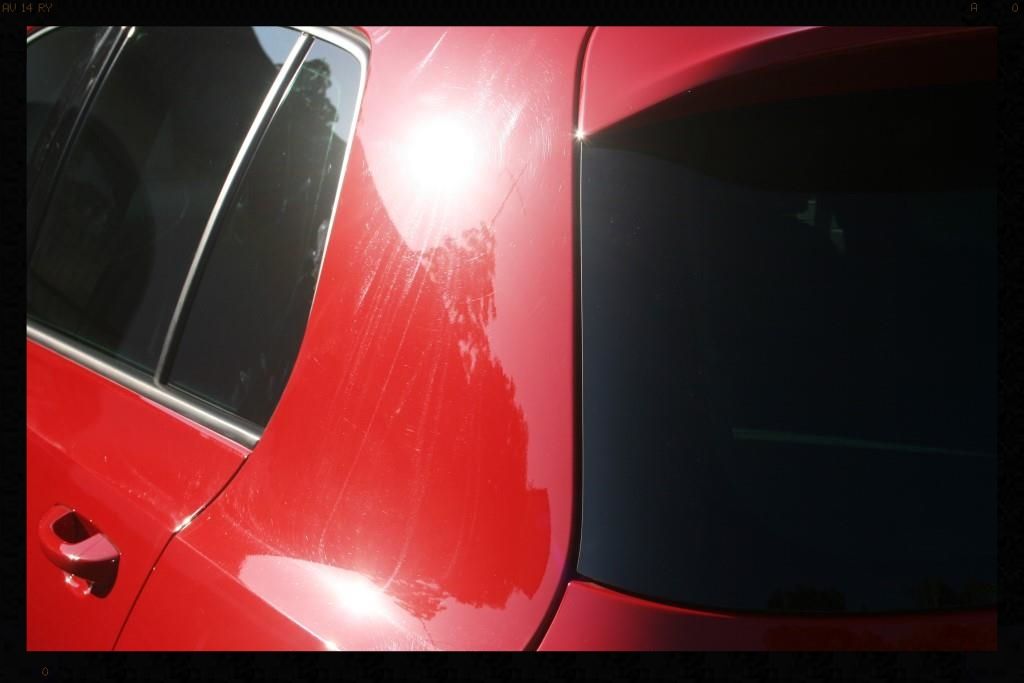
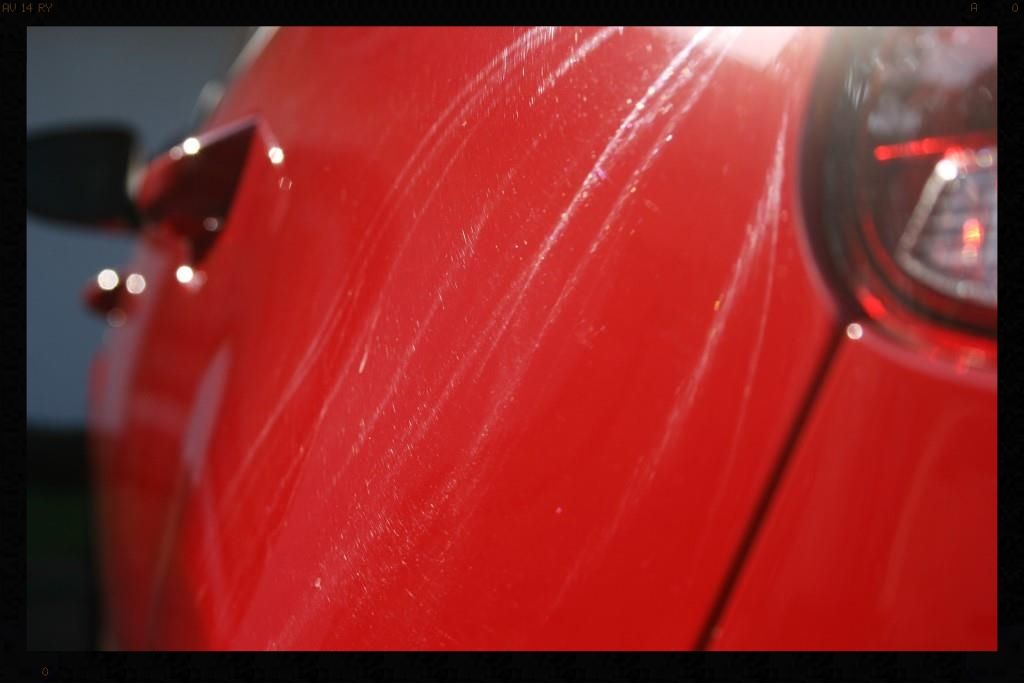
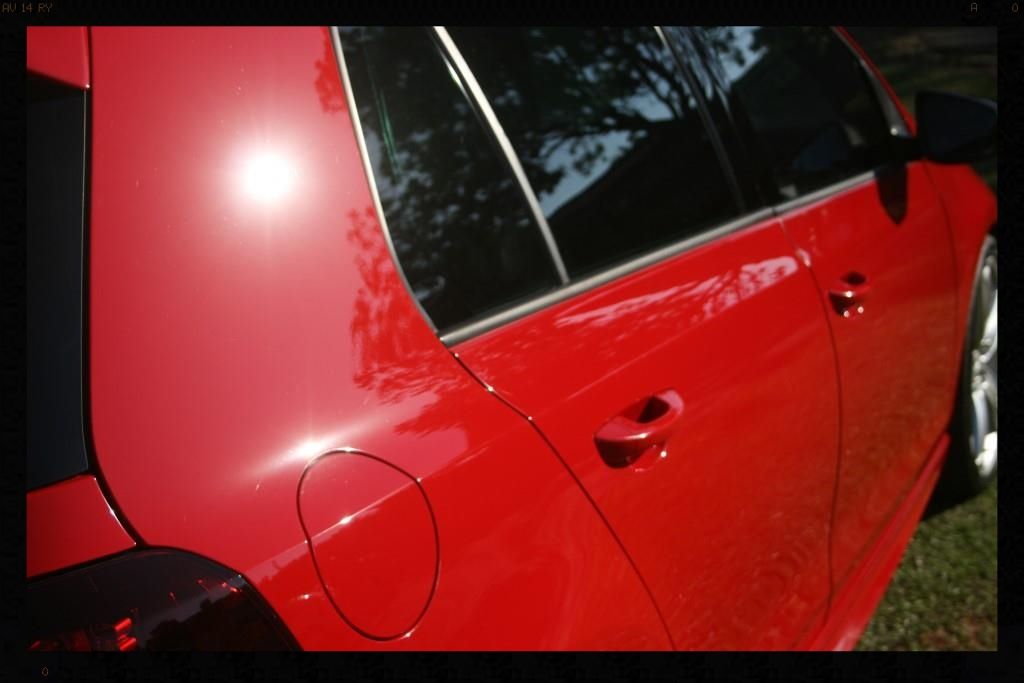
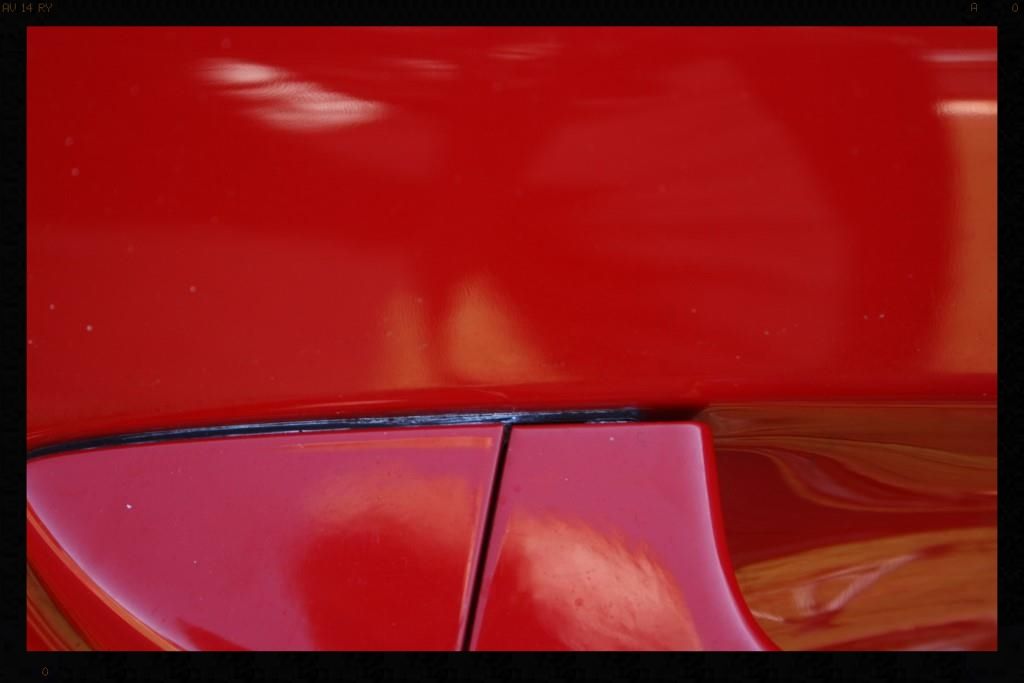
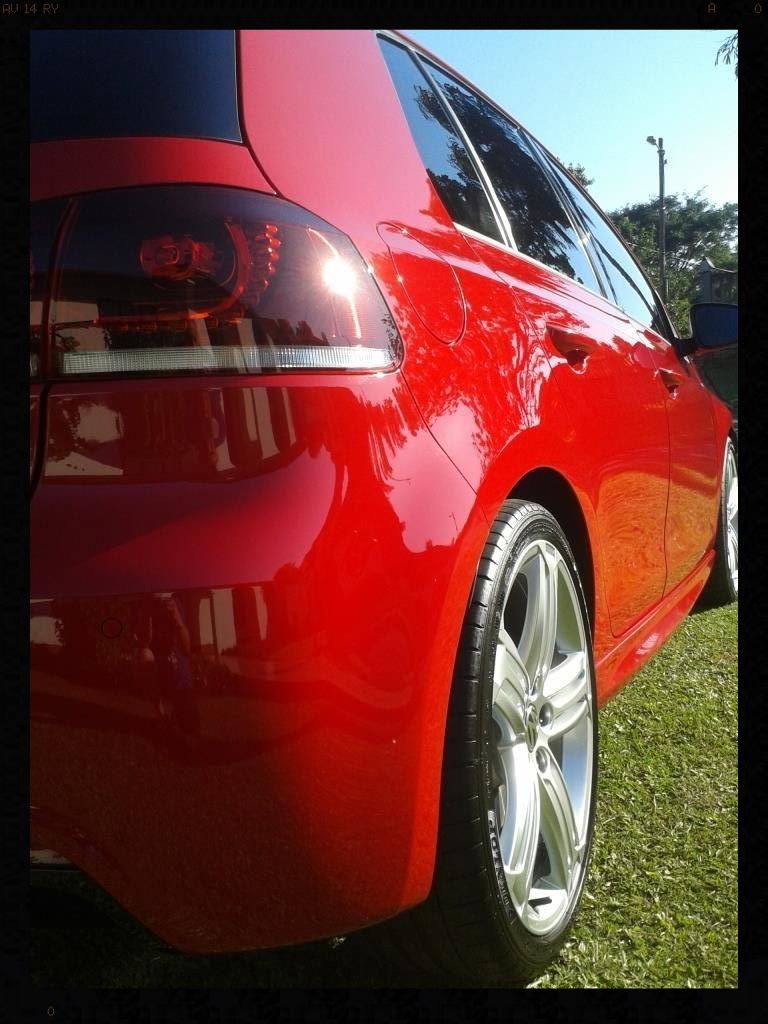
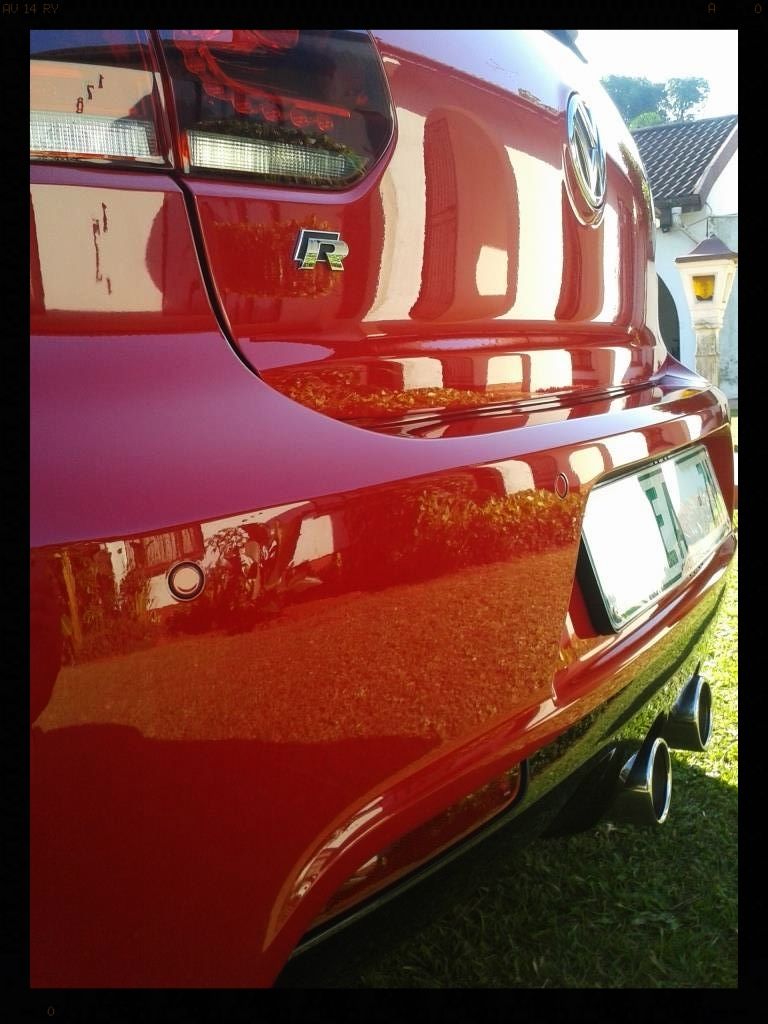
Rear Quarter Panel
Before
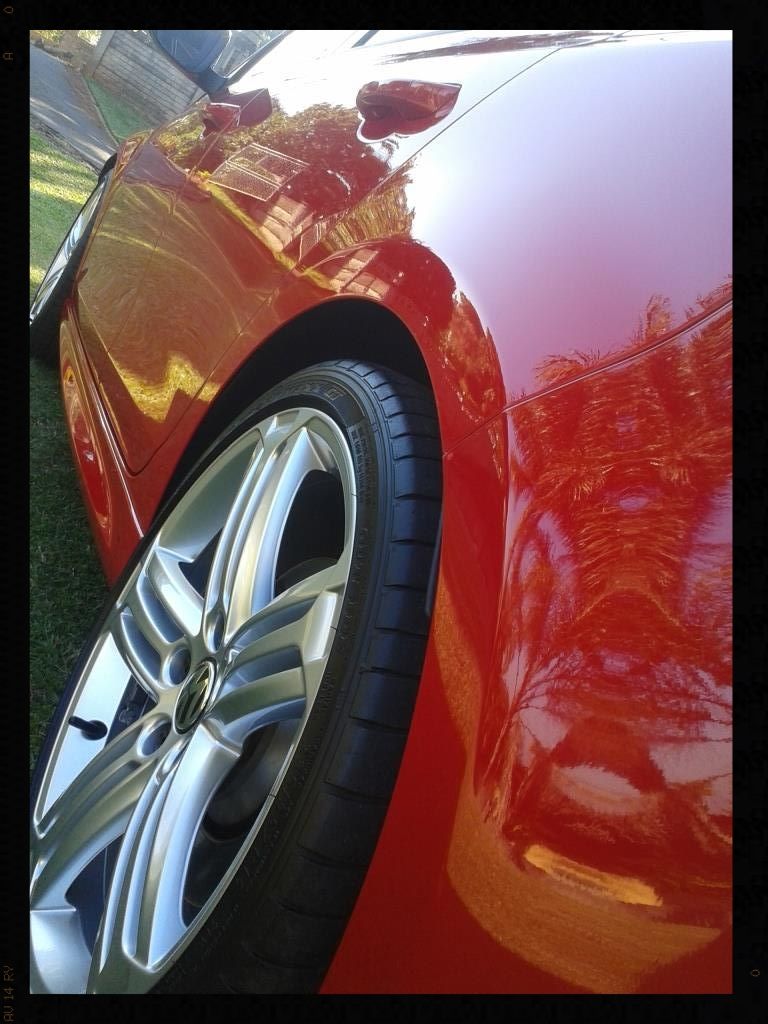
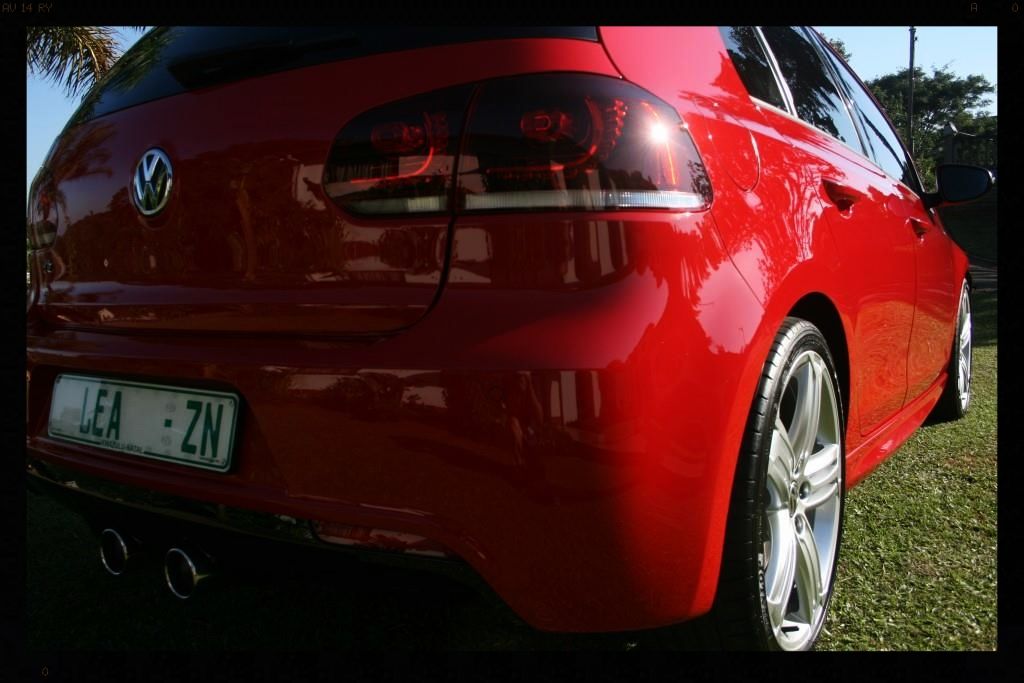
After
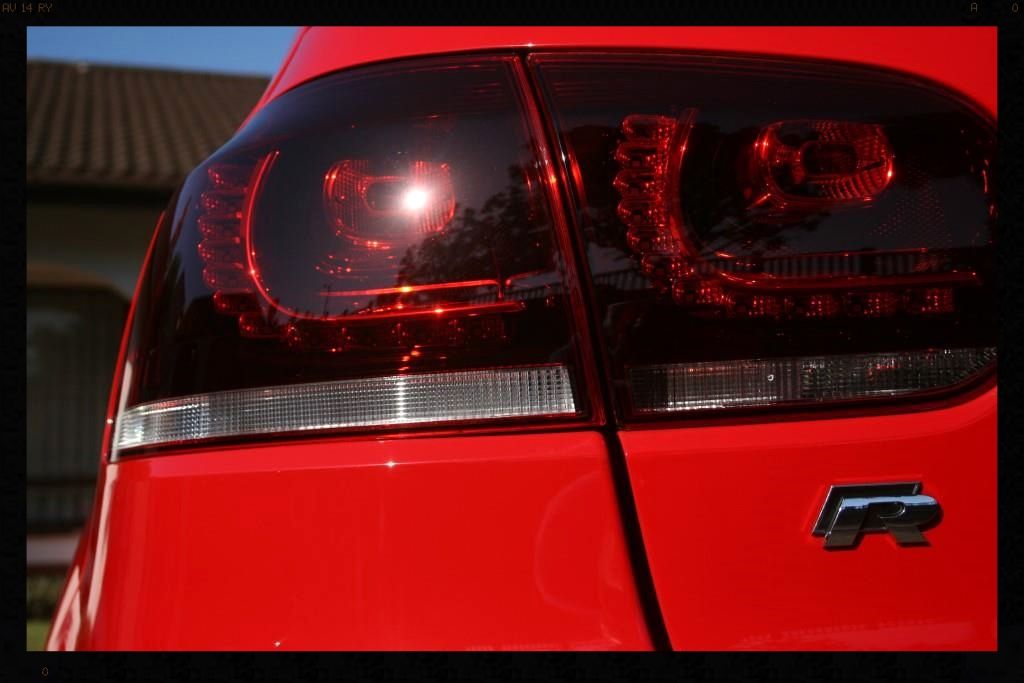
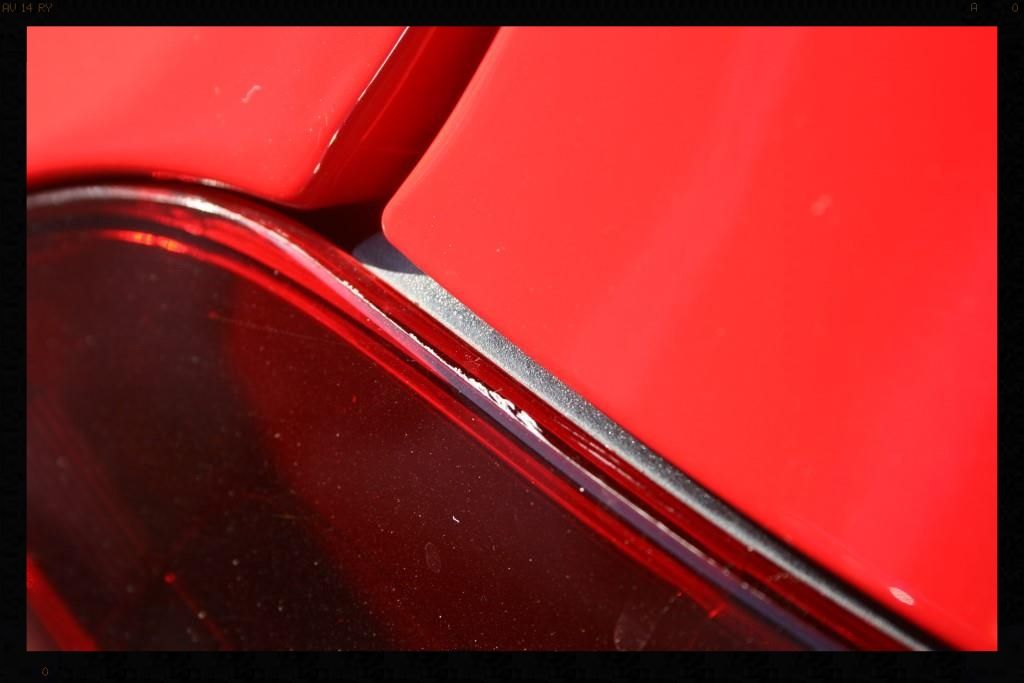
Tail lights
Before
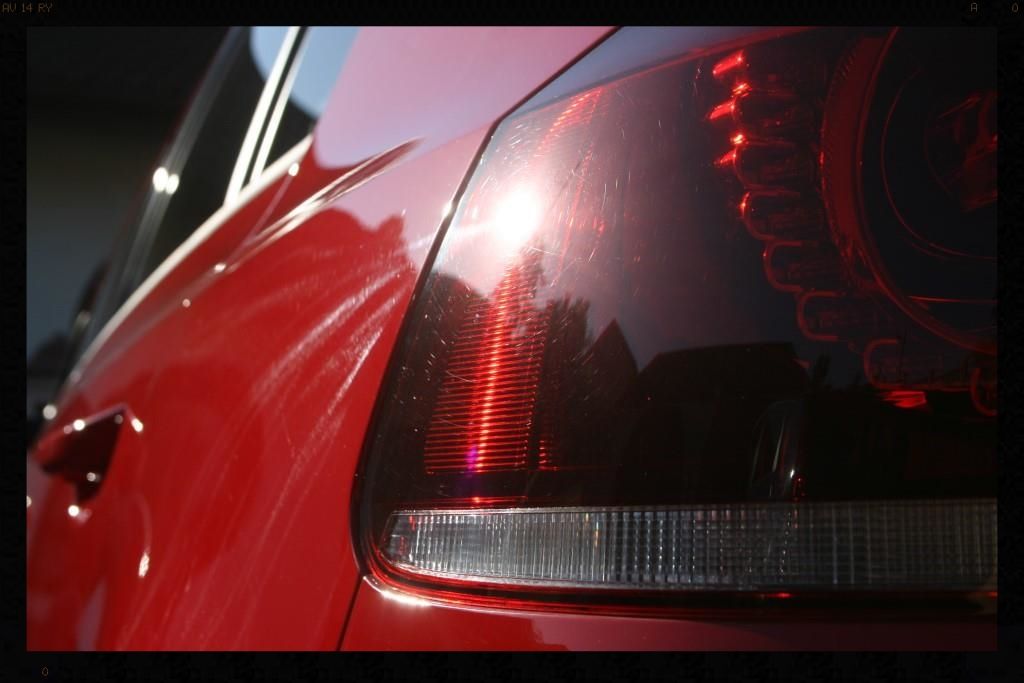
After
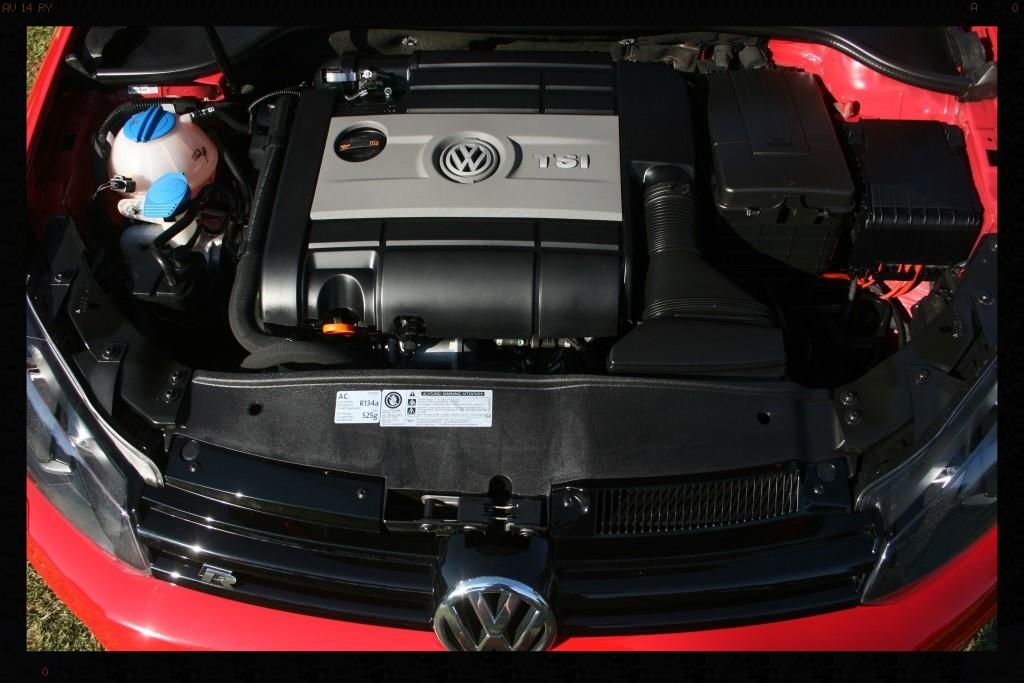
Engine Bay
Before
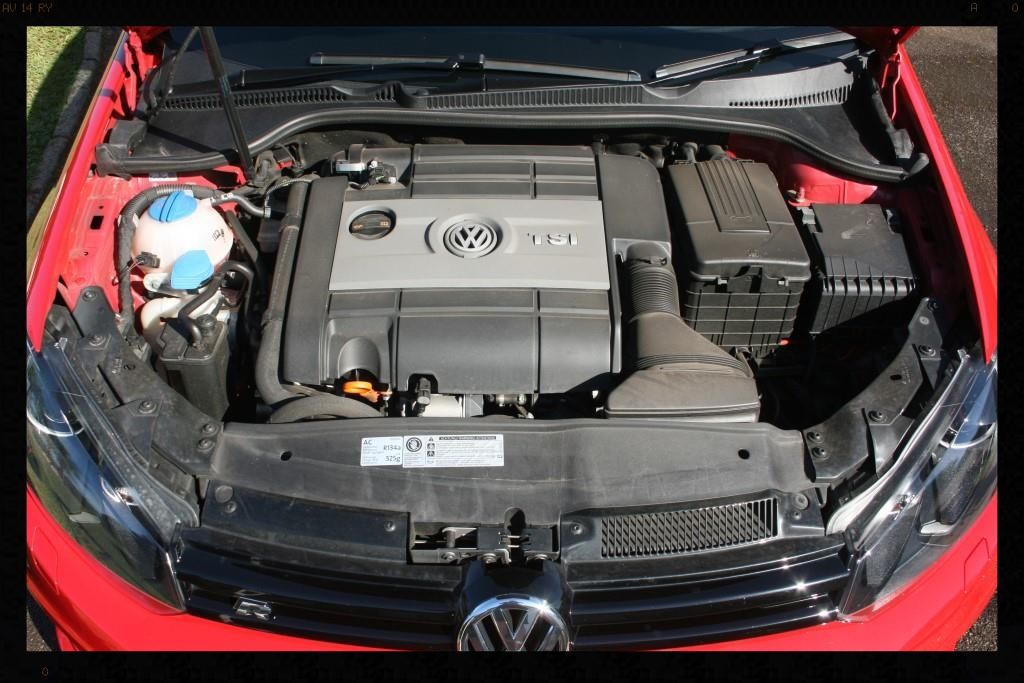
After
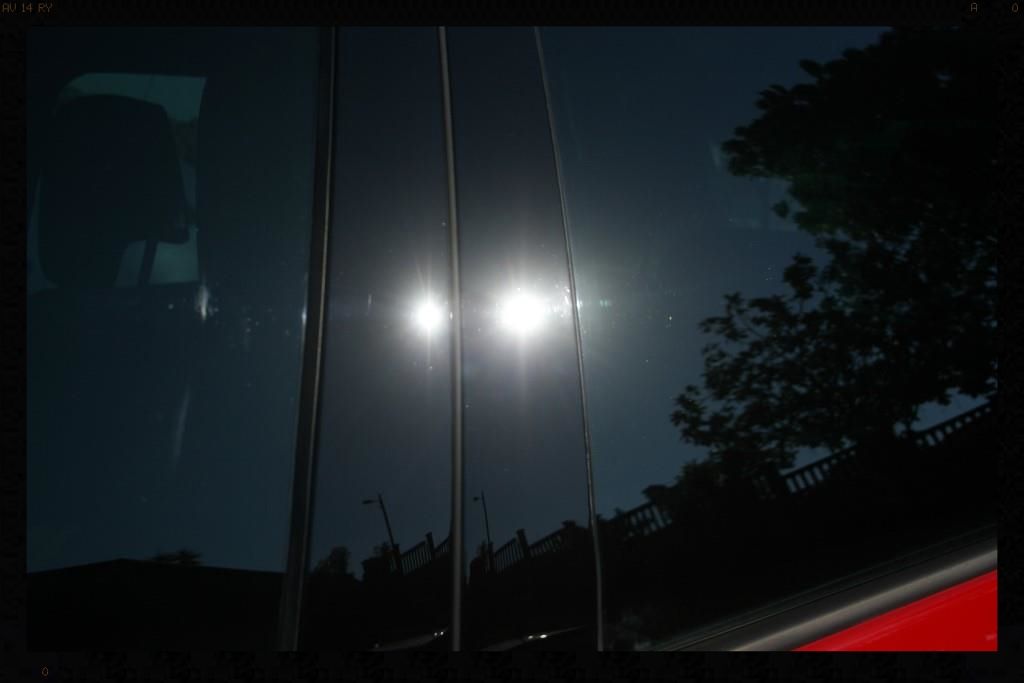
B-Pillars
Before

During
After
Exhaust Tips

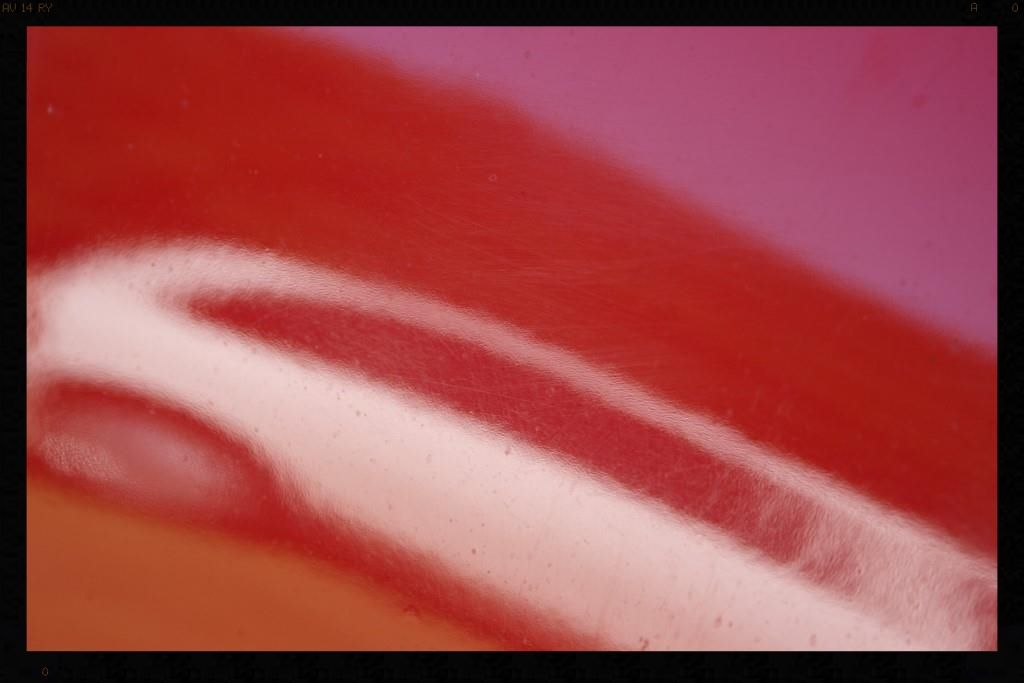
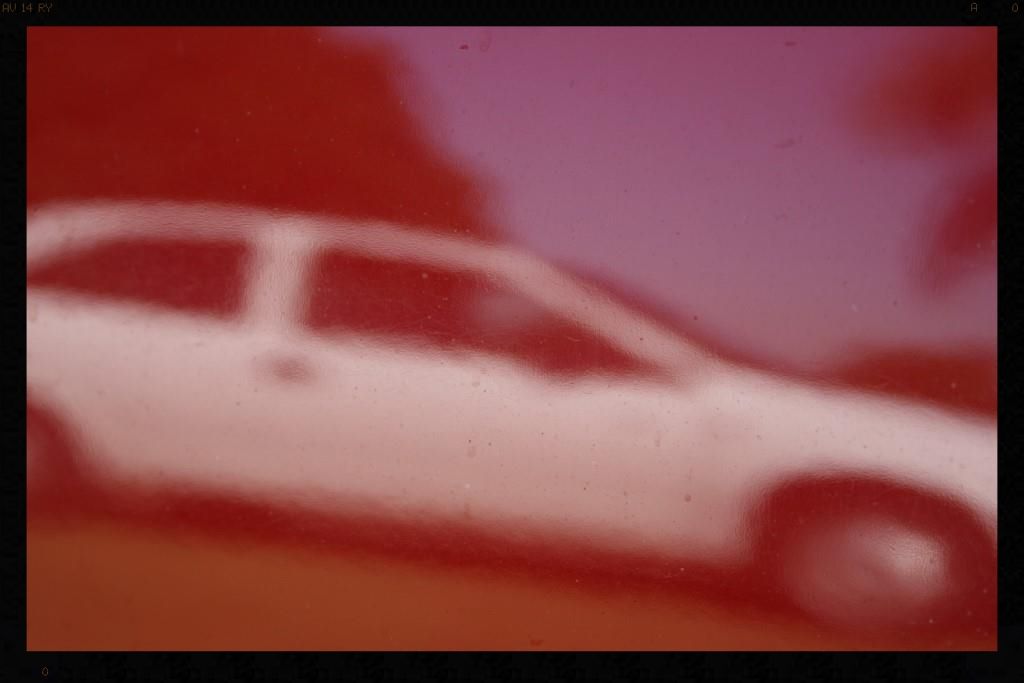
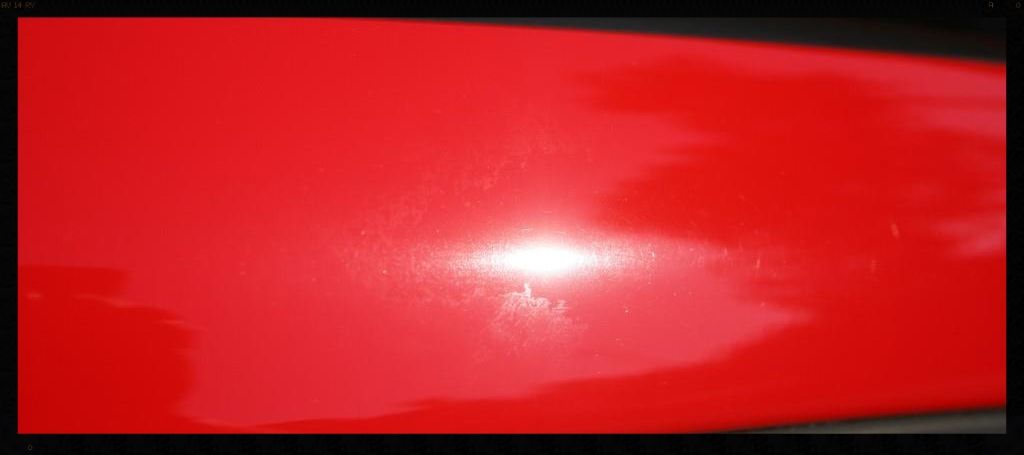
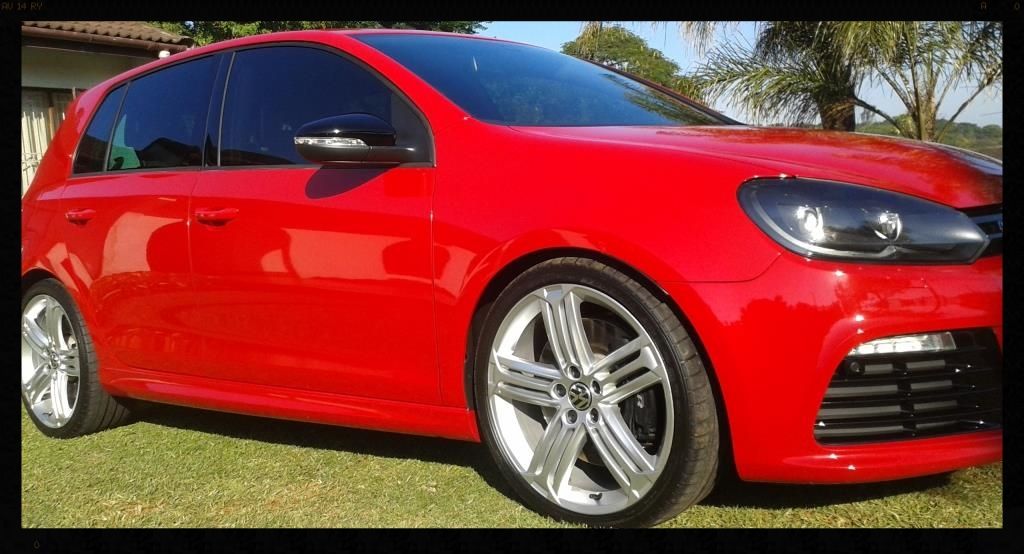
Remember I said the car went to the body shop.... well they re-sprayed the driver's side front fender and front door.
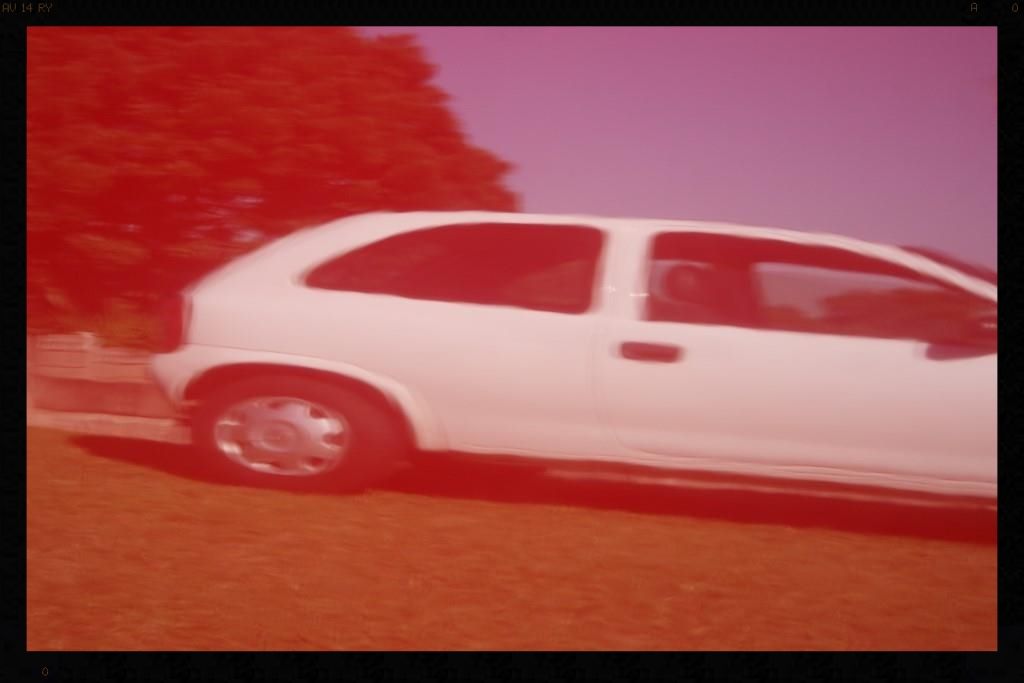
This picture of the front fender show the absolutely terrible finish that they left.... visible sanding marks and a really flat reflection of the white car in the background - I had to hit this section twice with Menzerna PF2500 to remove them
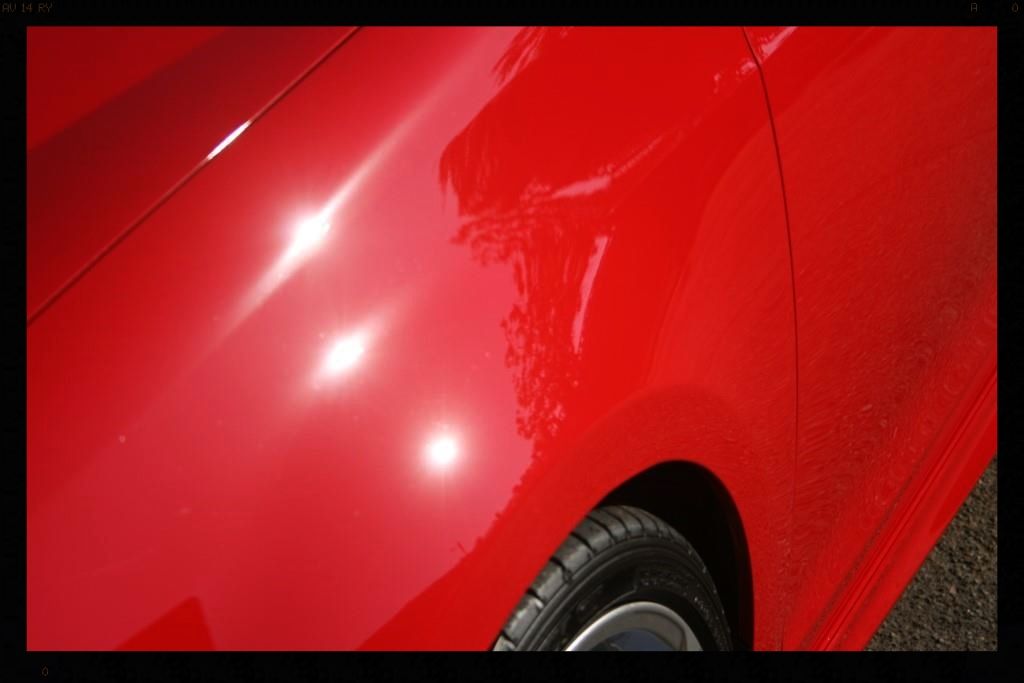
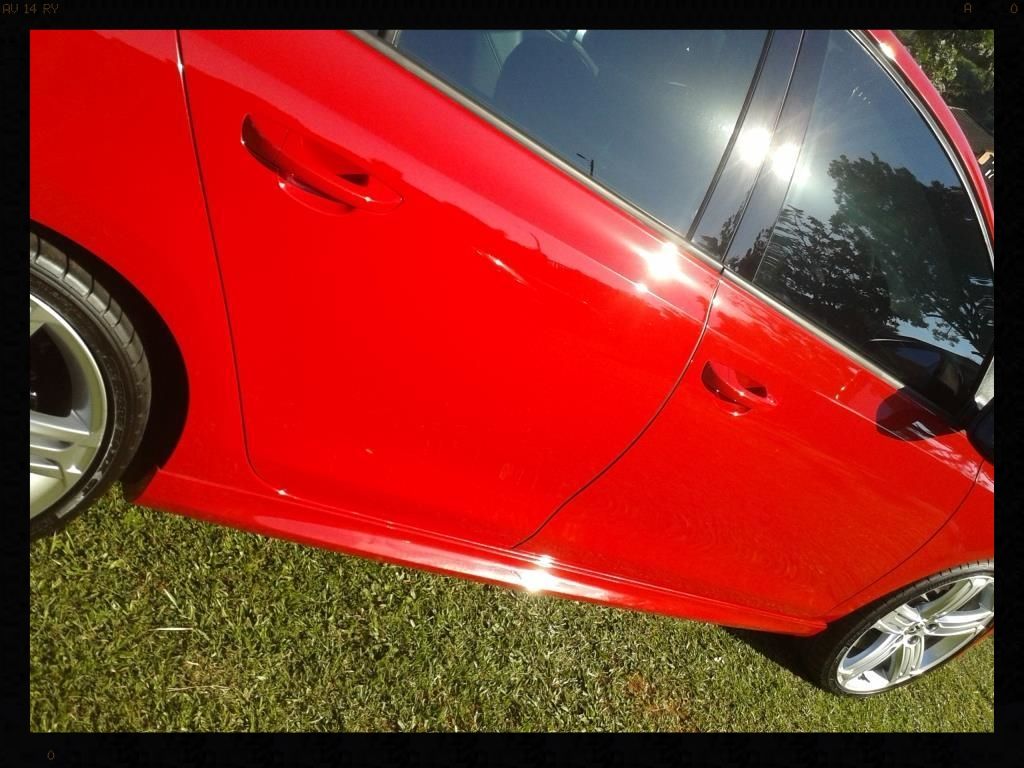
The finish on front door was somewhat better
The OEM paint job on the rear door - notice the improvement in the clarity of the reflection
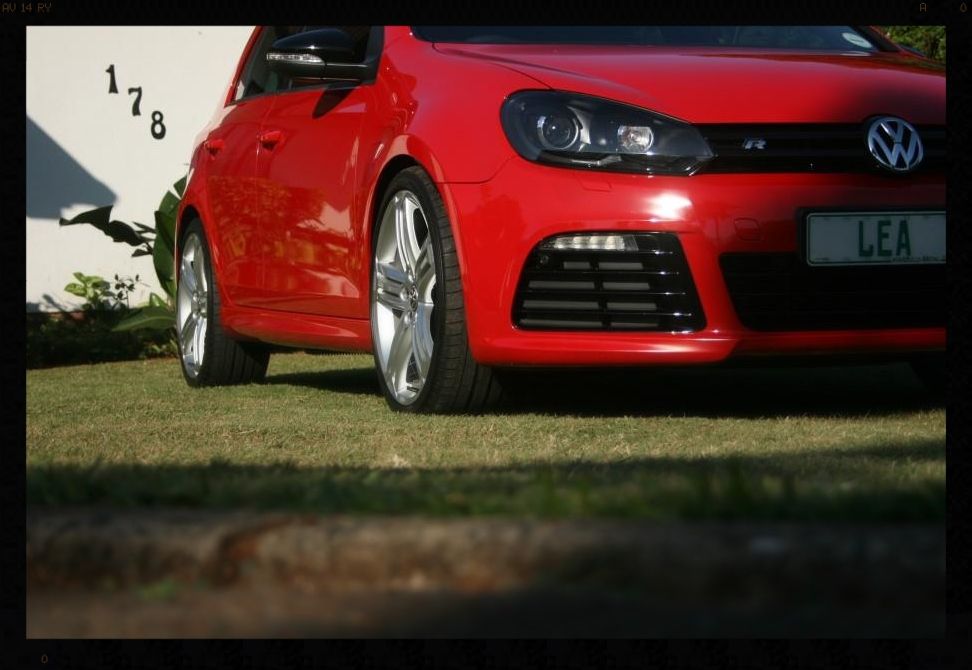
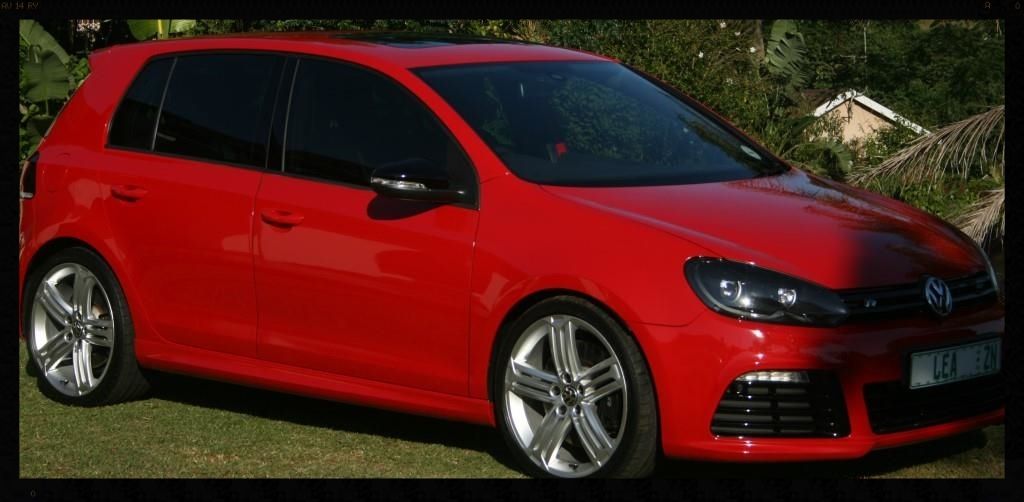
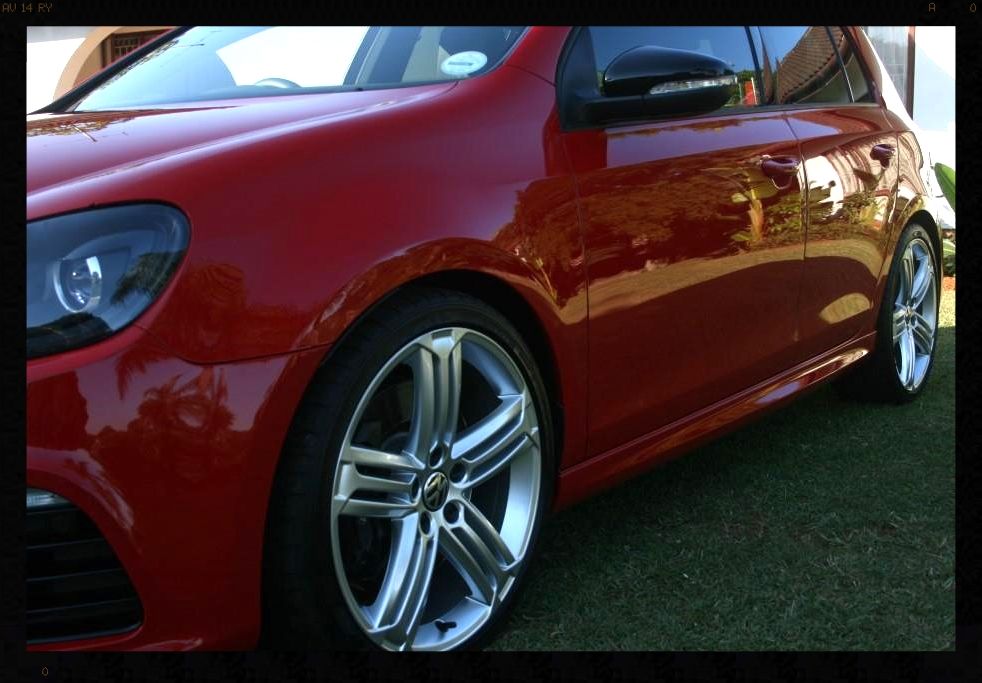
And this is how it came out
Arches: Rinsed with a HP washer, sprayed with Cyclo APC via a foaming trigger head and allowed to dwell and then agitated with a Mothers Fender Well Brush. This was followed with another HP Rinse. The arches were then dressed with Glossworx Extreme Tyre Shine
Tires: Cleaned with Glossworx Wheel and Tire Cleaner and a Mothers Tire Brush and later dressed with 2 coats of Optimum Optibond Tire Gel 12 hours apart.
Wheels: Wheel nut covers were removed, washed and dressed. The wheels were then rinsed with a HP washer then cleaned using AF Imperial Wheel Cleaner and a Daytona Jnr and Valet Pro Boar Hairs brushes and dried. The wheels were then thoroughly sprayed with AF Iron Out which was agitated after being allowed to dwell for a few minutes, using the same brushes, and then thoroughly rinsed and dried them. I then used Valet Pro Citrus Tar & Glue Remover to remove any tar spots. The wheels were then sprayed with Cyclo APC via foaming trigger and this was left to dwell in order to ensure there were no remaining residues. They would then be sprayed down when the car was pre-foamed as a final clean. The wheels were then clayed using Autoglym Fine Grade Clay and sealed with Collinite 845
Brake Calipers: Rinsed with a HP washer, sprayed with Cyclo APC via a foaming trigger head and allowed to dwell and then agitated with a Valet Pro Boars Hair Brush. This was followed with AF Iron out to help remove some of the stubborn brake dust. The calipers would later be further cleaned up and protected with Meguiars Cleaner Wax
Engine Bay: Sprayed with Cyclo APC via a foaming trigger head, agitated with Valet Pro Brushes then HP Rinse (mist setting) and dried out with compressed air. The bay was then dressed using Glossworx Extreme Tire Shine
Door shuts, window rubbers, fuel flap, badges: Cleaned using Cyclo APC with Valet Pro brushed and then HP Rinsed. The jambs were then polished and protecred using Meguiars Cleaner Wax.
Wash: Prefoamed using Chemical Guys Maxisuds II via foam cannon followed by a 2BM wash with Lambswool wash mitts and Autofiness Lather. The car was then rinsed and dried using ONR at QD strength with WW Drying towels
Decontamination: A baggie test was conducted revealing a fair amount of contamination. First the car was sprayed with ample AF Iron Out which was allowed to dwell before being thoroughly rinsed. I then used Valet Pro Citrus Tar & Glue Remover to remove any tar spots and re-foamed the car and rinsed and dried it before beginning claying, which was done using Autoglym Fine Grade clay and
ONR as lube
Paint correction: Menzerna PF 2500 with 5.5" LC Tangerine Hydrotech pads and 4" LC White CCS pads.
Protection: Chemical Guys EZ Creme Glaze and Chemical Guys Pete's 53
Glass : Autoglym Fine Grade Clay / ONR at clay lube strength / Autoglym Fast Glass / StreakFree Microfiber Glass Cleaning Cloth
Door rubbers, plastic trim : Shield Heavy Duty Vinyl and Rubber Cleaner was used to clean and Glossworx Silky Shine used for dressing
Interior: Blown out with compressed air, all the vents brushed cleaned, vacuumed and all the trim cleaned using Shield Heavy Duty Vinyl and Rubber Cleaner and dressed using Glossworx Silky Shine
Leather: Glossworx Leather Cleaner used in conjunction with Valet Pro brushes and MF Towels to cleaned the leather before conditioning it with Glossworx Leather Conditioner.
Exhaust tips: Cyclo CM30 APC / Various brushes / Meguiars NXT Metal Polish
Ok so let's take a look at what I was up against...
Wheels
Before - they actually don't look too bad
But then you start seeing how much iron is still coming off of them after an initial clean
That's better
Now let's look at the condition of the paint itself...
These are some of the worst buffer trails I have seen
Bonnet
After
Fender
Before
Look closer and you can see the path that person (although it could quite easily have been a blind monkey) behind the rotary polisher has taken when polishing this panel and how they have rolled over the sharp crease lines, abrading off the already thin paint (remember gravity will take hold of the paint before it dries and so it will naturally dry thinner on these sections, which is why it is so important that you chose a detailer who not only can actually make your paint LOOK better, but also take due care not to remove any more than is necessary and who actual has regard for the longevity of your paint). People like this make me
uke: and given that this car has less than 30k km's on the clock, it is just that much more sad. The unfortunate reality though is that for most people, even if they were to even notice the buffer trails (believe me, some don't) and decided to take the car back to the panel beater [in this case] or the 'detailer', the problem is that they will have to polish off even more paint to rectify the situation, if their skill set even allows them to do so, but will more than likely just polish off more of what paint is left. :bang:
Again, I cannot stress enough the risk you expose yourselves to if you choose to be penny wise and pound foolish in respect of who you let [strikethrough]sand[/strikethrough] polish paint OFF your car
After
Rear Quarter Panel
Before
After
Tail lights
Before
After
Engine Bay
Before
After
B-Pillars
Before
During
After
Exhaust Tips
Remember I said the car went to the body shop.... well they re-sprayed the driver's side front fender and front door.
This picture of the front fender show the absolutely terrible finish that they left.... visible sanding marks and a really flat reflection of the white car in the background - I had to hit this section twice with Menzerna PF2500 to remove them
The finish on front door was somewhat better
The OEM paint job on the rear door - notice the improvement in the clarity of the reflection
And this is how it came out
")