Tato
New member
- Nov 27, 2013
- 2,157
- 0
Good evening my friends,
This weekend I received a 2012 Toyota Corolla in Silver for a full detail and coating application. The car was needing attention in many spots I had to define a very precise strategy to tackle everything on time, since after every improvement any flaw started showing like a sore thumb.
What you'll watch next are just some pics of the extensive detailing I did on this car. Many steps couldn't be captured on camera and some pictures I haven't added to avoid making the thread longer than it's about to be. I may add some extra if asked to (and I have the image).
In advance, I'd like to say that I haven't took many after coating pics (received new customer just after doing it, night arrived, etc), but everybody here knows from where comes a stunning finish. What you'll see bellow is all about detailing, and mainly the preparation work.
This thread will be guided in picture form for easier follow up.
To the pics... icture:
Car arrived, looking for the light at the end of my garage

Started inspecting, and found some 'day-to-day use damage'

Much of the lower pars were covered in road tar

Which took much clay work to come out

The wheels had large amount of break dust embedded on it
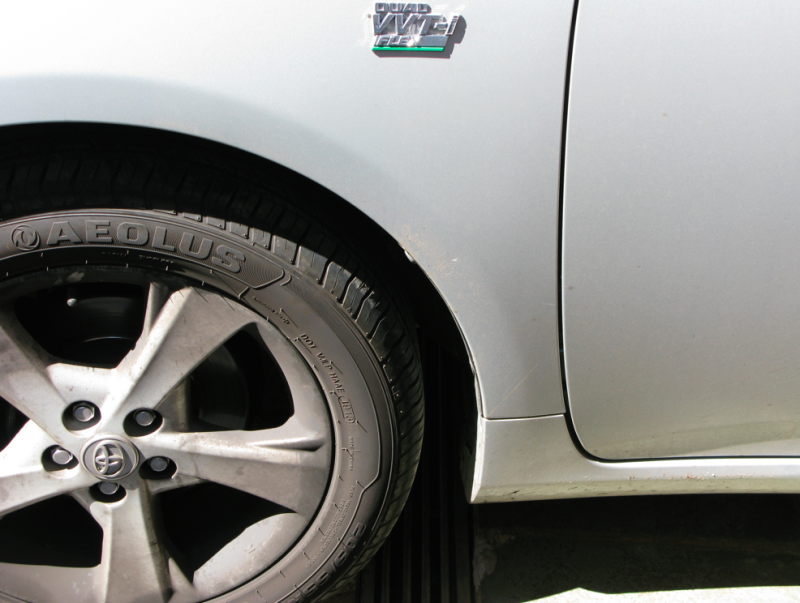
Closer:

Looking from this angle, looked like the car was begging for some help.

Trim and Rubber exhibited some kind of 'old dressing'

Inside Door handle and nail scratches

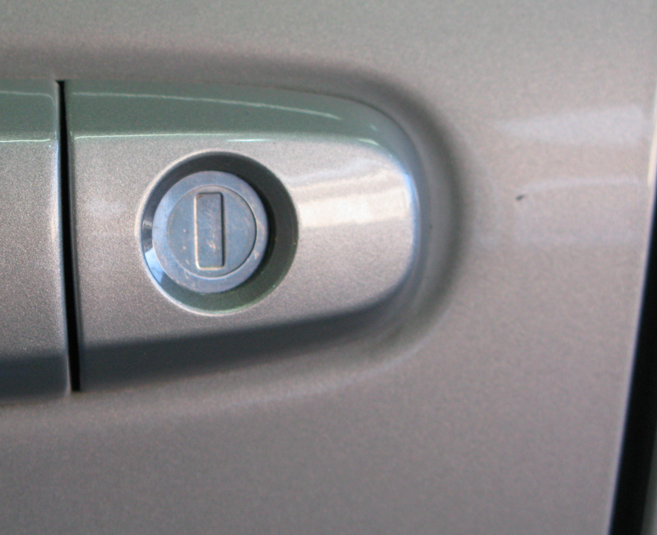
Keyhole grime (hope this is not a bad word!)

Taillight exhibiting it's swirls

Fuel compartment looked whitish and dry after fuel leakage from the pump, I suppose

---Inspecting paint condition---
This is using my swirl finder light

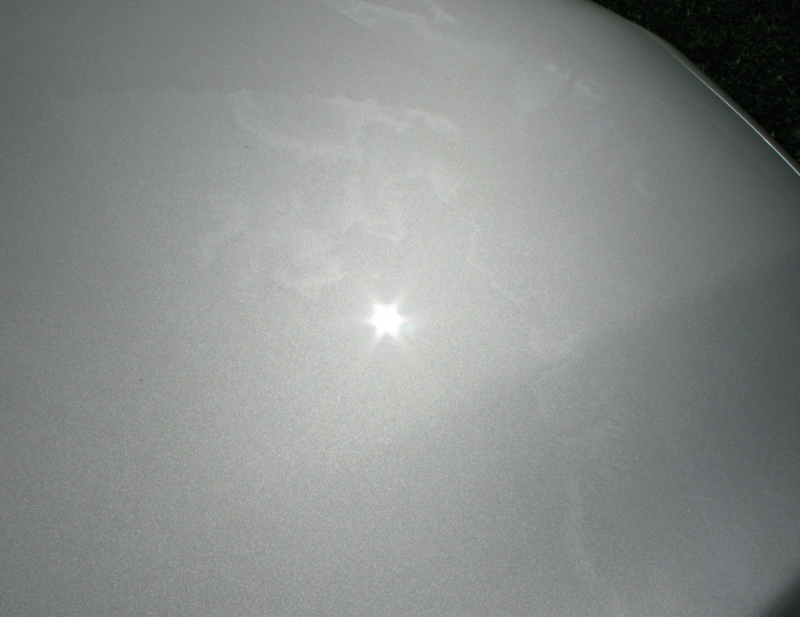
Now I'm using 'communitarian swirl finder light', aka The Sun. When swirls on silver are showing this bad, it means trouble...

Right?

More of the same, swirls on the hood under the sun

Closer to the front. Everywhere I looked, I saw swirls and scratches.

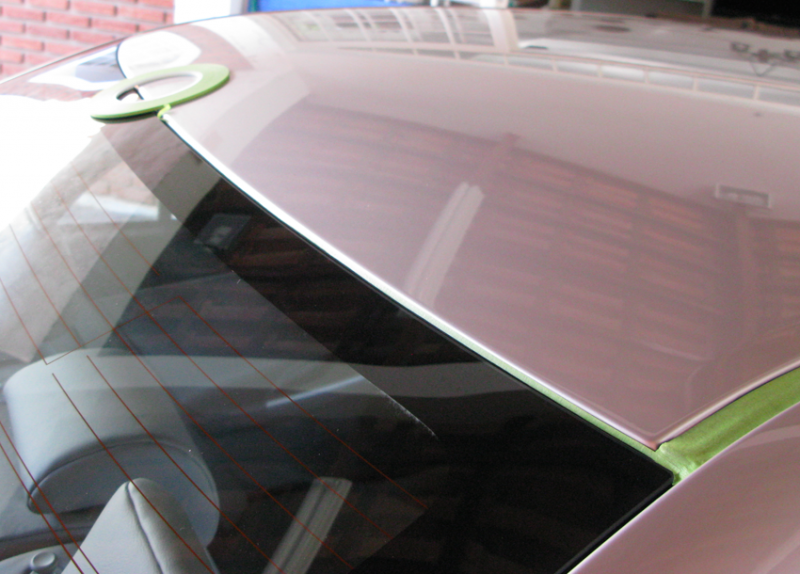
Glass was also covered in road film and waterspots

Driver's door opened, you can notice embedded dirty on frame

Leather seats were also needing attention, so were the whole interior

No need to do 50/50 on this, right?

--- What I did!? ---
Fight or Flight? No doubt I was really looking into starting this detail as soon as possible, since it was easy to notice car's full potential to be achieved at the end.
I decided tackling the wheels, first.
Conventional Cleaning methods

Using brushes, APCs and degreasers


Even after an extensive routine of cleansing, wheels still looked far from it's best.

To achieve the finish I was looking for I've stepped up to Iron-X paste (applied using a large detailing 'paint' brush)

Another wheel, same process:

Then Clayed every section of the wheels

After extensive cleansing and clay, the wheels were polished using Flex 3401, a 5" hybrid white pad and FG400 from Menzerna. Tricky spots where done by hand. This setup improved the wheel finish in little as 3 passes.
Time to foam the entire car

Get the brushes out...

... and in.

This process was realized everywhere brushes fitted the car.
The car was then CLAYED using Nanoskin fine Grade Mitt (no pictures). Finish felt and sounded like coarse sand paper before, totally clean and smooth after the claying approach.
---Time to get the polisher---
To start the test spot and further polishing, I've selected a Flex 3401 polisher and many white polishing pads in different sizes. My polish of choice was Menzerna SF4000.

Taped the trim, as important as boring...
Done some test spots

Although I've selected white pads, and they passed the test spot, car had so many RIDS that I stepped up to Blue Hybrid Pad on some areas.

From what I could observe, at least to the naked eye, finish was awesome with both pads, with slight better cut on the blue one.
Inside door handles was polished by hand using a Cyan HT applicator and FG400

Keyhole degreased (small details, big difference...), although this picture do not valorize my work, personally it looked much better.
Some 'in between' detailing, I've used Meg's #39, then followed with 303 aerospace protectant to maintain the finish

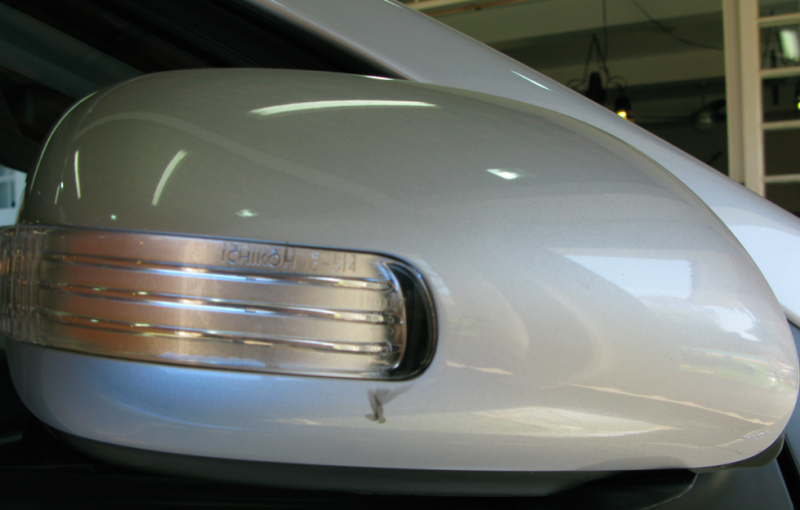
This kind of 'transfer' was first removed by hand, followed by machine polishing the mirror cases
Done

RIDS were everywhere. Here's a small test spot on scratched area to help me getting better knowledge about my process

The 'easier' part was removed

And this is what remained after the section done. Barely seen. The same process was repeated in at least 5-6 other RIDS around the finish.

50/50 on the taillights

Almost done polishing, from back...

to front.

I was able to see many advances on the reflection side, but it was now time to inspect results under the sun, where everything started.

This weekend I received a 2012 Toyota Corolla in Silver for a full detail and coating application. The car was needing attention in many spots I had to define a very precise strategy to tackle everything on time, since after every improvement any flaw started showing like a sore thumb.
What you'll watch next are just some pics of the extensive detailing I did on this car. Many steps couldn't be captured on camera and some pictures I haven't added to avoid making the thread longer than it's about to be. I may add some extra if asked to (and I have the image).
In advance, I'd like to say that I haven't took many after coating pics (received new customer just after doing it, night arrived, etc), but everybody here knows from where comes a stunning finish. What you'll see bellow is all about detailing, and mainly the preparation work.
This thread will be guided in picture form for easier follow up.
To the pics...
icture:Car arrived, looking for the light at the end of my garage
Started inspecting, and found some 'day-to-day use damage'
Much of the lower pars were covered in road tar
Which took much clay work to come out
The wheels had large amount of break dust embedded on it
Closer:
Looking from this angle, looked like the car was begging for some help.
Trim and Rubber exhibited some kind of 'old dressing'
Inside Door handle and nail scratches
Keyhole grime (hope this is not a bad word!)
Taillight exhibiting it's swirls
Fuel compartment looked whitish and dry after fuel leakage from the pump, I suppose
---Inspecting paint condition---
This is using my swirl finder light
Now I'm using 'communitarian swirl finder light', aka The Sun. When swirls on silver are showing this bad, it means trouble...
Right?
More of the same, swirls on the hood under the sun
Closer to the front. Everywhere I looked, I saw swirls and scratches.
Glass was also covered in road film and waterspots
Driver's door opened, you can notice embedded dirty on frame
Leather seats were also needing attention, so were the whole interior
No need to do 50/50 on this, right?
--- What I did!? ---
Fight or Flight? No doubt I was really looking into starting this detail as soon as possible, since it was easy to notice car's full potential to be achieved at the end.
I decided tackling the wheels, first.
Conventional Cleaning methods
Using brushes, APCs and degreasers
Even after an extensive routine of cleansing, wheels still looked far from it's best.
To achieve the finish I was looking for I've stepped up to Iron-X paste (applied using a large detailing 'paint' brush)
Another wheel, same process:
Then Clayed every section of the wheels
After extensive cleansing and clay, the wheels were polished using Flex 3401, a 5" hybrid white pad and FG400 from Menzerna. Tricky spots where done by hand. This setup improved the wheel finish in little as 3 passes.
Time to foam the entire car
Get the brushes out...
... and in.
This process was realized everywhere brushes fitted the car.
The car was then CLAYED using Nanoskin fine Grade Mitt (no pictures). Finish felt and sounded like coarse sand paper before, totally clean and smooth after the claying approach.
---Time to get the polisher---
To start the test spot and further polishing, I've selected a Flex 3401 polisher and many white polishing pads in different sizes. My polish of choice was Menzerna SF4000.
Taped the trim, as important as boring...
Done some test spots
Although I've selected white pads, and they passed the test spot, car had so many RIDS that I stepped up to Blue Hybrid Pad on some areas.
From what I could observe, at least to the naked eye, finish was awesome with both pads, with slight better cut on the blue one.
Inside door handles was polished by hand using a Cyan HT applicator and FG400
Keyhole degreased (small details, big difference...), although this picture do not valorize my work, personally it looked much better.
Some 'in between' detailing, I've used Meg's #39, then followed with 303 aerospace protectant to maintain the finish
This kind of 'transfer' was first removed by hand, followed by machine polishing the mirror cases
Done
RIDS were everywhere. Here's a small test spot on scratched area to help me getting better knowledge about my process
The 'easier' part was removed
And this is what remained after the section done. Barely seen. The same process was repeated in at least 5-6 other RIDS around the finish.
50/50 on the taillights
Almost done polishing, from back...
to front.
I was able to see many advances on the reflection side, but it was now time to inspect results under the sun, where everything started.


")