lawrenceSA
New member
- Feb 7, 2012
- 1,713
- 0
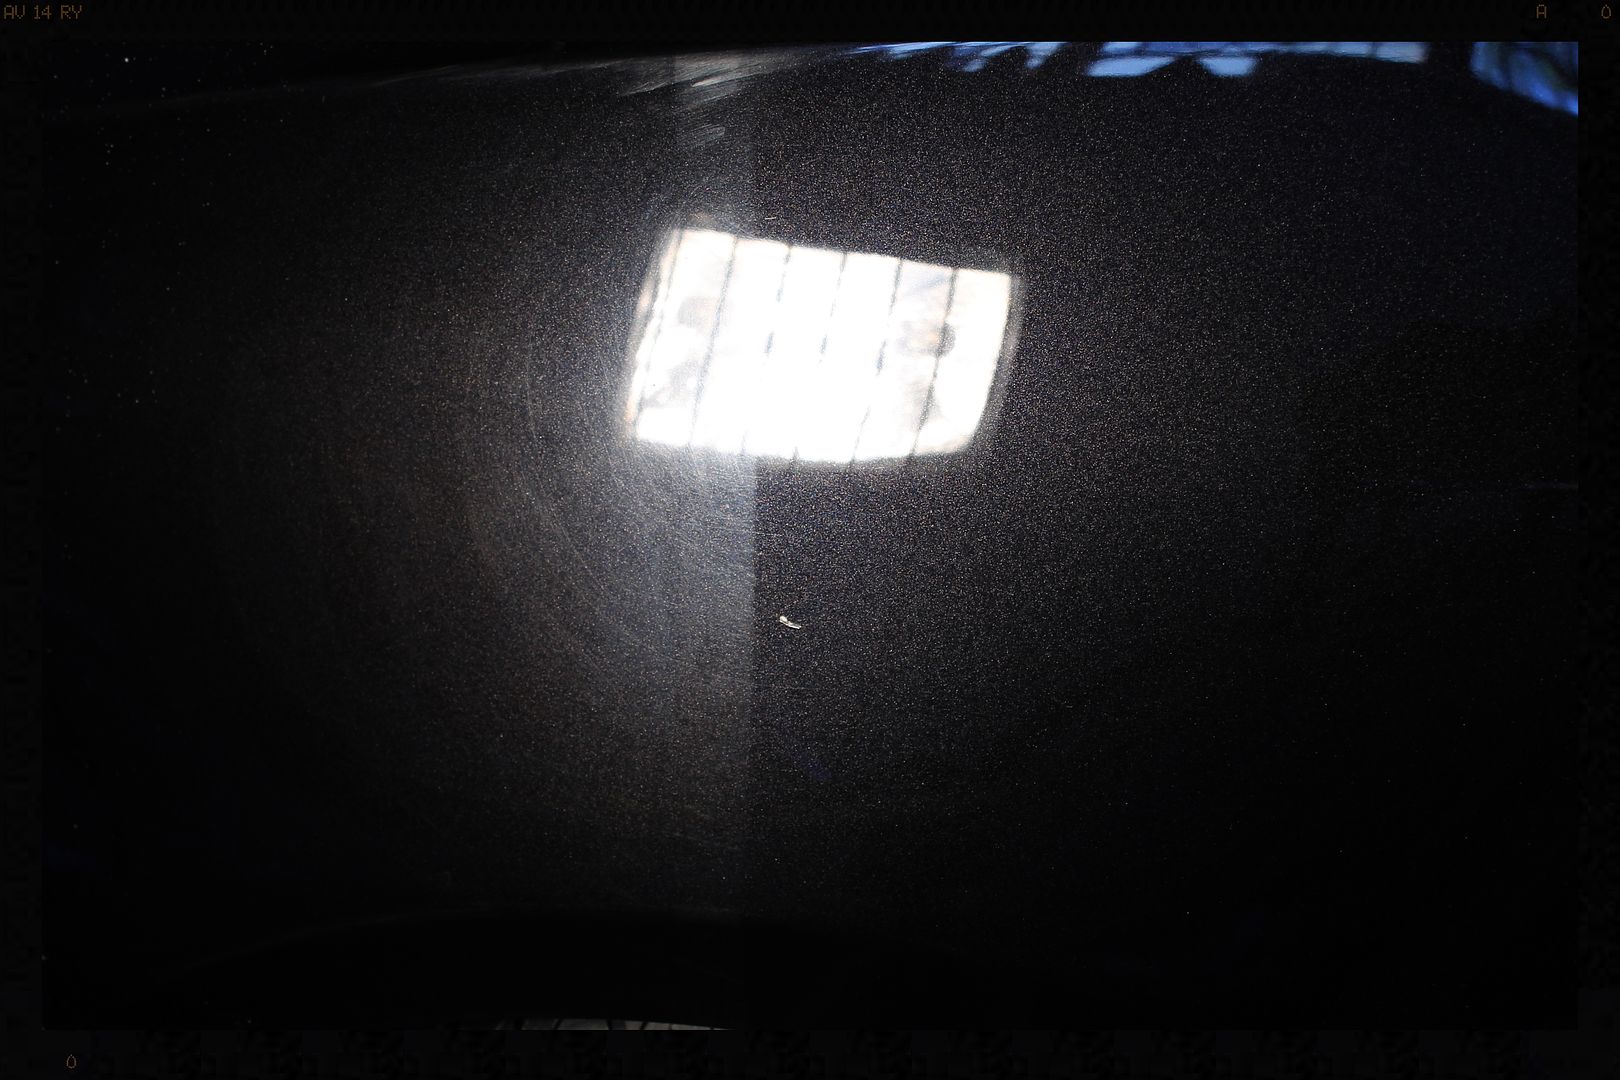
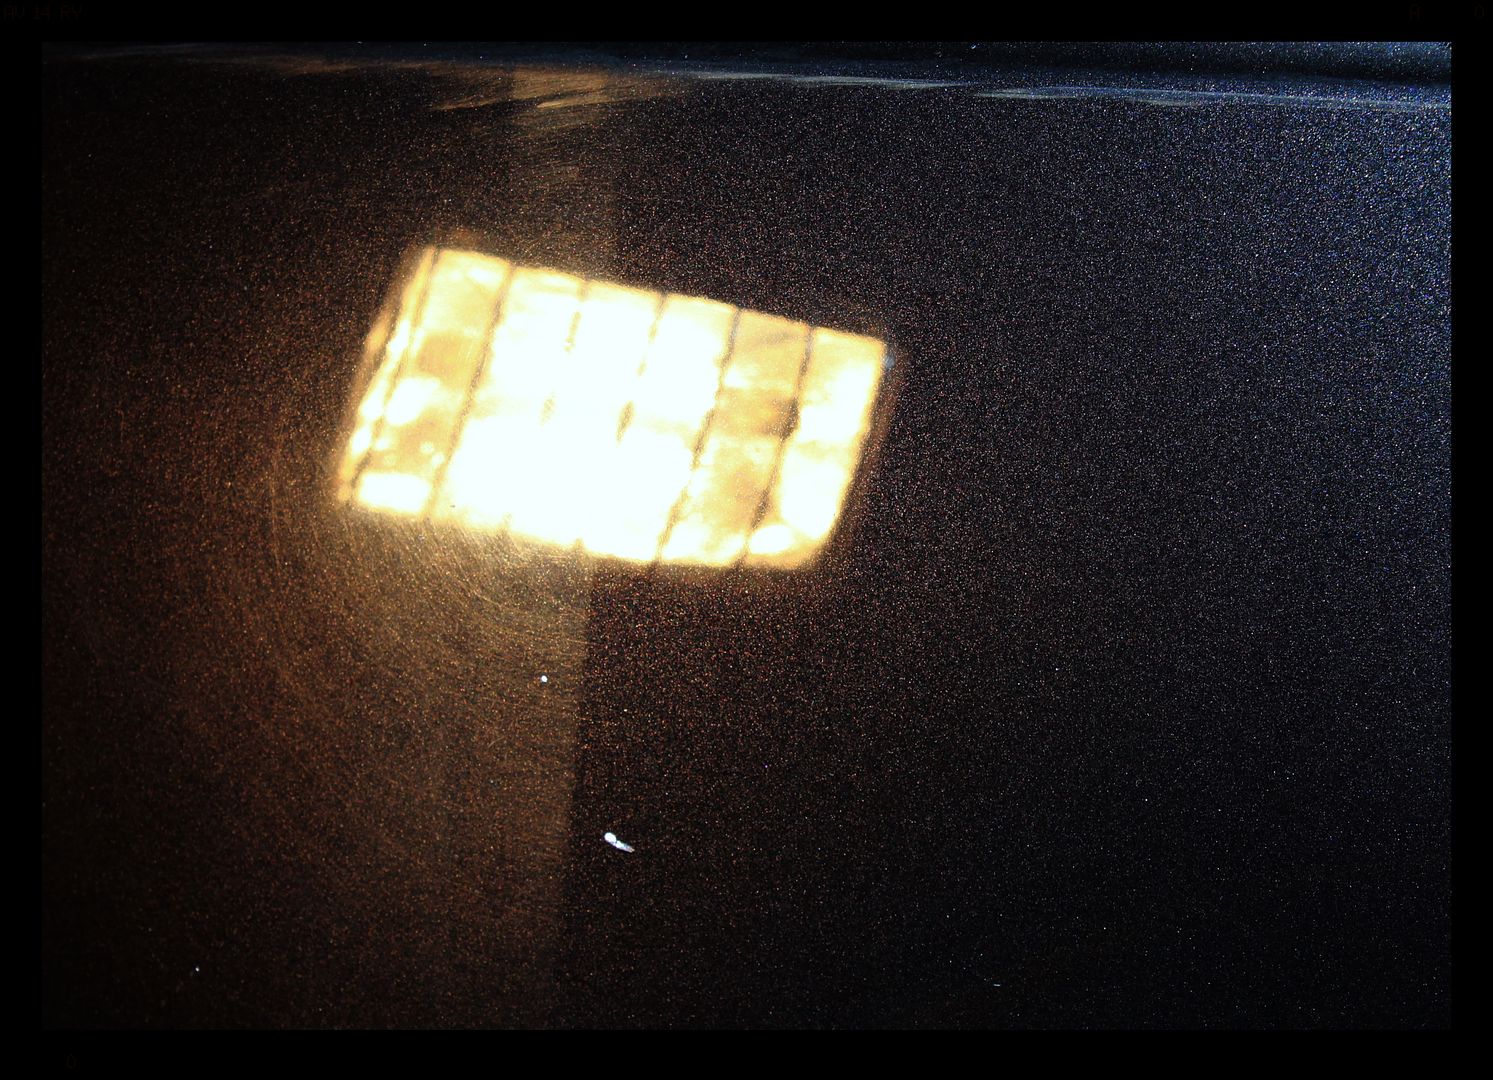
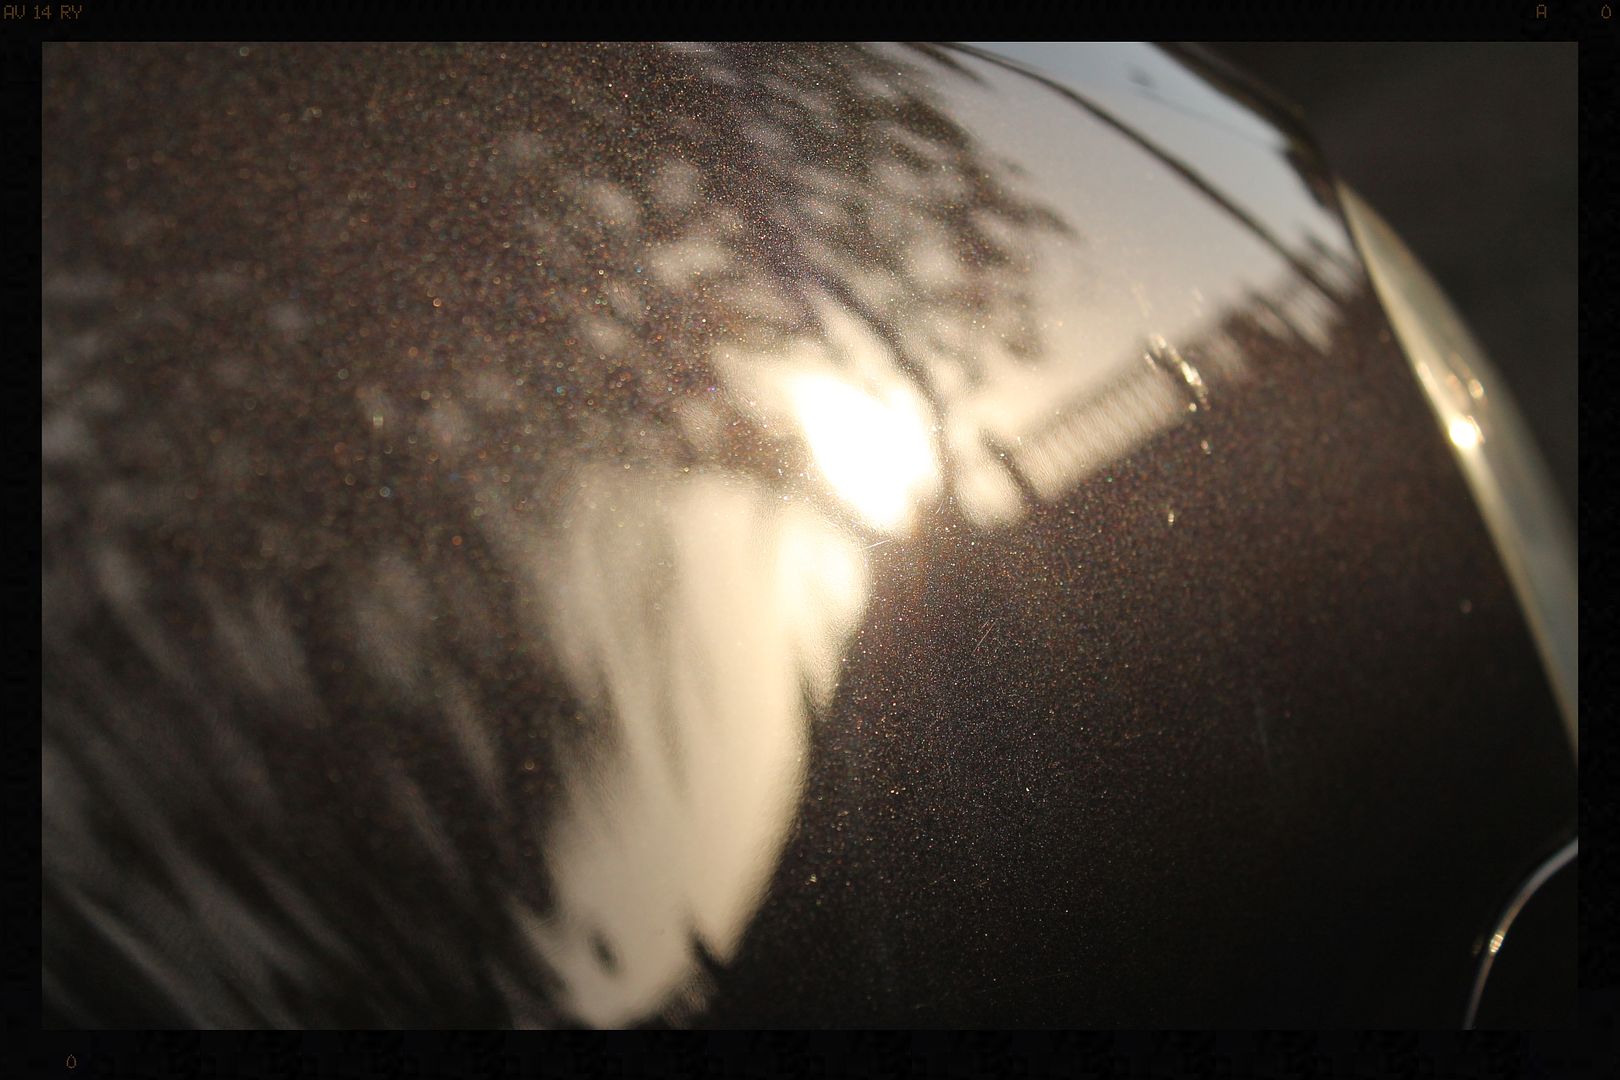
Ok so first up, during my usual pre-detail chat with the owner on Friday night, one of the things we got chatting about is glazes. I wanted to demonstrate the sort of difference a glaze could make and where, IMO they have their place in one's paint maintenance regime. (It obviously had no place in a correction detail like this - this was purely a simple demo).
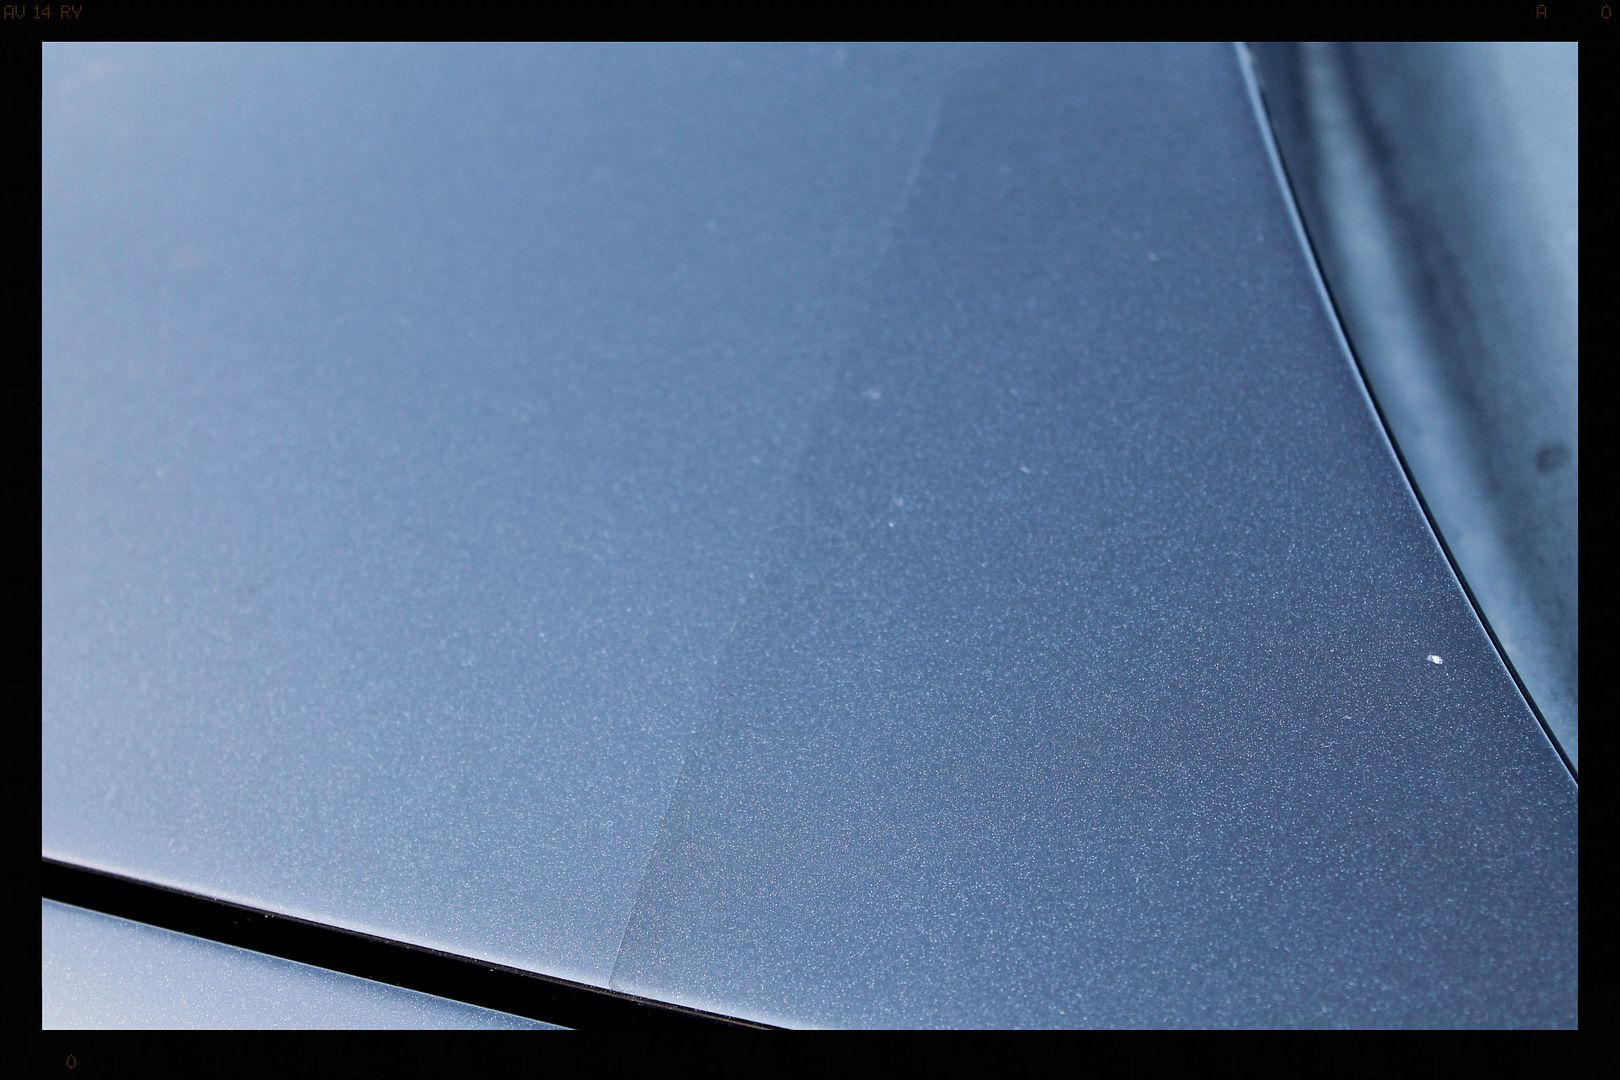
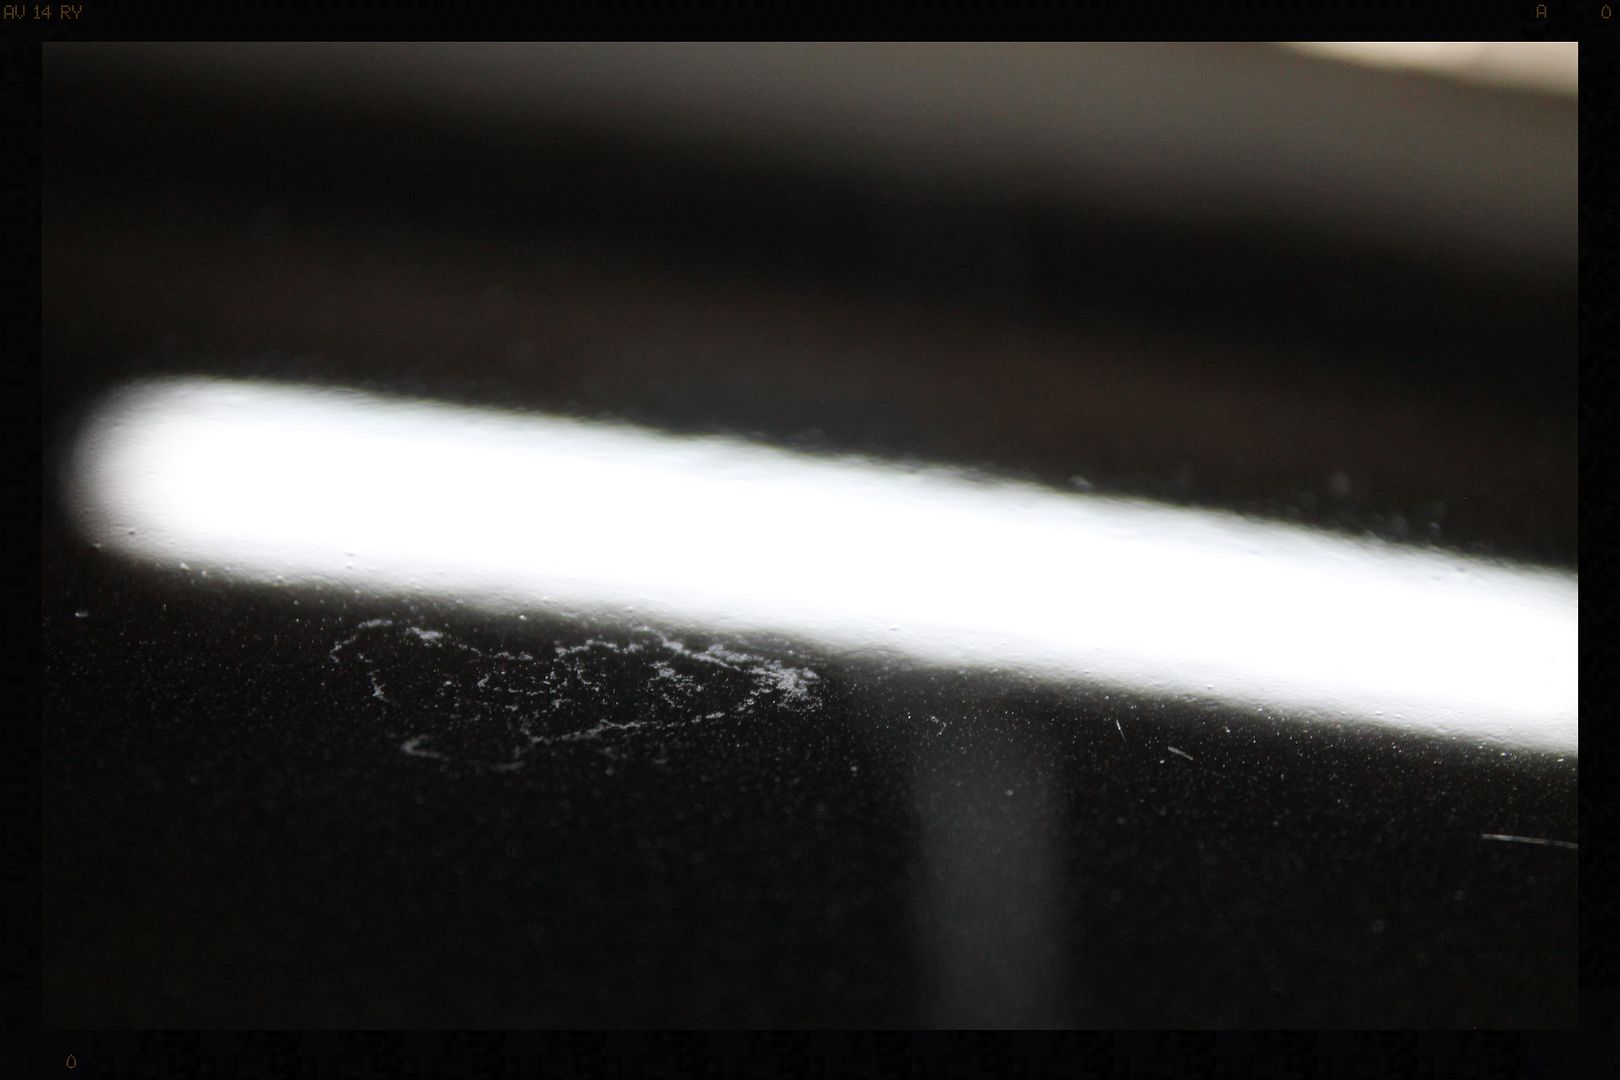
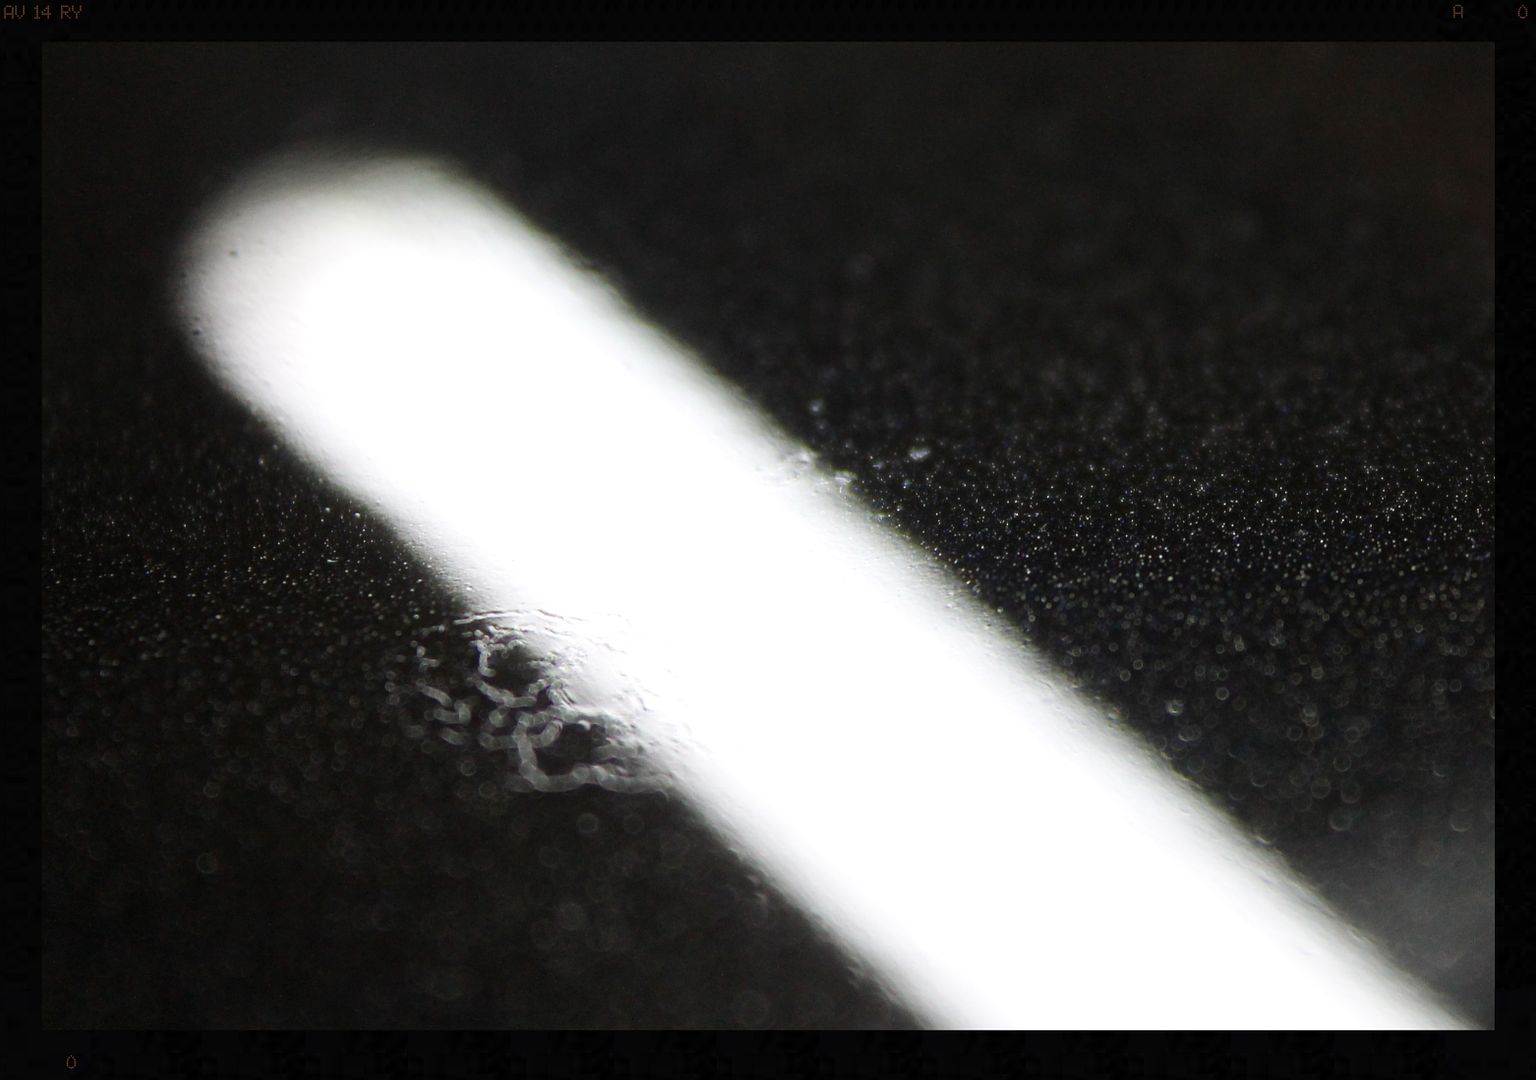
So I cleaned a small section of the the top corner of the passenger side of the bonnet, laid down a piece of tape, and applied a small bit of Poorboy’s World Black Hole Show Glaze for Dark Vehicles to it. The next morning this is what it looked like.
Right, so onto the detail itself.
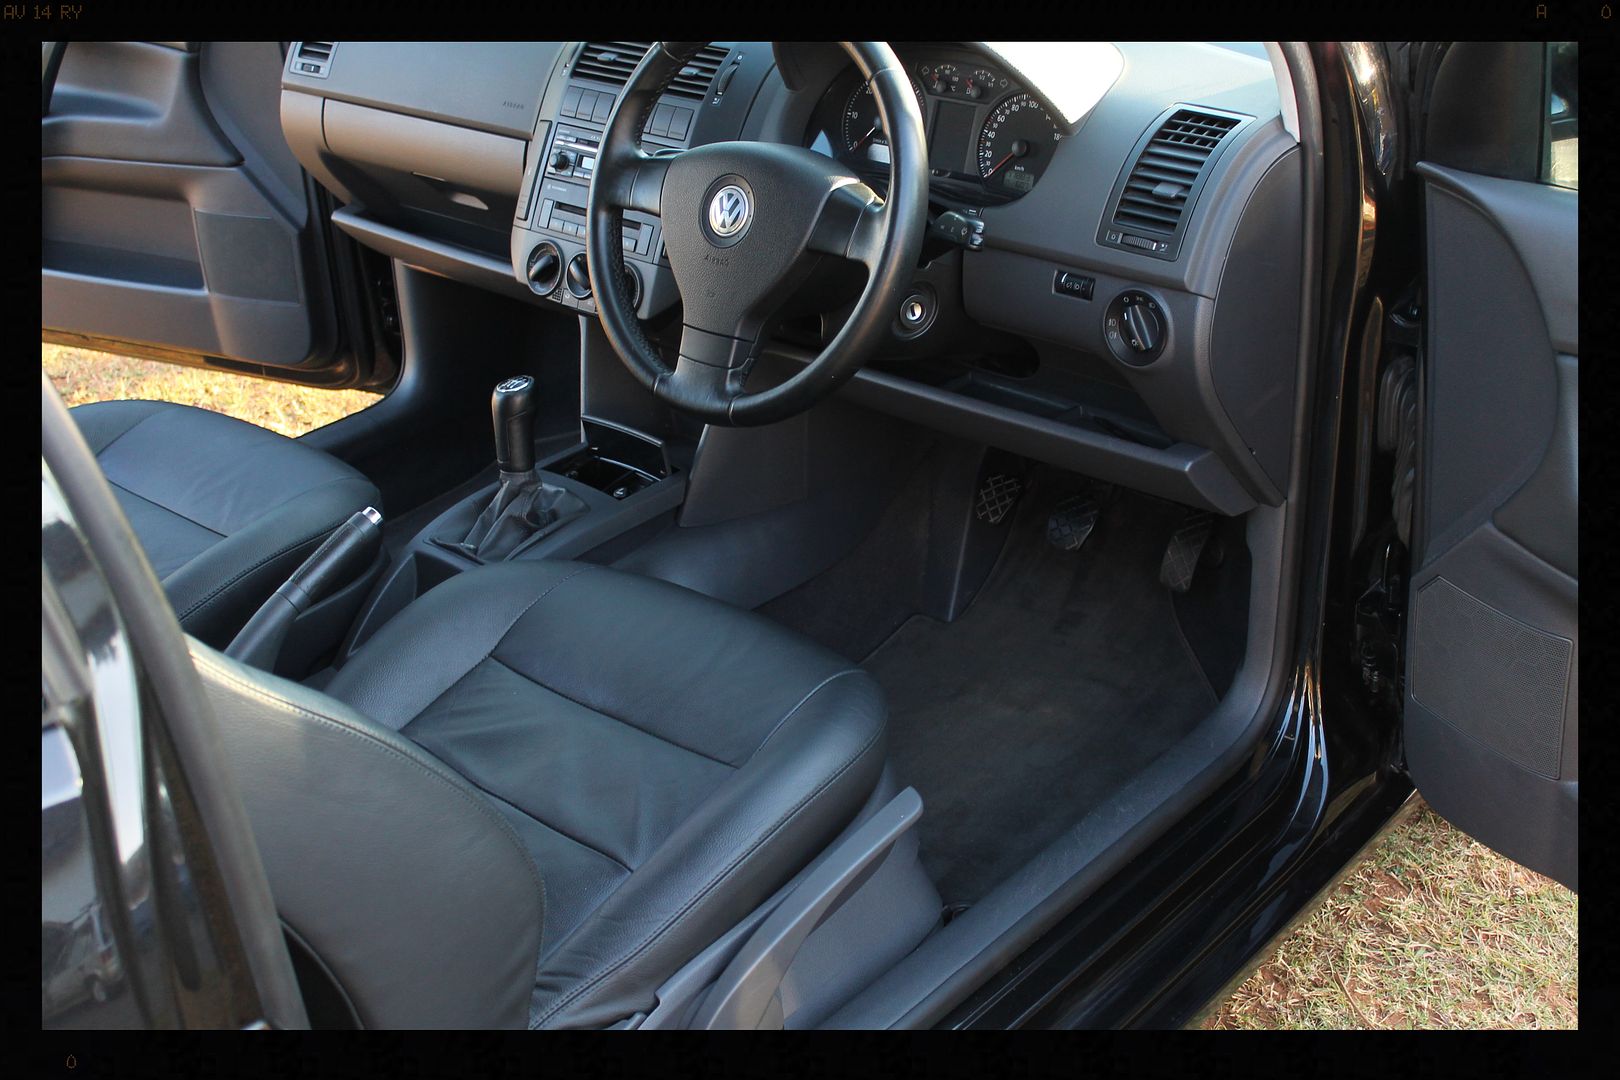
The previous owner was into horse riding and so the interior needed a lot of work. The car was blown out with compressed air then vacuumed. All the plastics, dash and leather were cleaned using Cyclo CM30 APC @ 1:8 with various brushes and then wiped down using damp MF towels, then dressed using Autofinesse Spritz and the interior glass was cleaned using Glossworx Glass Cleaner.
No before pics, just this one after shot
Onto the car itself.
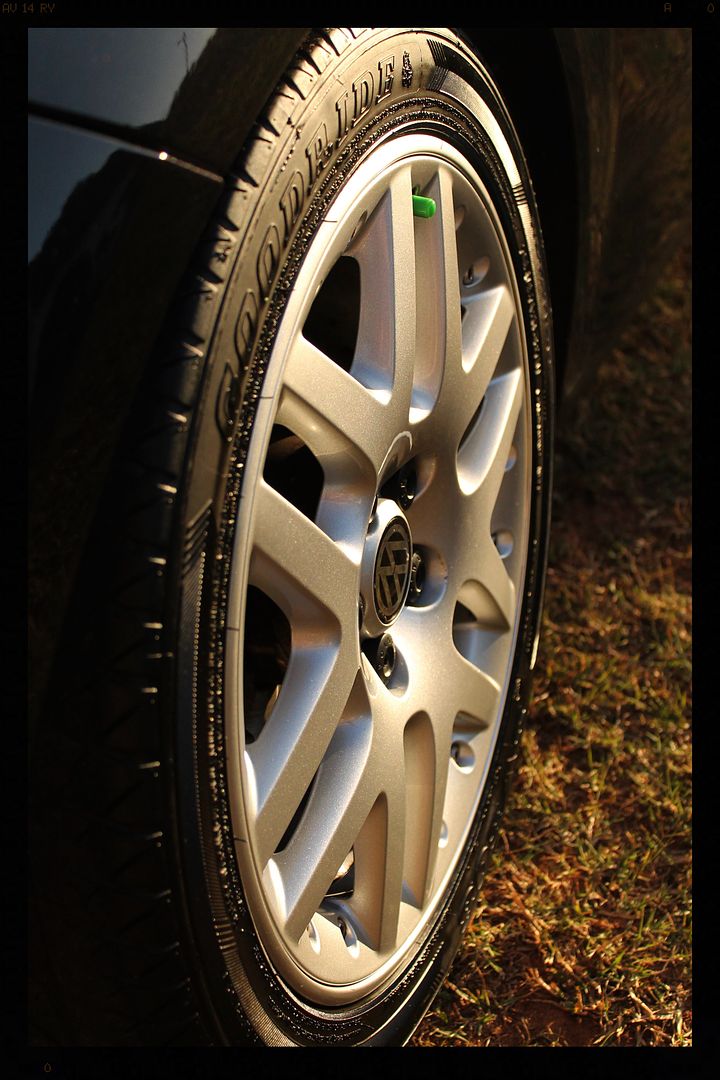
First I took off the lug nut covers using the supplied tool from VW so that they could be cleaned and I could get into the lug nuts to clean them properly.
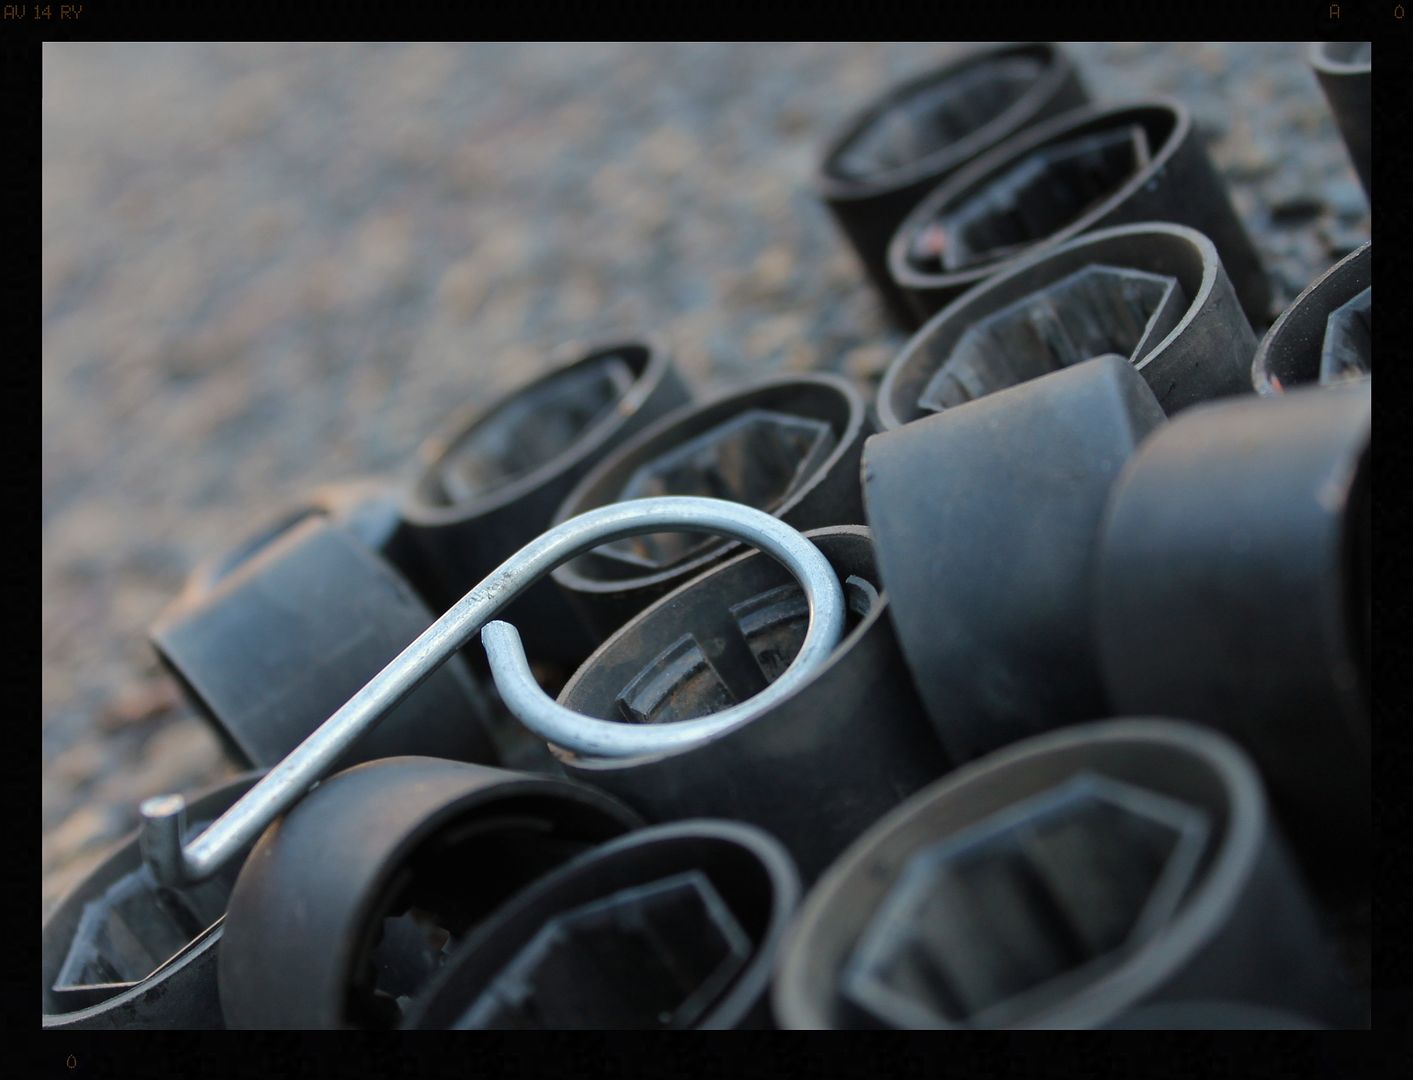
This area is often overlooked during maintenance washes, leading to stubborn dirt build up.
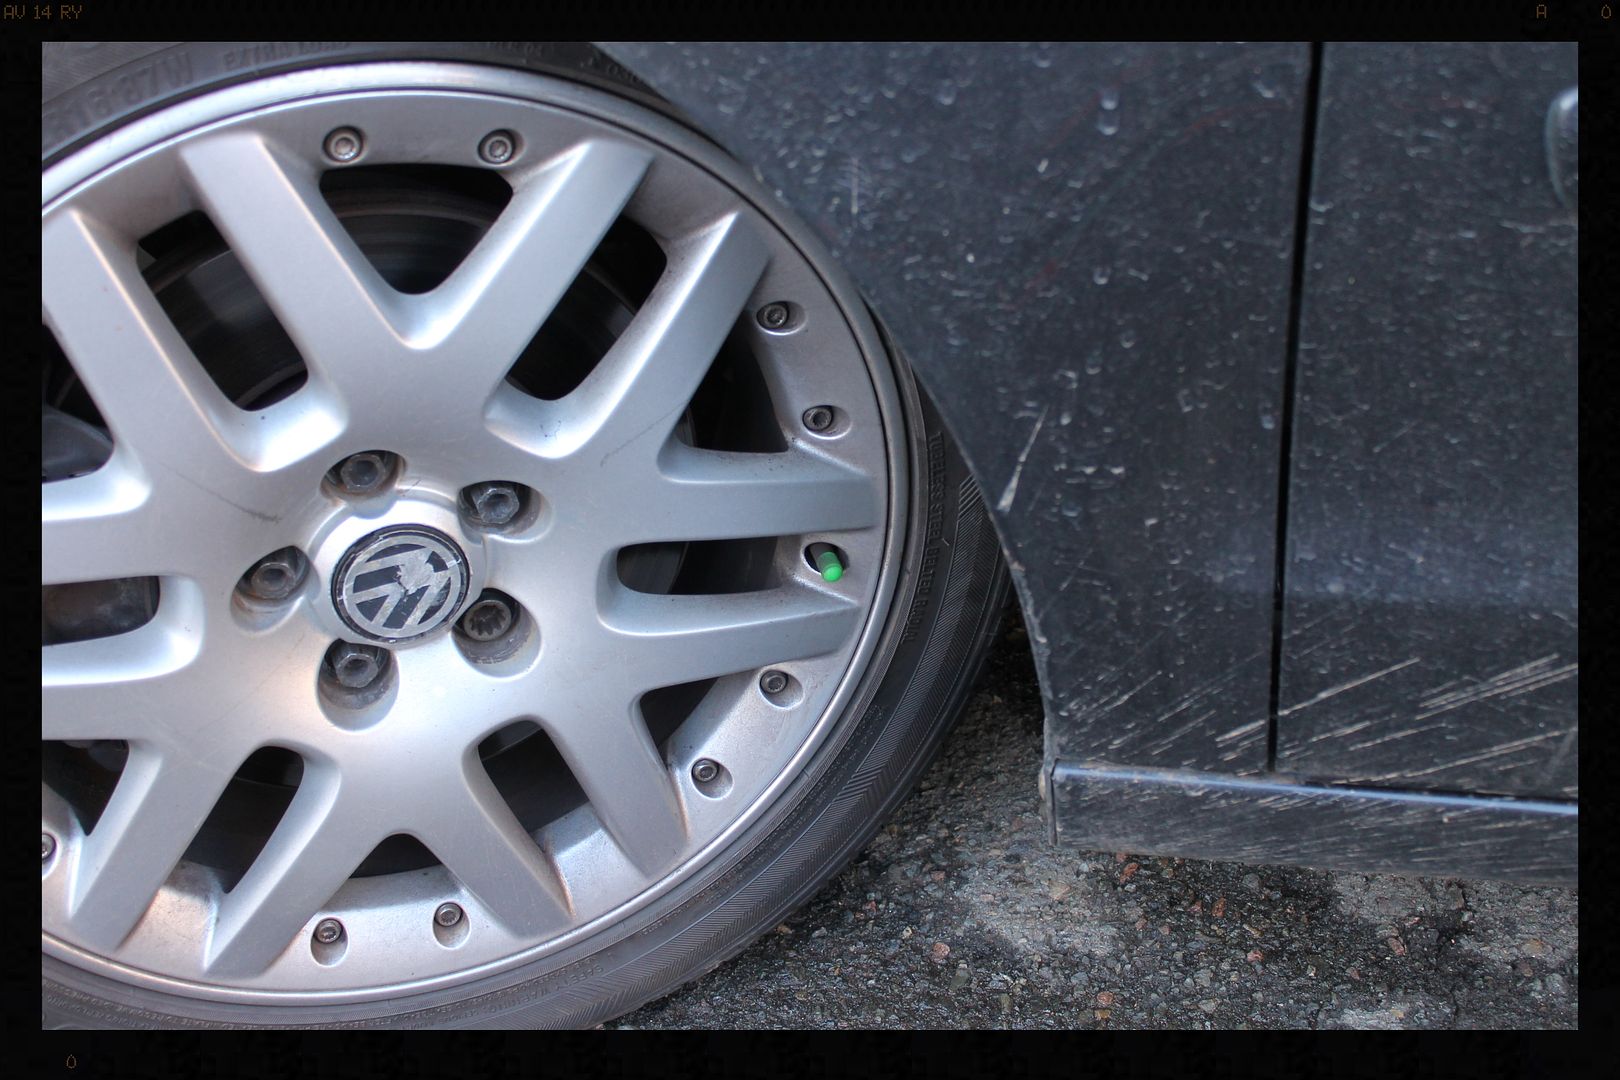
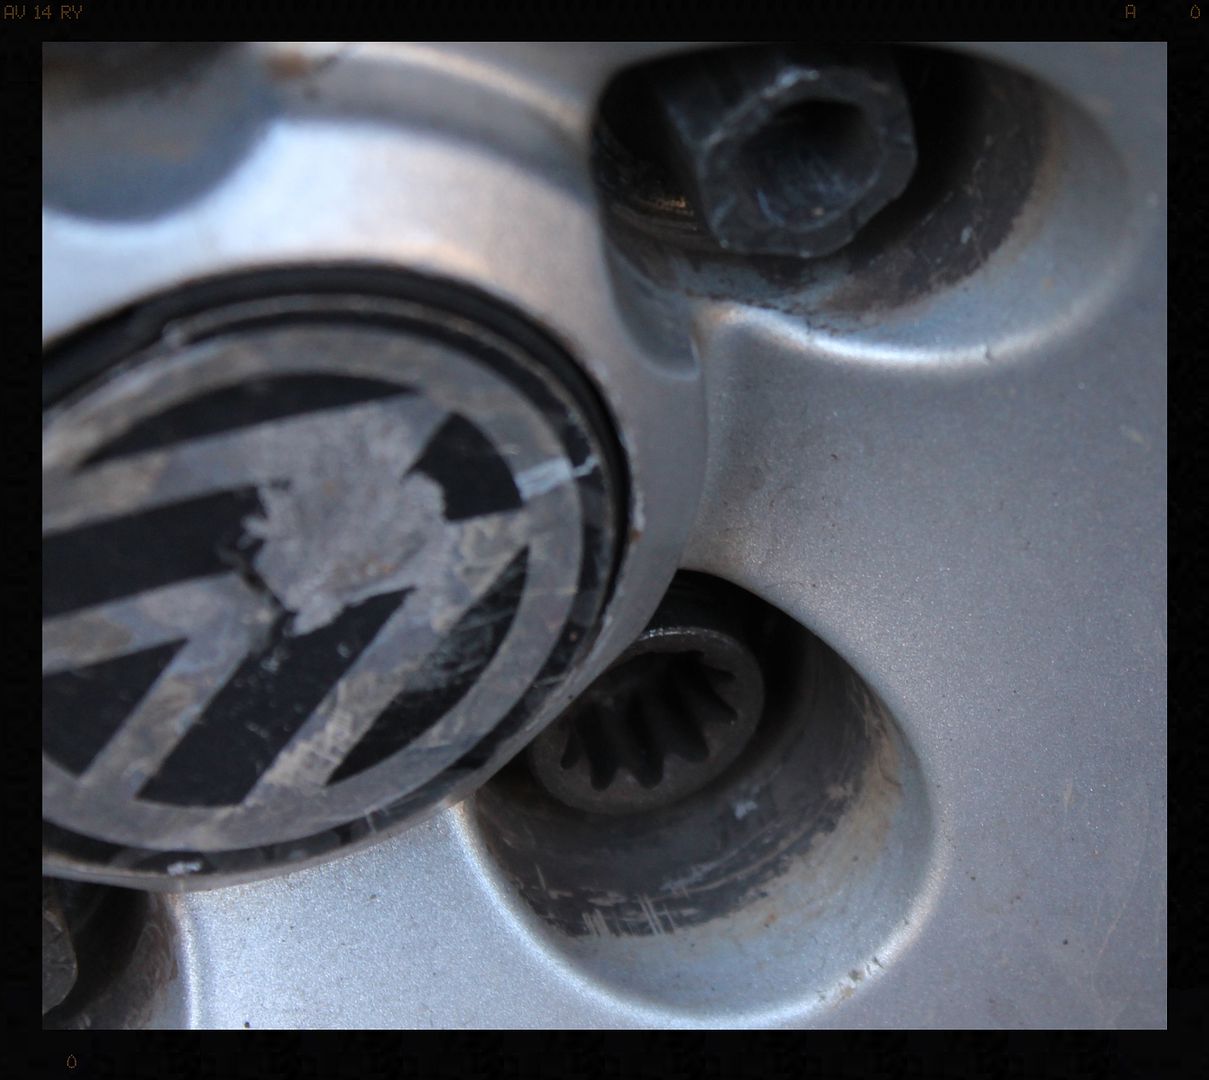
Grabbed some pictures showing how dirty it was
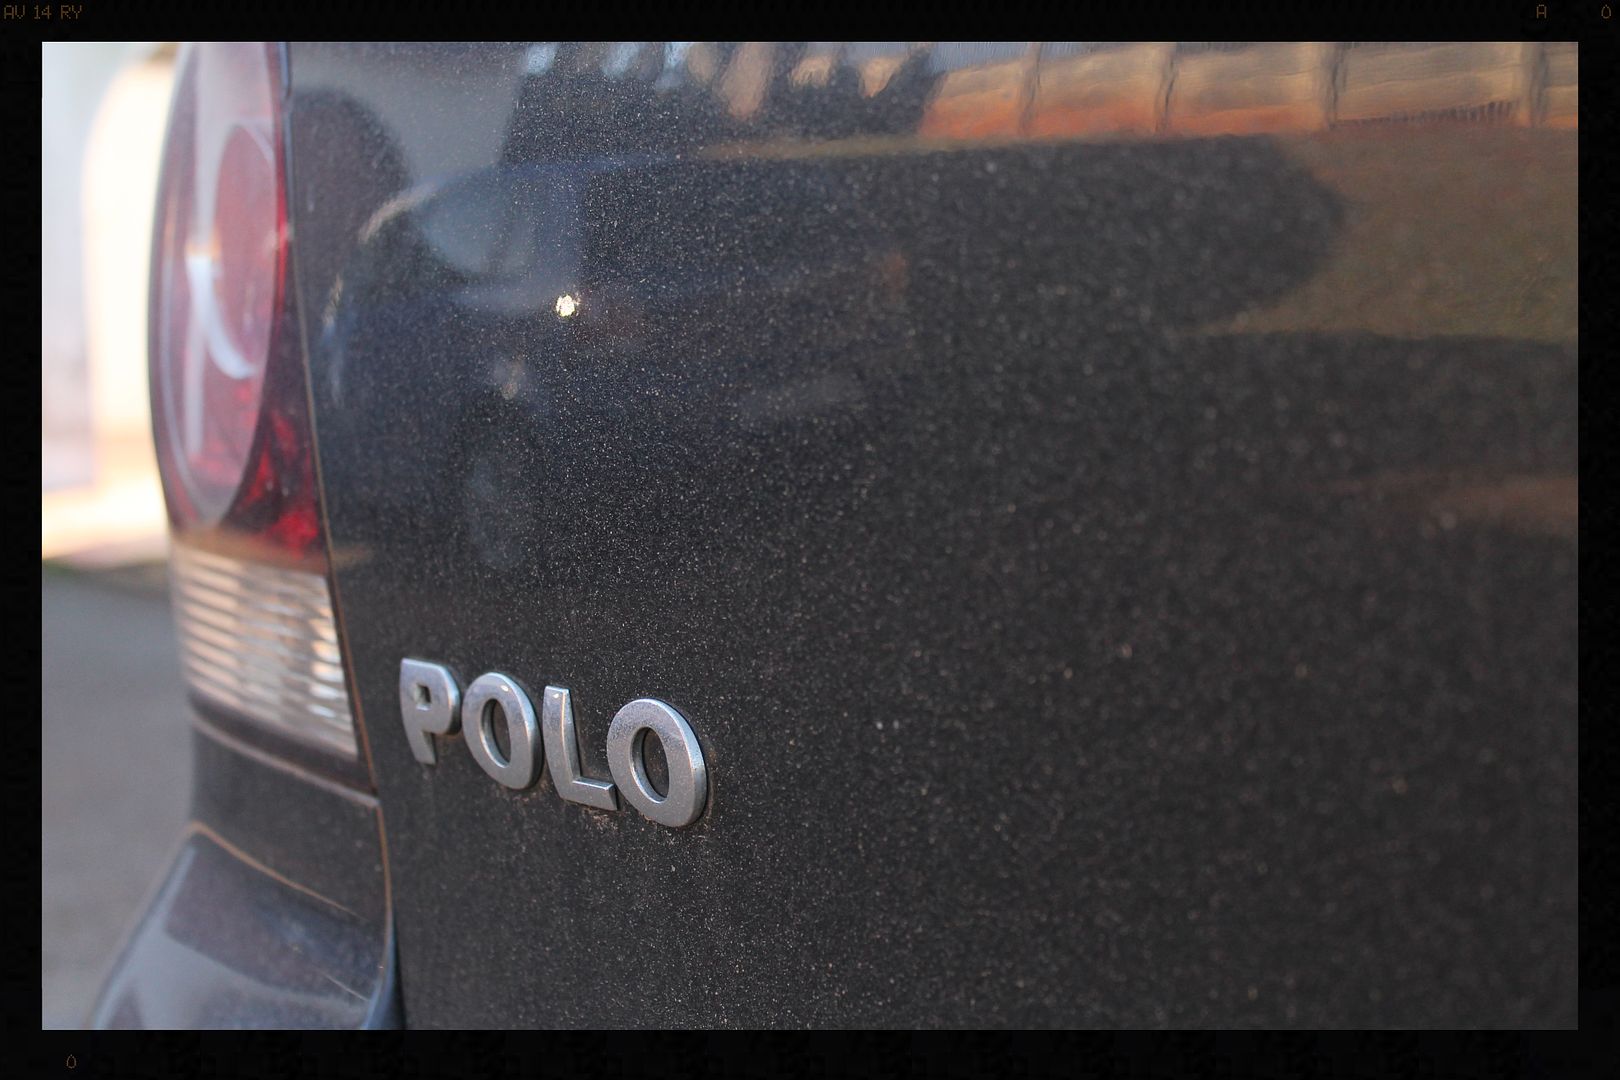

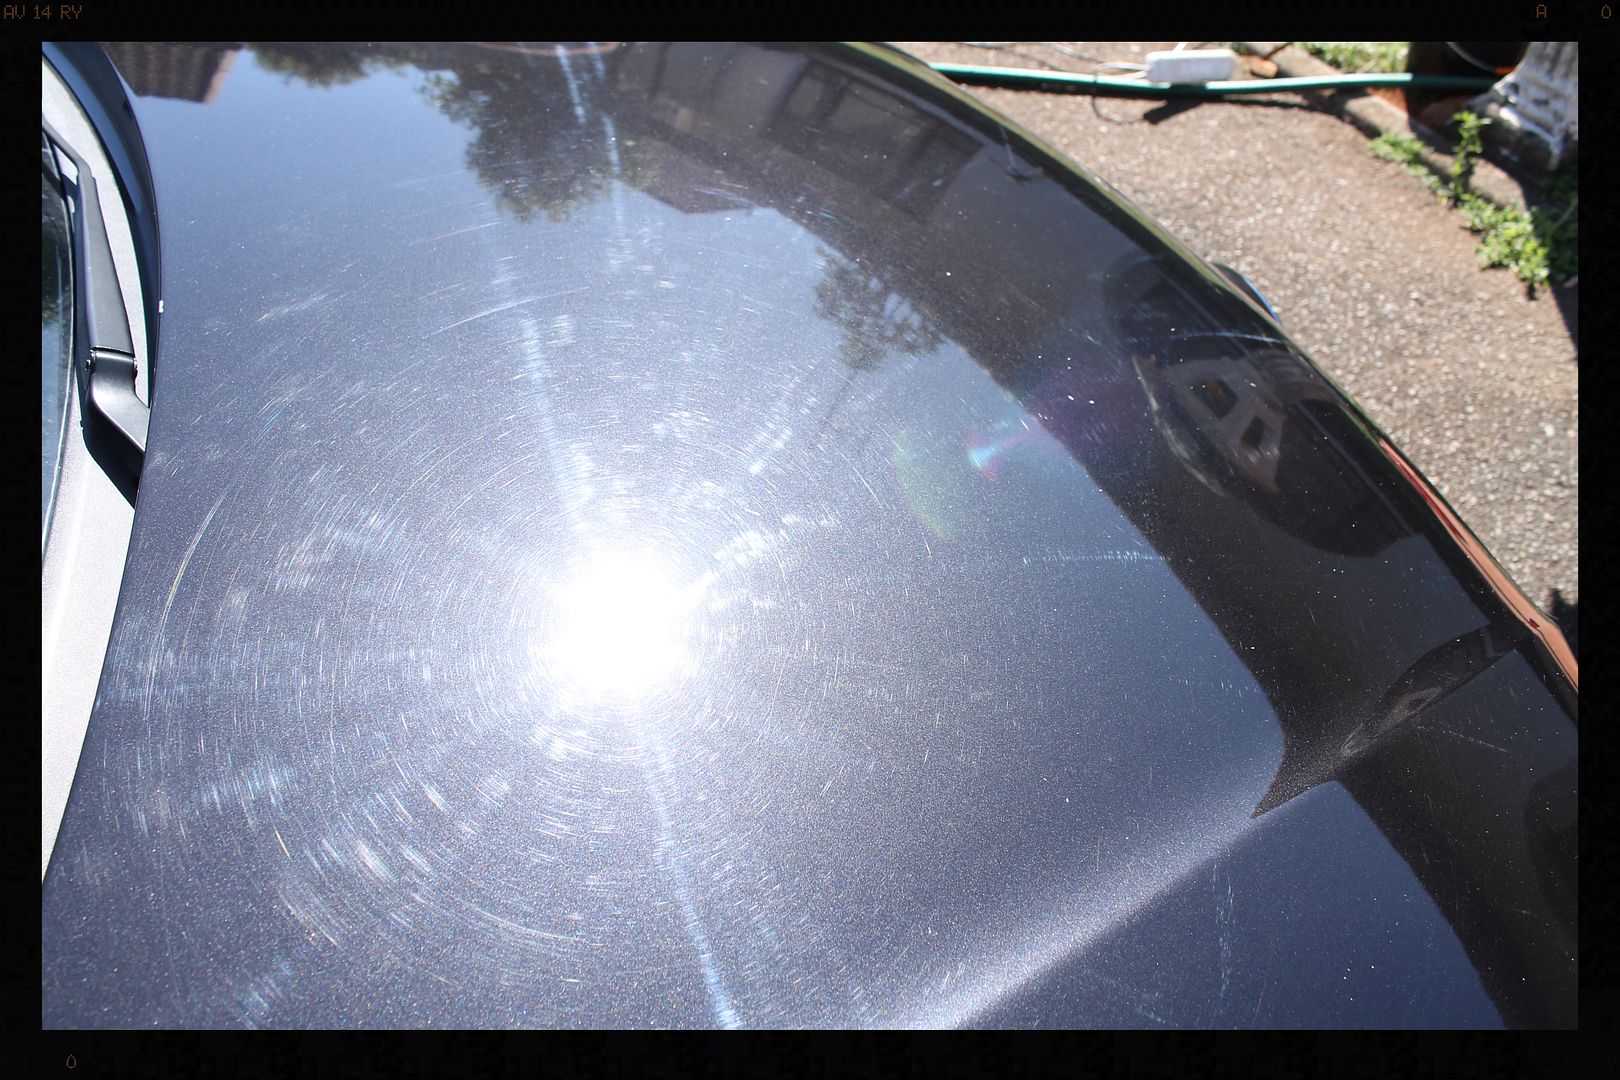
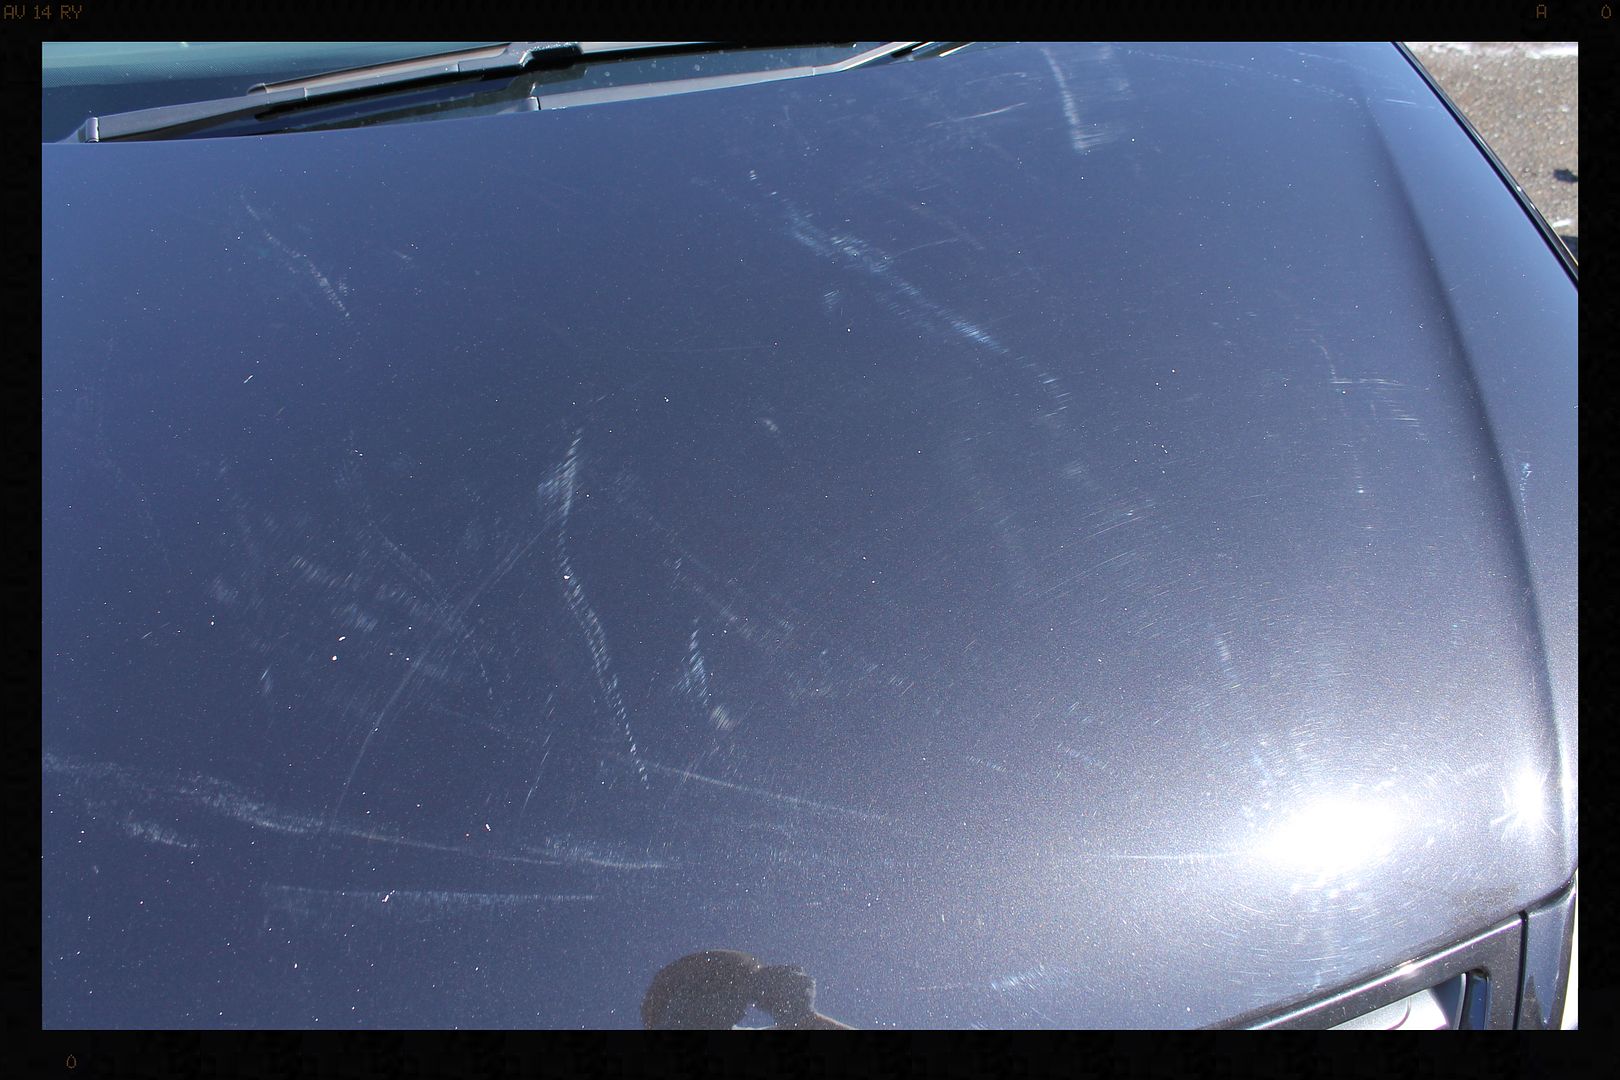
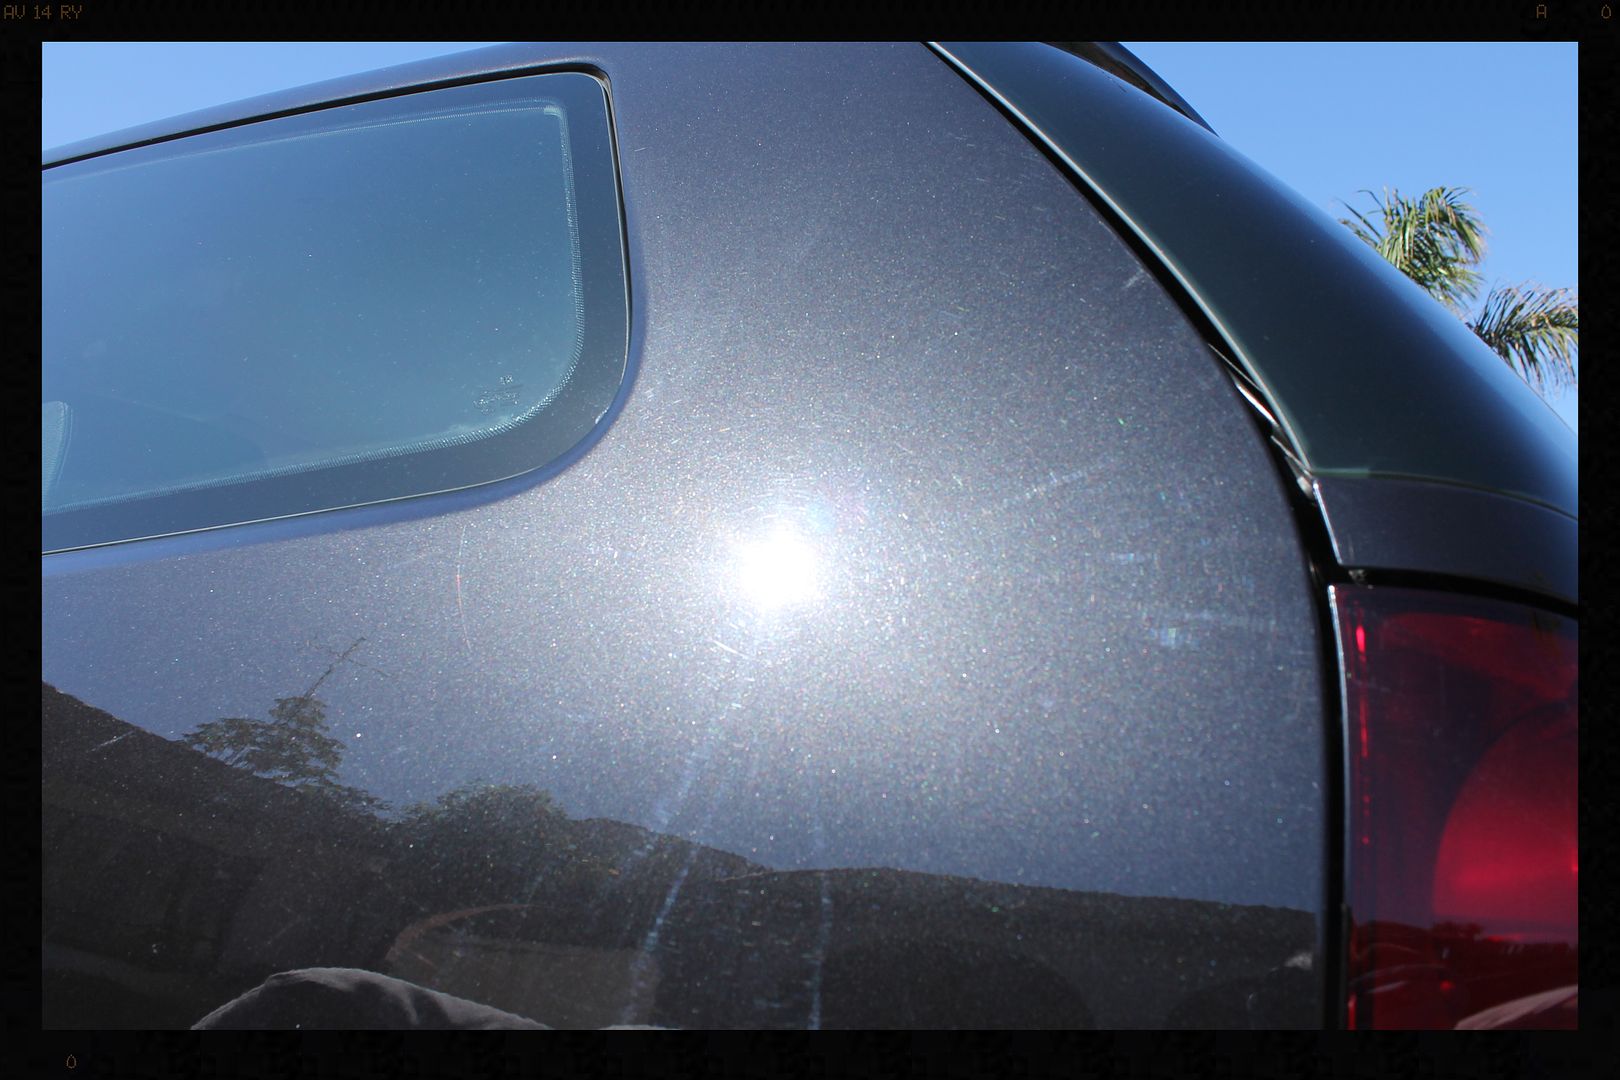
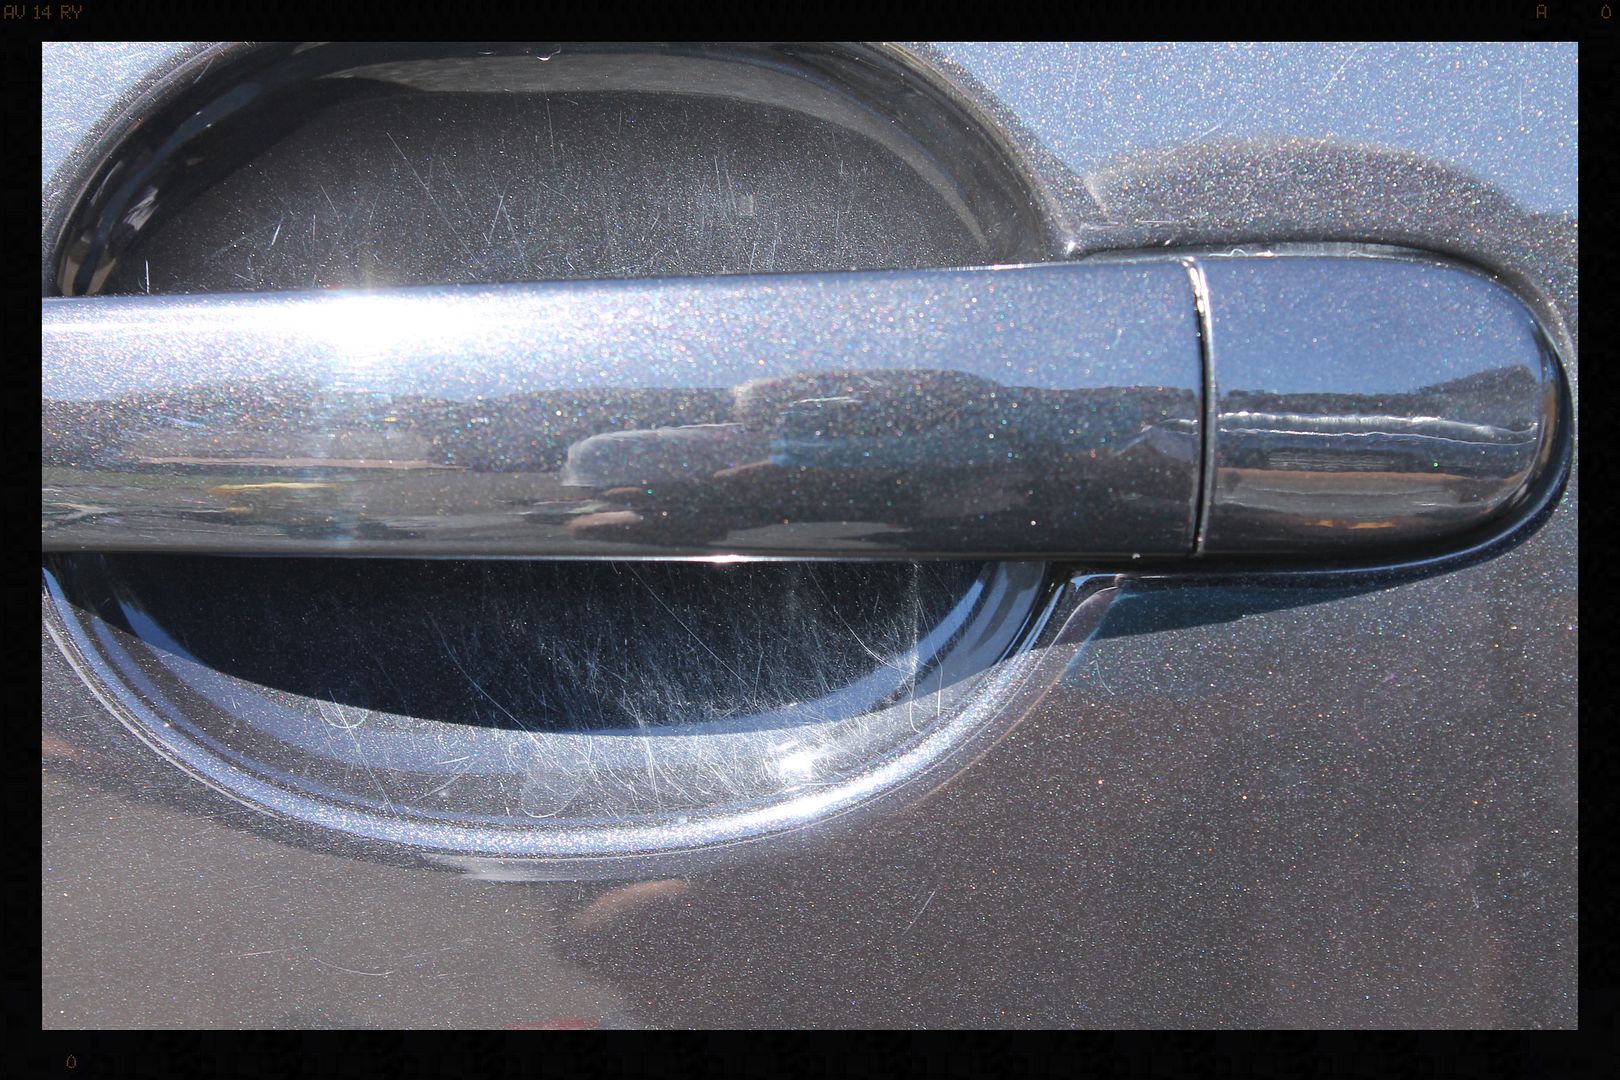
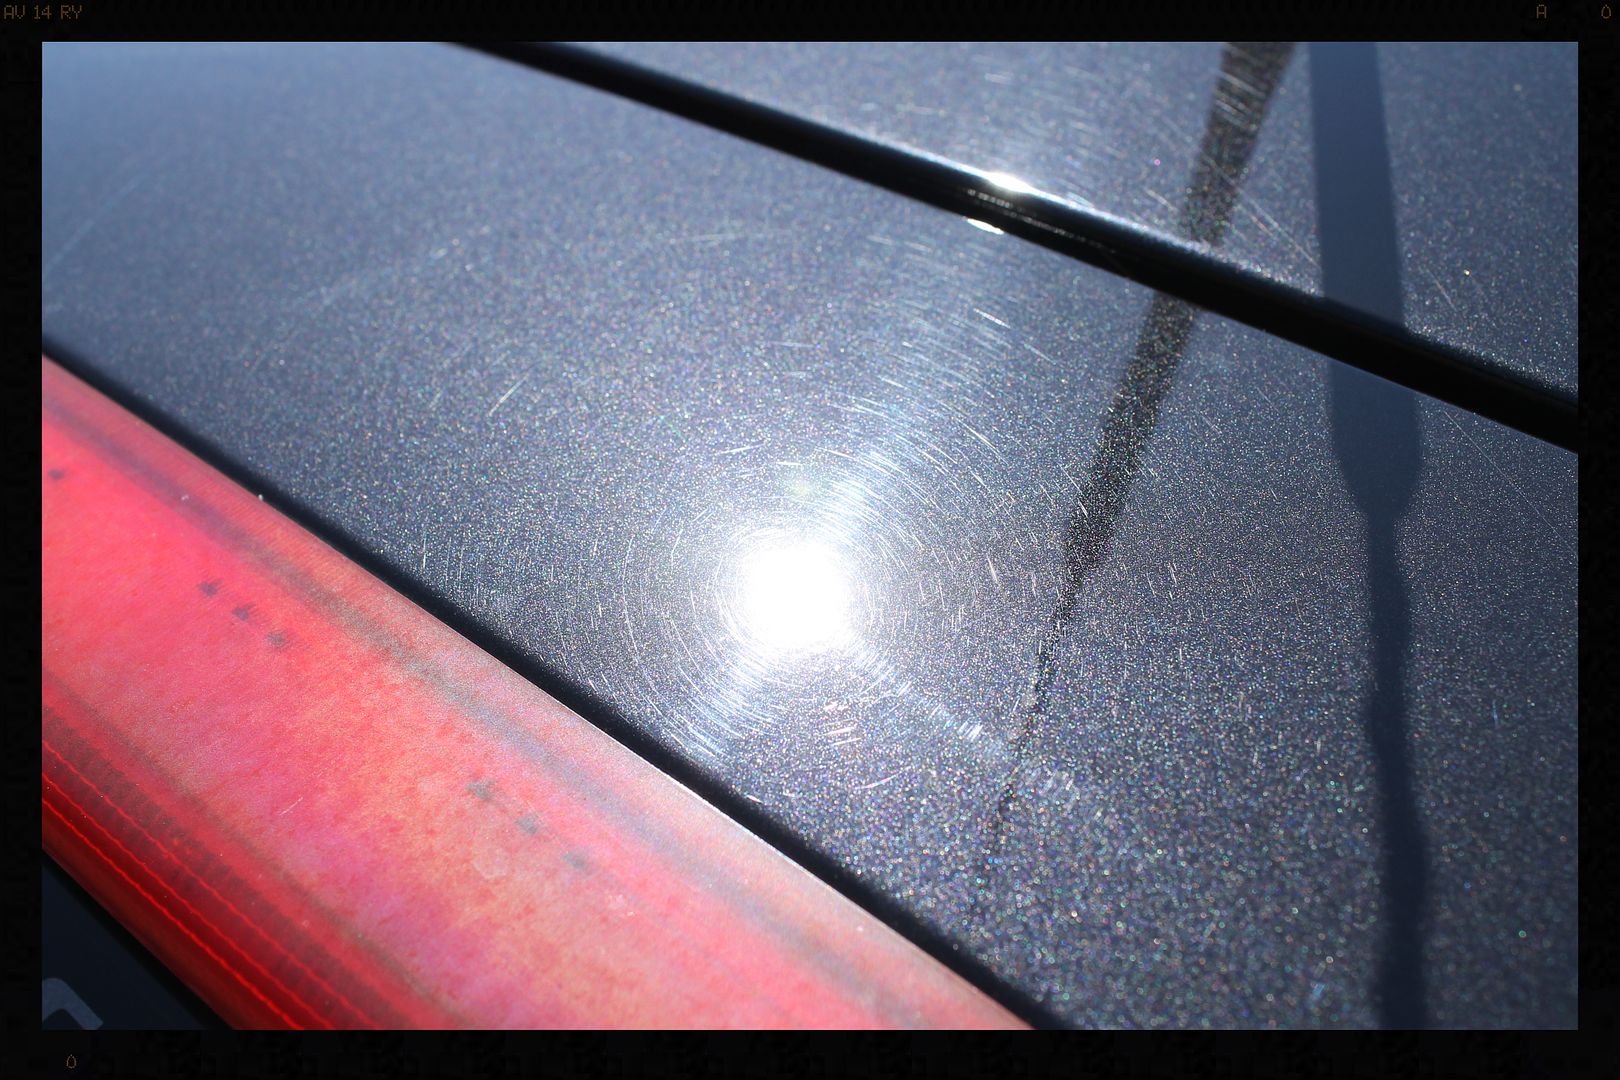
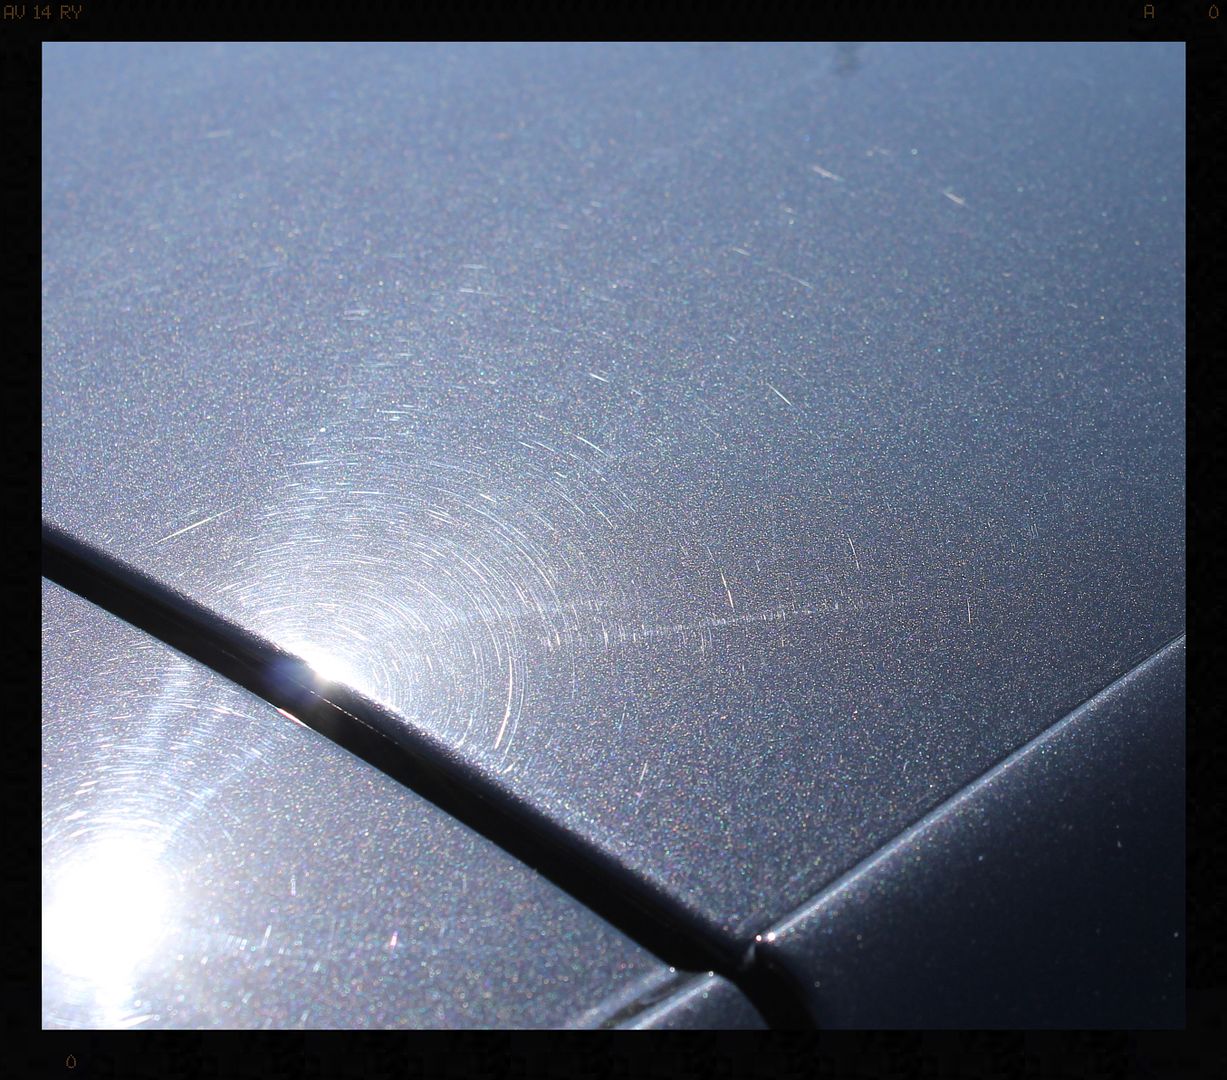
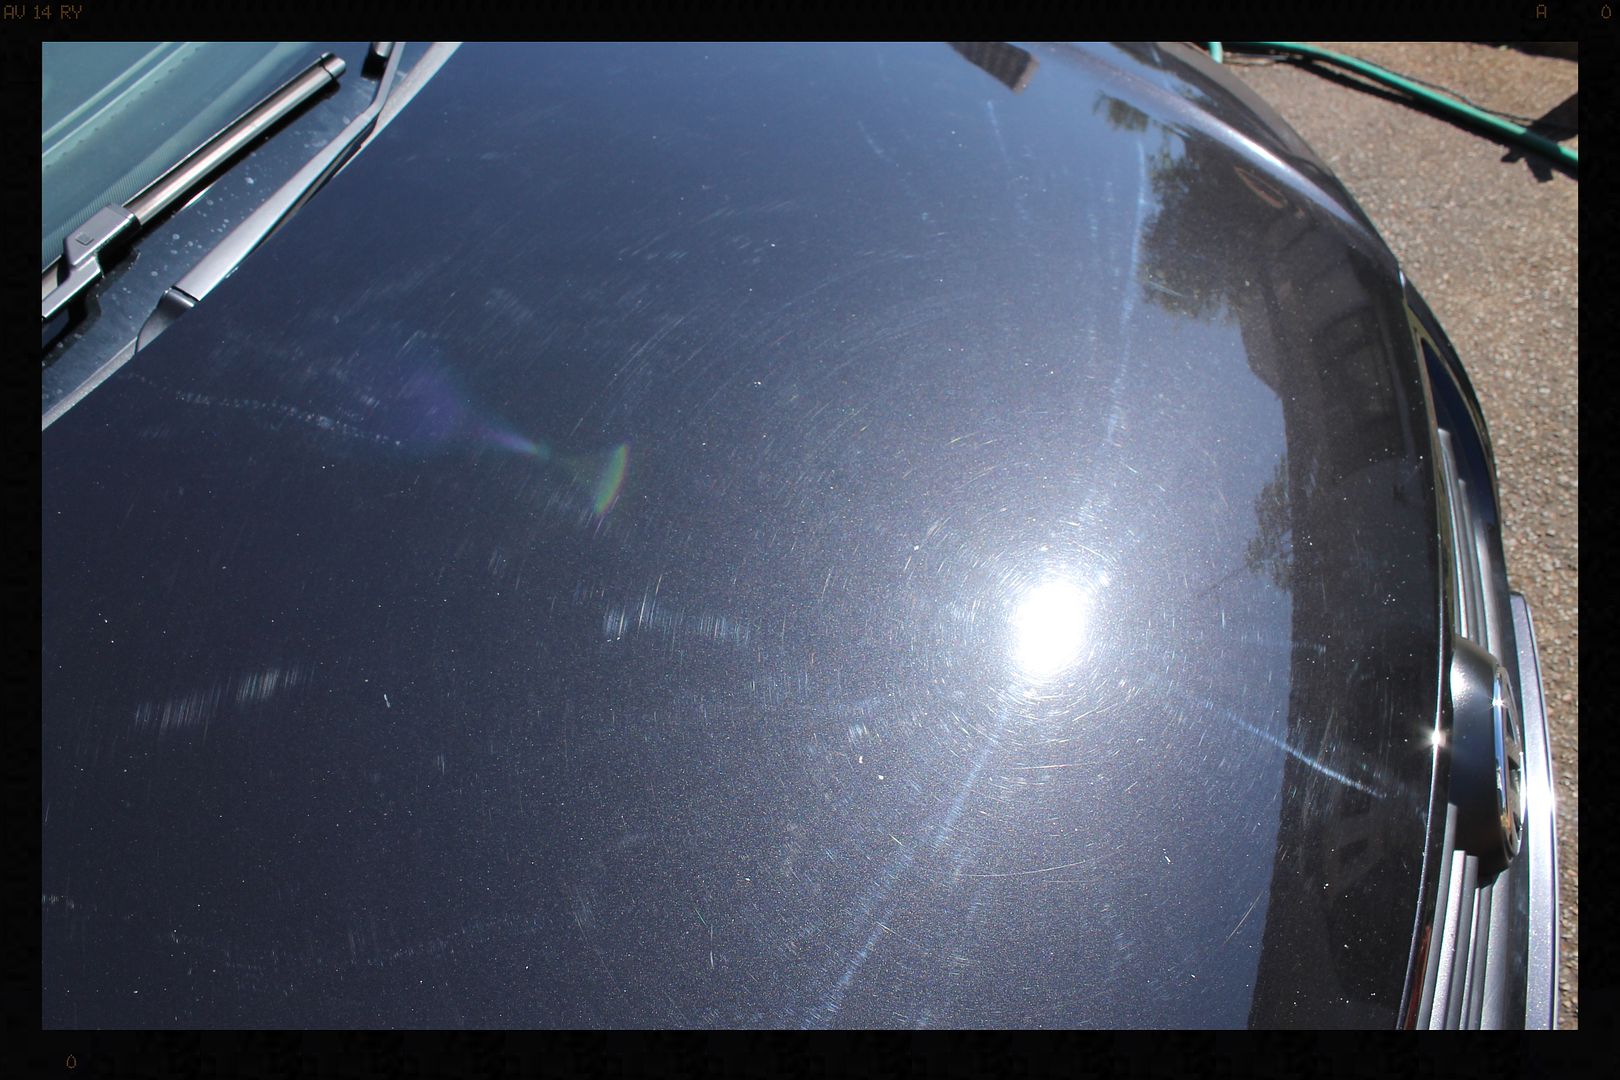
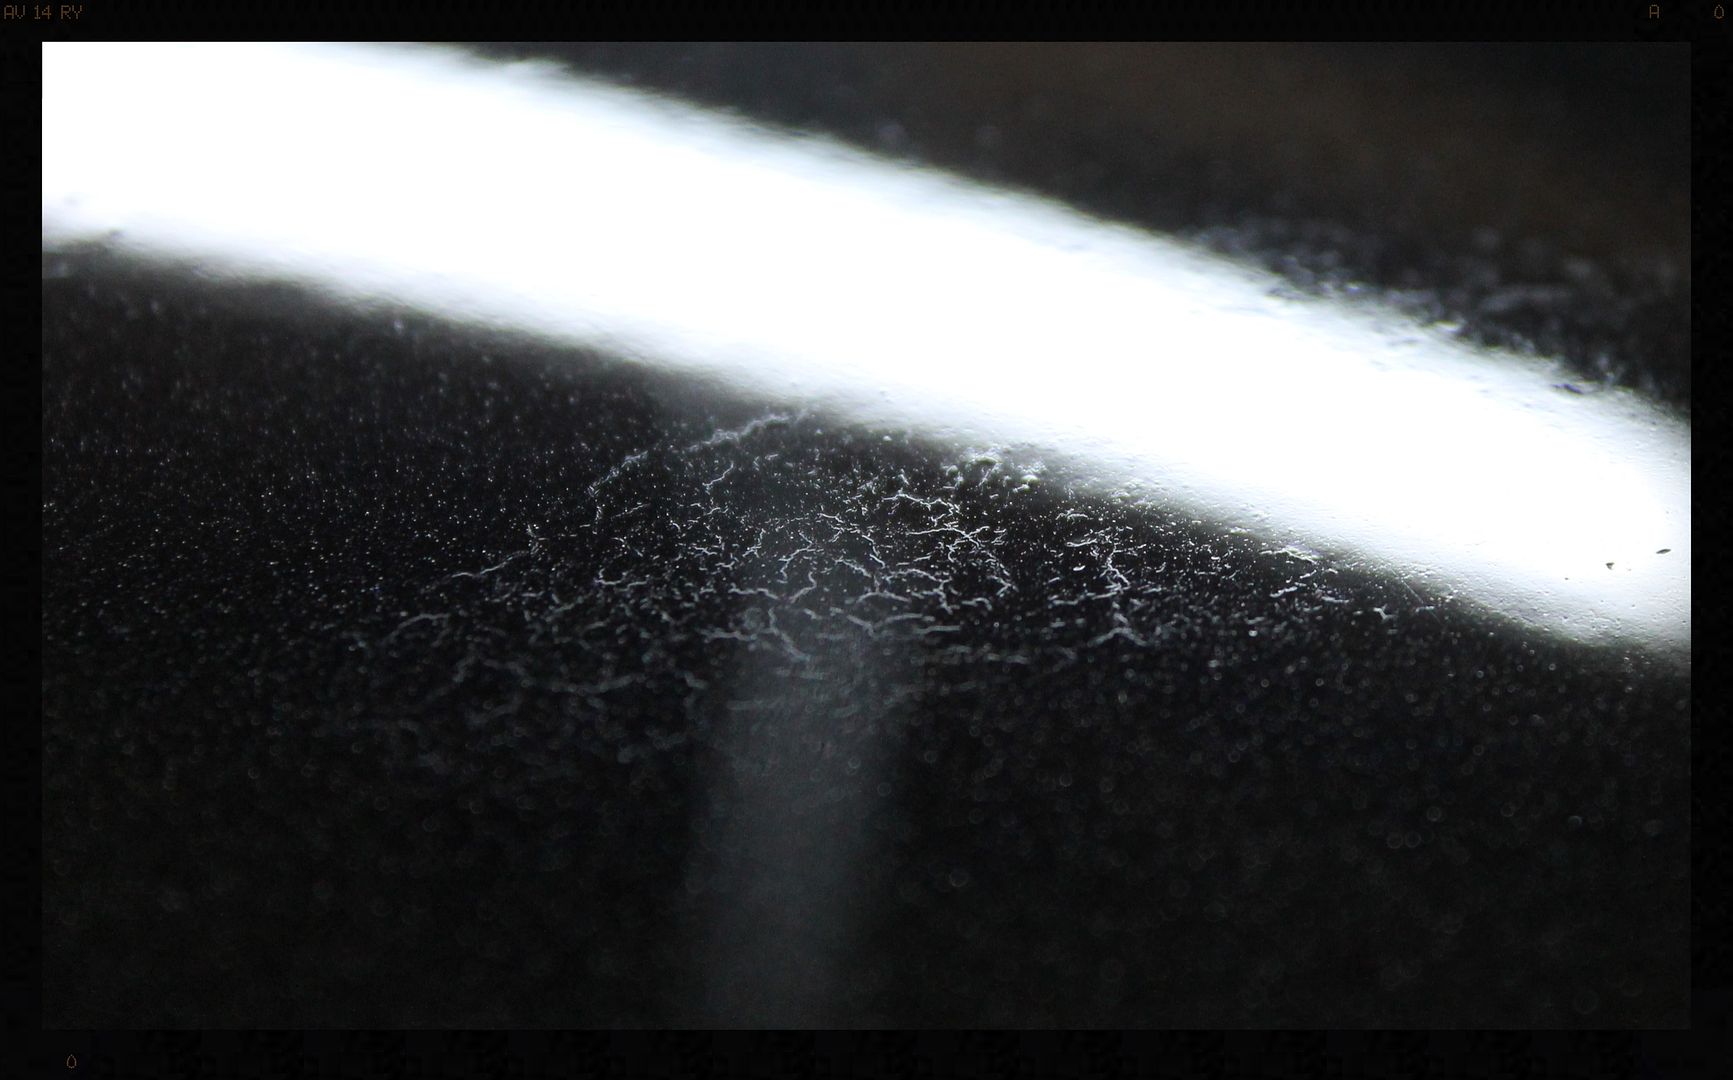
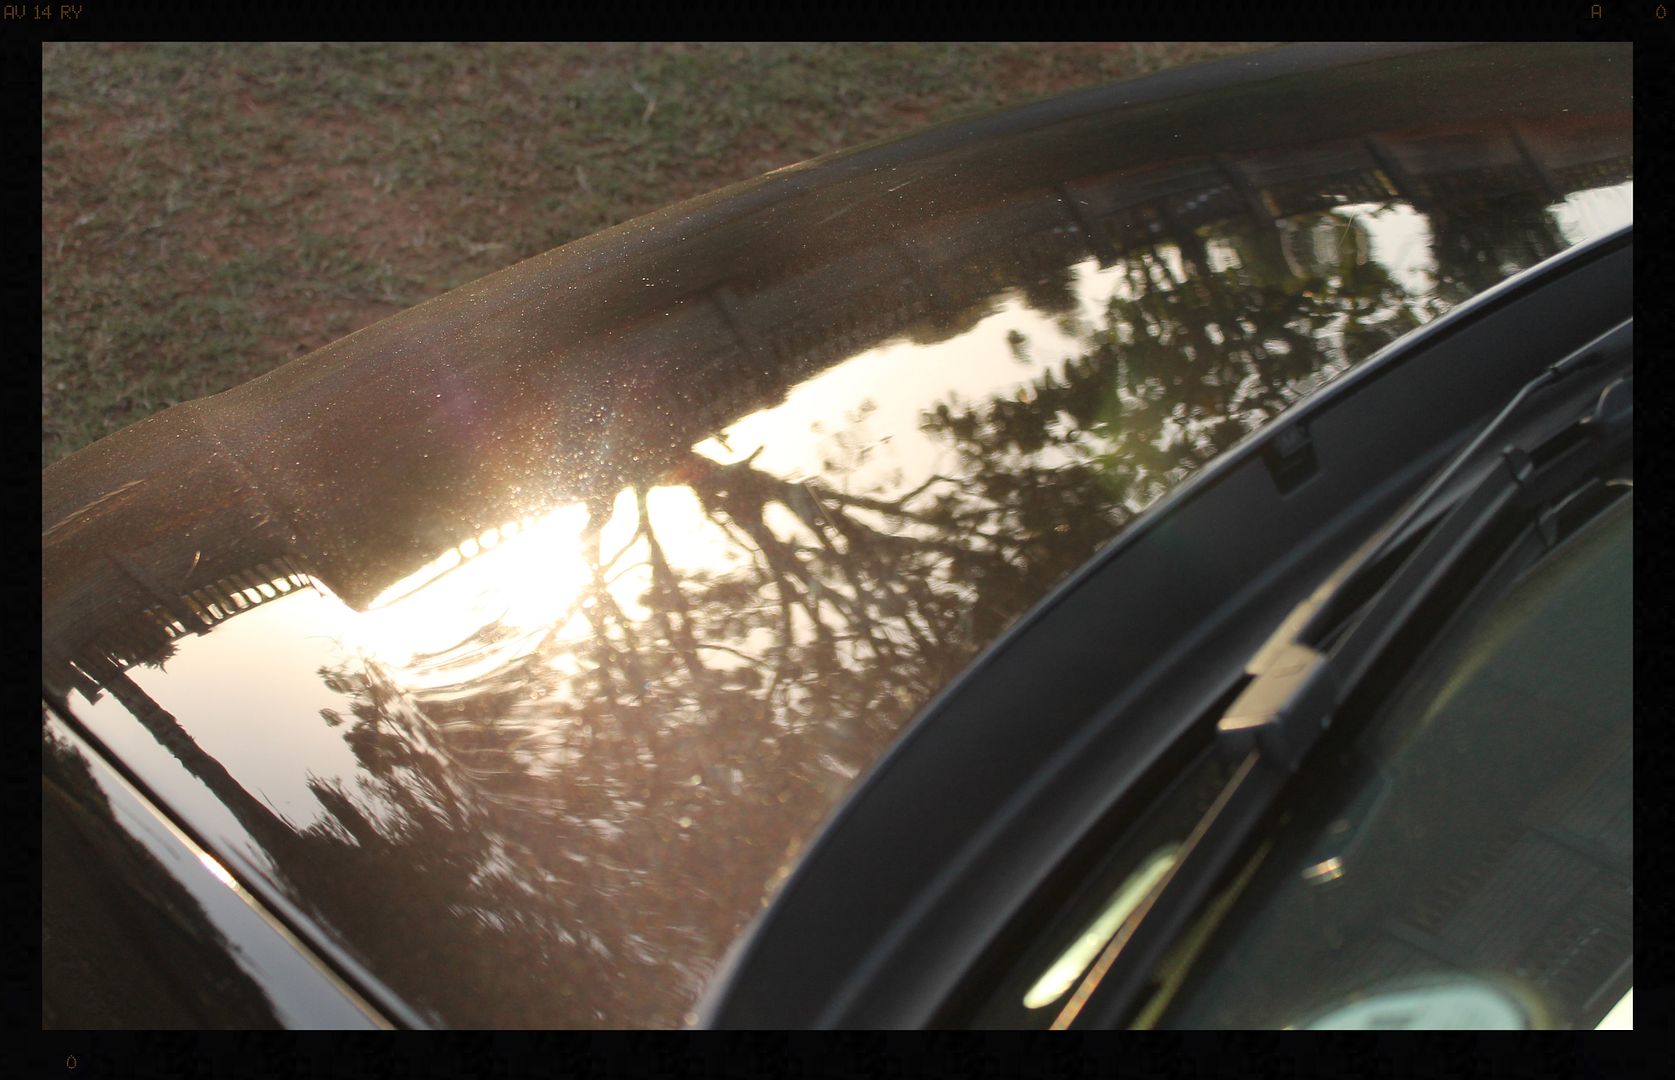
And how hammered the paint was - swirls, horrendous buffer trails, some bird dropping etching and plenty of RIDS cry:

Even the plastic brake light had oxidised quite badly.
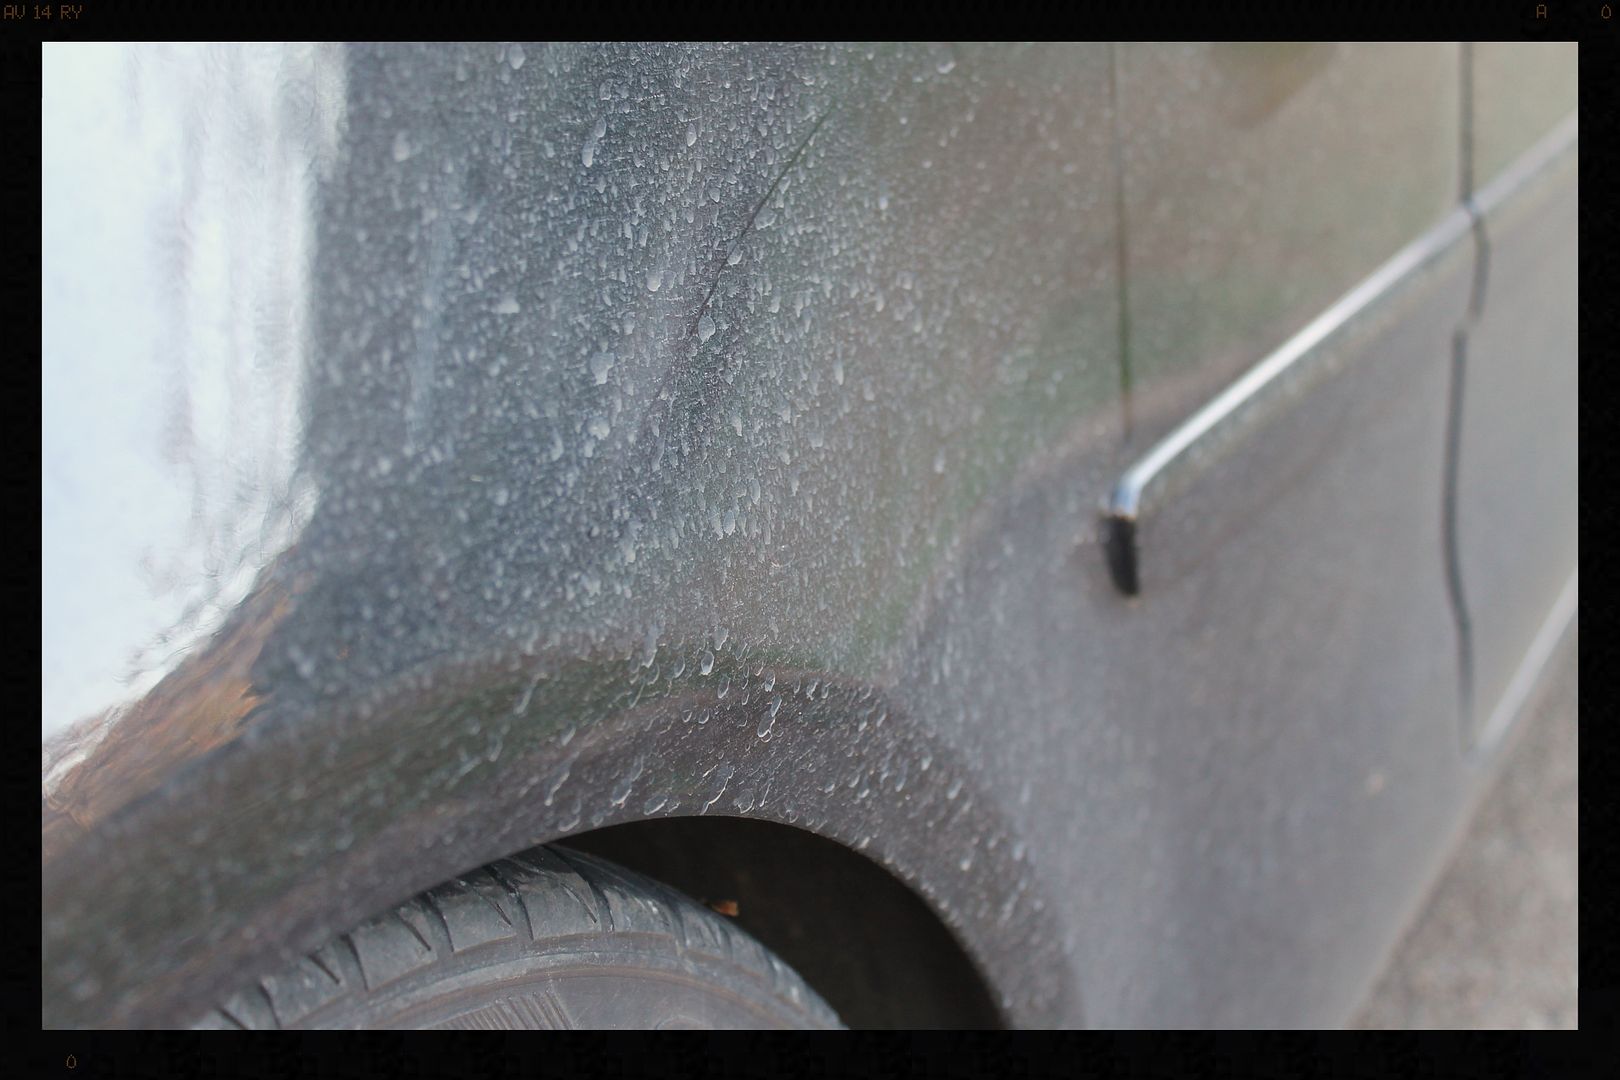
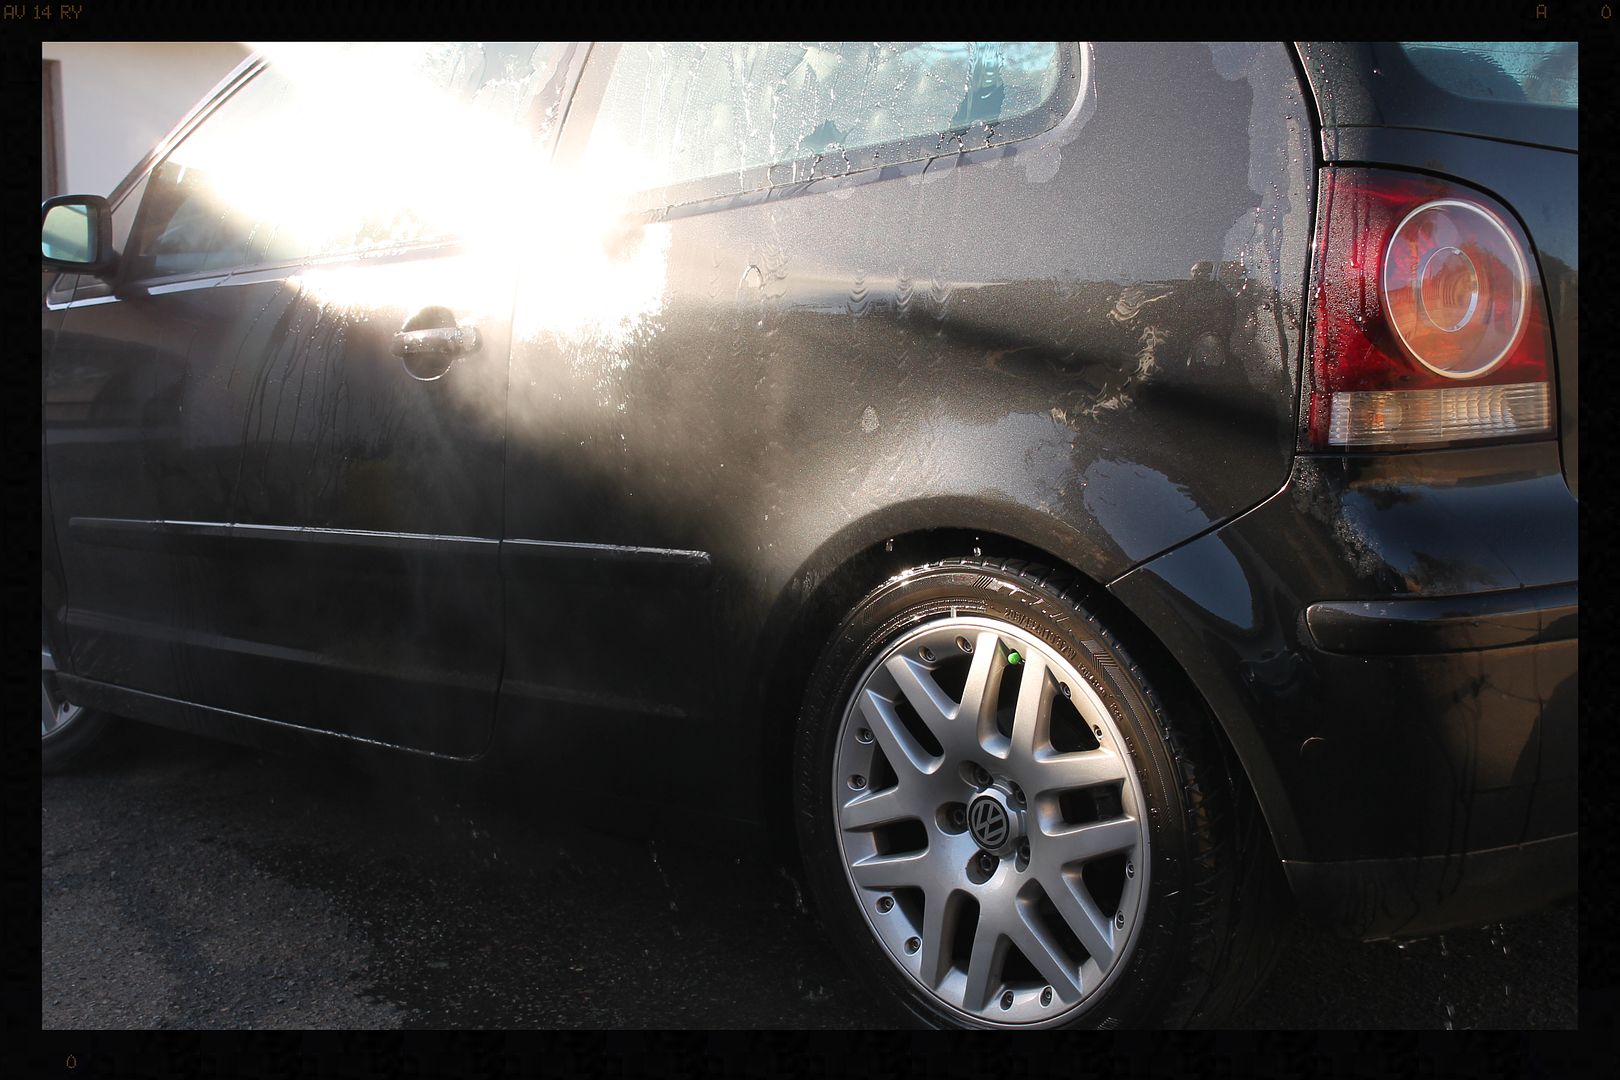
Given it was to be a really hot day, I decided to wash the car first before the wheels, so that I would not be washing in the mid-day sun, and could avoid any water spotting.
A thorough rinsing with the HP washer would ensure as much of the surface dirt could be removed off the car before touching it. Notice the water behavior on the paint.
The I hit it with some Chemical Guys Maxi Suds II via the foam cannon, let it dwell for a couple of minutes and HP rinsed it off again.
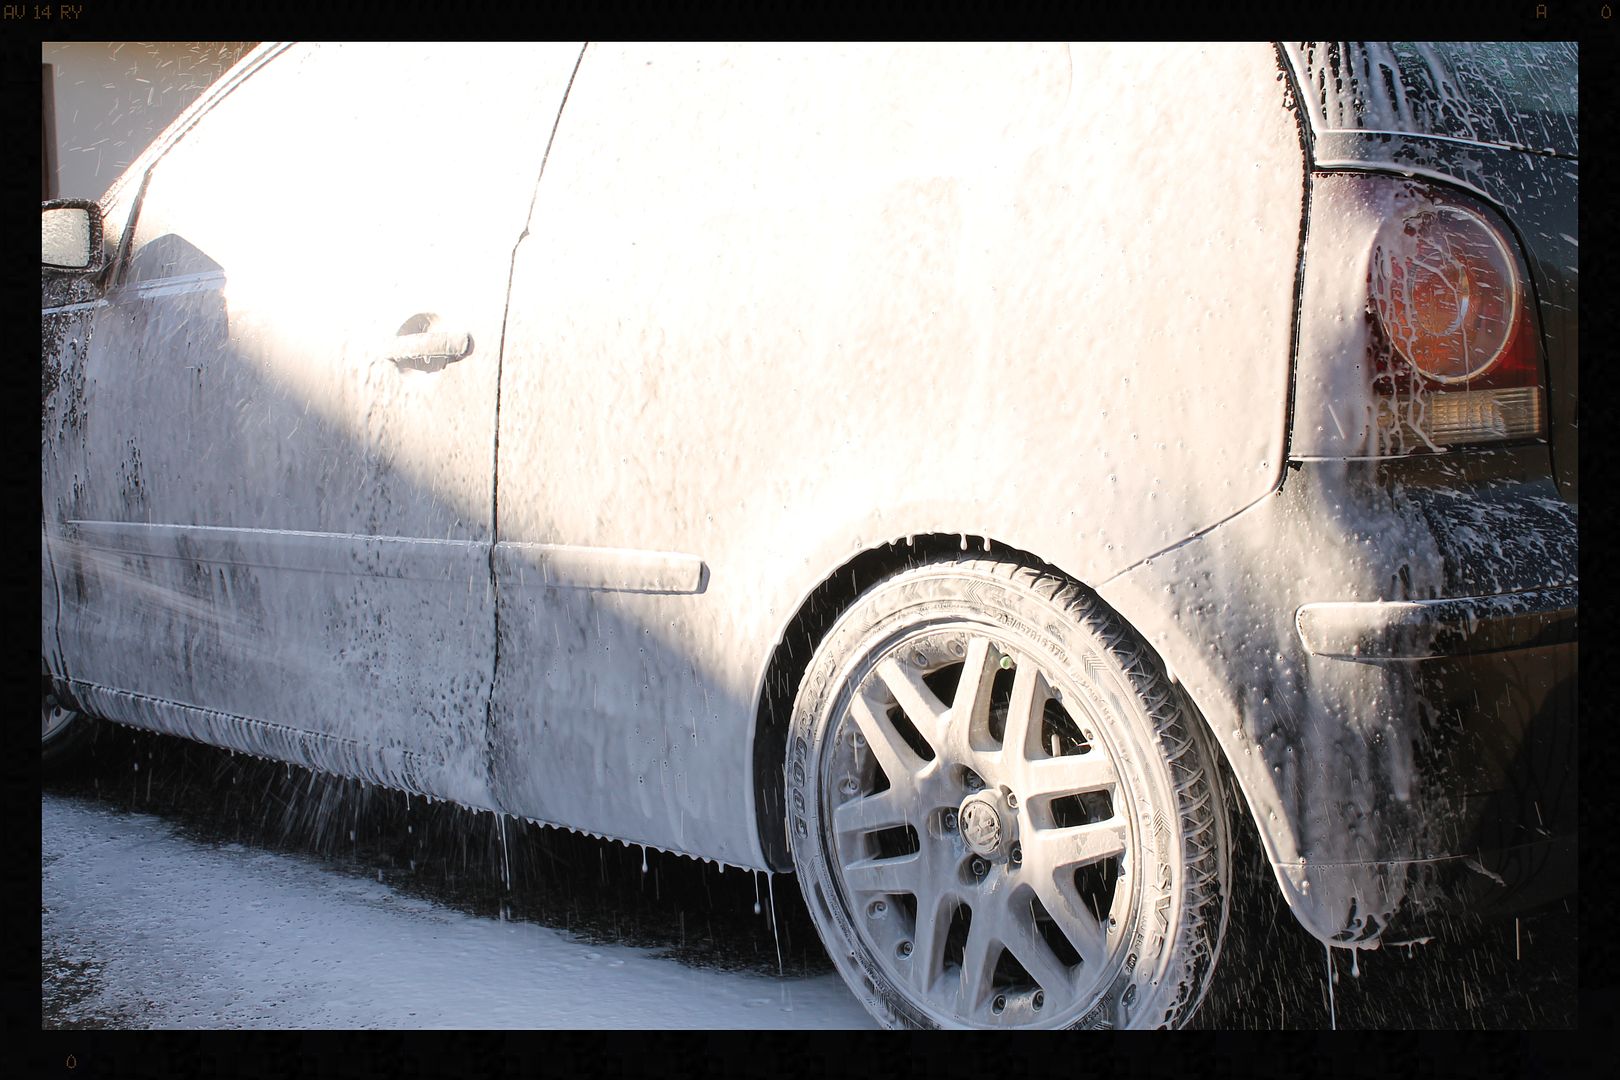
This was followed by a 2BM wash with Lambswool wash mitts and Autofinesse Lather Shampoo.
The engine bay was given a quick clean
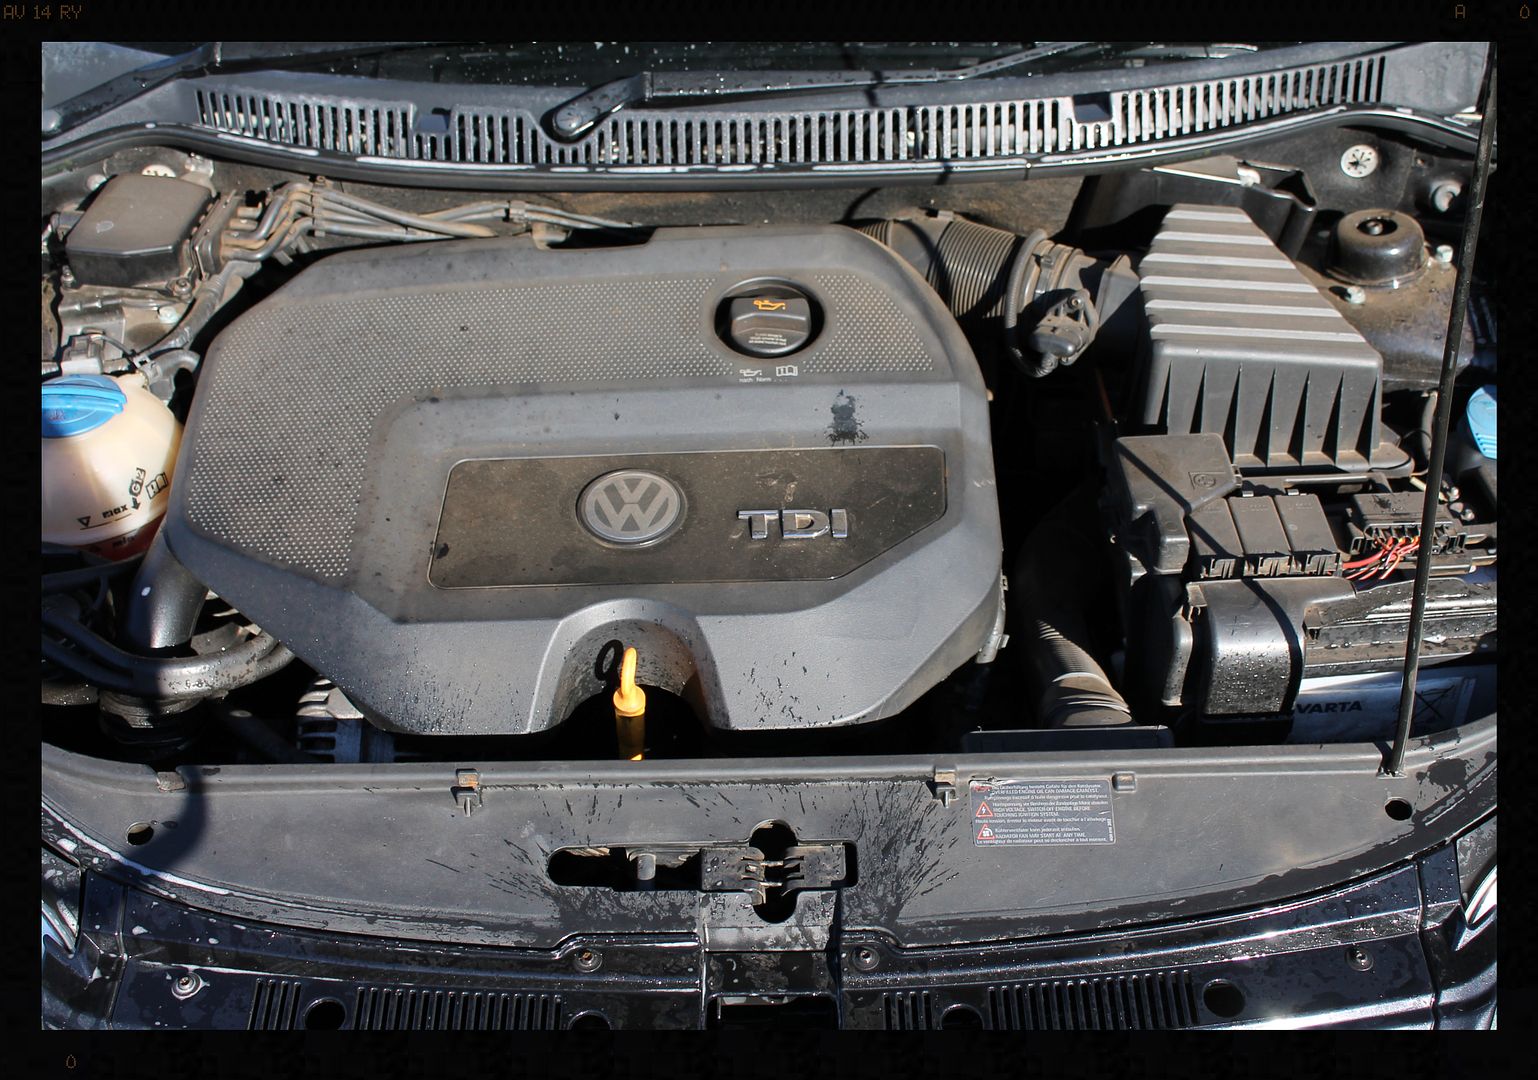
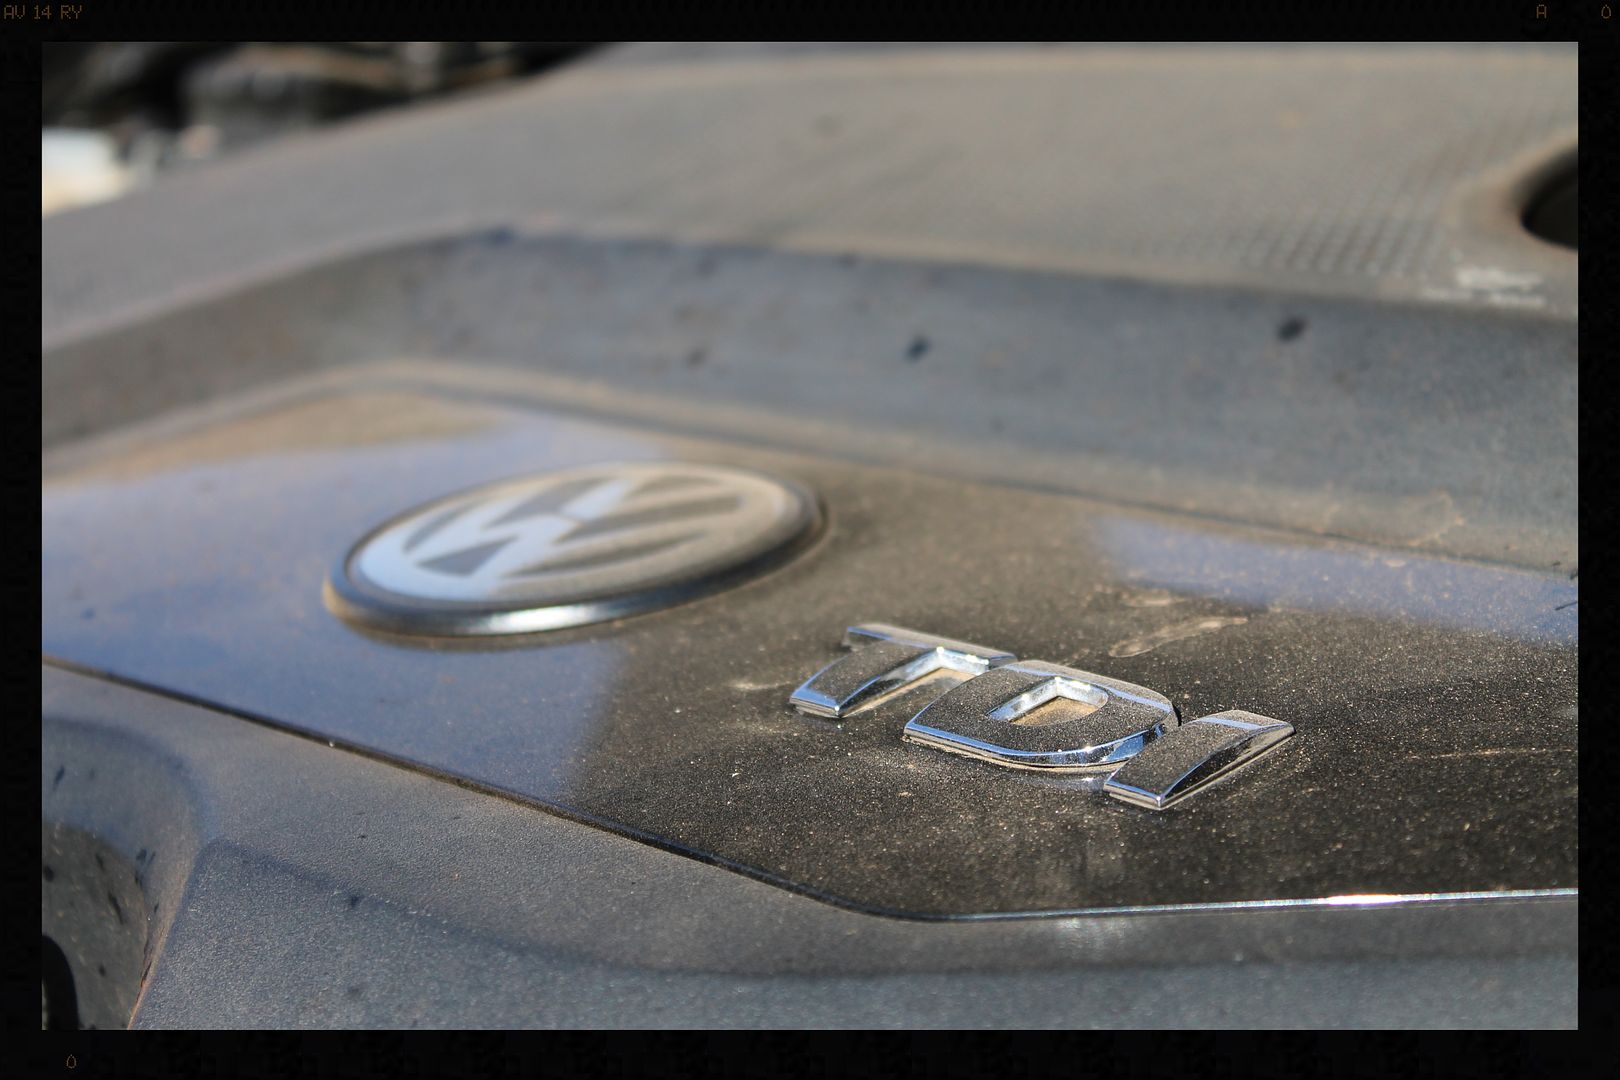
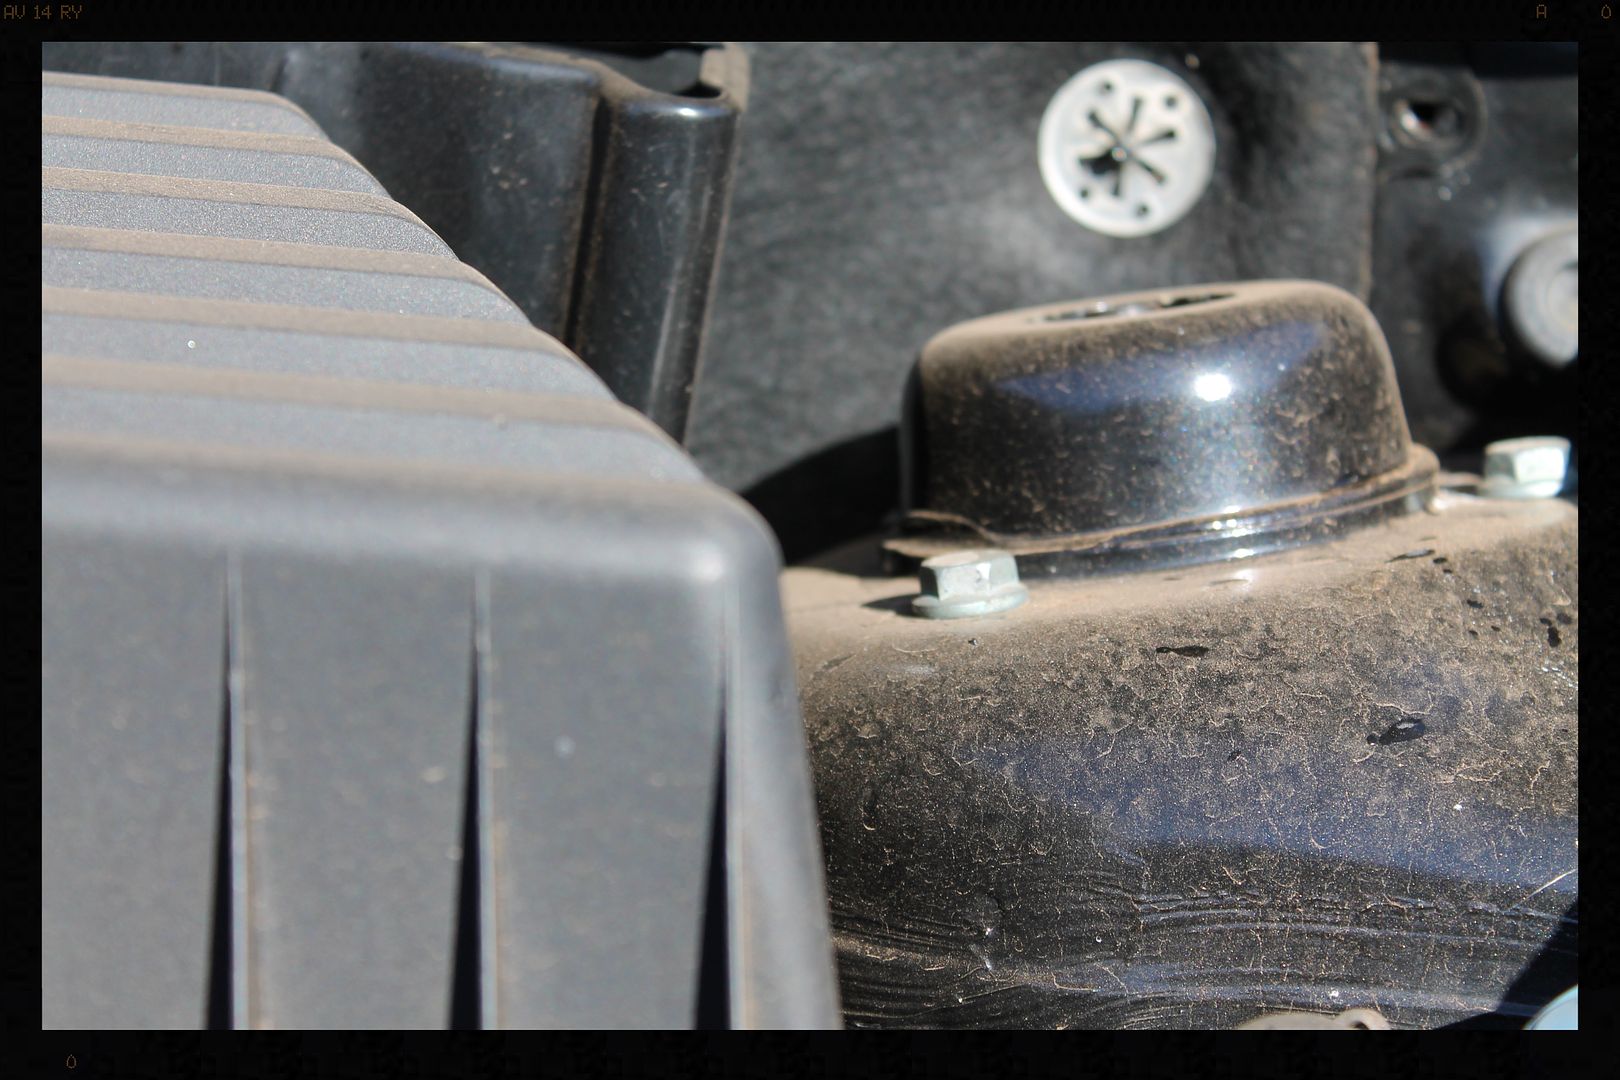
And would eventually look like this
l]
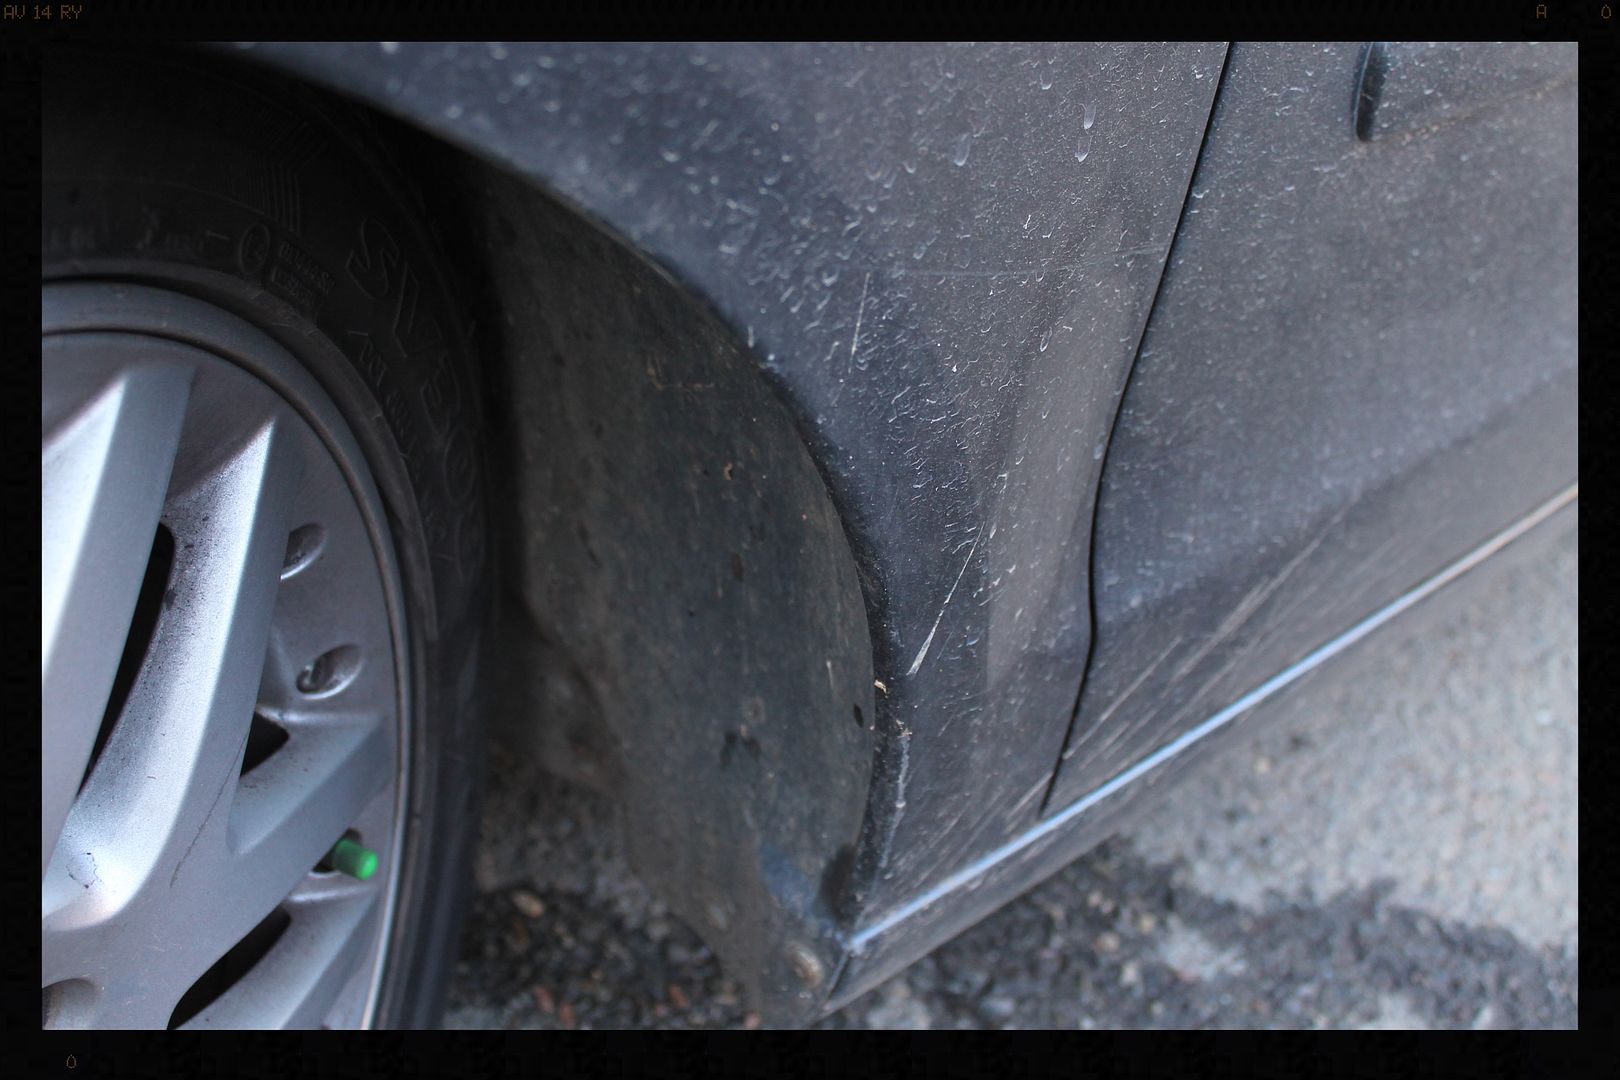
Next the tar was removed from the lower half of the car using Valet Pro Citrus Tar Remover.
I then liberally applied Valet Pro Dragon's Breath to the entire vehicle allowing it to dwell for around 8 minutes. I then re-foamed it using Chemical Guys Maxi Suds II allowing the iron remover to stay wet as long as I could, to extend the working time.
The car was then thoroughly rinsed and dried and I got started on the arches, tires and wheels.
The arches were cleaned using Cyclo CM30 APC and a Mothers Fender Well Brush and HP rinsed. I then moved onto the tires - this was the initial result of spraying some Meguiars All Wheel and Tire Cleaner, with no agitation
They needed to be cleaned 4 times (obviously using a brush [Mothers Tire Brush] to scrub them clean) before the brown muck stopped coming off the tire.
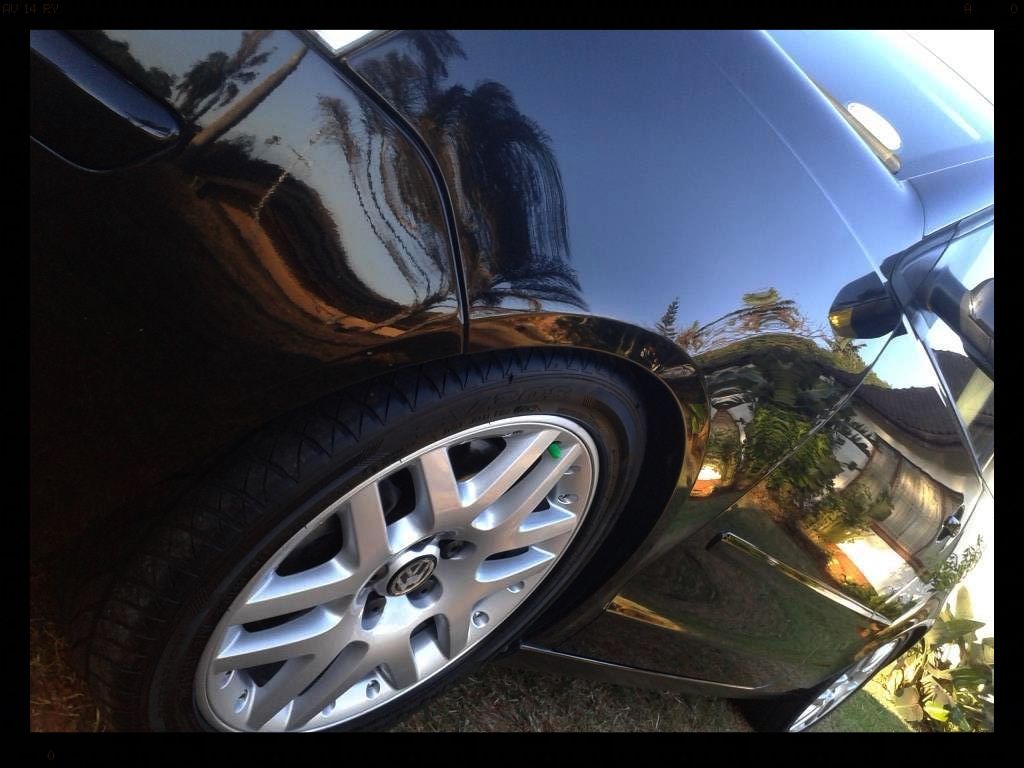
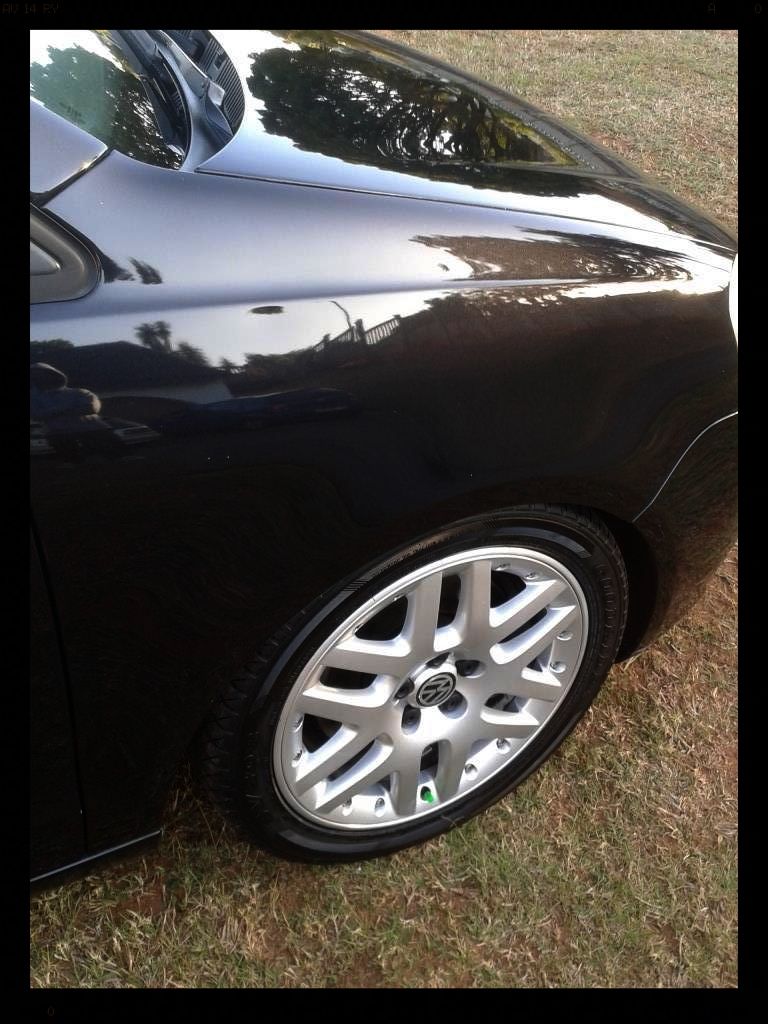
The wheels didn't fair much better. In the process of cleaning the tires 4 times, there was obviously some over-spray onto the wheels, and I used this to clean them, so with most of the surface dirt gone, I switched to Valet Pro Dragon's Breath to start working on the stubborn dirt. I doubt these wheels had ever been properly cleaned as it took 2 hits with the iron remover, and a 3rd focussed on the wheel bolts to remove all the embedded crud. The wheels would later be sealed with Menzerna Powerlock, leaving them looking like this.
Once back in the garage the rest of the contamination was clayed off and I then took some paint measurements, which indicated some re-painted sections with readings ranging from 148μ to 270μ, the OEM painted sections averaging around 120μ except from the driver front fender which ranged from 75μ to 98μ
I then conducted a few test spots and settled on Menzerna FG400 on a LC Hydrotech Cyan pad for the initial cut. The intention was not to create perfect paint, but rather to get almost all the defects out, allowing the owner some paint on which to perfect his washing and drying techniques (we identified some opportunities for improvement during our Friday night chat).
Some of the bird dropping etching
This would be followed by Menzerna SF4000 on a LC Hydrotech Crimson Pad to really bring out the gloss in the paint, and a coat of Soft 99 Fusso Coat (Dark) was applied for protection.
The door rubbers, exterior window rubbers and plastics were cleaned and protected using Shield Heavy Duty Rubber Cleaner and Smartwax Smartdressing. The outside glass was cleaned using Glossworx Glass Cleaner and the door and boot shut, and under the bonnet were all tidied up and protected using Autofinesse Tripple.
The headlights were polished using Menzerna PF2500 on a LC CCS 4" white pad and sealed using Menzerna Powerlock. The tailights were polished using Menzerna FG400 on a LC CCS 4" orange pad followed by Menzerna SF4000 on a LC CCS 4" grey pad.
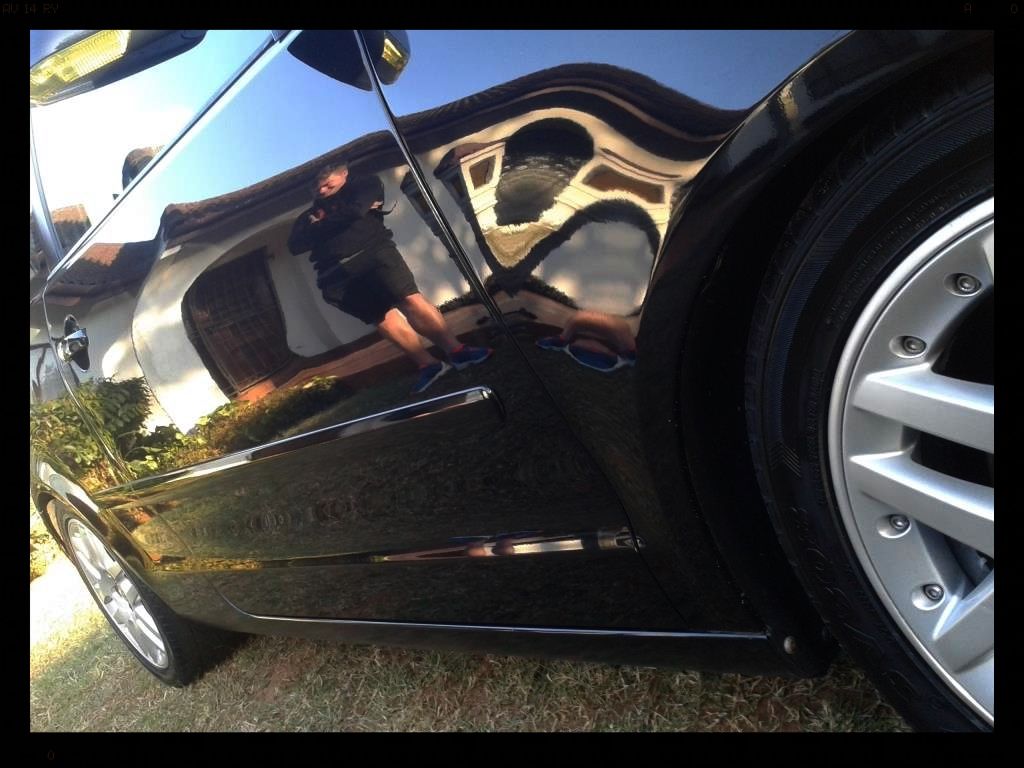
I only manged to grab a few quick pics before the sun completely disappeared and the owner left.
The owner deep in reflection :lol:
Total time spent = 34 hours.
Thanks for looking and as always and comments or questions are welcome.
:hi:
So I cleaned a small section of the the top corner of the passenger side of the bonnet, laid down a piece of tape, and applied a small bit of Poorboy’s World Black Hole Show Glaze for Dark Vehicles to it. The next morning this is what it looked like.
Right, so onto the detail itself.
The previous owner was into horse riding and so the interior needed a lot of work. The car was blown out with compressed air then vacuumed. All the plastics, dash and leather were cleaned using Cyclo CM30 APC @ 1:8 with various brushes and then wiped down using damp MF towels, then dressed using Autofinesse Spritz and the interior glass was cleaned using Glossworx Glass Cleaner.
No before pics, just this one after shot
Onto the car itself.
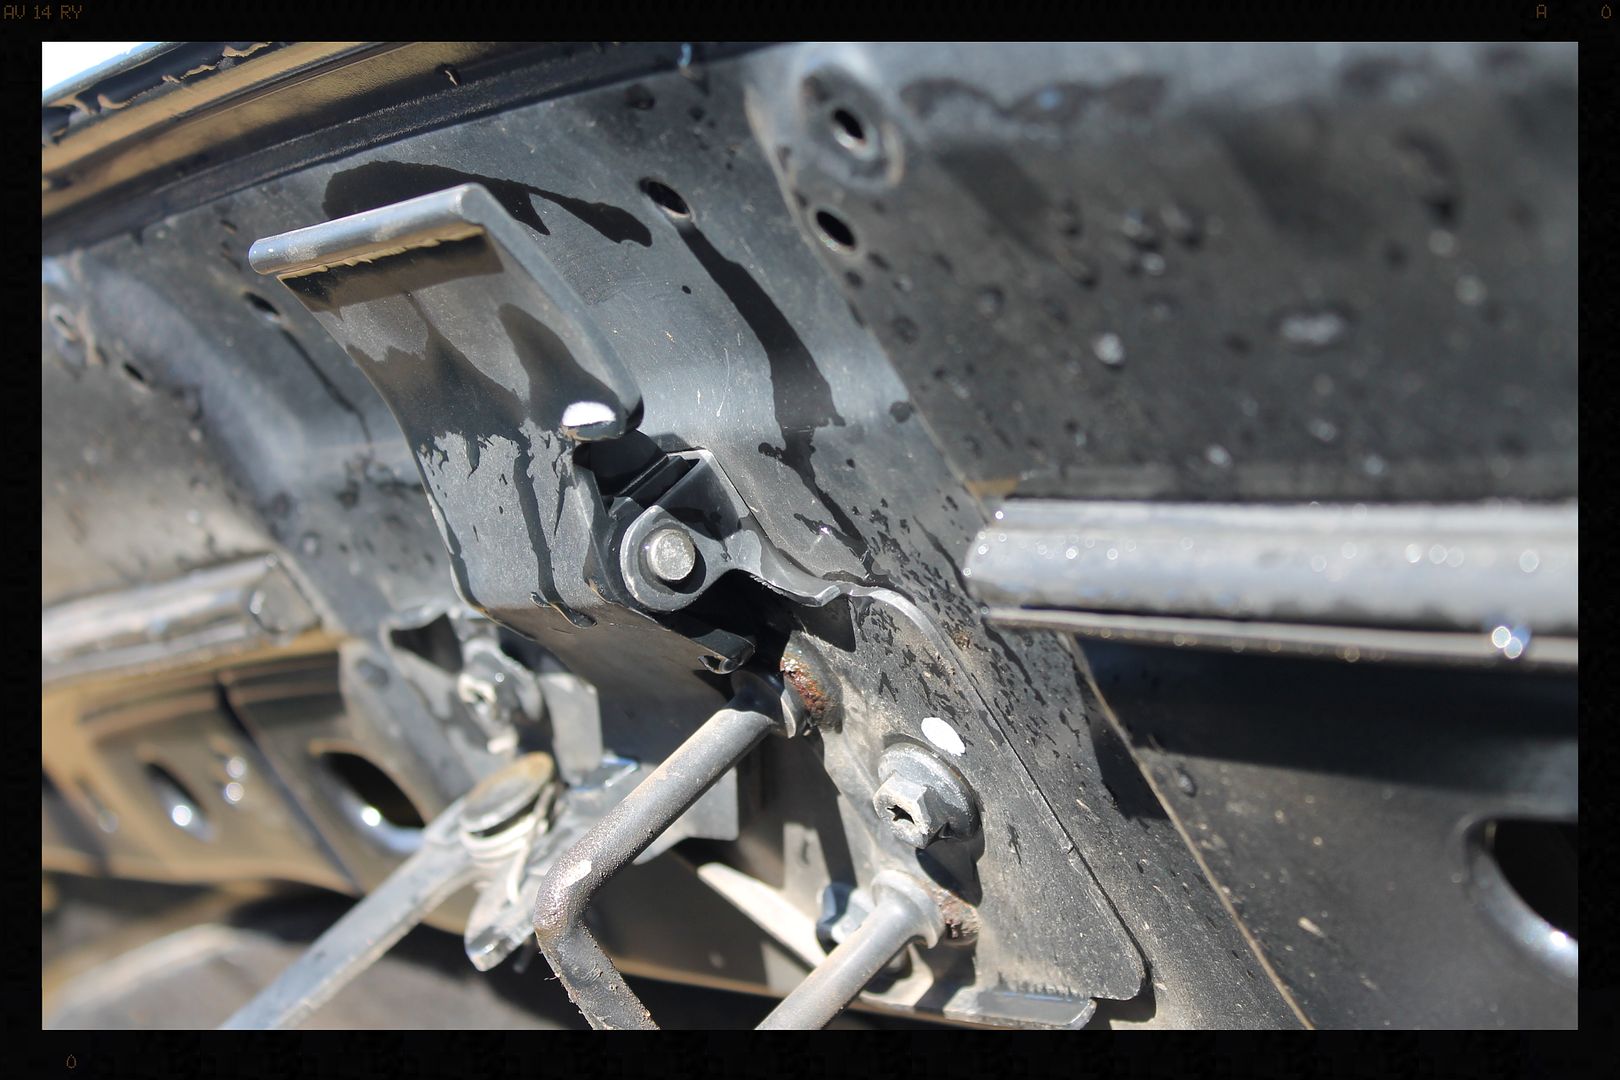
First I took off the lug nut covers using the supplied tool from VW so that they could be cleaned and I could get into the lug nuts to clean them properly.
This area is often overlooked during maintenance washes, leading to stubborn dirt build up.
Grabbed some pictures showing how dirty it was
And how hammered the paint was - swirls, horrendous buffer trails, some bird dropping etching and plenty of RIDS cry:
Even the plastic brake light had oxidised quite badly.
Given it was to be a really hot day, I decided to wash the car first before the wheels, so that I would not be washing in the mid-day sun, and could avoid any water spotting.
A thorough rinsing with the HP washer would ensure as much of the surface dirt could be removed off the car before touching it. Notice the water behavior on the paint.
The I hit it with some Chemical Guys Maxi Suds II via the foam cannon, let it dwell for a couple of minutes and HP rinsed it off again.
This was followed by a 2BM wash with Lambswool wash mitts and Autofinesse Lather Shampoo.
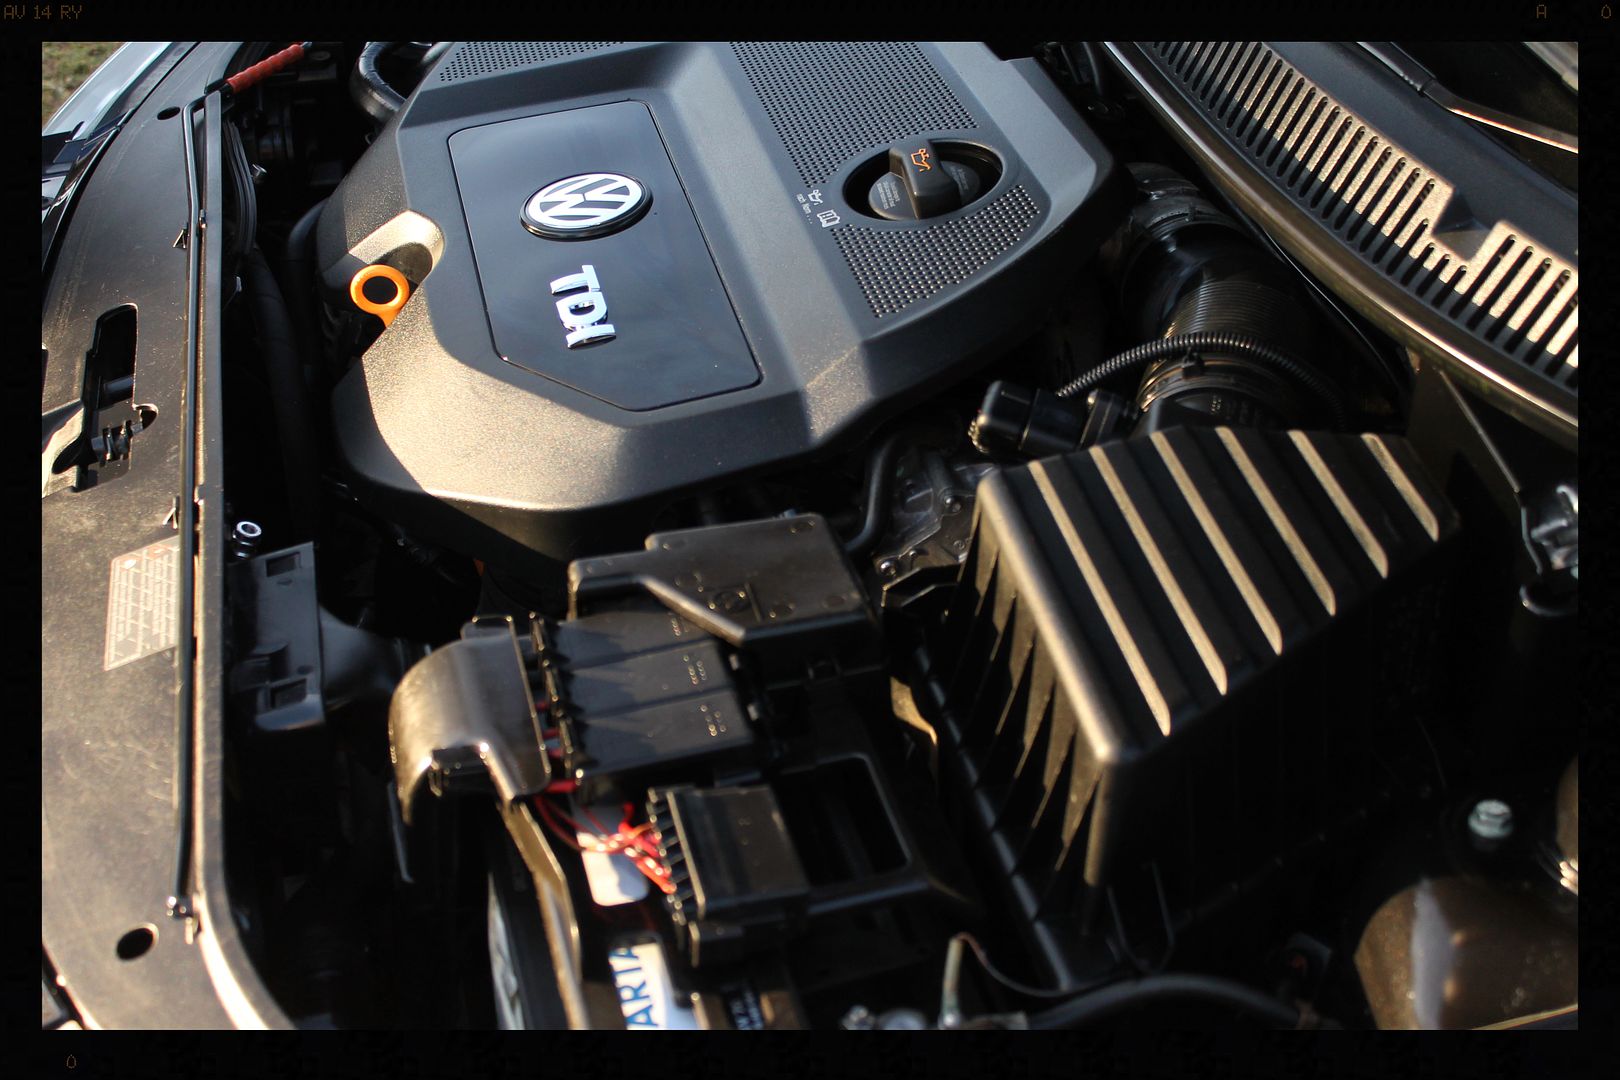
The engine bay was given a quick clean
And would eventually look like this
l]
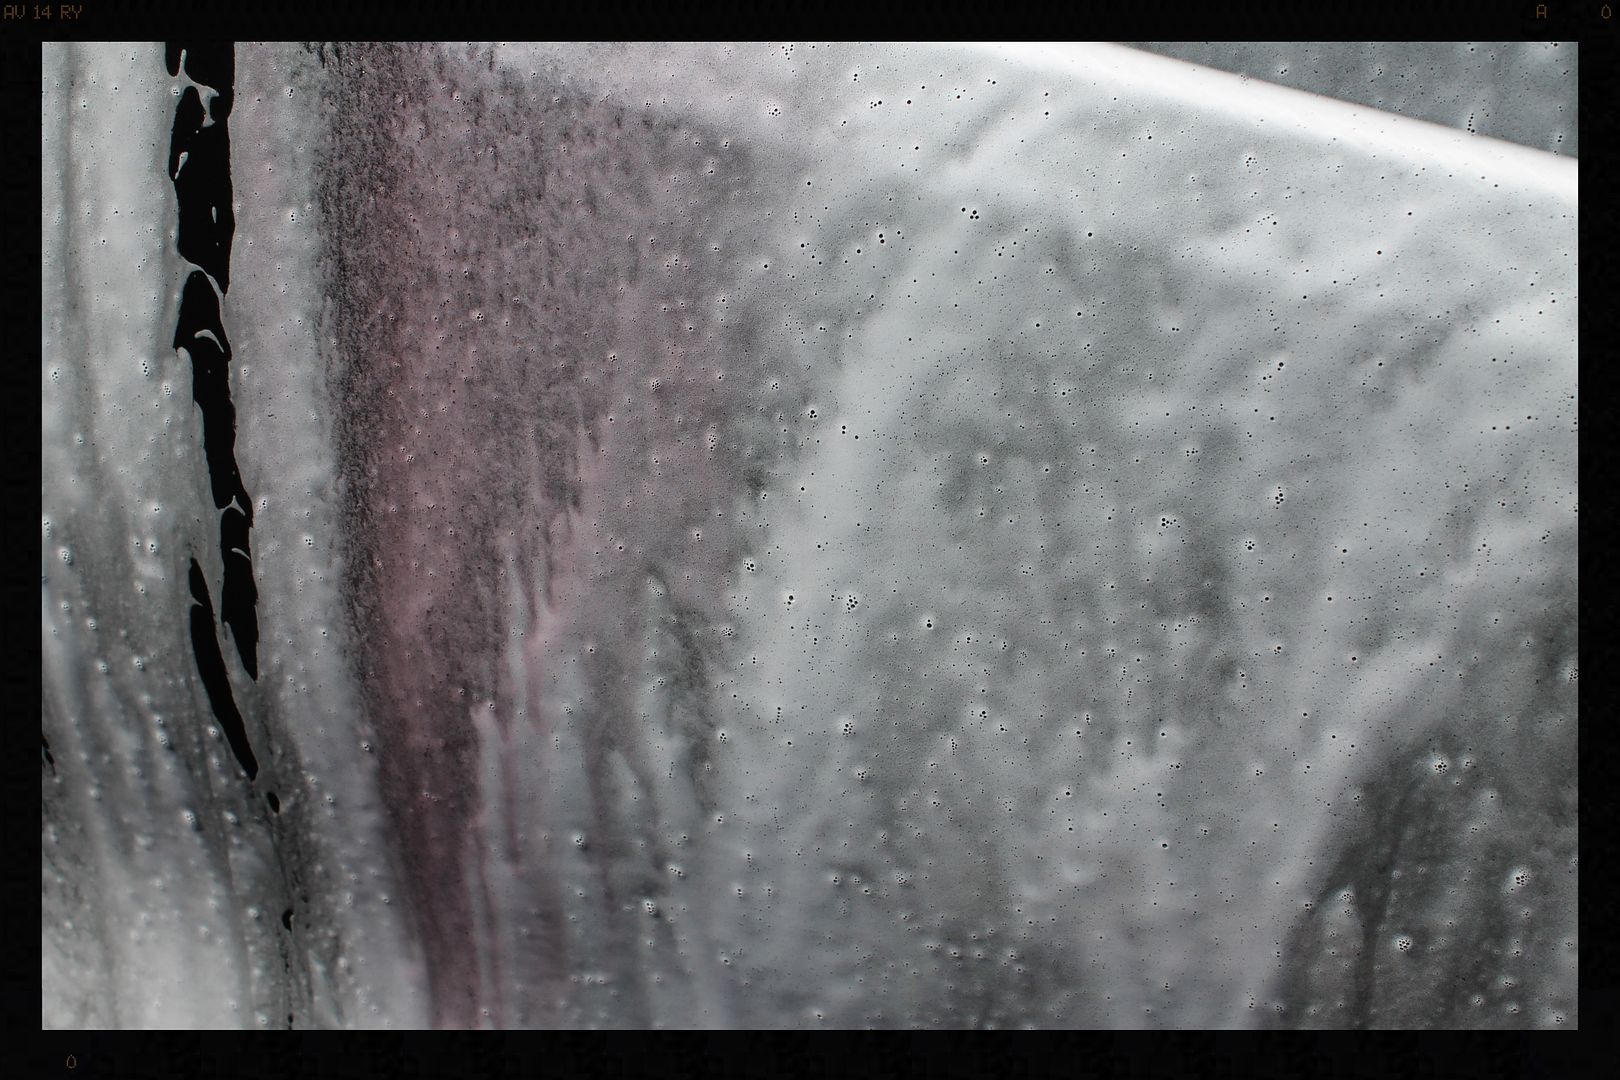
Next the tar was removed from the lower half of the car using Valet Pro Citrus Tar Remover.
I then liberally applied Valet Pro Dragon's Breath to the entire vehicle allowing it to dwell for around 8 minutes. I then re-foamed it using Chemical Guys Maxi Suds II allowing the iron remover to stay wet as long as I could, to extend the working time.
The car was then thoroughly rinsed and dried and I got started on the arches, tires and wheels.
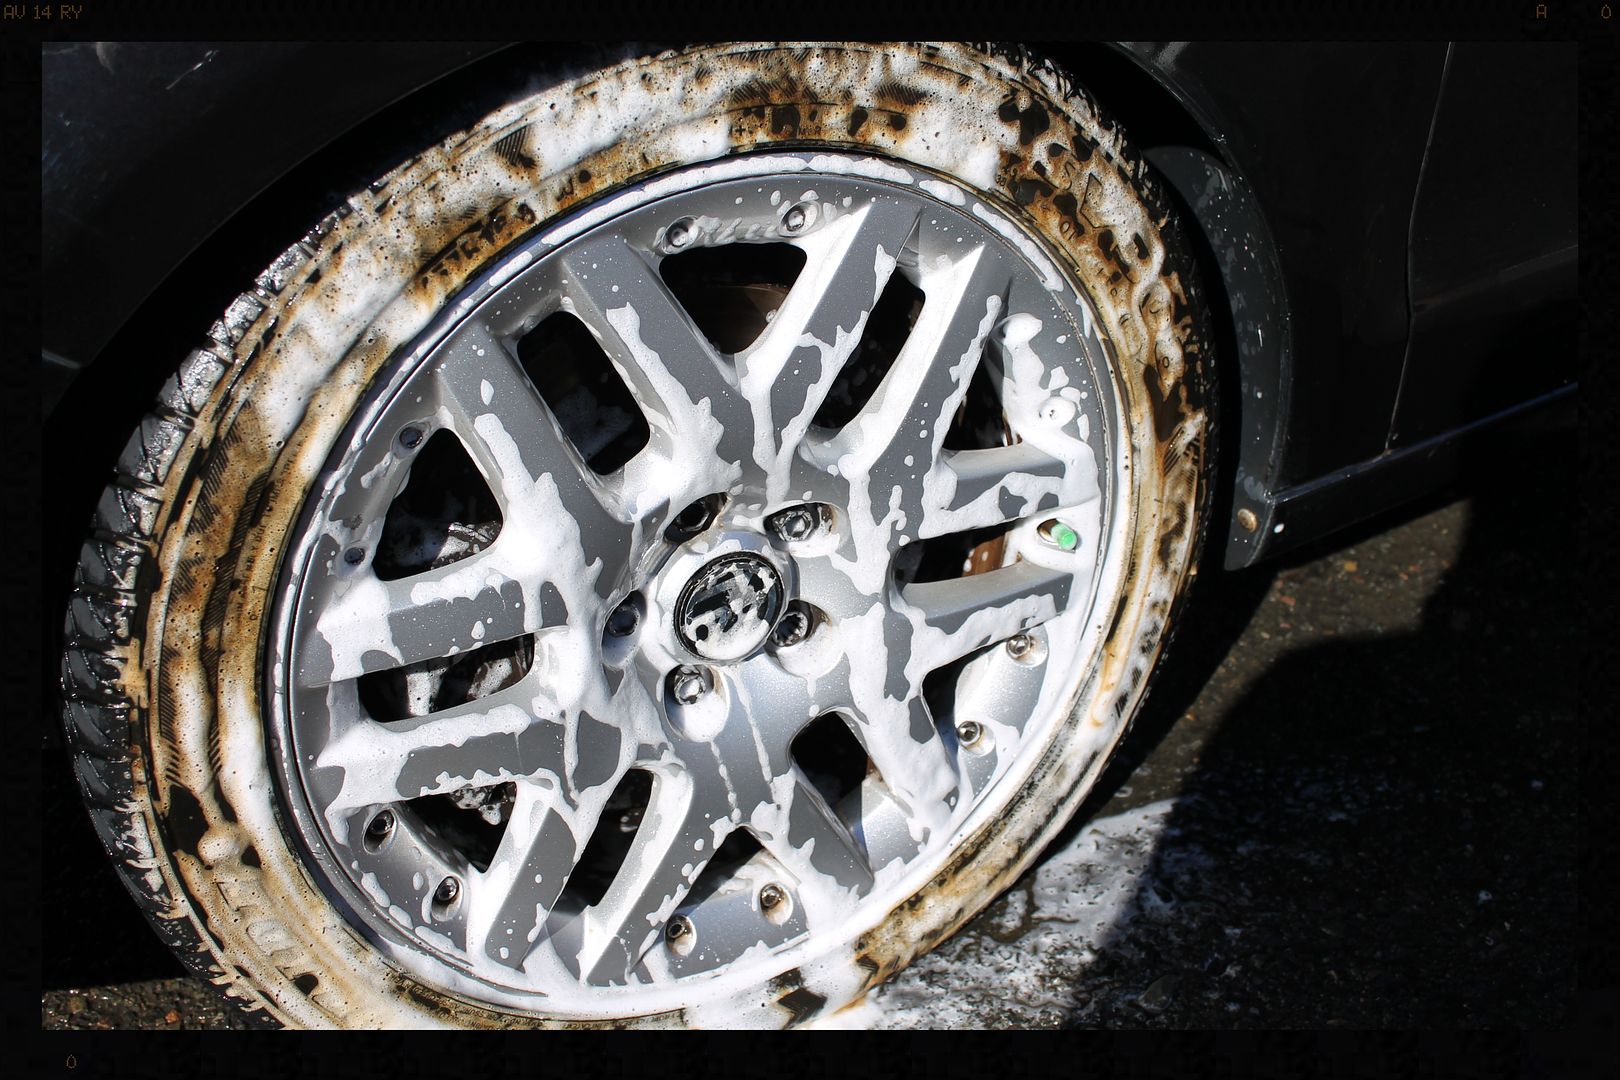
The arches were cleaned using Cyclo CM30 APC and a Mothers Fender Well Brush and HP rinsed. I then moved onto the tires - this was the initial result of spraying some Meguiars All Wheel and Tire Cleaner, with no agitation
They needed to be cleaned 4 times (obviously using a brush [Mothers Tire Brush] to scrub them clean) before the brown muck stopped coming off the tire.
The wheels didn't fair much better. In the process of cleaning the tires 4 times, there was obviously some over-spray onto the wheels, and I used this to clean them, so with most of the surface dirt gone, I switched to Valet Pro Dragon's Breath to start working on the stubborn dirt. I doubt these wheels had ever been properly cleaned as it took 2 hits with the iron remover, and a 3rd focussed on the wheel bolts to remove all the embedded crud. The wheels would later be sealed with Menzerna Powerlock, leaving them looking like this.
Once back in the garage the rest of the contamination was clayed off and I then took some paint measurements, which indicated some re-painted sections with readings ranging from 148μ to 270μ, the OEM painted sections averaging around 120μ except from the driver front fender which ranged from 75μ to 98μ
I then conducted a few test spots and settled on Menzerna FG400 on a LC Hydrotech Cyan pad for the initial cut. The intention was not to create perfect paint, but rather to get almost all the defects out, allowing the owner some paint on which to perfect his washing and drying techniques (we identified some opportunities for improvement during our Friday night chat).
Some of the bird dropping etching
This would be followed by Menzerna SF4000 on a LC Hydrotech Crimson Pad to really bring out the gloss in the paint, and a coat of Soft 99 Fusso Coat (Dark) was applied for protection.
The door rubbers, exterior window rubbers and plastics were cleaned and protected using Shield Heavy Duty Rubber Cleaner and Smartwax Smartdressing. The outside glass was cleaned using Glossworx Glass Cleaner and the door and boot shut, and under the bonnet were all tidied up and protected using Autofinesse Tripple.
The headlights were polished using Menzerna PF2500 on a LC CCS 4" white pad and sealed using Menzerna Powerlock. The tailights were polished using Menzerna FG400 on a LC CCS 4" orange pad followed by Menzerna SF4000 on a LC CCS 4" grey pad.
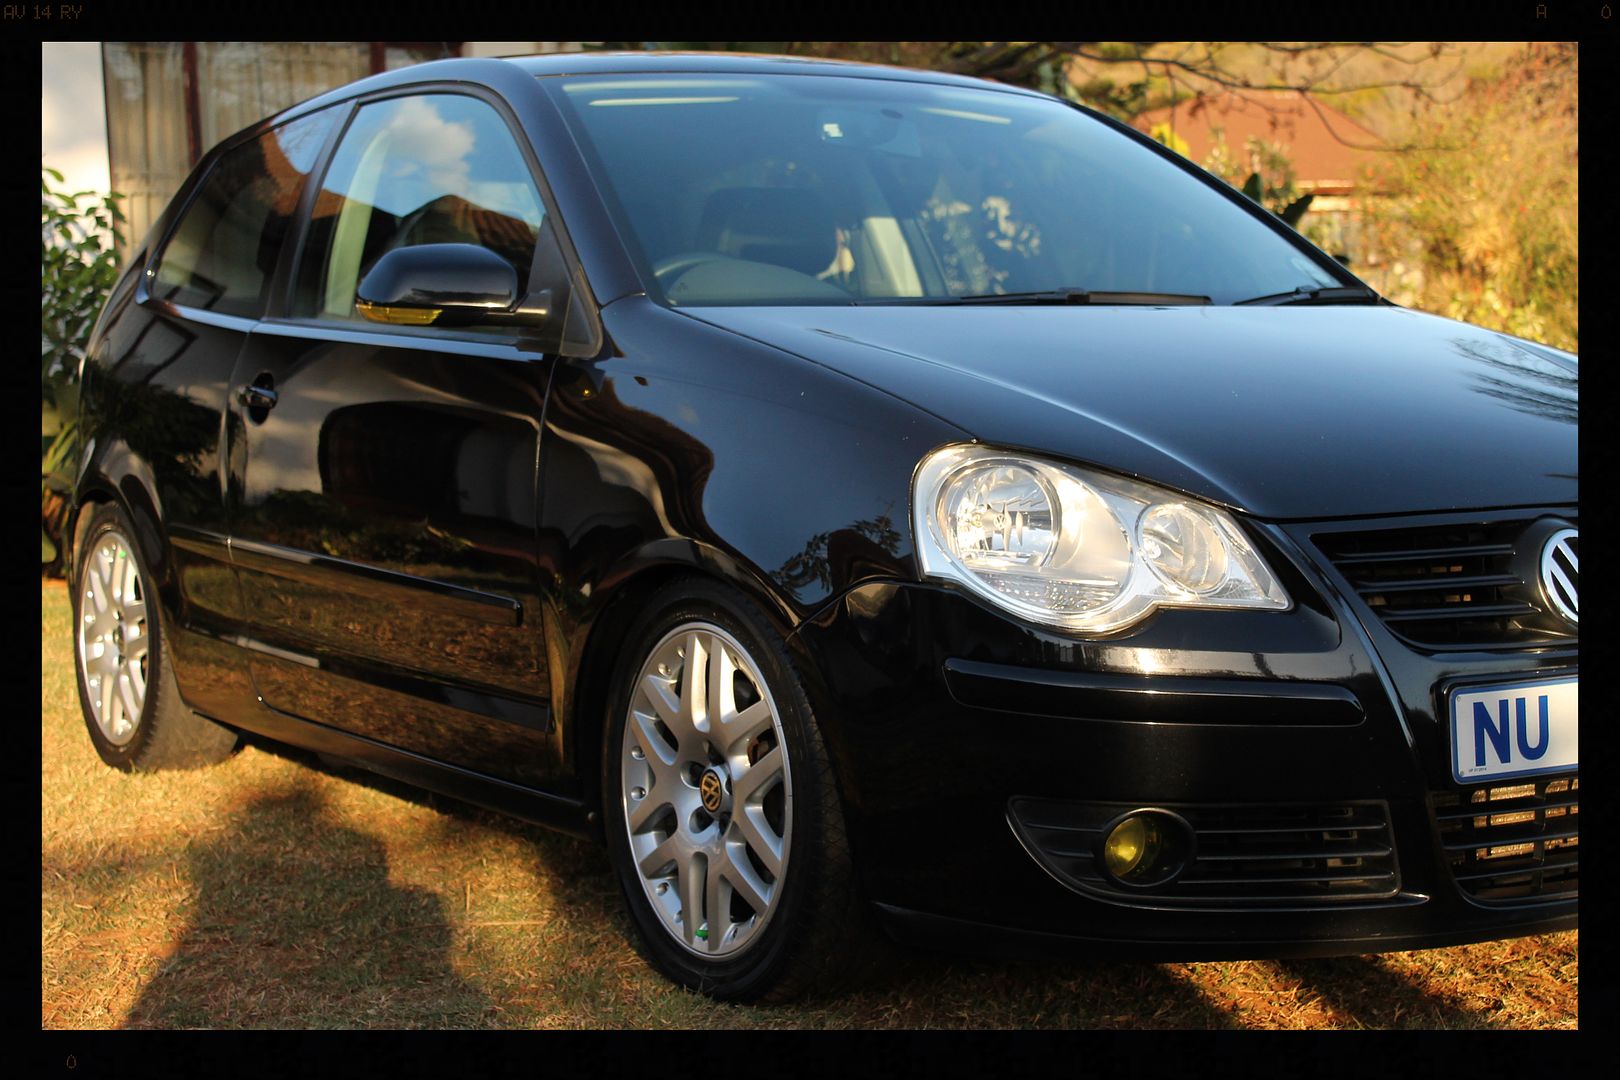
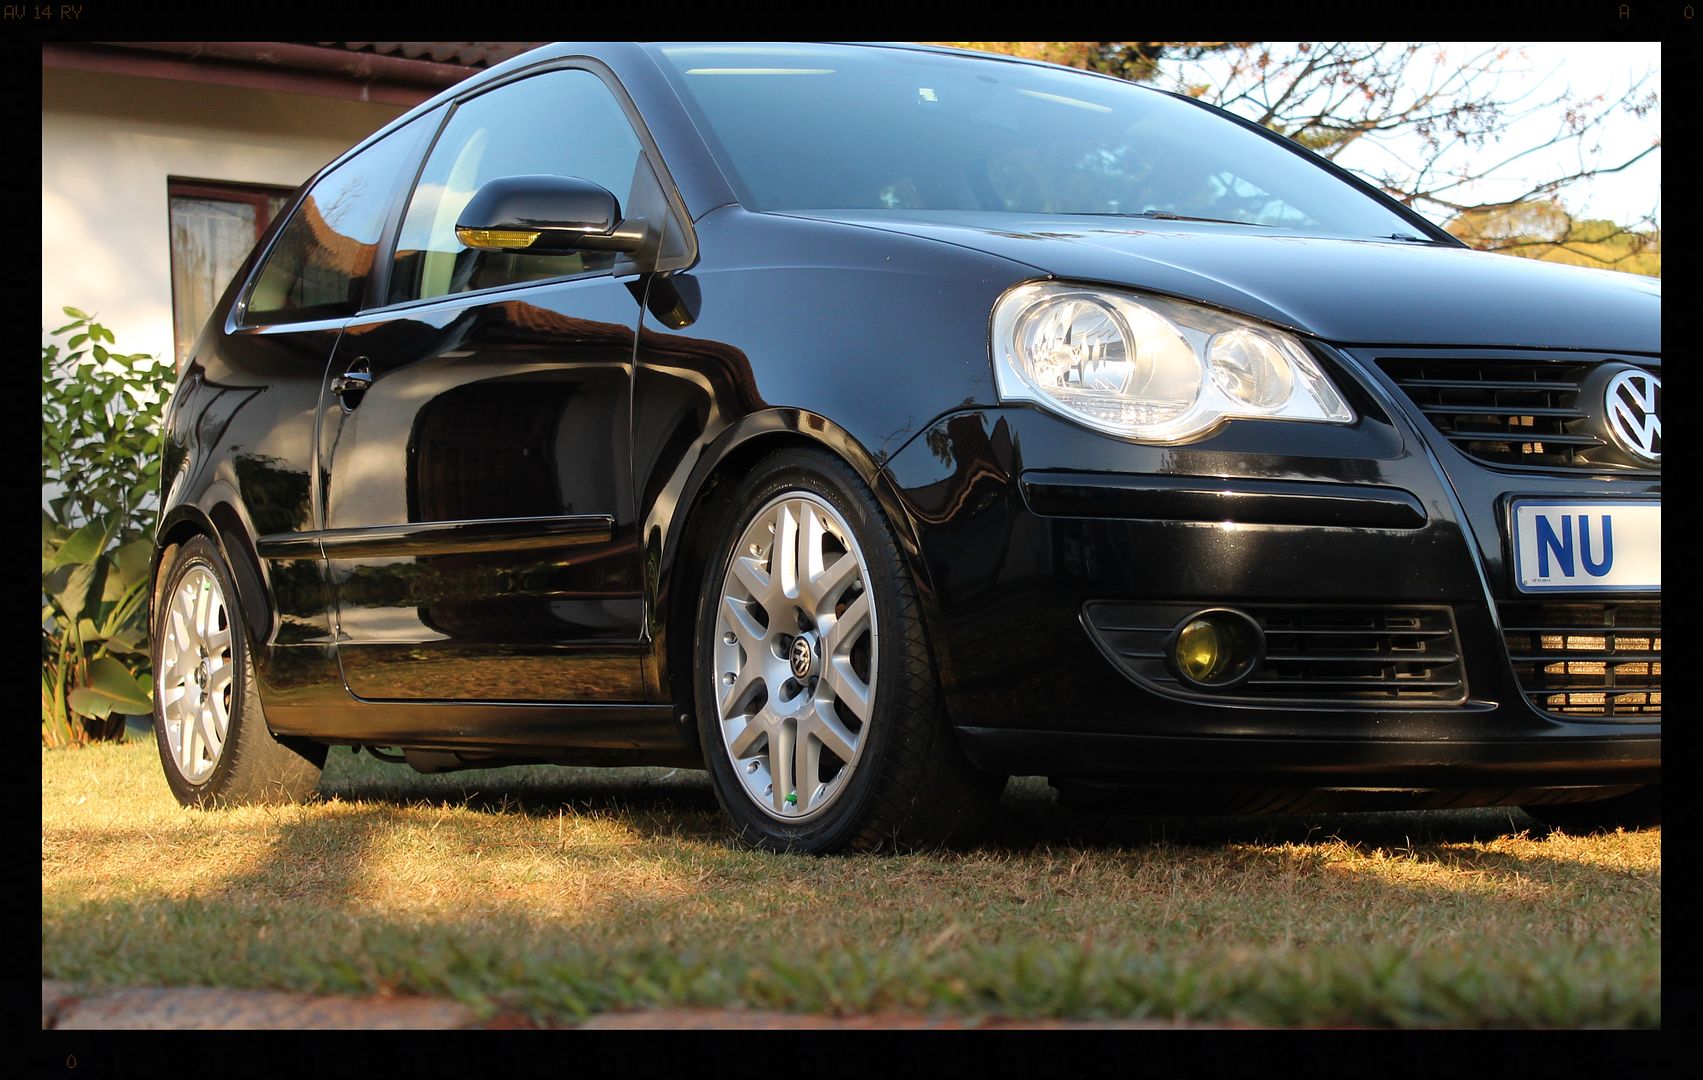
I only manged to grab a few quick pics before the sun completely disappeared and the owner left.
The owner deep in reflection :lol:
Total time spent = 34 hours.
Thanks for looking and as always and comments or questions are welcome.
:hi:
")
 rops:
rops: