lawrenceSA
New member
- Feb 7, 2012
- 1,713
- 0
I originally detailed this car at the end of July. The original write up is here ->http://www.autogeekonline.net/forum...an-black-mercedes-c200-detailed-lawrence.html
The long and short of it is the car was being used by someone else who managed to scrape the rear door and quarter panel, and then took it who knows where to have it fixed/repainted, and returned the car figuring it looked good enough nobody would notice :crazy:
Like you wouldn't notice going from this
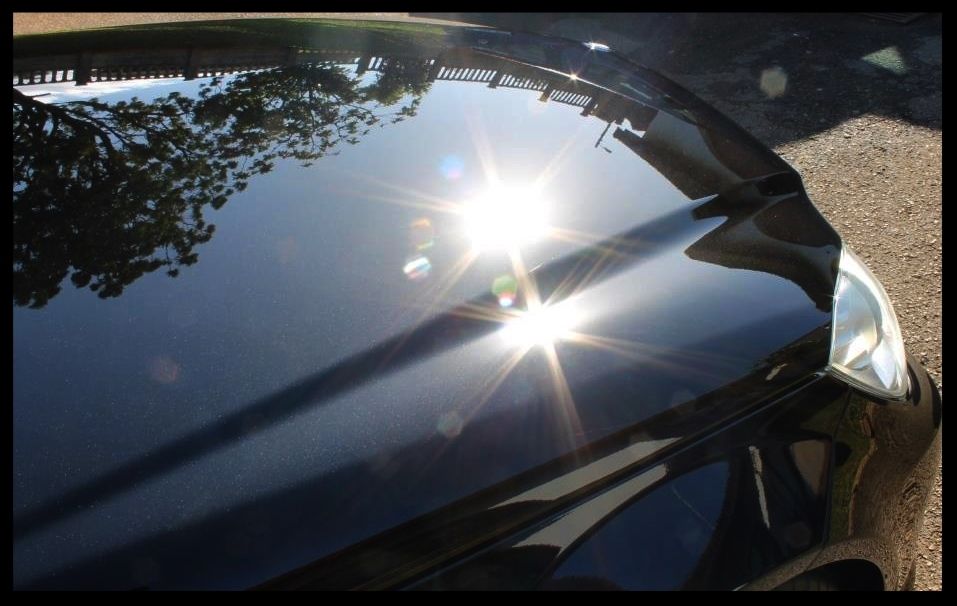
To this...
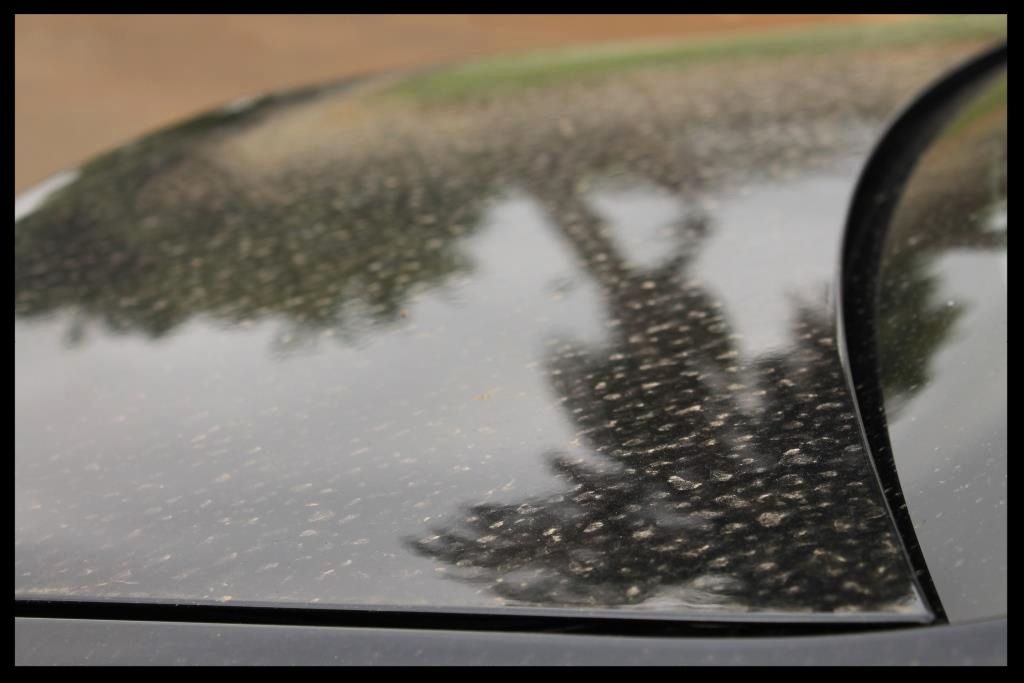
And this

To this
So obviously the owner contacted me to sort it out.
On arrival

The first thing to do was get these cleaned up
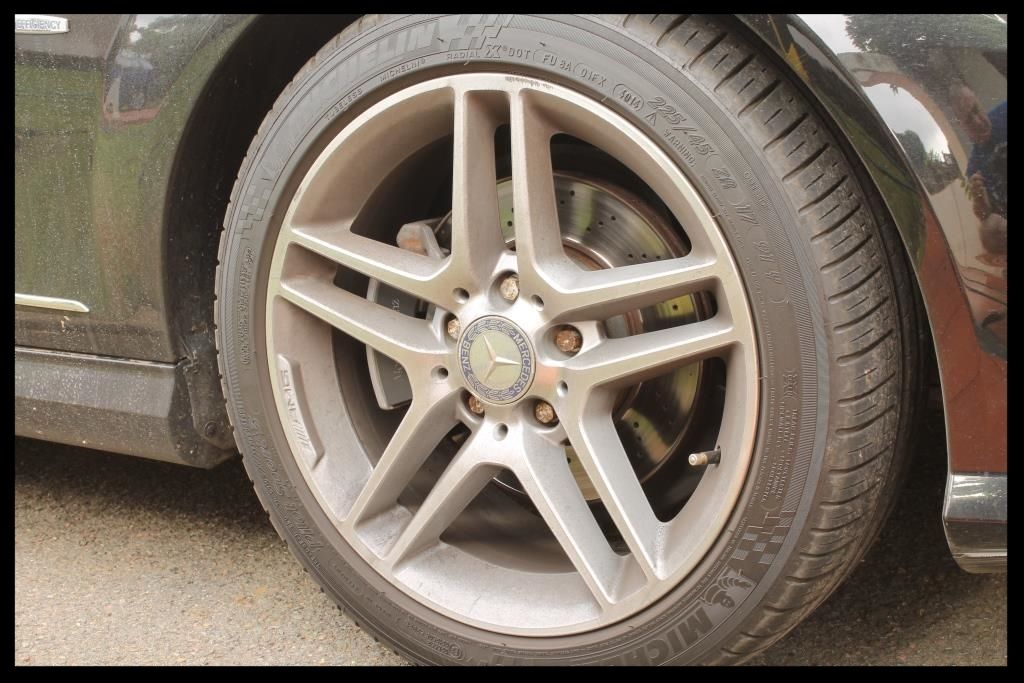
The fender wells were HP rinsed and sprayed with Carchem APC @ 1:5 through a foaming trigger and left to dwell. The tires were then sprayed with Valet Pro Billberry Wheel Cleaner which was left to dwell while I cleaned the fender wells with various brushes. I then scrubbed the tires clean and HP rinsed the fender wells, tires and wheel. Then the tires were sprayed again and the cleaner left to dwell. The wheels were then sprayed with VP Billberry which was left to dwell while I gave the tires a second cleaning. Then I agitated the wheels and calipers with various brushed and HP rinsed the tires and wheels.

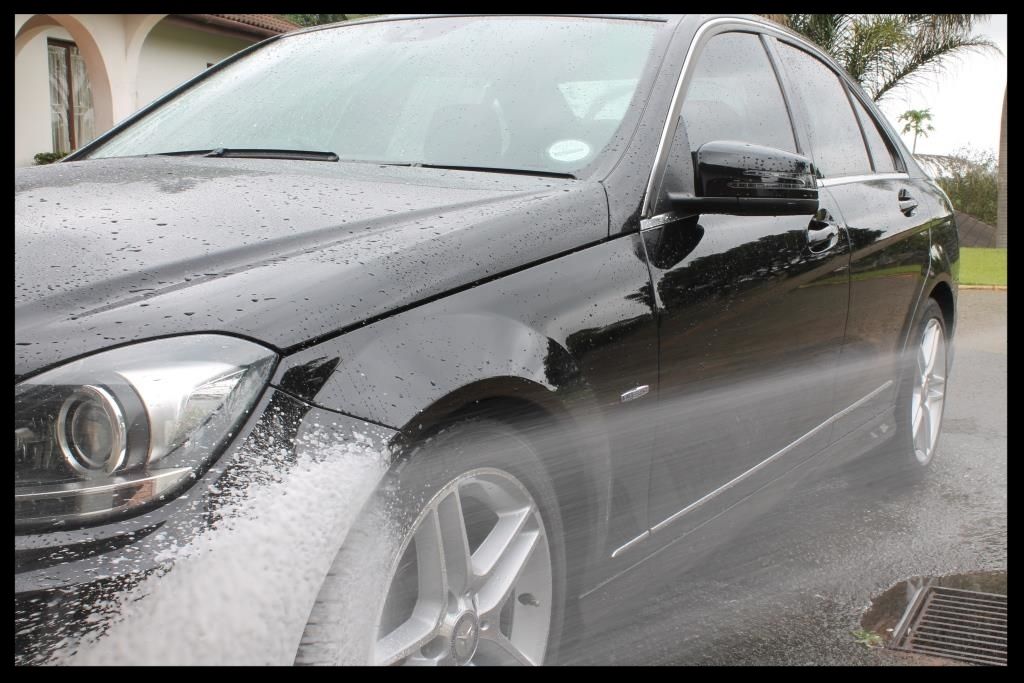
Then it was time to wash the car.
First a decent HP rinse to remove as much loose dirt as possible. Then I foamed the car with Valet Pro Advanced Neutral Snowfoam - remember to start from the bottom and work your way to the top so that each bit of paint receives 'clean' foam, not dirty stuff running down from above.
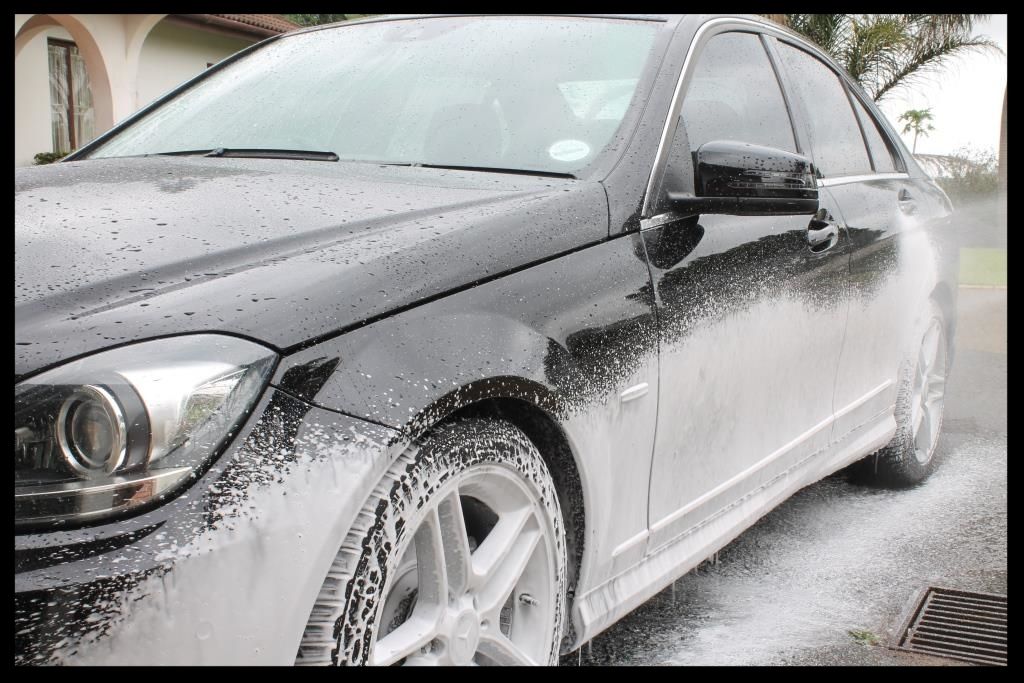
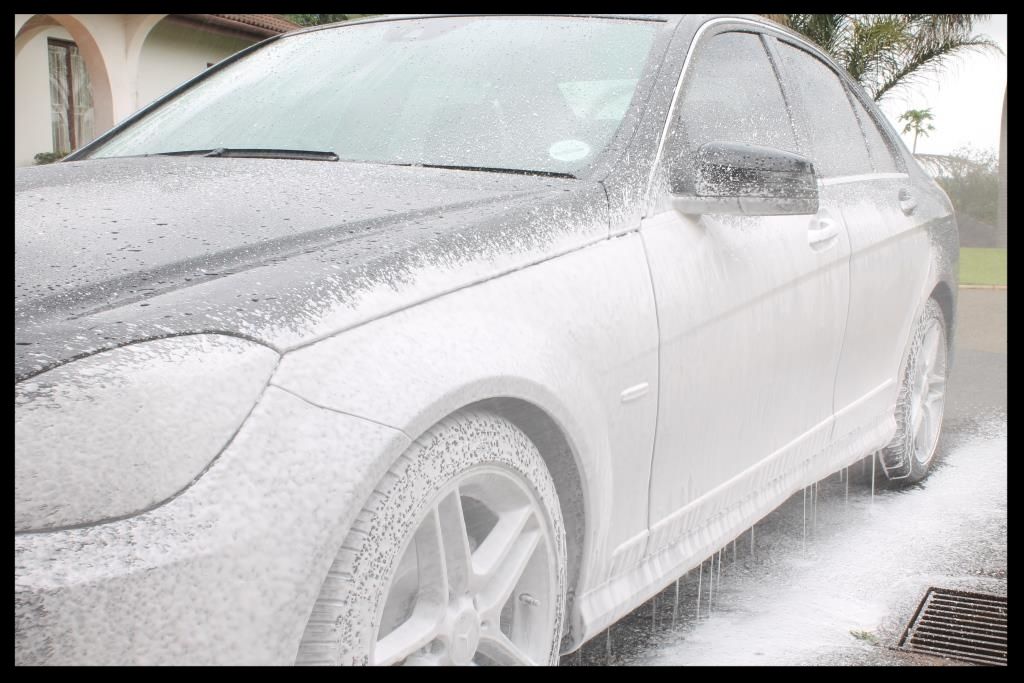
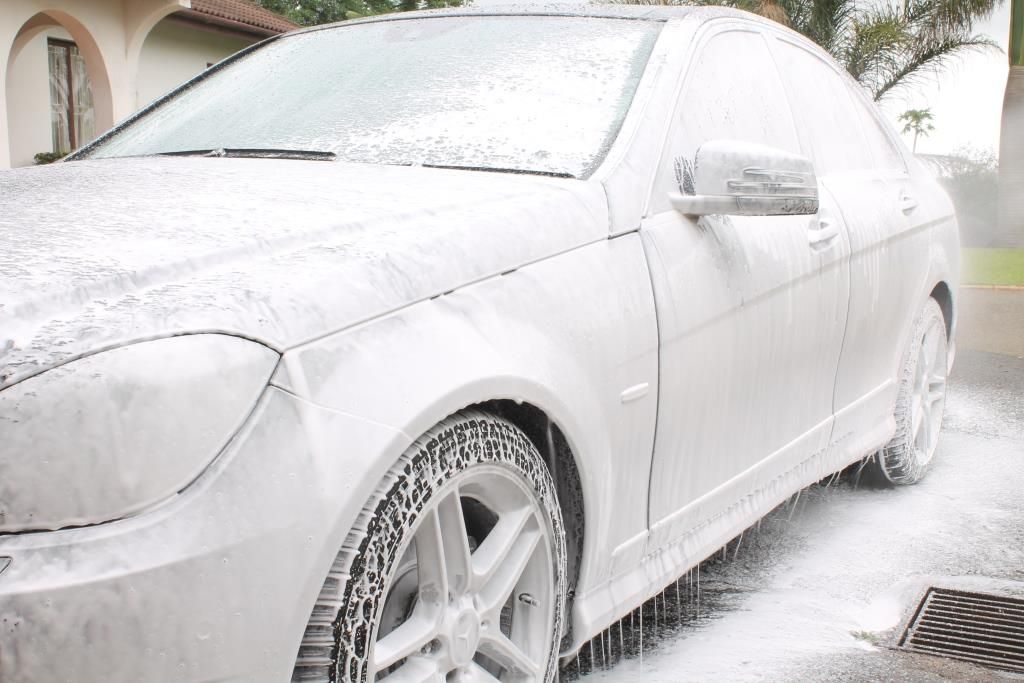
That was left to dwell then HP rinsed off again. I then sprayed the lower half of the car with Valet Pro Citrus Prewash through a pump sprayer, left it to dwell, then HP rinsed that off. With the 'pre-washing' out the way it was time to do a 2 bucket wash using Carchem Luxury Shampoo. The car was then rinsed and dried.
I perform a baggie test revealing almost no contamination so a decon was not justified.
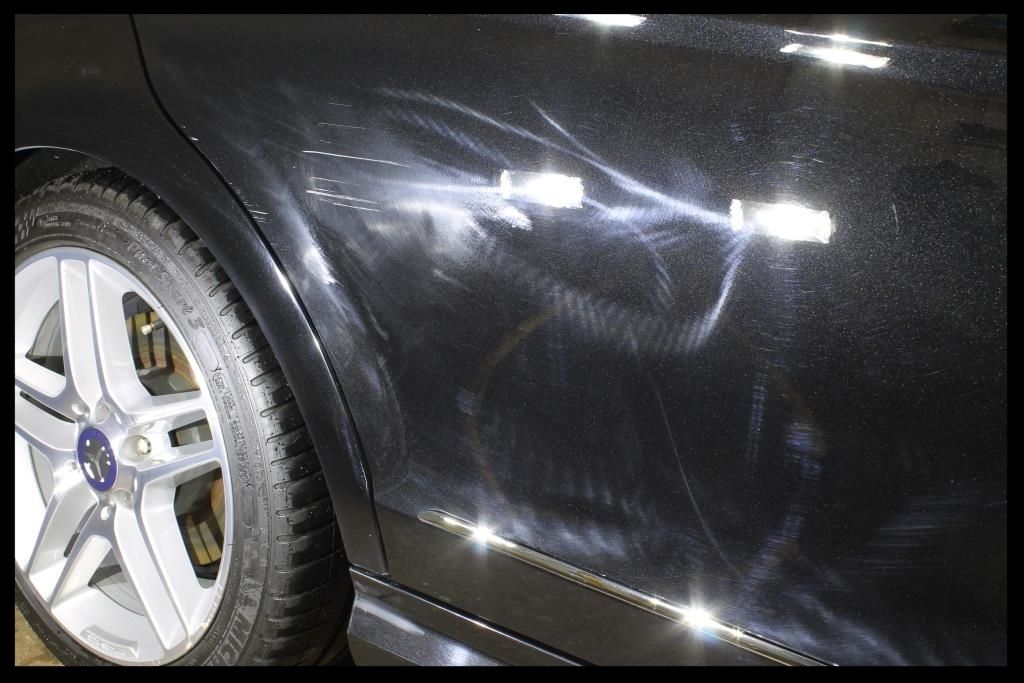
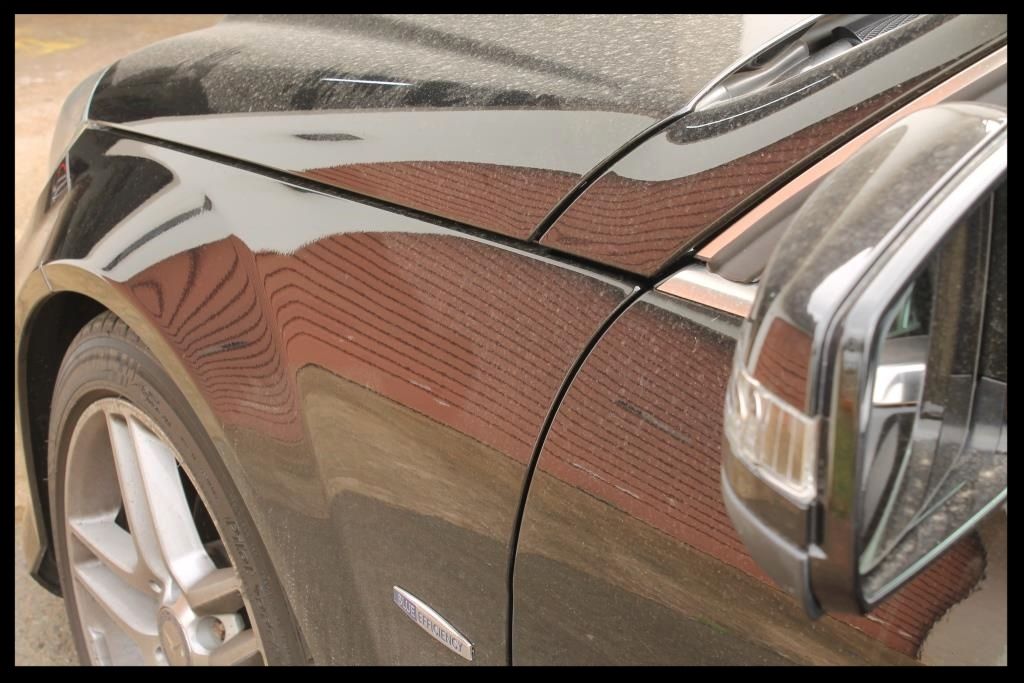
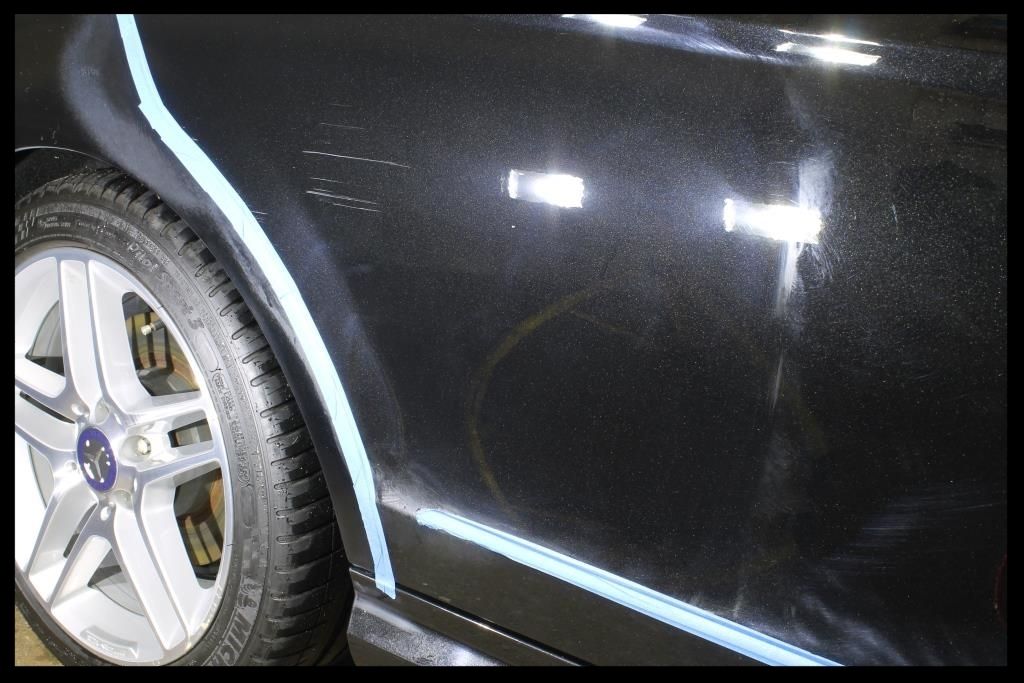
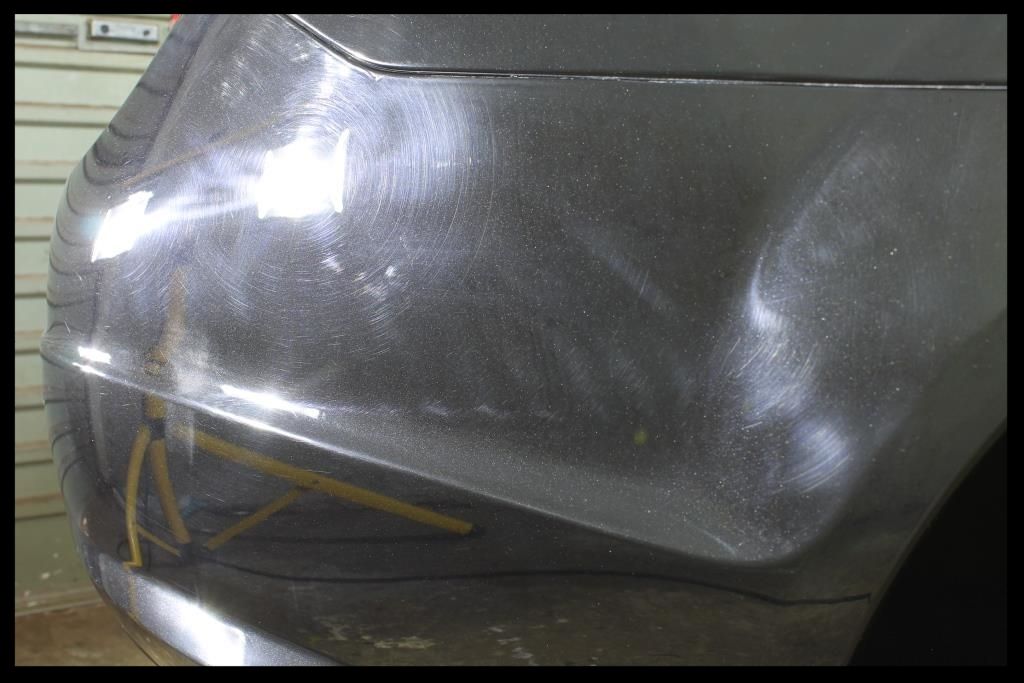
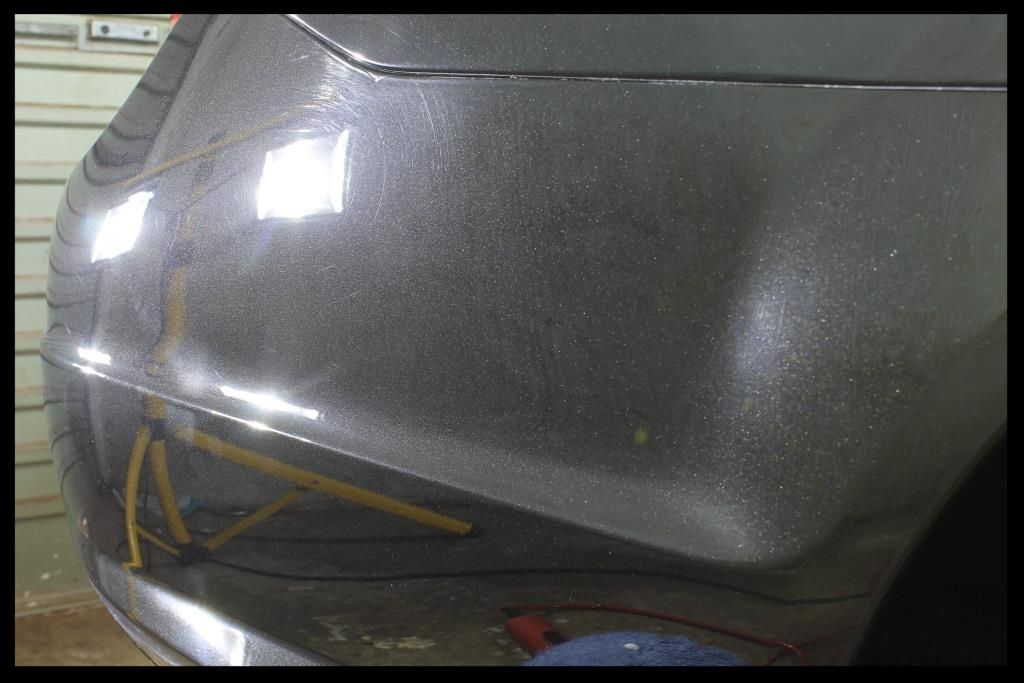
Now it was finally time to get to the part I love - correcting paint...which as you can see was full of holograms and still had many of the deep scrape marks evident in the paint - what the person who 'fixed' this thought he was fixing escapes me....
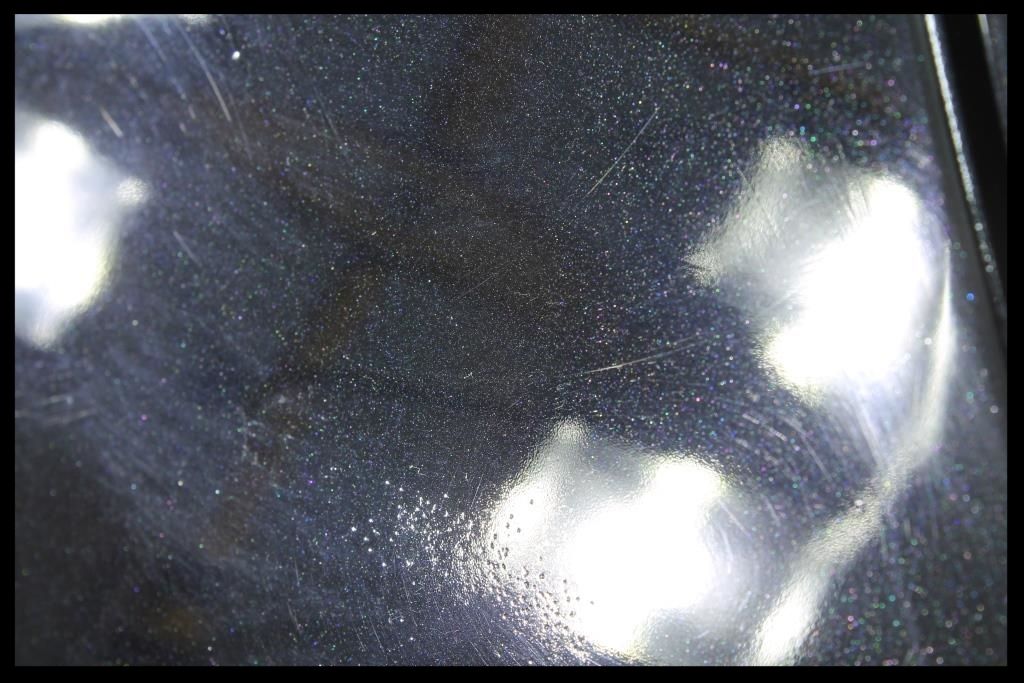
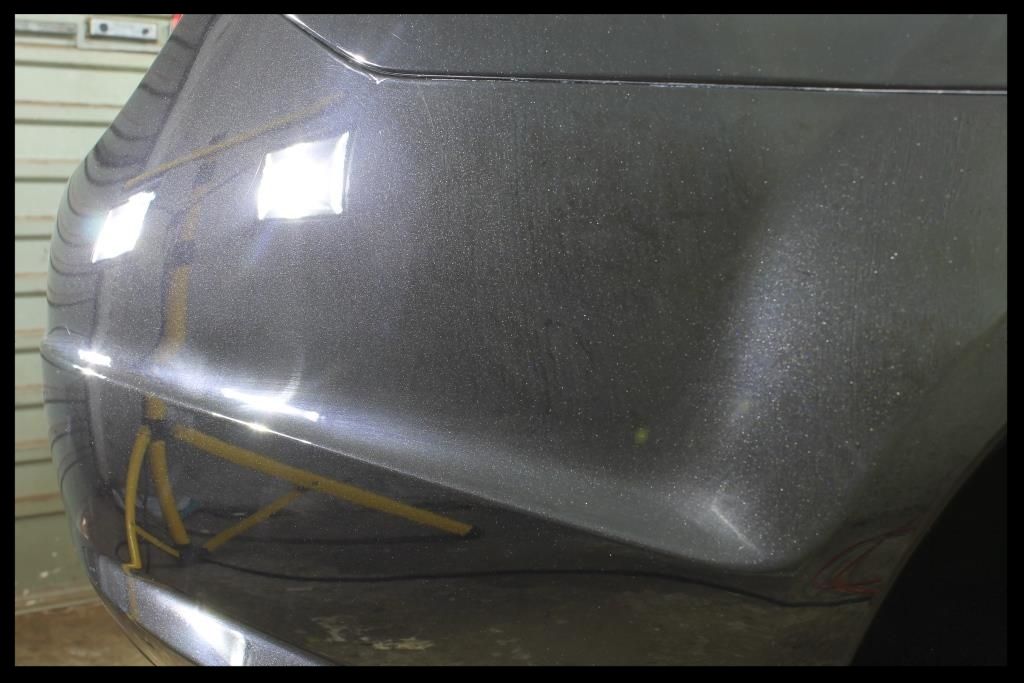
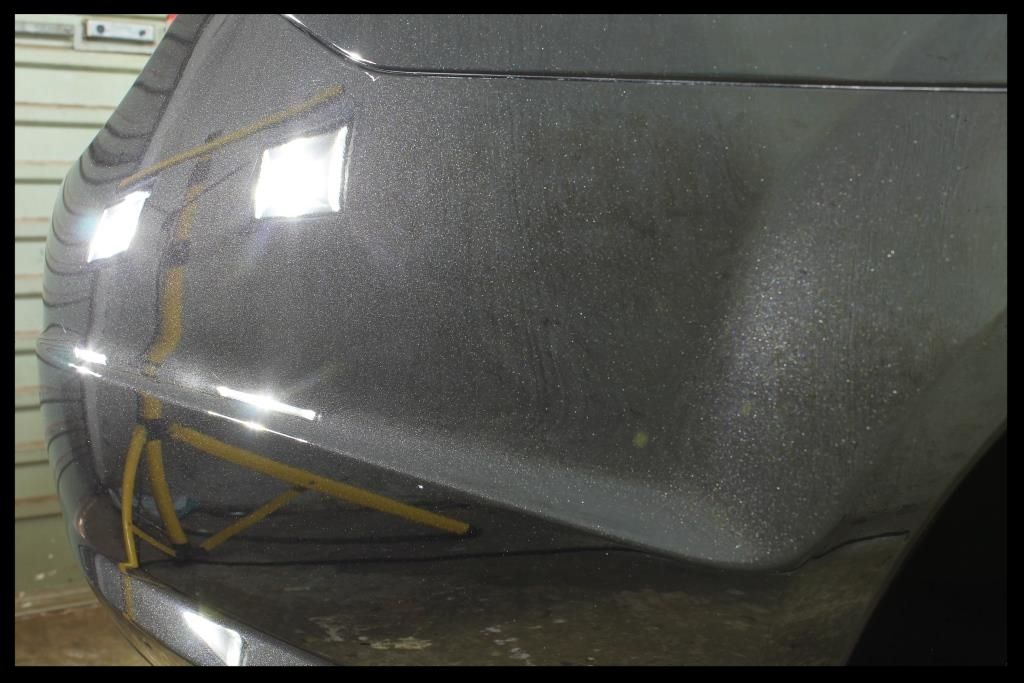
After an initial compound using the Flex 3401, Menzerna FG400 and a 6" Lake Country Blue Hybrid Pad, I could clearly see the deeper scratches.
The area was wiped down with Gyeon Prep and a 2 coats of the base color from the OEM Touch up kit from Mercedes were 'layered' in, followed with 4 layers of clear, using a hairdryer to speed up the drying in between each coat. I then levelled out the excess paint using 2500 grit sand paper. Here is a pic from during the process

Then all the sanding marks were removed using the Flex 3401, Menzerna FG400 and a 6" Lake Country Blue Foamed Wool, and followed that with Menzerna SF4000 on a 5" Lake Country Black Hybrid Pad
The rear bumper had also been repainted and had some sanding marks left on it.
After Flex 3401, Menzerna FG400 and a 6" Lake Country Blue Foamed Wool
And again
Then all the paint was refined using Menzerna SF4000 on a 5" Lake Country Black Hybrid Pad
I then moved to the interior which was vacuumed out using a Flex Vaccum cleaner. The leather was then cleaned and protected using Collinite #855 Leather and Vinyl Wax. The plastics were wiped down using Autofinesse Spritz. The door rubbers were cleaned using Shield Heavy Duty Vinyl and Rubber cleaner and protected using Aerospace 303. The glass was cleaned using Glossworx Glass Cleaner.
I then finished up the outside plastics and rubbers and glass, and polished up the exhaust tip using Meguiars NXT All Metal Polish
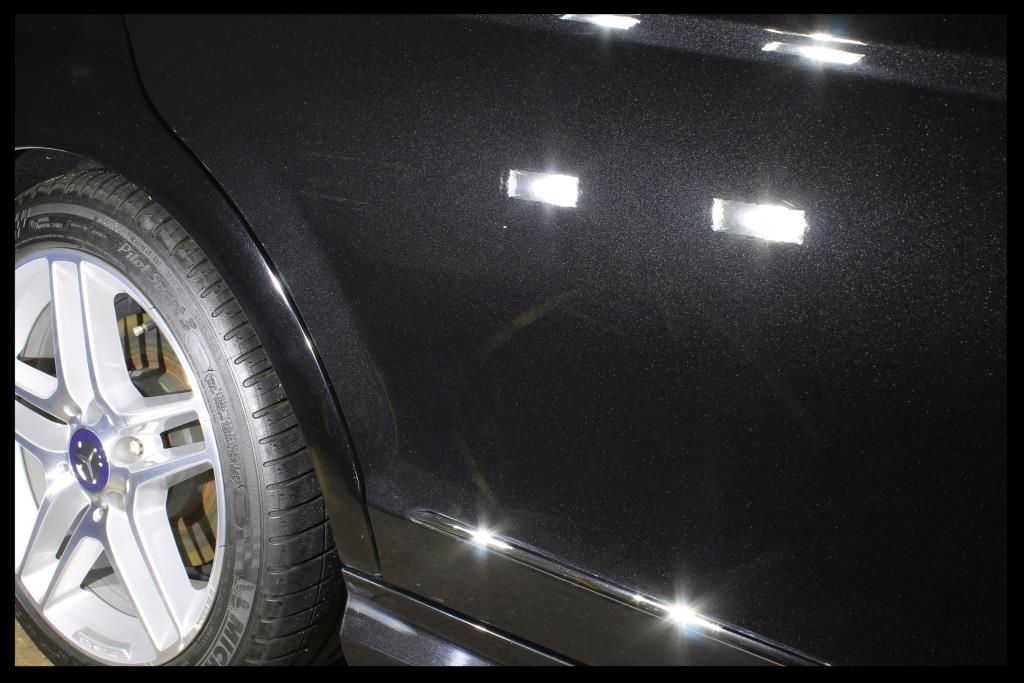
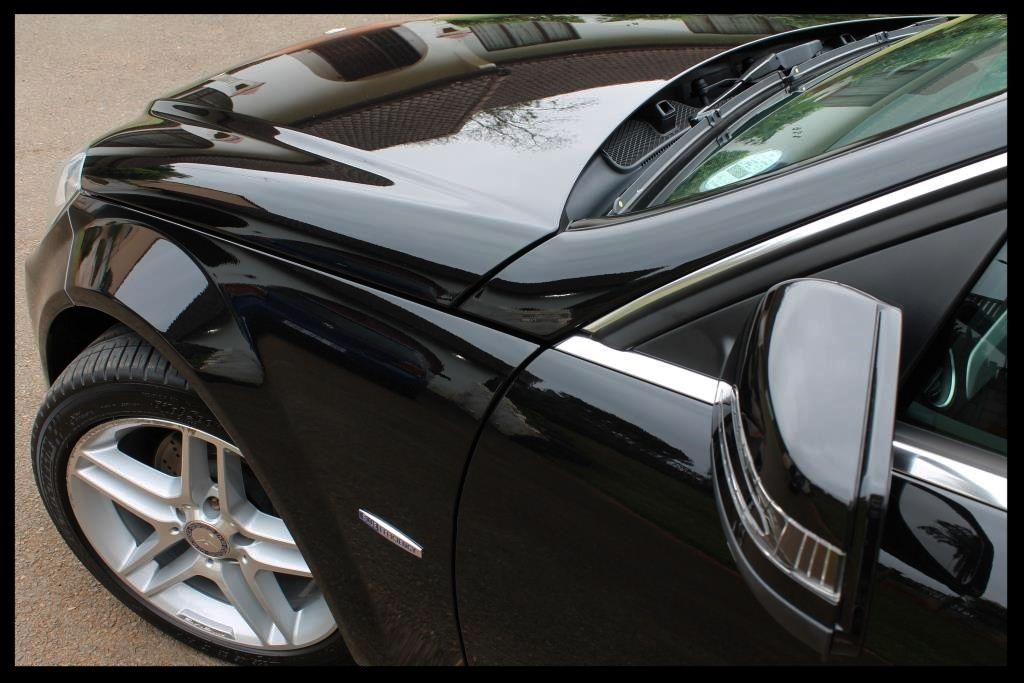
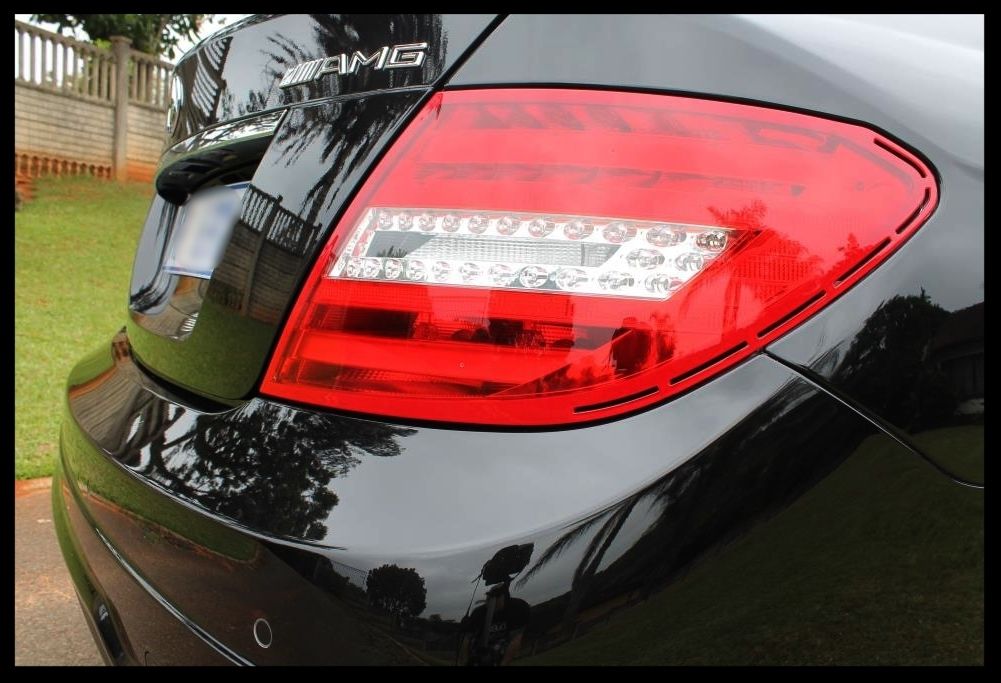
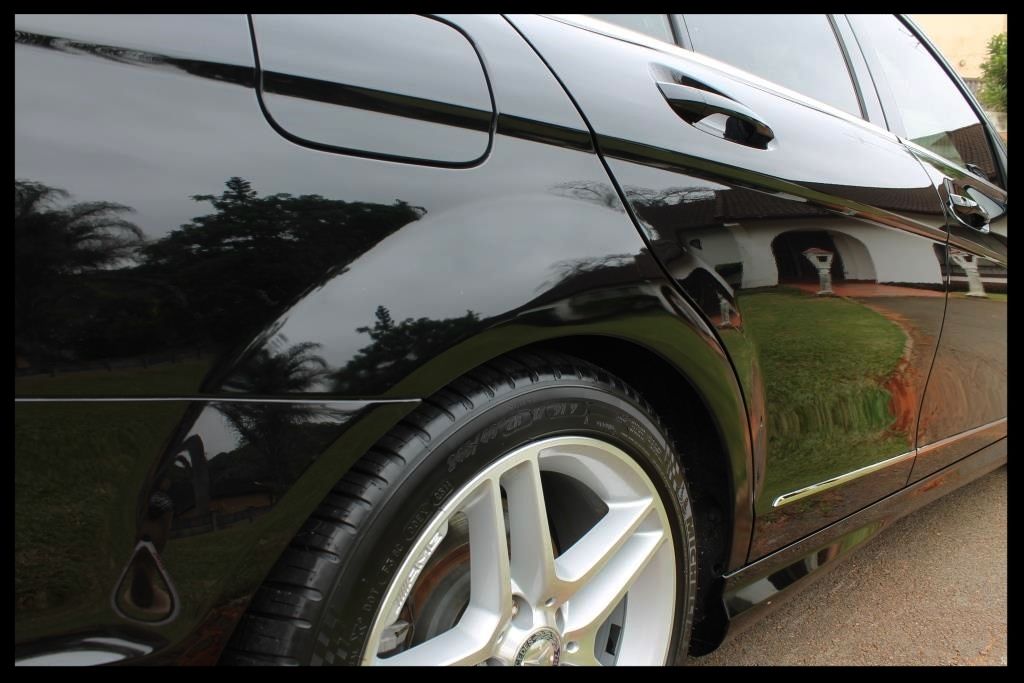
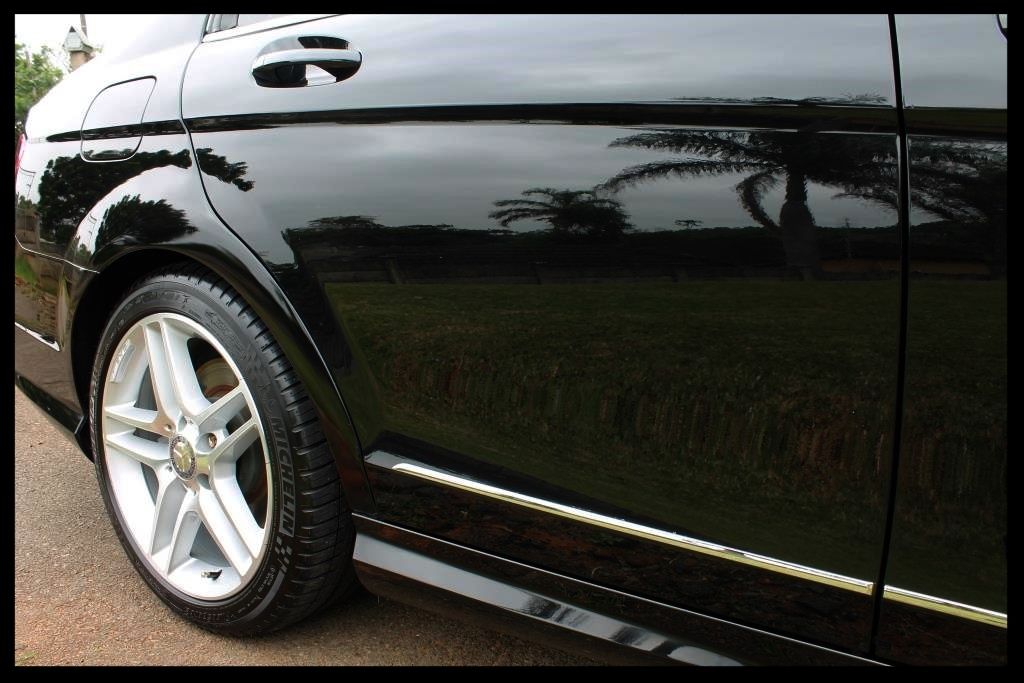
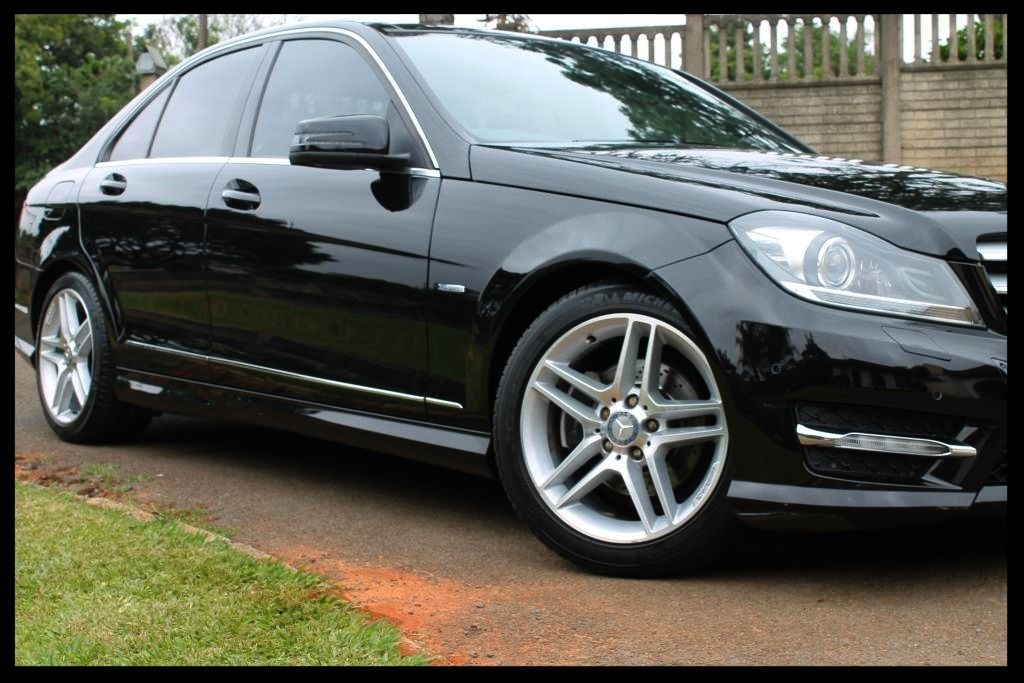
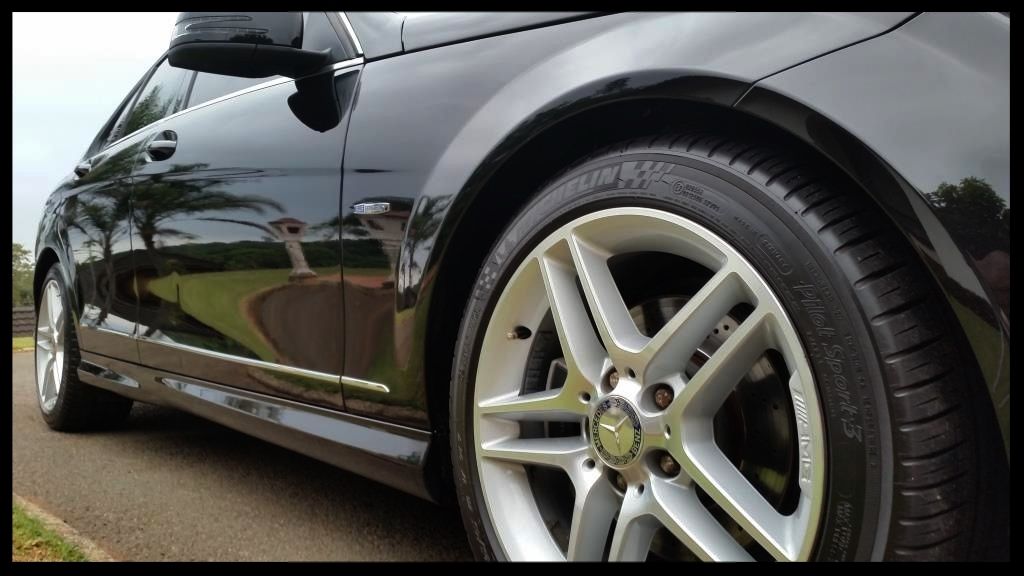
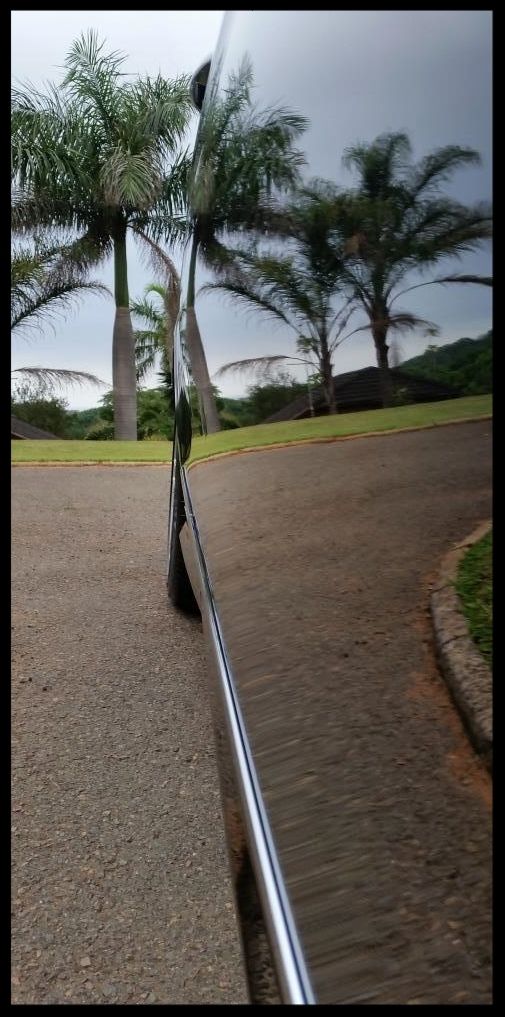
Here are some after pics
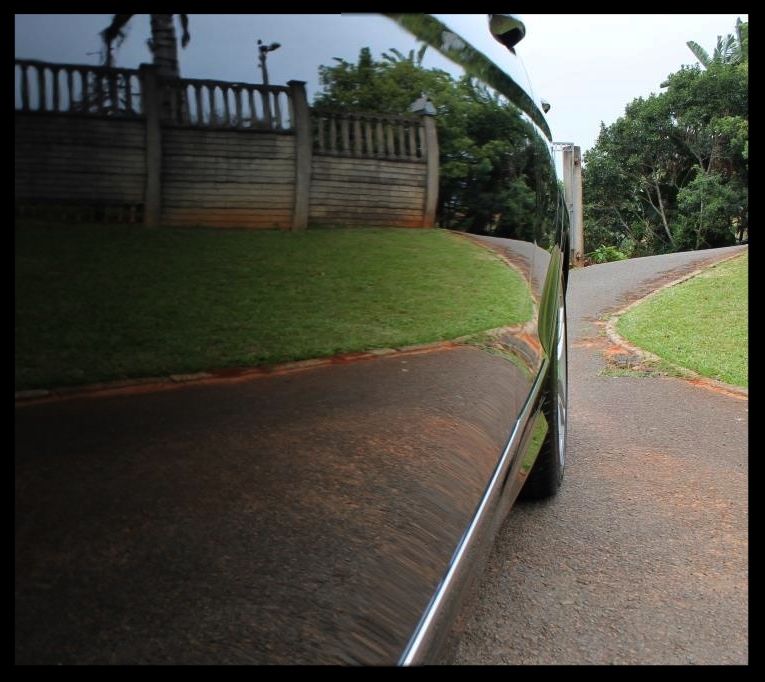
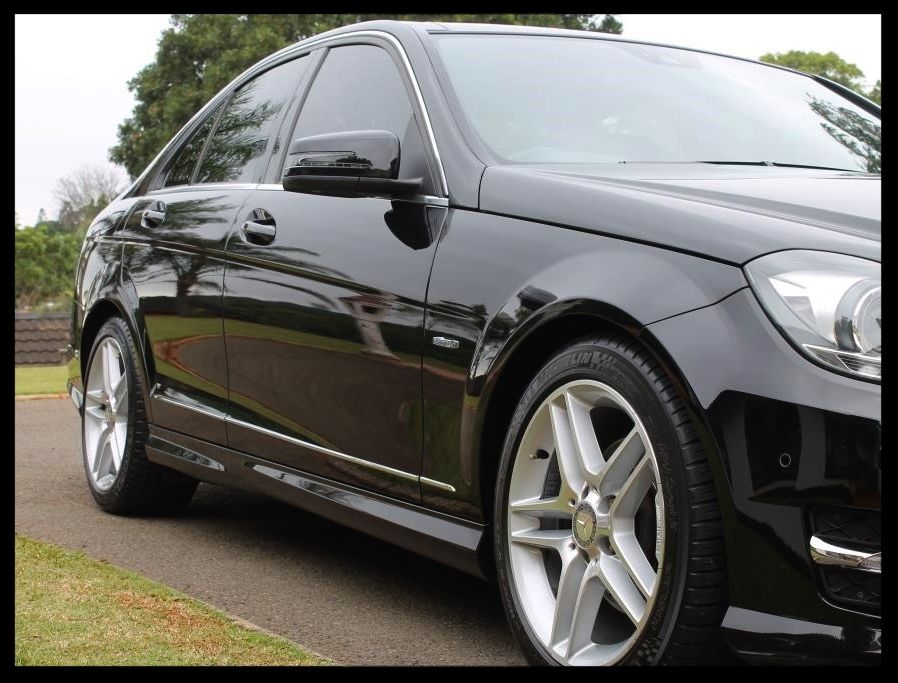

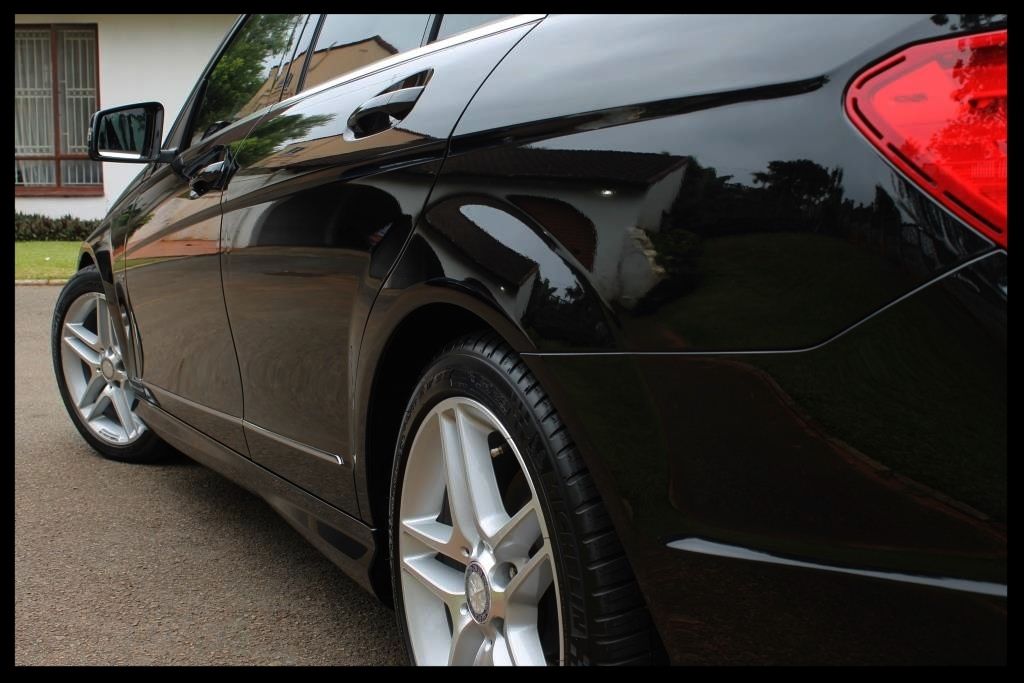
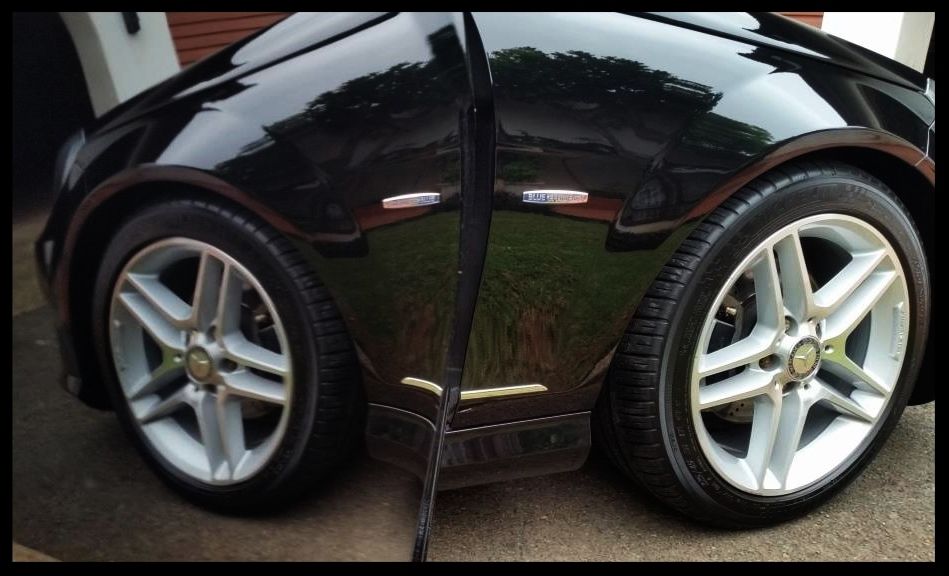
Here is the side that had the damage
Total time spent 18 hours
As always thanks for looking and any questions or comments are welcome.
:hi:
The long and short of it is the car was being used by someone else who managed to scrape the rear door and quarter panel, and then took it who knows where to have it fixed/repainted, and returned the car figuring it looked good enough nobody would notice :crazy:
Like you wouldn't notice going from this
To this...
And this
To this
So obviously the owner contacted me to sort it out.
On arrival
The first thing to do was get these cleaned up
The fender wells were HP rinsed and sprayed with Carchem APC @ 1:5 through a foaming trigger and left to dwell. The tires were then sprayed with Valet Pro Billberry Wheel Cleaner which was left to dwell while I cleaned the fender wells with various brushes. I then scrubbed the tires clean and HP rinsed the fender wells, tires and wheel. Then the tires were sprayed again and the cleaner left to dwell. The wheels were then sprayed with VP Billberry which was left to dwell while I gave the tires a second cleaning. Then I agitated the wheels and calipers with various brushed and HP rinsed the tires and wheels.
Then it was time to wash the car.
First a decent HP rinse to remove as much loose dirt as possible. Then I foamed the car with Valet Pro Advanced Neutral Snowfoam - remember to start from the bottom and work your way to the top so that each bit of paint receives 'clean' foam, not dirty stuff running down from above.
That was left to dwell then HP rinsed off again. I then sprayed the lower half of the car with Valet Pro Citrus Prewash through a pump sprayer, left it to dwell, then HP rinsed that off. With the 'pre-washing' out the way it was time to do a 2 bucket wash using Carchem Luxury Shampoo. The car was then rinsed and dried.
I perform a baggie test revealing almost no contamination so a decon was not justified.
Now it was finally time to get to the part I love - correcting paint...which as you can see was full of holograms and still had many of the deep scrape marks evident in the paint - what the person who 'fixed' this thought he was fixing escapes me....
After an initial compound using the Flex 3401, Menzerna FG400 and a 6" Lake Country Blue Hybrid Pad, I could clearly see the deeper scratches.
The area was wiped down with Gyeon Prep and a 2 coats of the base color from the OEM Touch up kit from Mercedes were 'layered' in, followed with 4 layers of clear, using a hairdryer to speed up the drying in between each coat. I then levelled out the excess paint using 2500 grit sand paper. Here is a pic from during the process
Then all the sanding marks were removed using the Flex 3401, Menzerna FG400 and a 6" Lake Country Blue Foamed Wool, and followed that with Menzerna SF4000 on a 5" Lake Country Black Hybrid Pad
The rear bumper had also been repainted and had some sanding marks left on it.
After Flex 3401, Menzerna FG400 and a 6" Lake Country Blue Foamed Wool
And again
Then all the paint was refined using Menzerna SF4000 on a 5" Lake Country Black Hybrid Pad
I then moved to the interior which was vacuumed out using a Flex Vaccum cleaner. The leather was then cleaned and protected using Collinite #855 Leather and Vinyl Wax. The plastics were wiped down using Autofinesse Spritz. The door rubbers were cleaned using Shield Heavy Duty Vinyl and Rubber cleaner and protected using Aerospace 303. The glass was cleaned using Glossworx Glass Cleaner.
I then finished up the outside plastics and rubbers and glass, and polished up the exhaust tip using Meguiars NXT All Metal Polish
Here are some after pics
Here is the side that had the damage
Total time spent 18 hours
As always thanks for looking and any questions or comments are welcome.
:hi:

")