zmcgovern45
New member
- Sep 5, 2012
- 3,443
- 0
We've been fortunate enough to get our hands on several 2016 Chellenger Hellcats this year (all jet black, of course)... and it is always exciting to start the engine and listen to the 8 cylinders creating a beautiful symphony of manly noises... but for some reason it is a little less thrilling when you get the black key and notice the car was put in Valet Mode  I really don't drive the cars except into and out of the shop for inspection/photos, but I like to know I am trusted enough to get the bright red key even though the car never leaves 1st gear.
Annnyway, onto the Show N Shine!
Process
Wash - D114
Decon - Tarminator, Fine Grade Clay w/ Nanoskin Glide for Lubrication
Dry - Waffle Weave Towels
Wheels - Meguiar's Hyper Wash & Various Brushes
Tires - Tarminator
Paint Correction - Meguiar's D300 with MF Cutting pads
Paint Polishing - HD Polish with White LC Flat Pads
Machines Used - Rupes LHR21ES MKII, Rupes LHR15ES MKII, Rupes LHR75e, Rupes iBrid Nano, Griot's BOSS G21
Surface Prep - CarPro Eraser
Paint Protection - GTechniq Crystal Serum Light
Wheel Protection - GTechniq C5
Plastic Protection - GTechniq C4
Tire Dressing - Forma RVP
Basic Interior Cleanup with Vac N Blo Pro, Various Brushes, 303, and D120
Glass - D120
... I think that covers the major parts
This vehicle was driven in from several hours away, so drop off time was the first time I had seen the condition of the paint. Per conversations with the owner prior to setting up the appointment, we were planning on a one-step paint correction prior to applying the paint coating as he was most concerned with protection rather than correction. After inspecting the paint and performing a series of test spots, I sent photos and videos to the owner to see if he would be pleased with the 1 step results...... well if you read the process listed above, you already know this turned into a 2 step paint correction. We were given the green light to go for flawless! Yippee
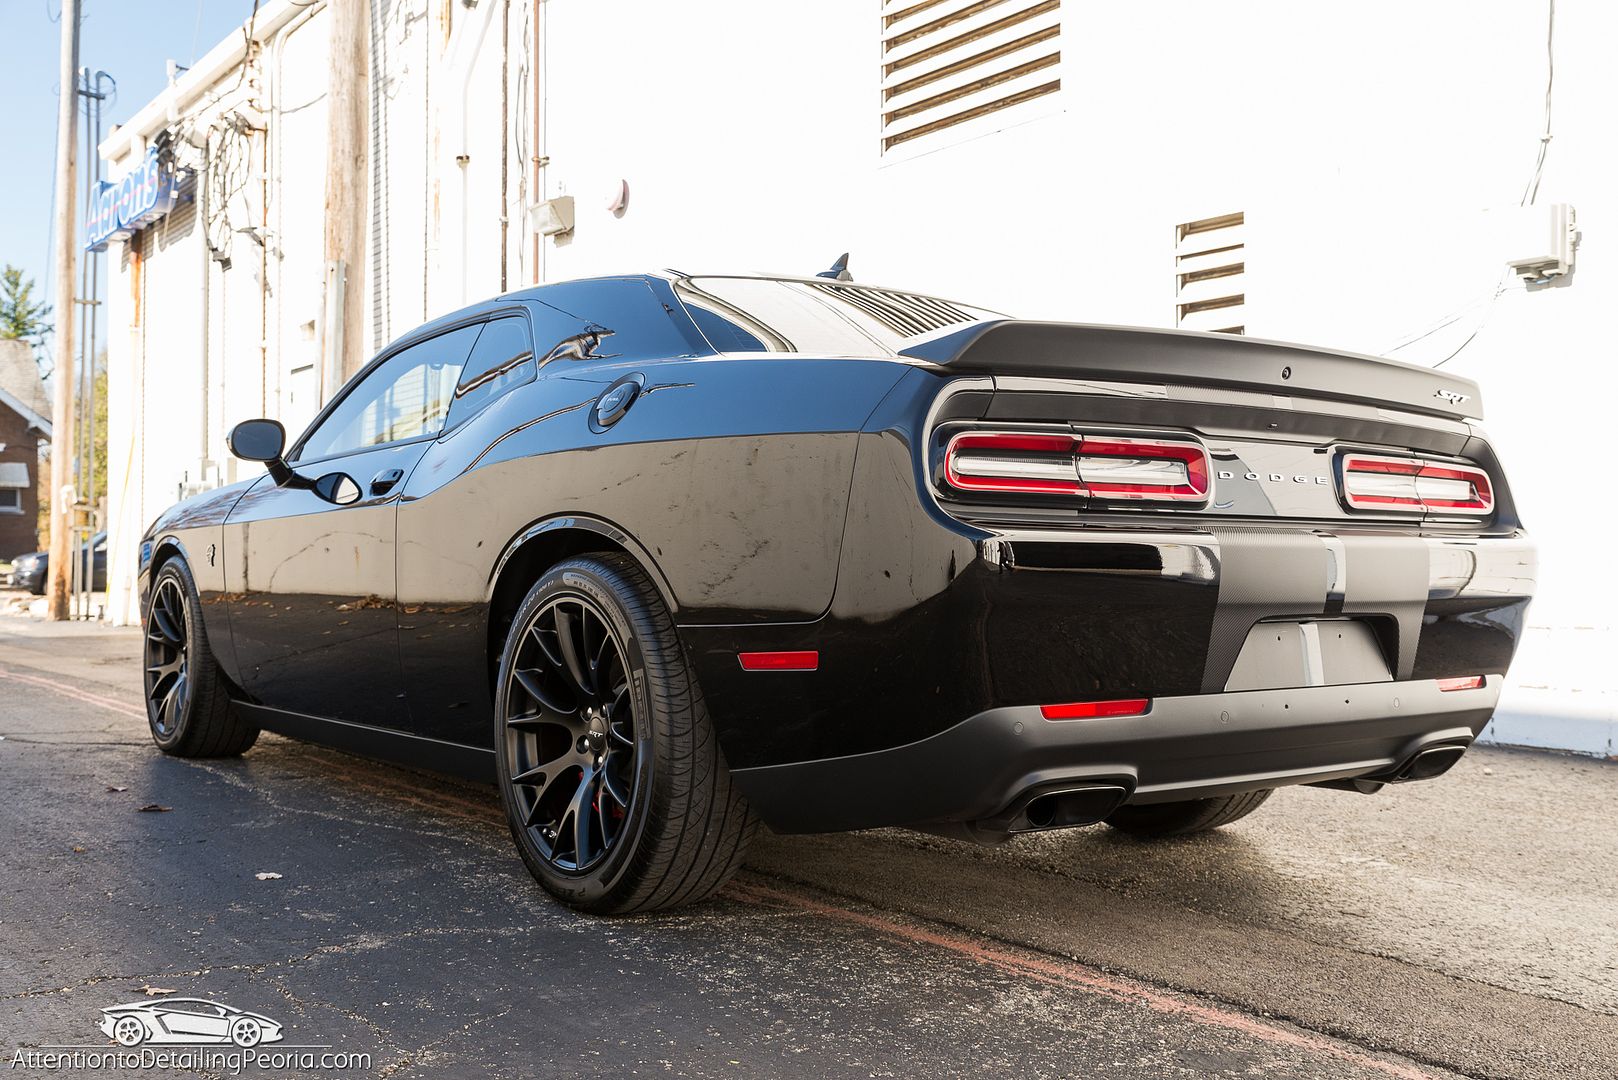
This low mileage vehicle showed signs of improper maintenance (pardon the lint). There was a good amount of swirl marks and scratches throughout the vehicle, and as we have seen on every 2016 Hellcat to date, there were also a fair amount of sanding marks.
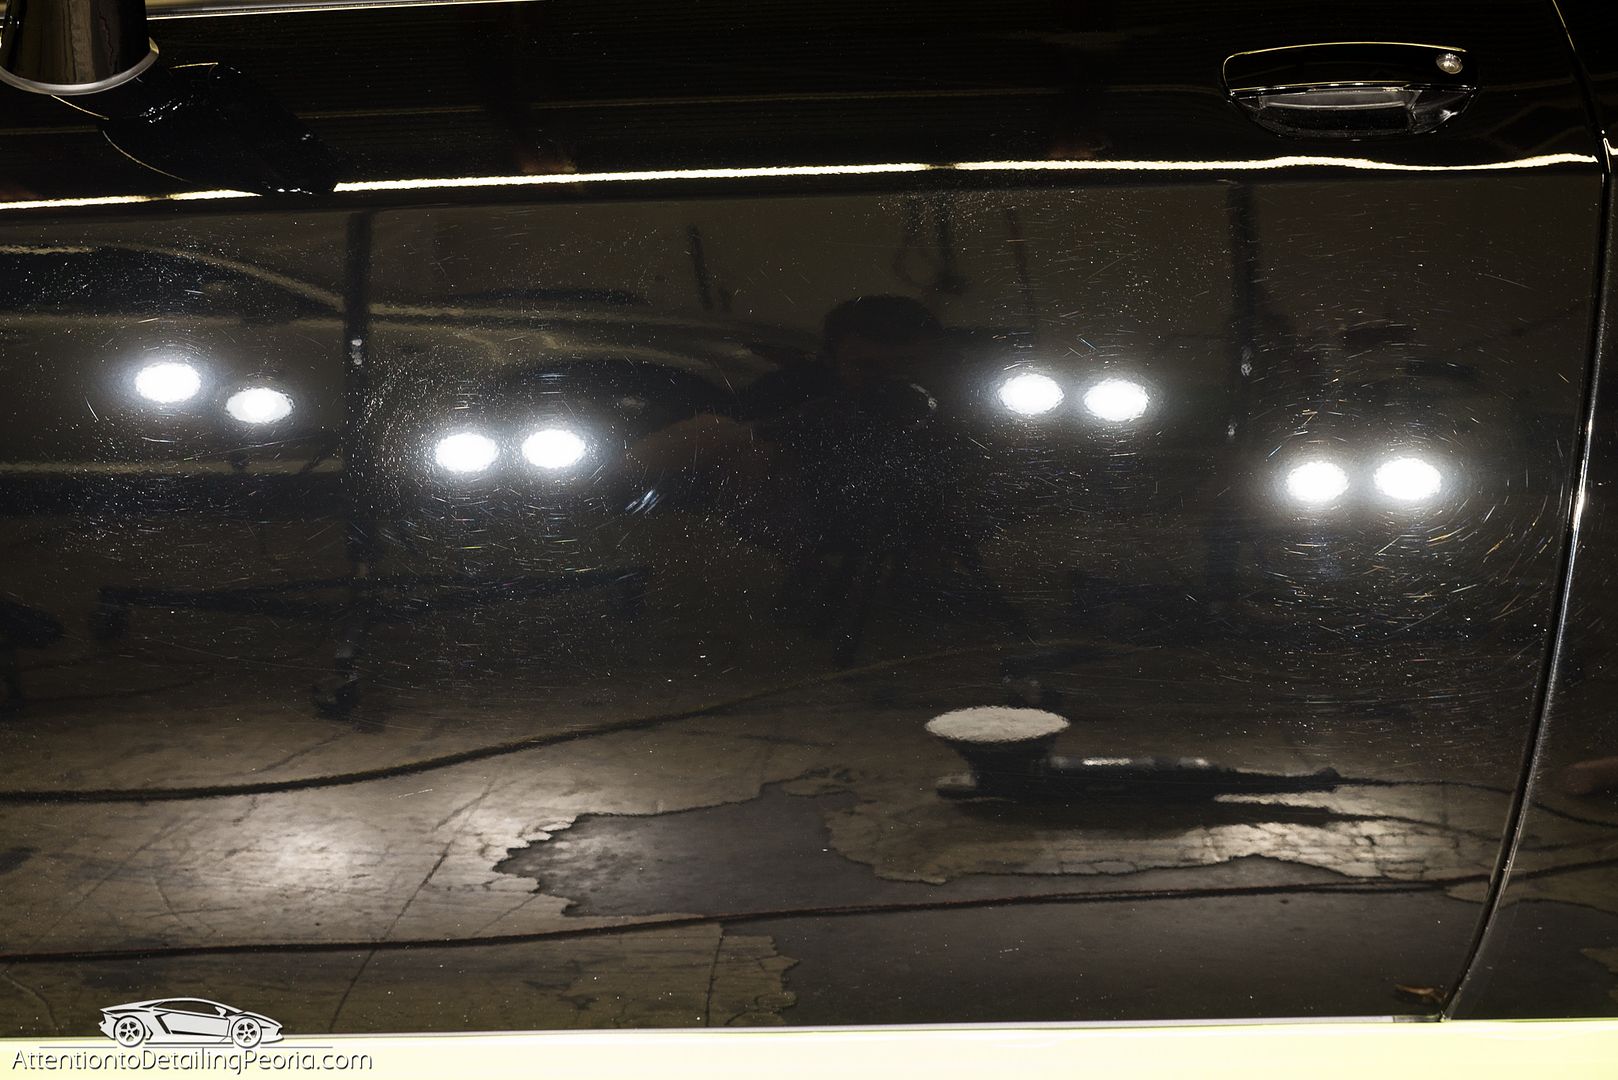
This paint is quite soft, and therefore the compounding stage leaves quite a bit of marring.
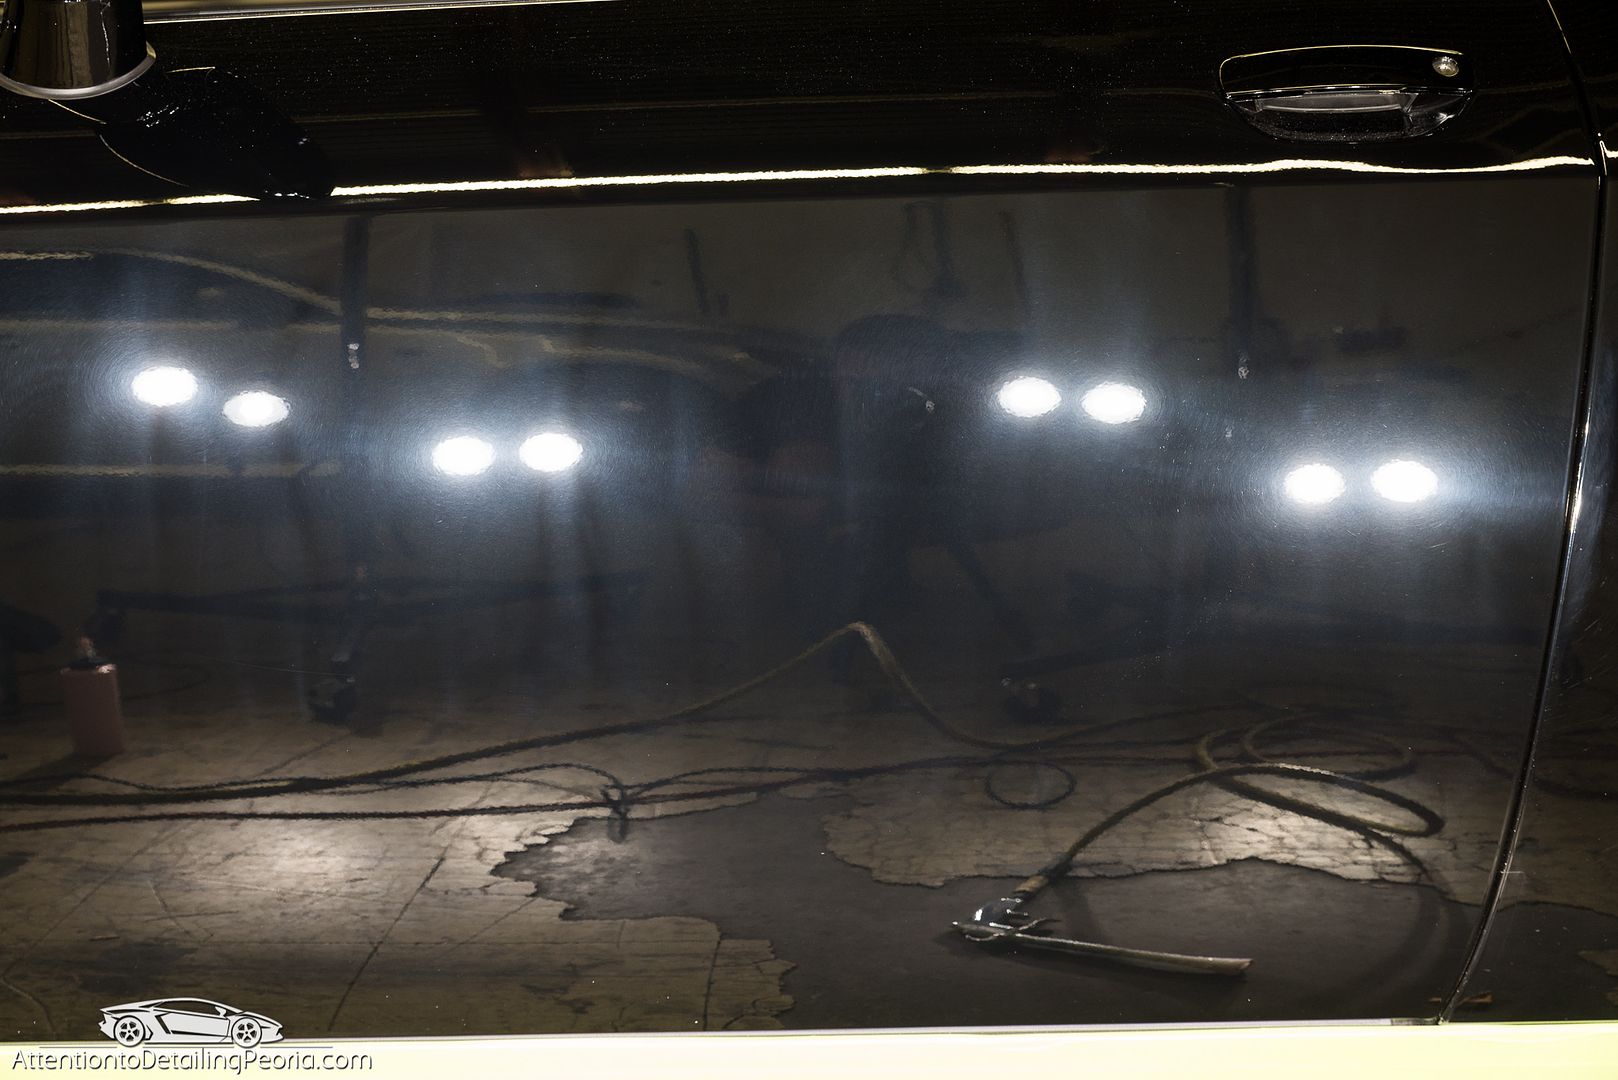
Thankfully we have this process down to a science now and can restore proper clarity with our finish polishing.
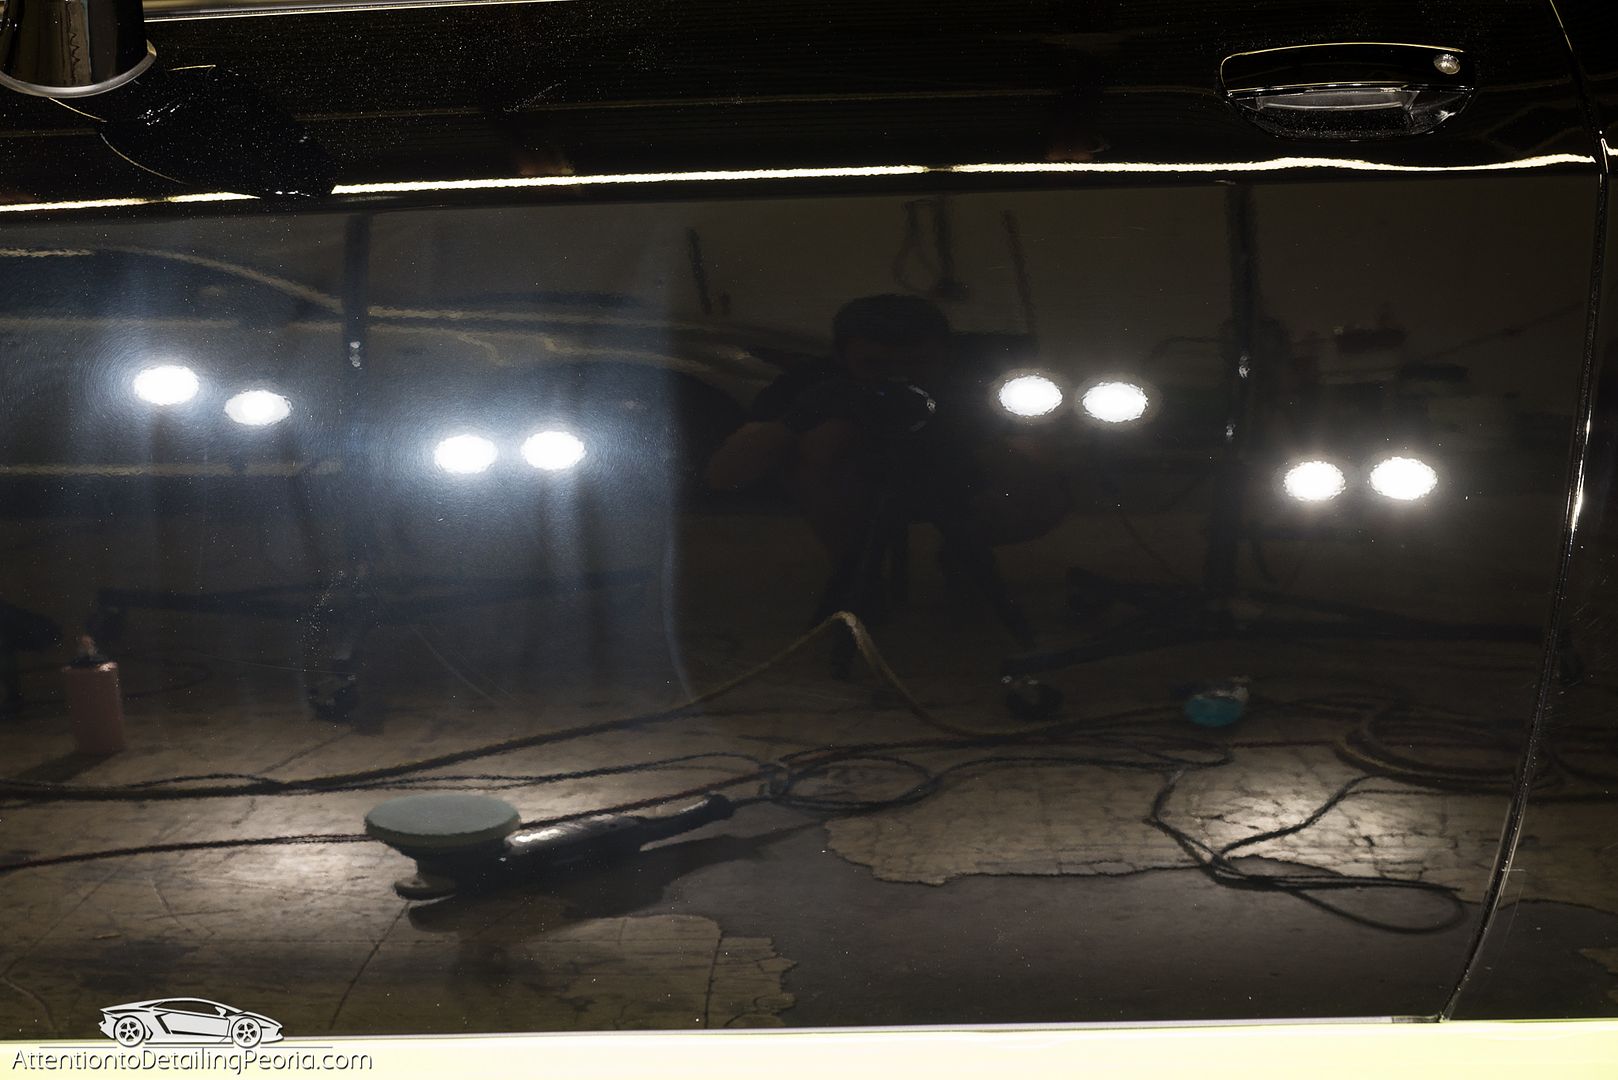
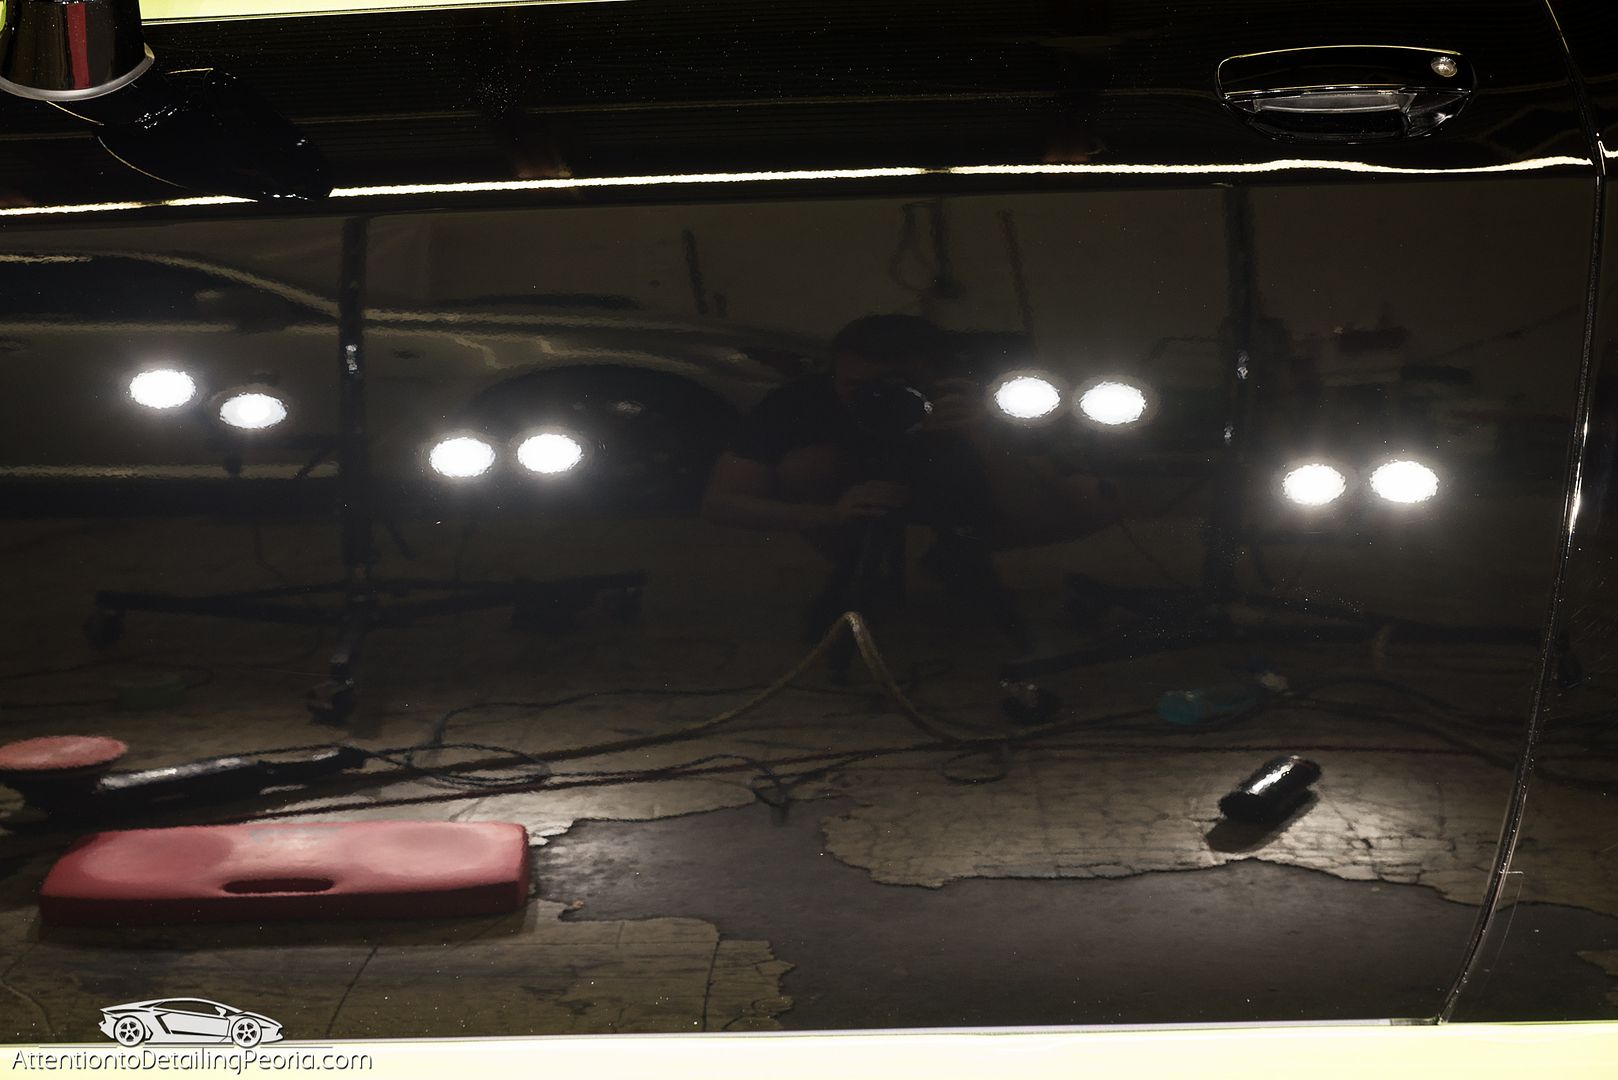
50/50 shot showing a corrected panel vs. uncorrected.

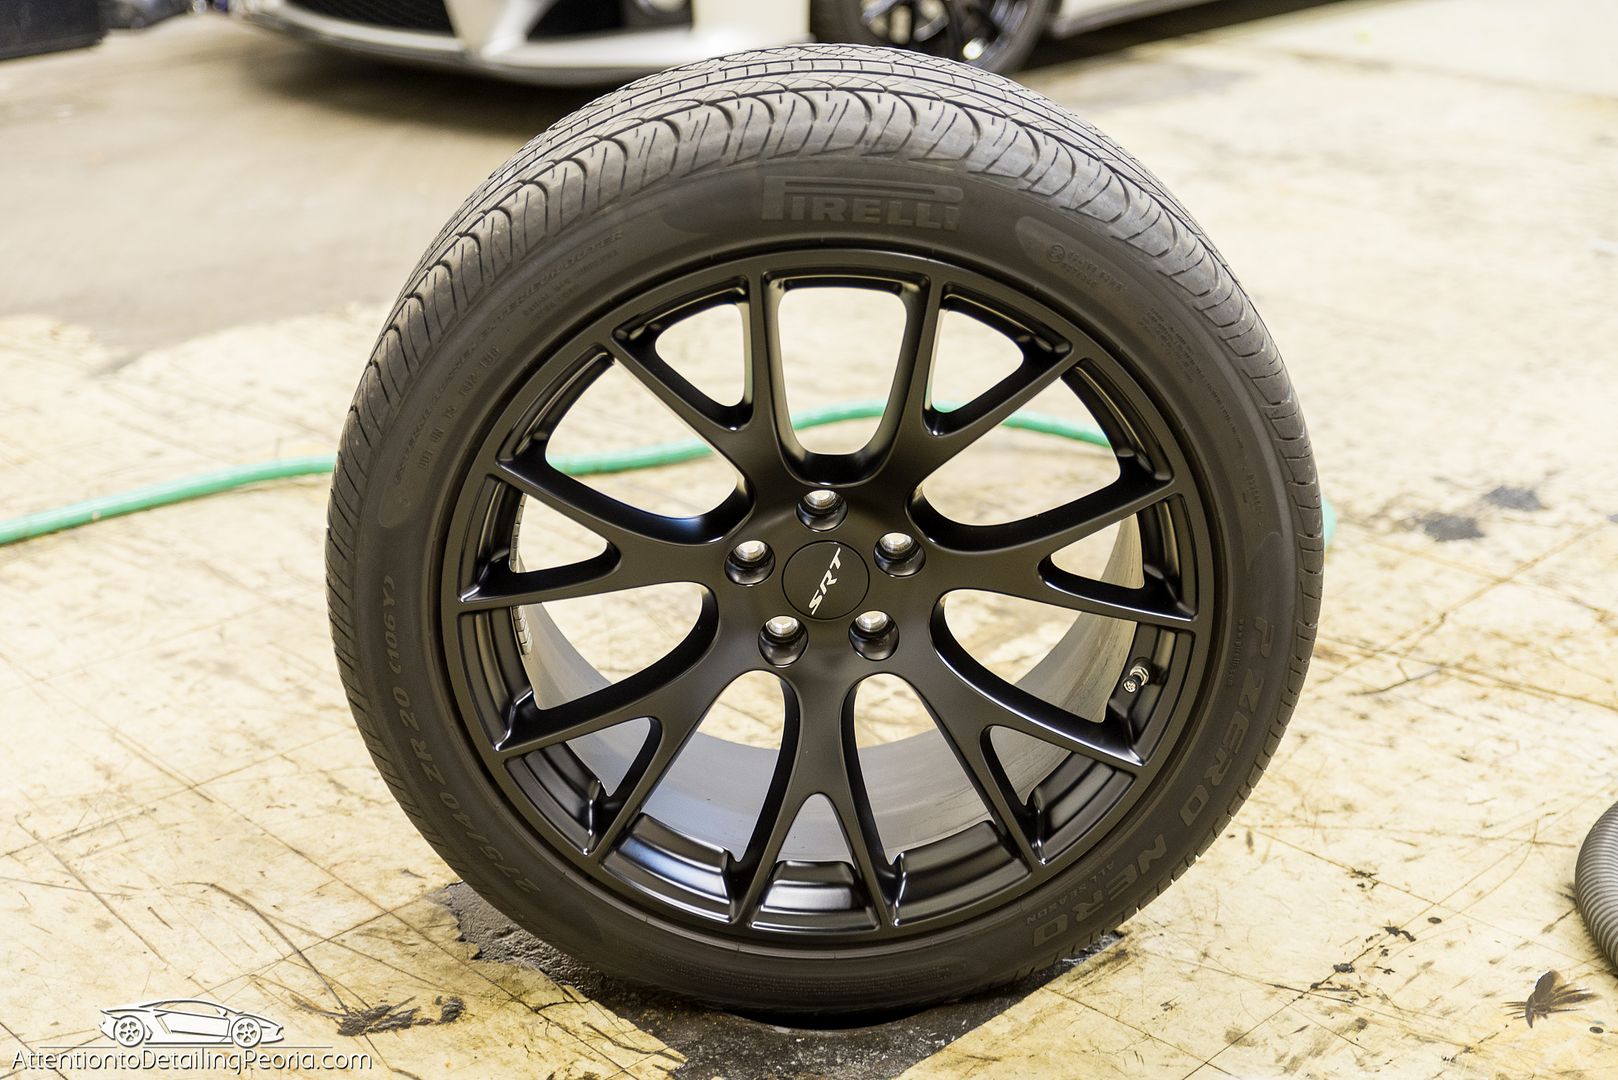
Wheels were removed for a proper cleaning
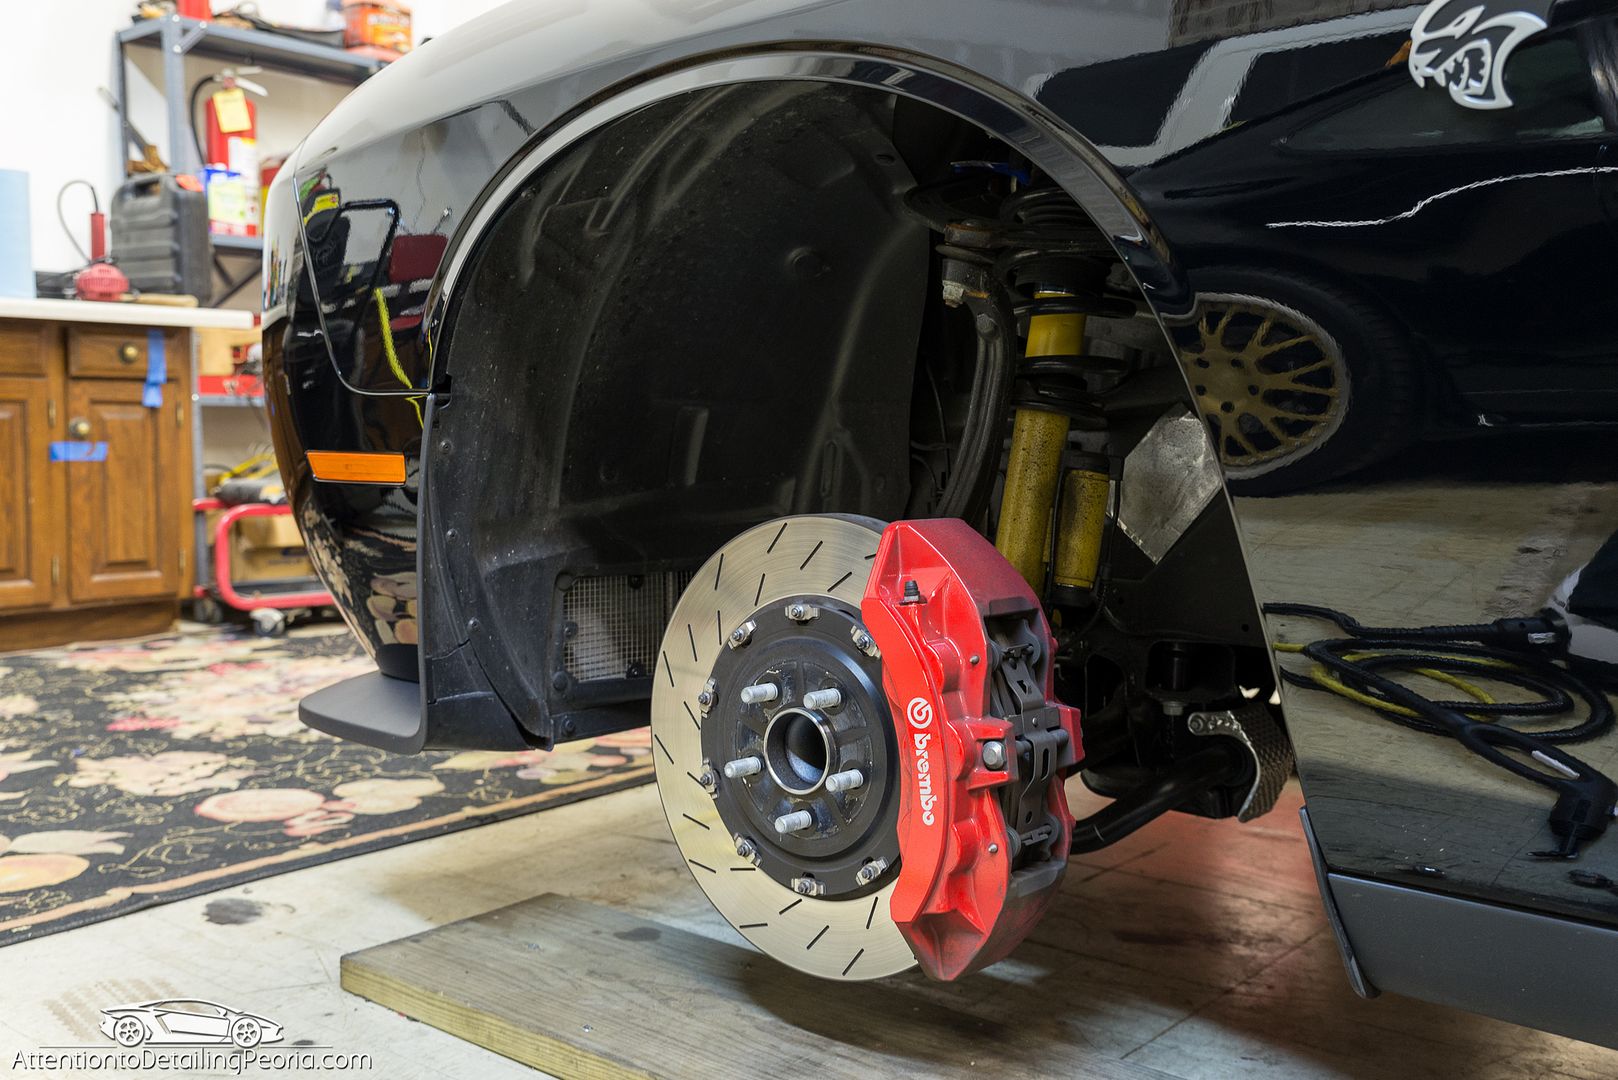
Wheel wells prior to clean up
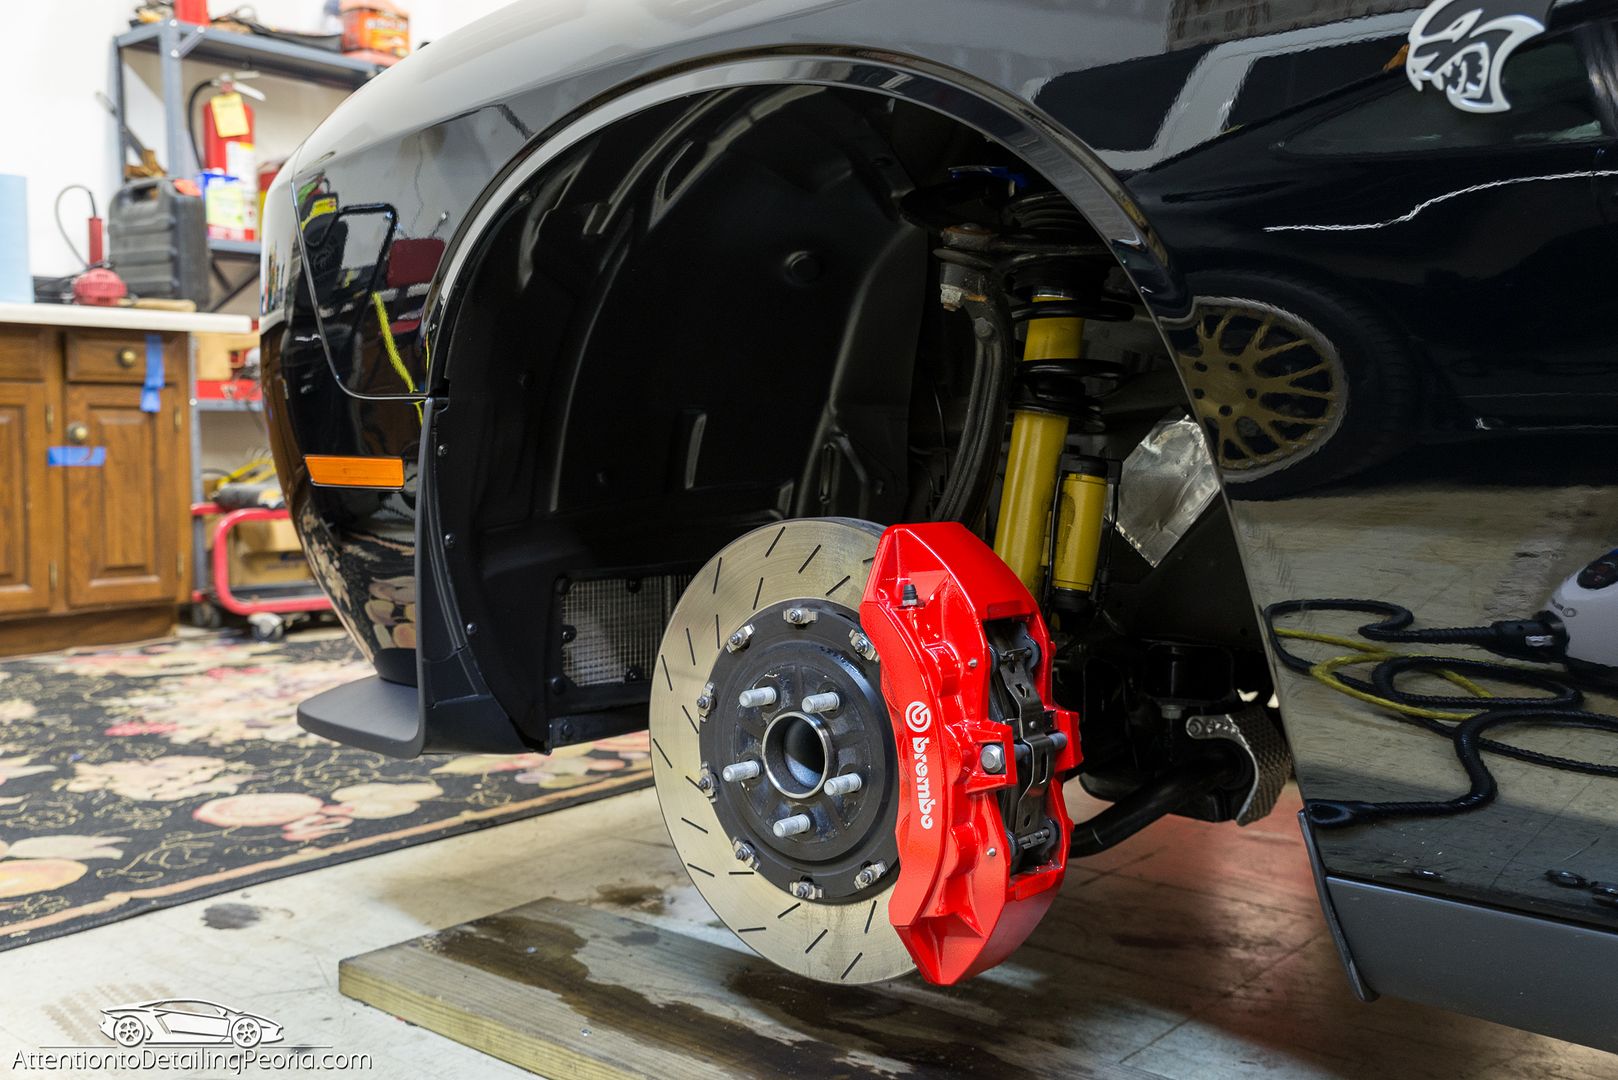
After cleaning
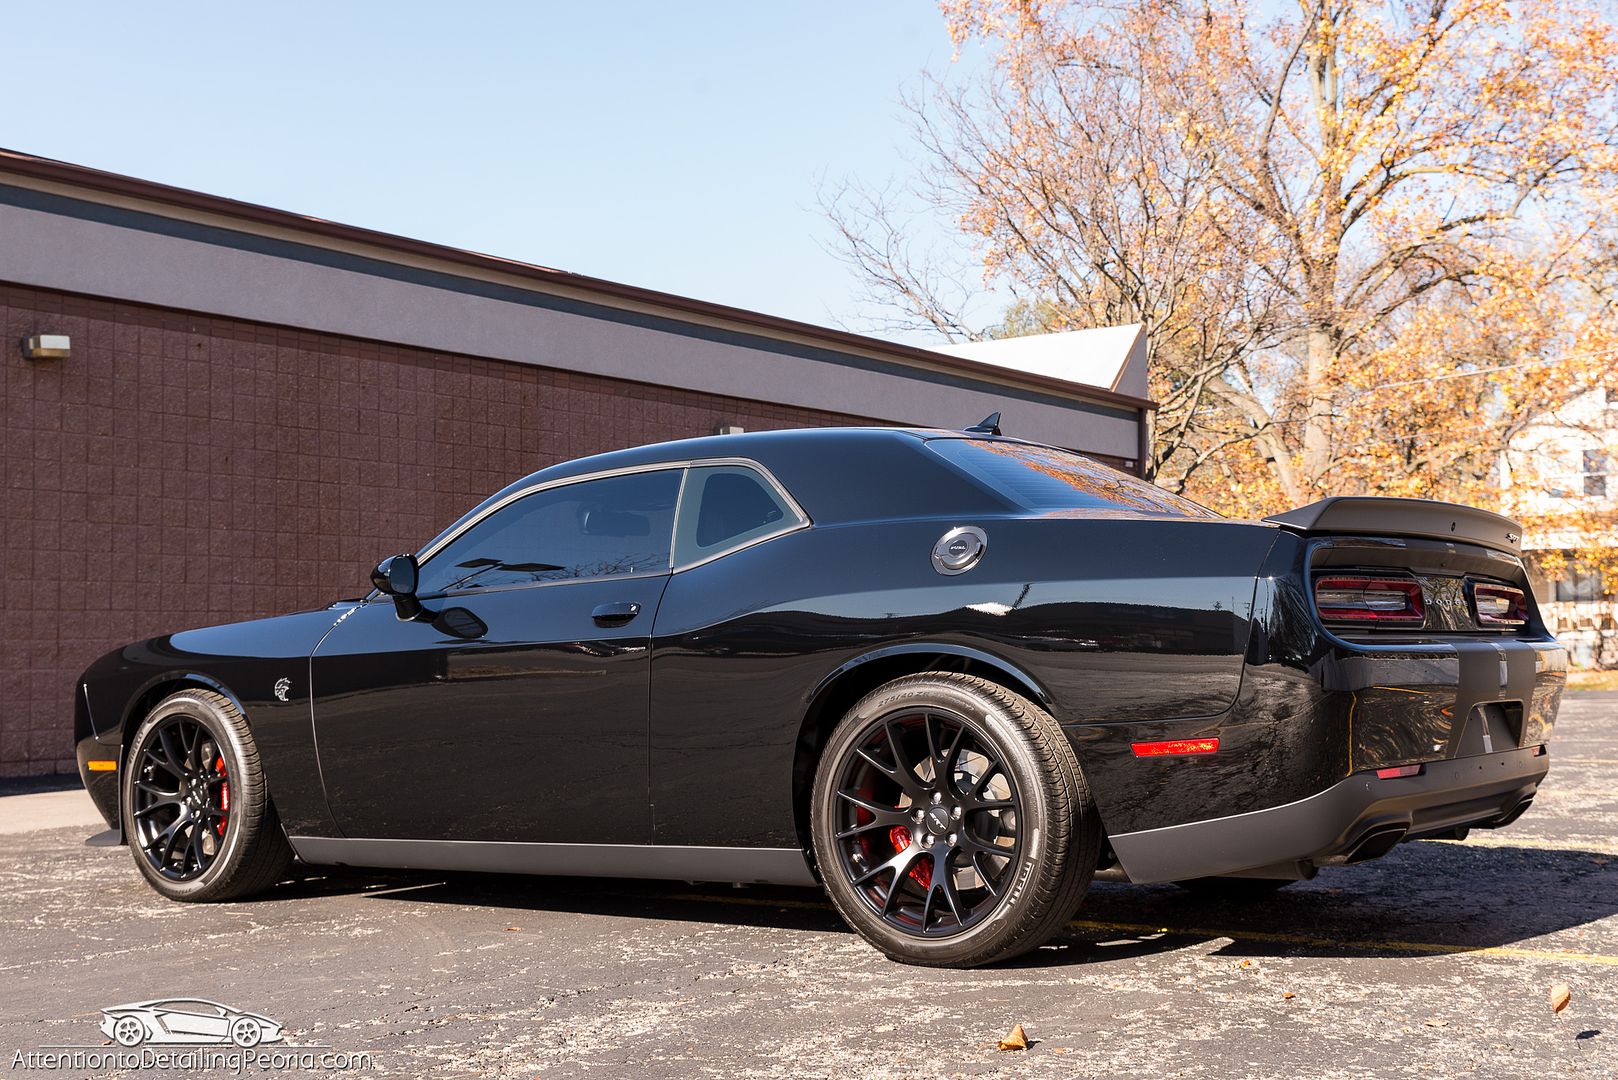
The wheel coating really made the satin finish pop
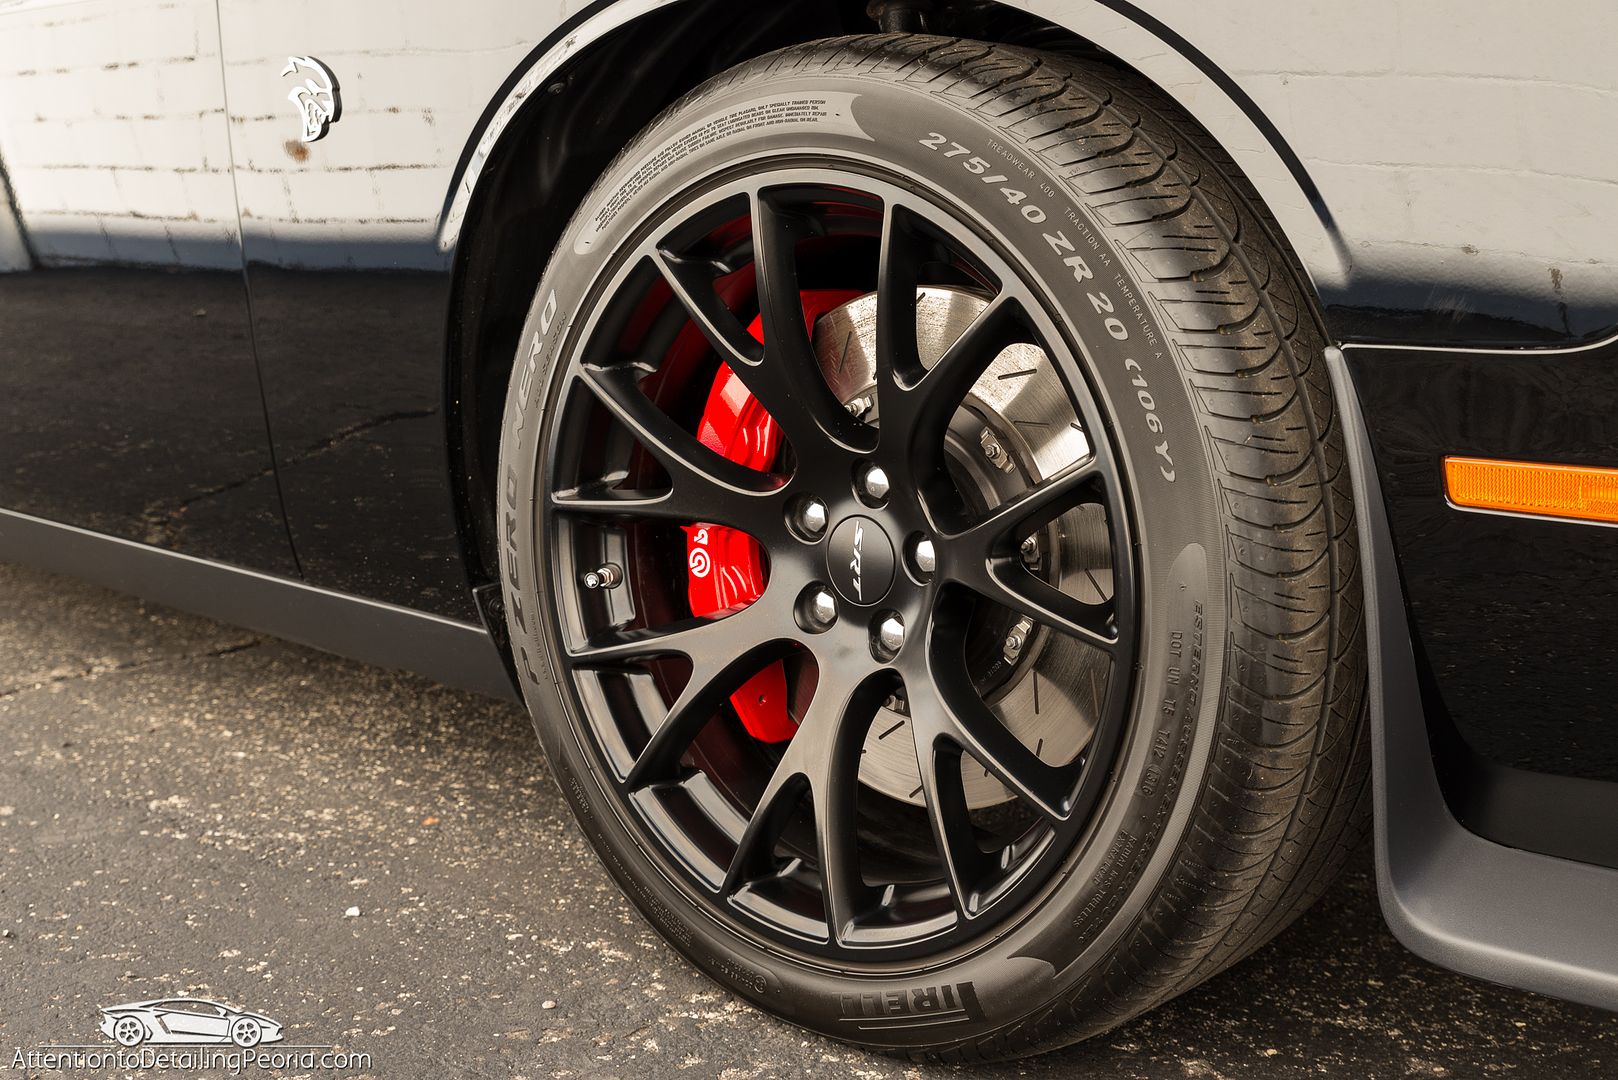
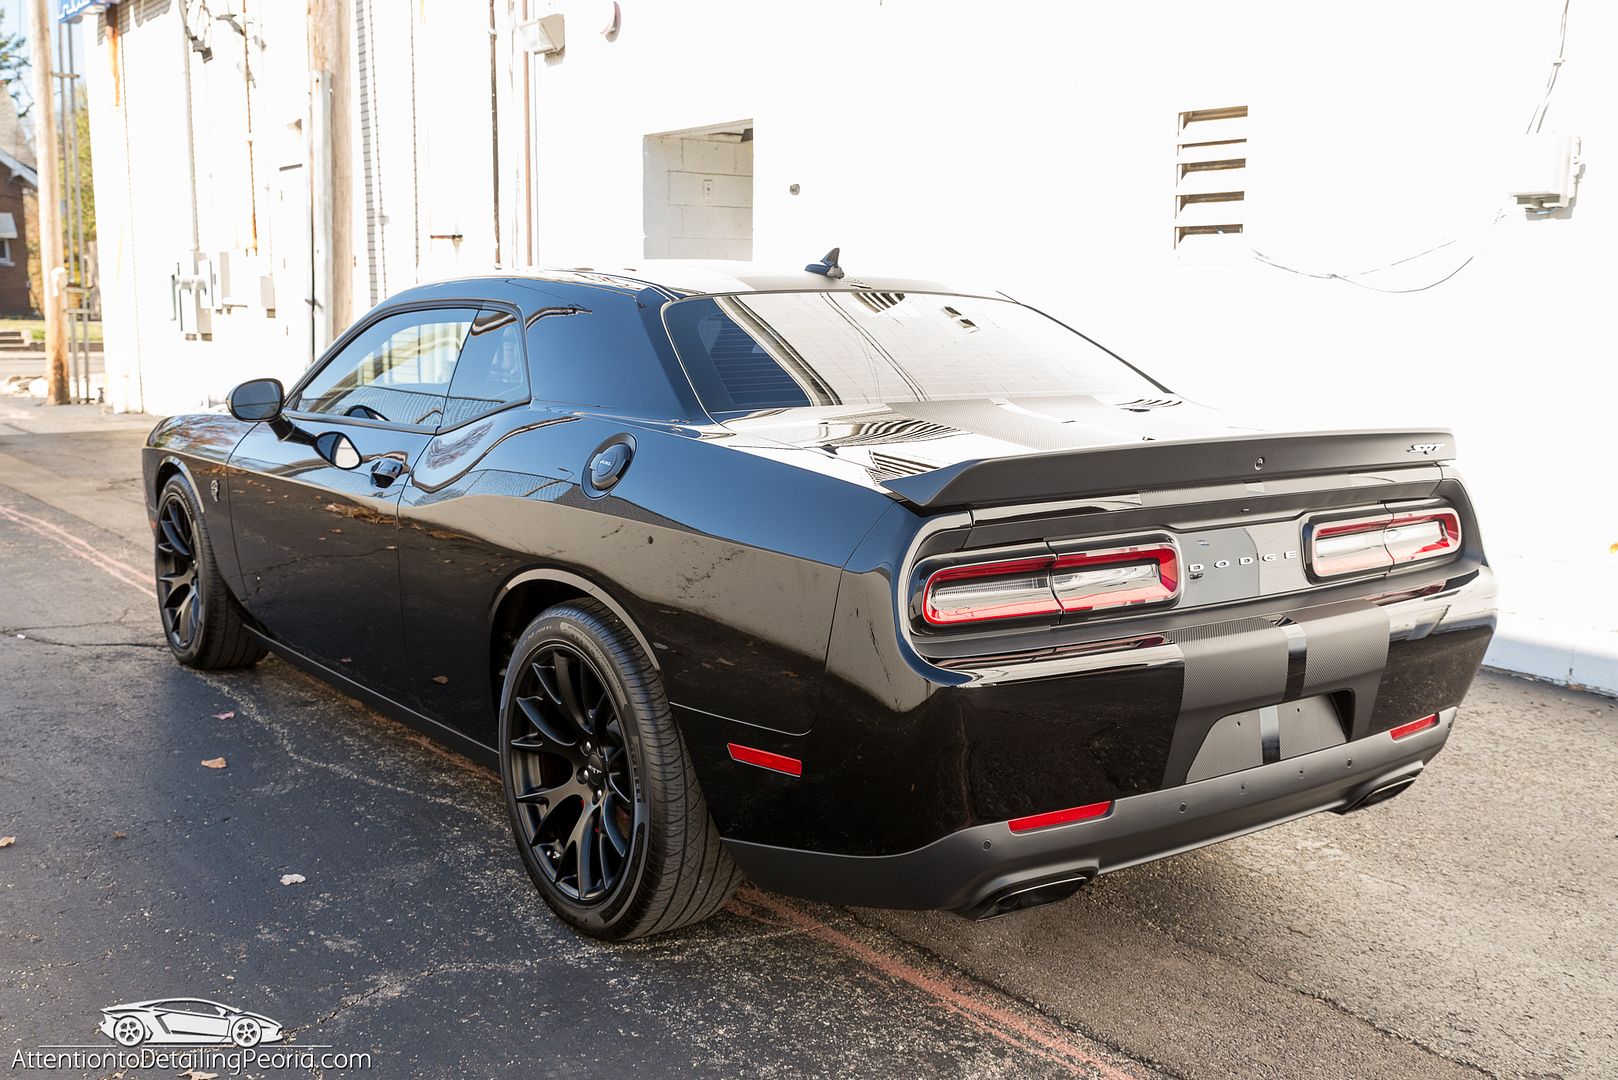
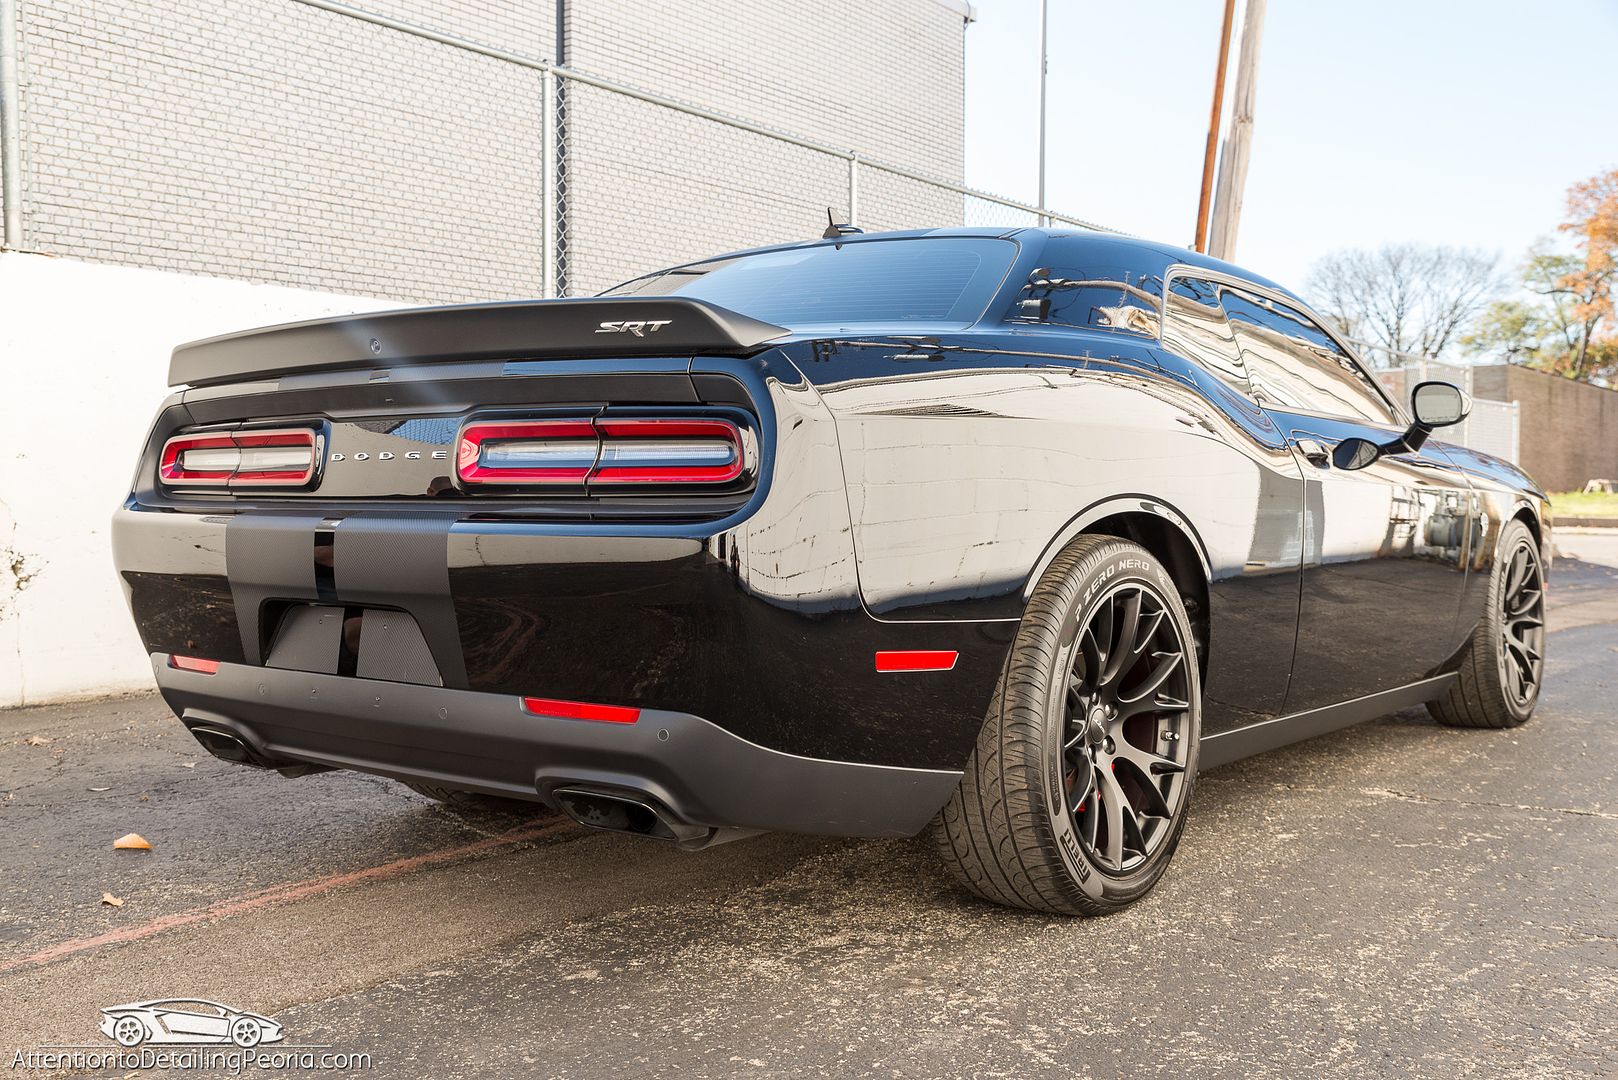
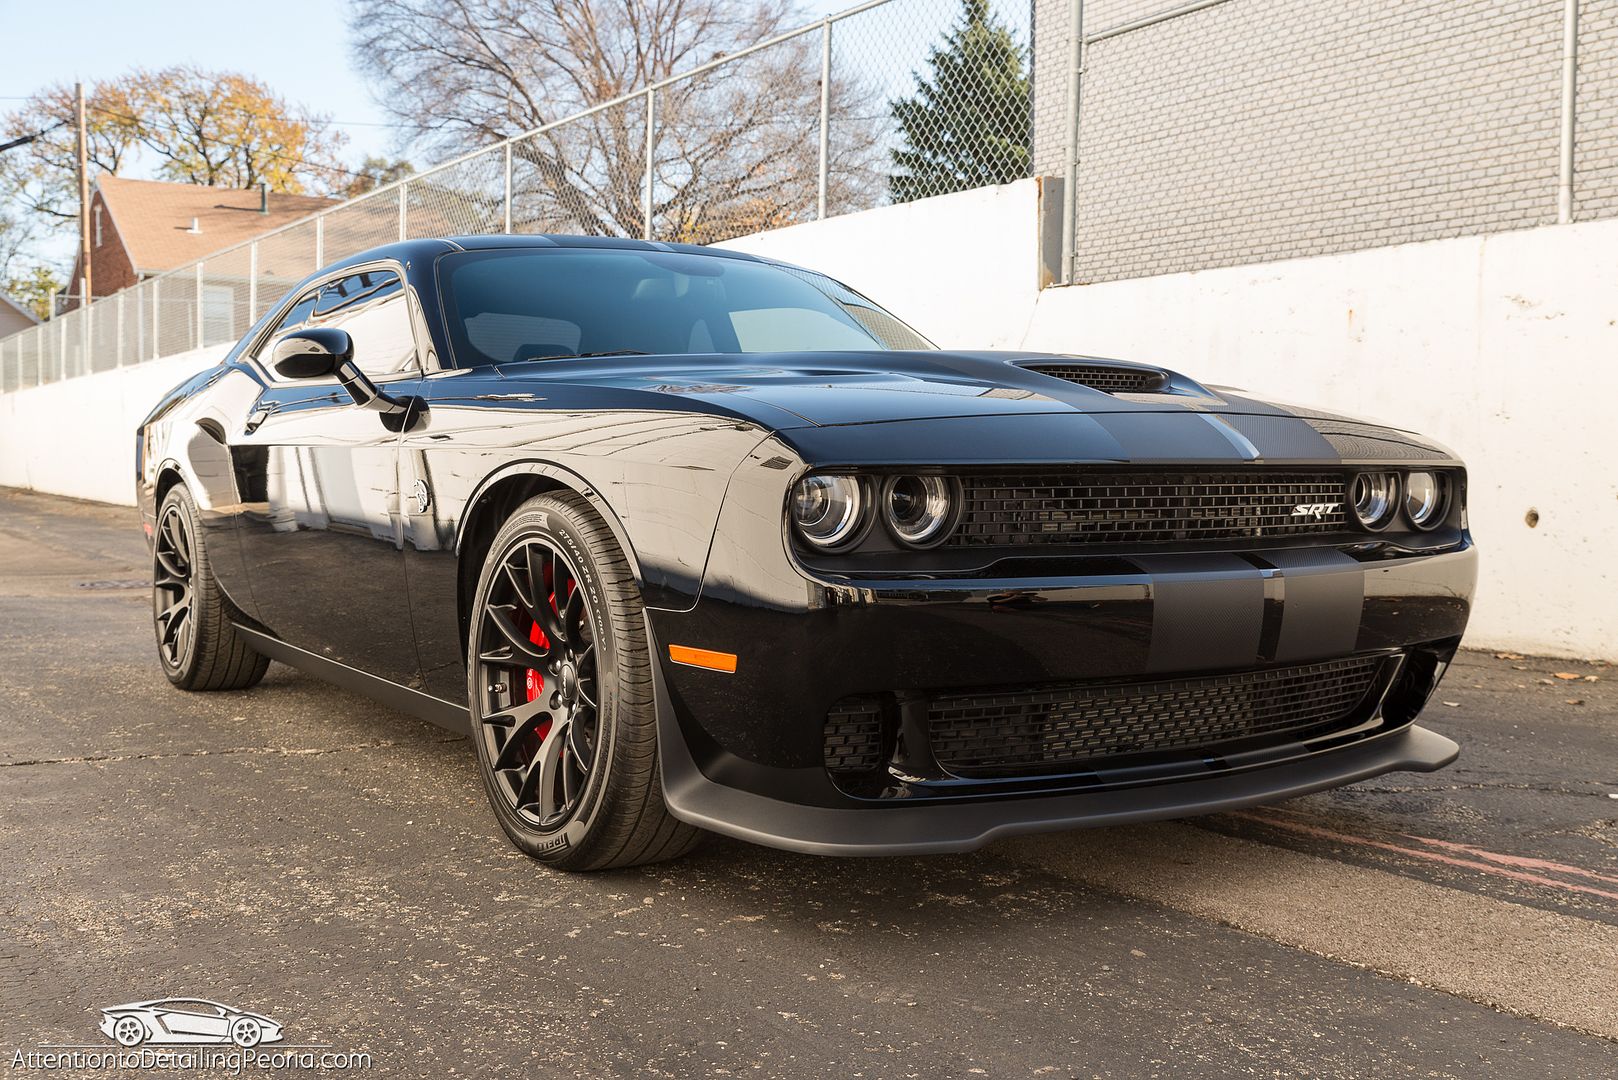
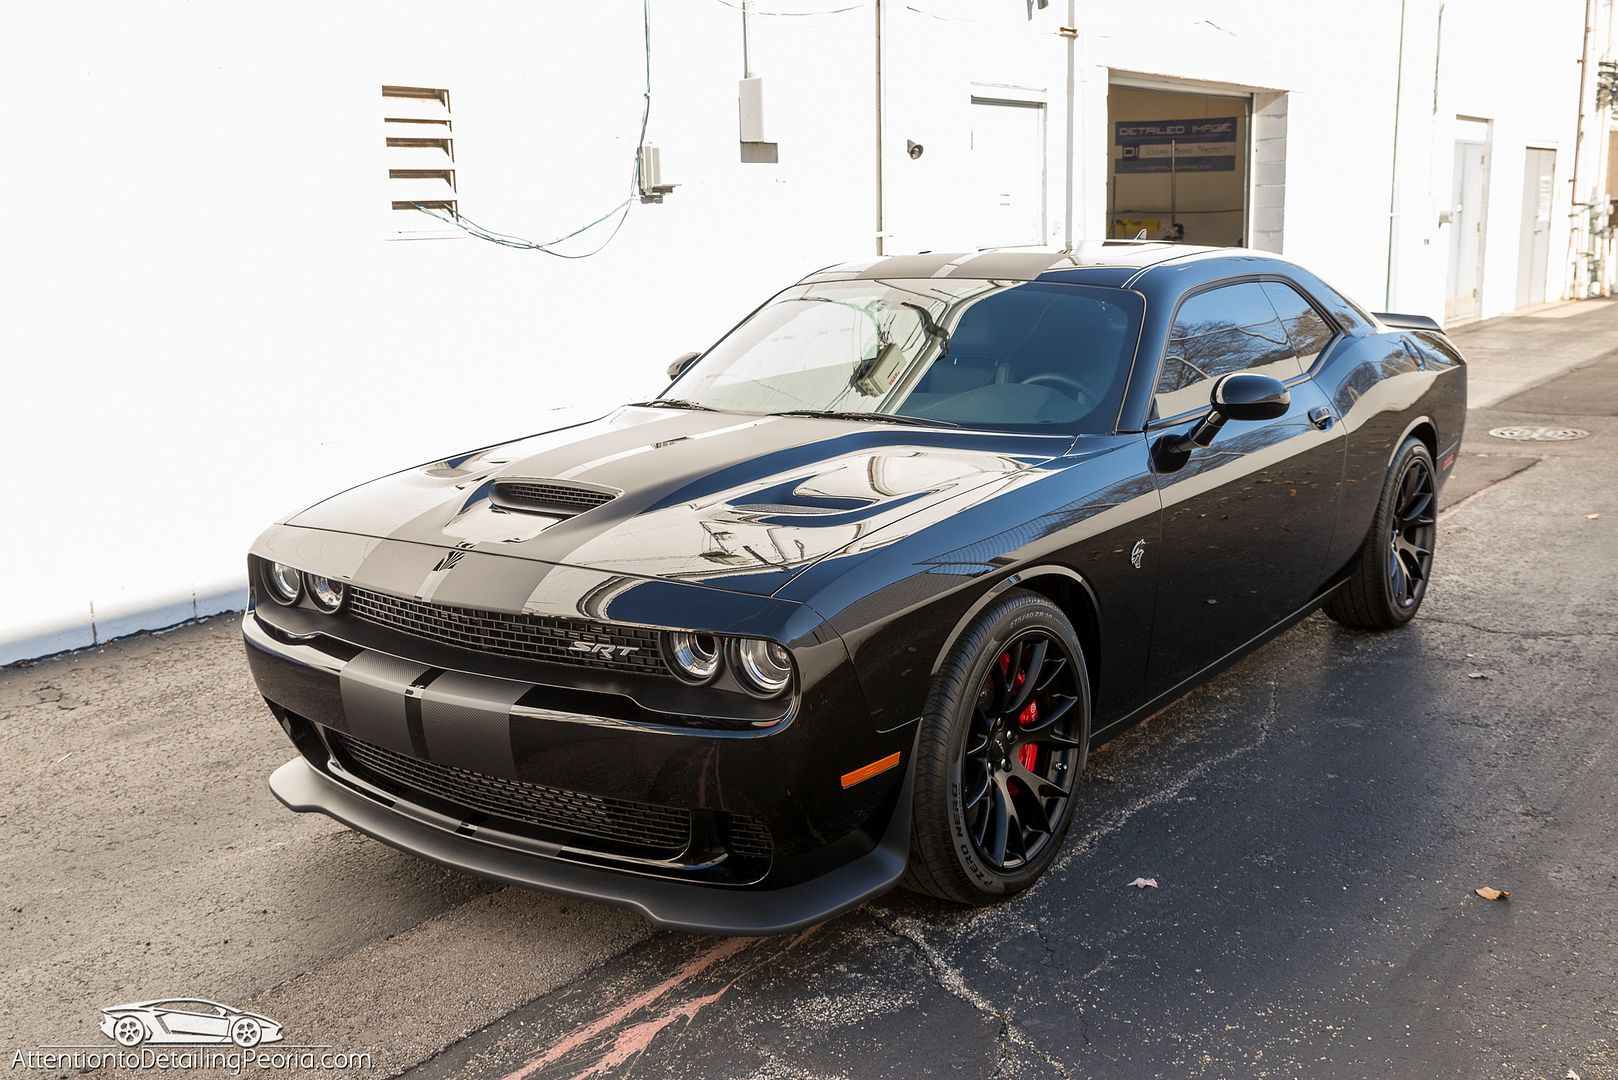
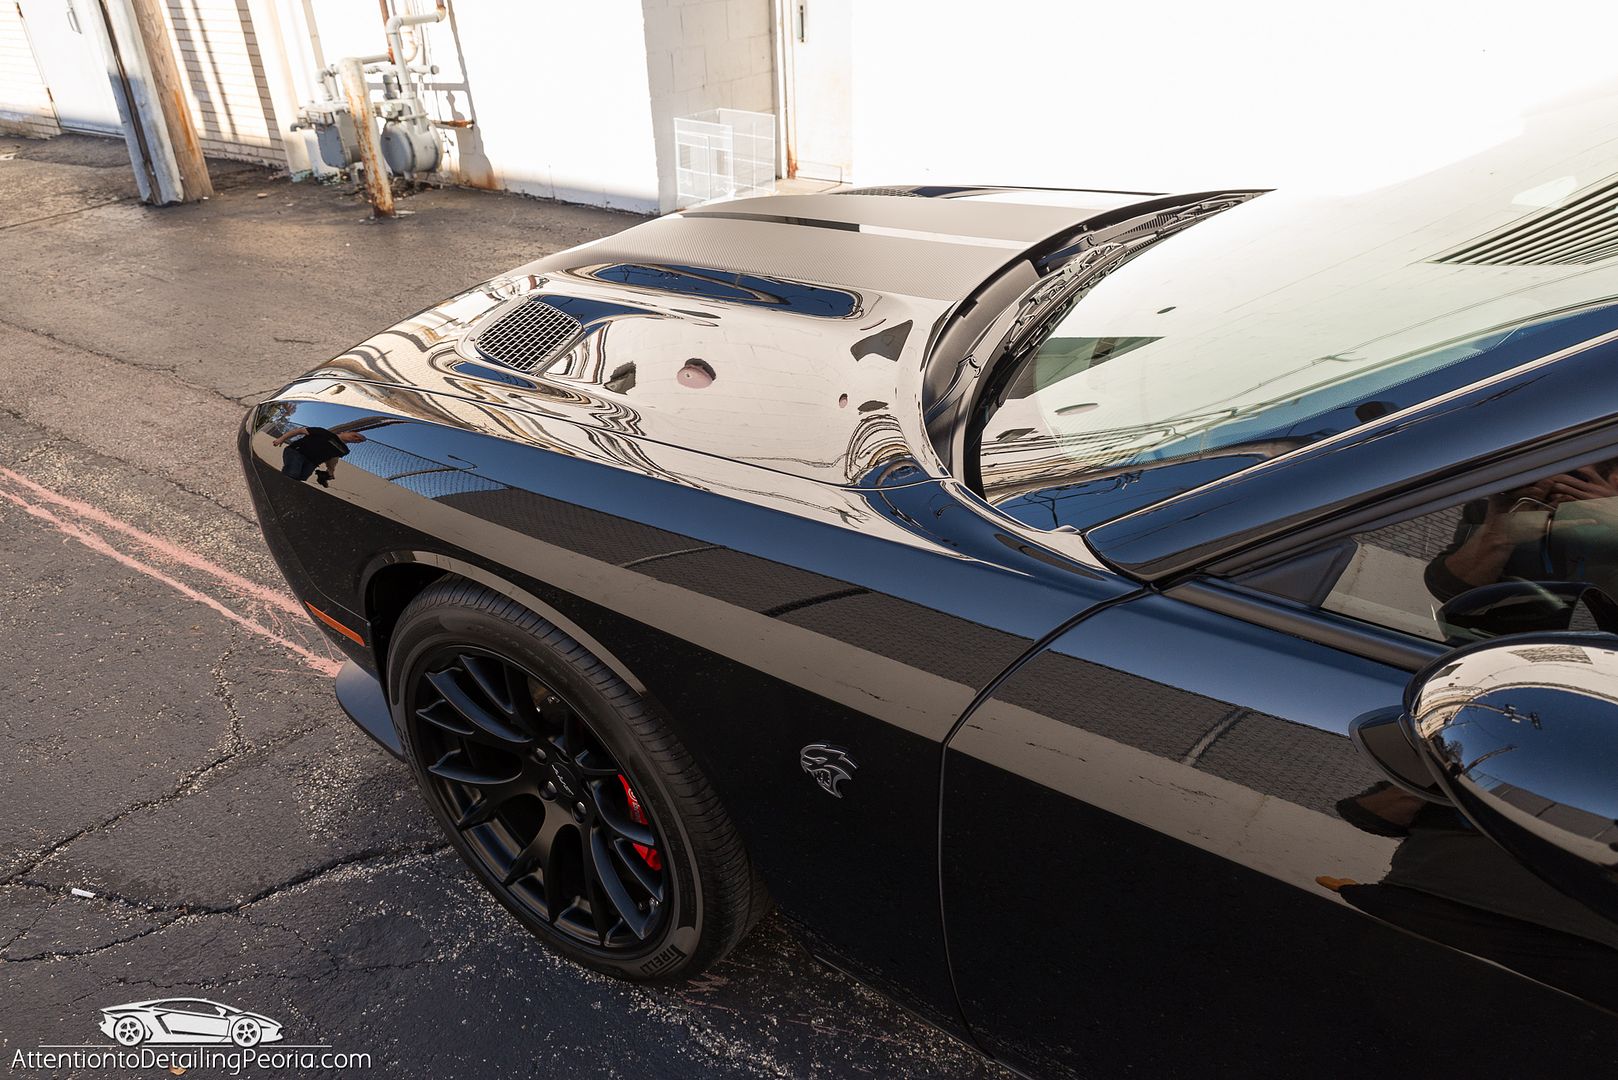
The paint, wheels, and plastic were all coated for maximum protection. The vehicle looked incredible out in the sun!
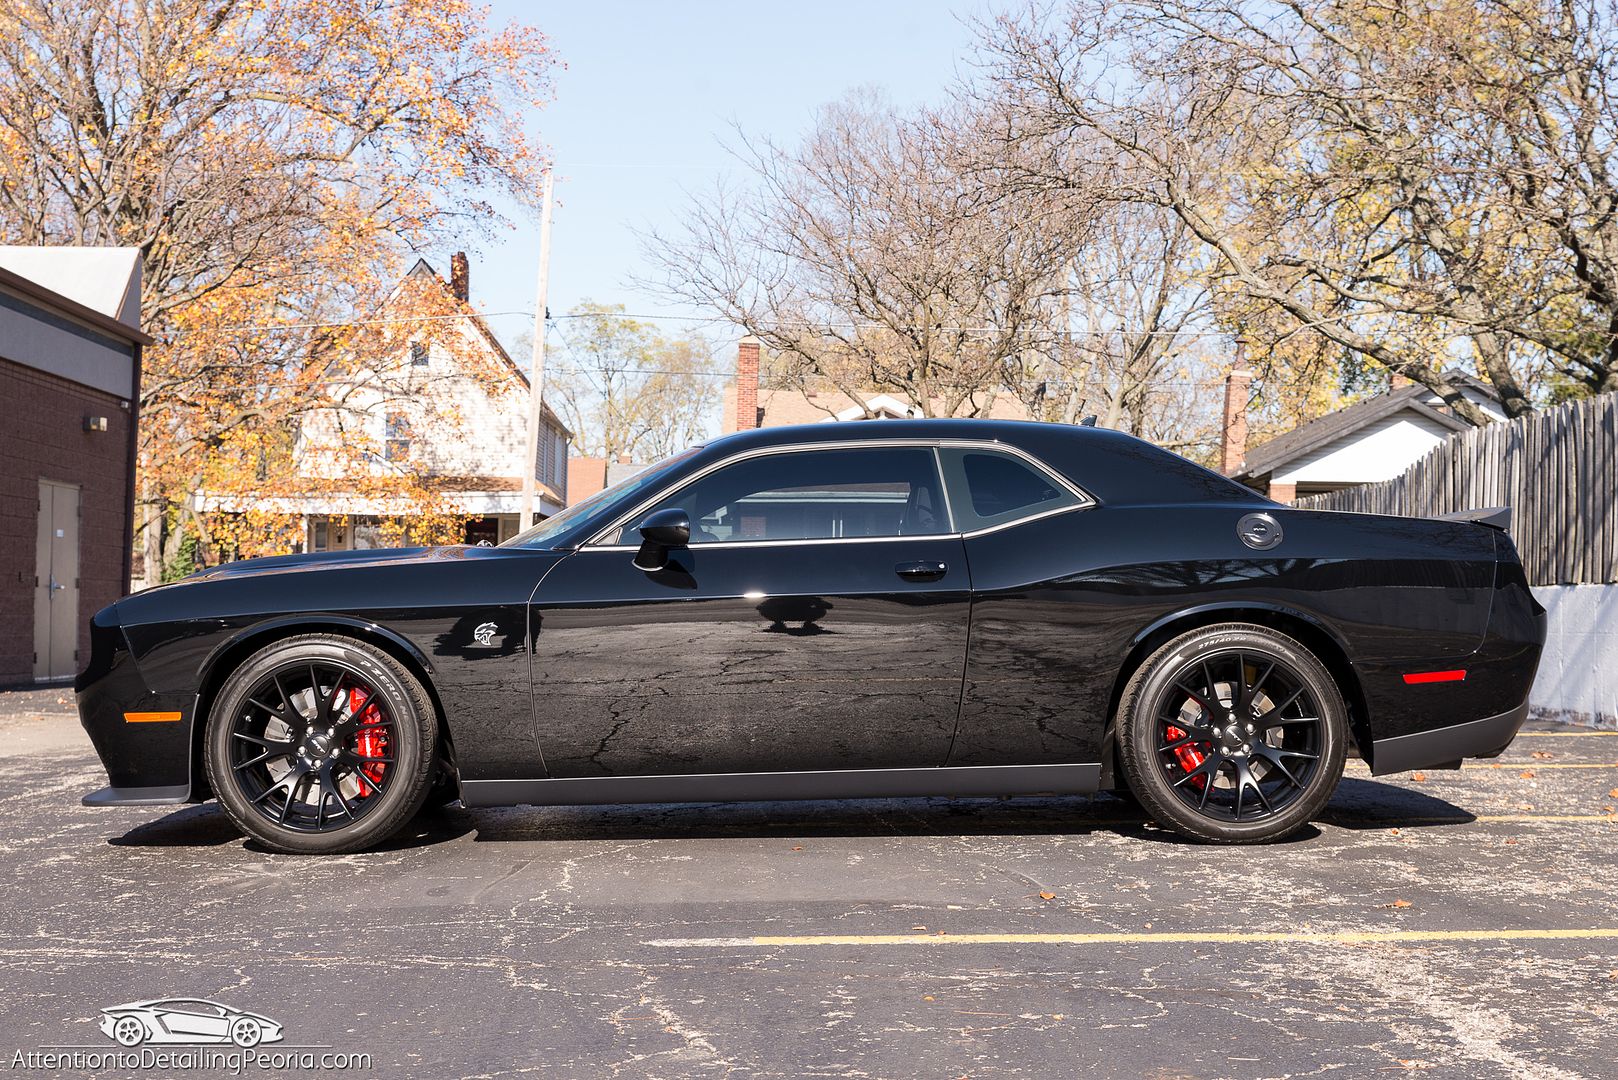

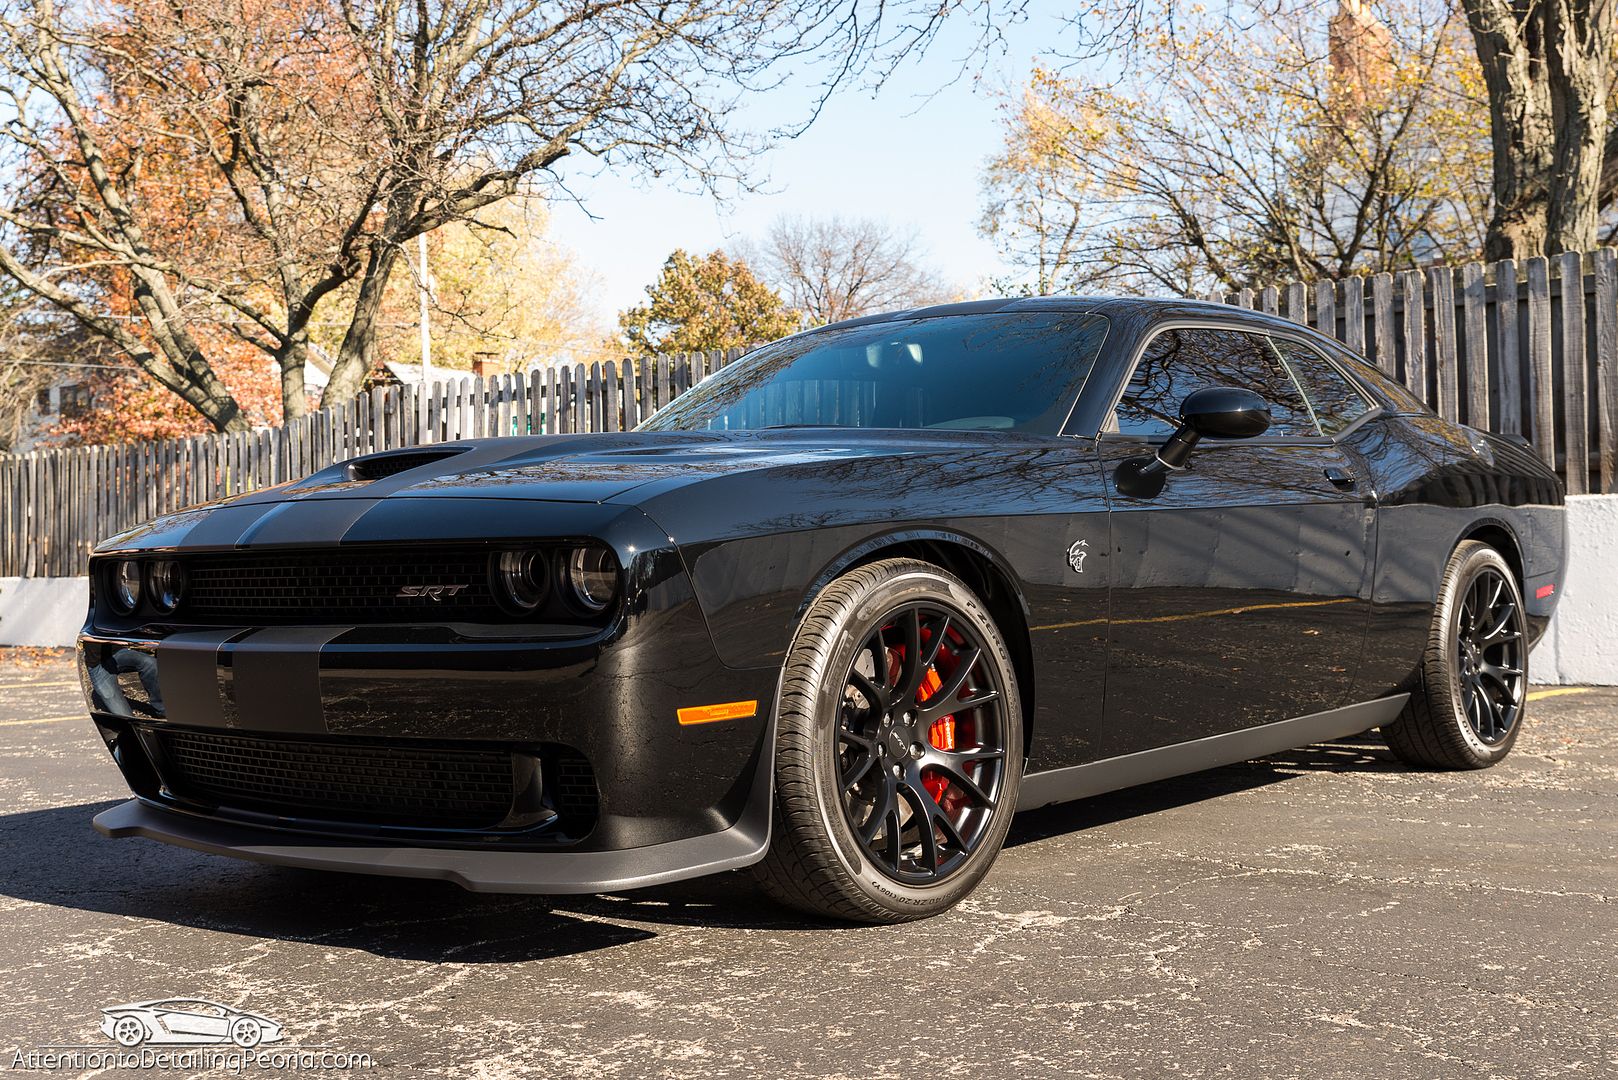
Ready for pickup!
Check out the write up for this 993 here... and one of these days I will find the time to correct and share my ISF.

I really don't drive the cars except into and out of the shop for inspection/photos, but I like to know I am trusted enough to get the bright red key even though the car never leaves 1st gear.Annnyway, onto the Show N Shine!
Process
Wash - D114
Decon - Tarminator, Fine Grade Clay w/ Nanoskin Glide for Lubrication
Dry - Waffle Weave Towels
Wheels - Meguiar's Hyper Wash & Various Brushes
Tires - Tarminator
Paint Correction - Meguiar's D300 with MF Cutting pads
Paint Polishing - HD Polish with White LC Flat Pads
Machines Used - Rupes LHR21ES MKII, Rupes LHR15ES MKII, Rupes LHR75e, Rupes iBrid Nano, Griot's BOSS G21
Surface Prep - CarPro Eraser
Paint Protection - GTechniq Crystal Serum Light
Wheel Protection - GTechniq C5
Plastic Protection - GTechniq C4
Tire Dressing - Forma RVP
Basic Interior Cleanup with Vac N Blo Pro, Various Brushes, 303, and D120
Glass - D120
... I think that covers the major parts
This vehicle was driven in from several hours away, so drop off time was the first time I had seen the condition of the paint. Per conversations with the owner prior to setting up the appointment, we were planning on a one-step paint correction prior to applying the paint coating as he was most concerned with protection rather than correction. After inspecting the paint and performing a series of test spots, I sent photos and videos to the owner to see if he would be pleased with the 1 step results...... well if you read the process listed above, you already know this turned into a 2 step paint correction. We were given the green light to go for flawless! Yippee
This low mileage vehicle showed signs of improper maintenance (pardon the lint). There was a good amount of swirl marks and scratches throughout the vehicle, and as we have seen on every 2016 Hellcat to date, there were also a fair amount of sanding marks.
This paint is quite soft, and therefore the compounding stage leaves quite a bit of marring.
Thankfully we have this process down to a science now and can restore proper clarity with our finish polishing.
50/50 shot showing a corrected panel vs. uncorrected.
Wheels were removed for a proper cleaning
Wheel wells prior to clean up
After cleaning
The wheel coating really made the satin finish pop
The paint, wheels, and plastic were all coated for maximum protection. The vehicle looked incredible out in the sun!
Ready for pickup!
Check out the write up for this 993 here... and one of these days I will find the time to correct and share my ISF.
")