scottmoyer
New member
- Dec 27, 2011
- 31
- 0
A few months back, I mentioned that I have a 2017 Mustang GT that had hard water damage. I had a local detailer wetsand the factory paint down to 1200 to remove the marks, and it didn't work. Ford would not replace the car and would only authorize a complete repaint of the car since the damage covered all panels. The car was completely sanded and repainted. The shop did a great job, but...
When I got the car home, I noticed swirl marks and sanding marks that weren't polished out by the shop. I tried fixing it with my Porter Cable, Meguiar's 100 compound and a Lake Country CCS orange pad, Meguiar's 205 polish and a Lake Country CCS white pad. I got the majority of the finish looking good, but it's still not where I want it to be. The car has too many hard curves for this setup.
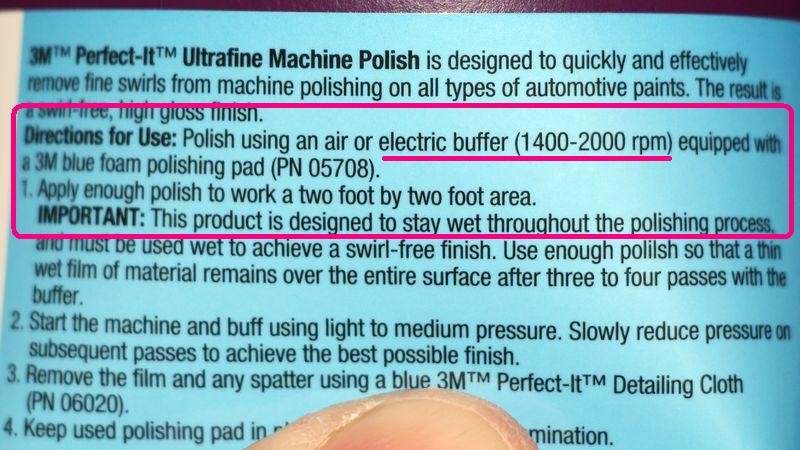
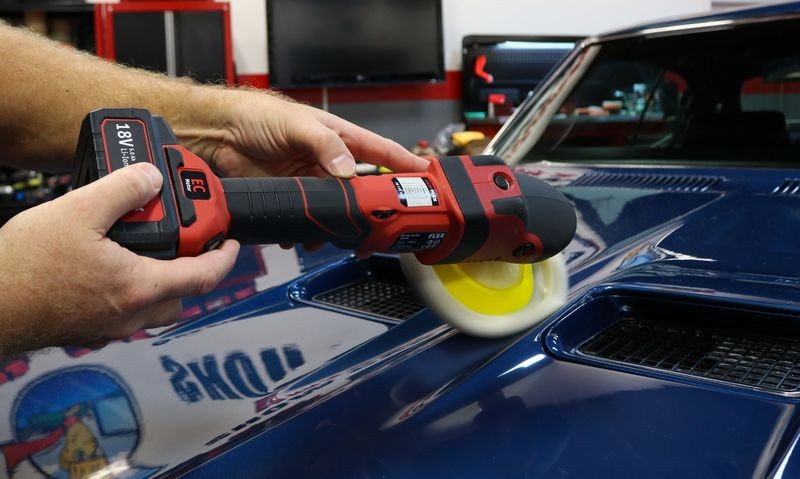
My question, should I continue using the setup I have been, but tape things up and just use more pressure and more compounds, or should I use my Flex with the wool pad/compound and the foam pad/polish? The Flex uses an 8" 3M wool pad and the 8" Perfect-It foam polishing pad. My thought is that these pads can compound/polish with their edges, where the Porter Cable doesn't seem to rotate well in the tight places and is leaving the original swirls still in the tight places.
I already worked the hood and roof with the porter cable (3x), but the sides and the A/B pillars need more. What am I doing wrong where I still see swirls after compounding and polishing?
Hood (looks great):

From 10 feet away after repaint:

When I got the car home, I noticed swirl marks and sanding marks that weren't polished out by the shop. I tried fixing it with my Porter Cable, Meguiar's 100 compound and a Lake Country CCS orange pad, Meguiar's 205 polish and a Lake Country CCS white pad. I got the majority of the finish looking good, but it's still not where I want it to be. The car has too many hard curves for this setup.
My question, should I continue using the setup I have been, but tape things up and just use more pressure and more compounds, or should I use my Flex with the wool pad/compound and the foam pad/polish? The Flex uses an 8" 3M wool pad and the 8" Perfect-It foam polishing pad. My thought is that these pads can compound/polish with their edges, where the Porter Cable doesn't seem to rotate well in the tight places and is leaving the original swirls still in the tight places.
I already worked the hood and roof with the porter cable (3x), but the sides and the A/B pillars need more. What am I doing wrong where I still see swirls after compounding and polishing?
Hood (looks great):
From 10 feet away after repaint:


")