Mike Phillips
Active member
- Dec 5, 2022
- 51,004
- 7
- Thread starter
- #21
More....
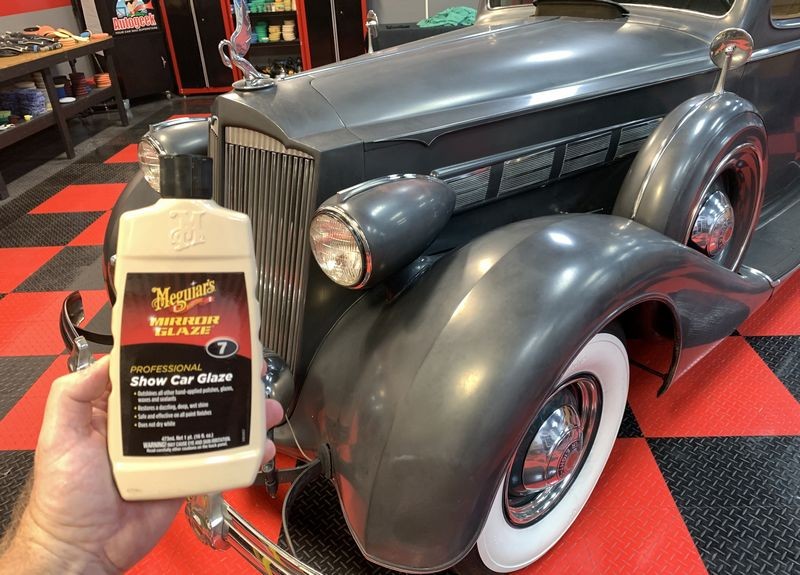
For those reading this into the future, here's the link to my original article on #7
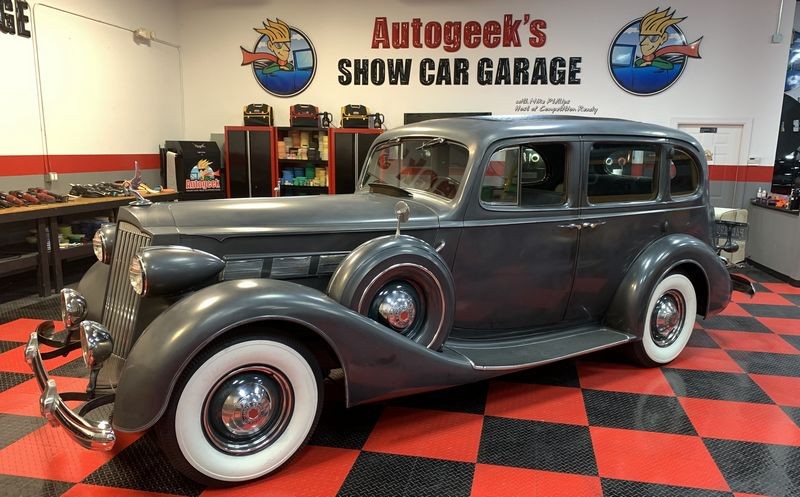
The Secret to Removing Oxidation and Restoring a Show Car Finish to Antique Single Stage Paints
There are more here,
All Mike Phillips #7 Show Car Glaze Articles in one place
")
For those reading this into the future, here's the link to my original article on #7
The Secret to Removing Oxidation and Restoring a Show Car Finish to Antique Single Stage Paints
There are more here,
All Mike Phillips #7 Show Car Glaze Articles in one place