Hello all,
This thread is going to serve as my personal log where I am going to keep track of my own personal vehicles and any other jobs I find myself doing (detailing related only of course.)
Cars currently in Snax's garage:
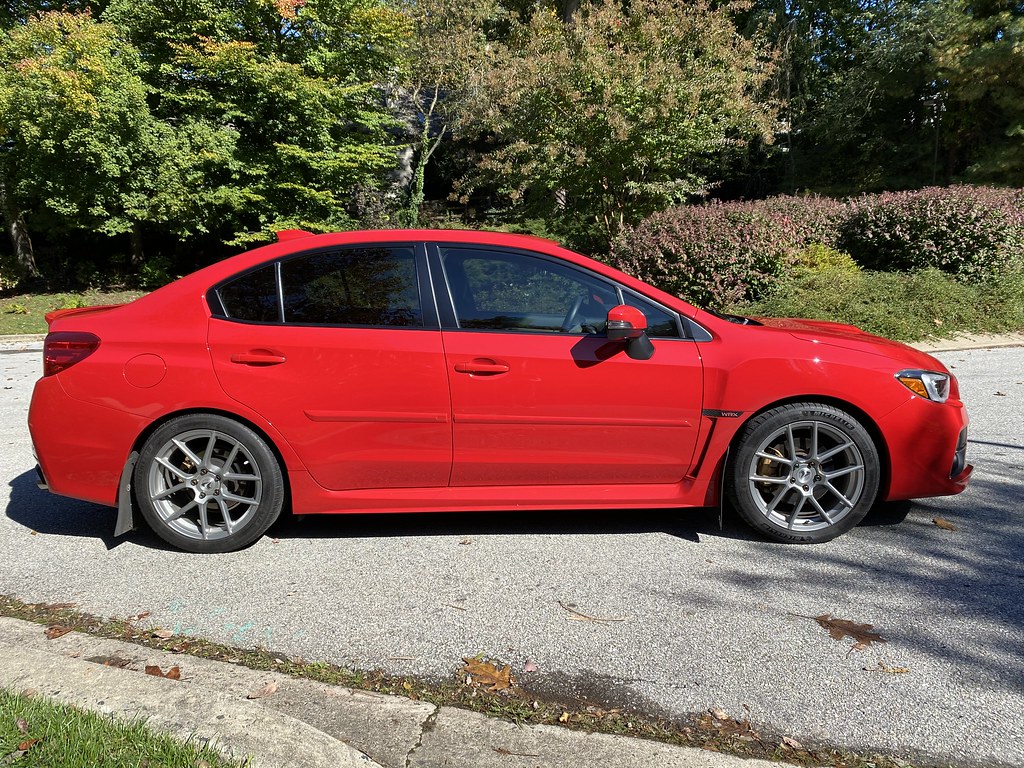
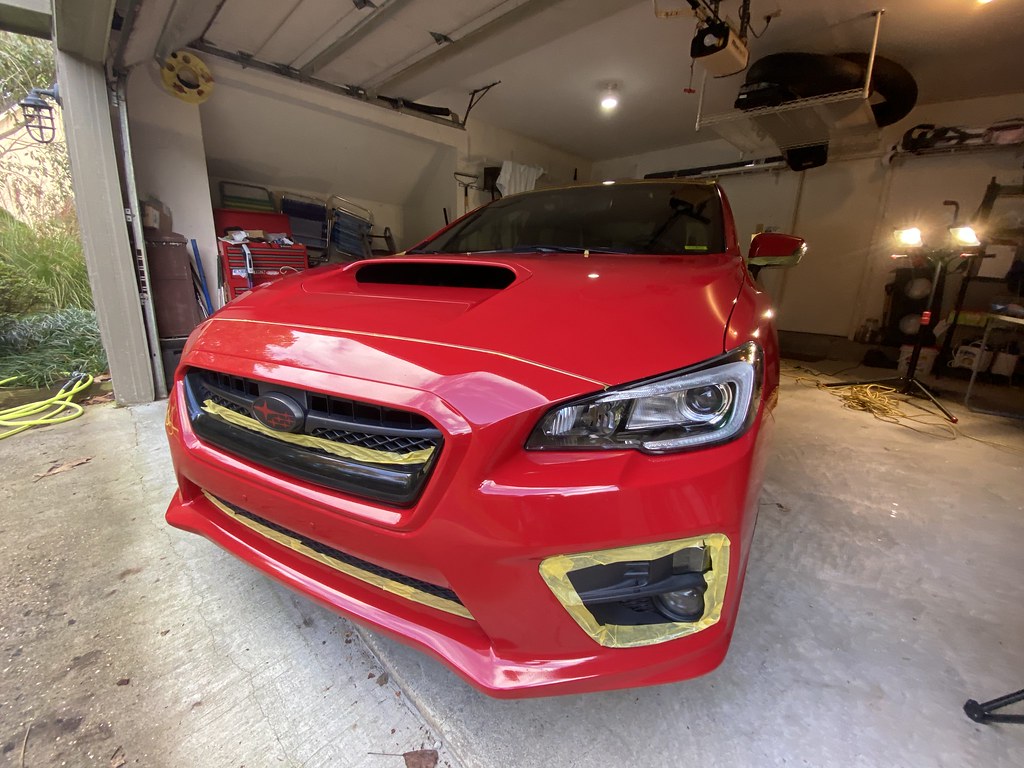
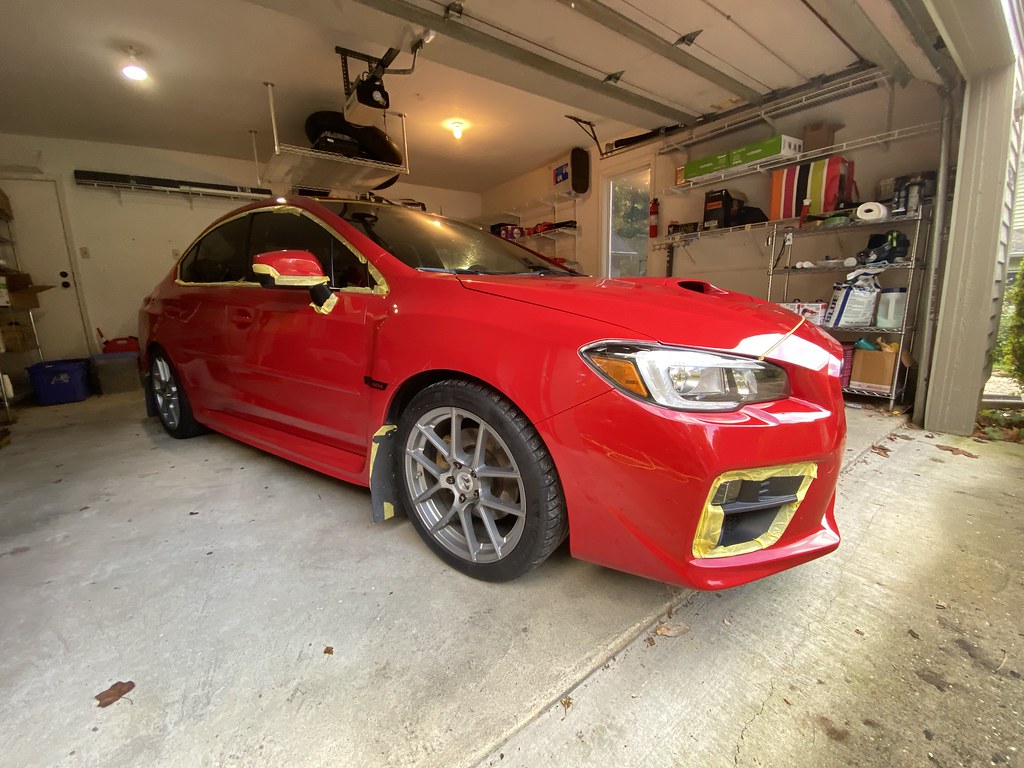
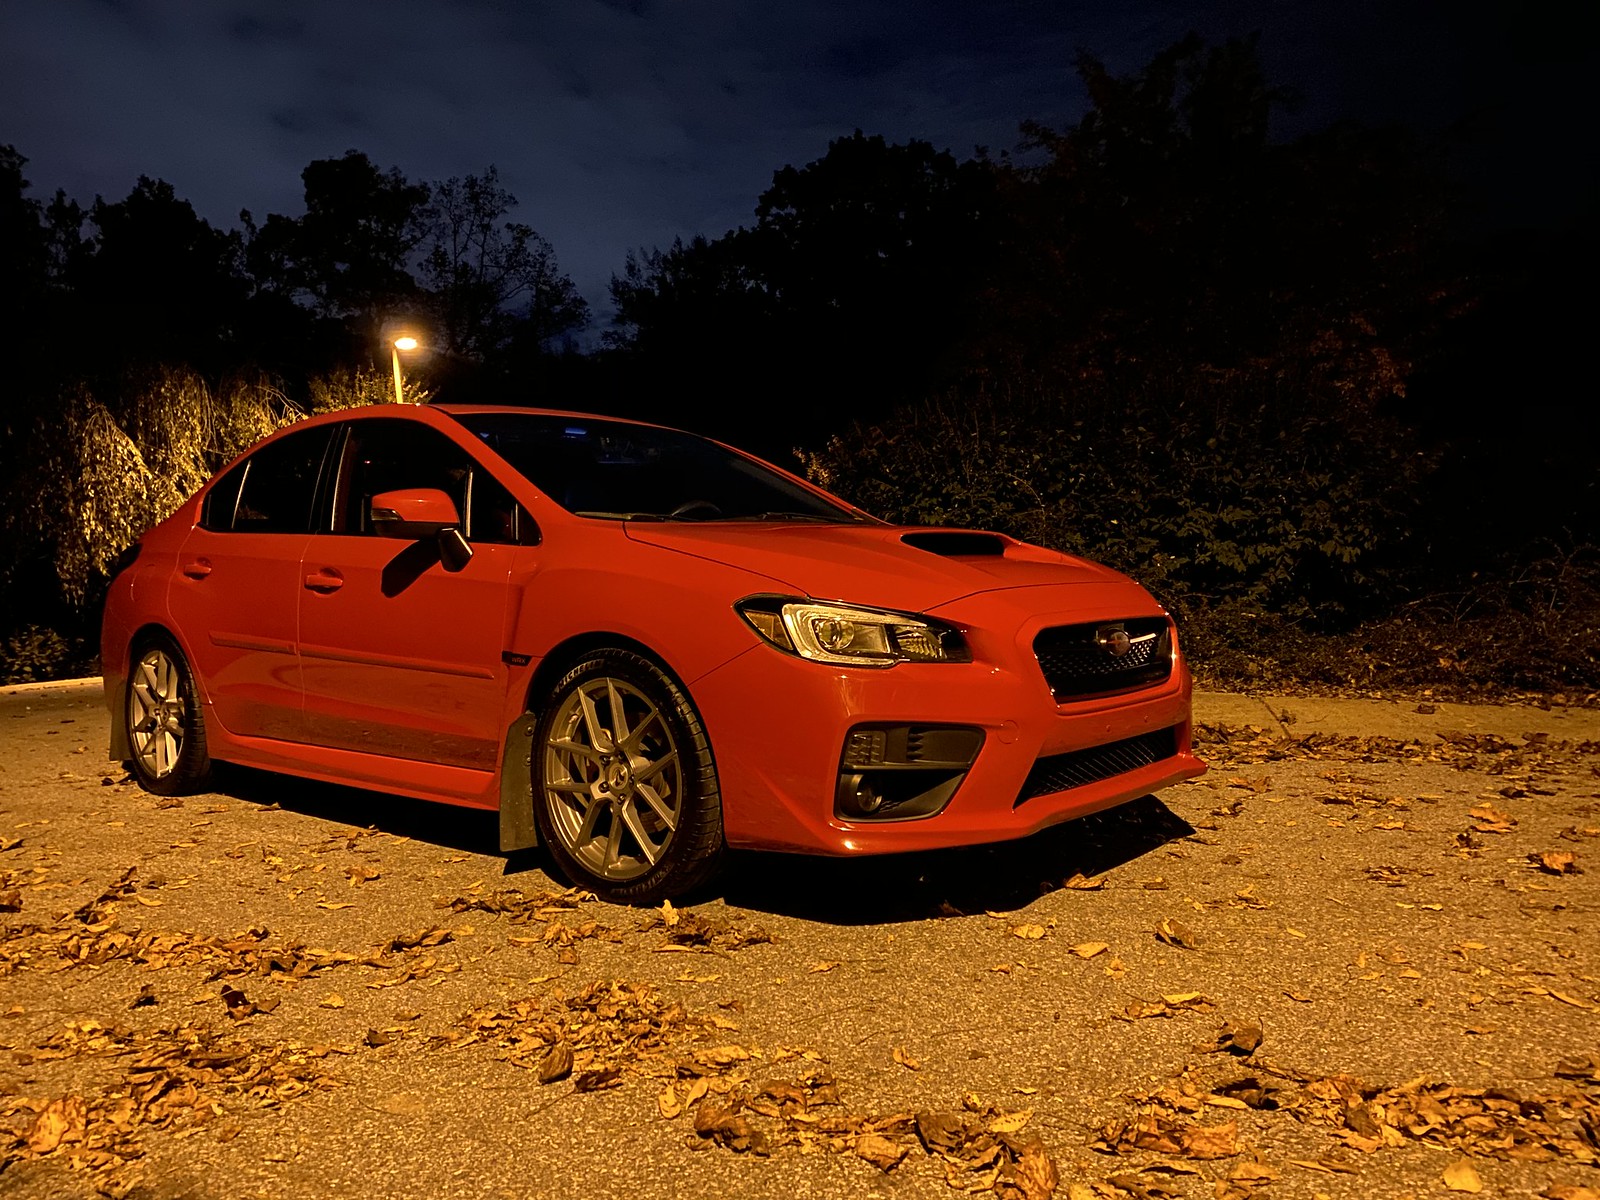
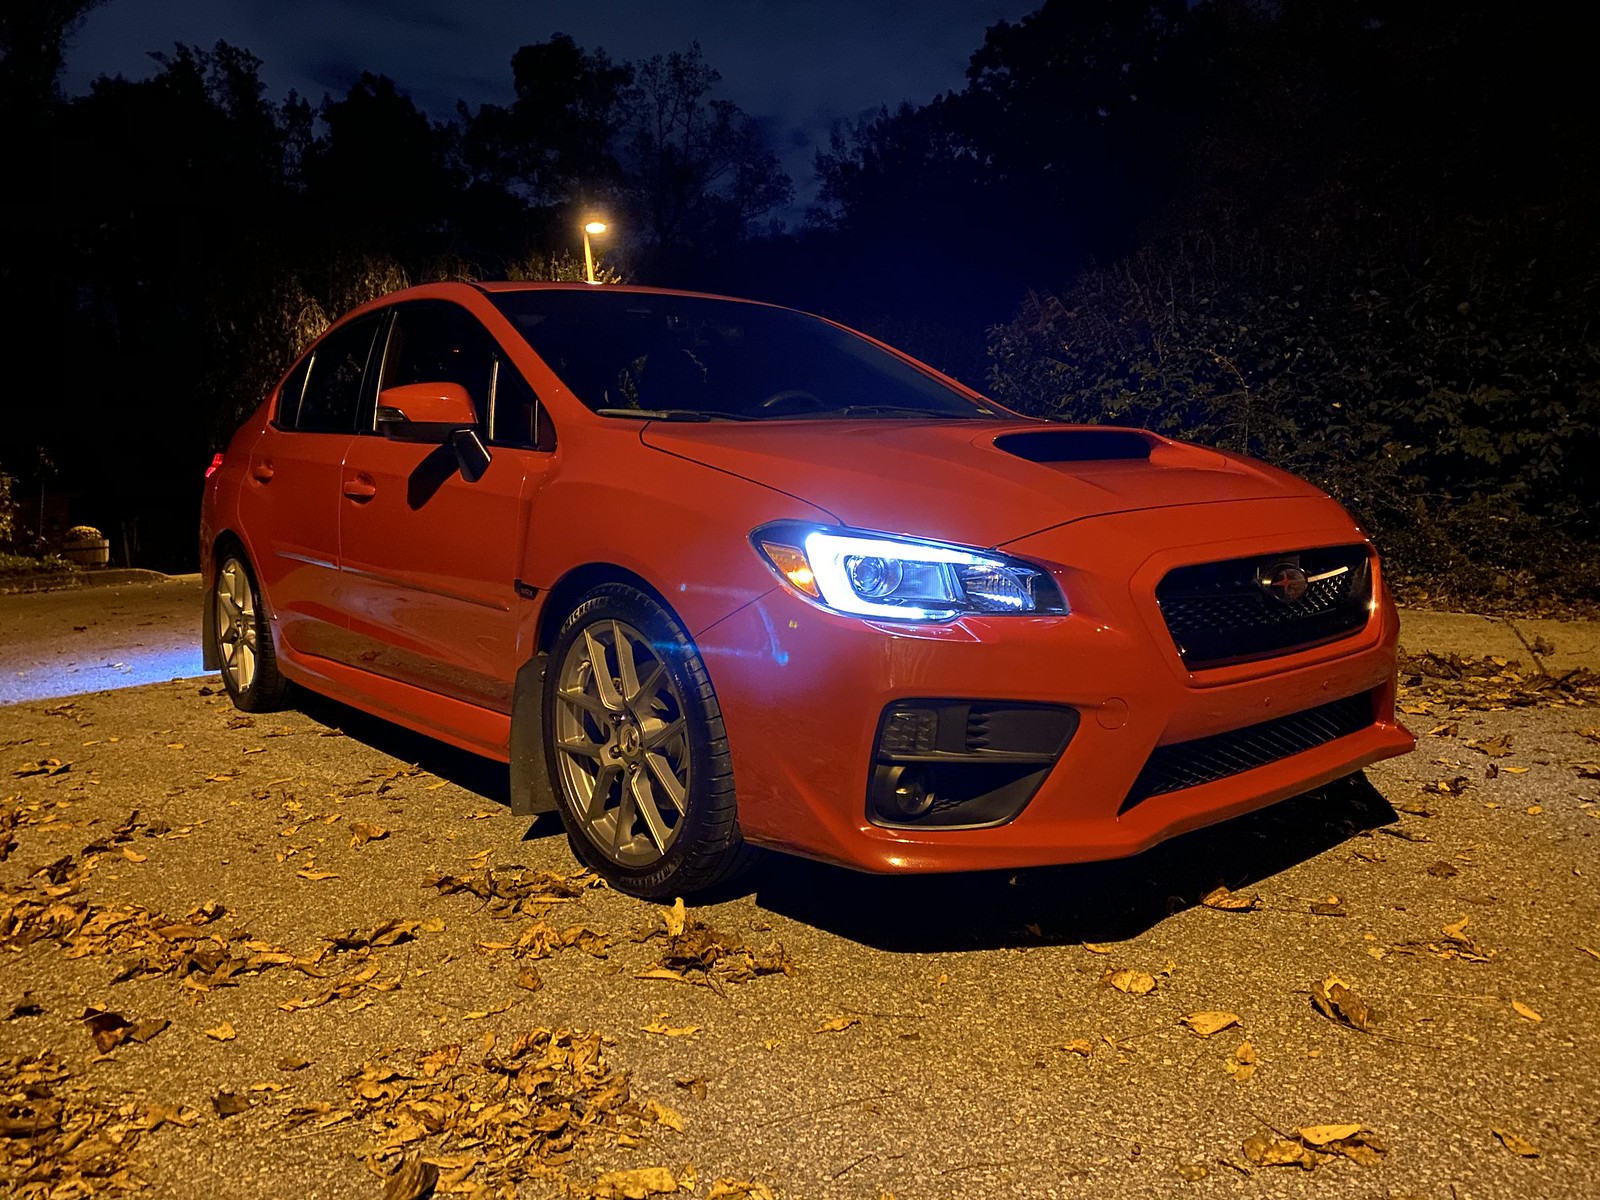
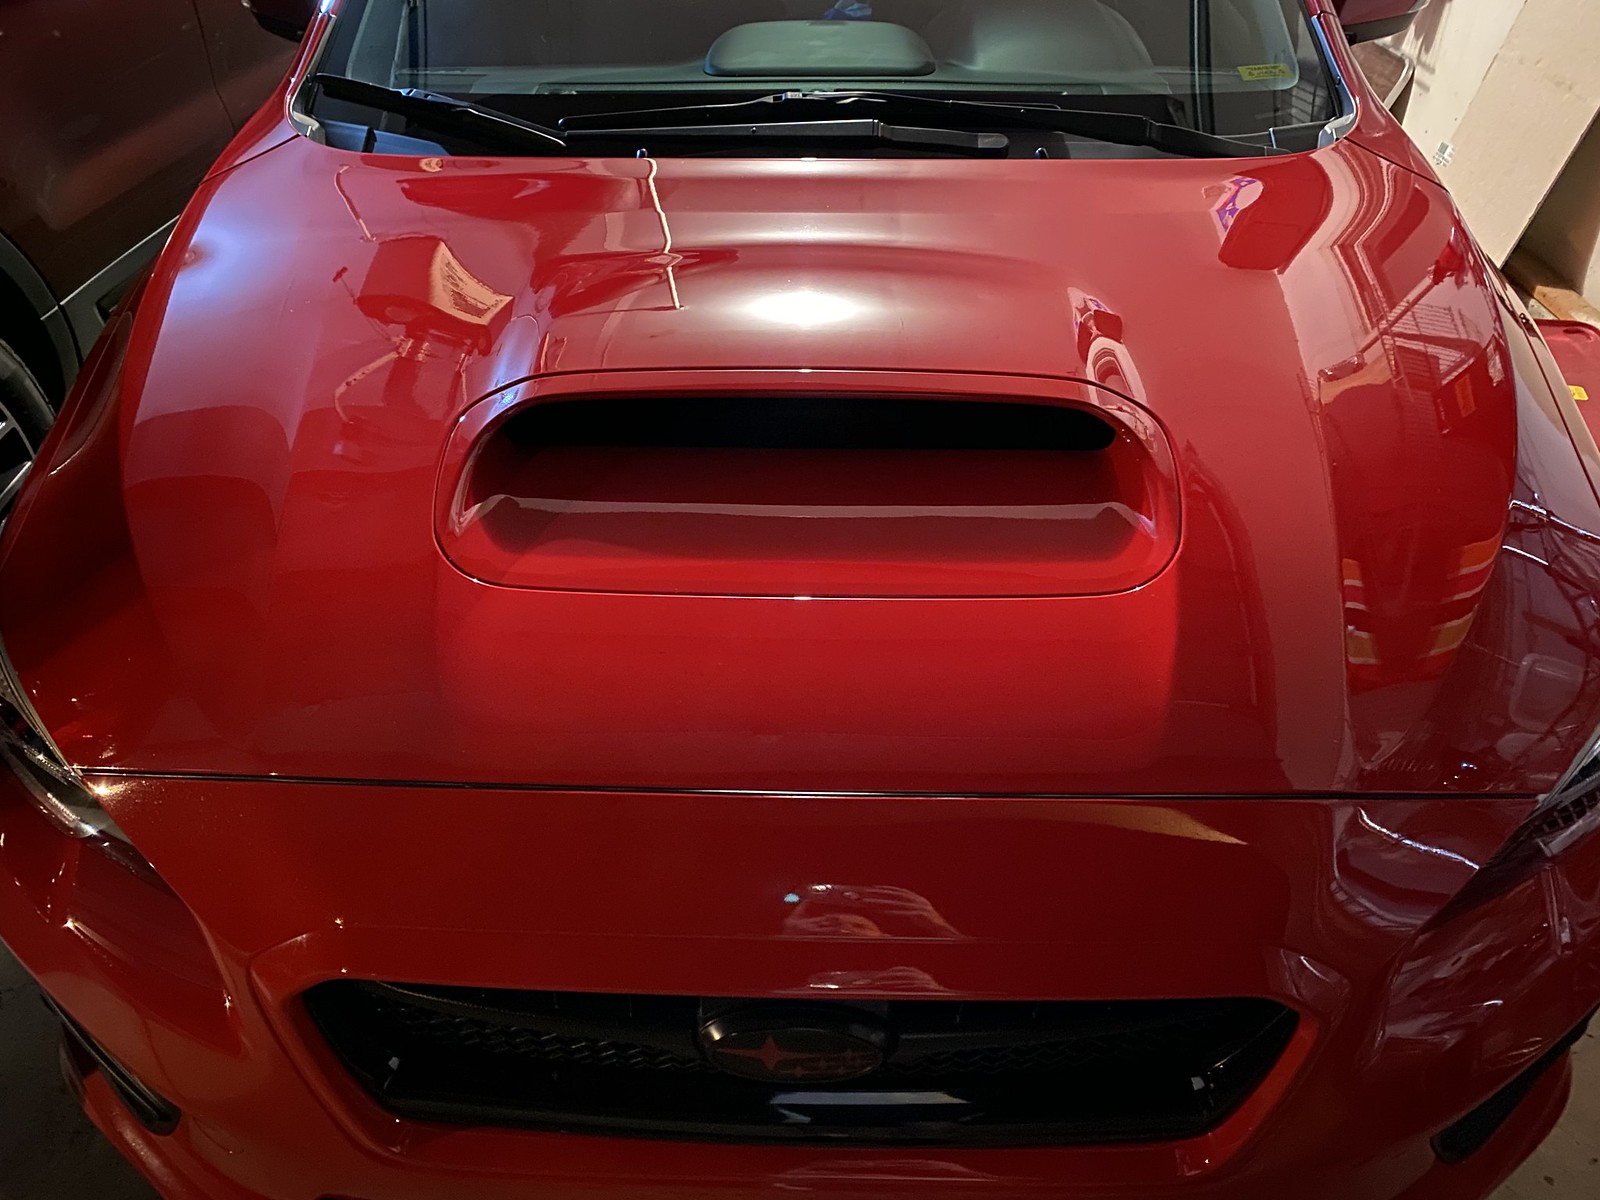
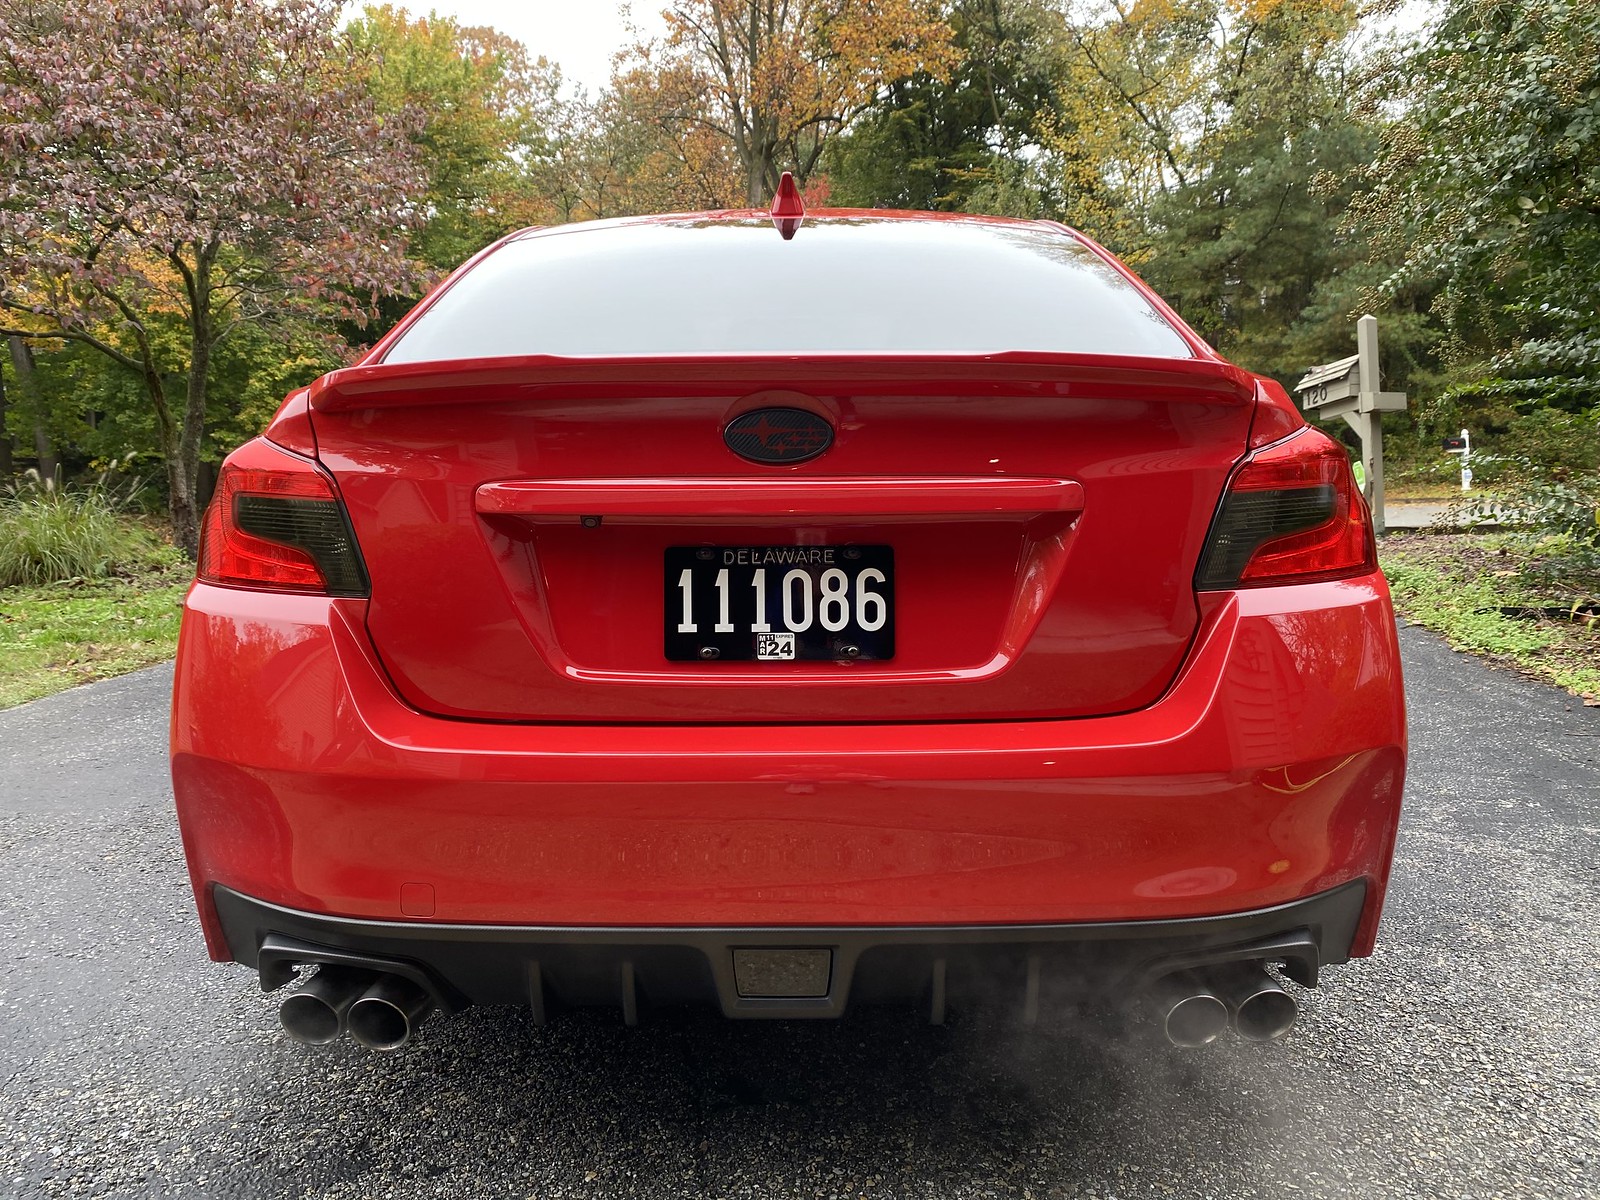
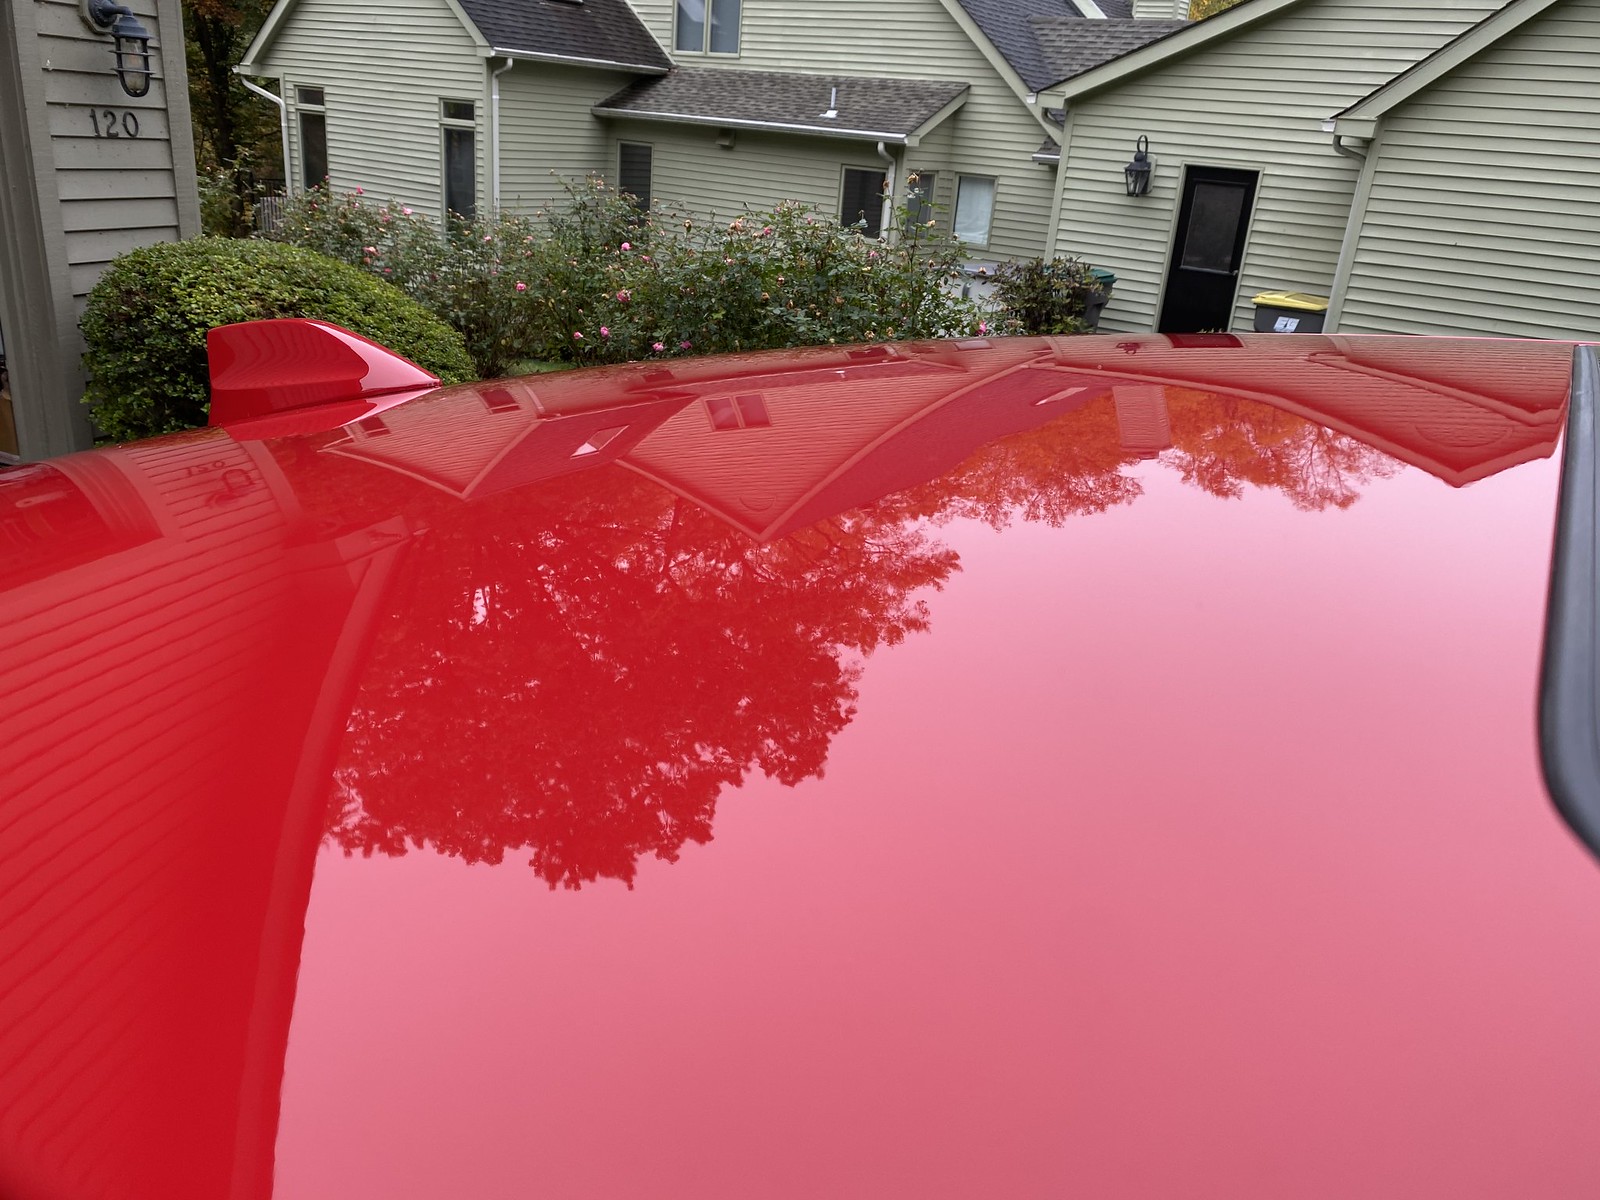
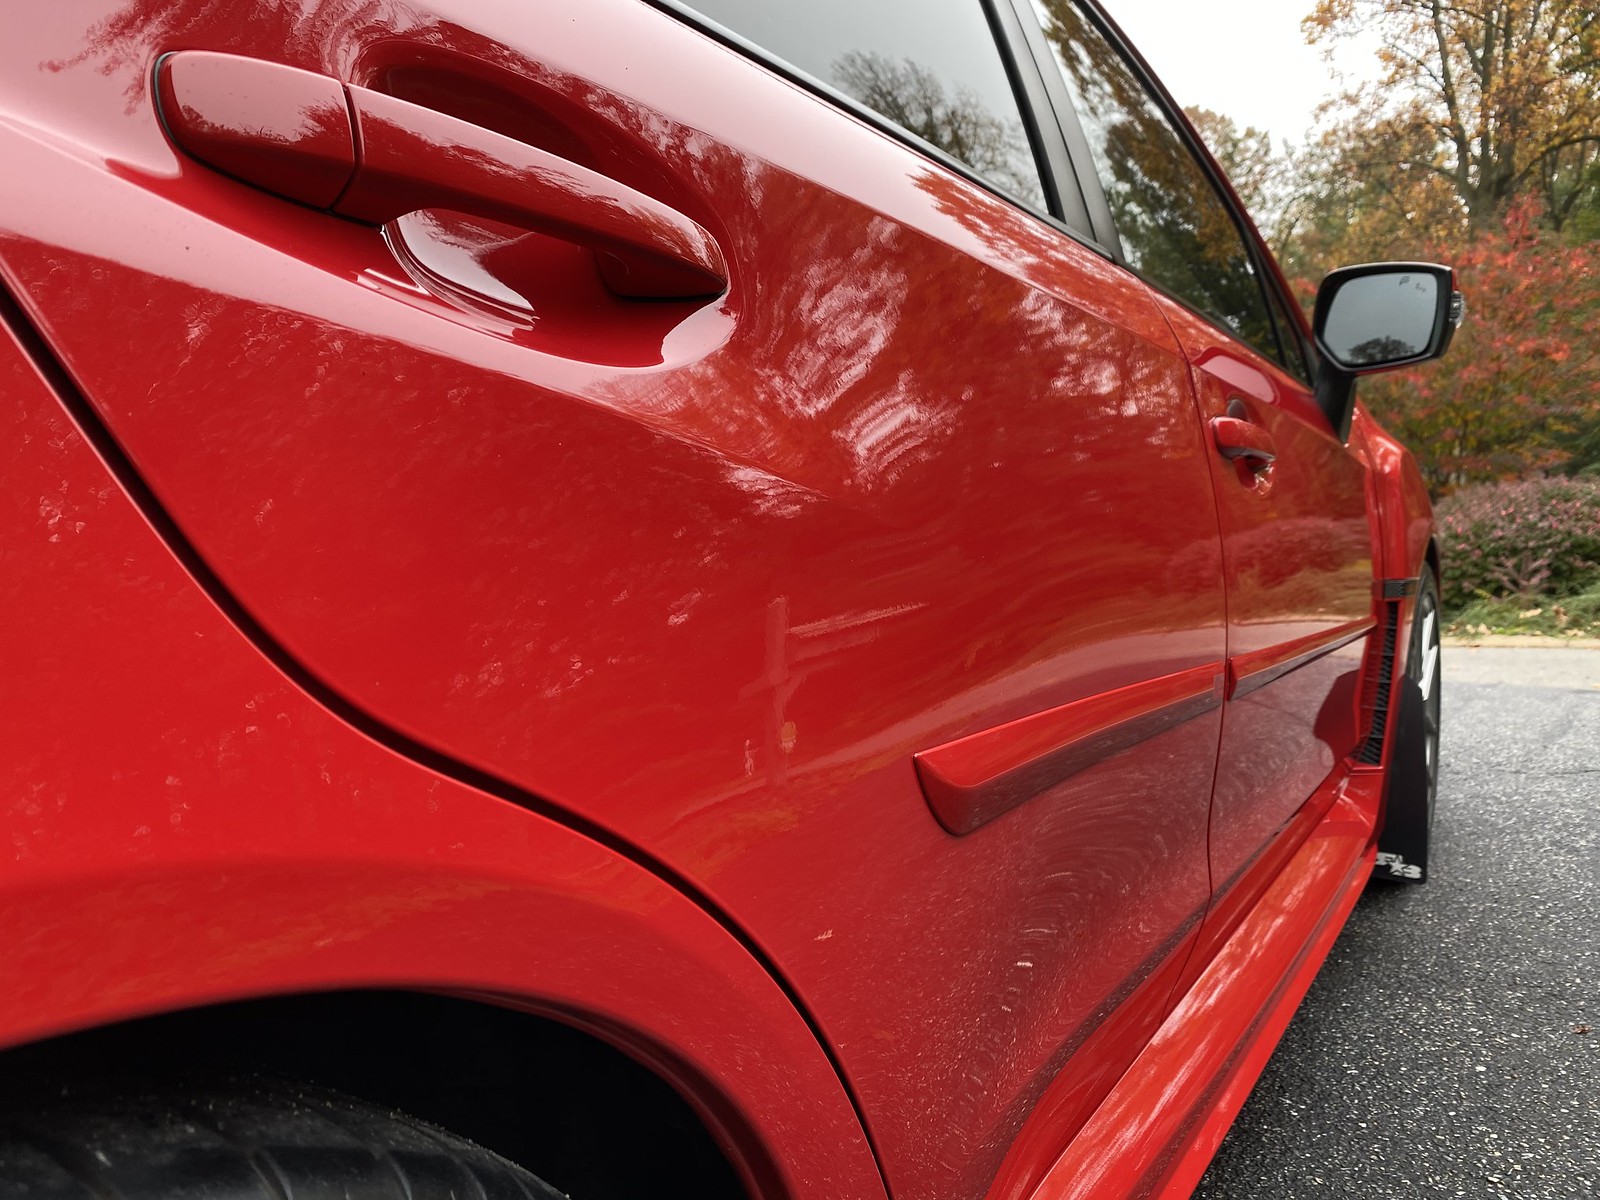
2017 Subaru WRX Ltd (Pure Red)
2016 Ford Explorer Sport (Bronzefire Metallic)
10/9/2020
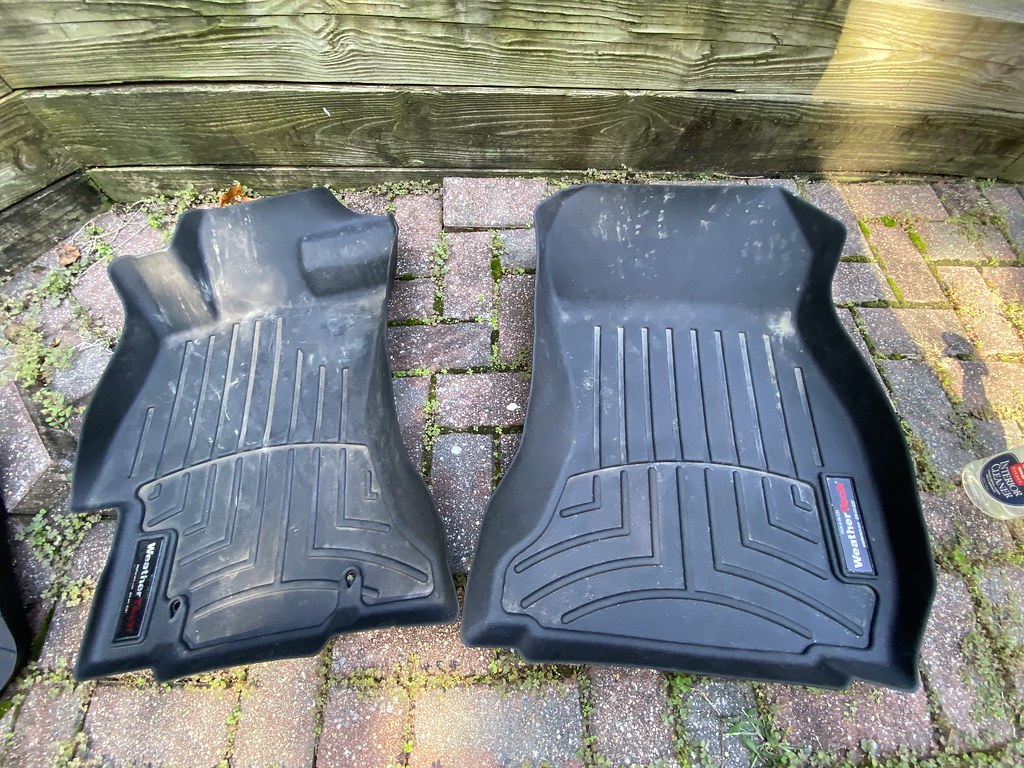
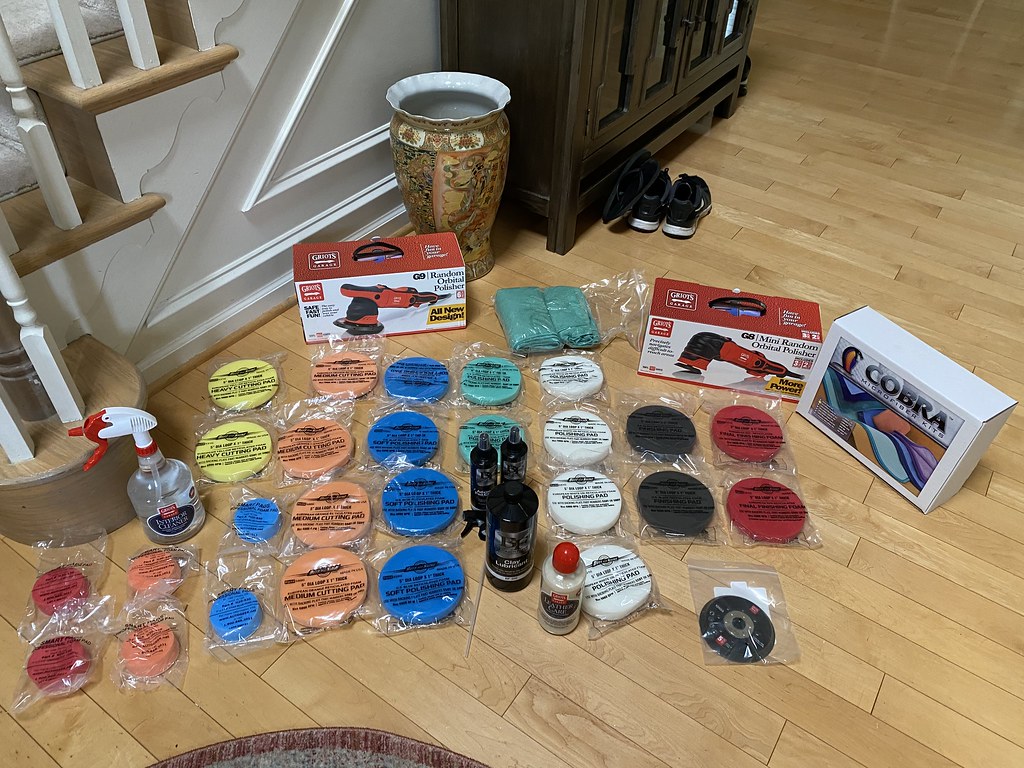
As I literally just purchased my first two DAs and am still waiting on delivery of them, I started off my project today with a simple interior detail. While it wasn't terribly dirty to begin with aside from the massive clutter that had built up in the car and sand and small rocks that had been tracked into the car over time as it had been a while since I'd vacuumed the car. I finally cleaned it all out and cleaned every surface from the bottom of the windows down (headliner wasn't dirty at all) and the carpets were mostly spared by my WeatherTech mats. The only products I used was Griot's Garage Interior cleaner and Invisible Glass glass cleaner. I also used compressed air and Meguire's Quick Detail for the door jams. Here are some before shots before I removed anything so my apologies if these are offensive lol:


And here are the after shots:


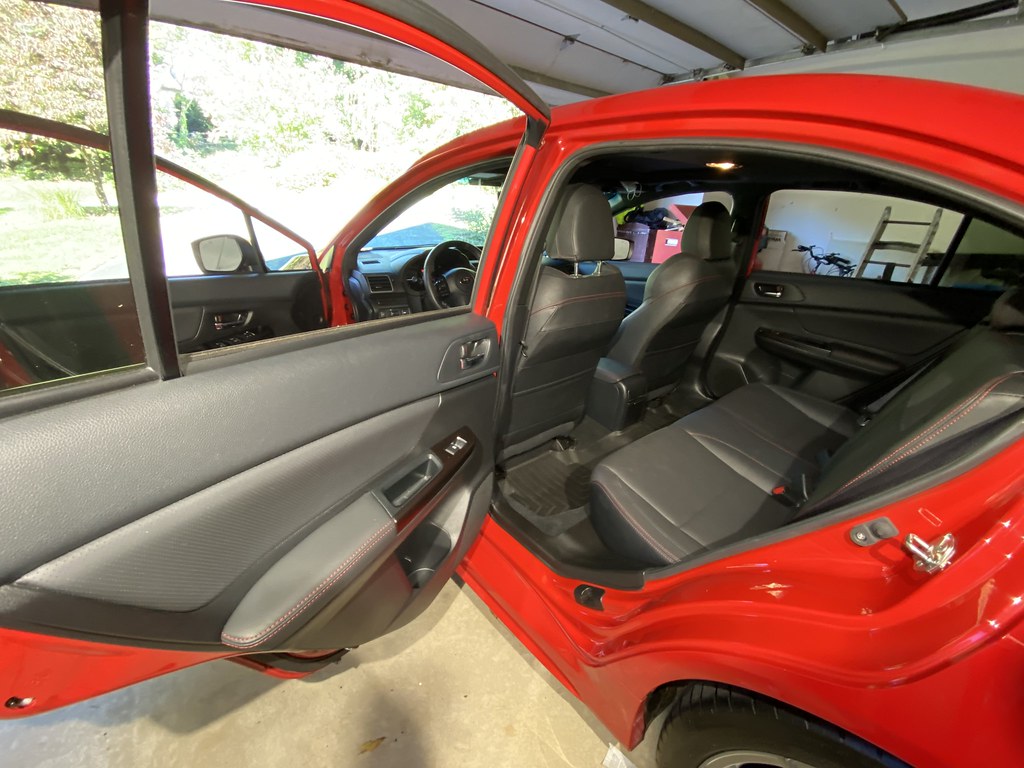
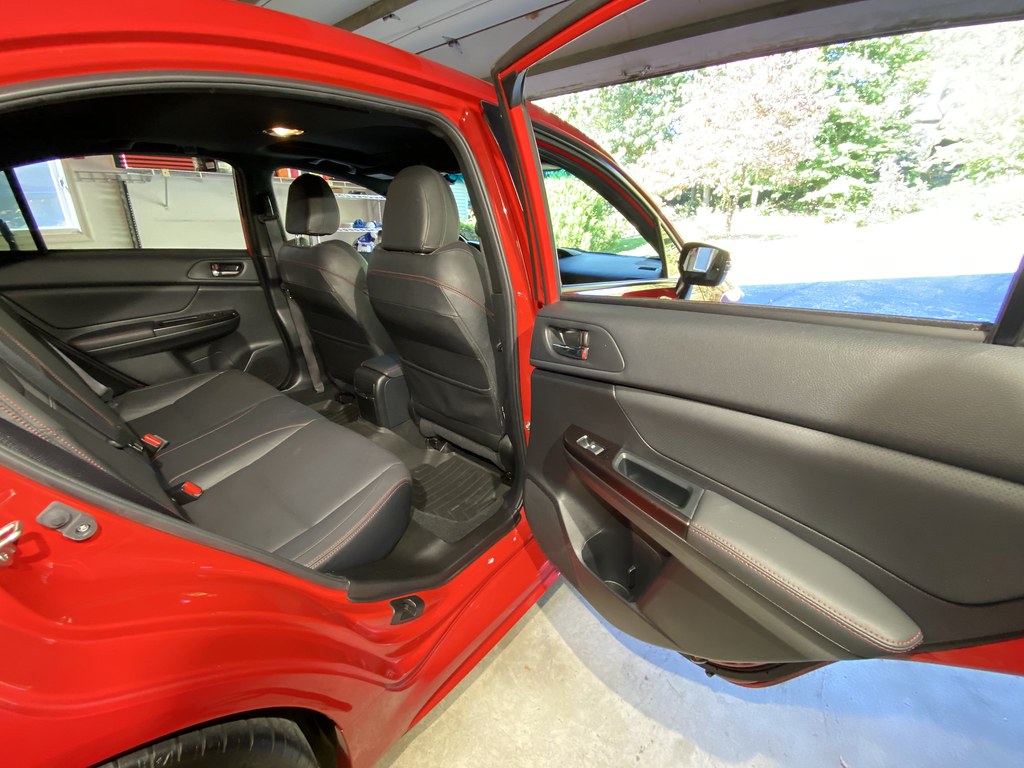


Only thing I didn't really pay attention to was the seats because I am waiting on my order of leather cleaner from the store to arrive. That will be tackled as soon as it arrives.
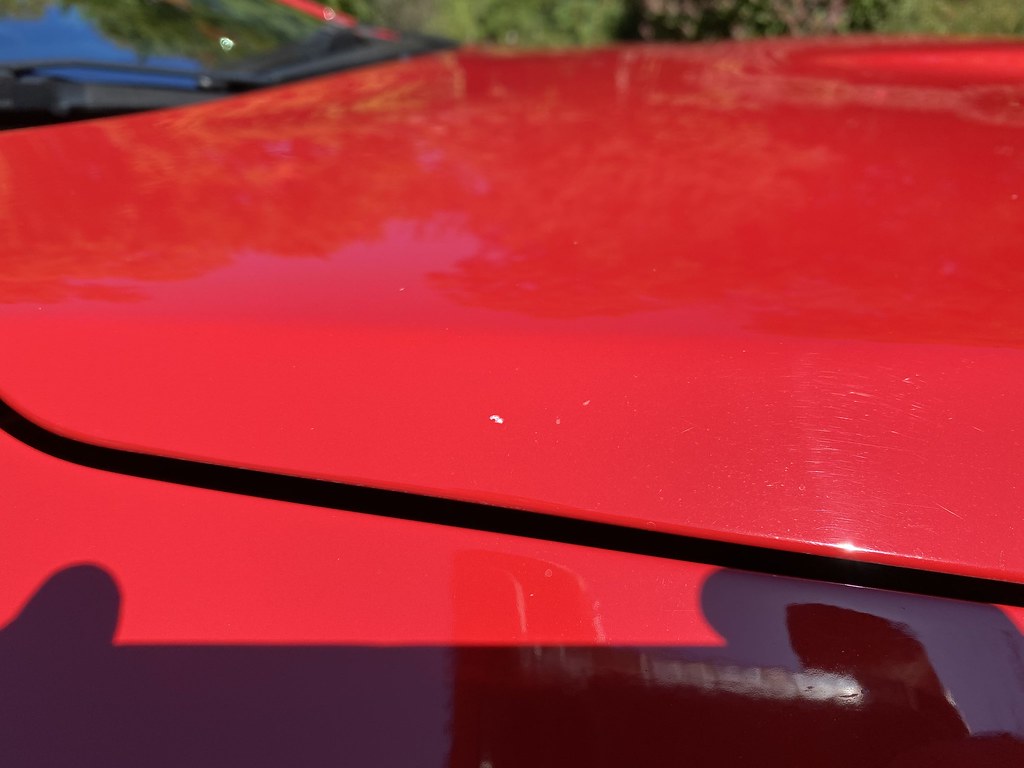
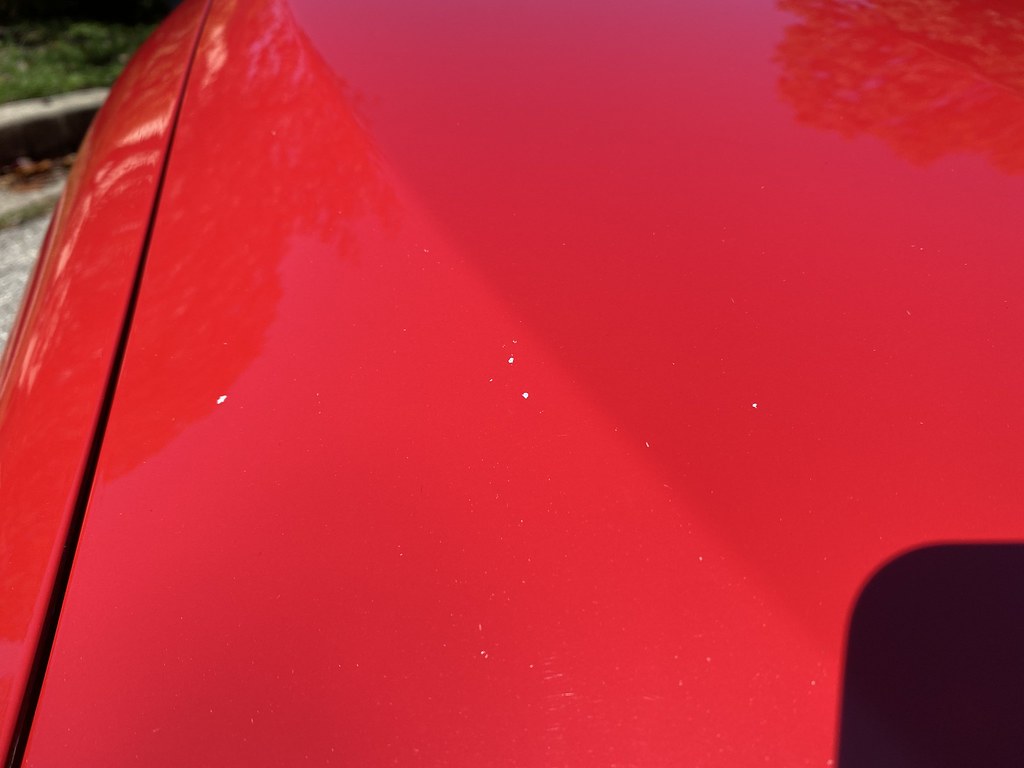
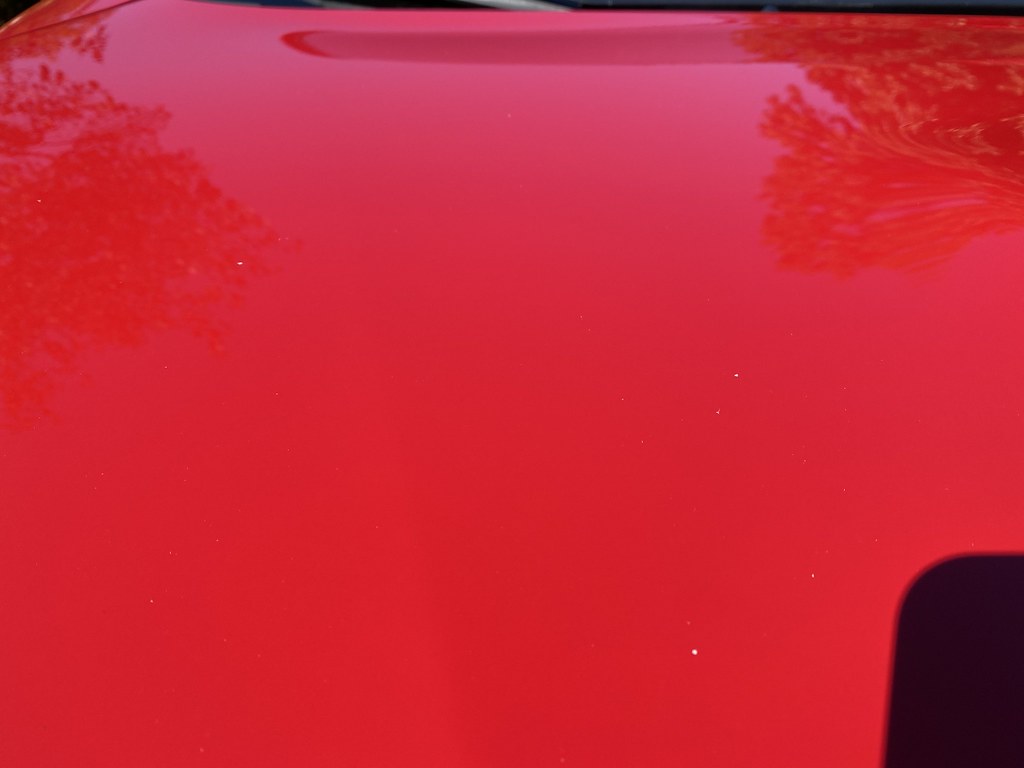
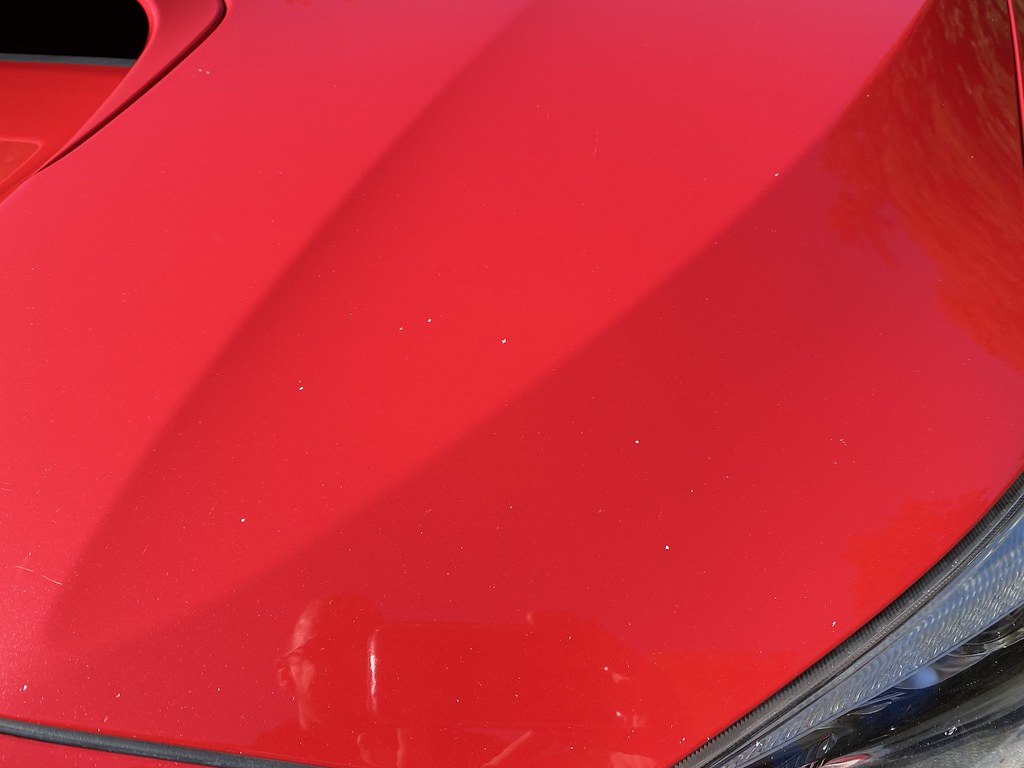
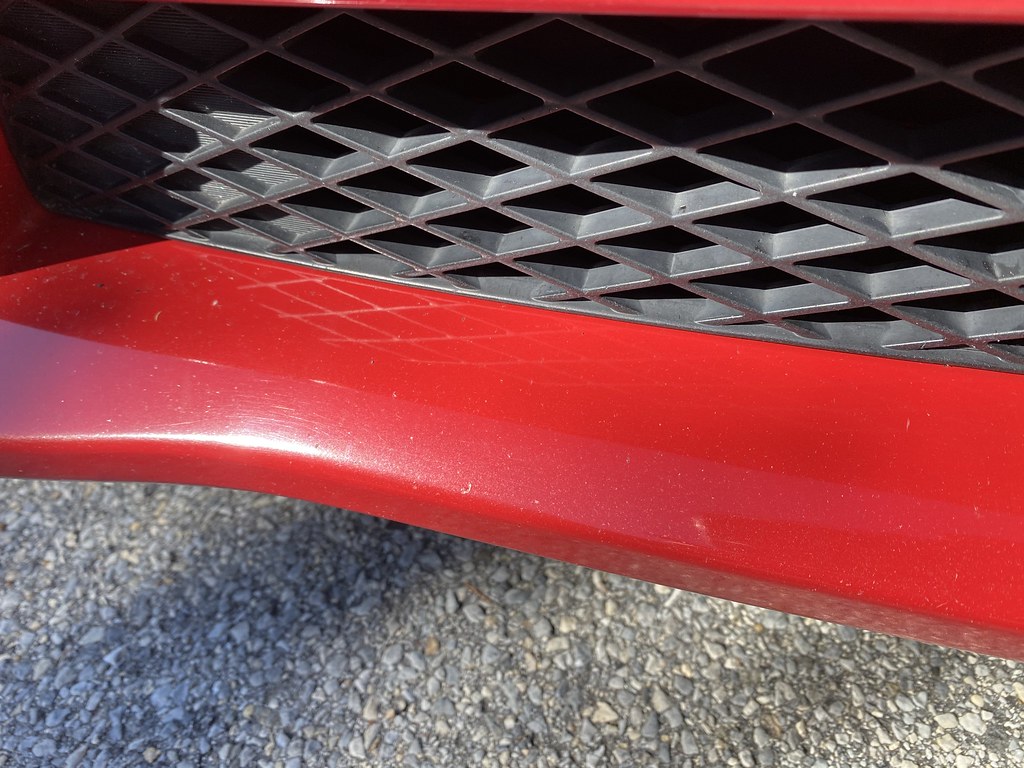
Thanks for stopping by, keep an eye out for my full paint correction that I will be adding to this log in the coming weeks.
This thread is going to serve as my personal log where I am going to keep track of my own personal vehicles and any other jobs I find myself doing (detailing related only of course.)
Cars currently in Snax's garage:
2017 Subaru WRX Ltd (Pure Red)
2016 Ford Explorer Sport (Bronzefire Metallic)
10/9/2020
As I literally just purchased my first two DAs and am still waiting on delivery of them, I started off my project today with a simple interior detail. While it wasn't terribly dirty to begin with aside from the massive clutter that had built up in the car and sand and small rocks that had been tracked into the car over time as it had been a while since I'd vacuumed the car. I finally cleaned it all out and cleaned every surface from the bottom of the windows down (headliner wasn't dirty at all) and the carpets were mostly spared by my WeatherTech mats. The only products I used was Griot's Garage Interior cleaner and Invisible Glass glass cleaner. I also used compressed air and Meguire's Quick Detail for the door jams. Here are some before shots before I removed anything so my apologies if these are offensive lol:
And here are the after shots:
Only thing I didn't really pay attention to was the seats because I am waiting on my order of leather cleaner from the store to arrive. That will be tackled as soon as it arrives.
Thanks for stopping by, keep an eye out for my full paint correction that I will be adding to this log in the coming weeks.
")


 )
)