Ford Performance Oil-Air Separator Kit Installation
One of the things I love about Mustang ownership is the huge aftermarket support for the car, allowing customers to tailor the car to their heart’s desire. Now, I normally don’t do aftermarket, so this is where Ford Performance comes into the equation. Ford recognizes the desire for high quality aftermarket parts, and so via Ford Performance, owners can buy and fit OEM quality parts without voiding warranty or looking tacky. To me, this means my car remains OEM looking, and without the janky fitment often found on aftermarket parts.
Like my previous Mustang, I’ve decided to fit a Ford Performance Oil/Air separator, or catch can. Now, there are countless aftermarket options in this space, some actually offer easier emptying via a screw-on cannister. But some of those also require butchering of the OEM hoses. So, I think you can see why I stuck with the OEM+ option here, it just fits as it should.

For S650, Ford Performance are selling this kit with a pair of catch cans, one for each cylinder bank. On earlier S550’s, only the left-hand bank was covered, although FP did offer a dual kit for Mach1 and Bullitt due to the removal of that hideous engine cover. Because of the dual cans and double the hose count, you are looking at twice the price. I was actually a little shocked by the price of this kit offered by local vendors, but once I had added shipping and currency conversion, then factored import duty, its no cheaper ordering from the USA directly.
https://www.themancavegarage.com.au...rue&sa=false&sbp=false&q=false&category_id=57
https://www.herrodperformance.com.au/2024-mustang-5-0l-air-oil-separator-kit-l-r/


Installation is easy, if someone with low mechanical confidence like me can do it, so can you. Each kit comes with a QR code that links you to the Ford Performance website, where you can then download the installation instructions. Word of warning for RHD customers, the instructions are orientated for LHD/US market cars, so take that into consideration when directed to work on the "passenger" side or "drivers" side. You will also notice differences in the pictures as the RHD cars have different placement of the battery and wiring harnesses. What you see in the following install should provide a better guide for RHD applications.
https://performanceparts.ford.com/download/instructionsheets/IS_M-6766-A50D_012524.PDF
Only basic tools are needed. I'd suggest a smaller 1/4-inch socket set, ratchet spanners and a torque wrench if you are super keen..............or super anal.....................I'll let you figure out which is me.

On S550, the catch can was attached to the rocker cover using push pins that clicked into two existing holes. On S650, the new throttle body arrangement means the catch cans need to be mounted on the body, which explains the two black painted steel brackets. Those two brackets are your starting point.
For the right-hand (driver) side, the bracket with two mounting points is used. You first need to remove the two 8mm fasteners from the grounding straps.

Using the two stud bolts supplied with the kit, install these in the same locations using a 13mm ratchet spanner. Ford suggest tightening to 12 Nm, but you will only have access to the lower stud for a torque wrench.


Next, wrangle the bracket onto the studs. I found it needed some slight persuasion to align the two bracket holes, which I suspect was due to the slight difference in RHD layout. Using the supplied 10mm nylock nuts, secure the bracket in place with a ratchet wrench. Ford suggest 10 Nm for these fasteners, but again, only the lower nut is accessible with a torque wrench.
(Apologies for this image, just couldn't get it right)

To fit the left-hand (passenger) side bracket, only one mounting point is used. First, you need to remove the wiring harness clip from the coolant tank stud. You may need to use angled pliers to help release this press-fit clip, it fought me a little.

The bracket is then slid over the stud and secured with the remaining 10mm nylock nut, again 10 Nm is the spec. On RHD cars, you will need to hold the wiring harness away with your finder to get the bracket in place and secure that nut, LHD cars don't have a harness here. You will also notice it orientates a specific way to straddle the coolant tank. I didn't photograph this, but you will see what I mean. I found a deep socket useful here, but a socket extension will work too.

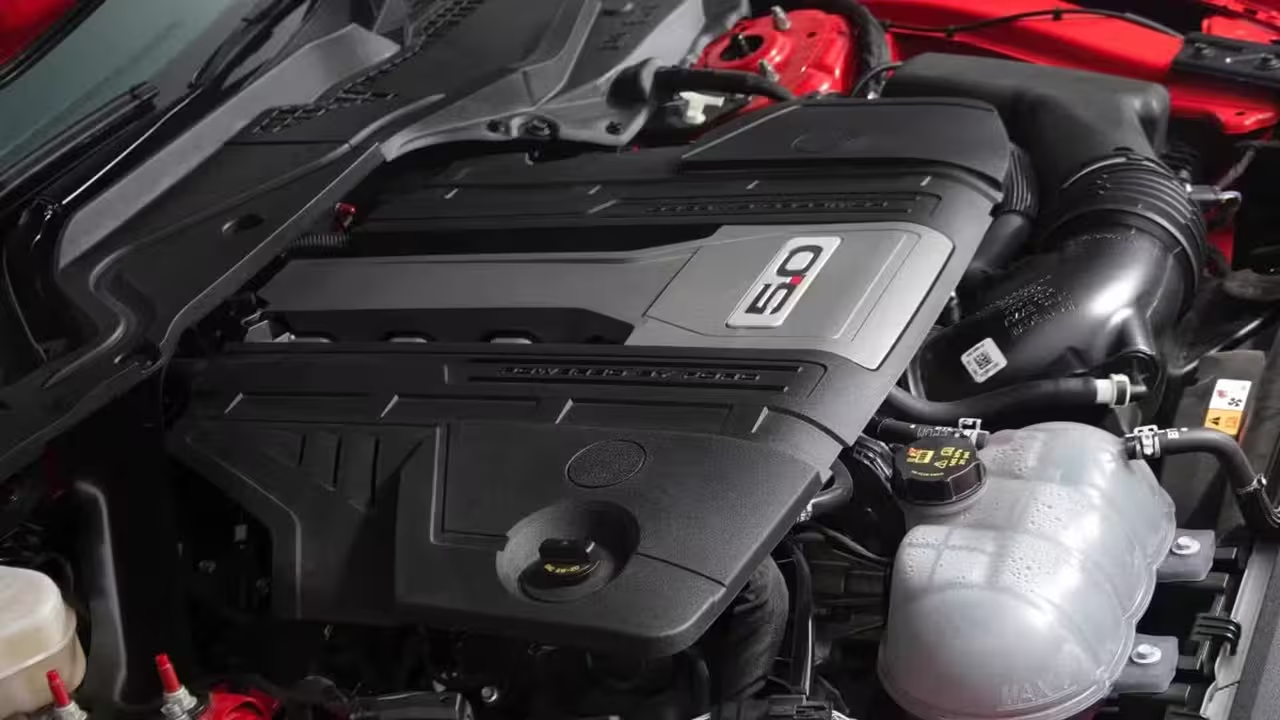
With the brackets installed, you can now remove the factory PCV hoses. These are removed by pushing on the release tab and gently lifting off the spigots. Ford Performance recommend removing the engine cover to get access to the connection on the intake manifold. However, the strut tower brace makes this hard and rather than risk damaging it, I simply unclipped and raised the front of the cover enough to get access to the hose.
Right-hand rocker cover spigot -

Intake spigot -

OEM right-hand PCV hose -

The left-hand side hose is easily accessible and removed.
The following images will show the catch can slid down onto the mounting brackets prior to hose installation. You may find it easier to install the hoses first, then sliding the catch can into place, lining up the hoses as you go.
Each of the four supplied hoses are the same OEM grade as fitted on the production line and are perfectly molded for this application. No janky, ill-fitting hoses here. The hoses aren't interchangeable, but you will quickly understand which hose goes where.


For the line routing back to the intake manifold, make sure it goes under the existing rubber hose. Click the engine cover engine back in when you are done.


It's also worth going around and checking the catch can screws as mine required some additional torque to ensure tightness. You will need a T25 Torx bit for this.
From here, you are done!

Now, the elephant in the room.............are these catch cans necessary? I guess that depends on how long you intend on keeping the car and how particular you are. These catch cans stop oil vapor being deposited into the intake manifold. Some engines produce more of this oil vapor than others, especially engines that are often run at higher RPM's.............which is precisely the Mustang's MO. So, too me fitting these makes a lot of sense. On my previous car, despite only doing low kms, the engine often got a high RPM workout. The below was after 7-months....................


Not terrible, but also not something that needs to be captive in the one-piece intake manifold. If you covered more kms than me, you would likely have a lot more than that.
So, well worth doing if you intend on keeping the car longer term. And the best bit? I got to make use of those fancy tools!


