Thanks for looking....
OK, here i go.... be gentle on a total newbie with a limited amount of products, skill and a relatively harsh environment to cope with.
Quick Primer
I live in Chennai in Southern India where the temperature is a average of 30 C [summers go to 40 c] through the year with rains now and then [tropical weather] and dust all through the year.
I took to detailing about 3 months back and am building my collection as i write. i have bought all of whats mentioned below either through CYC in UK or Autogeek in the USA except the collinite waxes.
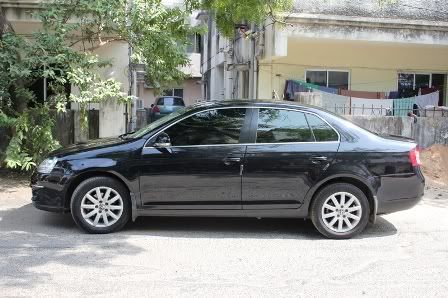
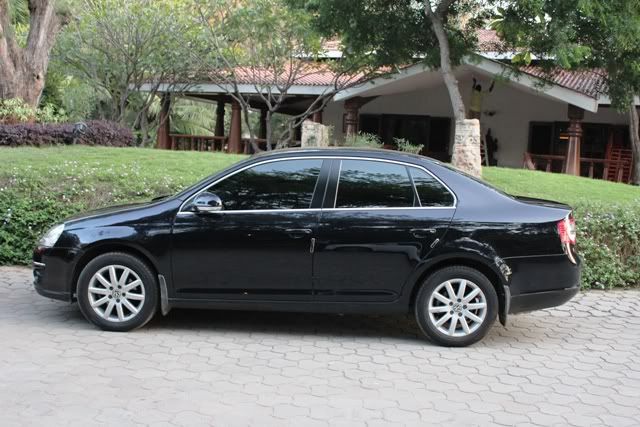
The Car : 2010 VW Jetta - Pearl Black Finish. Relatively no marring with only slight swirls and a odd scratch. Maintained as much as i can before getting into detailing.
Products and tools used
DA : Das6 Pro ; LC Hydrotech pads
Wash : Mothers [sheepskin wash mitt]
Clay : megs clay system
Prep/Polish/Clean : menz PF, SF, FF
Sealant : opti- seal
Wax - Colli 476/915
Trim : Gtechniq C4
[now dont laugh at the below 2, i dont get anything else here and need to order for future uses]
Wheel cleaner : easy off bang
Glass cleaner : Mr.Muscle/Colin
Process
Rinse : not power wash
Wash : 2 BM using sheepskin wash mitt
Rinse : again no power wash
<no decontaminination stage becasue no product availability like ironx/tardis>
Clay : with ONR as QD
Correction[menz PF/SF] : DA with cutting and polishing pad : worked on a 2X2 area mostly with moderate pressure @ speeds 5,4,5,4,3 in that order for 4 passes and worked the product in till it was clear and broken down.
Polishing[Menz FF] : polishing pad - DA with no pressure @ speed 4 - 4 passes each.
IPA wipedown after polish: 10% dilution
Seal: Optiseal : using pinnacle foam applicator - hand application
Wax : 476 & 915 by DA by using a butter knife to spread the wax on to the pads") - applied thin and buffed off with MF
- applied thin and buffed off with MF
Total time taken : around 16 hours over 2 days.
Products on the way and will be with me shortly [all ordered through autogeek]
menz power lock
Colli 845
more applicator pads and MF cloths
OCW
here are a few pictures which are the "afters" since i worked alone and couldnt handle the DSLR with dirty hands [i love my camera and photography too]
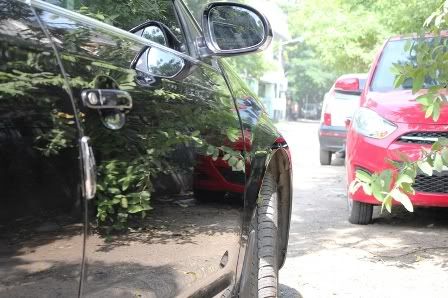
I like the reflection of my friend's black jetta on mine.. do u?
car on the left is mine

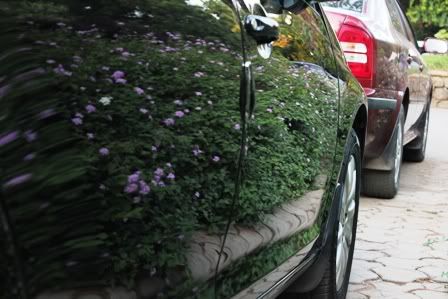
reflection of a small plant with lavender coloured flowers....
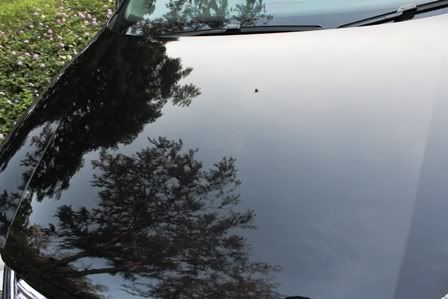
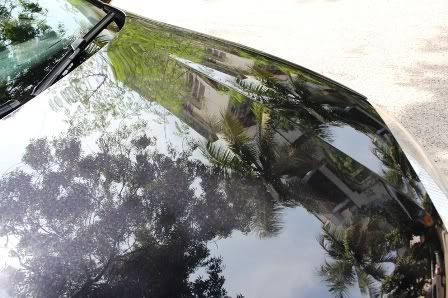
i like the reflection of a crow flying on the bonnet with trees reflected well too
finished "wetter" look reflecting the evening sun at the rear quarter panel
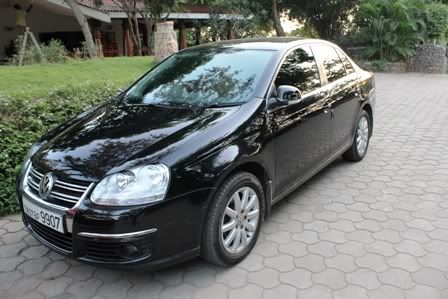
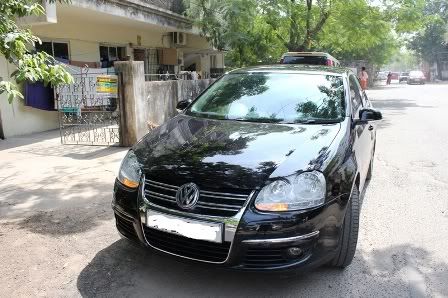
finished and standing outside home
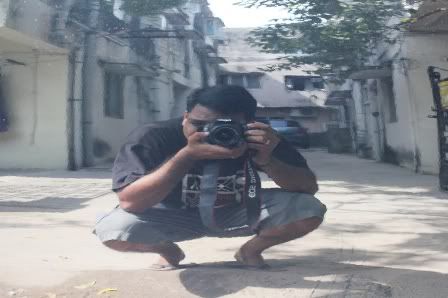
my reflection on the front passenger door
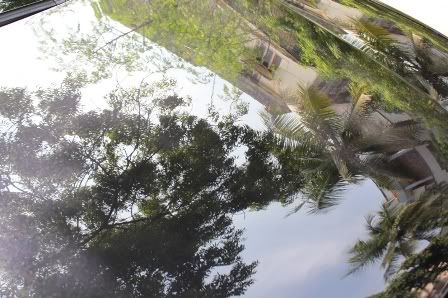
reflection of a tree outside home - like the colors reflected
reflection of a tree outside home - like the colors reflected
reflection of the wife's car wihch is my next project[red one] and a small plant
Random shot
overall quiet satisfied but still there is a large scope for improvement though
im trying to hone my skills and make it better next time around.
Hope you like and any comments or criticisms welcome
here are a few questions for you folks :
1 - any new products that i can try?
2 - any technique/tips to improve skills and finish better?
OK, here i go.... be gentle on a total newbie with a limited amount of products, skill and a relatively harsh environment to cope with.
Quick Primer
I live in Chennai in Southern India where the temperature is a average of 30 C [summers go to 40 c] through the year with rains now and then [tropical weather] and dust all through the year.
I took to detailing about 3 months back and am building my collection as i write. i have bought all of whats mentioned below either through CYC in UK or Autogeek in the USA except the collinite waxes.
The Car : 2010 VW Jetta - Pearl Black Finish. Relatively no marring with only slight swirls and a odd scratch. Maintained as much as i can before getting into detailing.
Products and tools used
DA : Das6 Pro ; LC Hydrotech pads
Wash : Mothers [sheepskin wash mitt]
Clay : megs clay system
Prep/Polish/Clean : menz PF, SF, FF
Sealant : opti- seal
Wax - Colli 476/915
Trim : Gtechniq C4
[now dont laugh at the below 2, i dont get anything else here and need to order for future uses]
Wheel cleaner : easy off bang
Glass cleaner : Mr.Muscle/Colin
Process
Rinse : not power wash
Wash : 2 BM using sheepskin wash mitt
Rinse : again no power wash
<no decontaminination stage becasue no product availability like ironx/tardis>
Clay : with ONR as QD
Correction[menz PF/SF] : DA with cutting and polishing pad : worked on a 2X2 area mostly with moderate pressure @ speeds 5,4,5,4,3 in that order for 4 passes and worked the product in till it was clear and broken down.
Polishing[Menz FF] : polishing pad - DA with no pressure @ speed 4 - 4 passes each.
IPA wipedown after polish: 10% dilution
Seal: Optiseal : using pinnacle foam applicator - hand application
Wax : 476 & 915 by DA by using a butter knife to spread the wax on to the pads
- applied thin and buffed off with MFTotal time taken : around 16 hours over 2 days.
Products on the way and will be with me shortly [all ordered through autogeek]
menz power lock
Colli 845
more applicator pads and MF cloths
OCW
here are a few pictures which are the "afters" since i worked alone and couldnt handle the DSLR with dirty hands [i love my camera and photography too]
I like the reflection of my friend's black jetta on mine.. do u?
car on the left is mine
reflection of a small plant with lavender coloured flowers....
i like the reflection of a crow flying on the bonnet with trees reflected well too
finished "wetter" look reflecting the evening sun at the rear quarter panel
finished and standing outside home
my reflection on the front passenger door
reflection of a tree outside home - like the colors reflected
reflection of a tree outside home - like the colors reflected
reflection of the wife's car wihch is my next project[red one] and a small plant
Random shot
overall quiet satisfied but still there is a large scope for improvement though
im trying to hone my skills and make it better next time around.
Hope you like and any comments or criticisms welcome
here are a few questions for you folks :
1 - any new products that i can try?
2 - any technique/tips to improve skills and finish better?