RaskyR1
New member
- Apr 14, 2008
- 3,733
- 0
This car went through a thorough body off restoration about 2 years ago and the owner of the vehicle has been in contact with me for about a year now. He had originally found me through the DI blog and was inquiring on how to tackle some issues he was having with water spots on the new paint as well as some etching on his high polished aluminum wheels. I had given his some advice which had helped, but he still wasn't seeing the results he had hoped for. Since it was late in the summer when we last spoke and unfortunately my busy schedule would not allow for me to take the car on anyway, we had decide to wait until this year to do the car. During that time the owner had sourced another (closer) detailer to remove the water spots and when he called me a few weeks ago he just wanting to get it freshened up a bit and have the wheels taken care of. After evaluating the car though it was clear there was much more work to be done then the owner had thought.
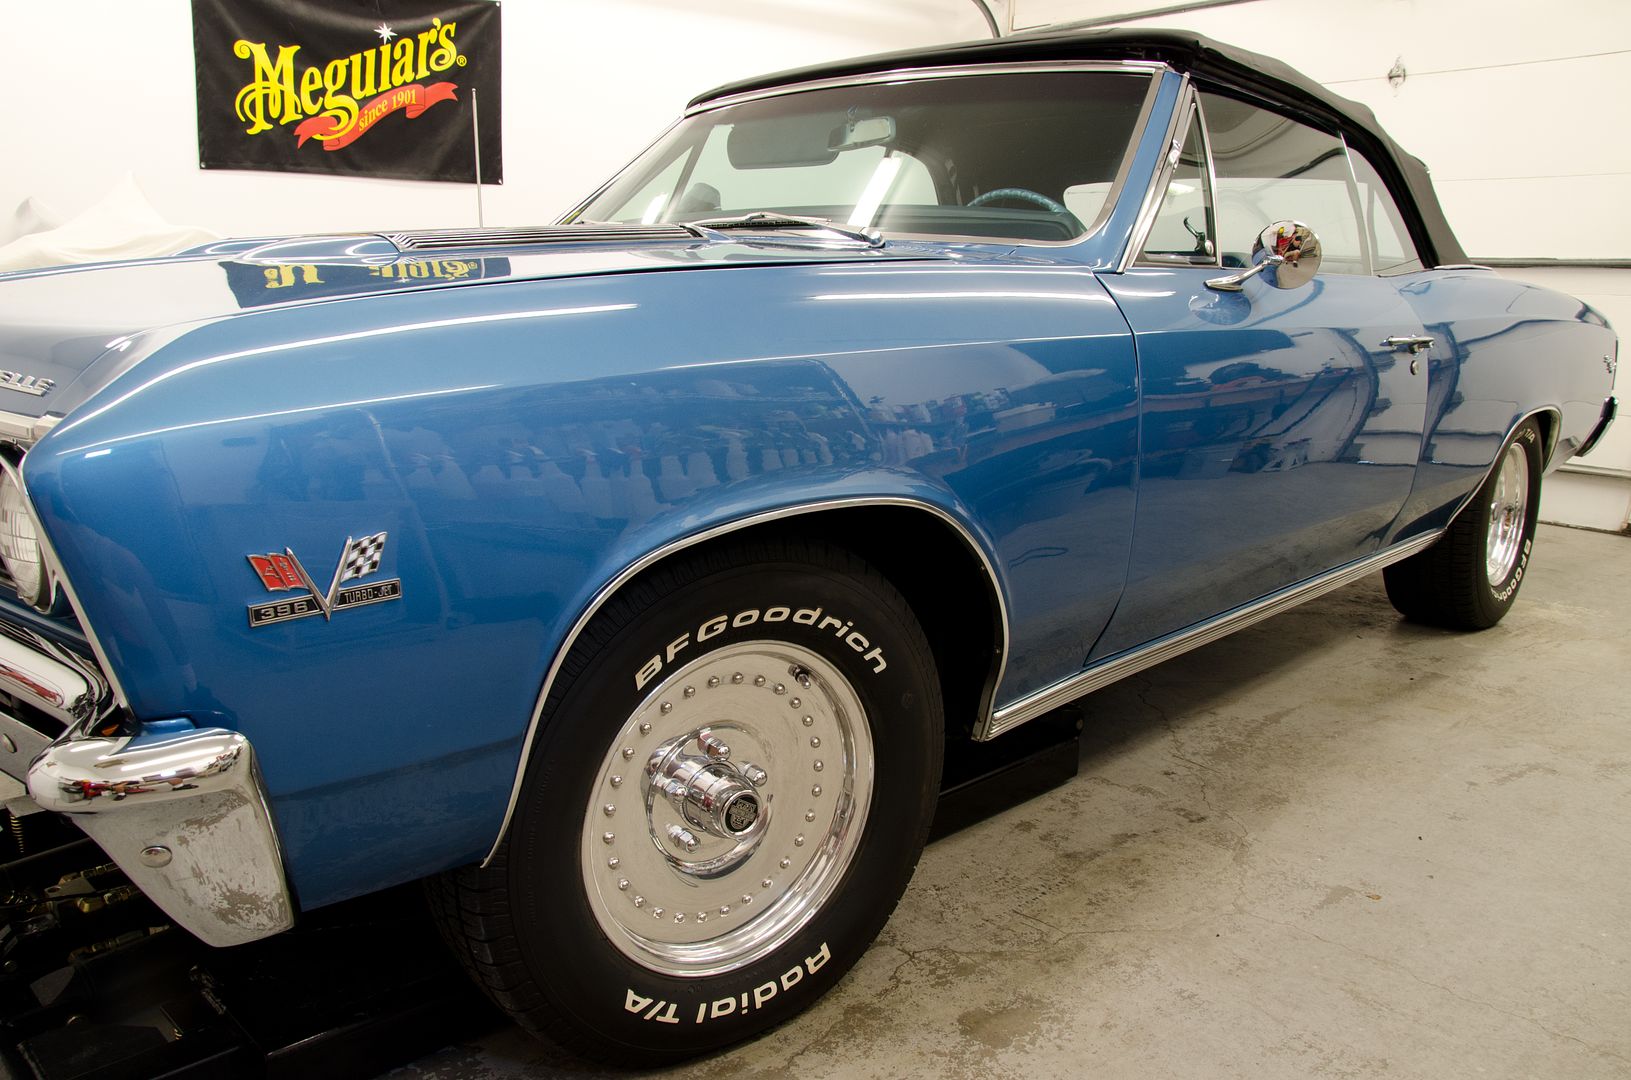
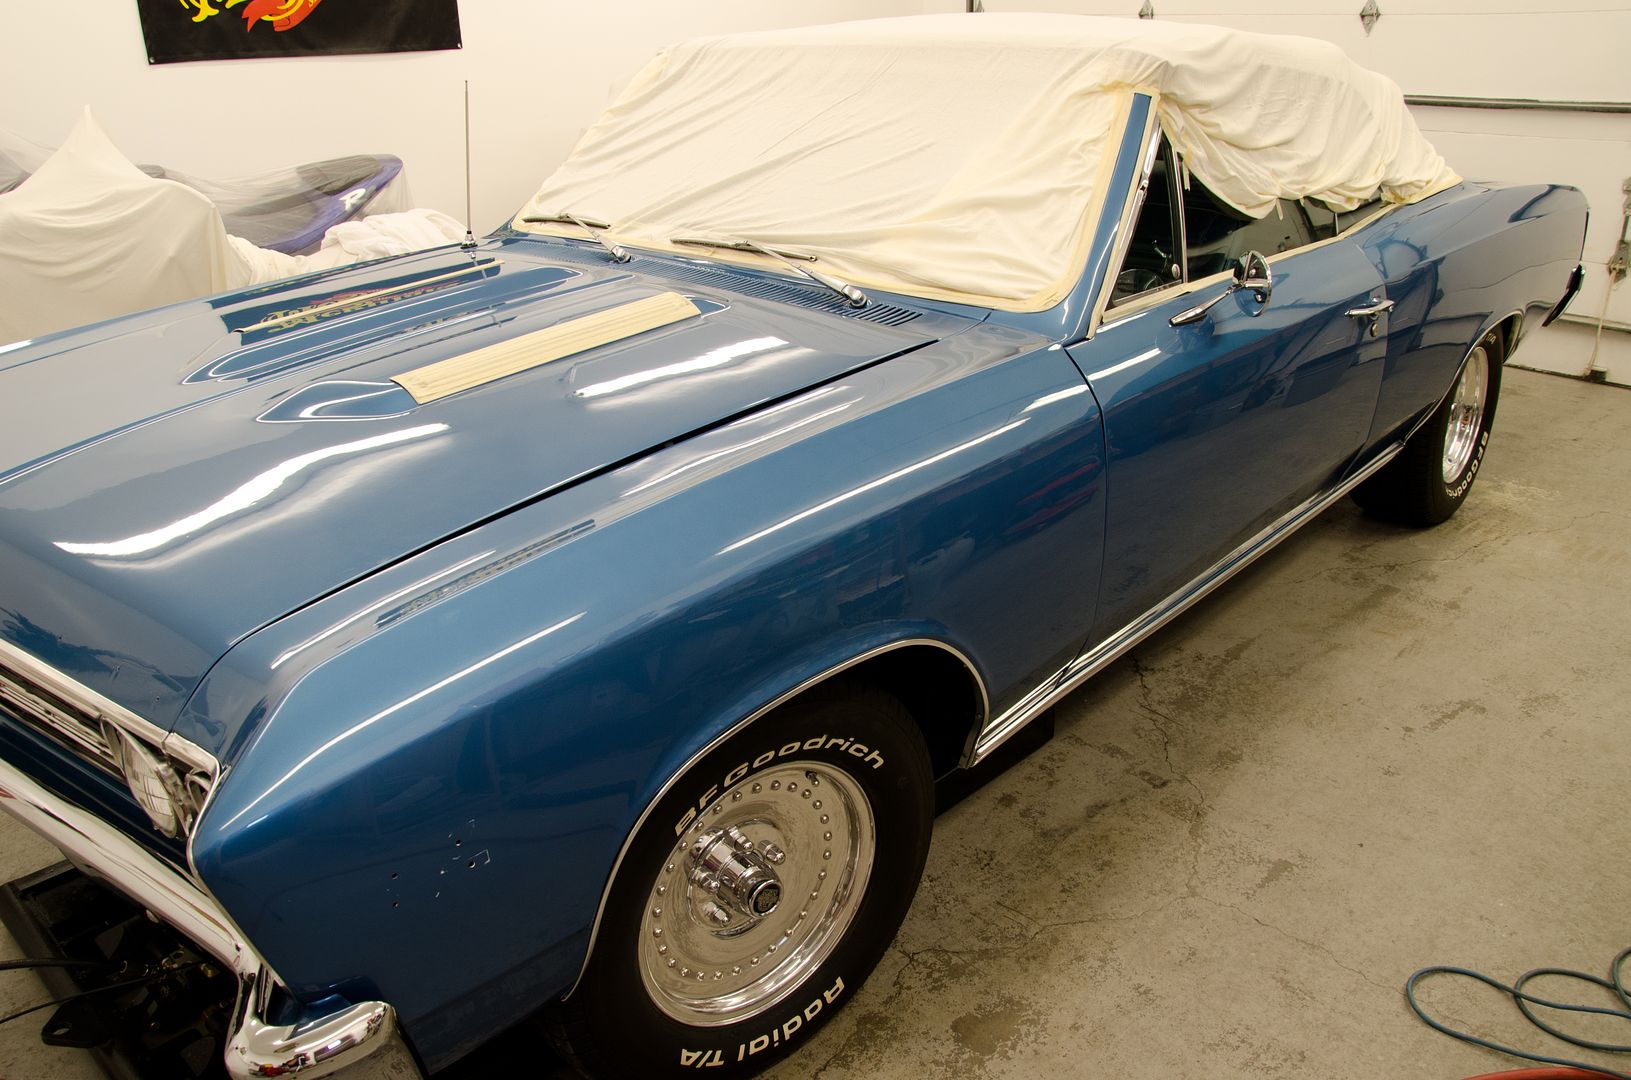
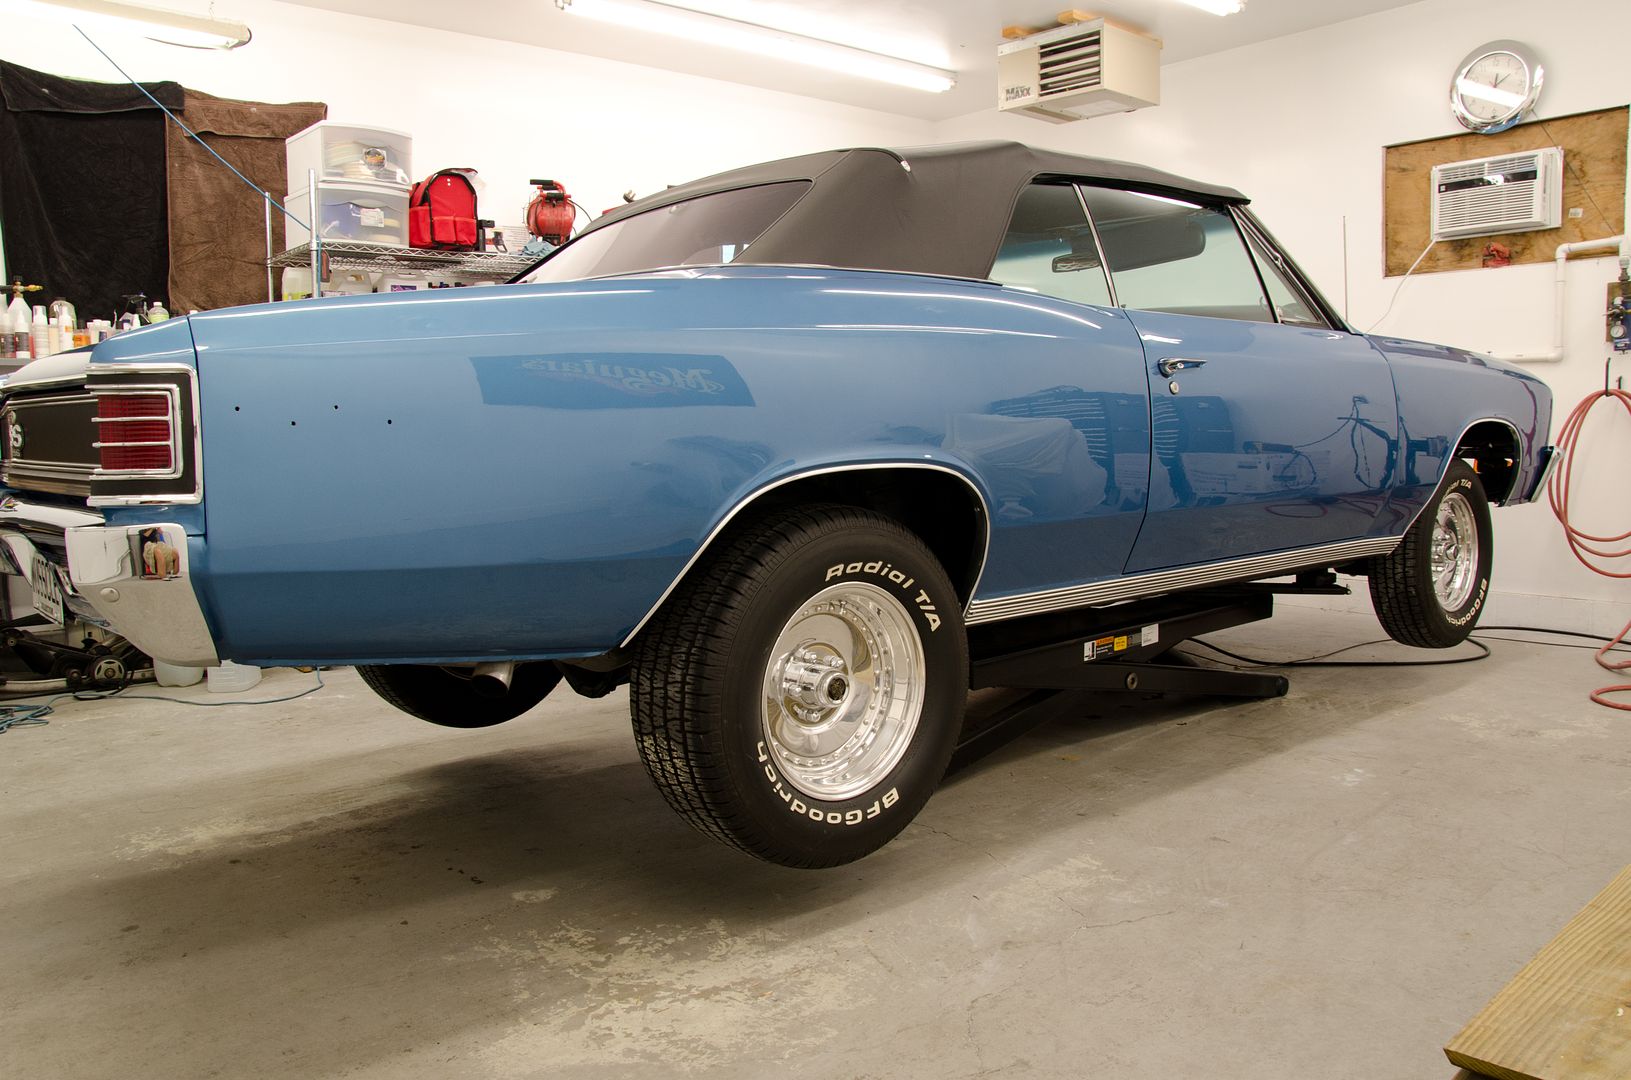
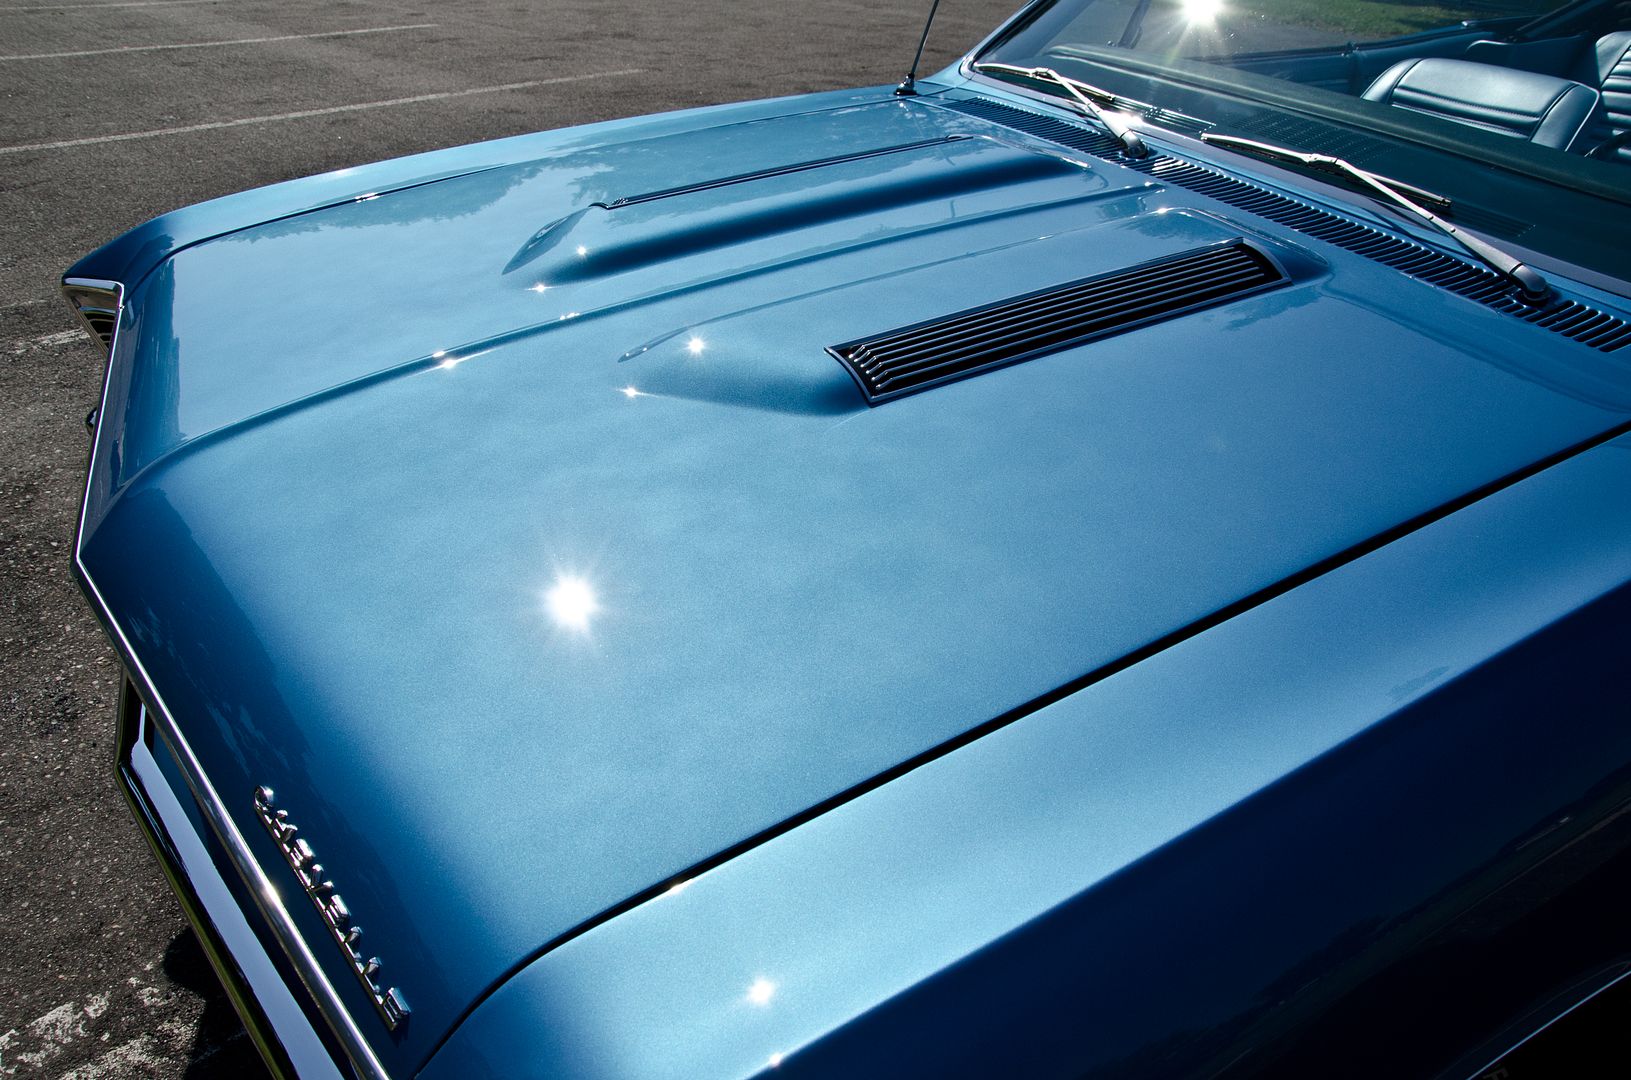
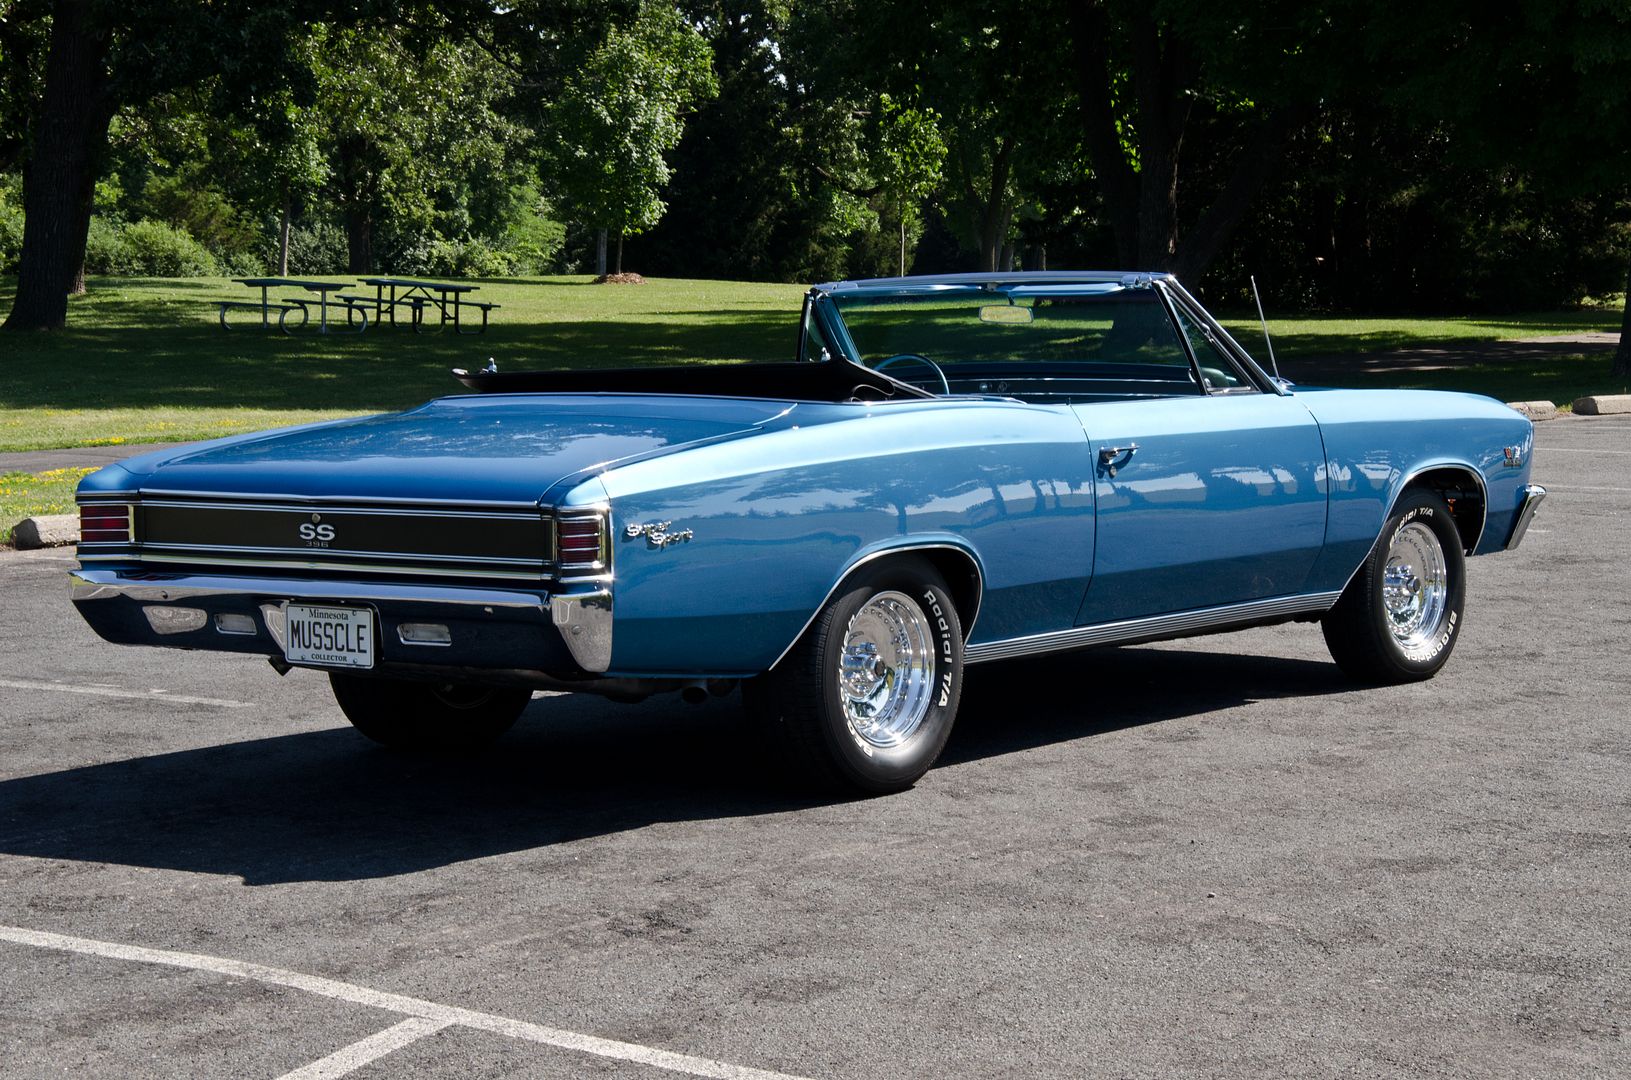
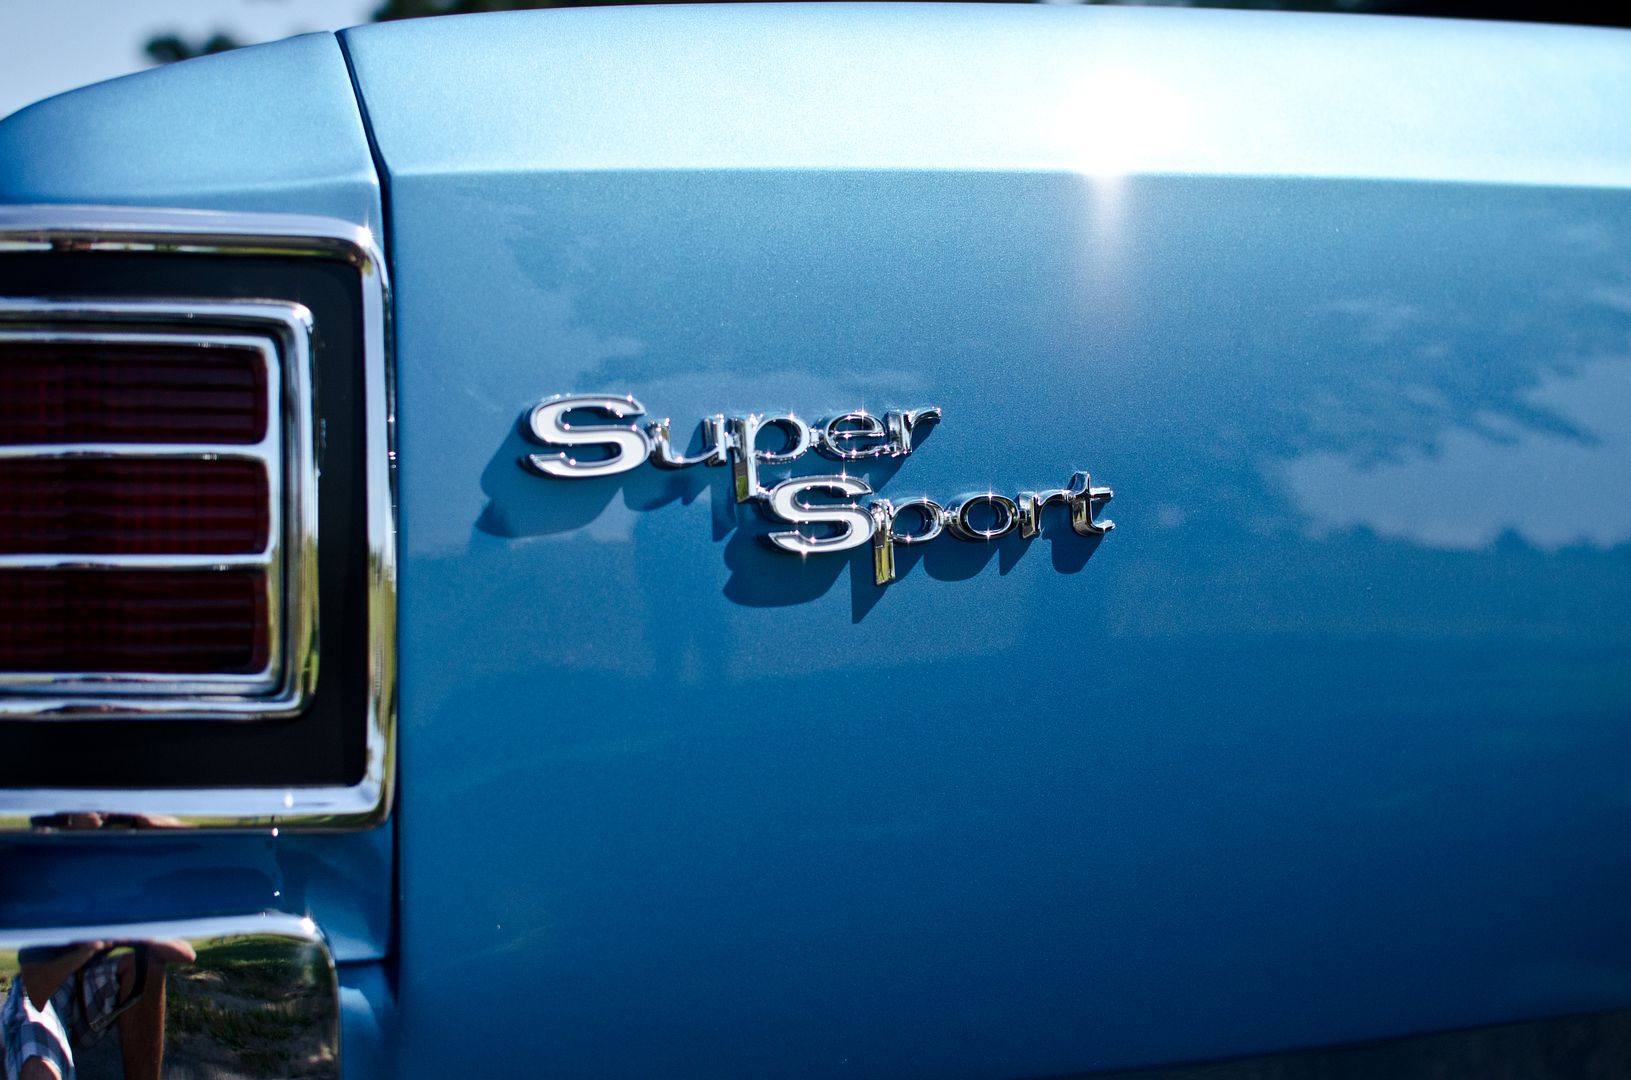
Car as it arrived...looks good out of the light and the color does hide things well.
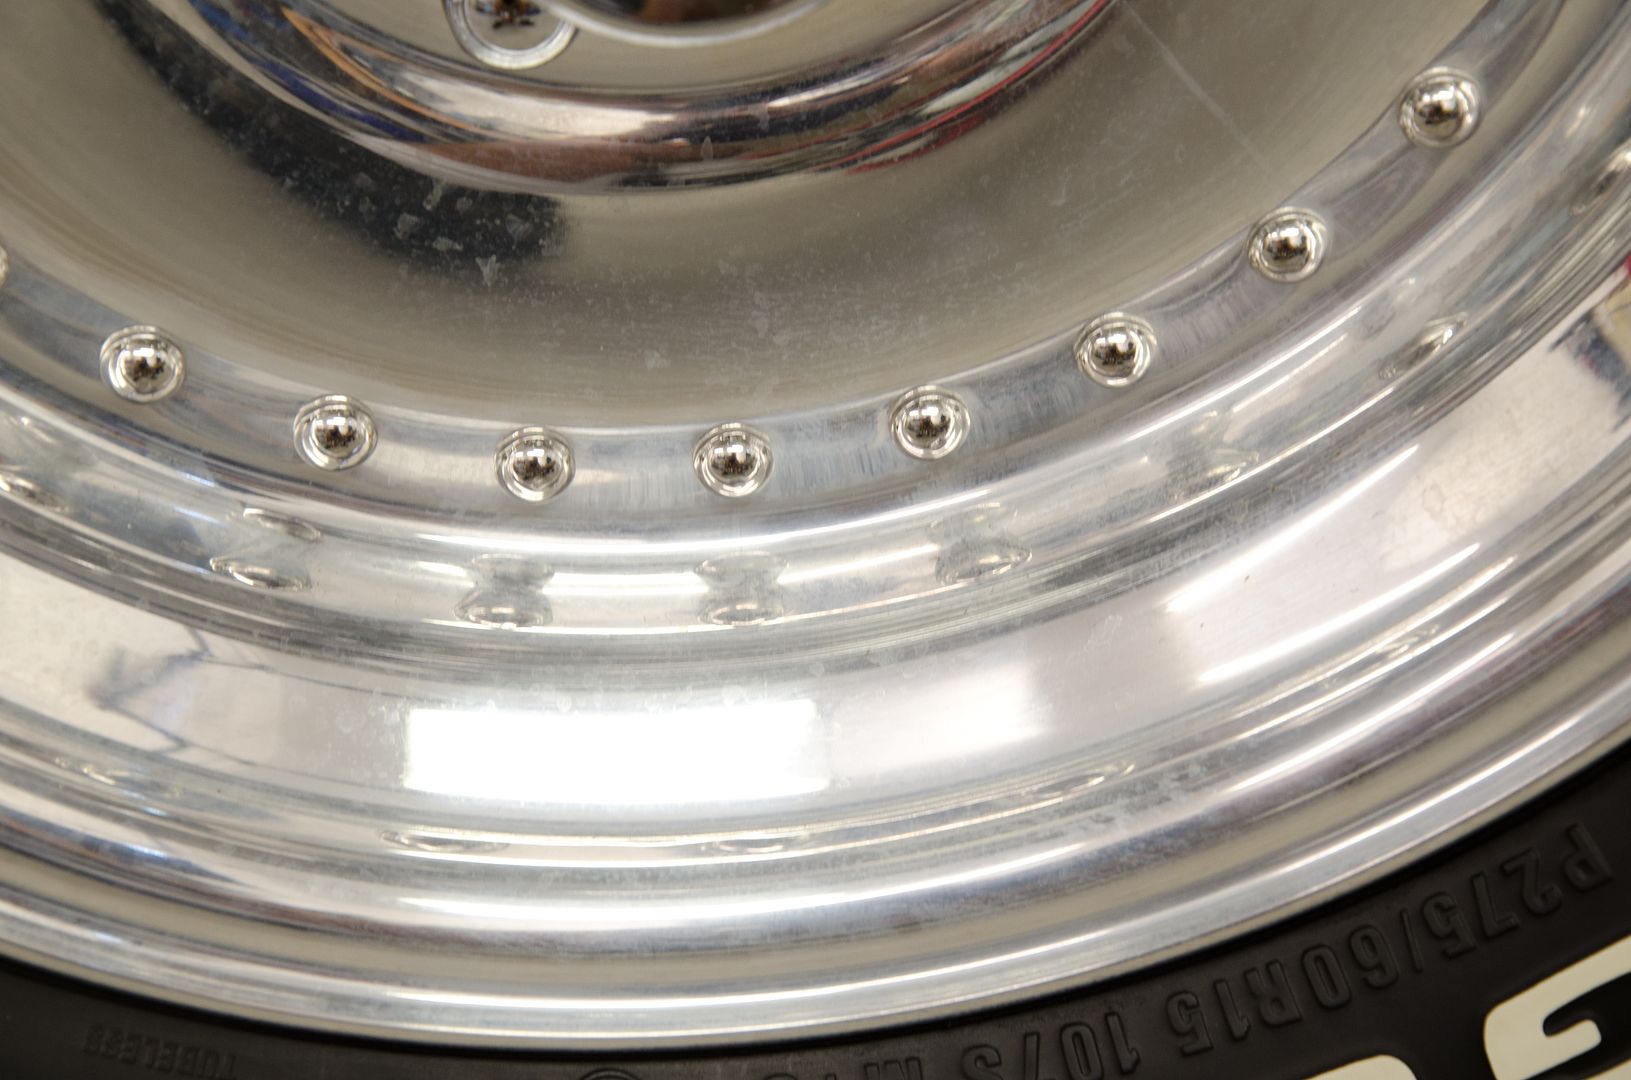
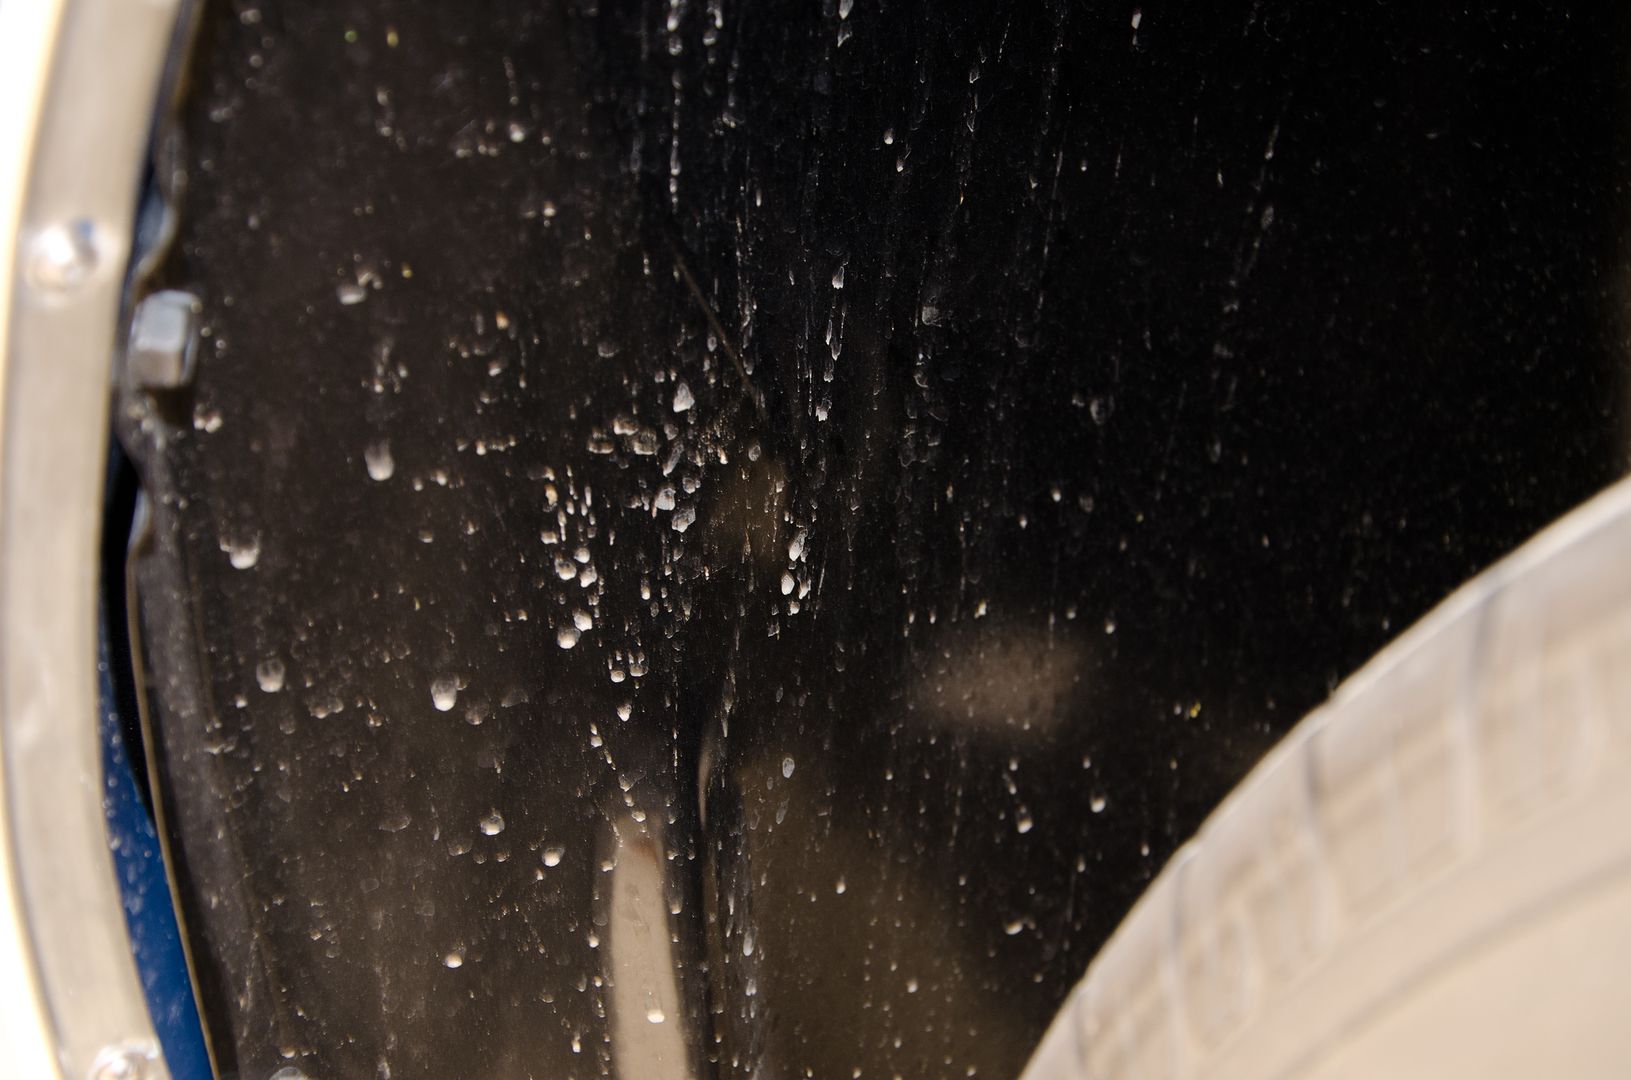
Close up shows etching from an improper cleaner being used....once.
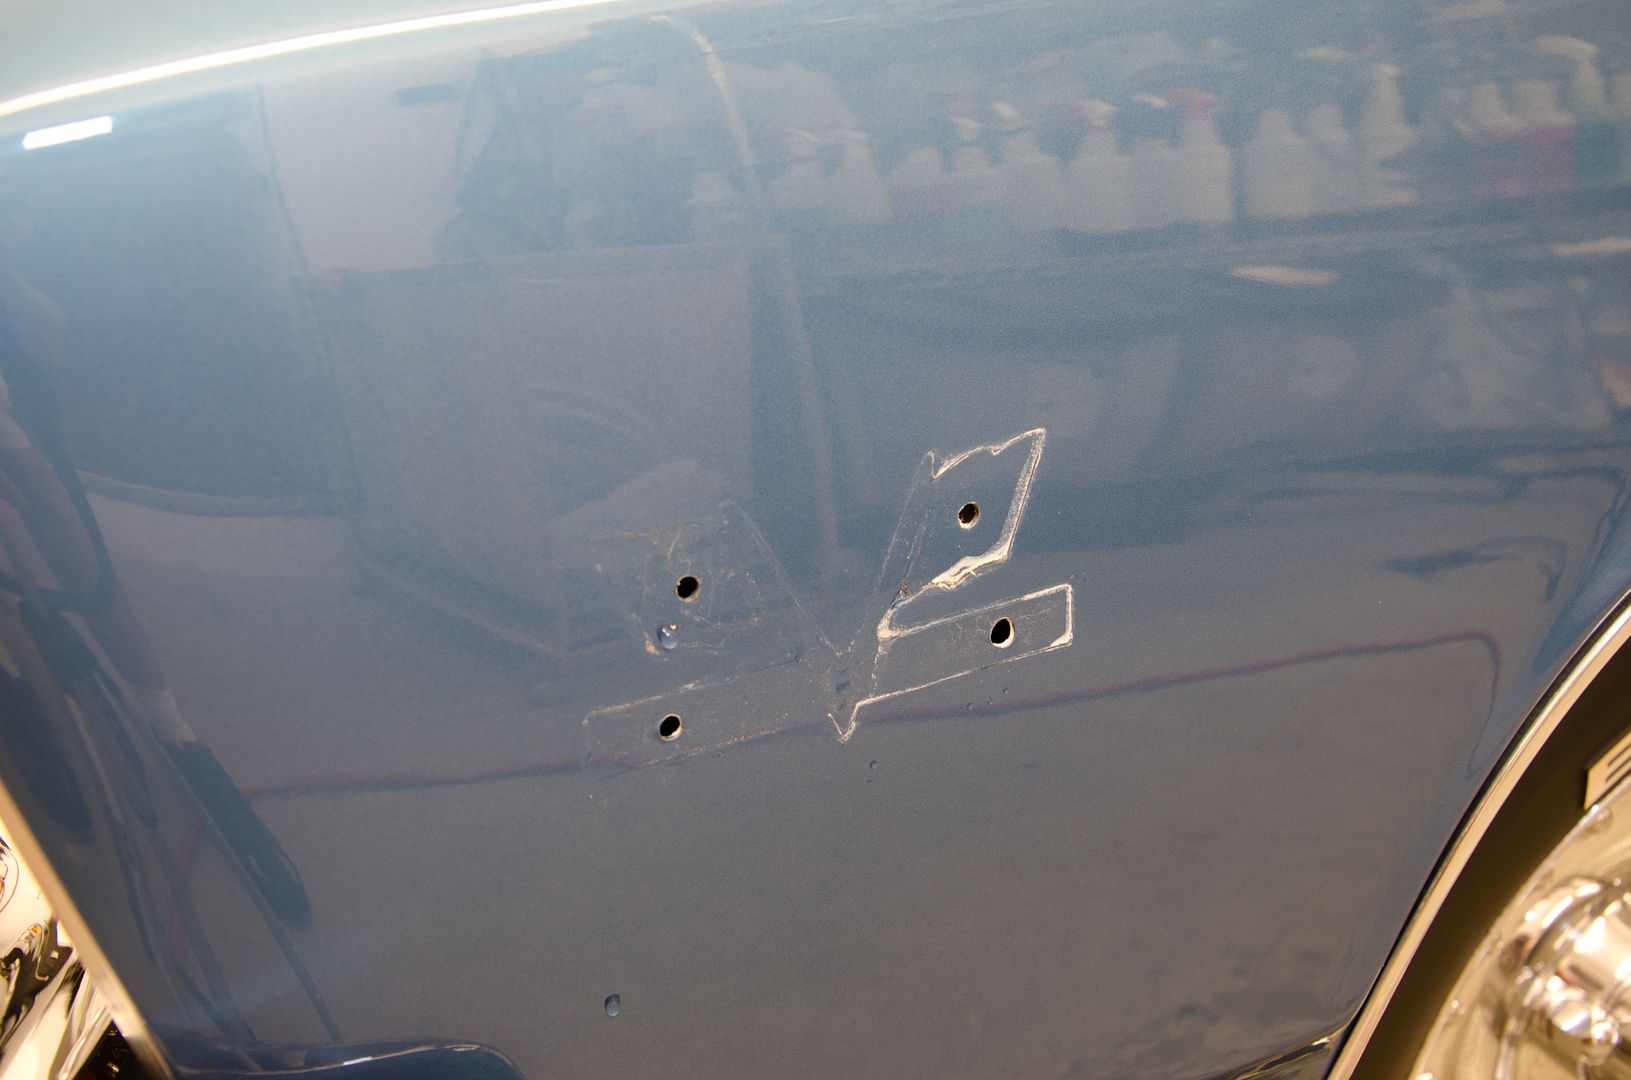
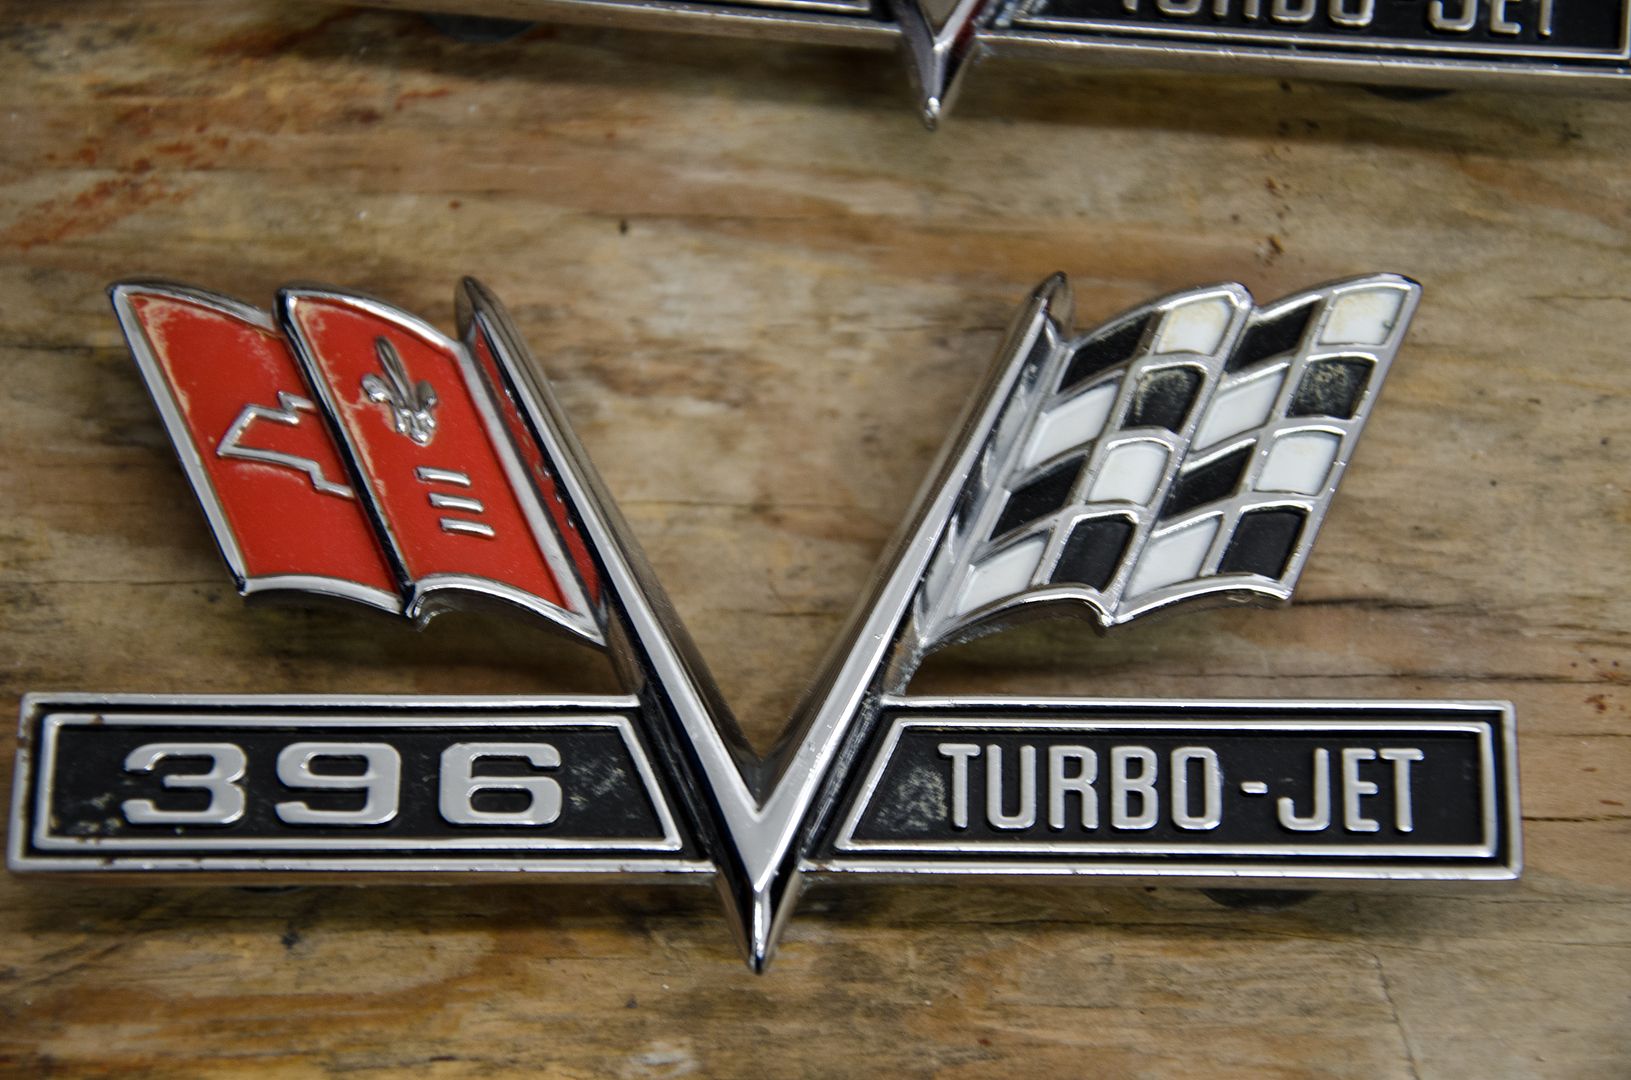
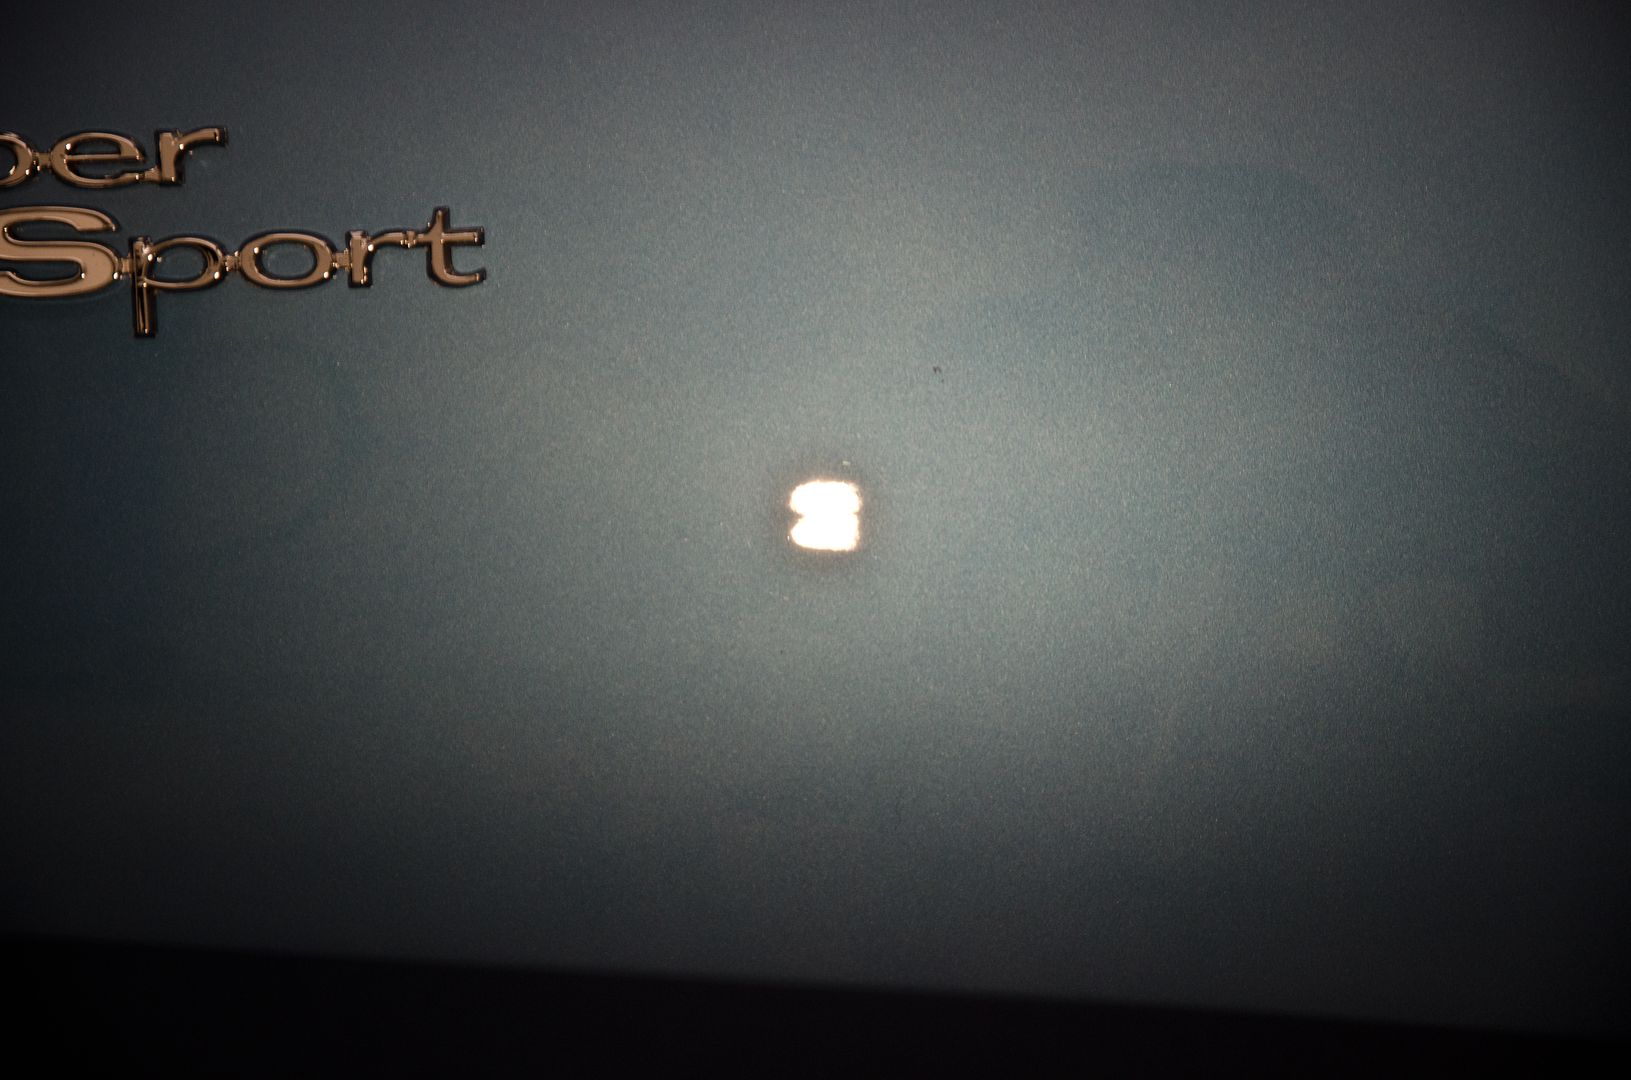
All emblems were removed for two reasons, to remove all the wax/compound from "the other" detailer, and to ensure all swirls/scratches are fully removed around and under them.
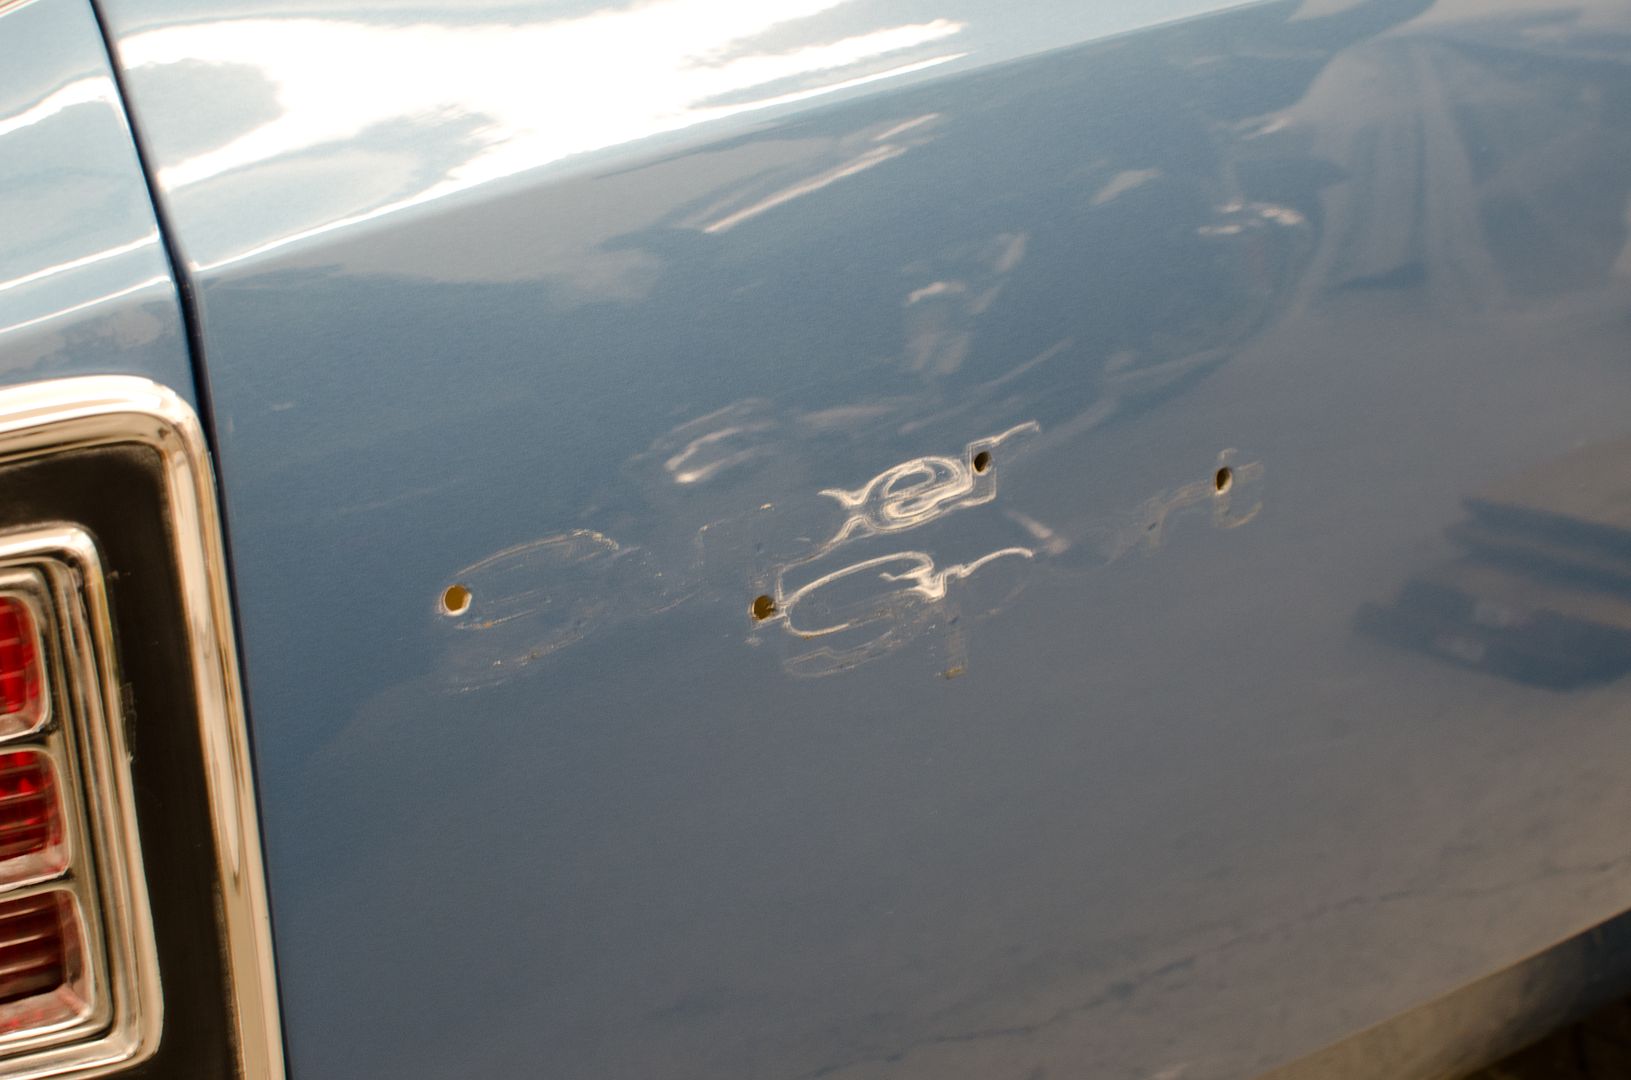
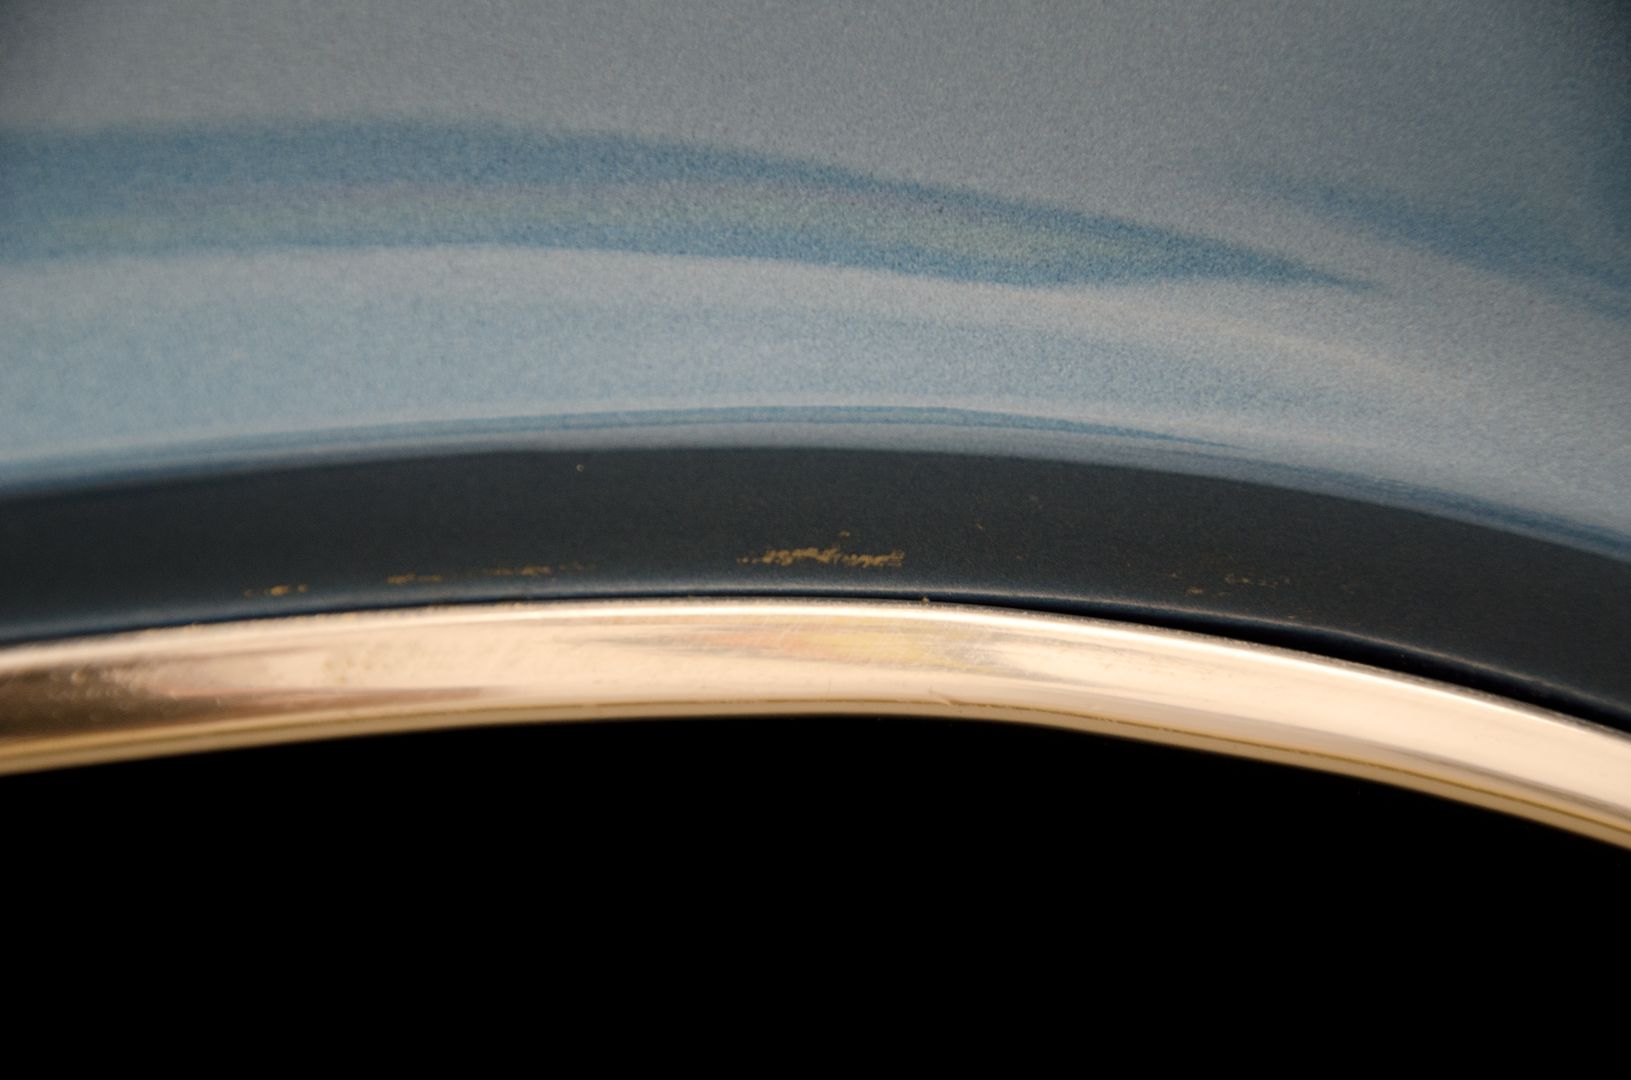
There were actually several areas where the other detailer left behind his signature...
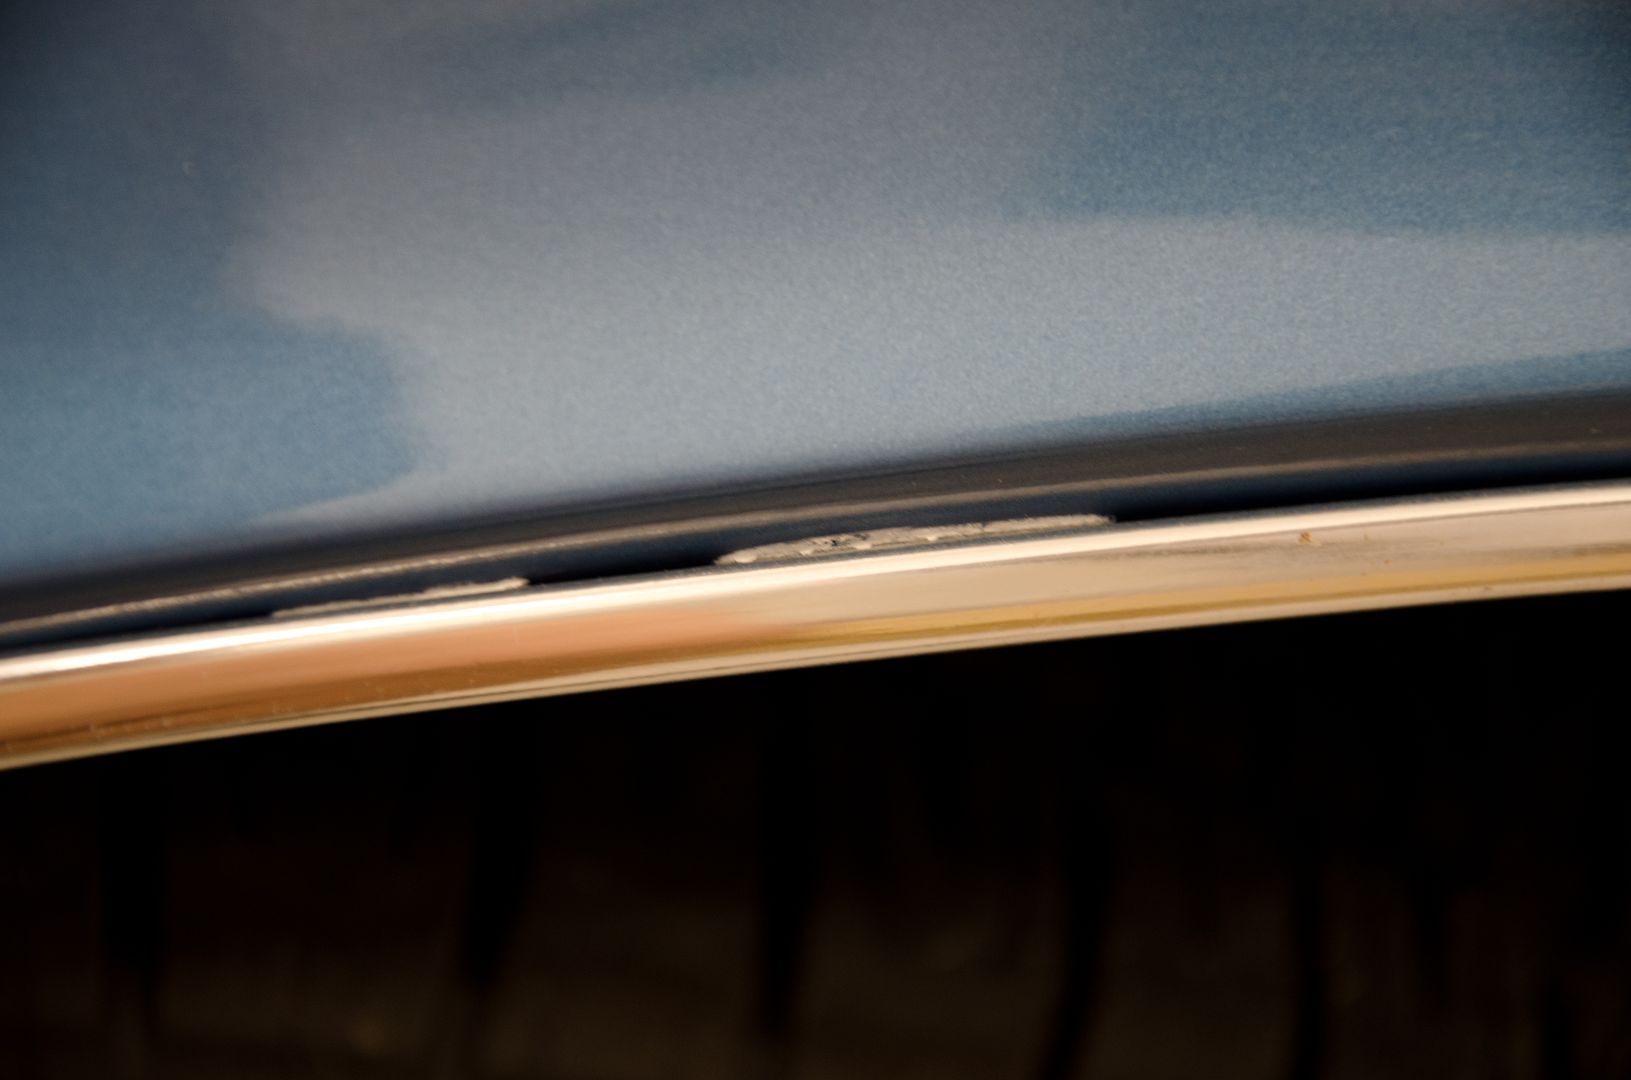
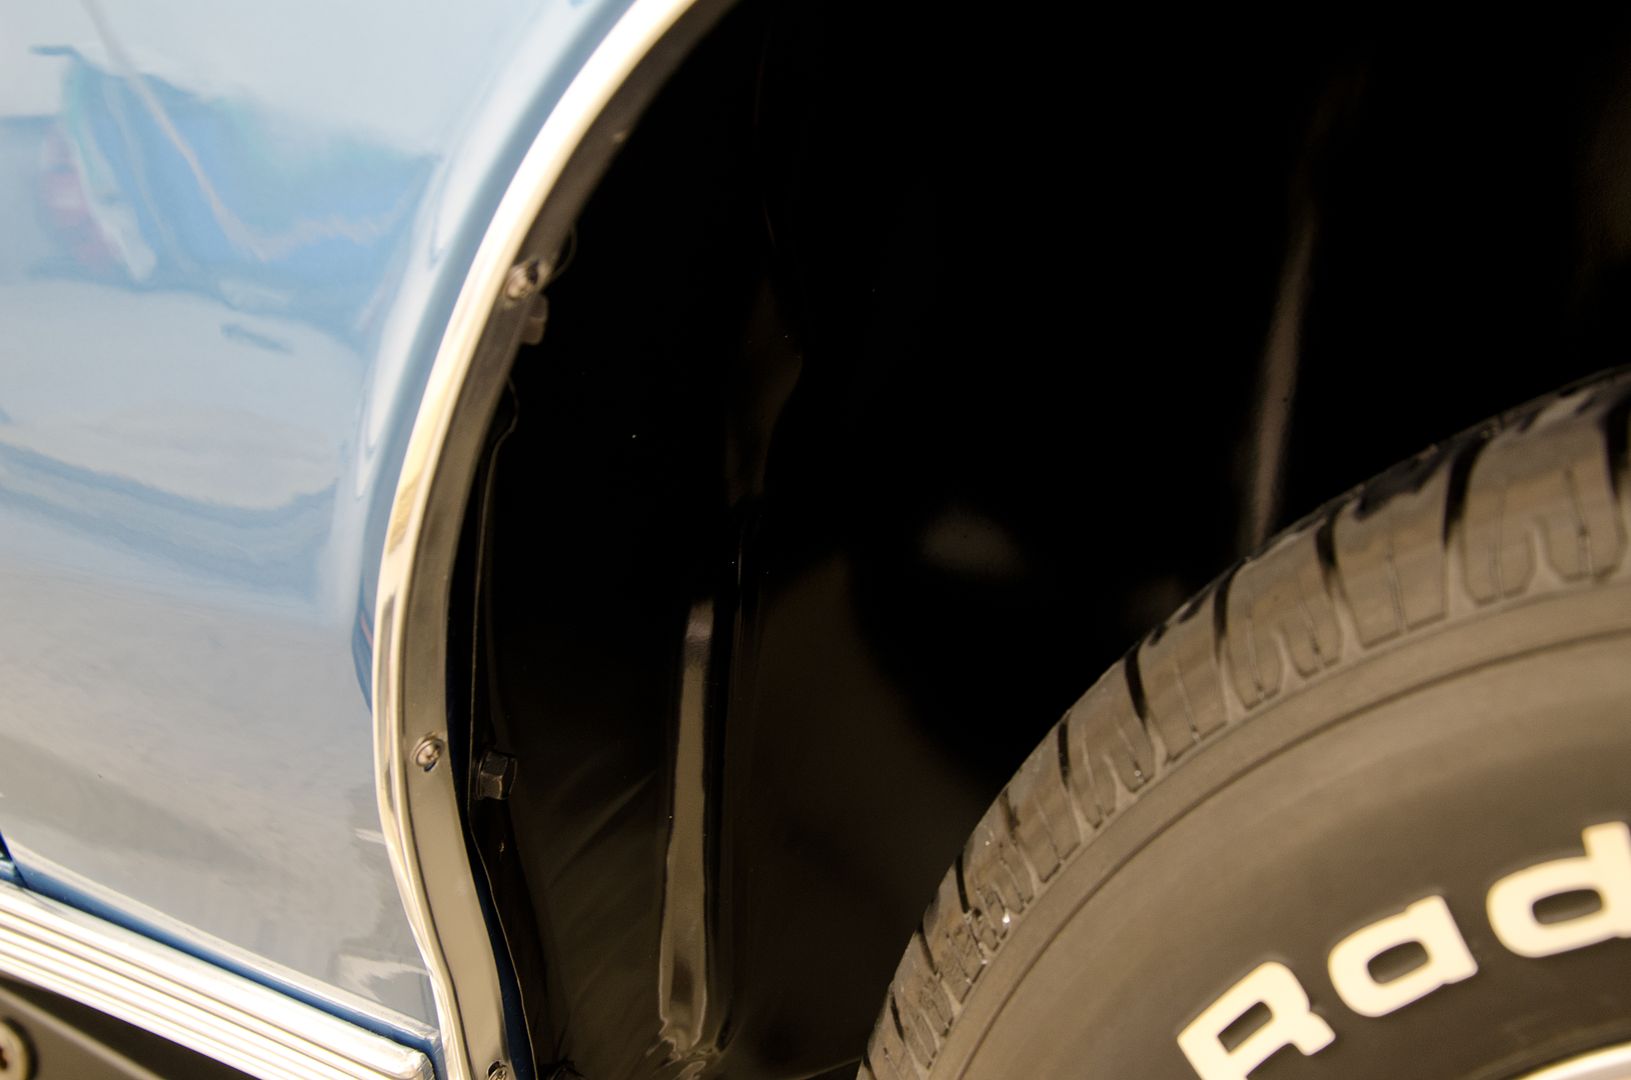
Wheel well trim...these were loosened to help get the wax/compound out.

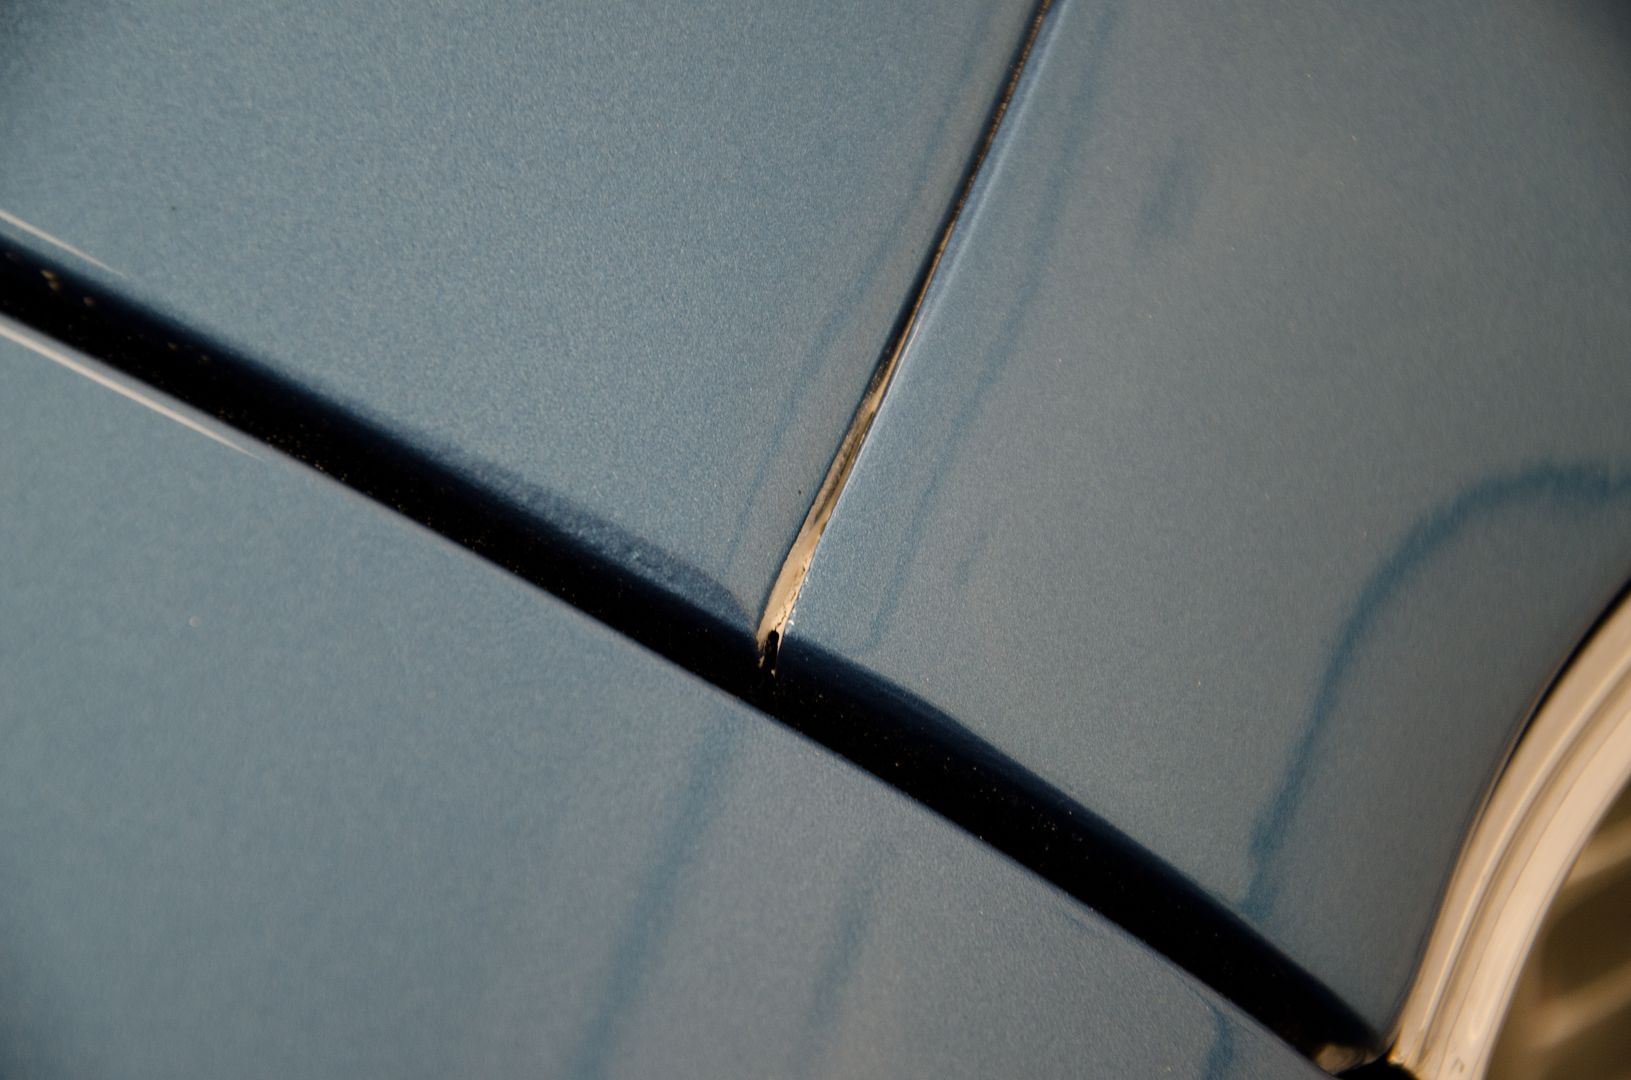

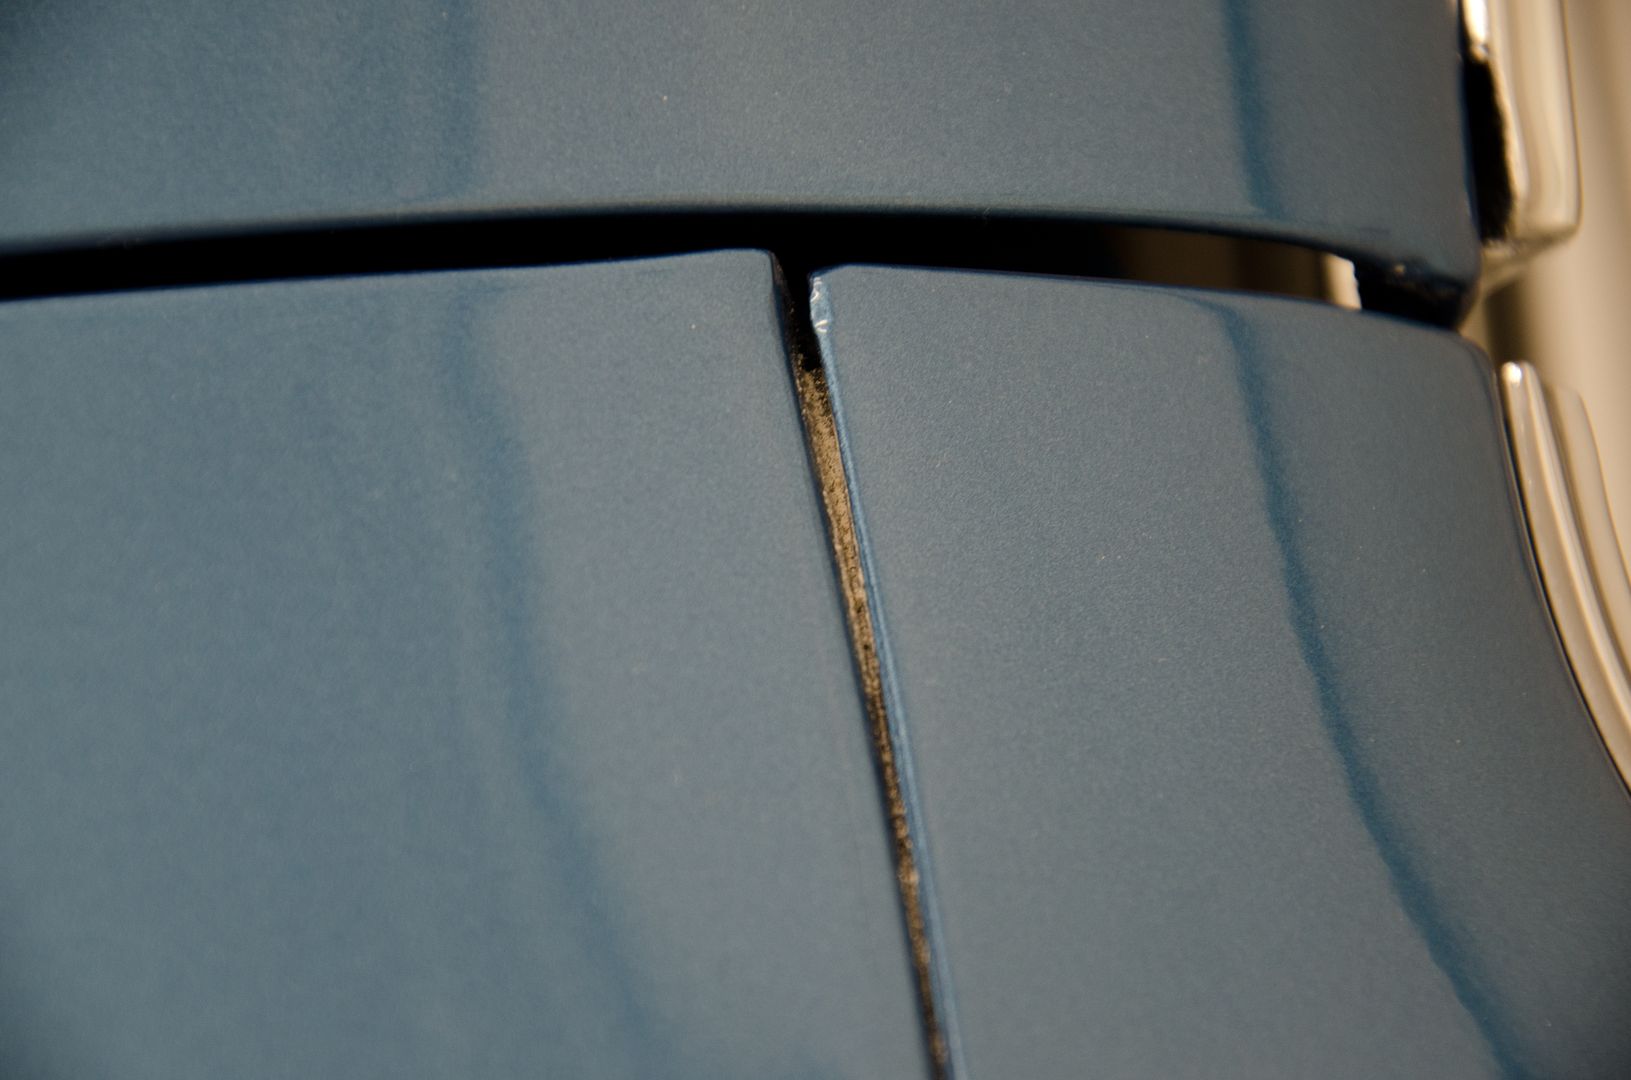
Emblems themselves had compound in them...these were NEW after the car had been painted and wet sanded!
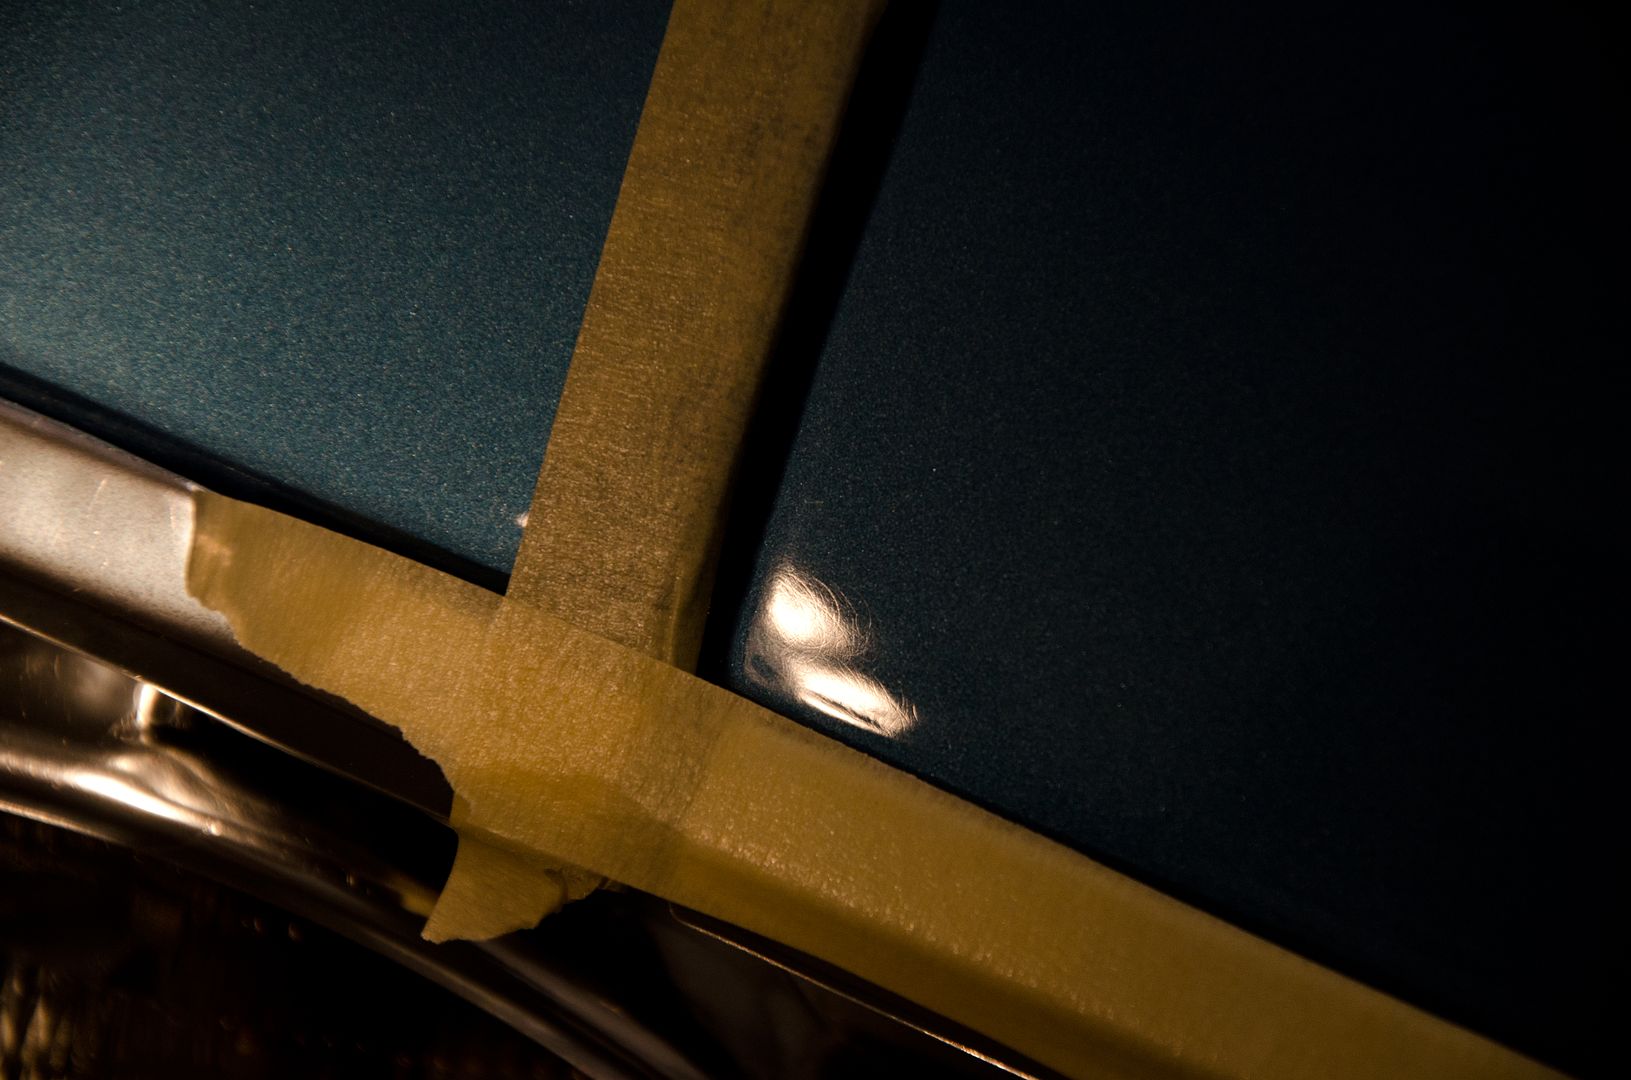
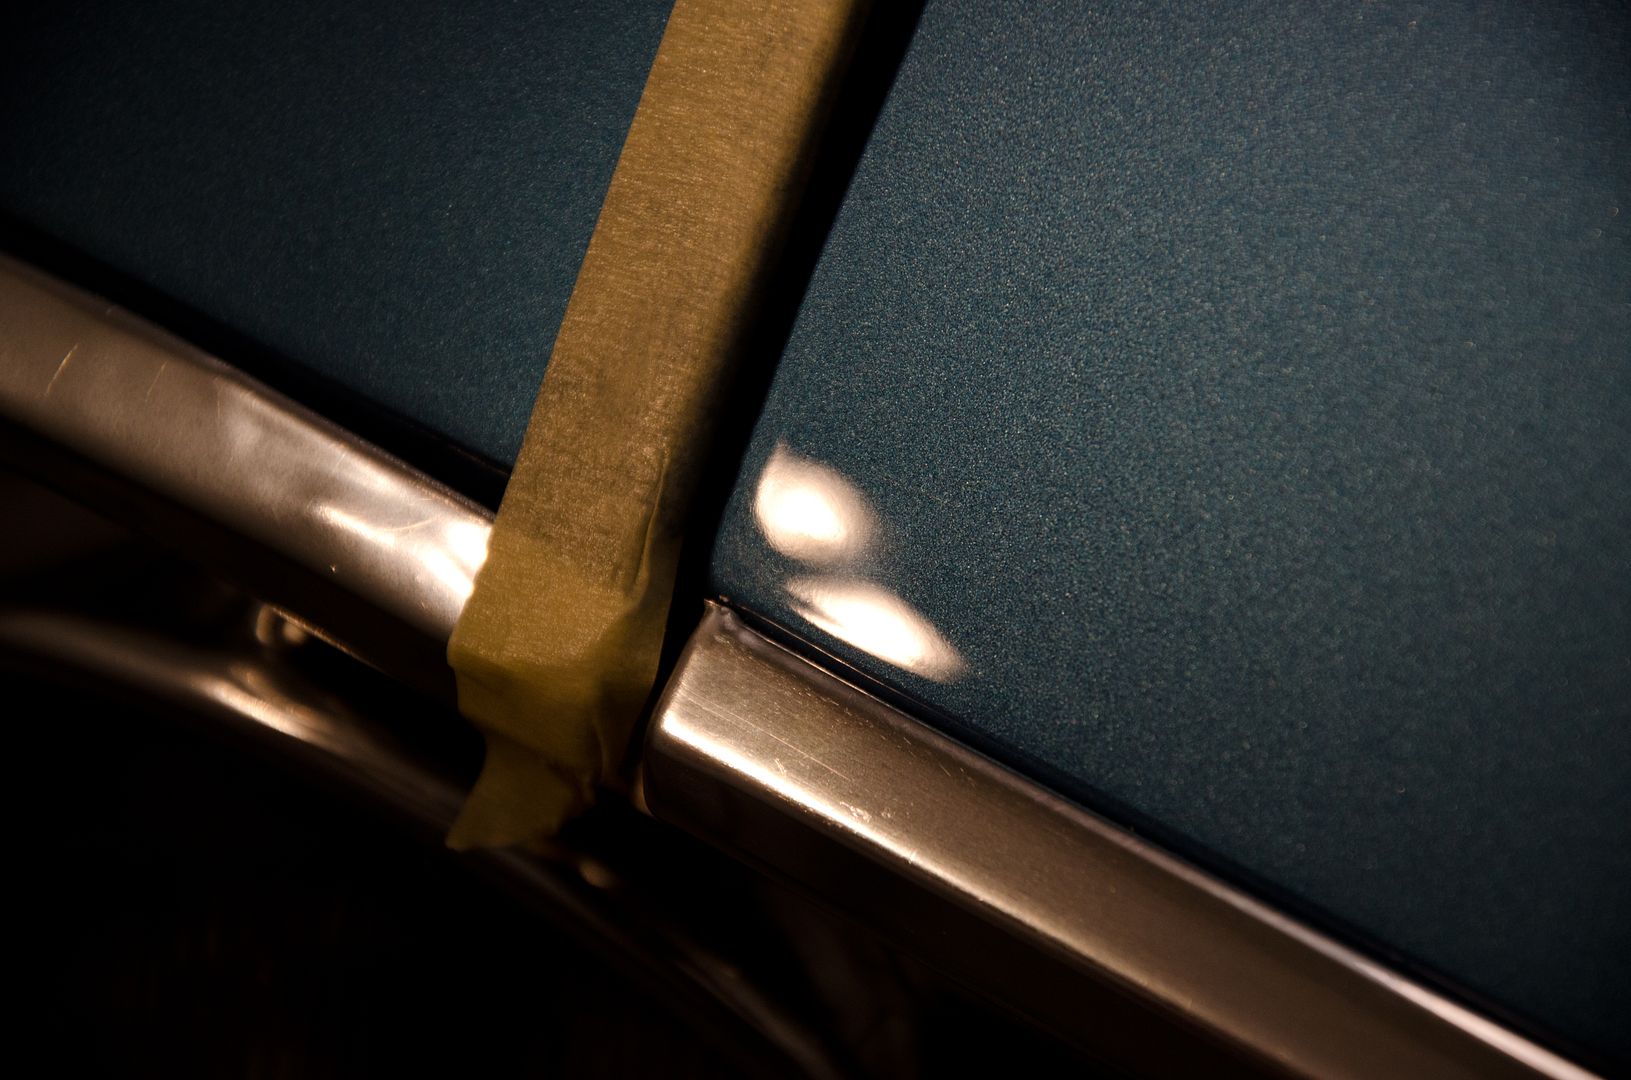
All taped up and top protected.
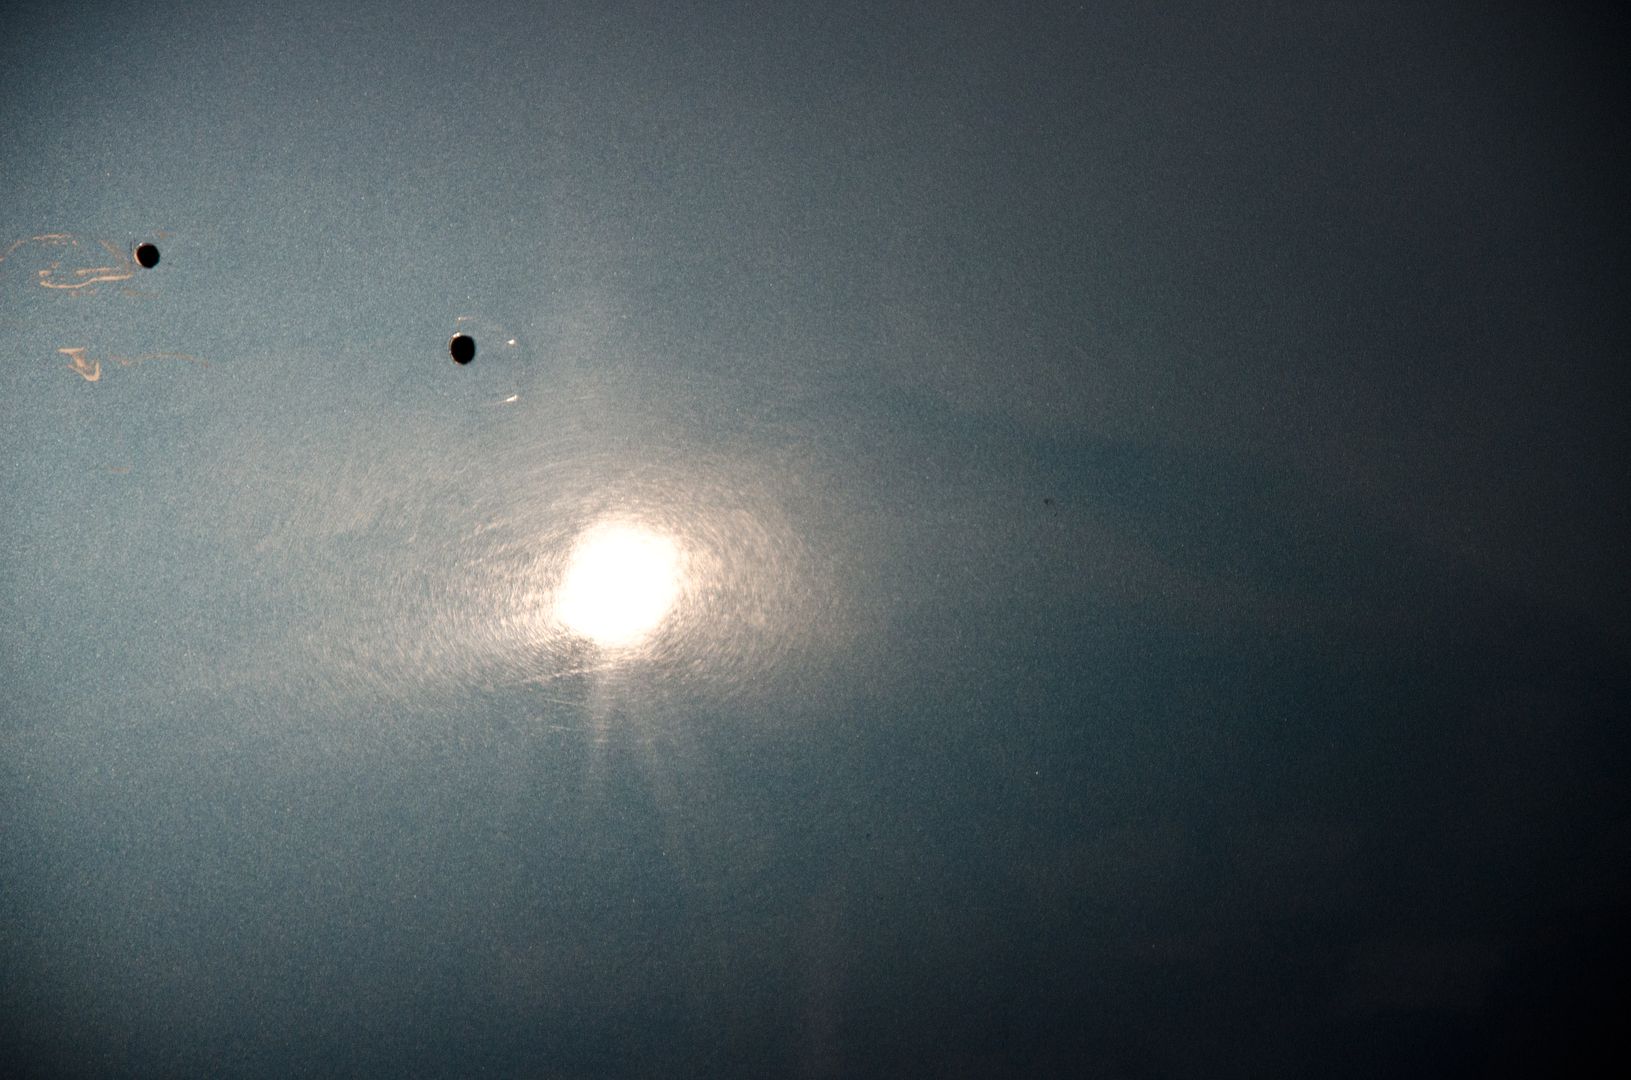
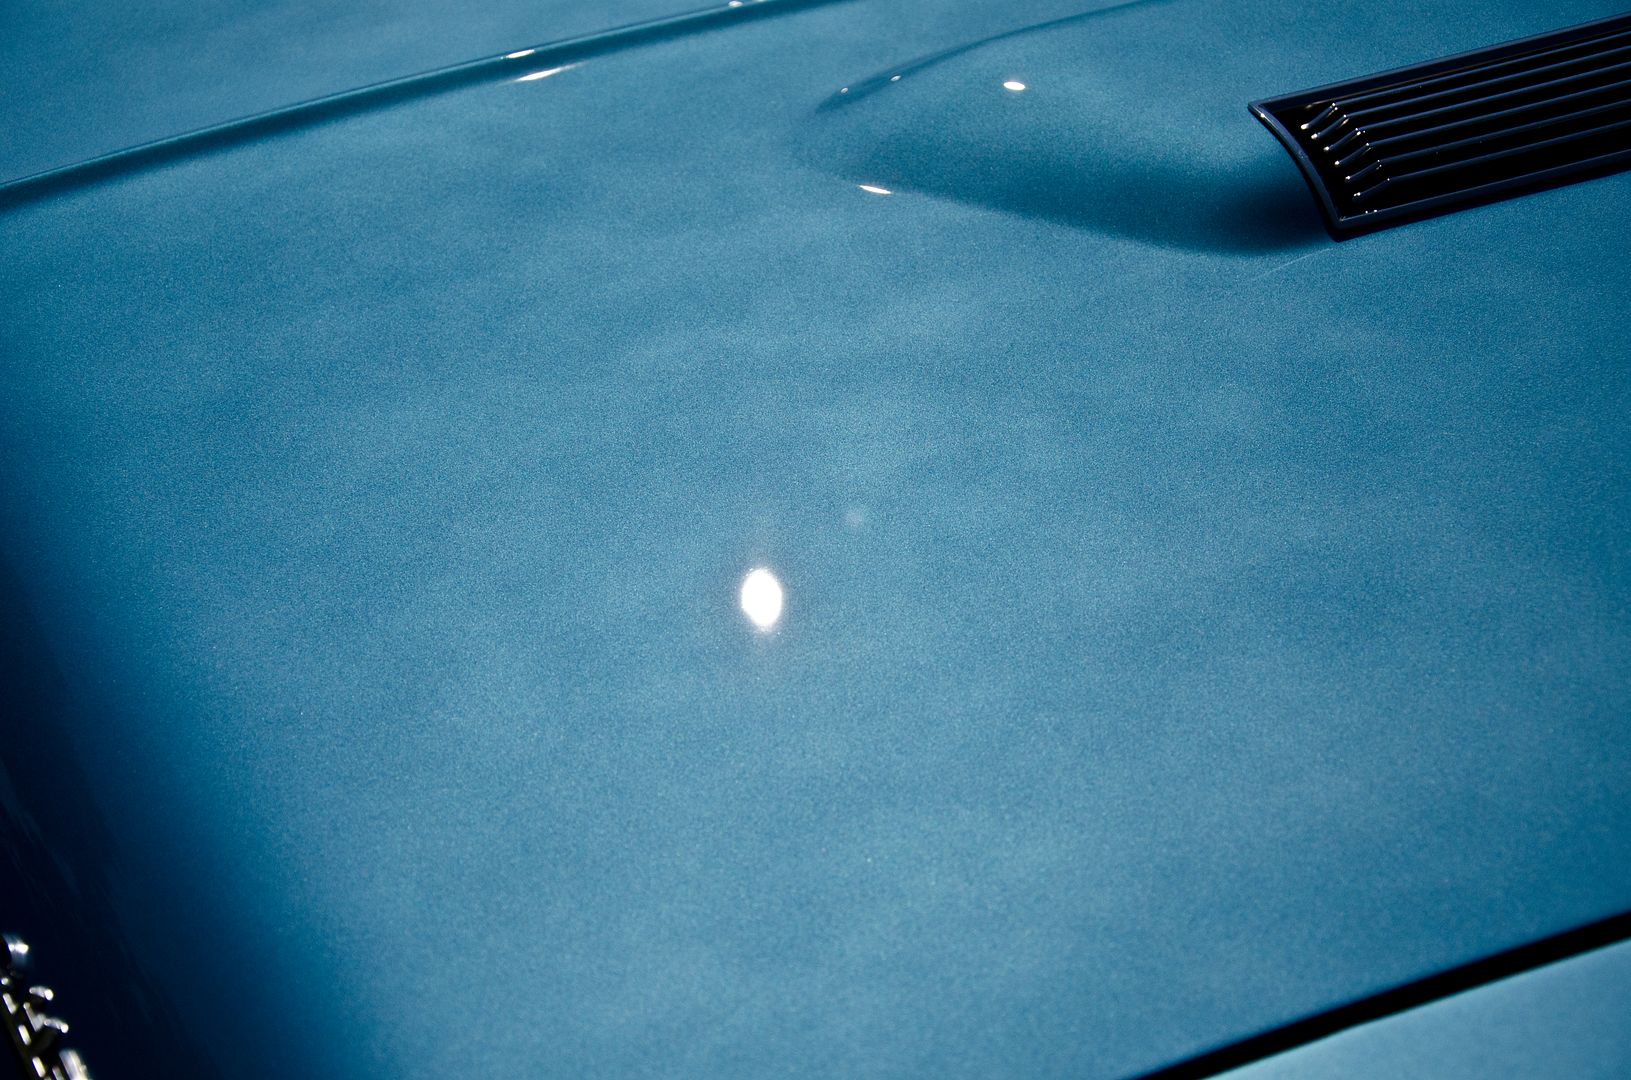
Holograms were over the entire car from either the body shop of the other detailer.
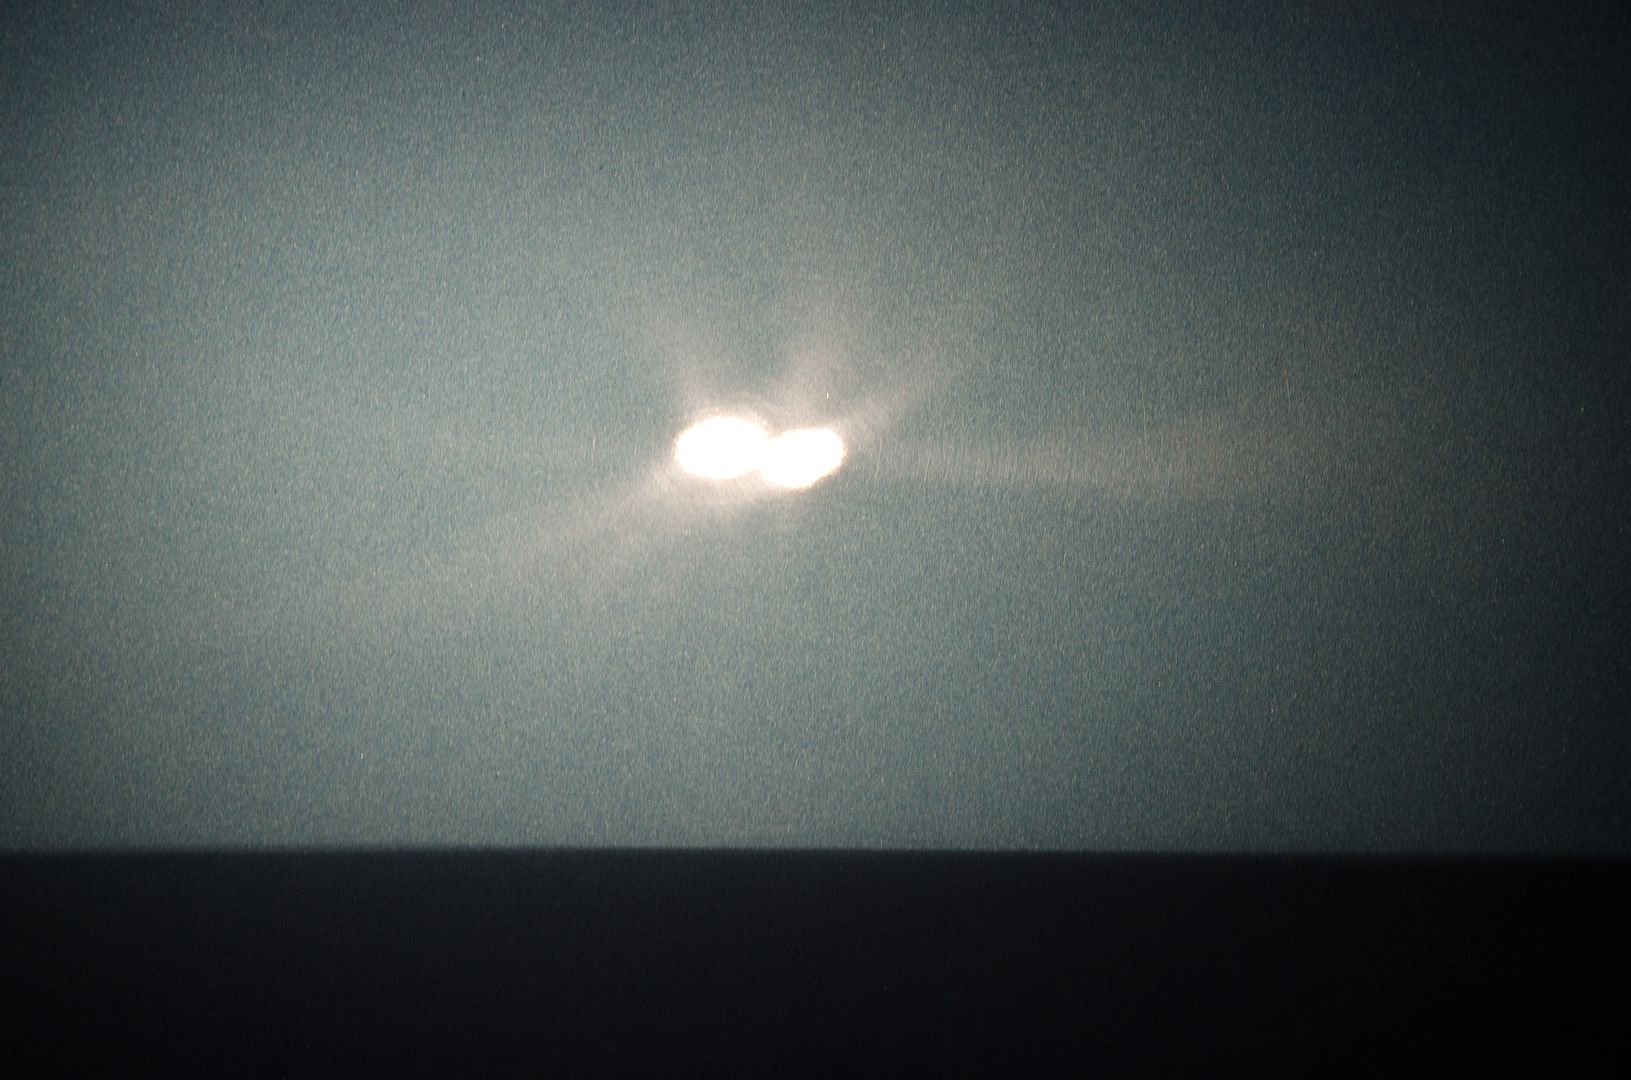
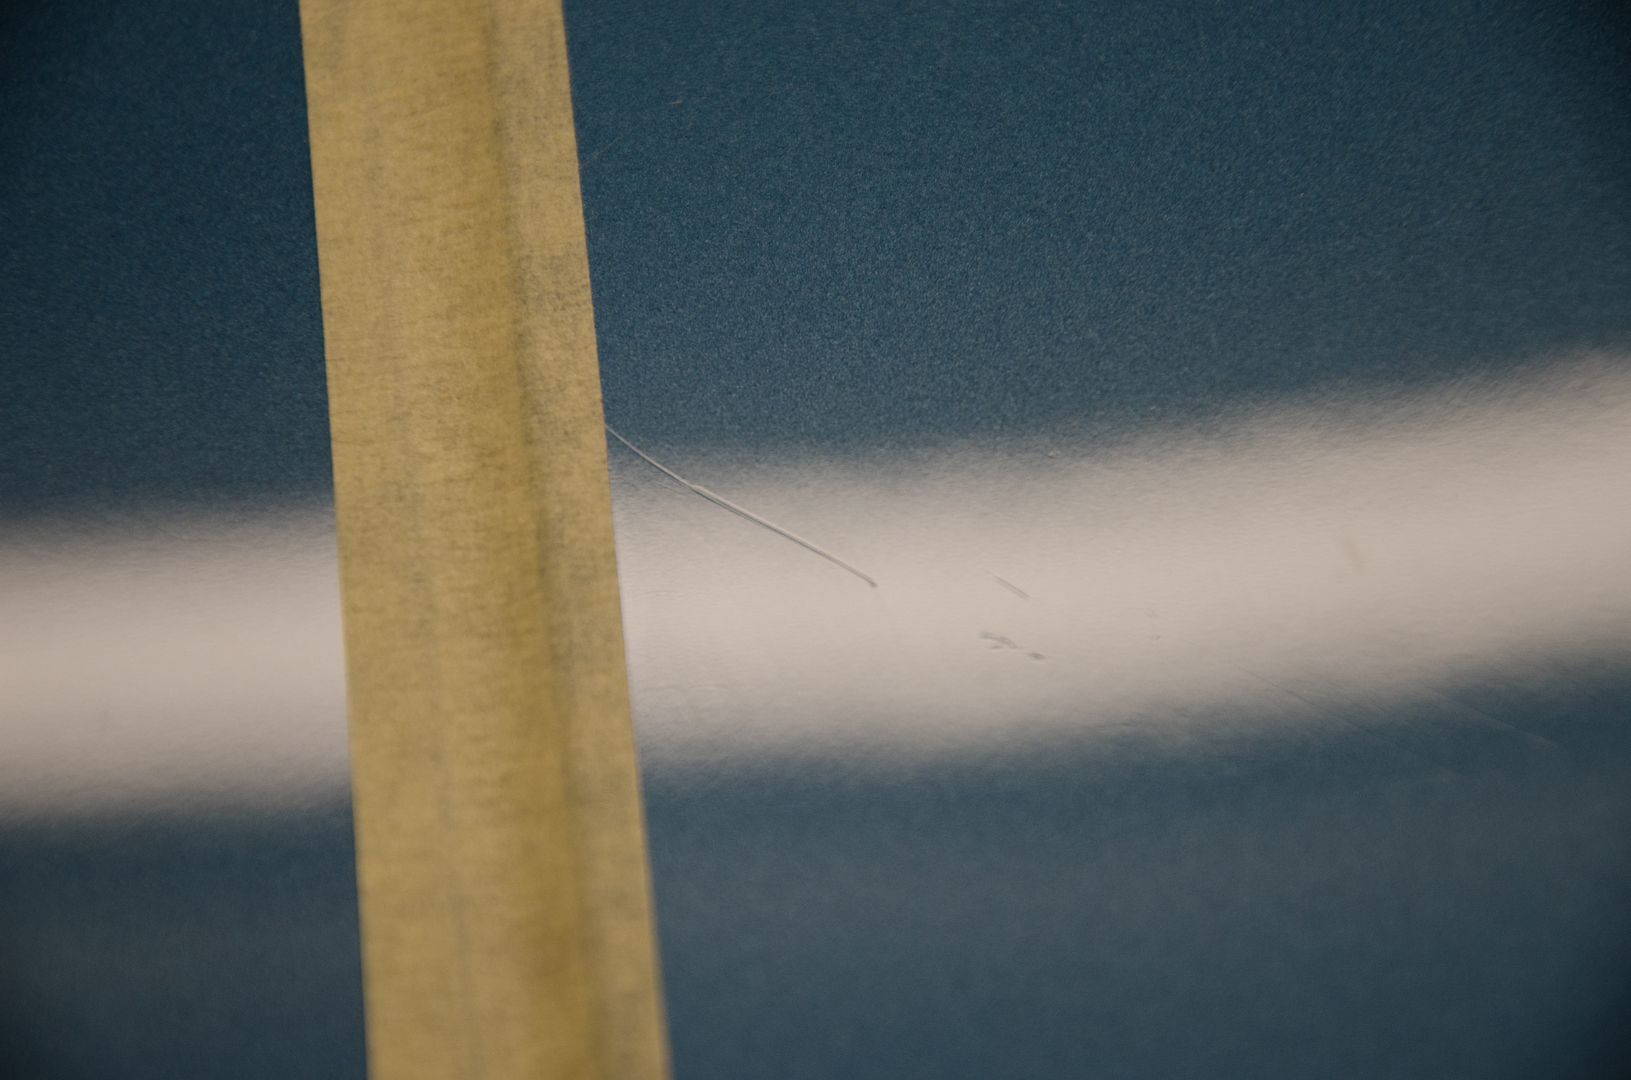
One of several test spots...holograms removed but pig tails were then revealed....
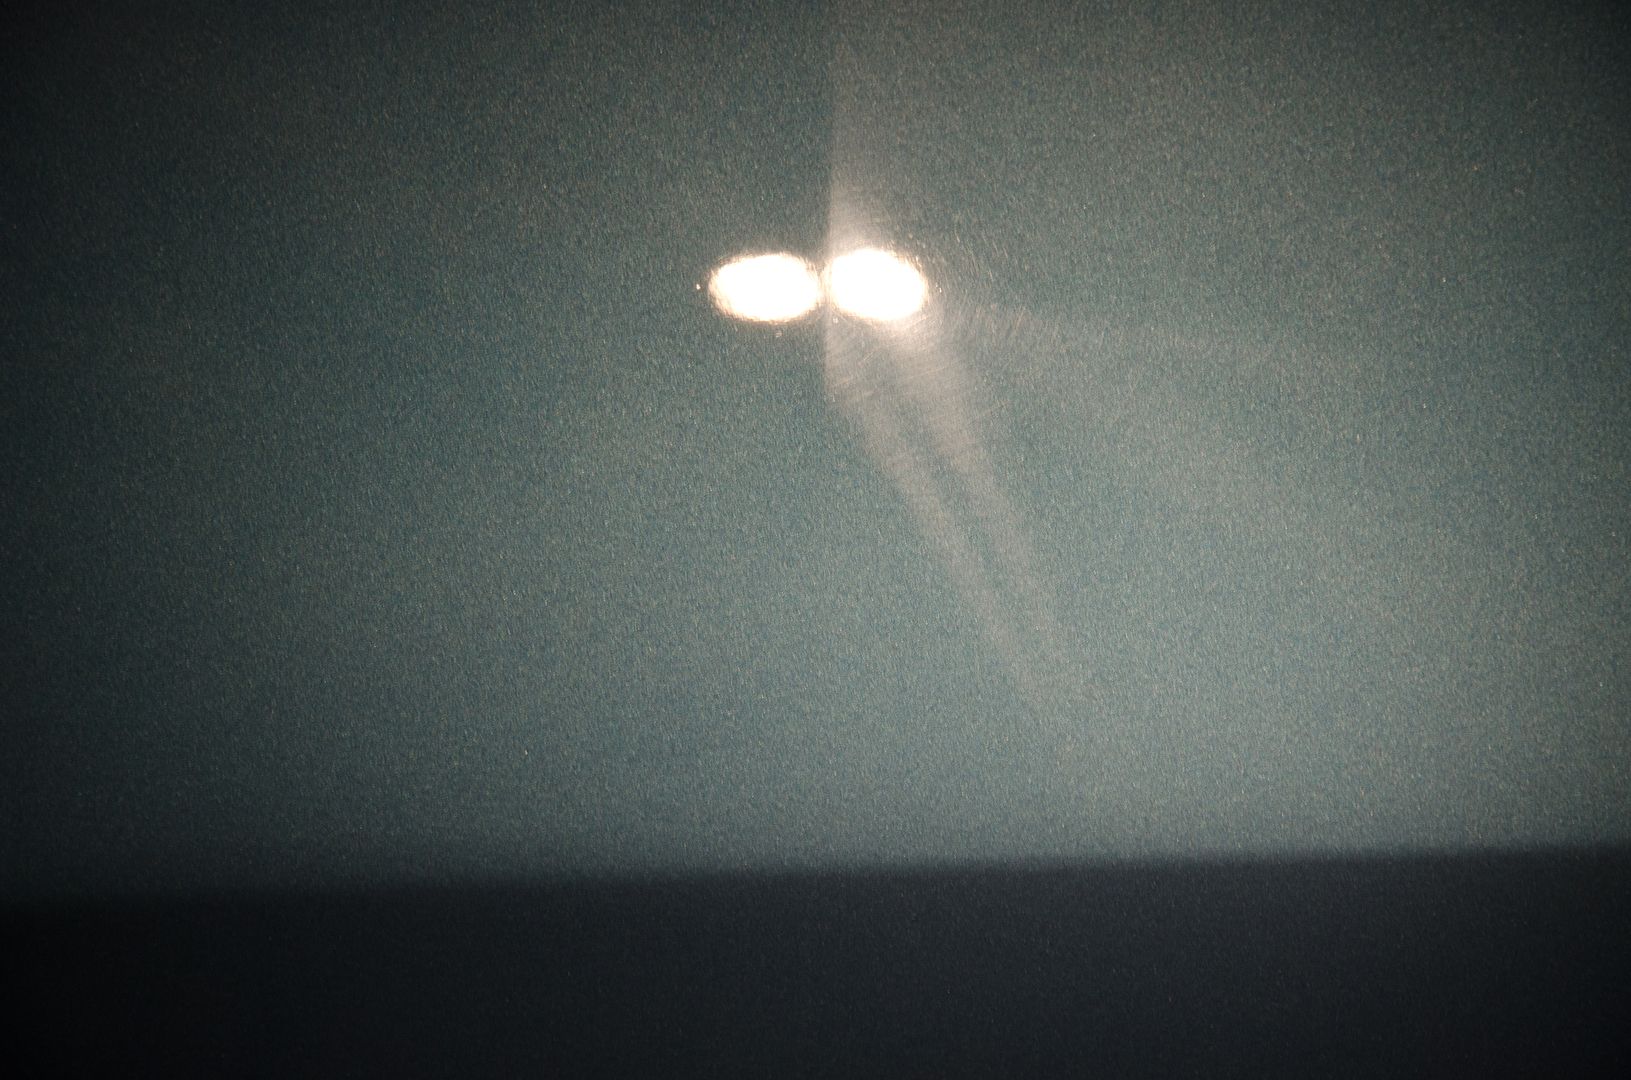
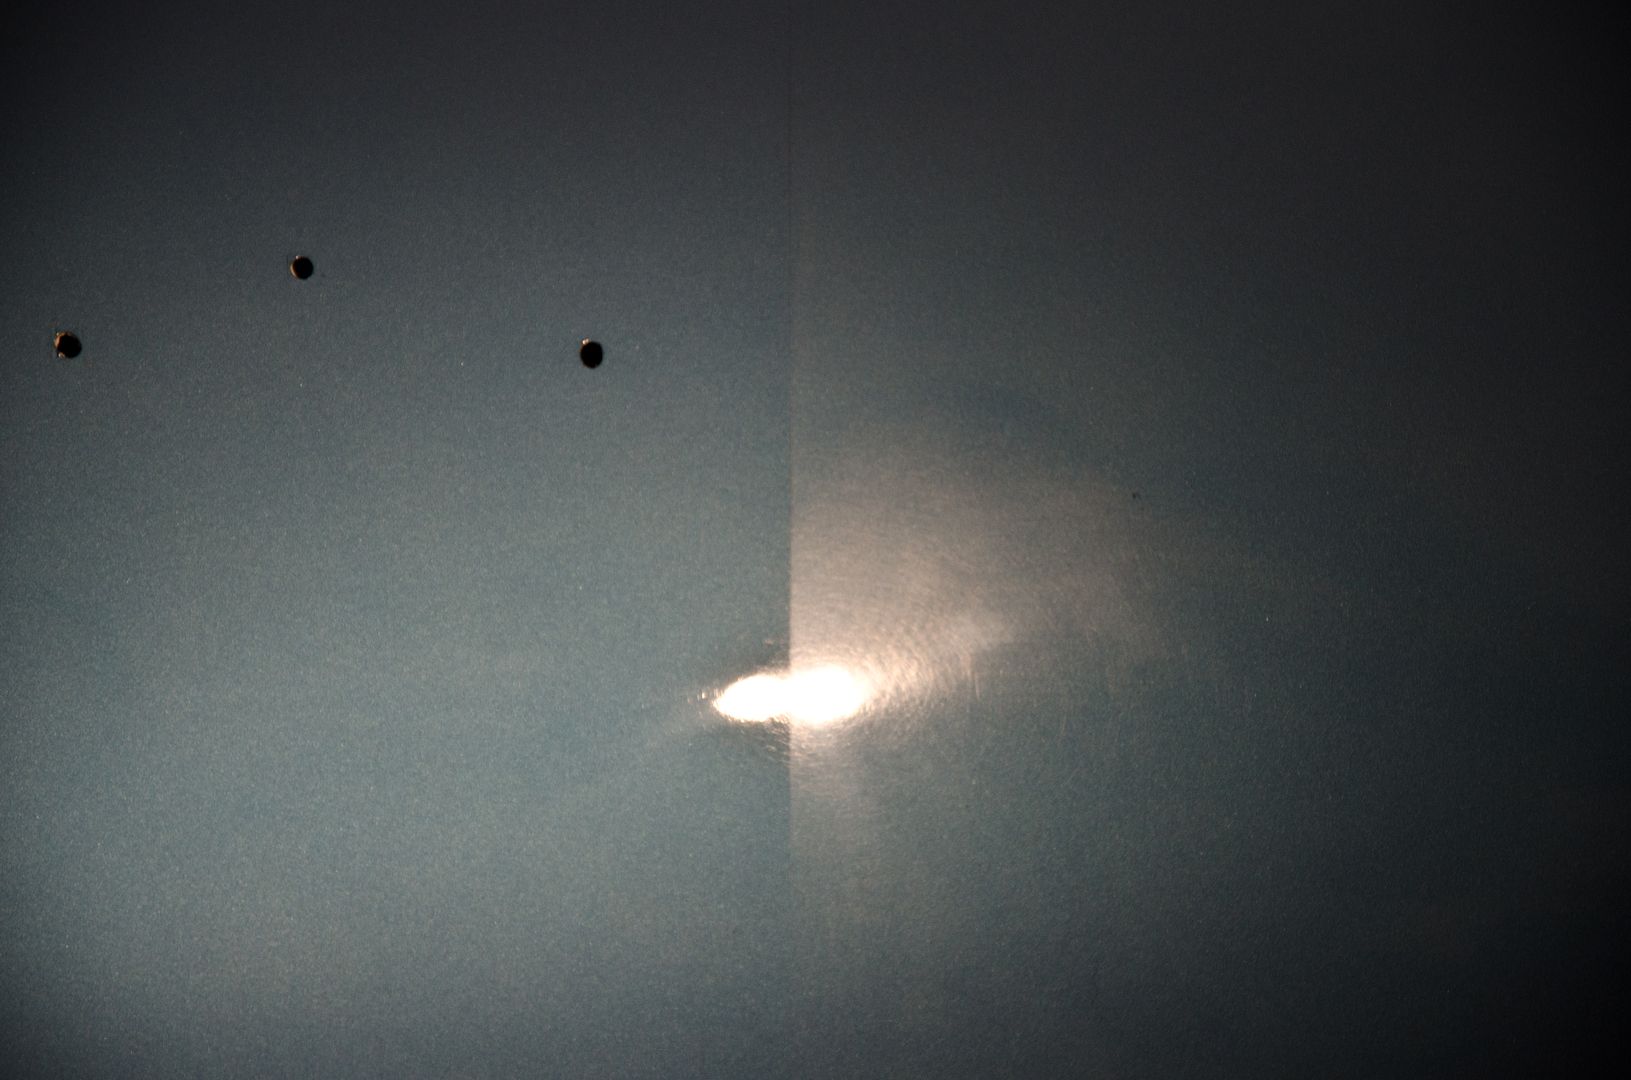
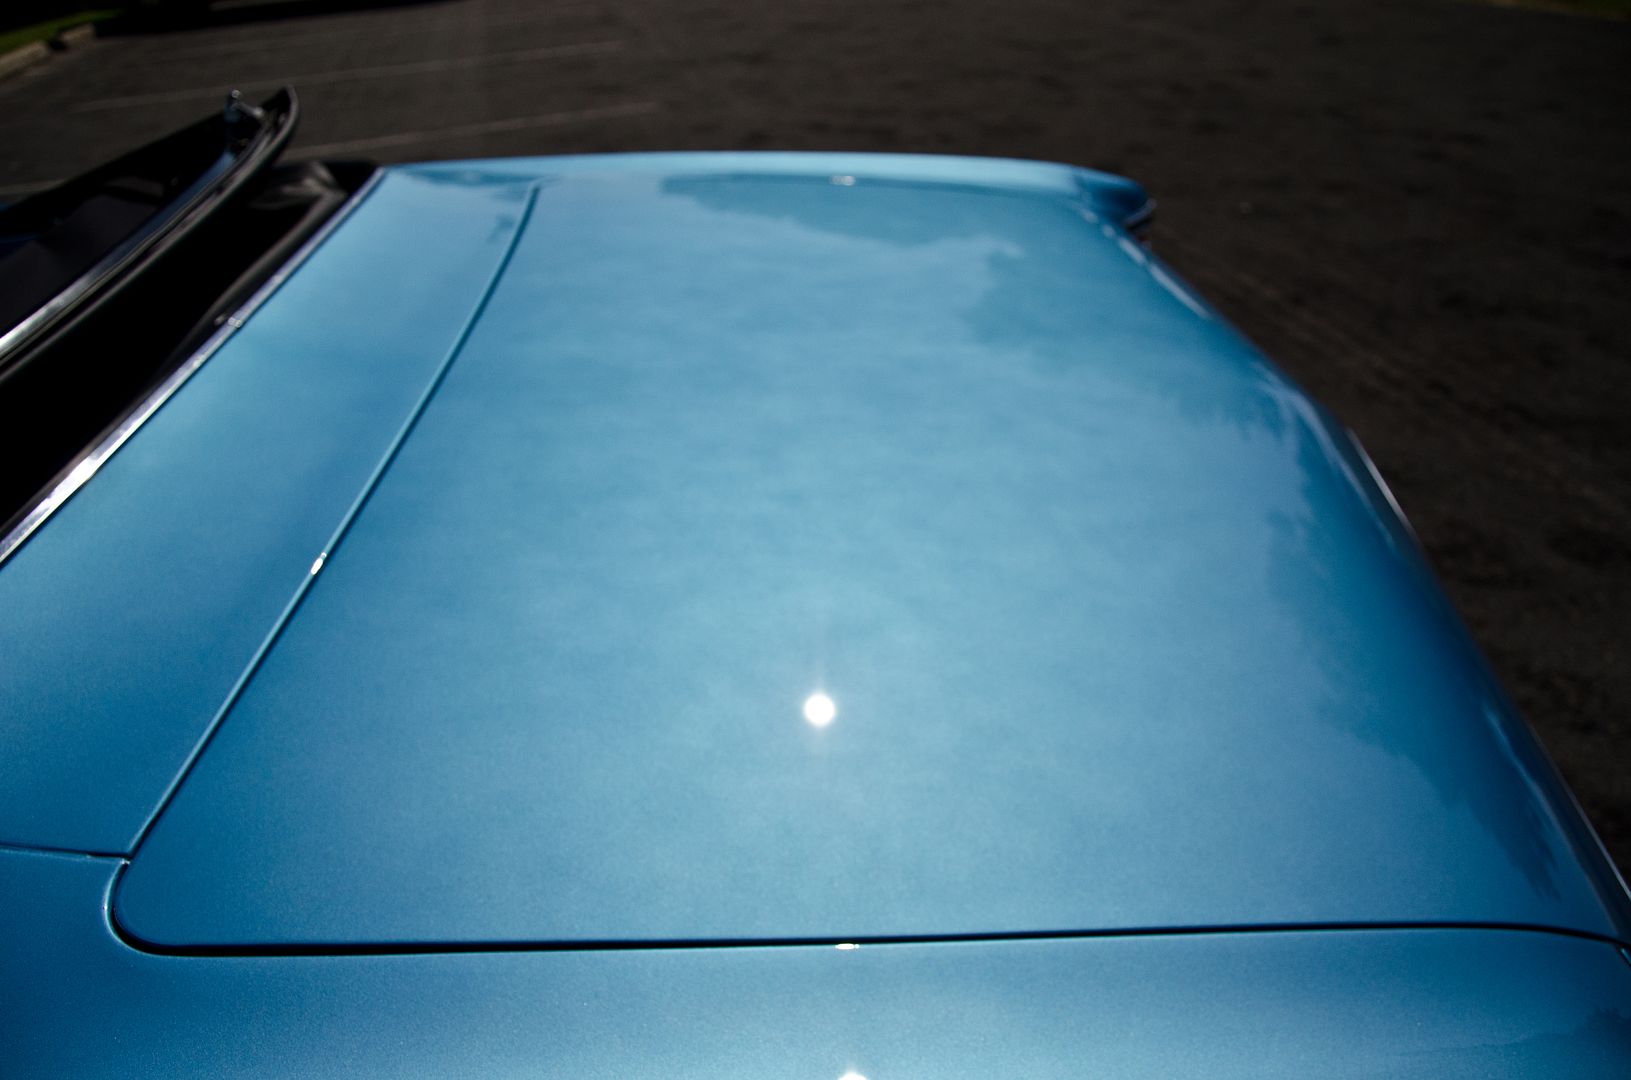
The entire car had lots of deep pig tails through the paint from when the body shop had originally wet sanded it. The paint has since hardened, very hard actually, and their removal was difficult and time consuming. Several areas still had visible sanding marks too...

After making two passes with M101 on the rotary with a wool pad, it was clear this paint was VERY hard and I actually ended up wet sanding these areas with 3000 grit to help with their removal.
Even after wet sanding it still took multiple passes with M101 and a wool pad, but I was able to remove close to 99% of the defects.
Many of the edges had sanding marks remaining....
after
Carefully removing more sanding marks near the edge with a 3" MF pad.
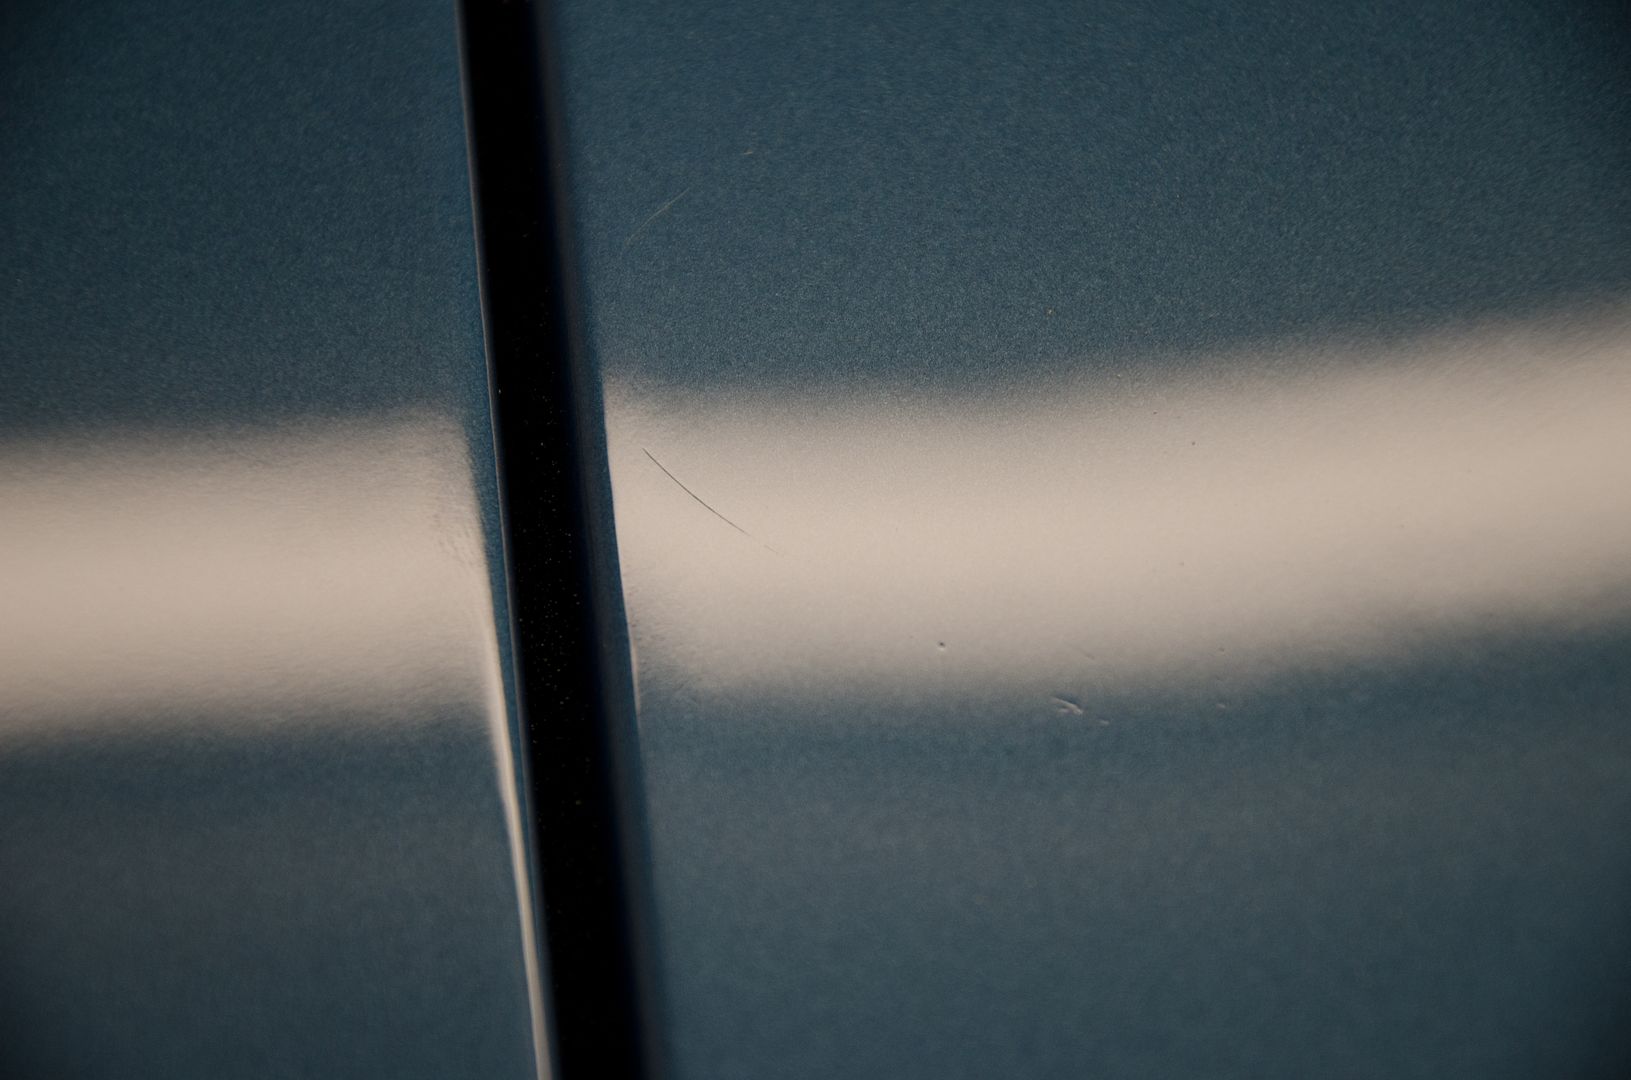
There was a deep scratch above the trunk which easily caught my finger nail
Improved but not removed....I'm sure I could have pushed it further but it simply was not worth the risk of a strike though and I had no idea how much clear was used or that remained.
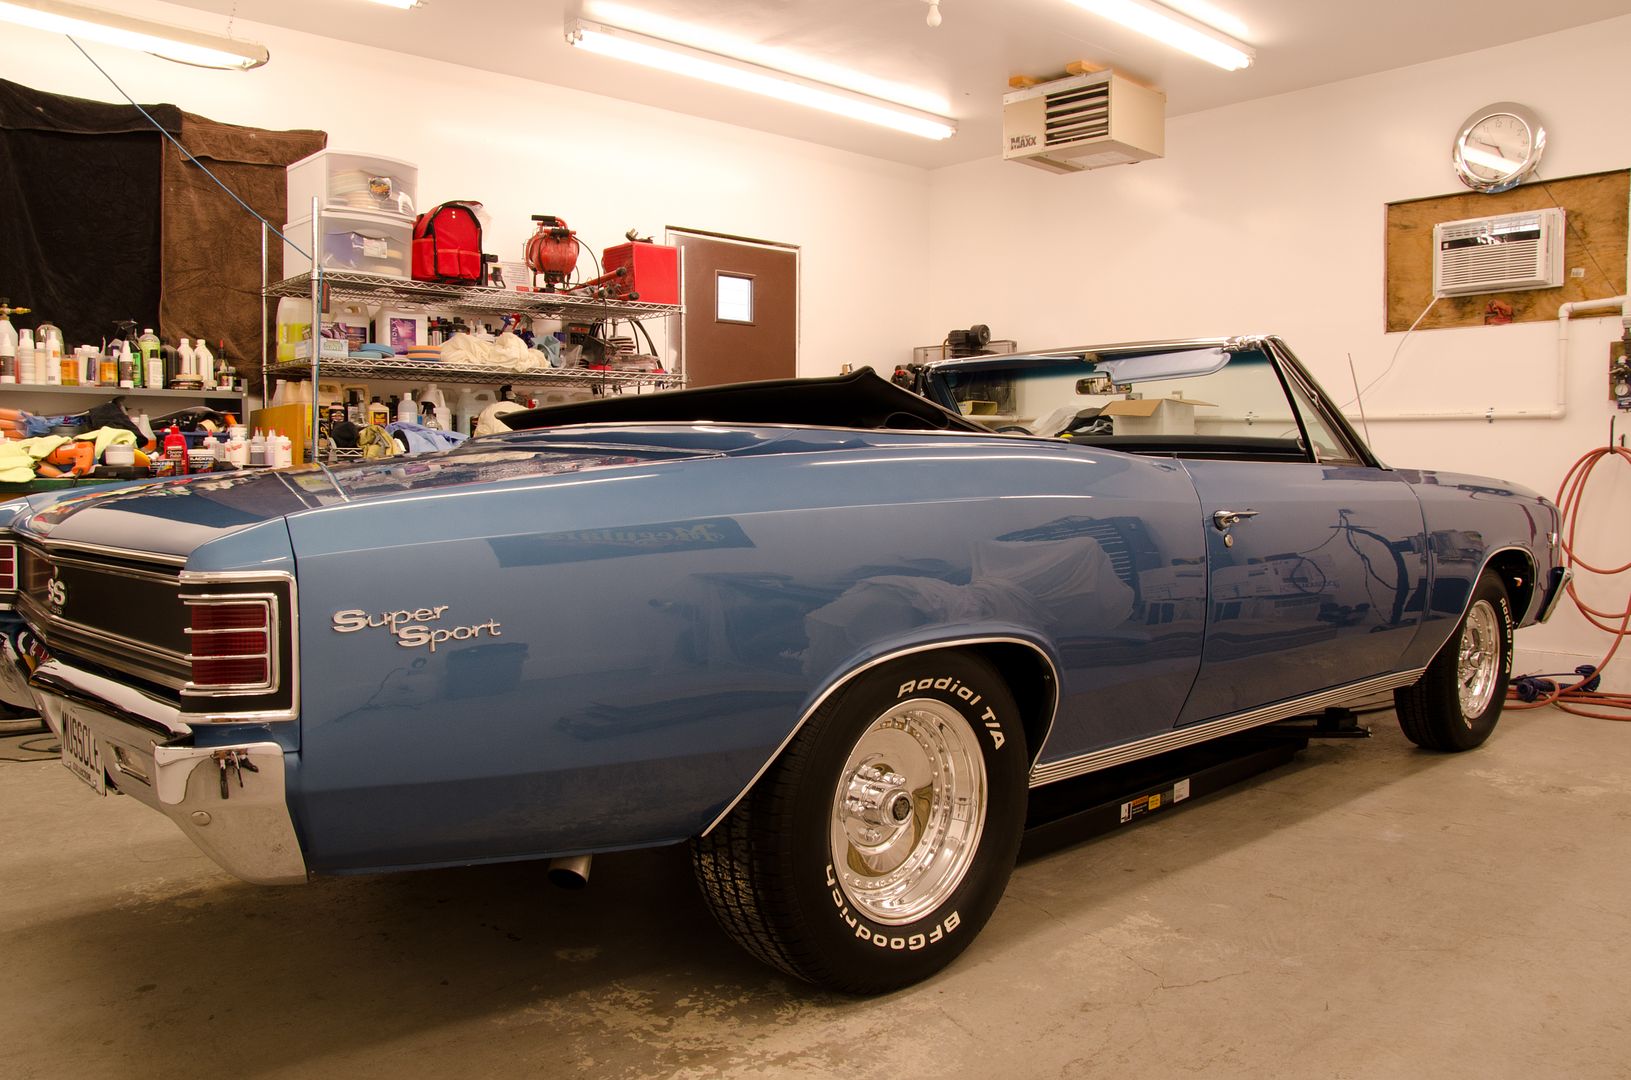
Raised car to clean wheel wells and to polish wheels
before
After
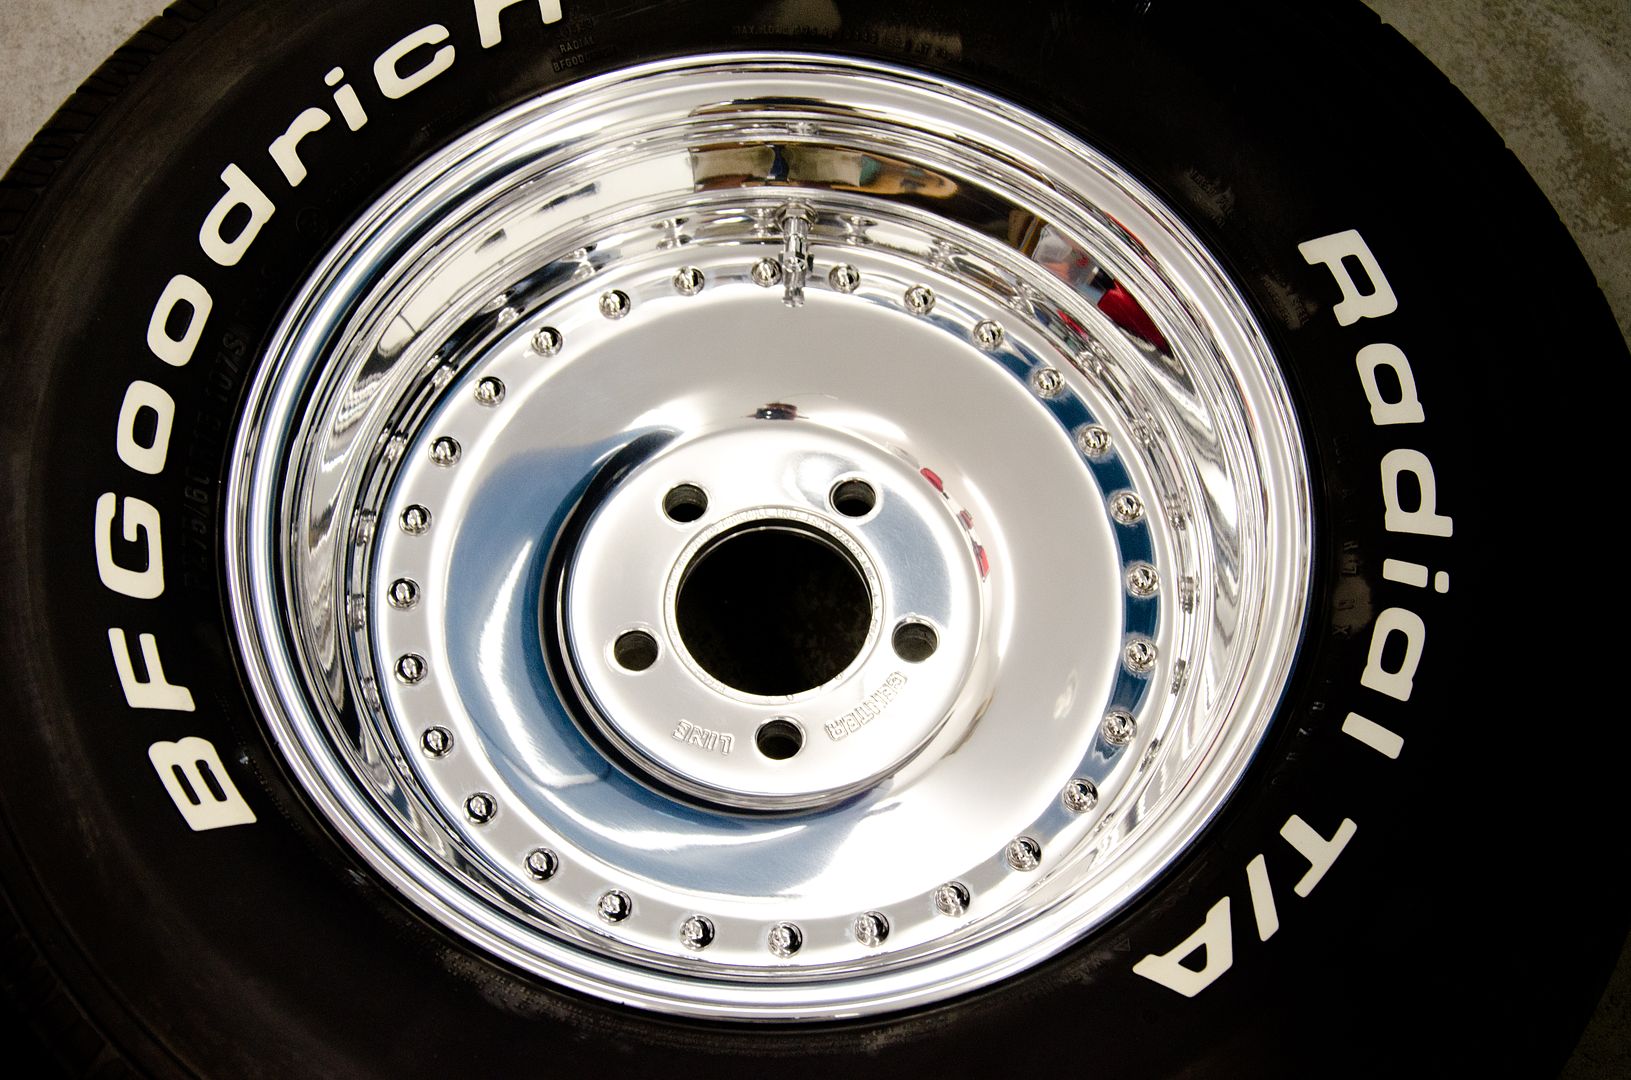
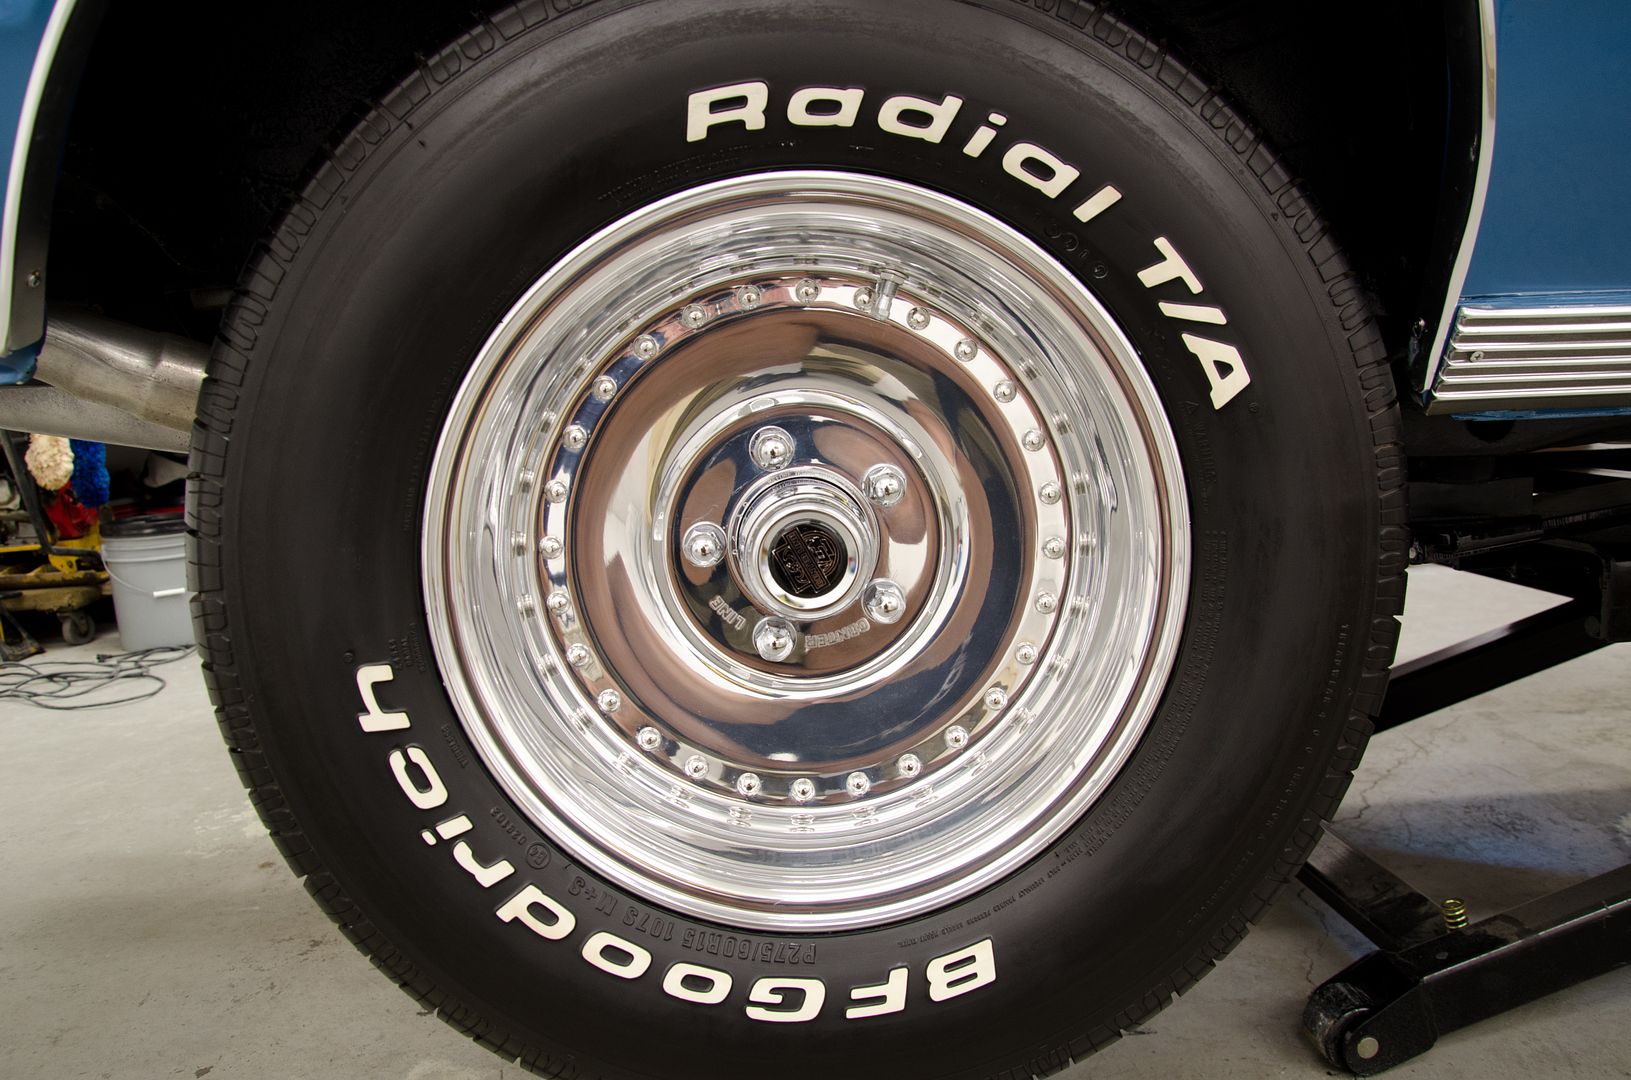
Etched wheel after polishing with Blackfire and Meguiar's aluminum polishes.
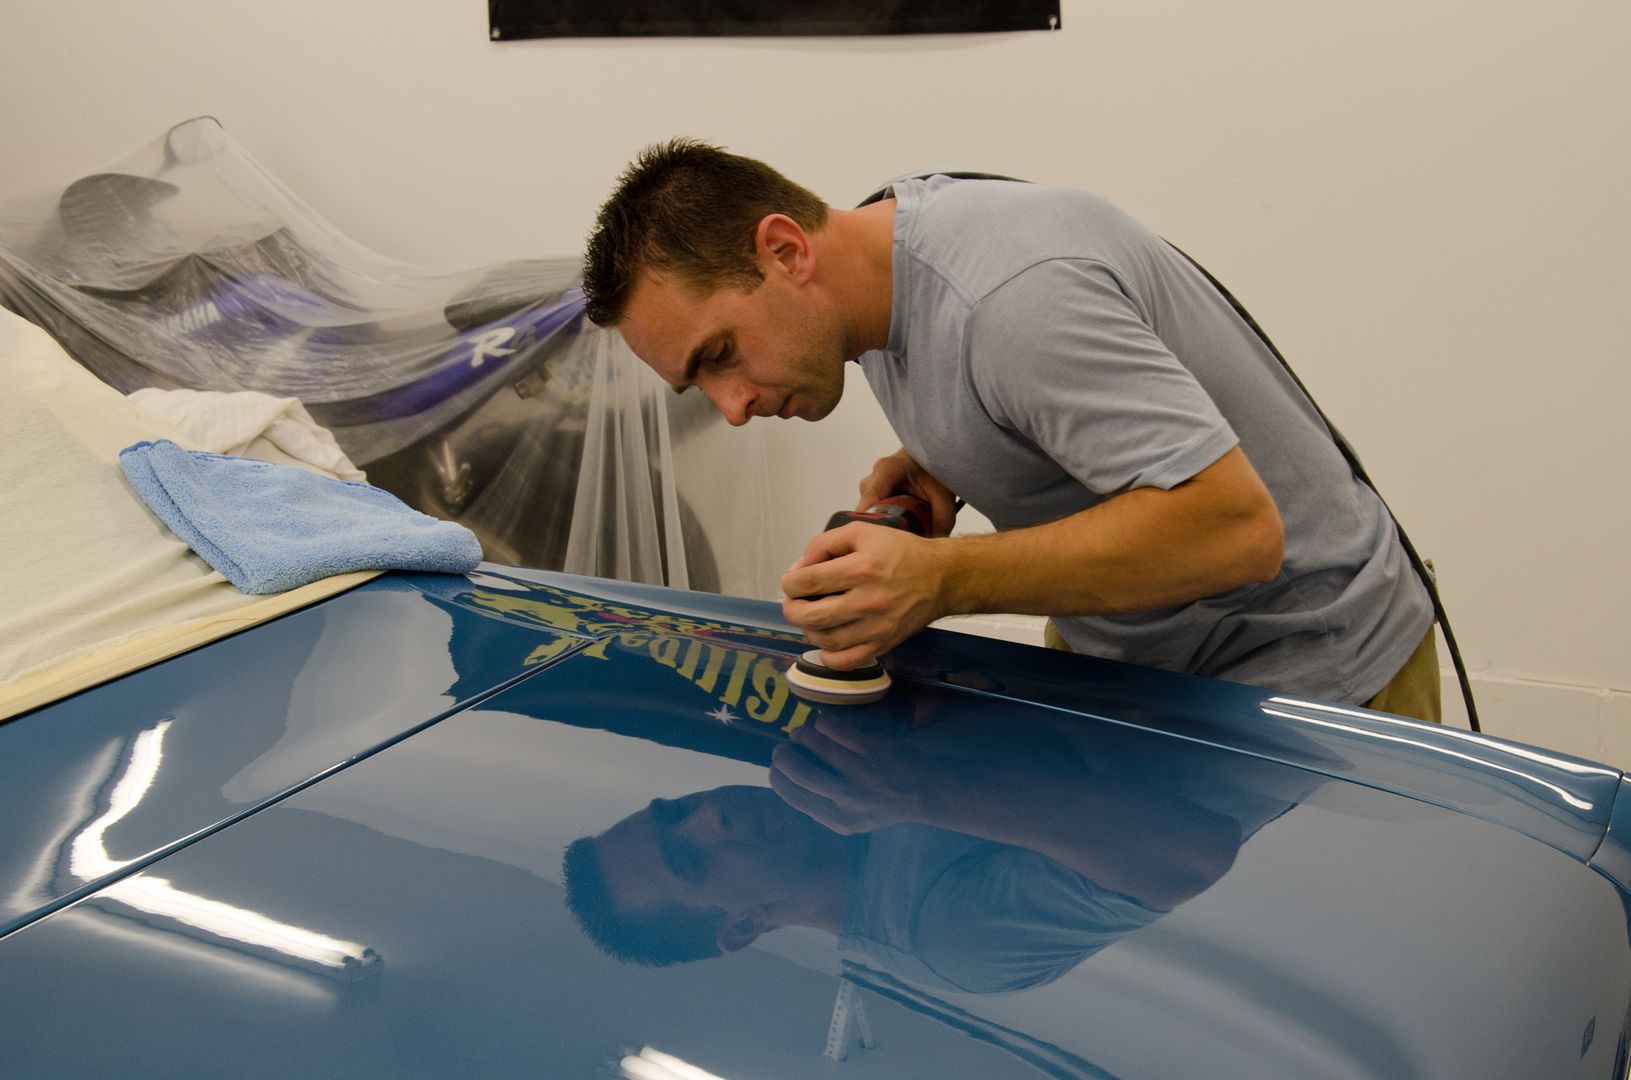
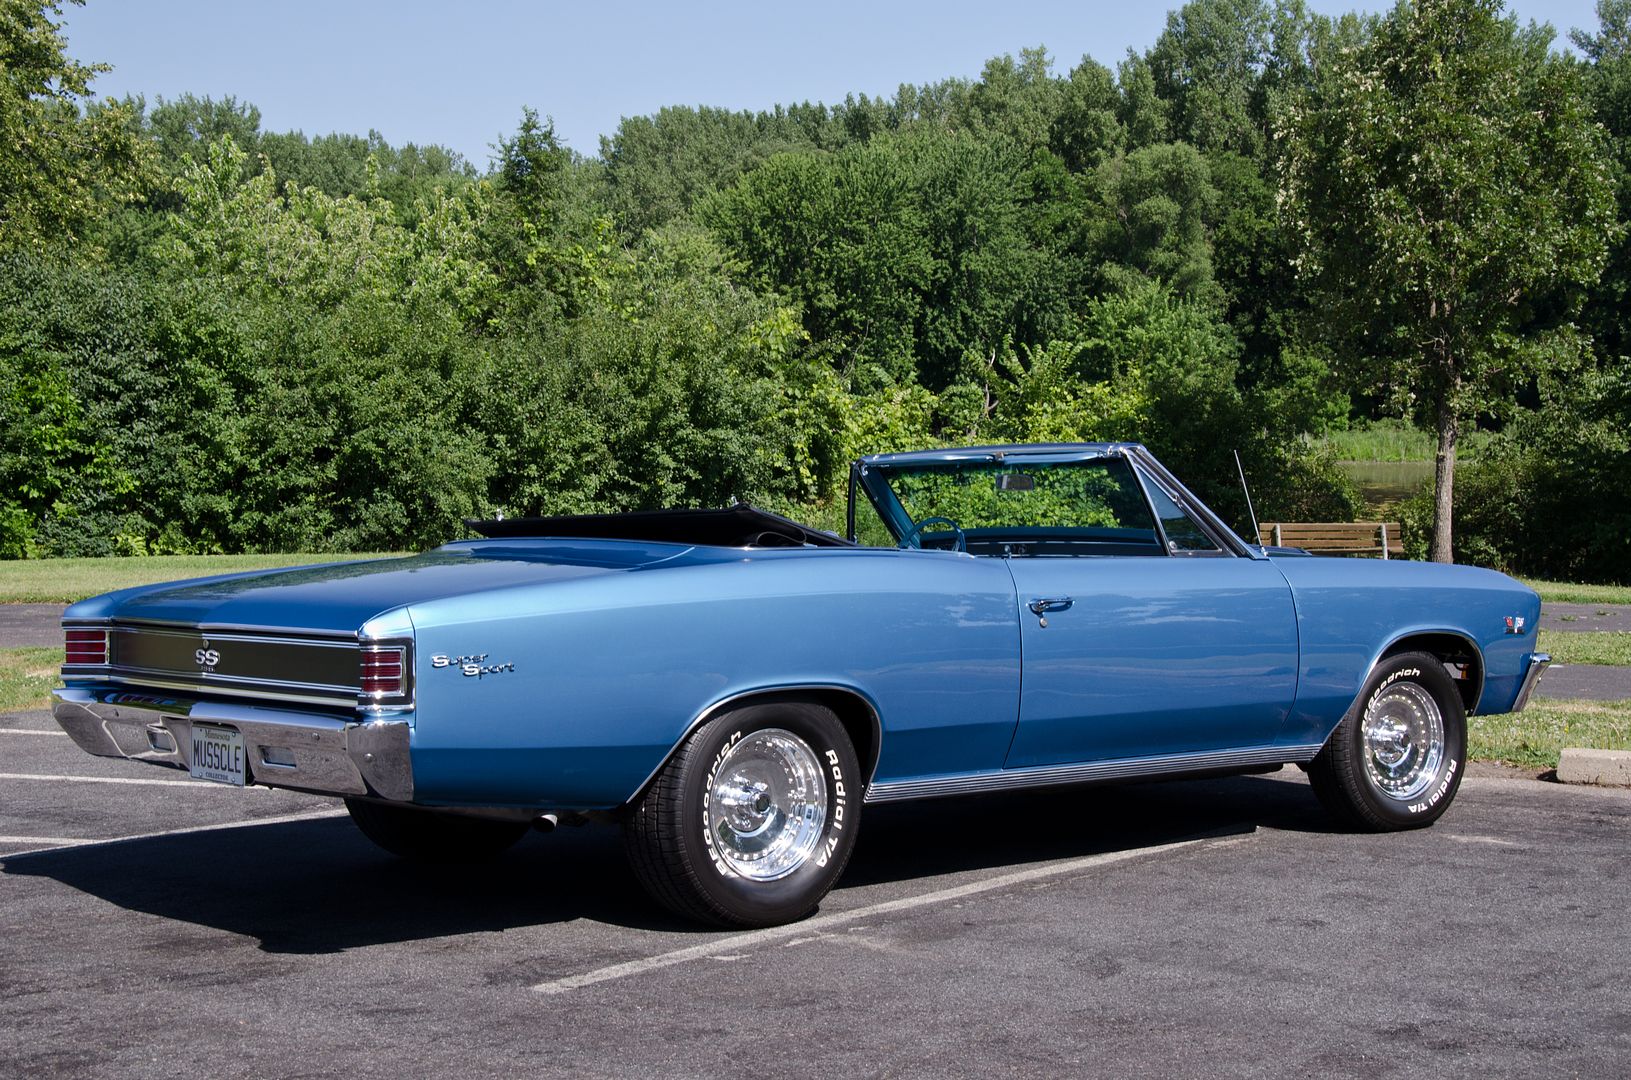
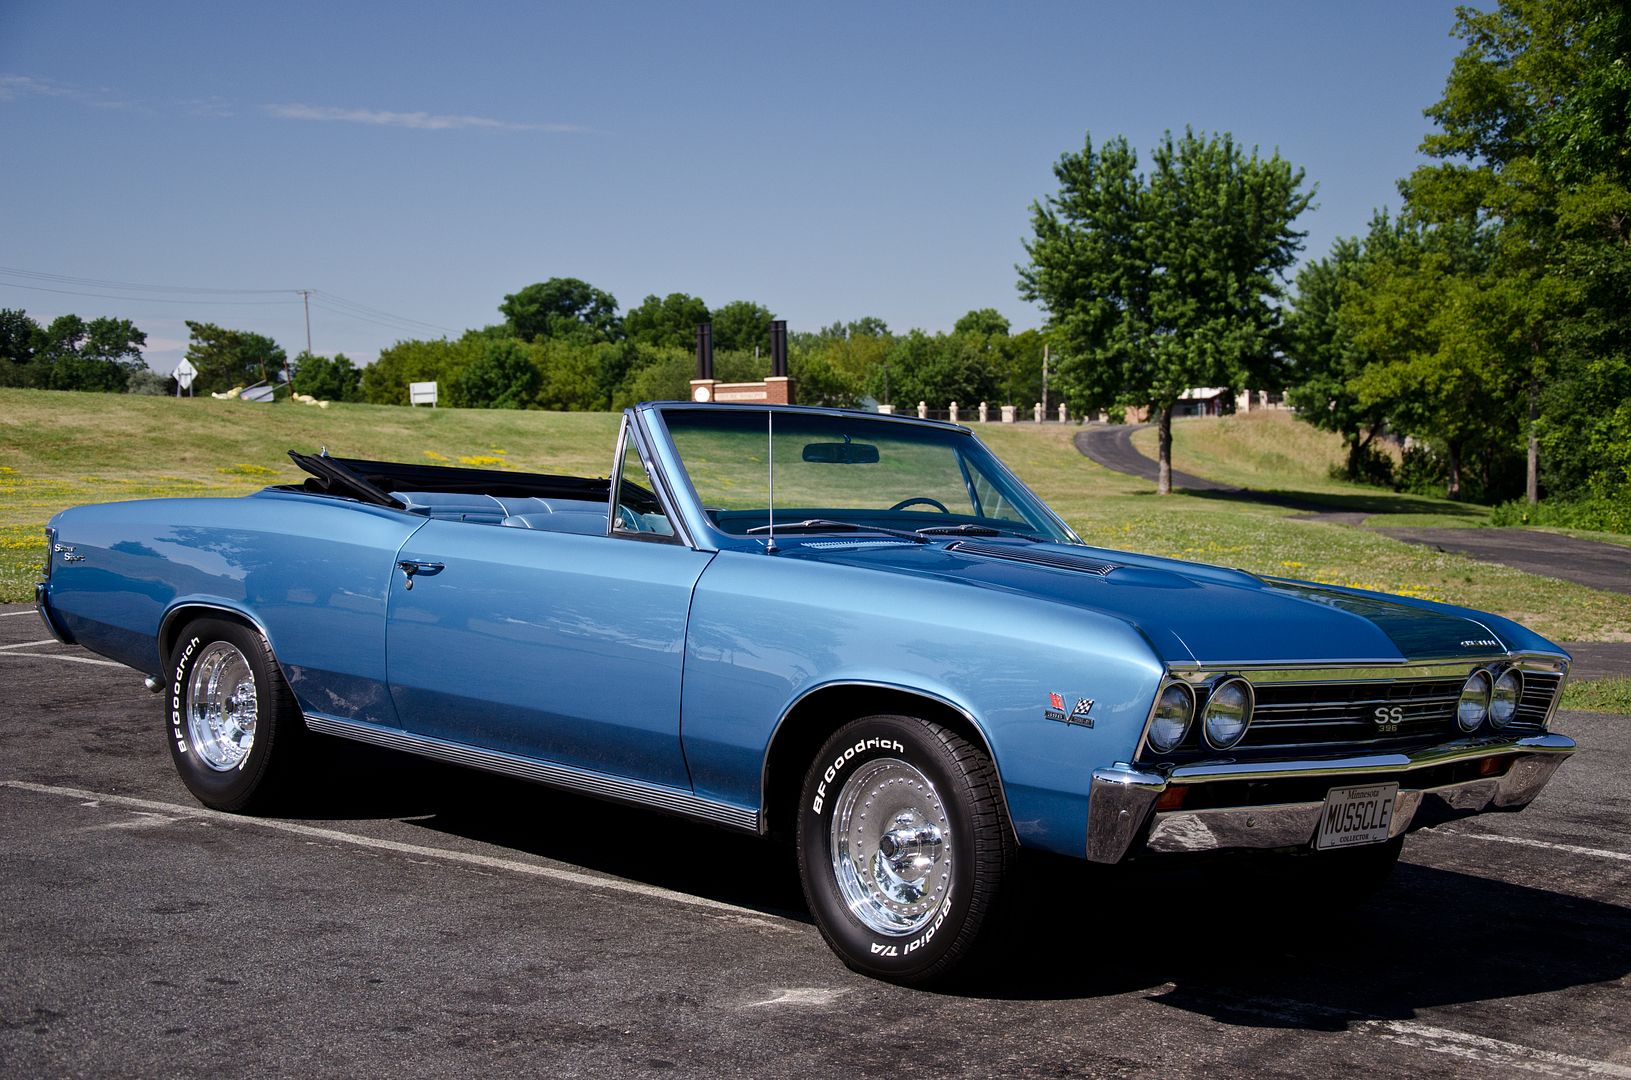
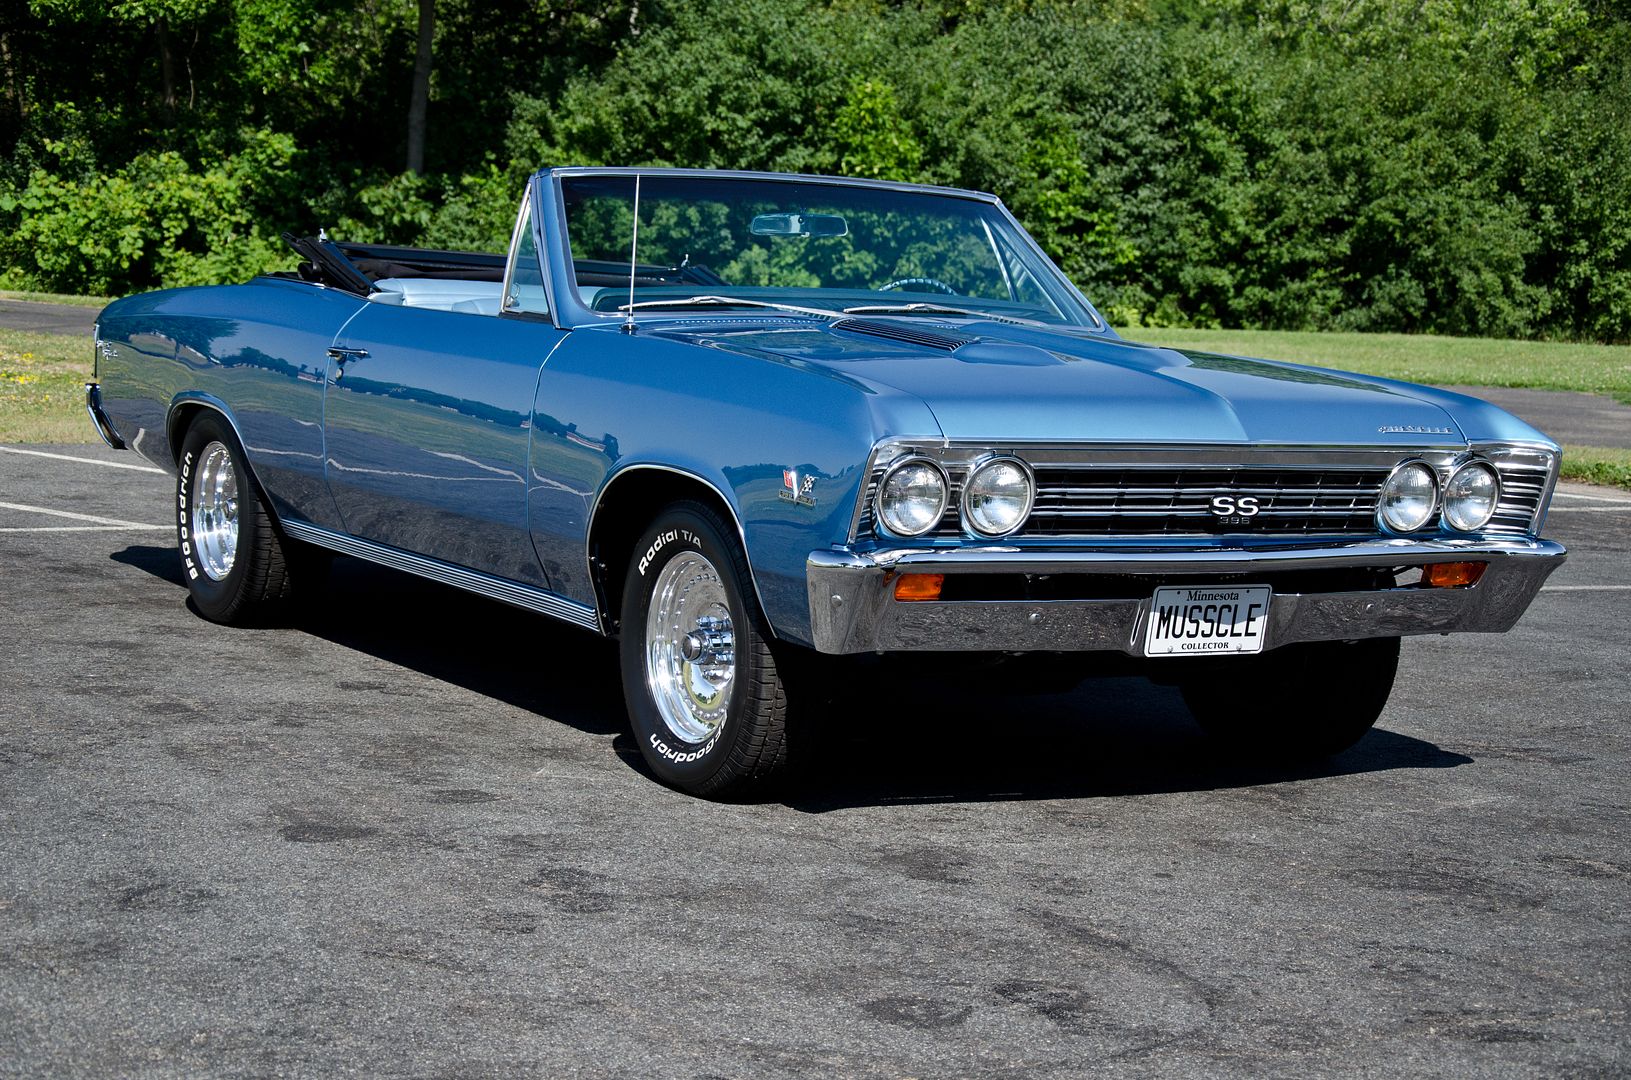
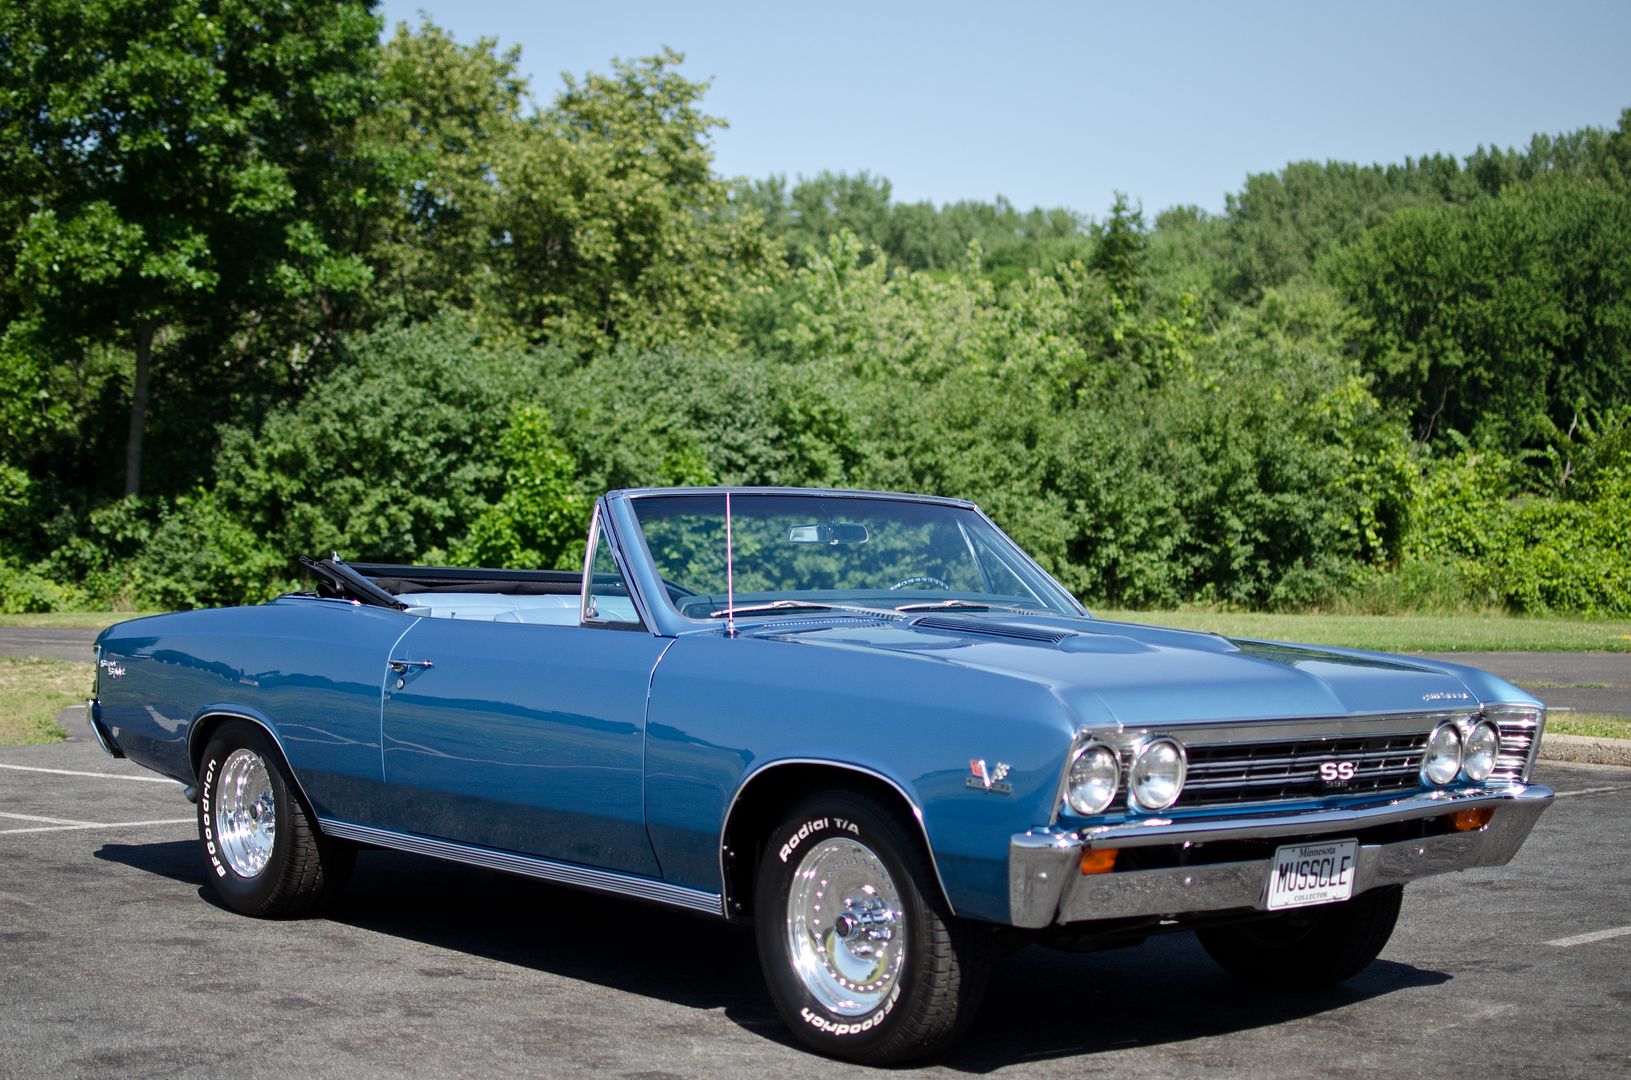
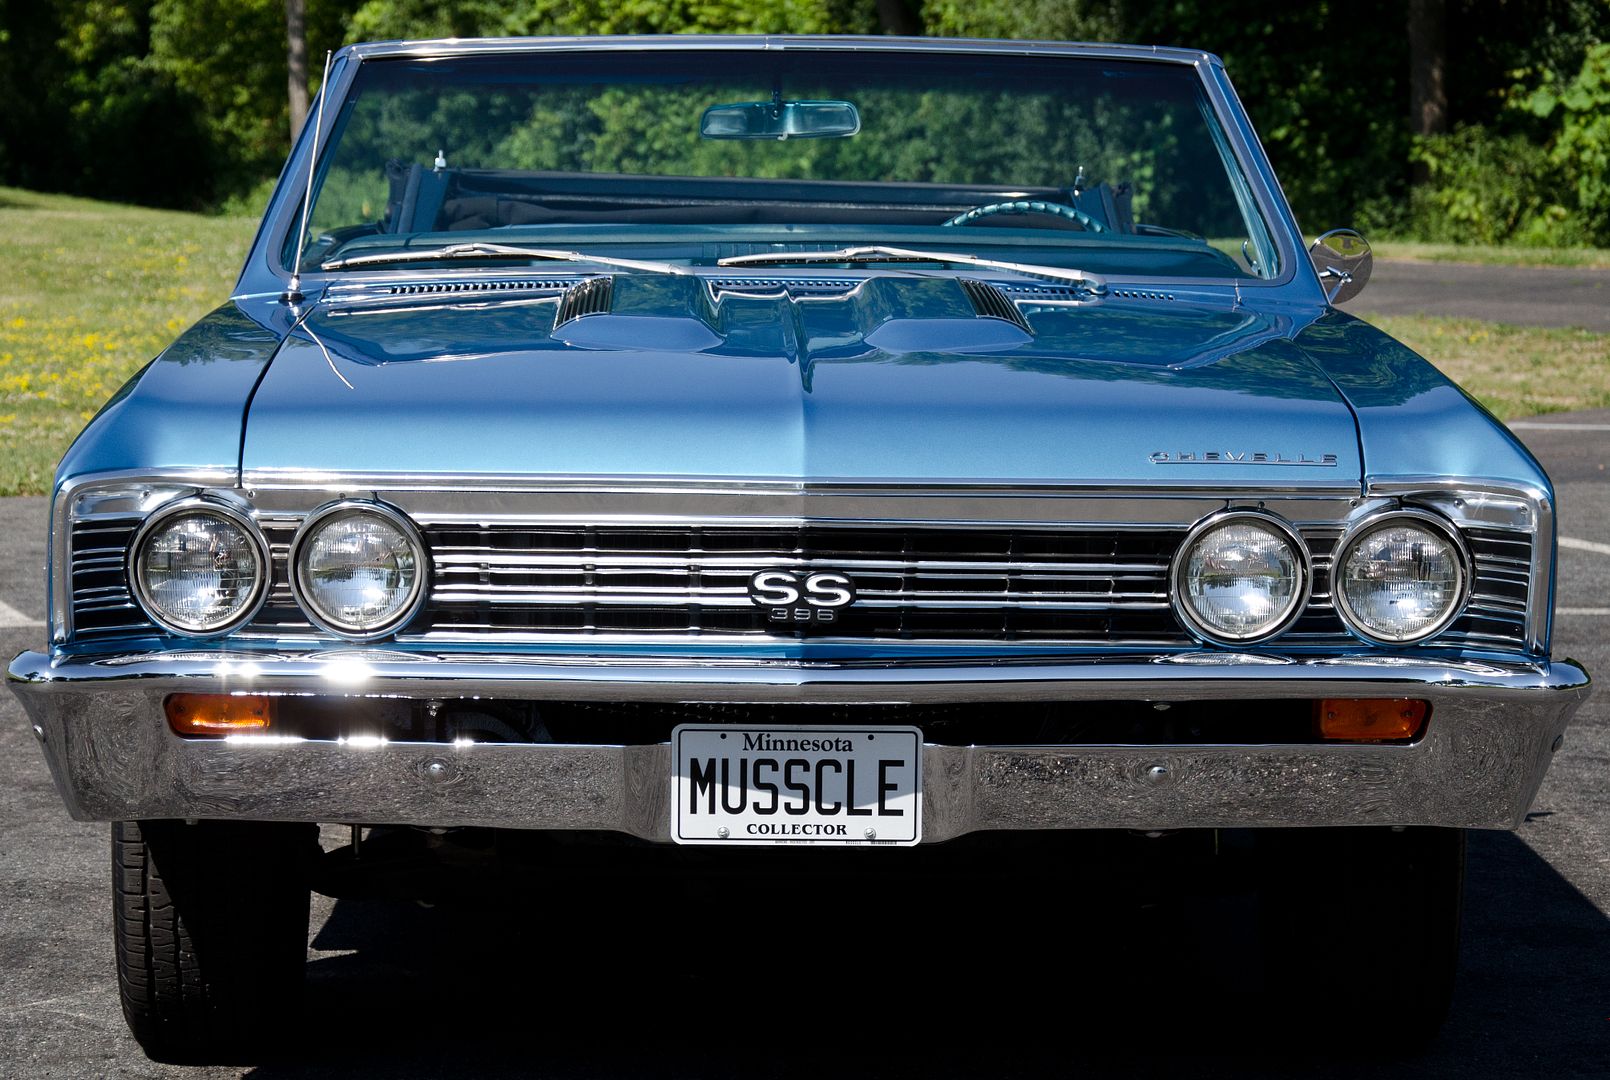
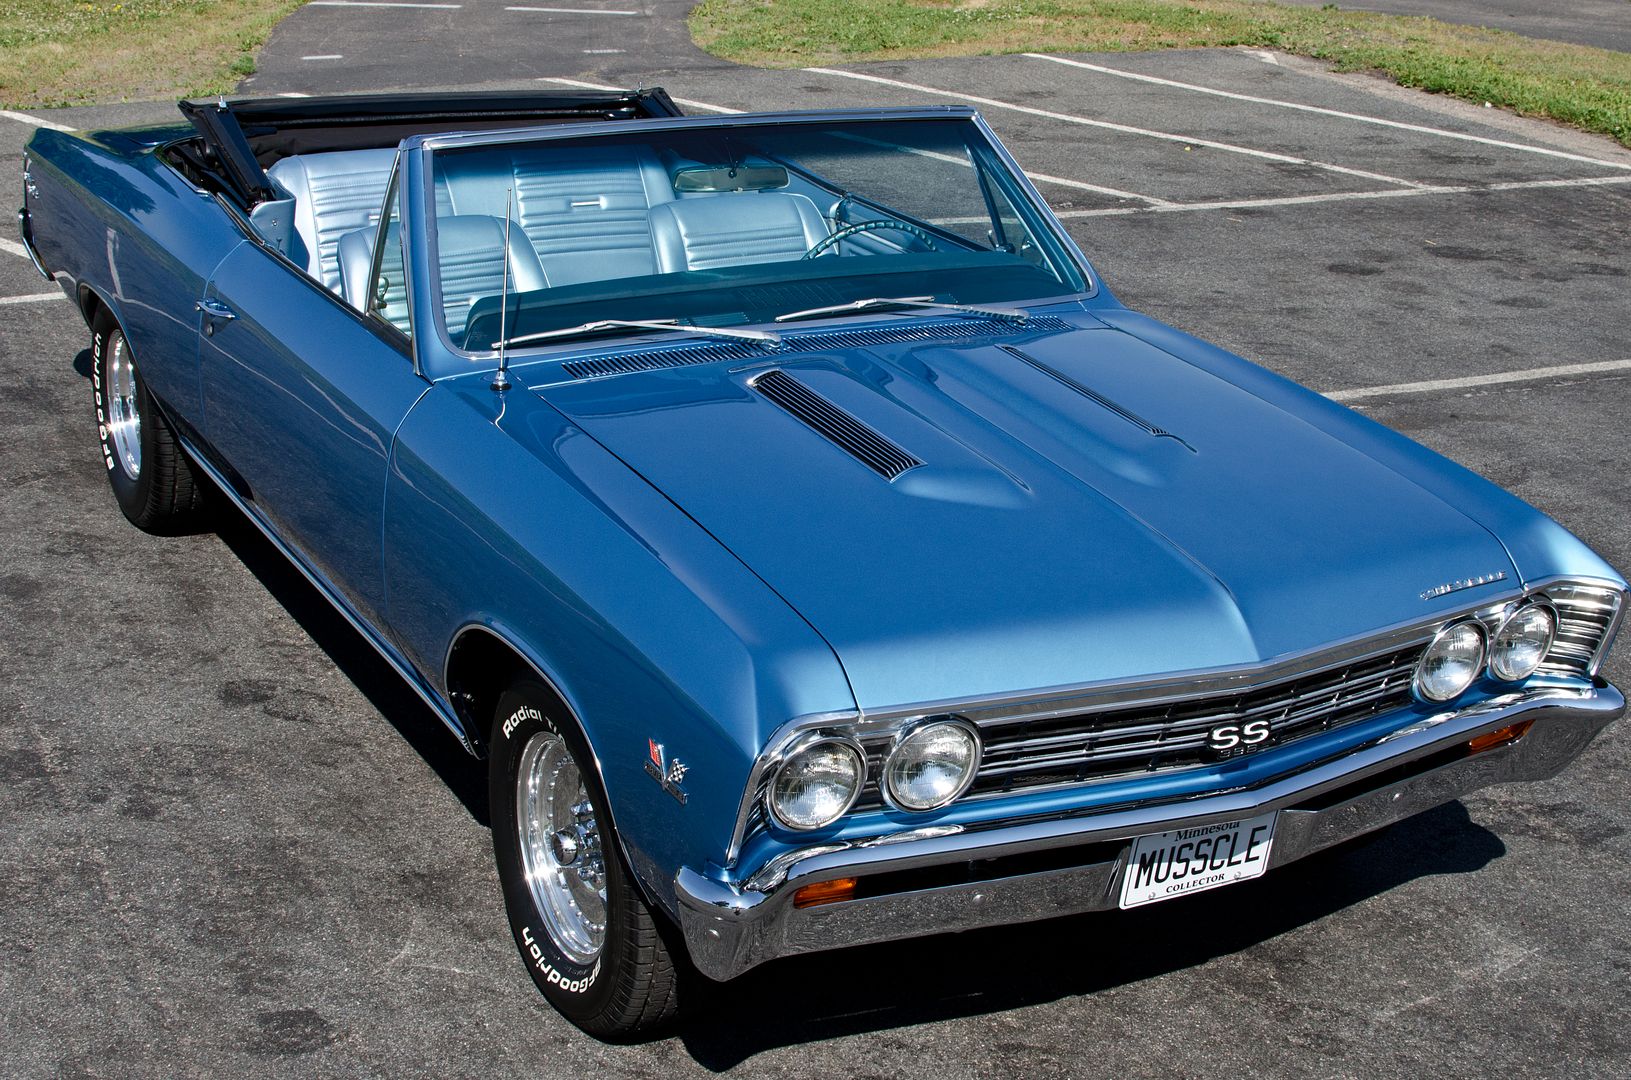
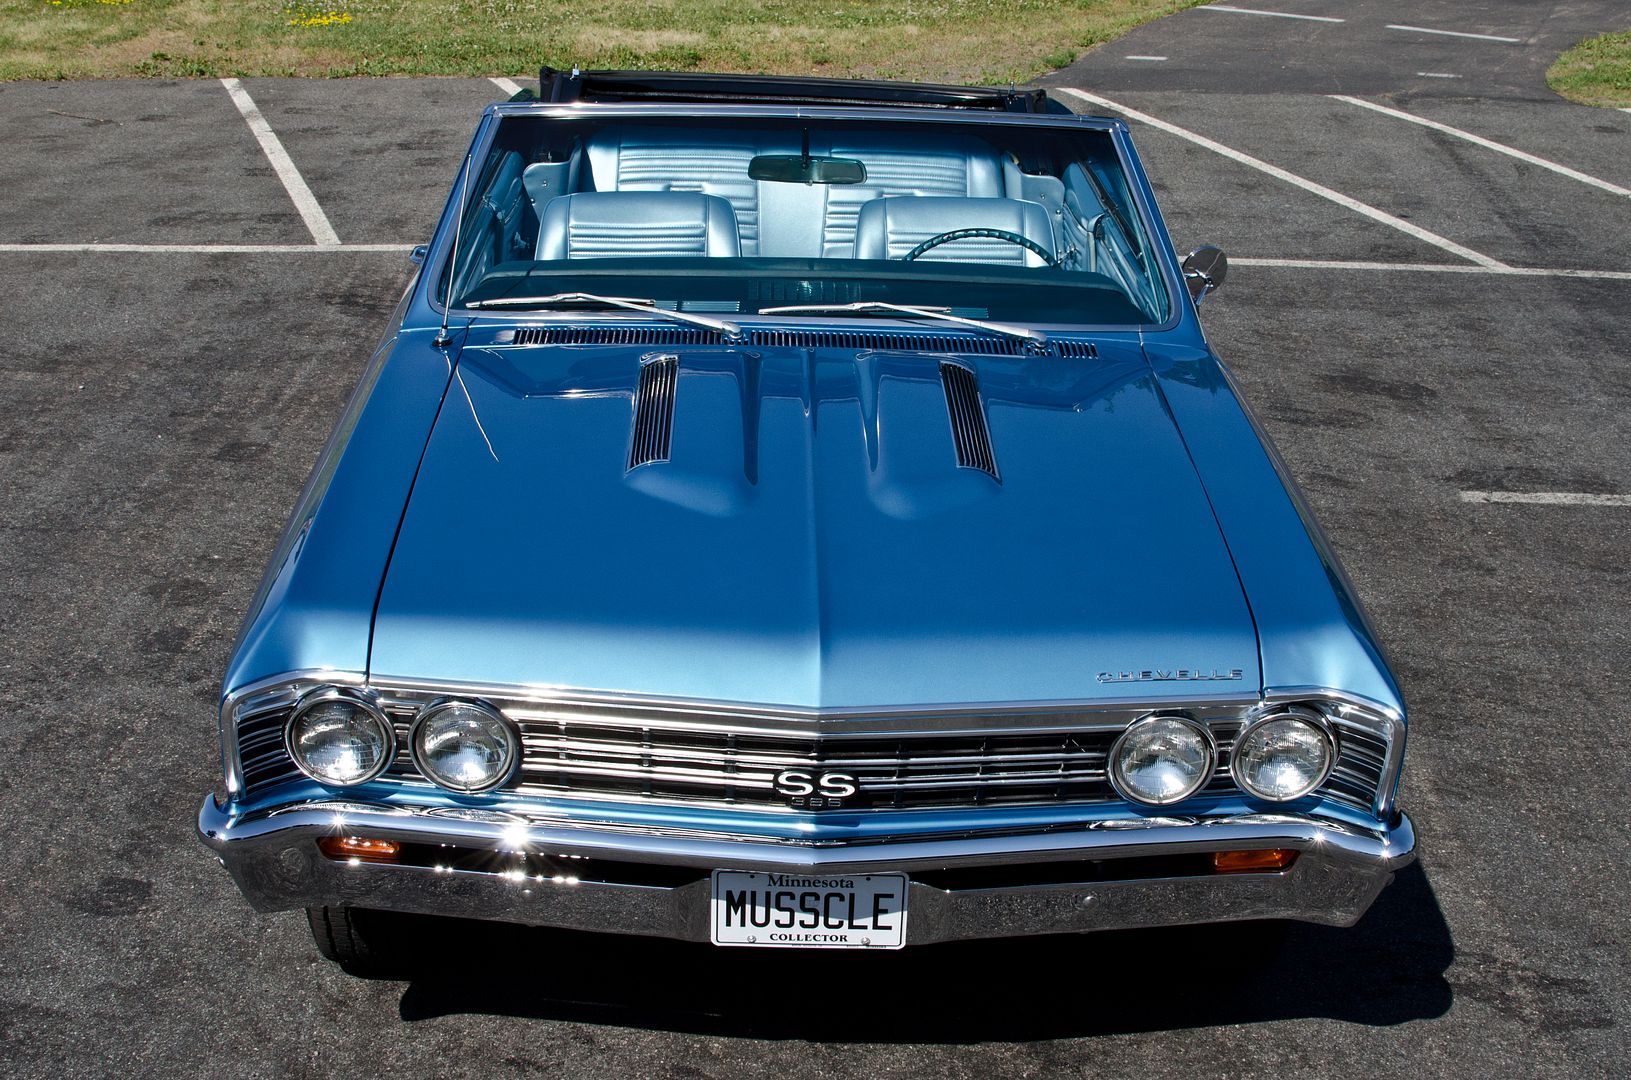
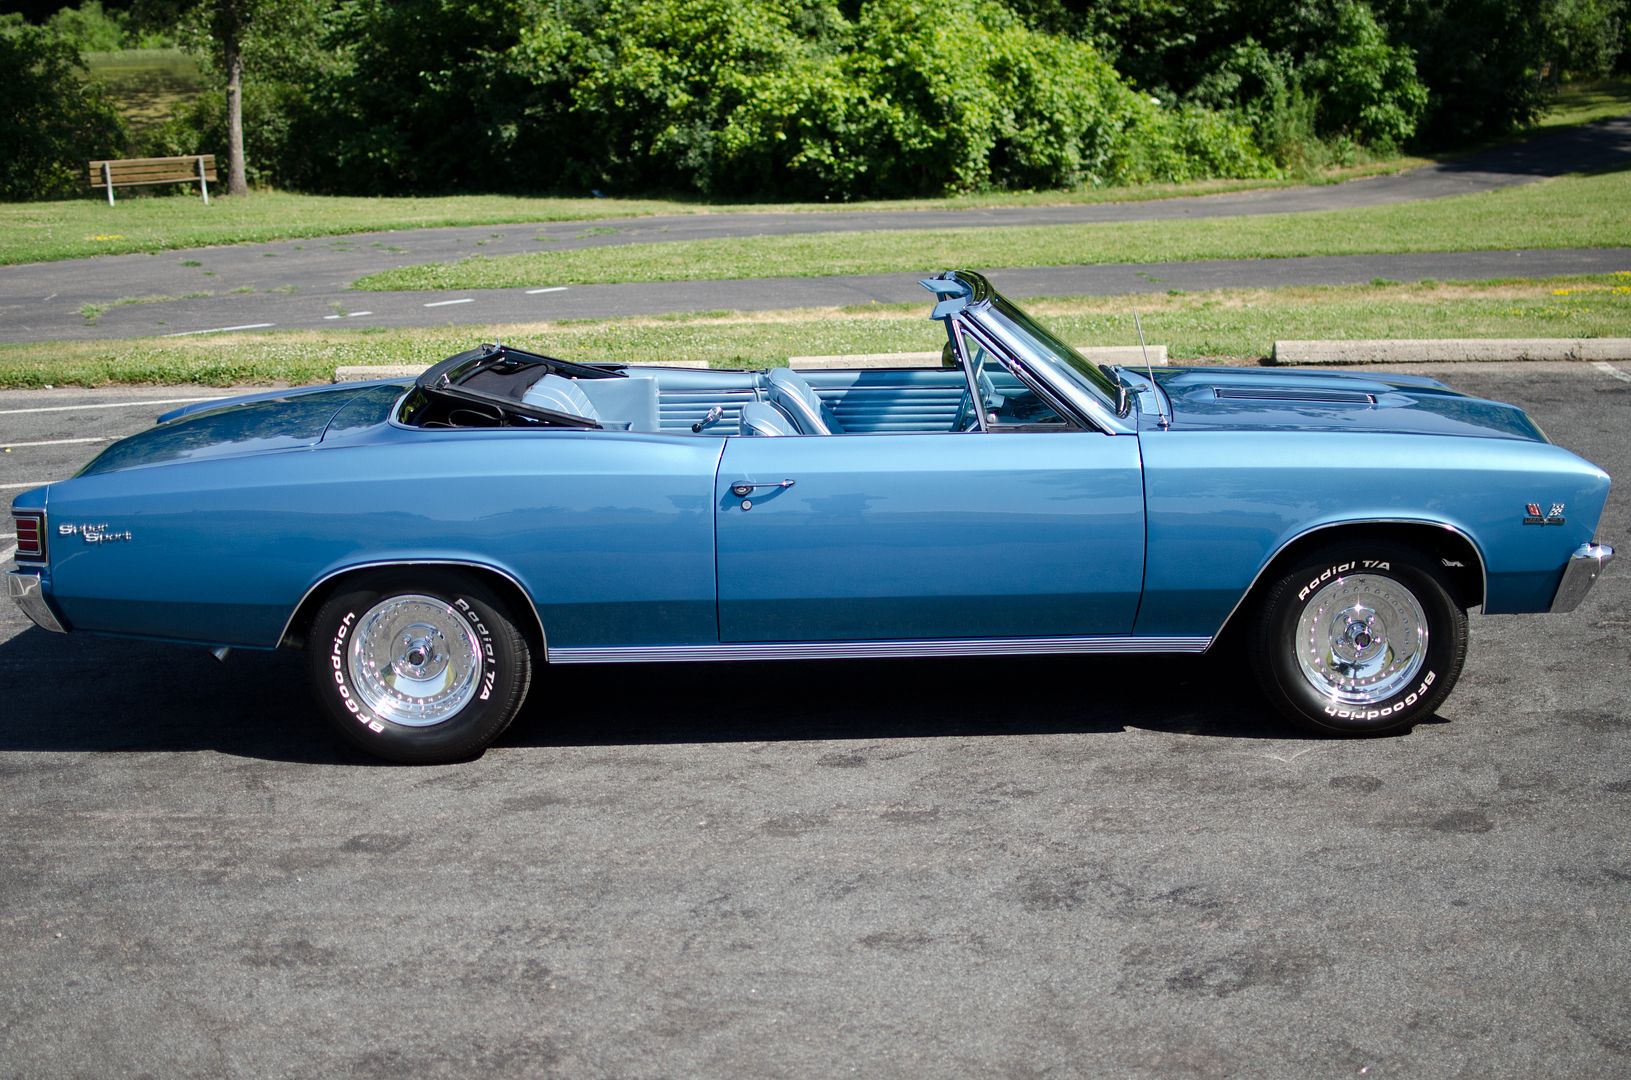
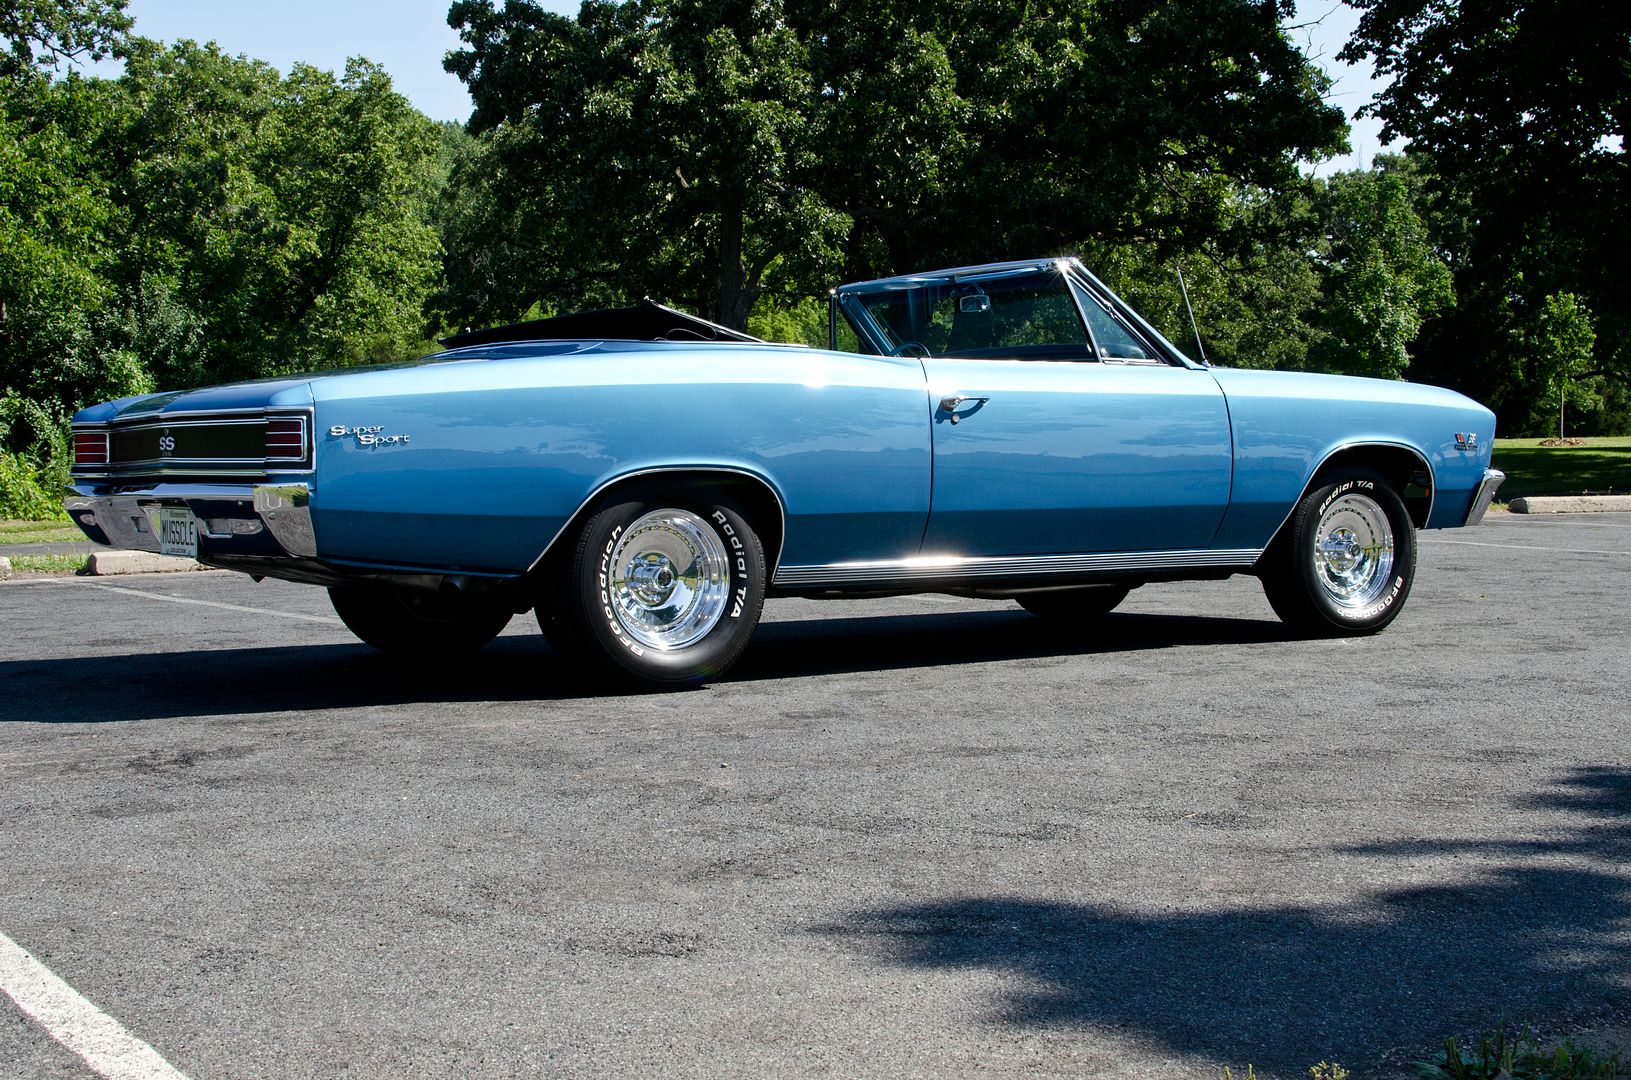
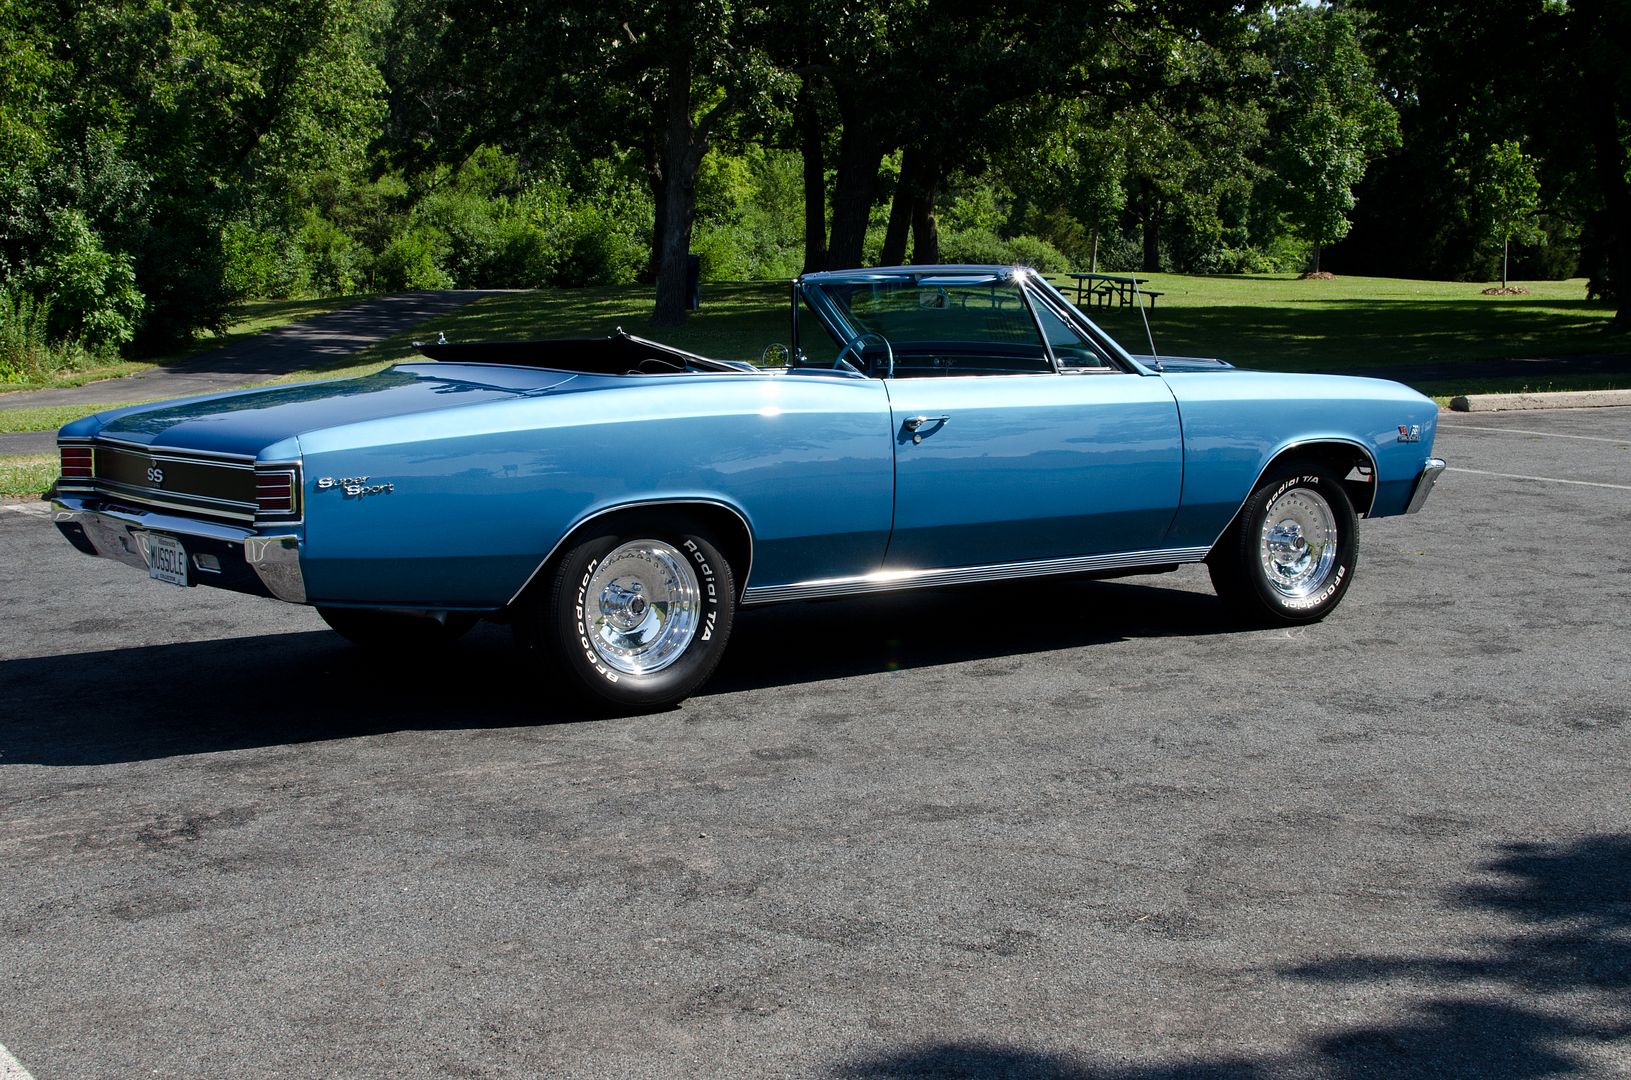
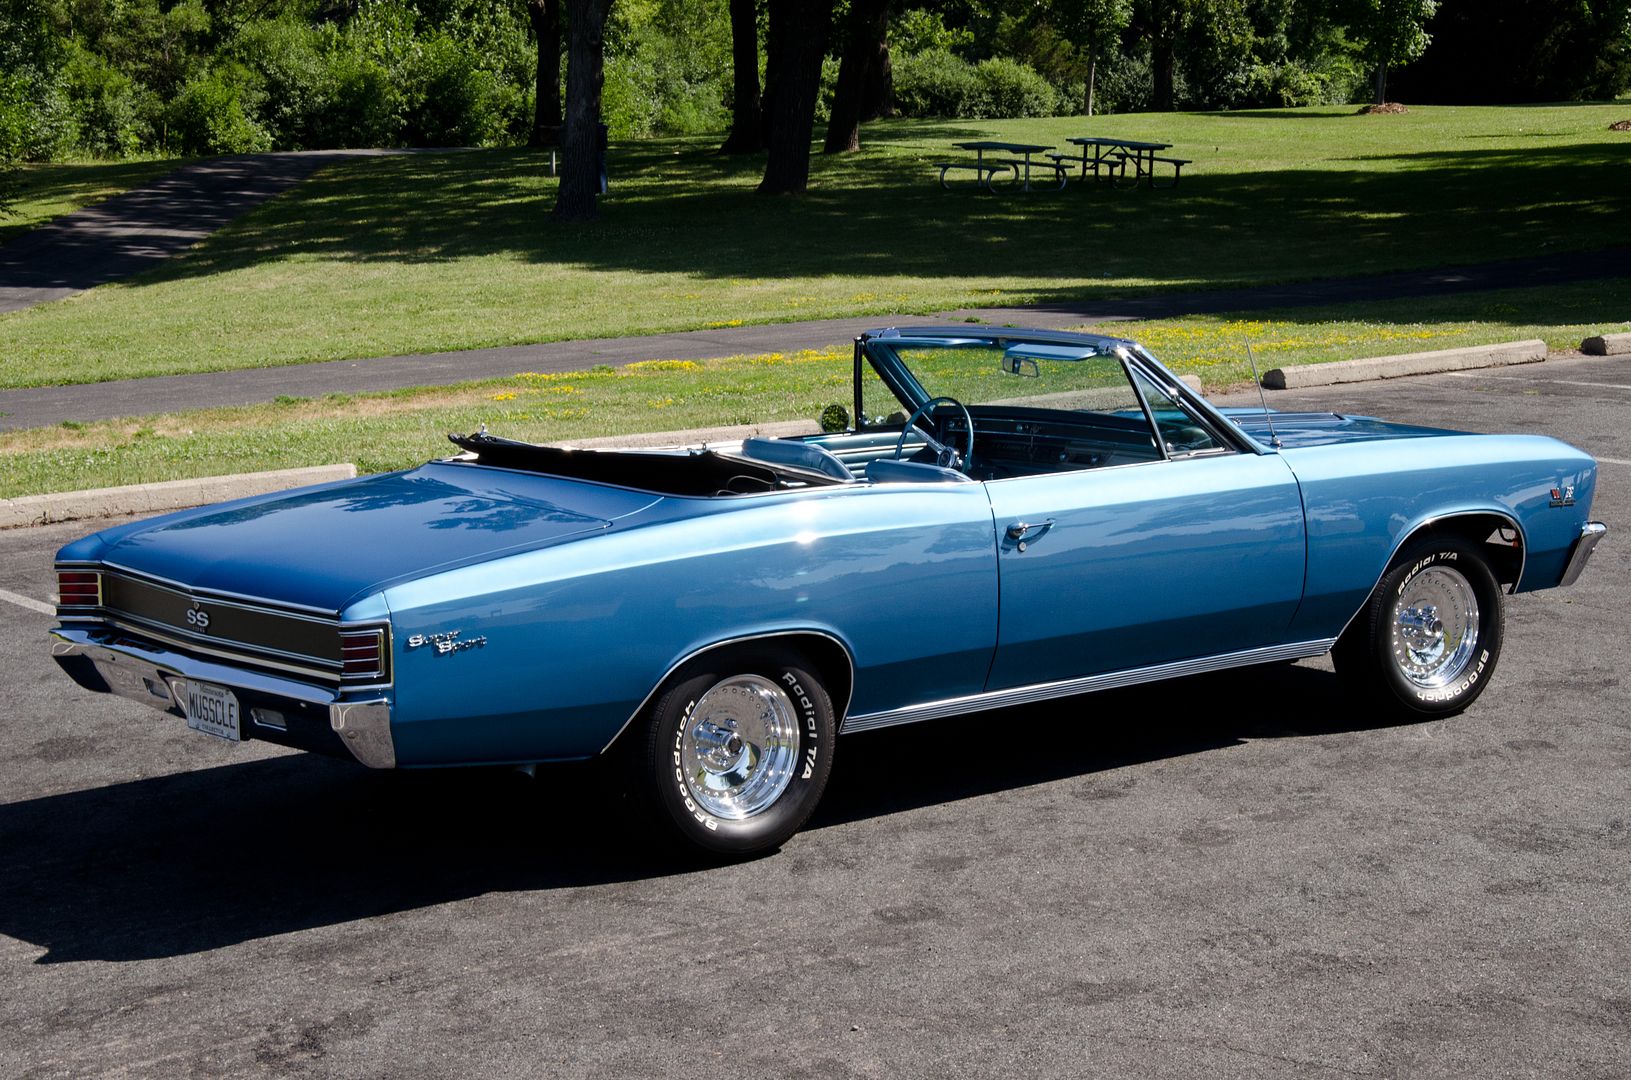
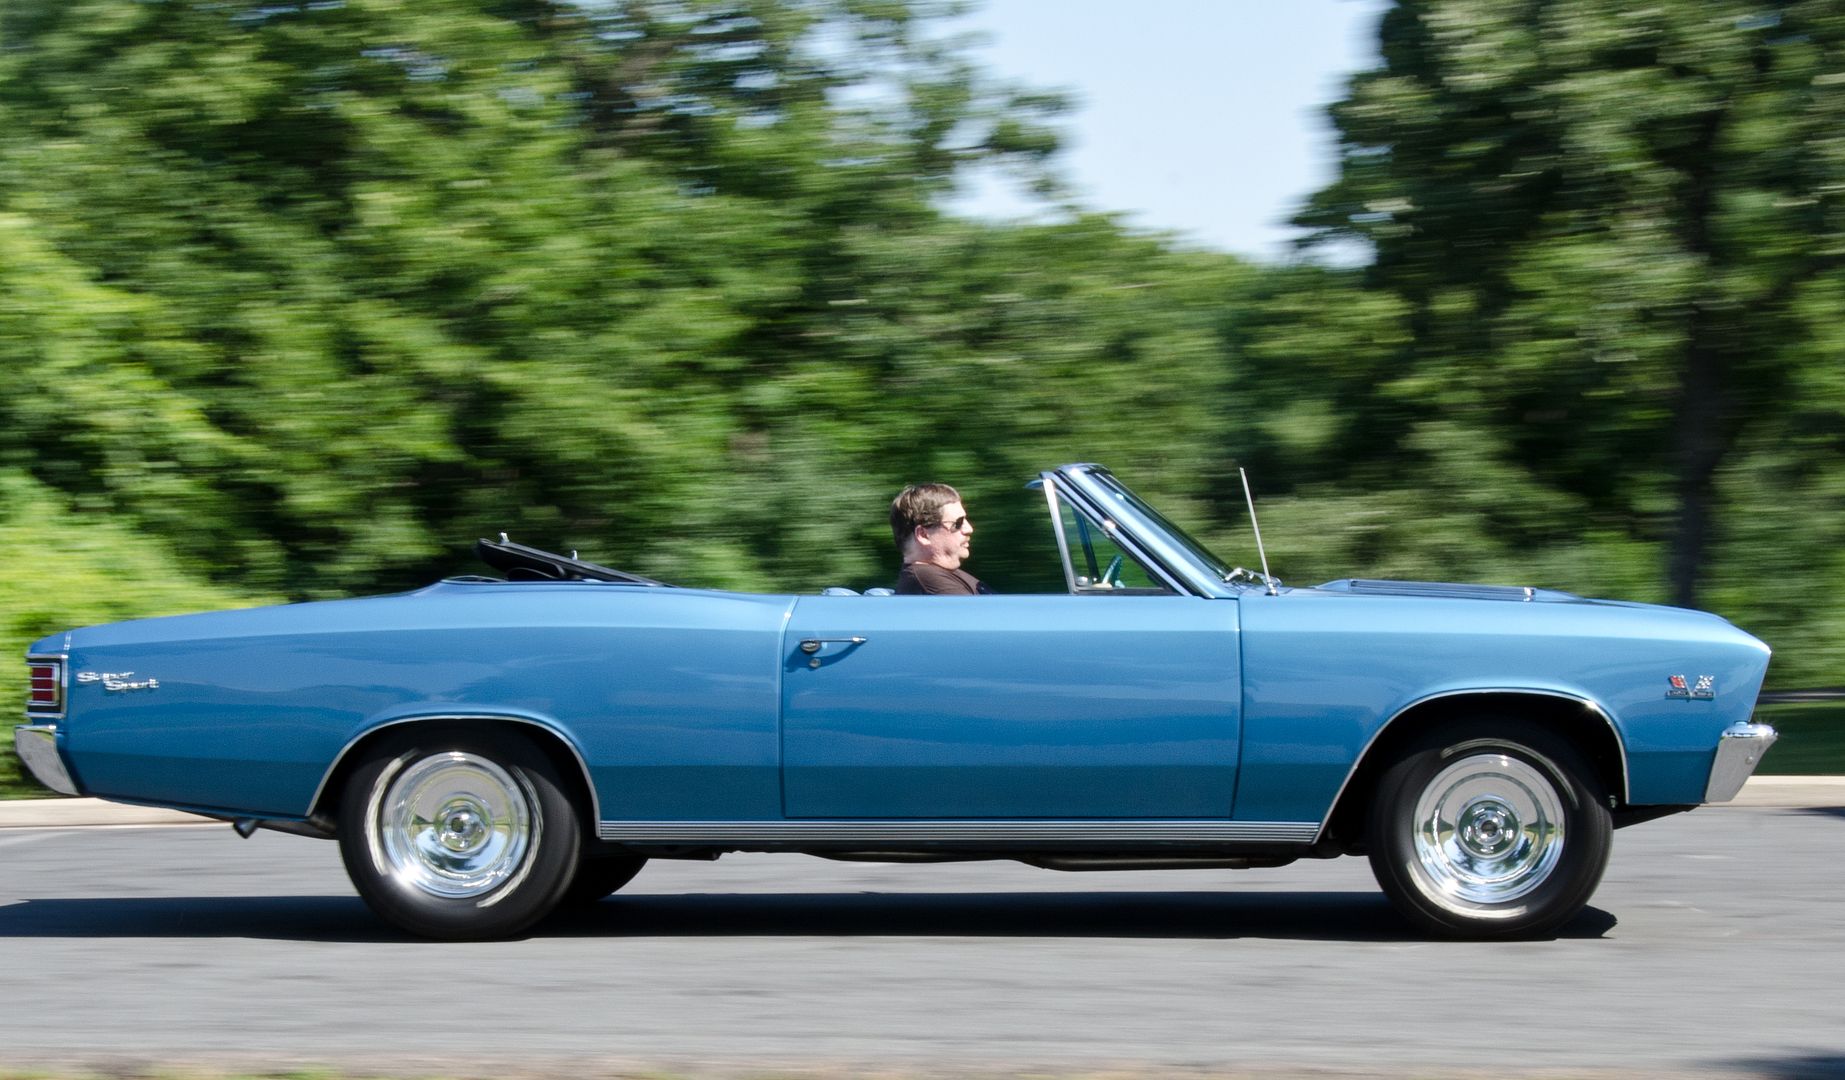
We had 100 degree temps the entire time I was working on the car so I hung towels to keep sunlight out...my A/C is way undersized for the garage but it still kept temps around 78 degrees. Here is the car complete as I left for the day...I arranged for the owner to take the car to a local park for better pics the next day.")
Car as it arrived...looks good out of the light and the color does hide things well.
Close up shows etching from an improper cleaner being used....once.
All emblems were removed for two reasons, to remove all the wax/compound from "the other" detailer, and to ensure all swirls/scratches are fully removed around and under them.
There were actually several areas where the other detailer left behind his signature...
Wheel well trim...these were loosened to help get the wax/compound out.
Emblems themselves had compound in them...these were NEW after the car had been painted and wet sanded!
All taped up and top protected.
Holograms were over the entire car from either the body shop of the other detailer.
One of several test spots...holograms removed but pig tails were then revealed....
The entire car had lots of deep pig tails through the paint from when the body shop had originally wet sanded it. The paint has since hardened, very hard actually, and their removal was difficult and time consuming. Several areas still had visible sanding marks too...
After making two passes with M101 on the rotary with a wool pad, it was clear this paint was VERY hard and I actually ended up wet sanding these areas with 3000 grit to help with their removal.
Even after wet sanding it still took multiple passes with M101 and a wool pad, but I was able to remove close to 99% of the defects.
Many of the edges had sanding marks remaining....
after
Carefully removing more sanding marks near the edge with a 3" MF pad.
There was a deep scratch above the trunk which easily caught my finger nail
Improved but not removed....I'm sure I could have pushed it further but it simply was not worth the risk of a strike though and I had no idea how much clear was used or that remained.
Raised car to clean wheel wells and to polish wheels
before
After
Etched wheel after polishing with Blackfire and Meguiar's aluminum polishes.
We had 100 degree temps the entire time I was working on the car so I hung towels to keep sunlight out...my A/C is way undersized for the garage but it still kept temps around 78 degrees. Here is the car complete as I left for the day...I arranged for the owner to take the car to a local park for better pics the next day.


")
 rops:
rops: