Mike Phillips
Active member
- Dec 5, 2022
- 51,004
- 8
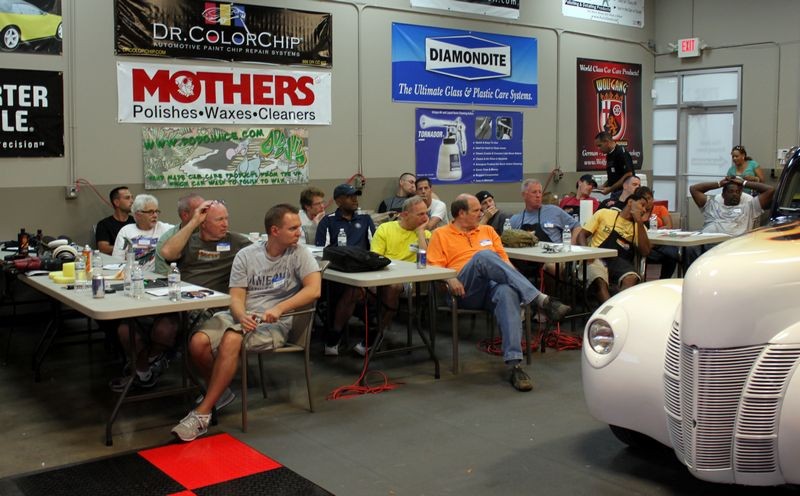
Pictures & Comments from September 2012 Detailing Boot Camp
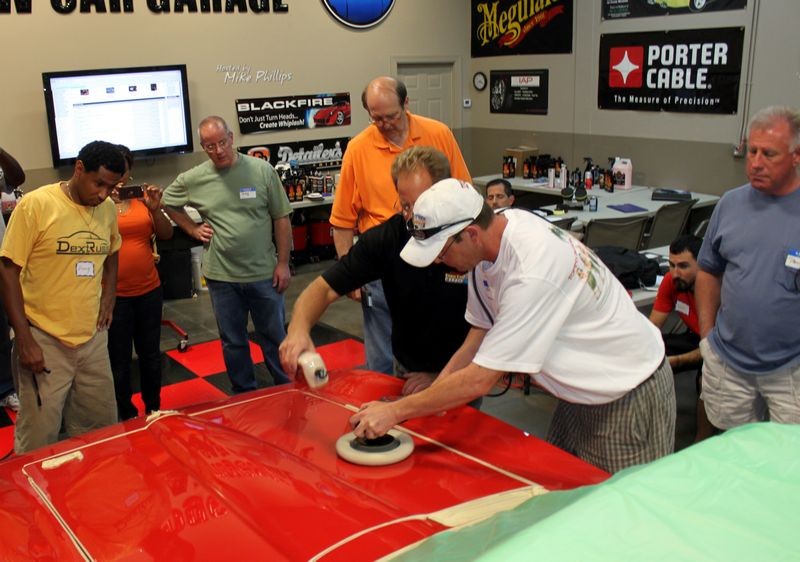
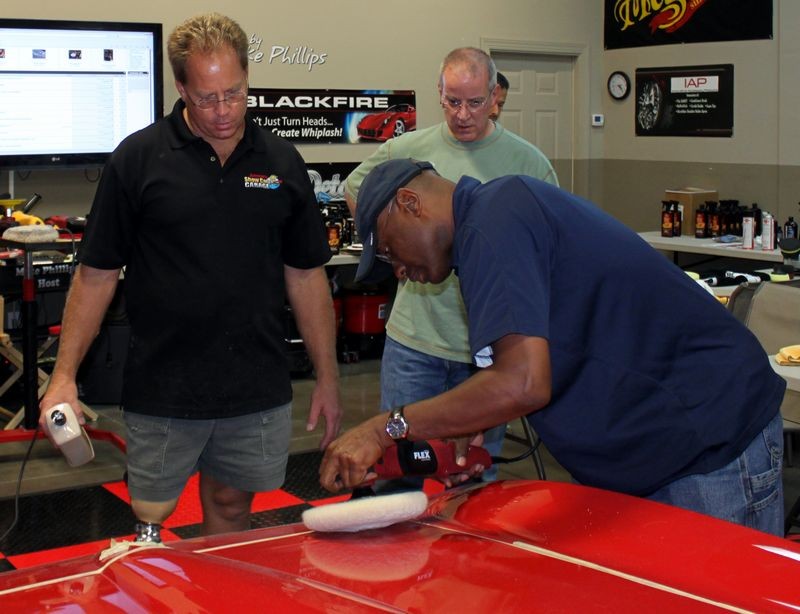
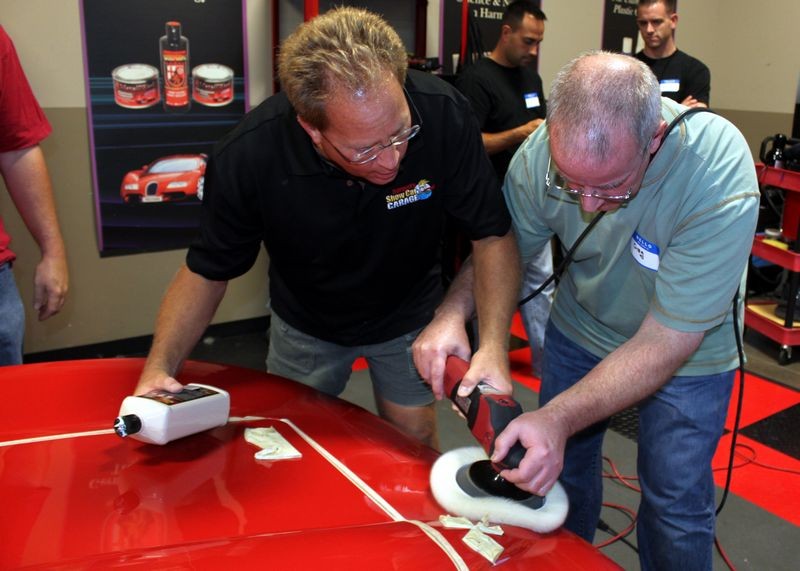
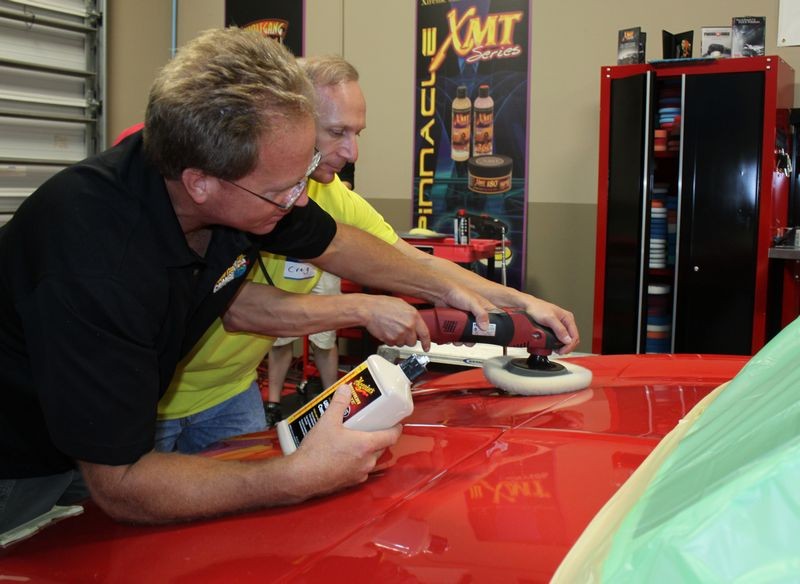
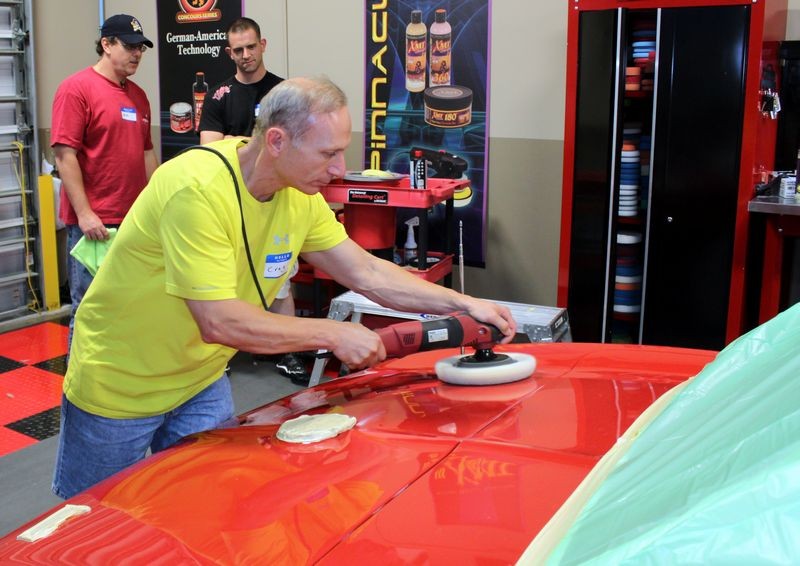
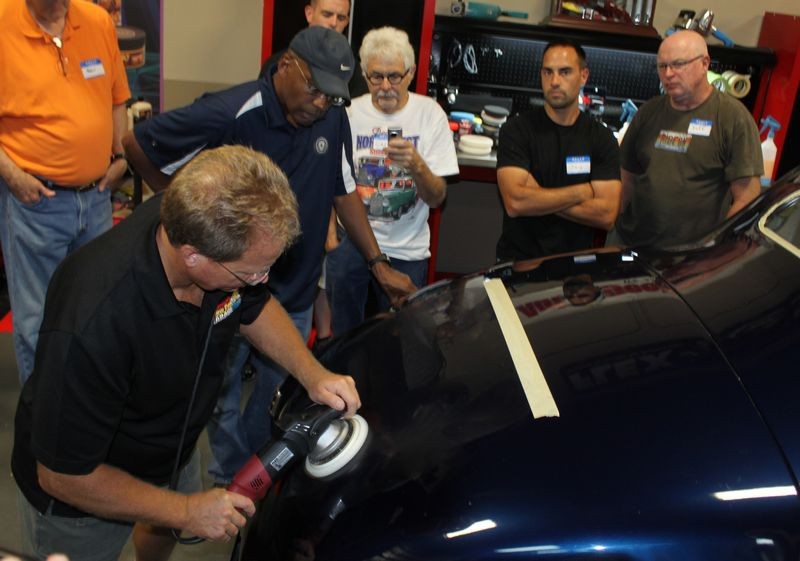
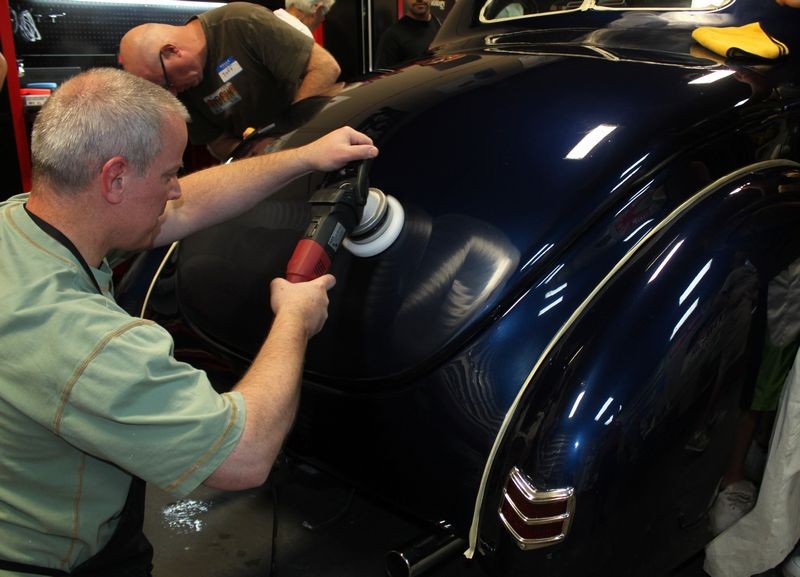
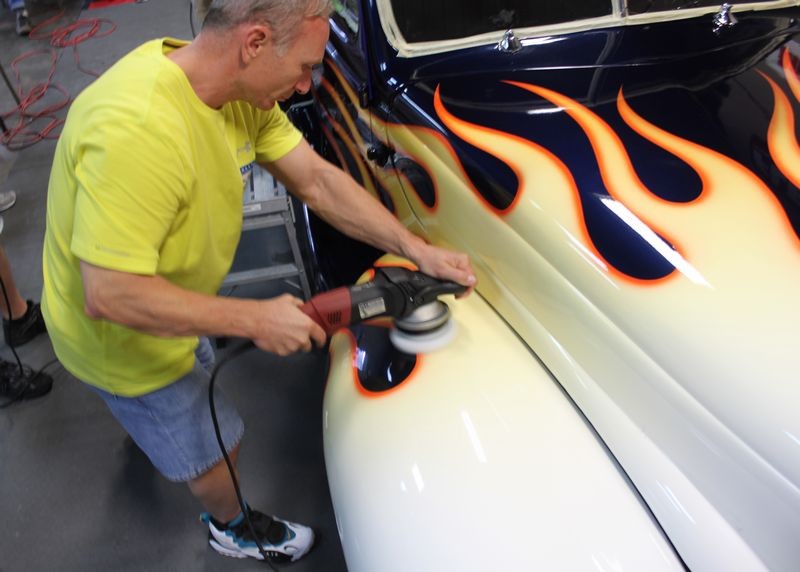
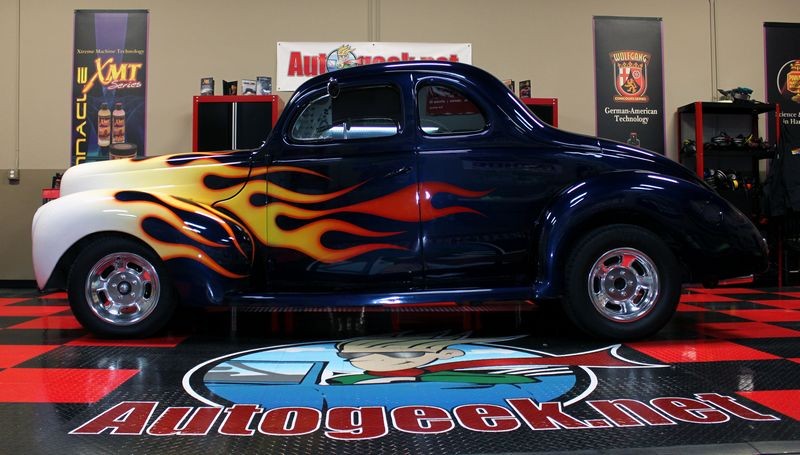
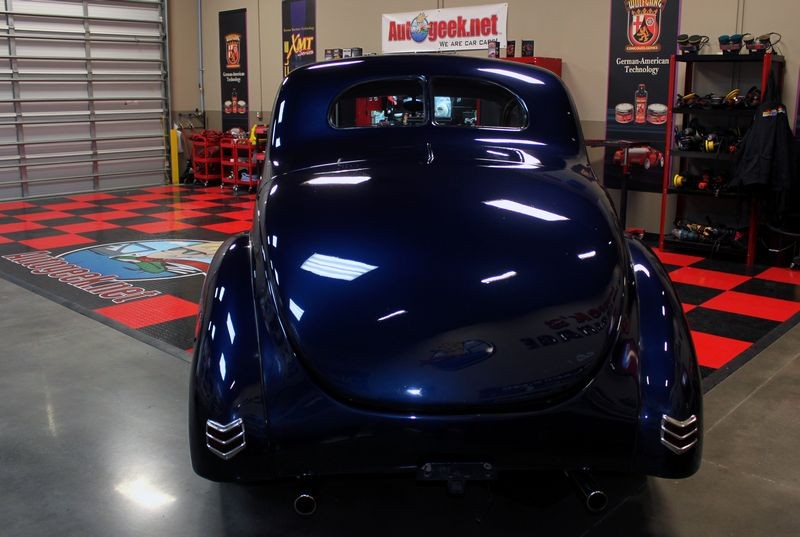
We'll try to get some pictures posted throughout the day as the class goes along. Yesterday I took some sun shots to document the true condition of some of the cars everyone will get to work on this weekend.
I'll let the pictures do the talking...


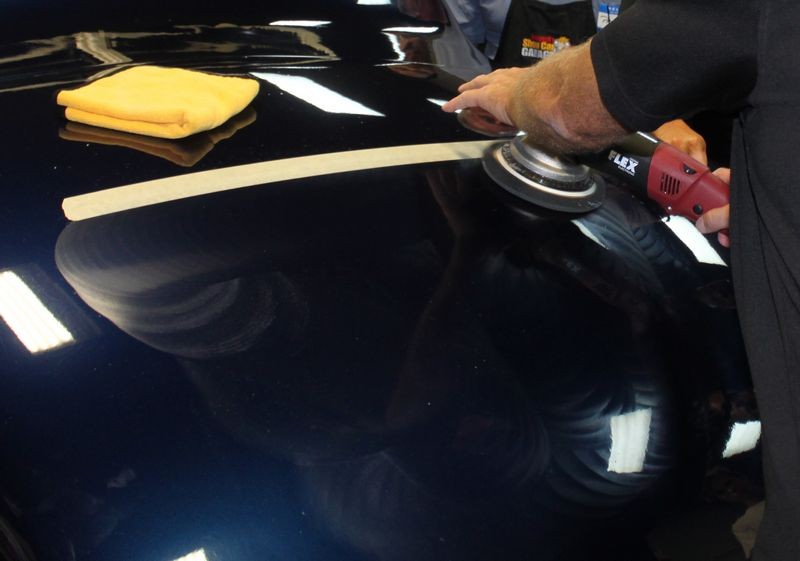
Holograms
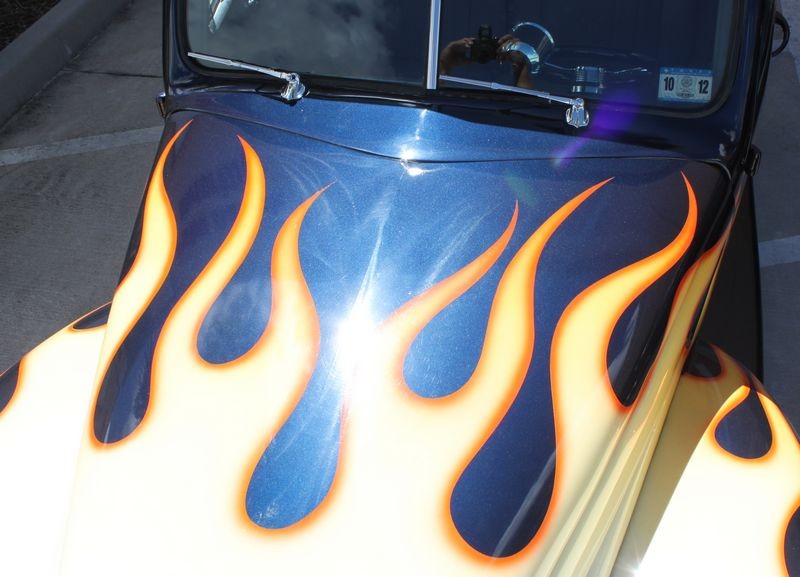

If you look at the roof on the passenger side you can see holograms are all over the roof too...

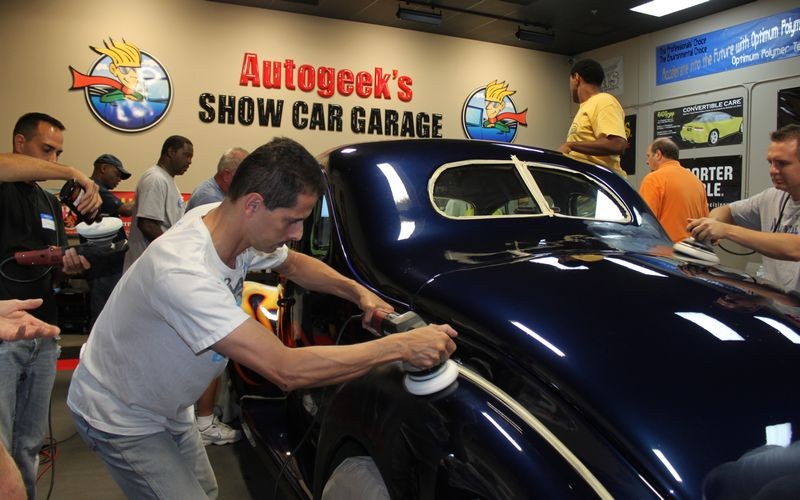
The Corvette is just a mess, here's what ti looks like in full overhead sun...

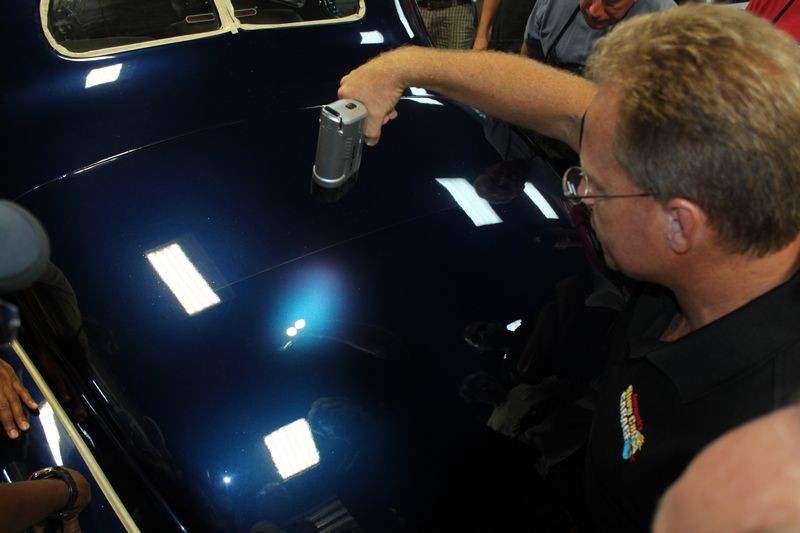
Here's what the paint looks like when lit up with the Brinkmann Swirl Finder Light...

")
We'll try to get some pictures posted throughout the day as the class goes along. Yesterday I took some sun shots to document the true condition of some of the cars everyone will get to work on this weekend.
I'll let the pictures do the talking...
Holograms
If you look at the roof on the passenger side you can see holograms are all over the roof too...
The Corvette is just a mess, here's what ti looks like in full overhead sun...
Here's what the paint looks like when lit up with the Brinkmann Swirl Finder Light...


 rops:
rops: