J S Machine
Member
- Sep 26, 2012
- 87
- 0
I'd like some help from you guys on some products for my car. MY car was in a terrible situation where it was hit three different times by two different detail guys and we are now left with what you will see in the following pics. There has been a thread about this over in the Ask The Expert forum for about a month, and this thread will be a condensed version of the situation. If you are interested in checking out that thread, here it is: http://www.autogeekonline.net/forum...764-i-think-i-m-new-candidate-horrendous.html
If you would rather get the condensed version here, Keep reading.
My car was involved in a situation where powder coat paint leaked from a building exhaust fan, landed on my car, and the sun baked it on. The building is a painting facility and has lots of loose powder on thie inside from the operation. Some of it managed to get out, and the wind carried it across a parking lot where my car was.
To get it off, the guy detailing it used a clay bar. It was stuck pretty good, so after dragging the clay bar all over the entire car, the clear looked like someone had taken scotchbrite to it. It was very bad. I'm not sure if he used any type of lubricant or remover to lubricate and facilitate the removal of the stuck on powder. This first attempt was apparently hidden with the fillers of polish or glaze, because after it rained on the car a few times I started to see the scratches from the claying.
The job was then redone a second time by this same guy. to fix the claying marks. The detailer came back and supposedly used a light compound to get the scratches out, then a swirl remover, with a rotary buffer. At first, it looked like the guy did a decent job, but it still didn't look as good as it did before this all happened. I could still slightly see some of the clay bar scratches. Also, I thought I might have seen a slight hologram, but nothing bad. He then used a wax..so anything that the buffer did was probably hidden pretty well.
First of all, I don't know what he used as products. Second, He did the whole entire job in about two hours..washing, drying, cutting, removing swirls, and waxing. he simply went around the whole car repeatedly, not doing single panels at a time.
Now, fast forward to a week after this second "detail". I decided to wash the car with dishwashing liquid in an effort to possibly cut off this wax the detailer put on. I knew this would expose the problems.
This is what I found.

After this, There was a concern for clear thickness so the paint was checked by Bryan Burnworth of Peachstate Detail, using a tester for fiberglass and composite body panels. He determined that there was plenty of paint there, and it was good to go for polishing out the defects.
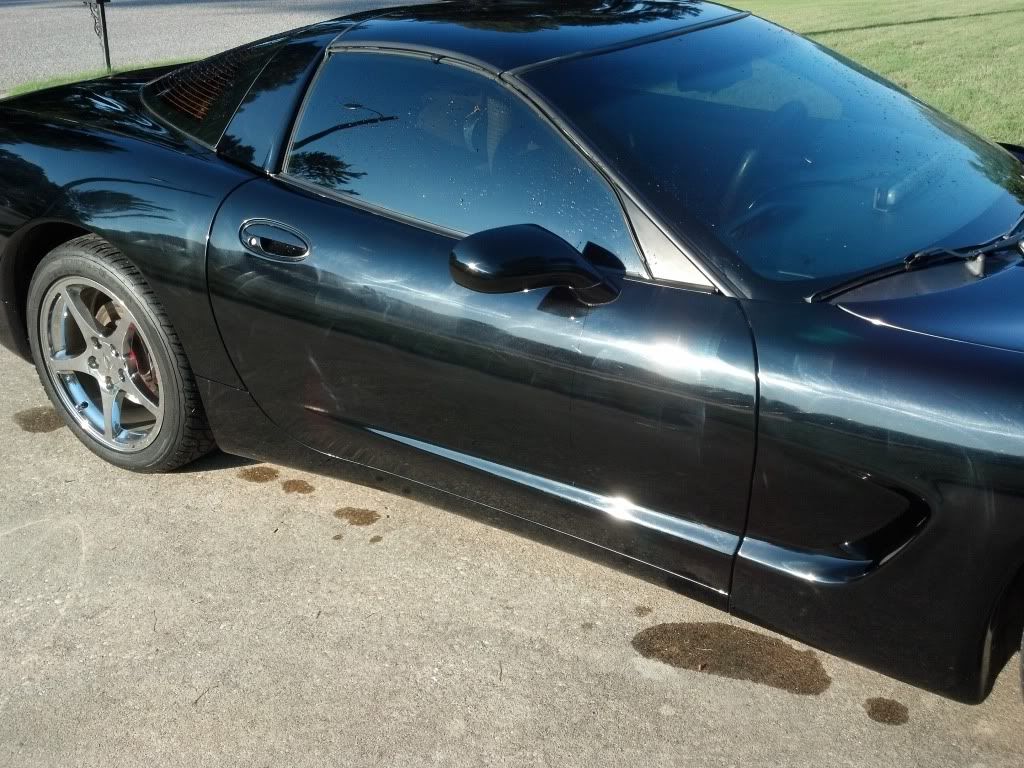
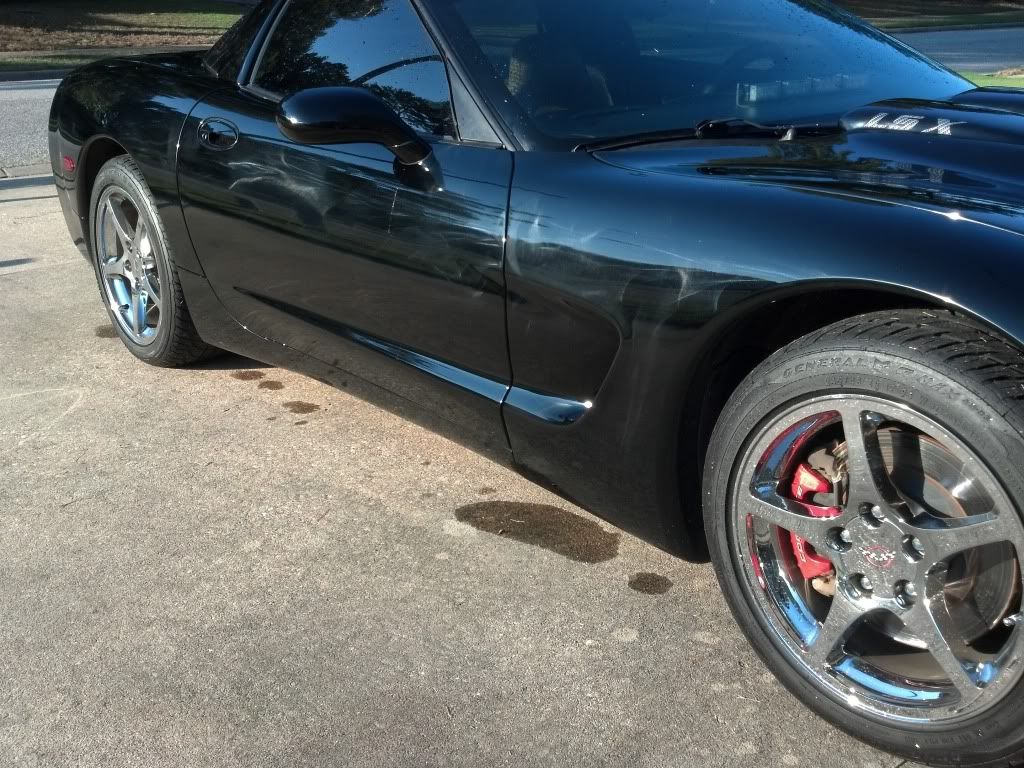
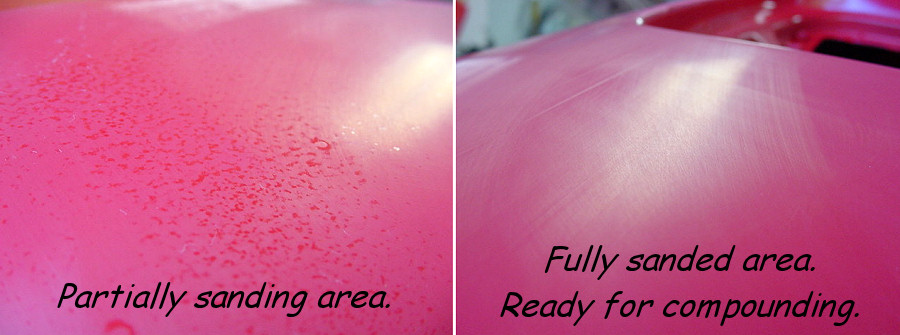
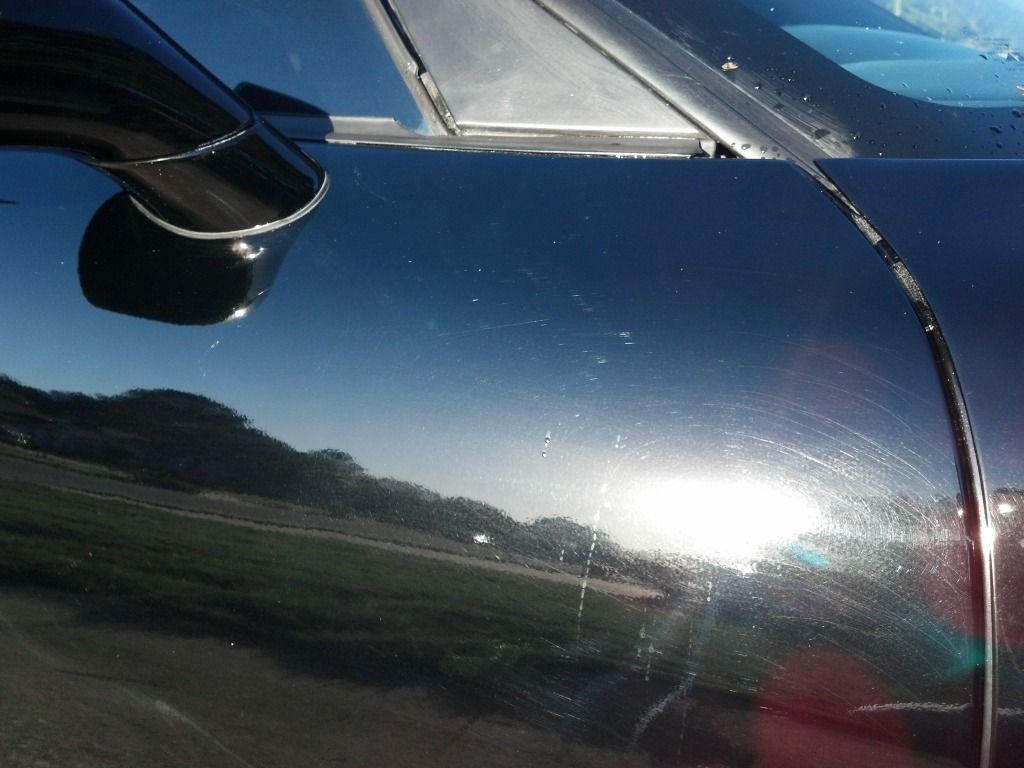
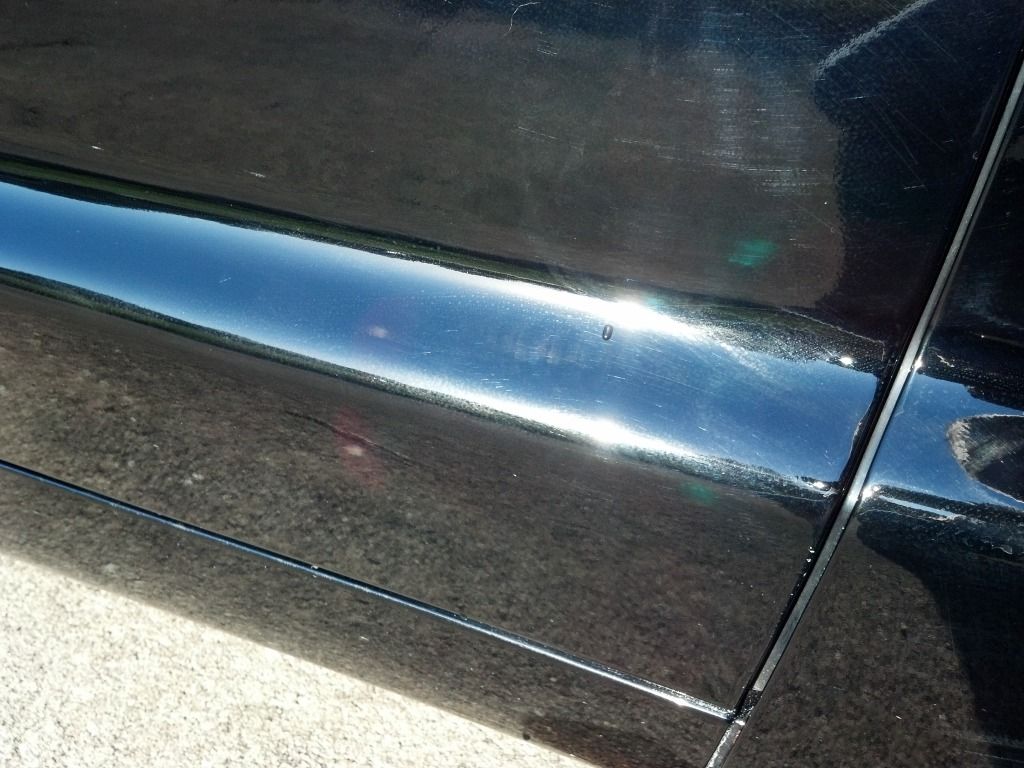
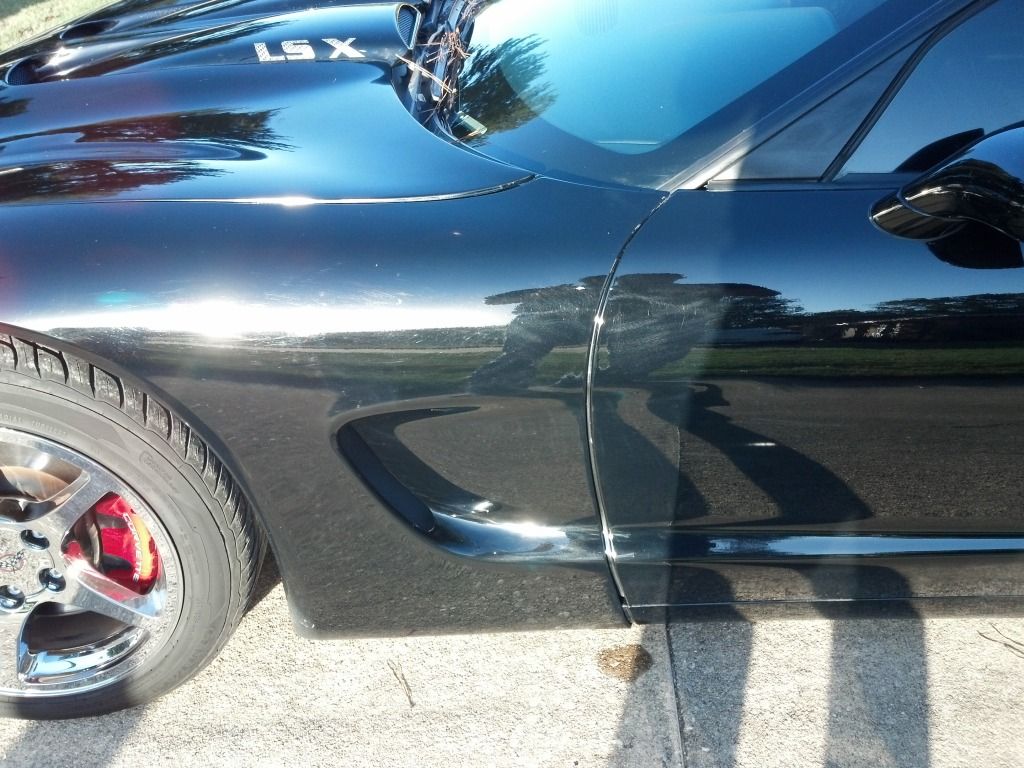
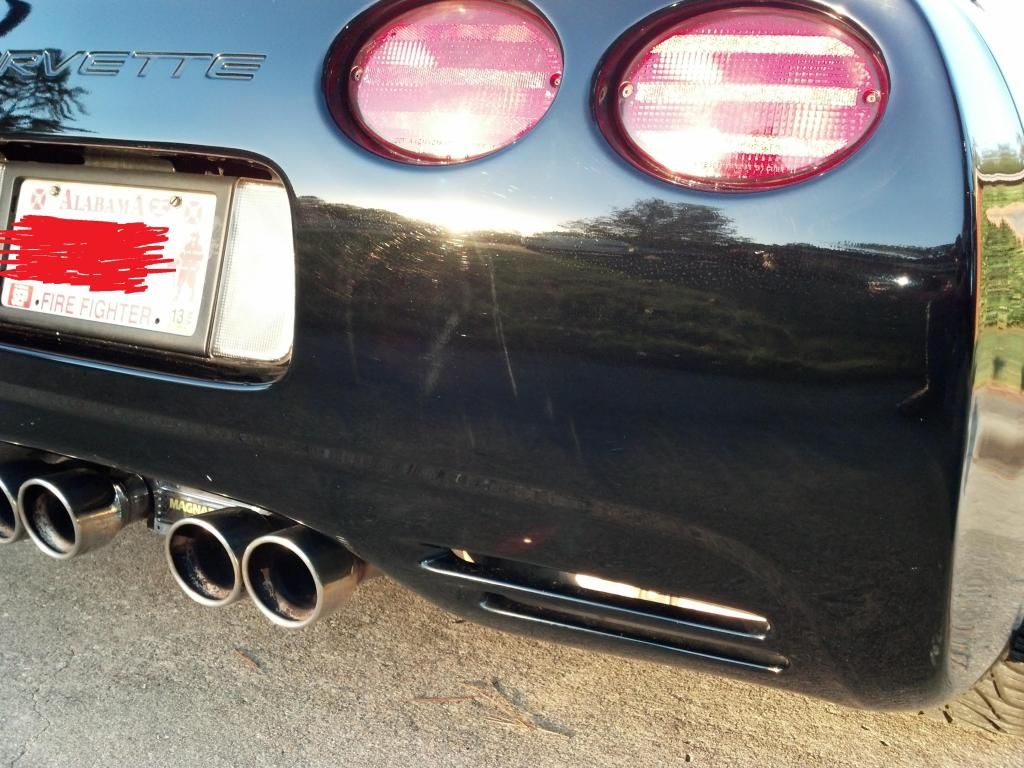
Then on to the third detail. Another guy did it seperate from the guy that did the forst two. The car was wet sanded (very lightly) and an attempt was made to get the crap out from above. Some came out, some didn't. He said he sanded it with 2500, but as you can see in the pictures that will follow, he did not press hard enough to even cut through the orange peel. He basically just knocked off the high spots, and left the lower areas. This is exactly what it looks like, but not nearly as far as this example has been sanded. The high spots have barely been touched, and the gloss in the lower areas is pretty prevalent.
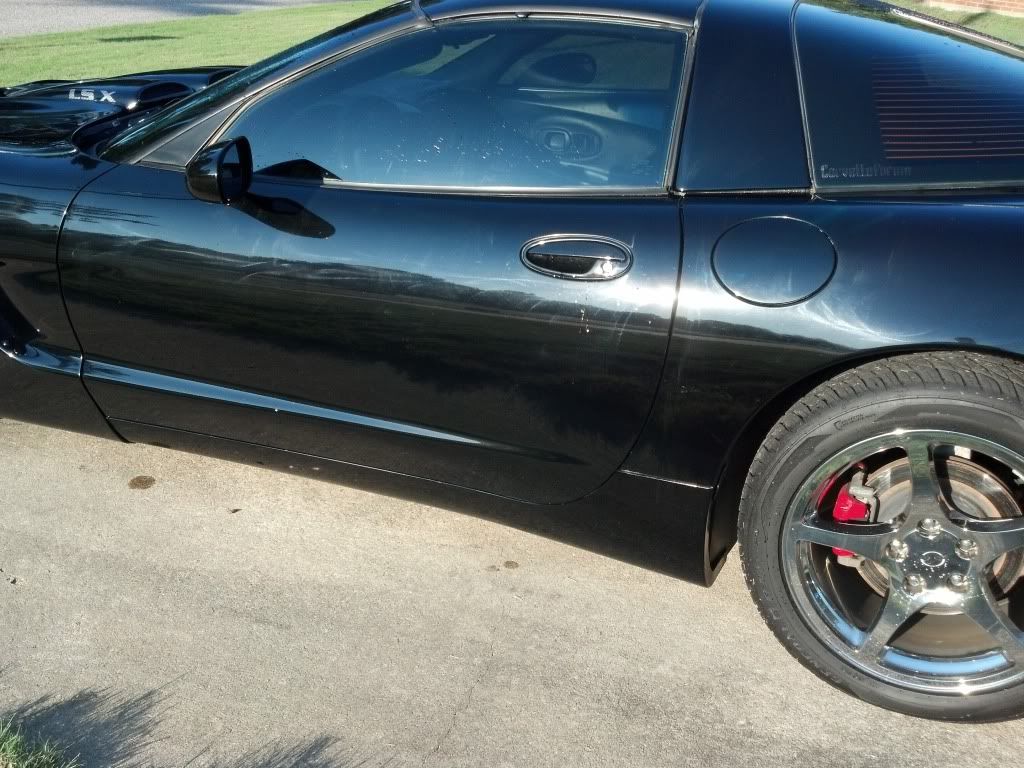
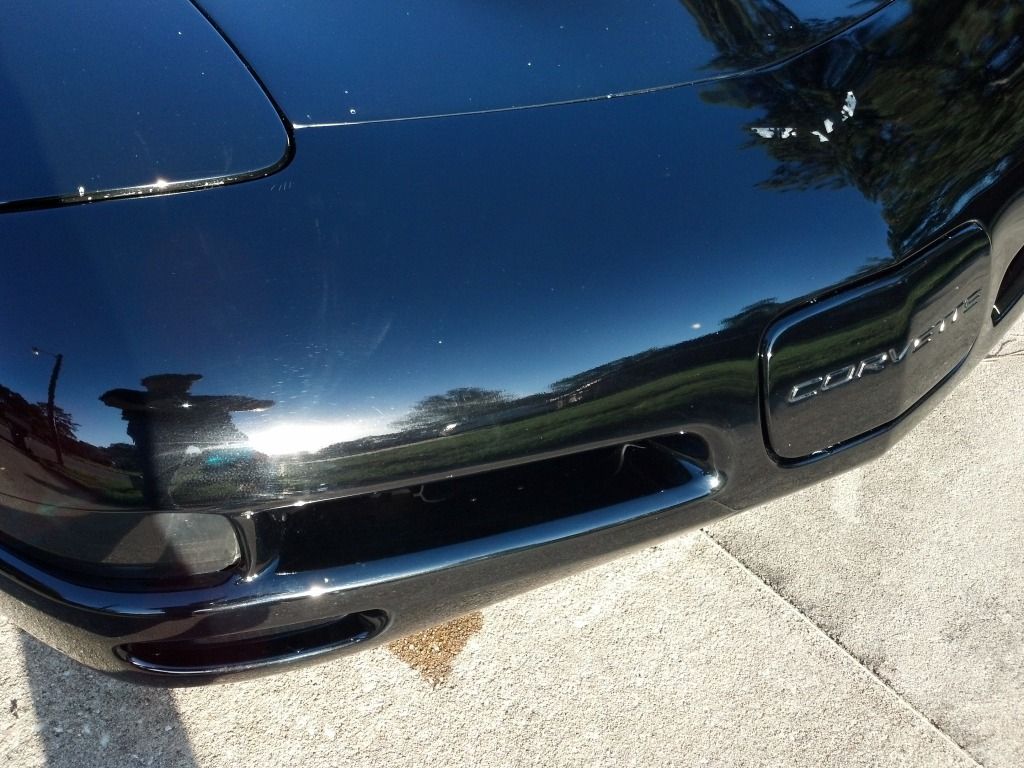
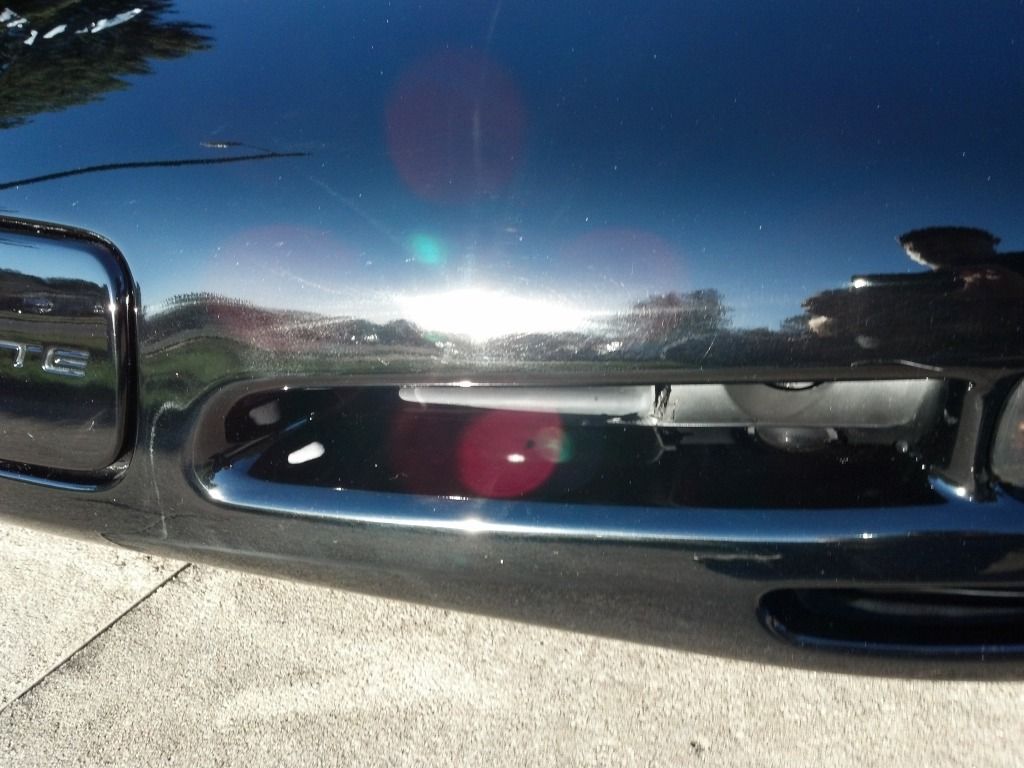
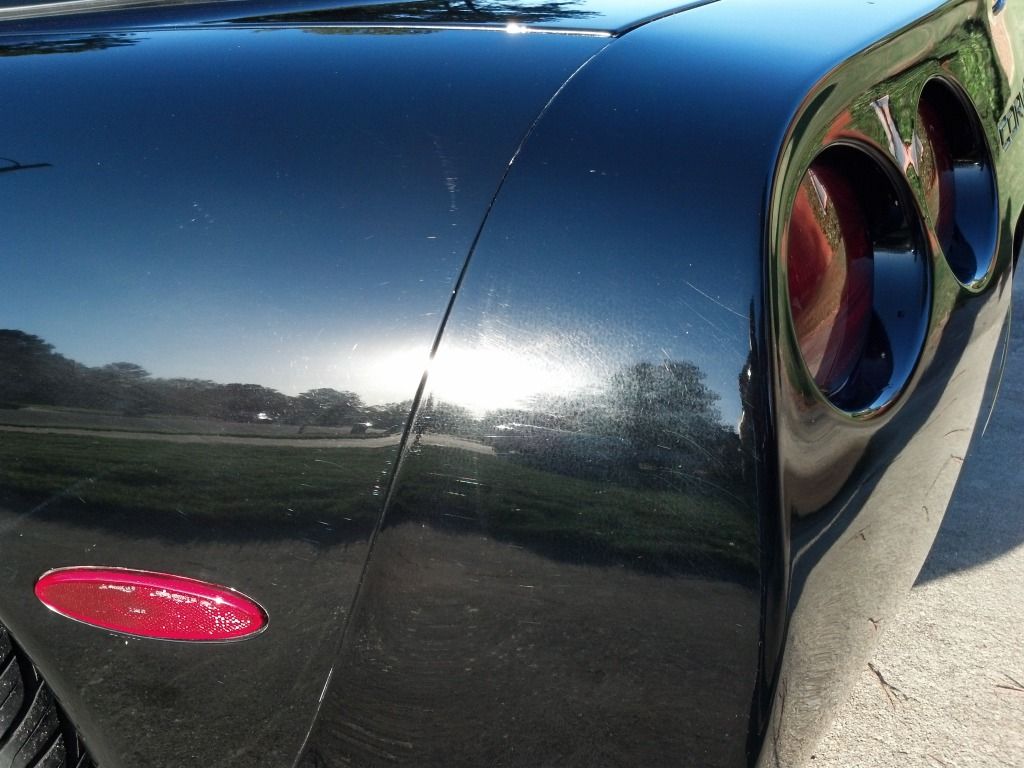
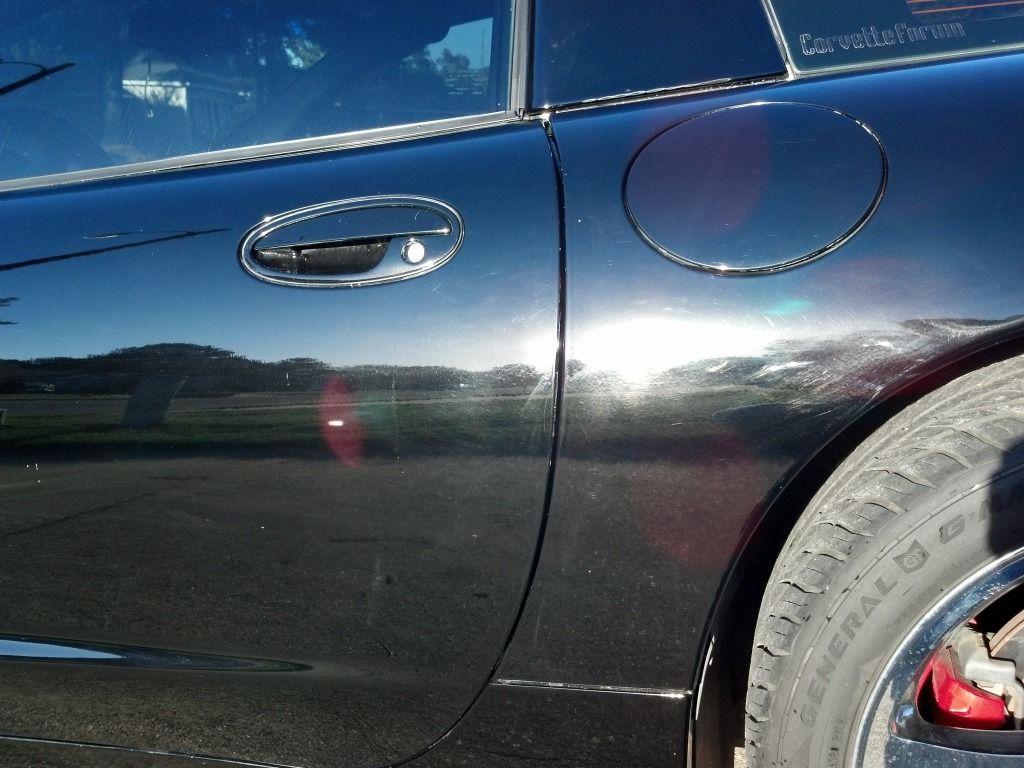
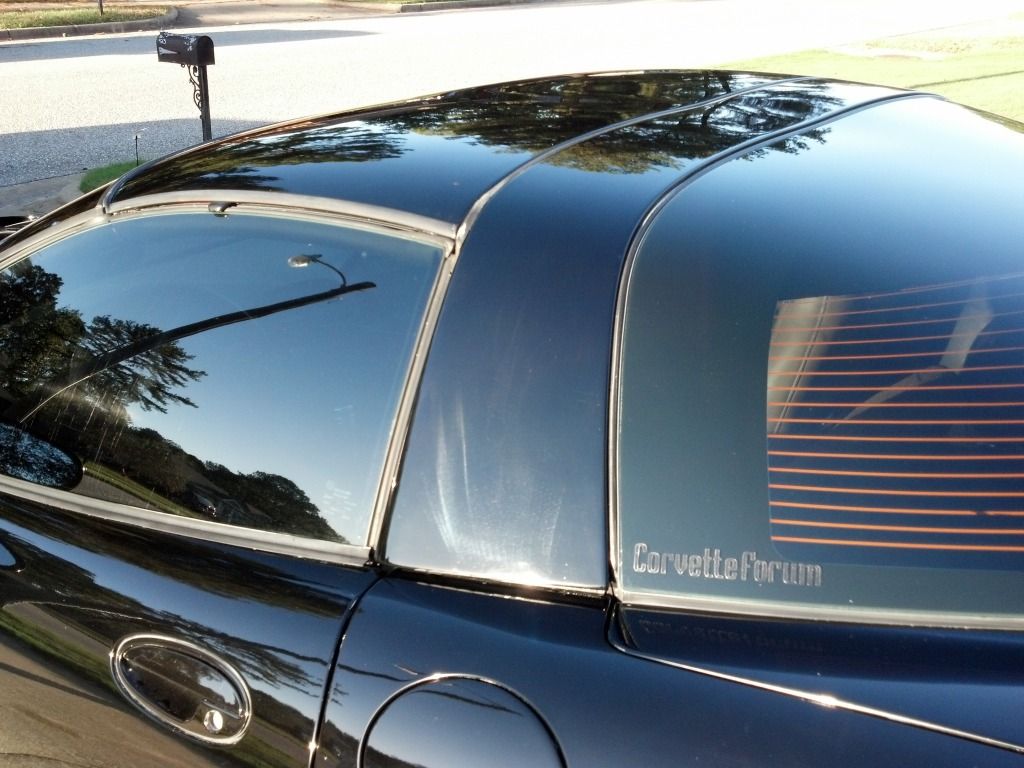
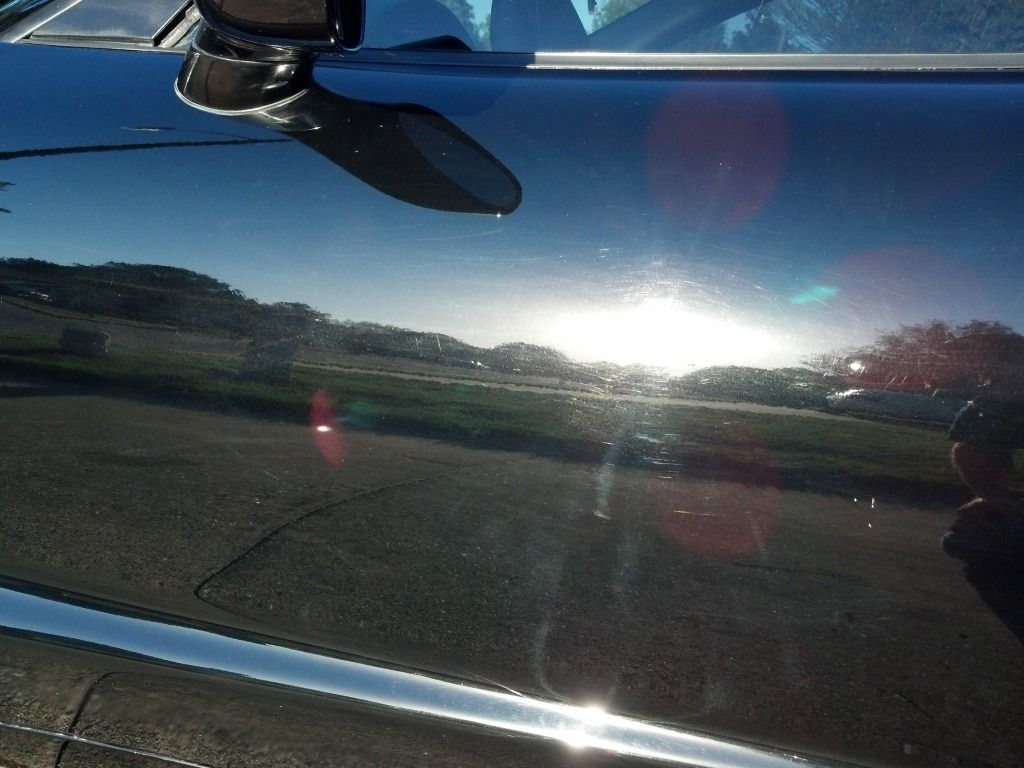
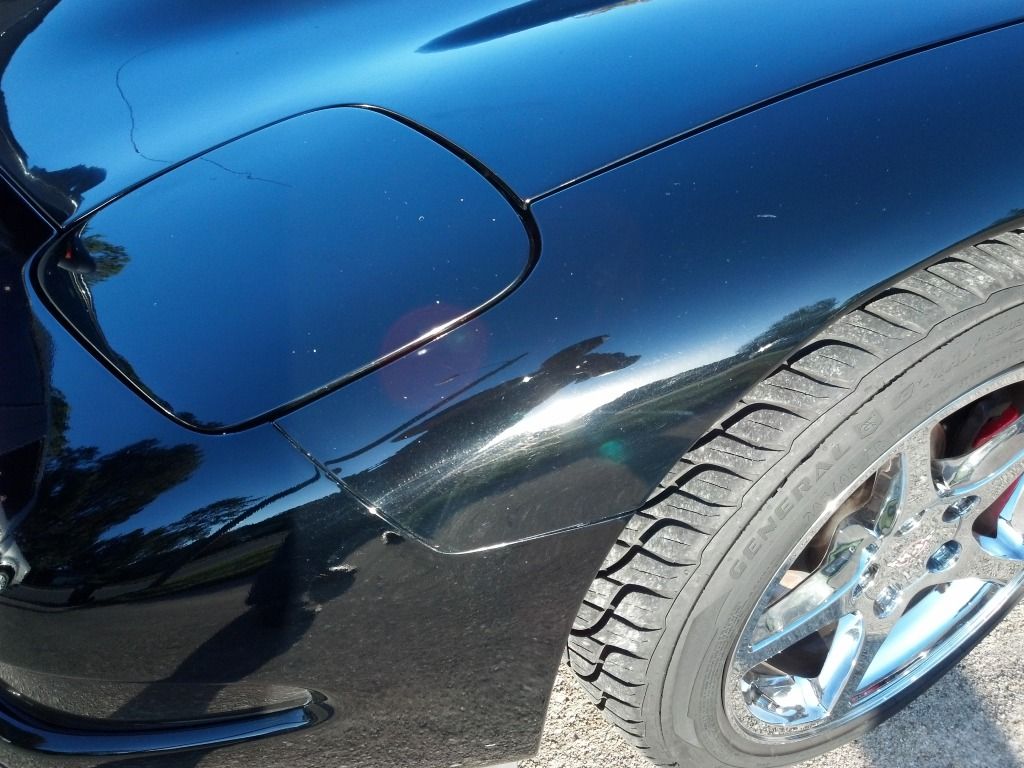
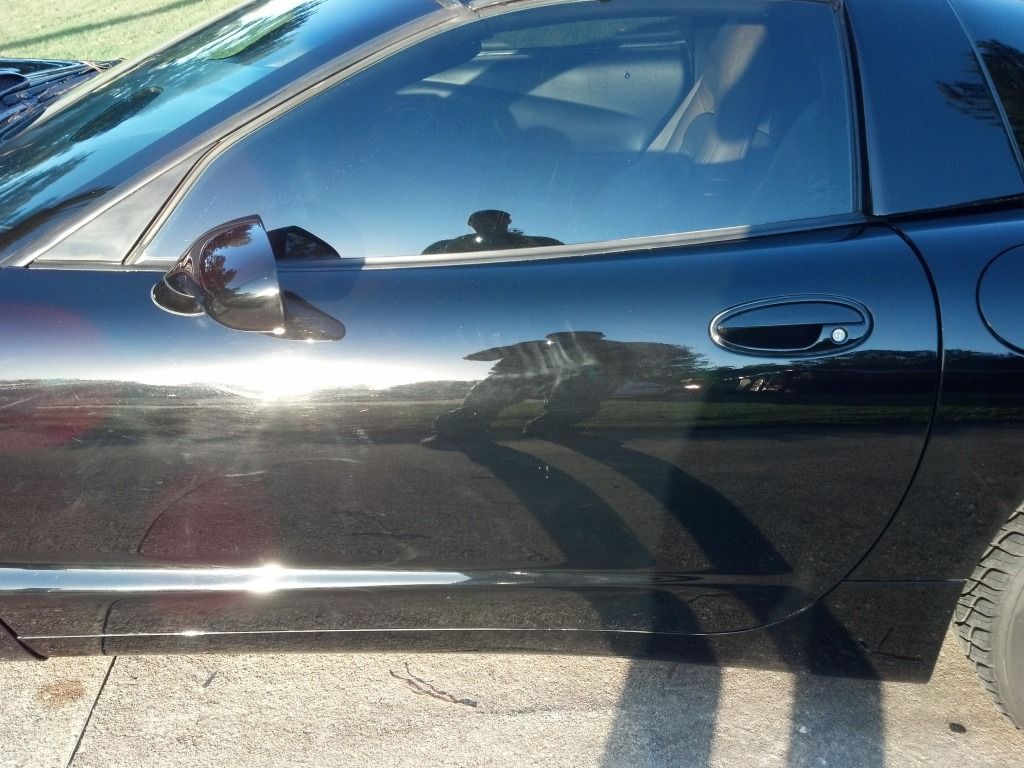
Most of the car still has holograms in it from the last attempt, so that tells me that he didn't too much damage on this third attempt. For this reason, I believe the clear is still in good shape to be repaired. The kicker for second guy that did it (which was this third detail) was that he burned through the paint at the bottom of the halo on the driver side. He pretty much had to give me a refund at this point. I hate it happened and I'm sure he does too, but...moving on. That was the third and final attempt by someone else. I am now convinced that nobody around here is capable of doing this to my liking. Here are pictures after the third detail:
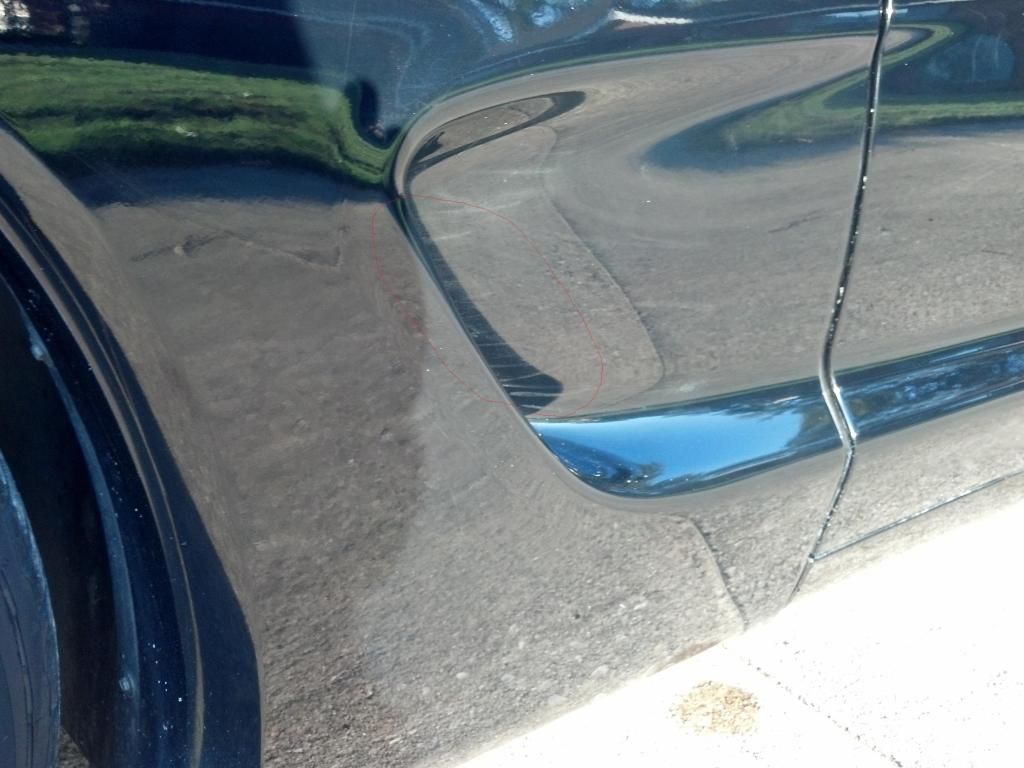
It seems that he did get some of the swirls out, but not all of them. He put some of his own in..Notice the small 3" or 4" pad trails. Also prevalent are small scratches (circled in red in some pictures). I guess he got a piece of sand in his sandpaper or something, and dragged it into the paint while wet sanding..who knows...The last one picture is the burned through spot. Look near the bottom of the halo behind the window (Circled in red) note: the red crcles are there, but hard to see.
********************
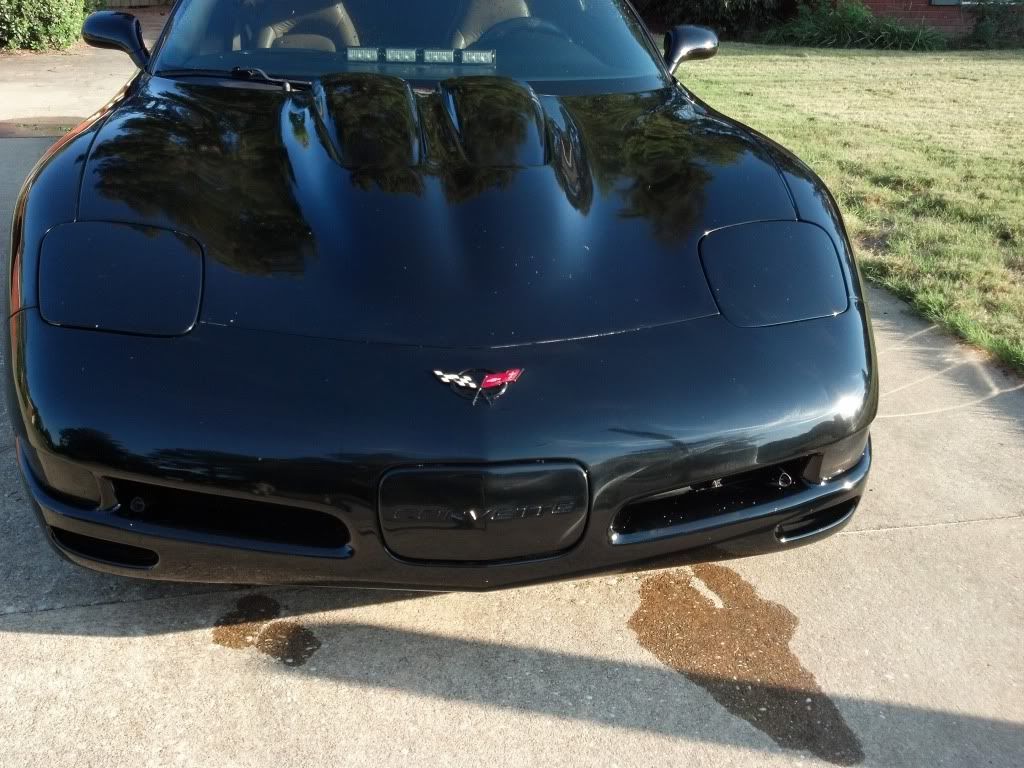
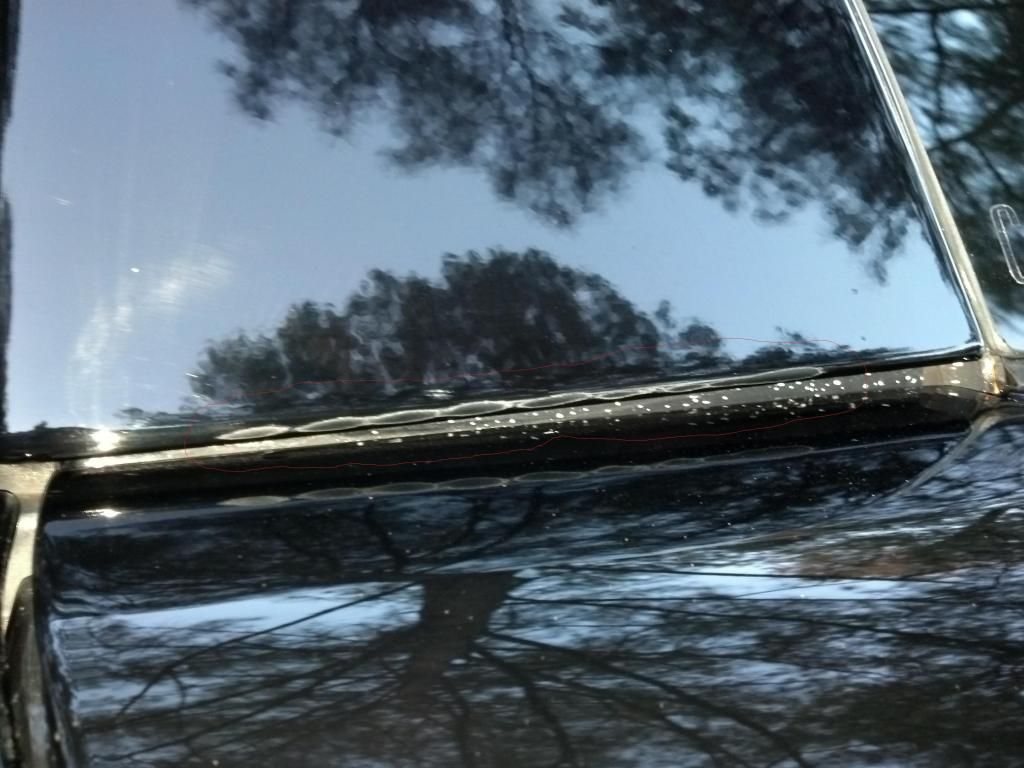
I'm going to take a minute here to explain the history of the car's paint. The hood was repainted a few years ago by a local guy. It looked pretty decent up until about six months ago, but then it started to fade. These are pictures of what it started to do:


These pictures ought to be pretty telling. It is obviously some sort of clear coat failure. I'm not sure exactly whats going on, but when Bryan and I tested it, it seemed to have alot more clear on it that the rest of the car. Whatever the case, no matter what is done, it always comes back to look like this in a few weeks. I buffed and polished it myself one time, and it looked good for about three weeks or so. Recently, the guy that messed the car up did it as well, and it looked good for about a week. Then, the last guy that did the car did it too, and I'll bet money that it starts to look rough again within a week. I contribute this to polishes and fillers hiding all the defects in the actual paint temporarily.
Bryan did a spot on the hood to investigate. After repeatedly wiping it with IPA, it still looked about the same, even through multiple polishing steps. We both determined that something weird is definitely going on, and it will have to be repainted. I really don't see any use in spending any more time on it..unless you folks have some different ideas.
That being said, The rest of the car's paint history is as follows: Everything on the car was repainted about a year ago, after I hit a deer. The car left the road and went off into a wooded area on the side of the road. Most of the car sustained damage, so it was all painted...except for the hood and the headlight covers. This sucks for one reason..and that is because of the problems I'm having now with the hood..The body shop did call and ask if I wanted them to go ahead and do the whole car, but I refused. They had already charged me more than my deductable for some BS charge they made up, but that is a different story. Anyway, they wanted about another $500 to do the whole car. I should have taken them up on it though.
******************************
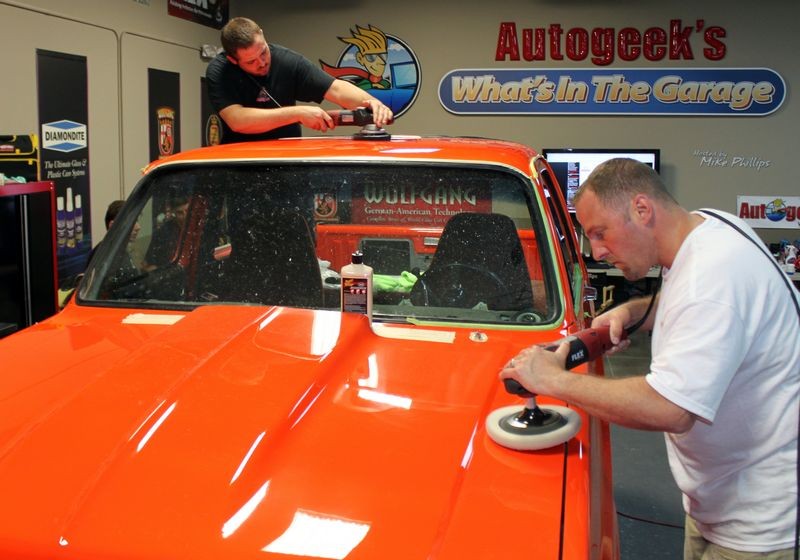
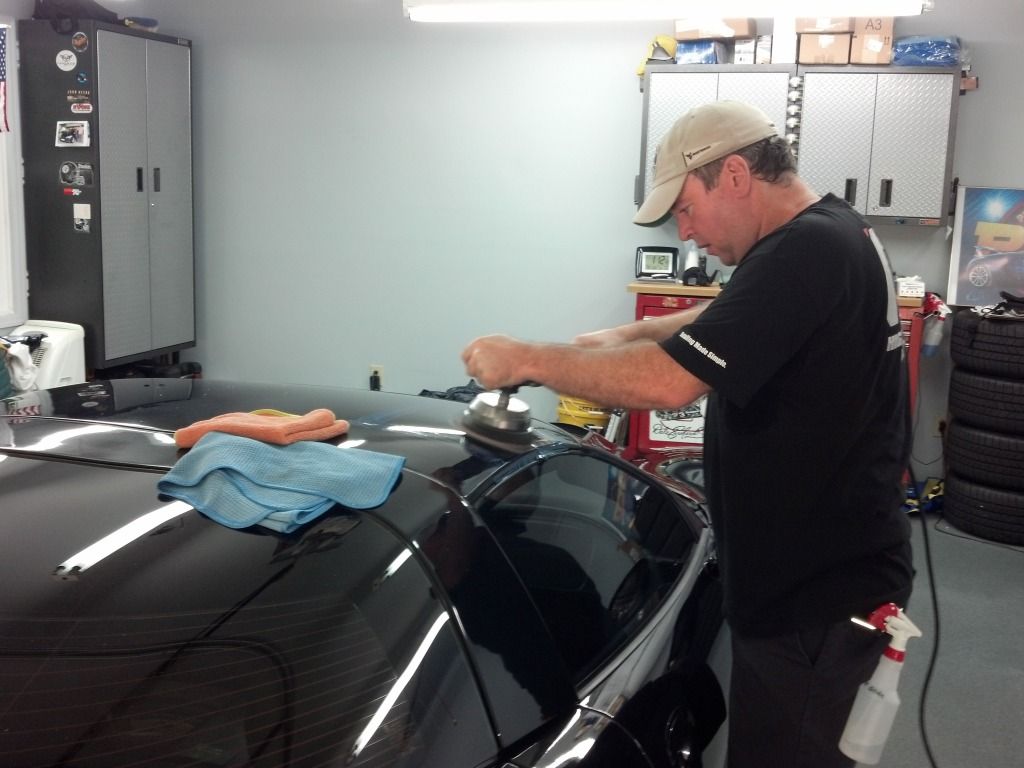
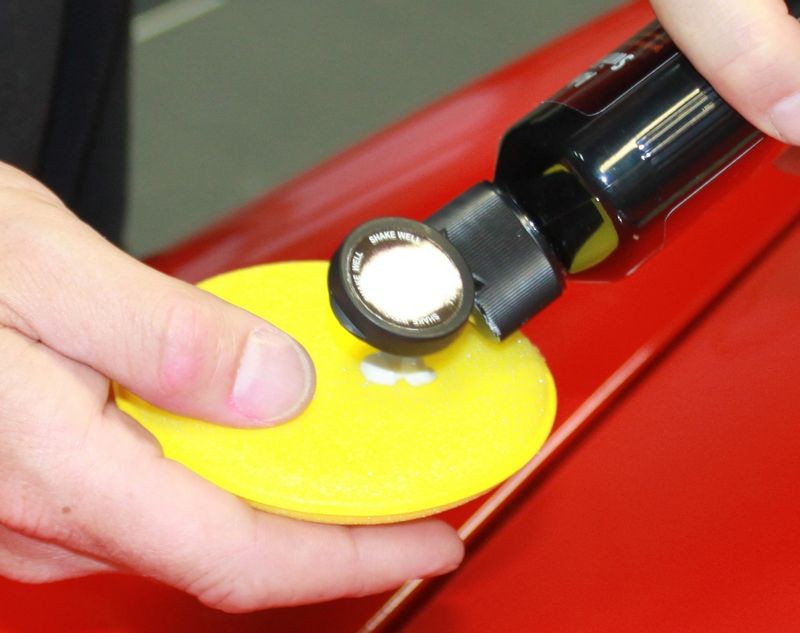
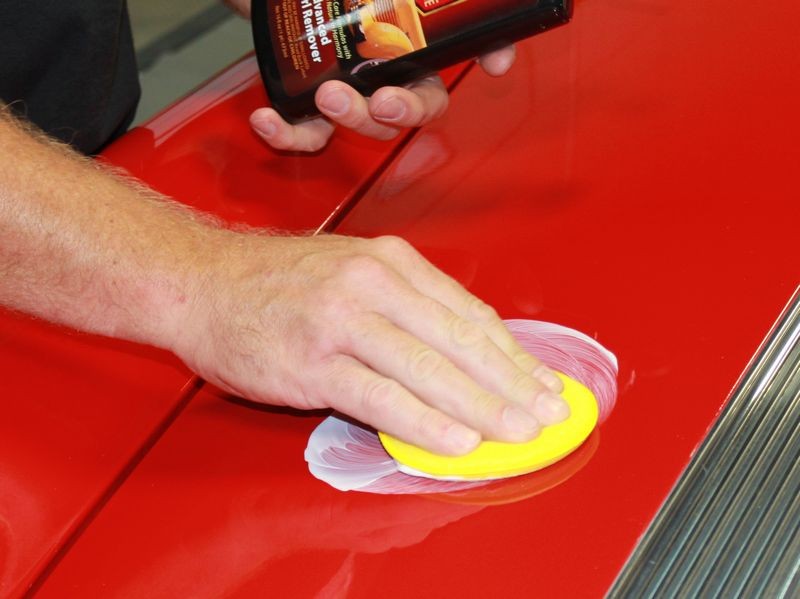
The spot Bryan did on the roof was the area of concern, because we knew this could be corrected. Here he is polishing the roof-
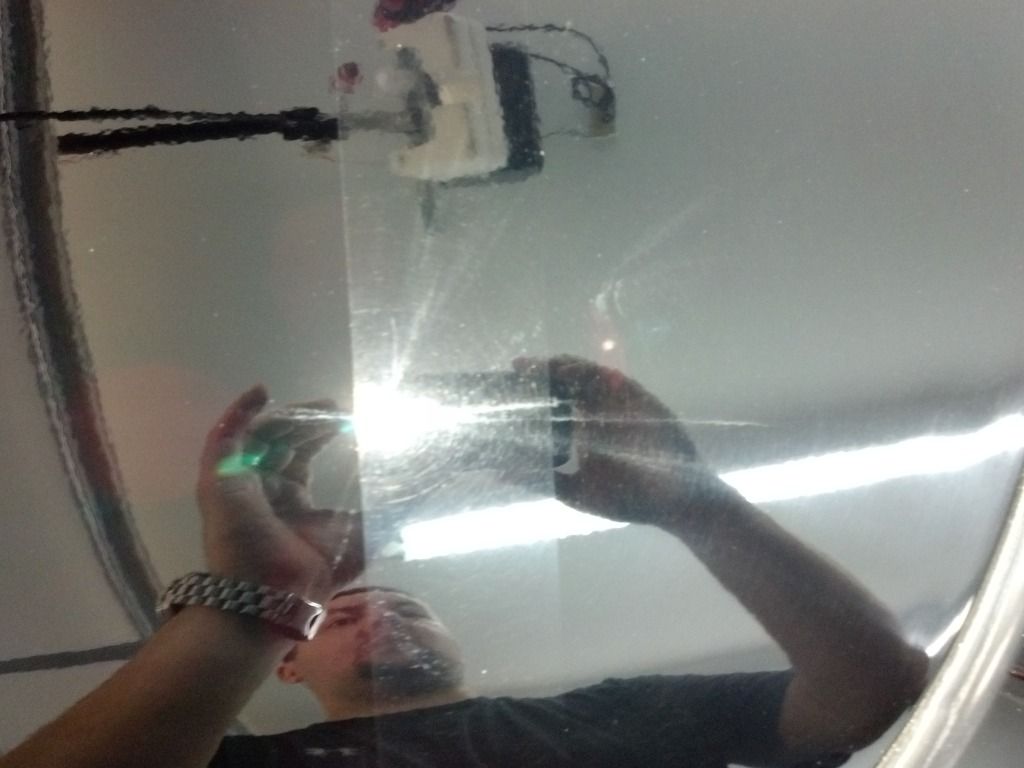
And here is the result-
So we know the rest of the car can surely be fixed. Lets just go with the fact that the hood is messed up. we settled on that based on the paint thickness readings, solvent pop present on the surface, and the fact that even after a multistep process, the test area still looked just about the same as the surrounding area. In the latest pictures of the car (After the third detail) the hood looks pretty good. As I said though, I don't expect it to stay that way.
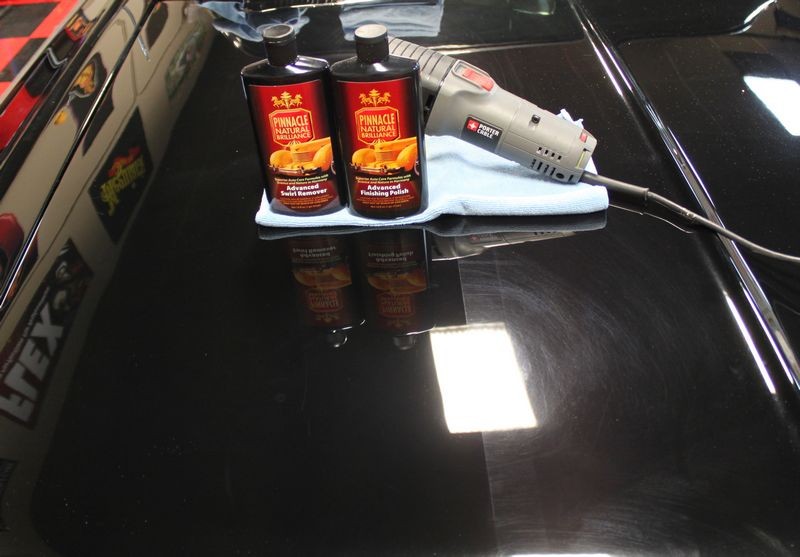
Now on to what to do. I want to try and fix this myself, so I am going to do some research, maybe buy some educational things, etc. I've done some buffing before, but mostly with a rotary and a wool pad. I don't trust myself to go after this with it. I want to purchase a good small orbital buffer, such as one of the kits offered here onthe site. Forum member Laura has offered to help, and I will probably take her up on the offer, because she is near me. She recommended the Wolfgang Duo kit, that has the 7424XP and the wolfgang compounds. I know I will most likely need some extra pads, some good compounds, wax, or paint sealant, etc..I want to be sure I order most of what I need in one shot. I know I will most likely have get more at a later date, but what I'm aiming for specifically is the stuff I need to fix this car. Any other recommendations would be great.
For the record, I realize this car is messed up pretty bad. I'd rather not get into the how it happened and why I let it happen. If you want details, please see the other thread. I want to focus on how to fix it in this thread..
Thanks
If you would rather get the condensed version here, Keep reading.
My car was involved in a situation where powder coat paint leaked from a building exhaust fan, landed on my car, and the sun baked it on. The building is a painting facility and has lots of loose powder on thie inside from the operation. Some of it managed to get out, and the wind carried it across a parking lot where my car was.
To get it off, the guy detailing it used a clay bar. It was stuck pretty good, so after dragging the clay bar all over the entire car, the clear looked like someone had taken scotchbrite to it. It was very bad. I'm not sure if he used any type of lubricant or remover to lubricate and facilitate the removal of the stuck on powder. This first attempt was apparently hidden with the fillers of polish or glaze, because after it rained on the car a few times I started to see the scratches from the claying.
The job was then redone a second time by this same guy. to fix the claying marks. The detailer came back and supposedly used a light compound to get the scratches out, then a swirl remover, with a rotary buffer. At first, it looked like the guy did a decent job, but it still didn't look as good as it did before this all happened. I could still slightly see some of the clay bar scratches. Also, I thought I might have seen a slight hologram, but nothing bad. He then used a wax..so anything that the buffer did was probably hidden pretty well.
First of all, I don't know what he used as products. Second, He did the whole entire job in about two hours..washing, drying, cutting, removing swirls, and waxing. he simply went around the whole car repeatedly, not doing single panels at a time.
Now, fast forward to a week after this second "detail". I decided to wash the car with dishwashing liquid in an effort to possibly cut off this wax the detailer put on. I knew this would expose the problems.
This is what I found.
After this, There was a concern for clear thickness so the paint was checked by Bryan Burnworth of Peachstate Detail, using a tester for fiberglass and composite body panels. He determined that there was plenty of paint there, and it was good to go for polishing out the defects.
Then on to the third detail. Another guy did it seperate from the guy that did the forst two. The car was wet sanded (very lightly) and an attempt was made to get the crap out from above. Some came out, some didn't. He said he sanded it with 2500, but as you can see in the pictures that will follow, he did not press hard enough to even cut through the orange peel. He basically just knocked off the high spots, and left the lower areas. This is exactly what it looks like, but not nearly as far as this example has been sanded. The high spots have barely been touched, and the gloss in the lower areas is pretty prevalent.
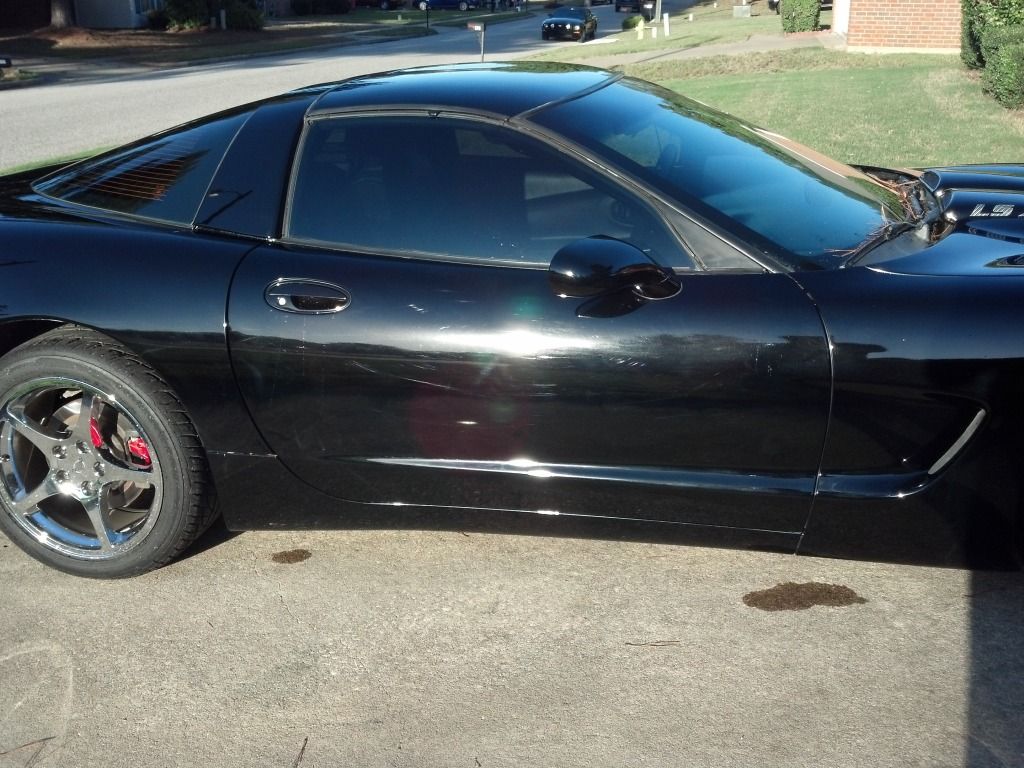
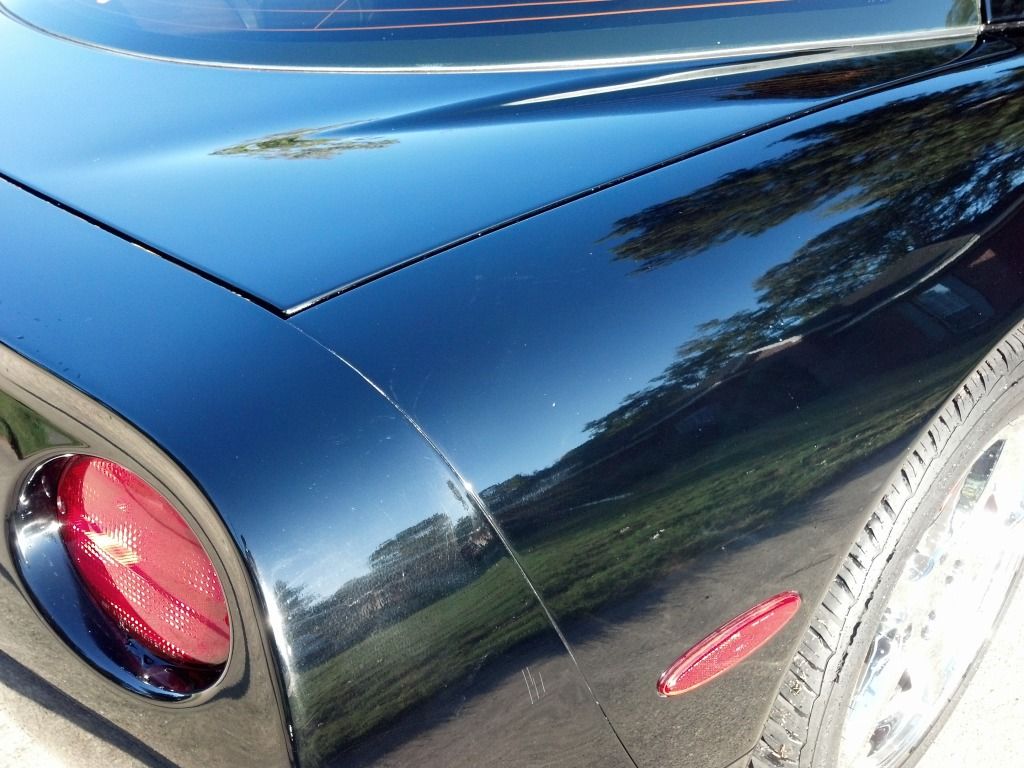
Most of the car still has holograms in it from the last attempt, so that tells me that he didn't too much damage on this third attempt. For this reason, I believe the clear is still in good shape to be repaired. The kicker for second guy that did it (which was this third detail) was that he burned through the paint at the bottom of the halo on the driver side. He pretty much had to give me a refund at this point. I hate it happened and I'm sure he does too, but...moving on. That was the third and final attempt by someone else. I am now convinced that nobody around here is capable of doing this to my liking. Here are pictures after the third detail:
It seems that he did get some of the swirls out, but not all of them. He put some of his own in..Notice the small 3" or 4" pad trails. Also prevalent are small scratches (circled in red in some pictures). I guess he got a piece of sand in his sandpaper or something, and dragged it into the paint while wet sanding..who knows...The last one picture is the burned through spot. Look near the bottom of the halo behind the window (Circled in red) note: the red crcles are there, but hard to see.
********************
I'm going to take a minute here to explain the history of the car's paint. The hood was repainted a few years ago by a local guy. It looked pretty decent up until about six months ago, but then it started to fade. These are pictures of what it started to do:
These pictures ought to be pretty telling. It is obviously some sort of clear coat failure. I'm not sure exactly whats going on, but when Bryan and I tested it, it seemed to have alot more clear on it that the rest of the car. Whatever the case, no matter what is done, it always comes back to look like this in a few weeks. I buffed and polished it myself one time, and it looked good for about three weeks or so. Recently, the guy that messed the car up did it as well, and it looked good for about a week. Then, the last guy that did the car did it too, and I'll bet money that it starts to look rough again within a week. I contribute this to polishes and fillers hiding all the defects in the actual paint temporarily.
Bryan did a spot on the hood to investigate. After repeatedly wiping it with IPA, it still looked about the same, even through multiple polishing steps. We both determined that something weird is definitely going on, and it will have to be repainted. I really don't see any use in spending any more time on it..unless you folks have some different ideas.
That being said, The rest of the car's paint history is as follows: Everything on the car was repainted about a year ago, after I hit a deer. The car left the road and went off into a wooded area on the side of the road. Most of the car sustained damage, so it was all painted...except for the hood and the headlight covers. This sucks for one reason..and that is because of the problems I'm having now with the hood..The body shop did call and ask if I wanted them to go ahead and do the whole car, but I refused. They had already charged me more than my deductable for some BS charge they made up, but that is a different story. Anyway, they wanted about another $500 to do the whole car. I should have taken them up on it though.
******************************
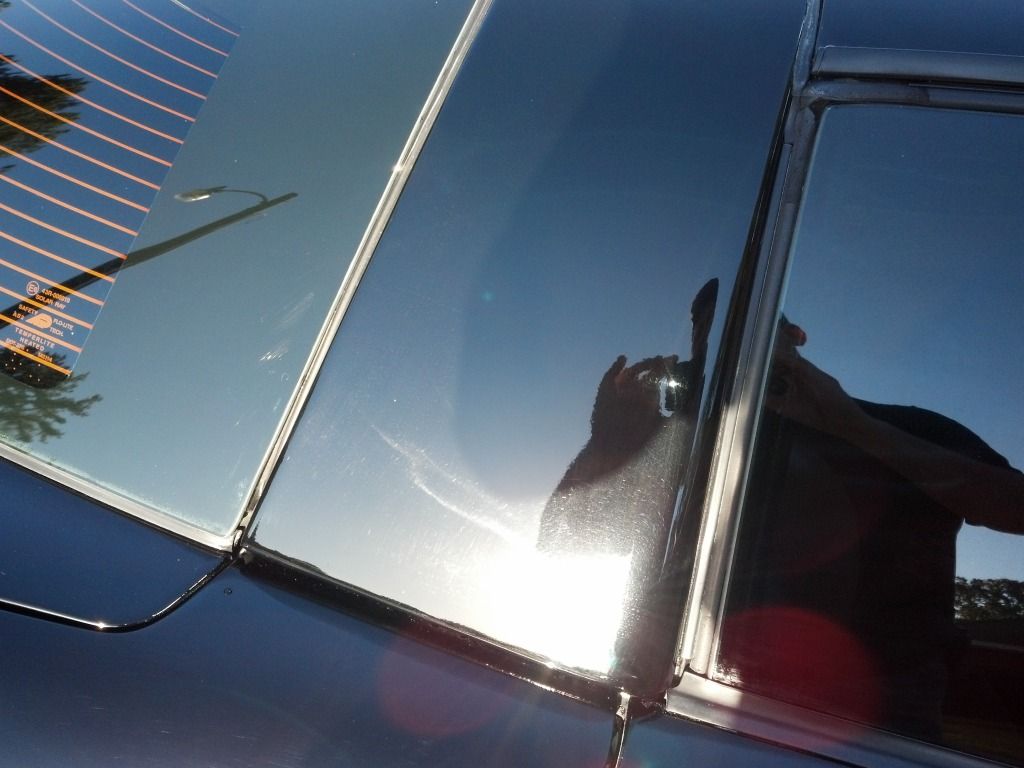
The spot Bryan did on the roof was the area of concern, because we knew this could be corrected. Here he is polishing the roof-
And here is the result-
So we know the rest of the car can surely be fixed. Lets just go with the fact that the hood is messed up. we settled on that based on the paint thickness readings, solvent pop present on the surface, and the fact that even after a multistep process, the test area still looked just about the same as the surrounding area. In the latest pictures of the car (After the third detail) the hood looks pretty good. As I said though, I don't expect it to stay that way.
Now on to what to do. I want to try and fix this myself, so I am going to do some research, maybe buy some educational things, etc. I've done some buffing before, but mostly with a rotary and a wool pad. I don't trust myself to go after this with it. I want to purchase a good small orbital buffer, such as one of the kits offered here onthe site. Forum member Laura has offered to help, and I will probably take her up on the offer, because she is near me. She recommended the Wolfgang Duo kit, that has the 7424XP and the wolfgang compounds. I know I will most likely need some extra pads, some good compounds, wax, or paint sealant, etc..I want to be sure I order most of what I need in one shot. I know I will most likely have get more at a later date, but what I'm aiming for specifically is the stuff I need to fix this car. Any other recommendations would be great.
For the record, I realize this car is messed up pretty bad. I'd rather not get into the how it happened and why I let it happen. If you want details, please see the other thread. I want to focus on how to fix it in this thread..
Thanks


")