Mike Phillips
Active member
- Dec 5, 2022
- 51,004
- 7
This afternoon when I got in my car I rubbed my hand on the hood and found that it felt like there were tons of small bumps like I haven't clayed the car in ten years.
Ed
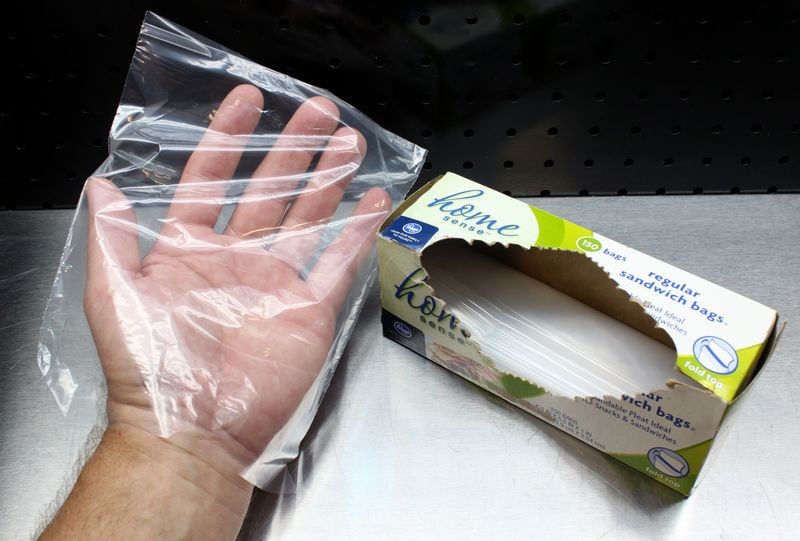
Need to get to where you don't feel the bumps before applying any wax or sealant.
Like mentioned, try re-claying a section of paint and then use the baggie test to inspect.
")
 rops:
rops: