Gurge
New member
- Aug 26, 2010
- 521
- 1
This is a bit overdue, but I've received a lot of positive comments on my shop since opening up the doors about 2 months ago now. Now that I've got the chance I wanted to post the photos of the work that went into getting it looking legit.
This will be a long one, so hopefully I don't get interrupted in between posts
In the wake of Hurricane Sandy last year I found myself driving around industrial areas near my house, searching for the new home of Mr. Sparkle Detailing. What was once a part time and mobile only deal for me was going full time with a shop.
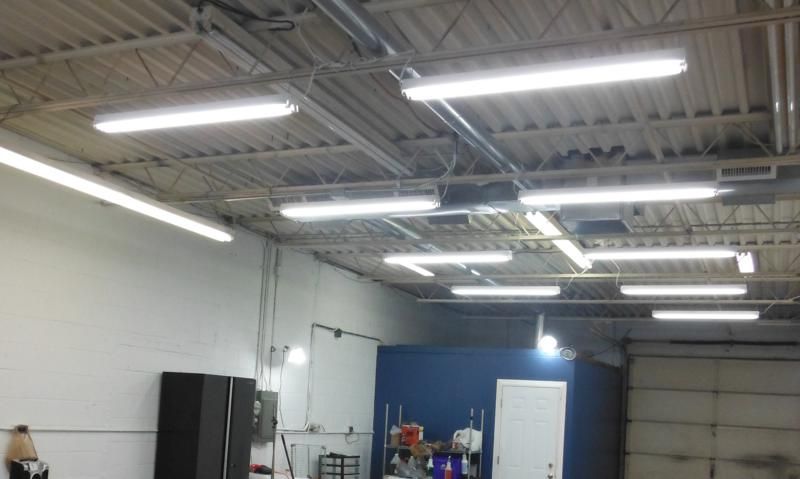
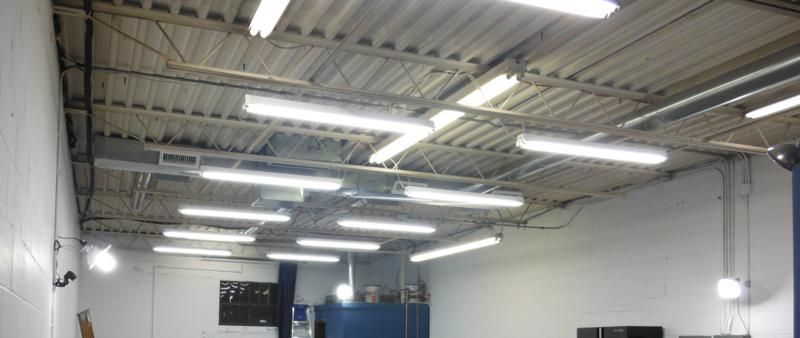
Made a lot of calls and found many landlords wanted nothing to do with any auto related business. I also found the same landlords controlled many buildings in the areas I was searching so it was tough. Eventually I found a spot close to home, with the space I needed, with a garage door, and fair rent. I walked into a dark dirty 1000sq ft warehouse space and saw potential. Fast forward through a month or two of BS, and my lease was effective Jan 1st. I was given the keys last week of december to get started on all of the work ahead.
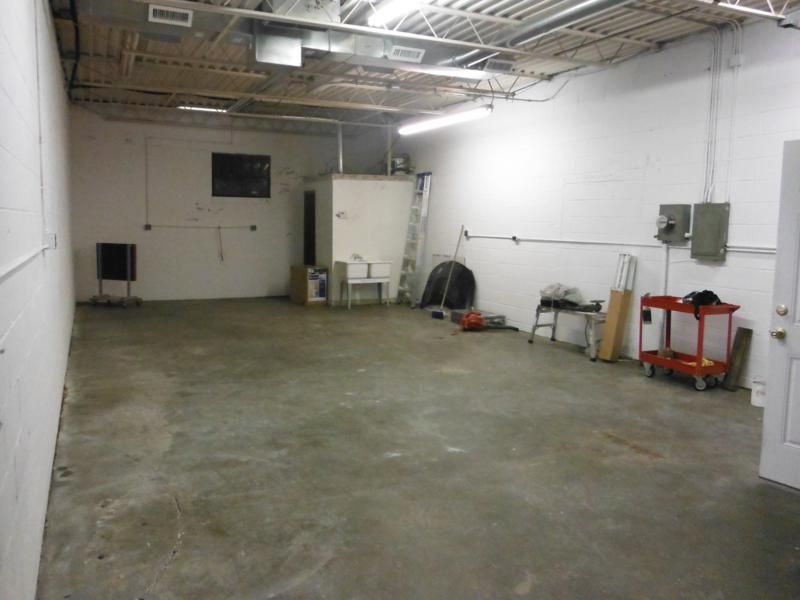
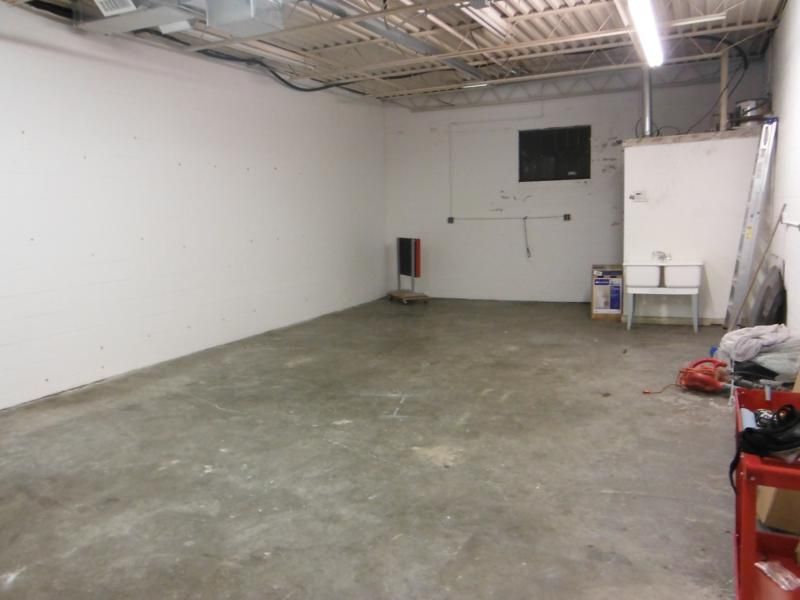
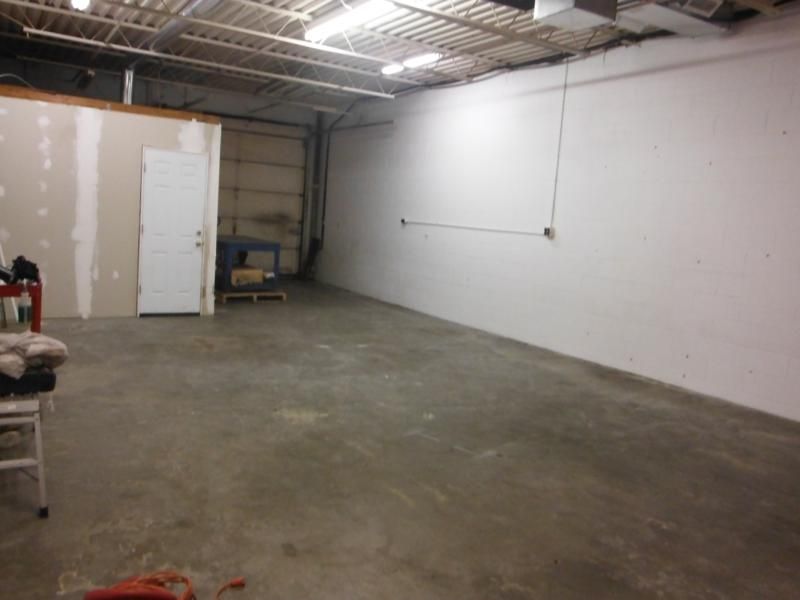
This unit started as the storage area for the other tenants. There were some shelving units, random items, and a resident cat. Every industrial area has feral cats, but this one cat was allowed to live in unit #E, with a lamp, and he was fed by one of the neighbors. ANYWAY - after the shelving was out, and the cat, I started with this. not much to look at
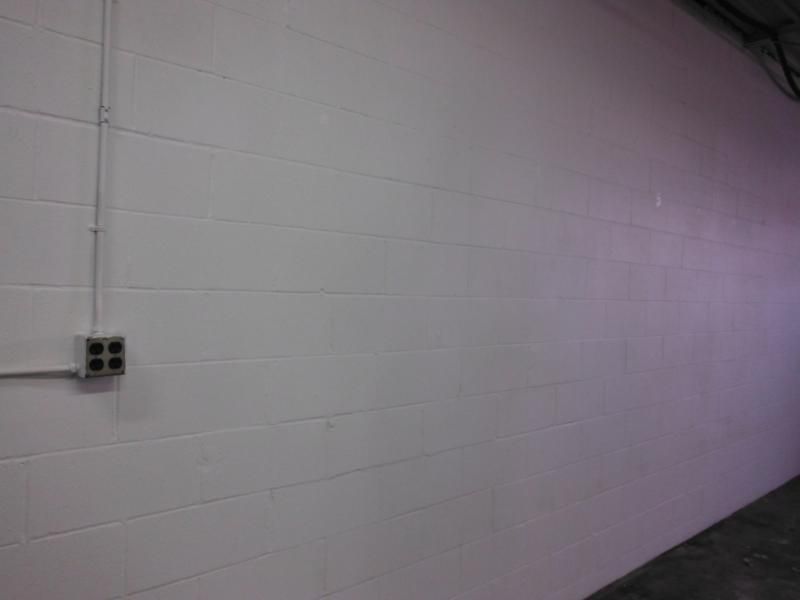
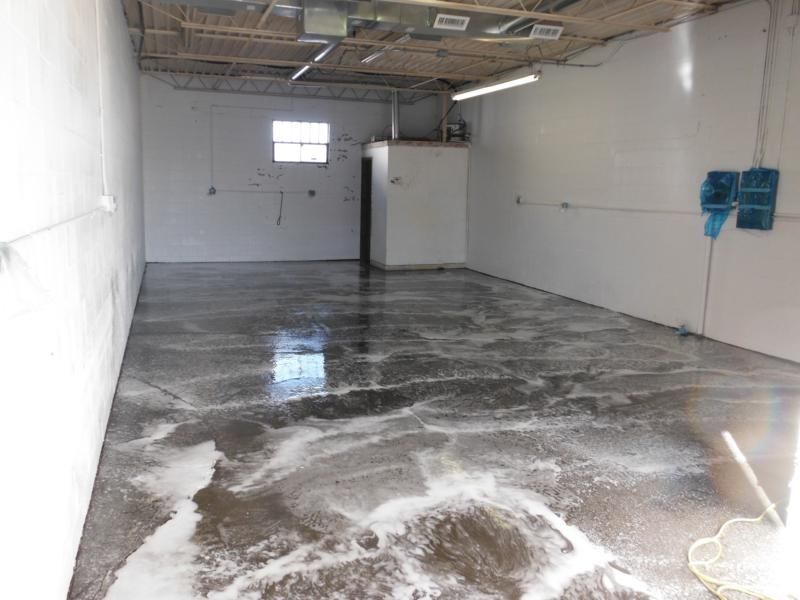
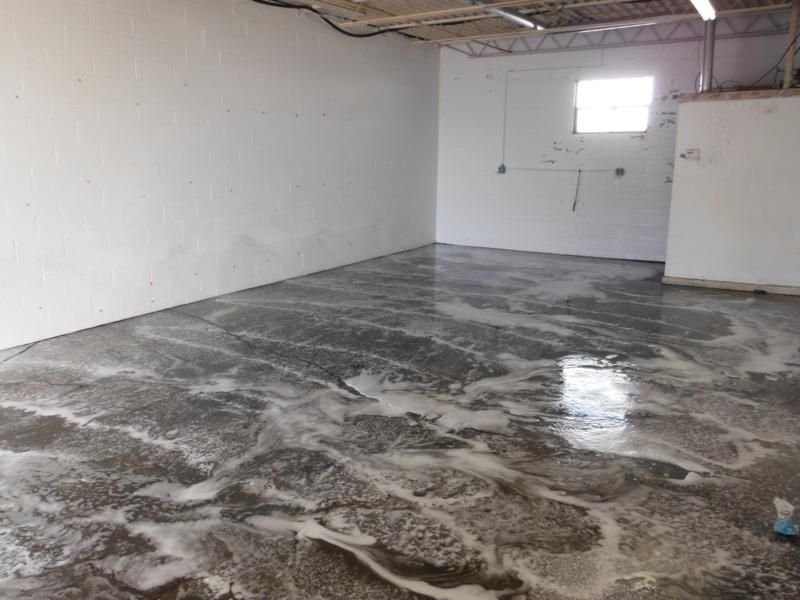
Spent a day just vacuuming and sweeping. years of dust and crap. very exciting. Then I started the project like any good detailer would, with my foam gun. Scrubbed and power washed the walls and floors. Had to cover up the electrical stuff on the walls obviously
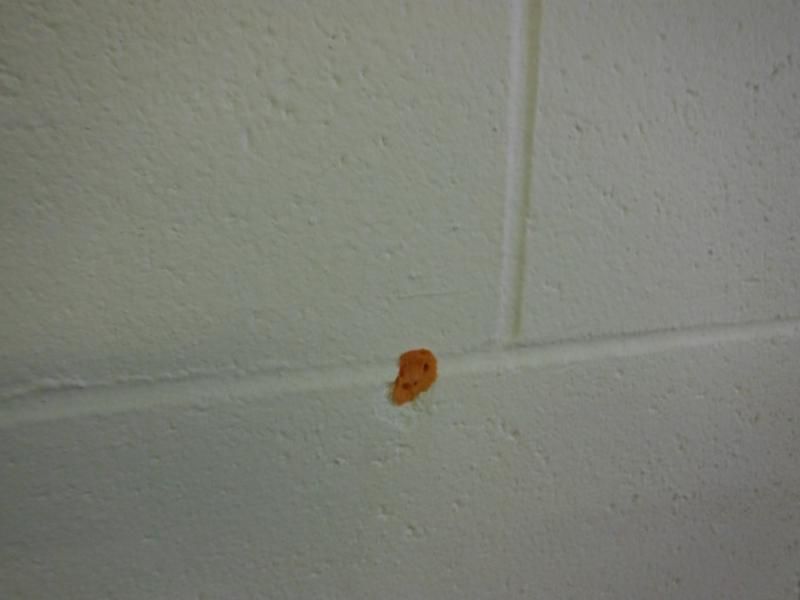
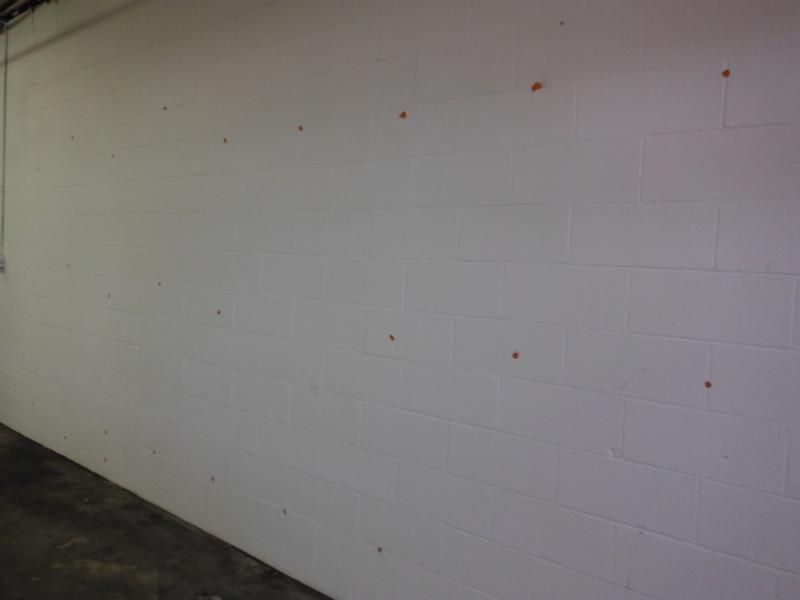
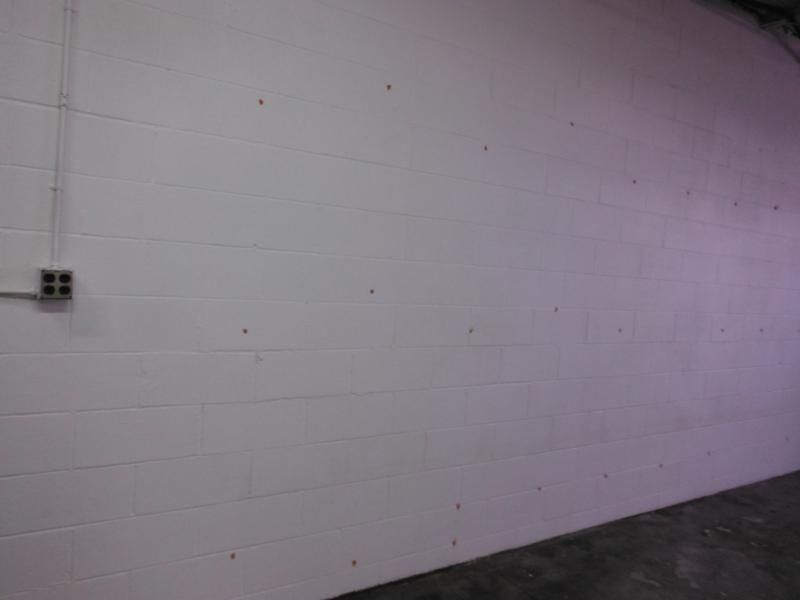
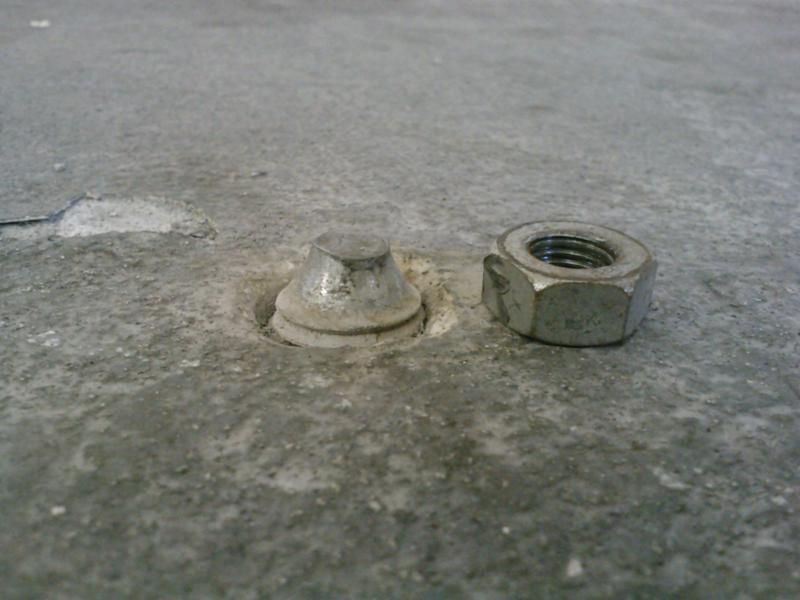
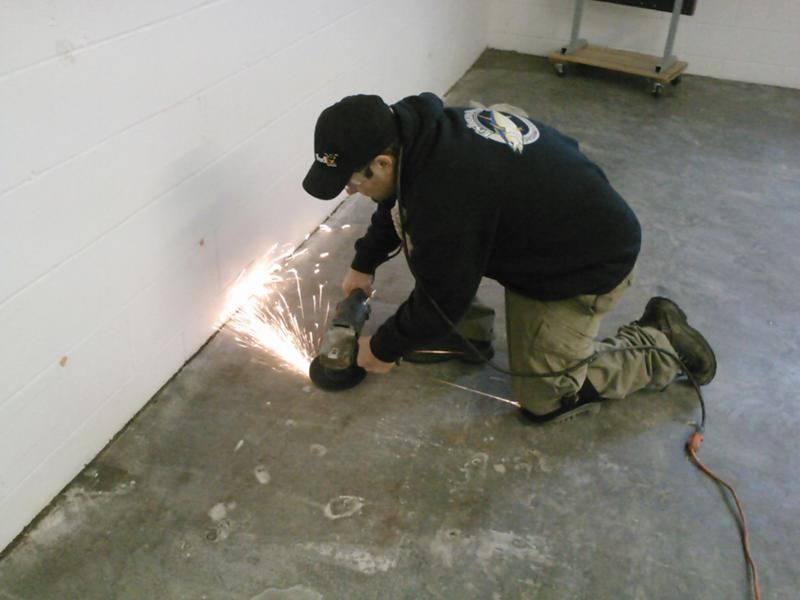
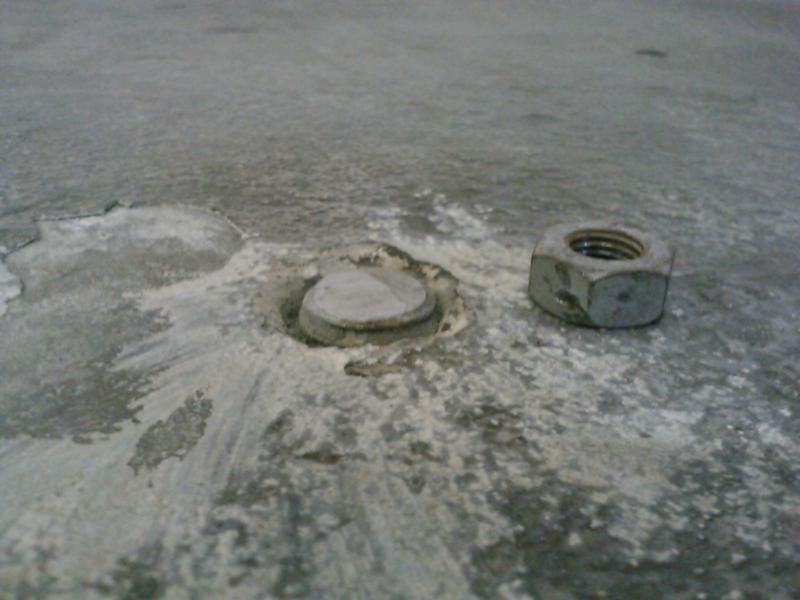
After the floor was clean, I nearly tripped over a metal spike in the floor. Seems there was once a lift in this unit. They cut the studs but not quite flush with the floor. Just enough to trip over or blow a tire. Had to borrow a grinder from a friend.
Here is what I mean. Before...
During... (Mr. Sparkle getting his grind on)
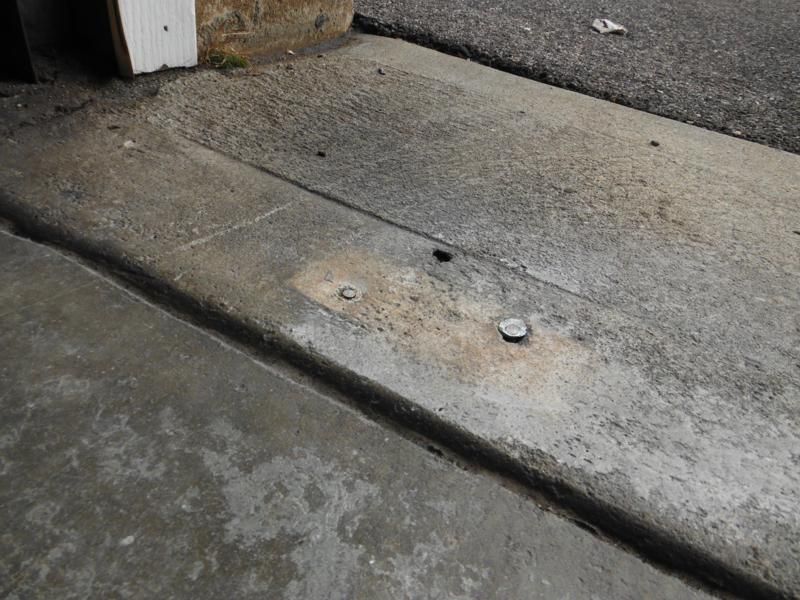
After....
Had to do about 12-15 of these scattered around. Few days later I found these right at the entrance to the garage and took care of them also

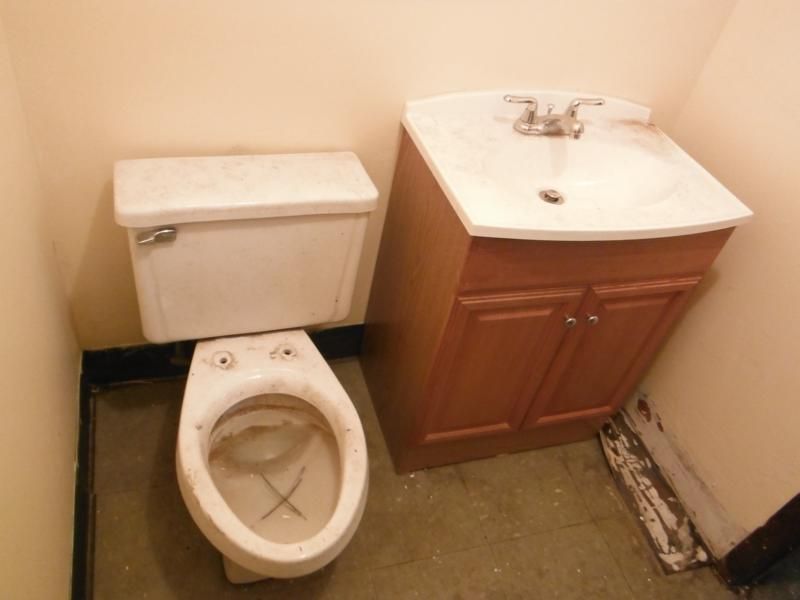
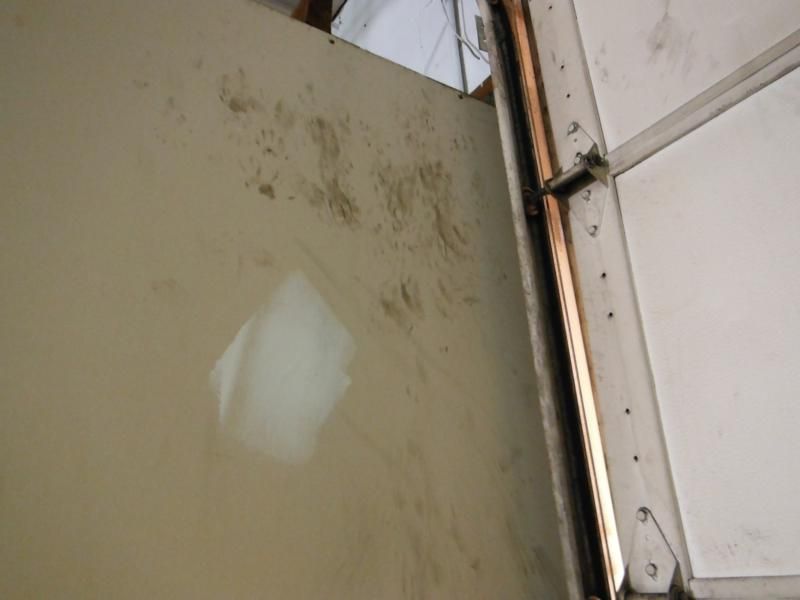
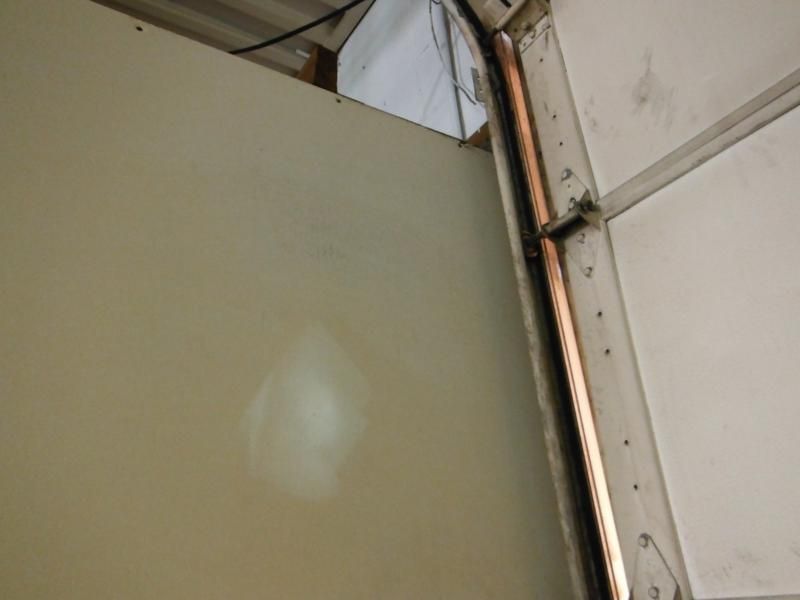
Then I wanted to paint the office and bathroom exterior. Did I mention a cat was living in there? Yeah the cat was running all over the damn place including up the walls to get on top of the office and bathroom. Cat prints everywhere. Was concerned about painting over that so had to sand all that down
Cat prints before & after gallery

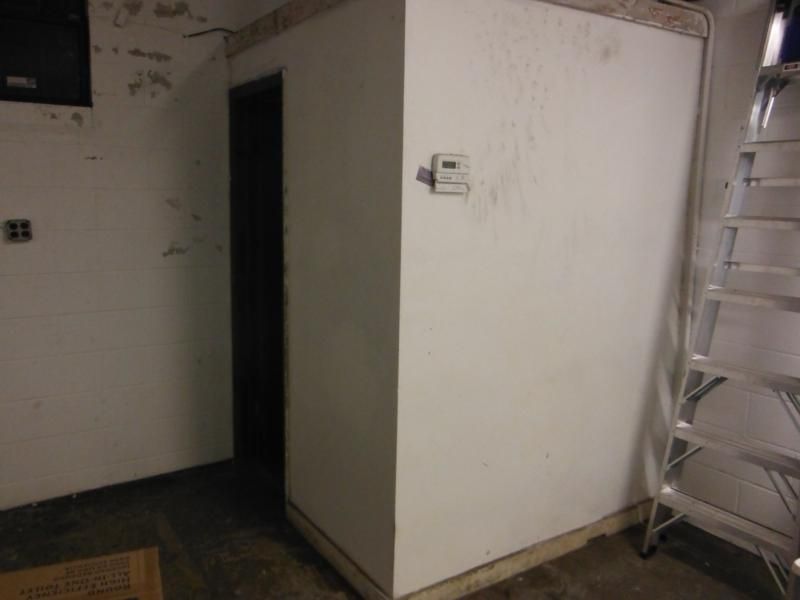
So the office exterior sans cat prints
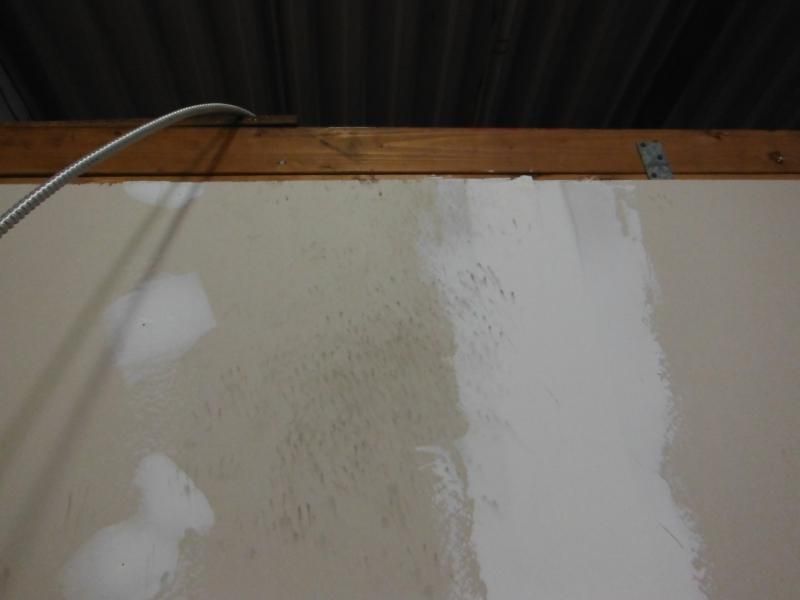
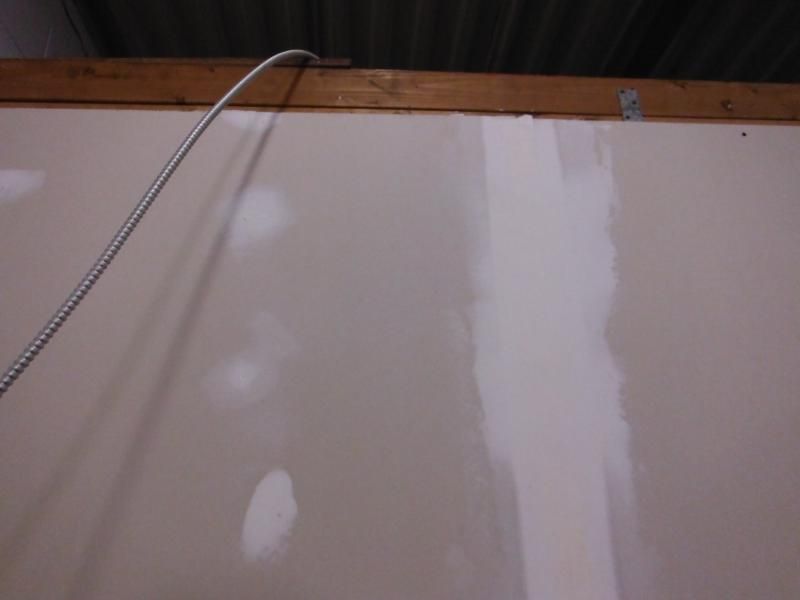
Drywall damage
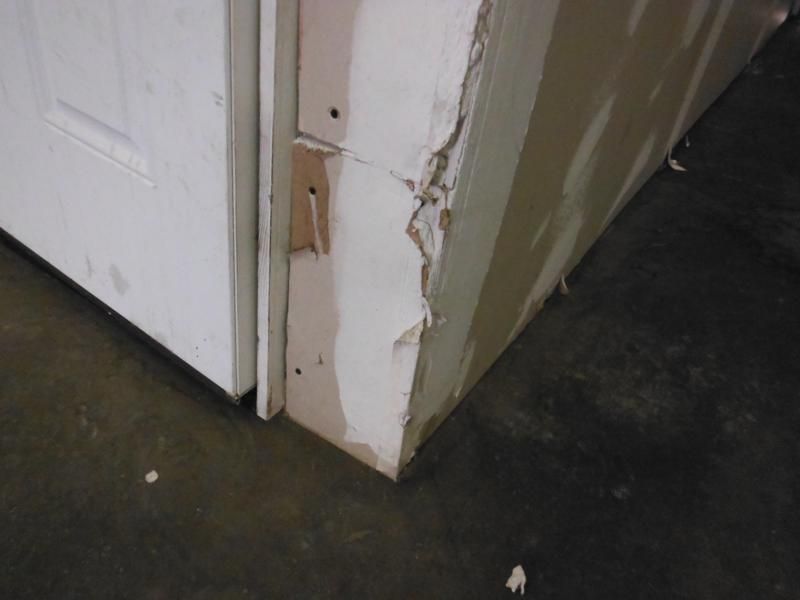
Had to phone a friend for the drywall damage. Same friend is later responsible for the molding work as well
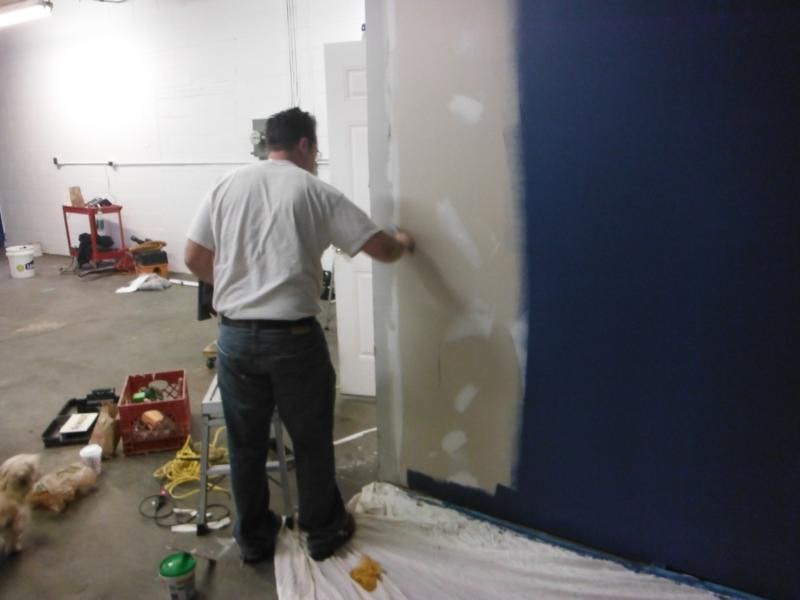
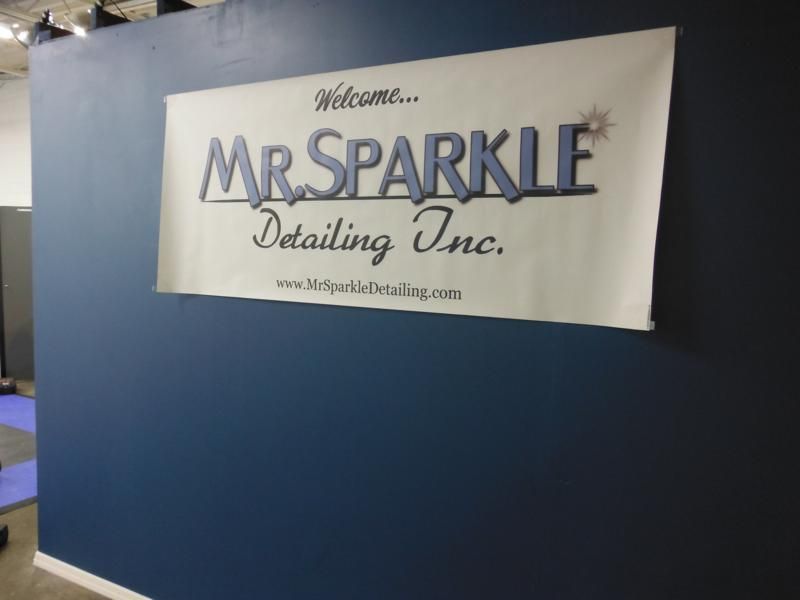
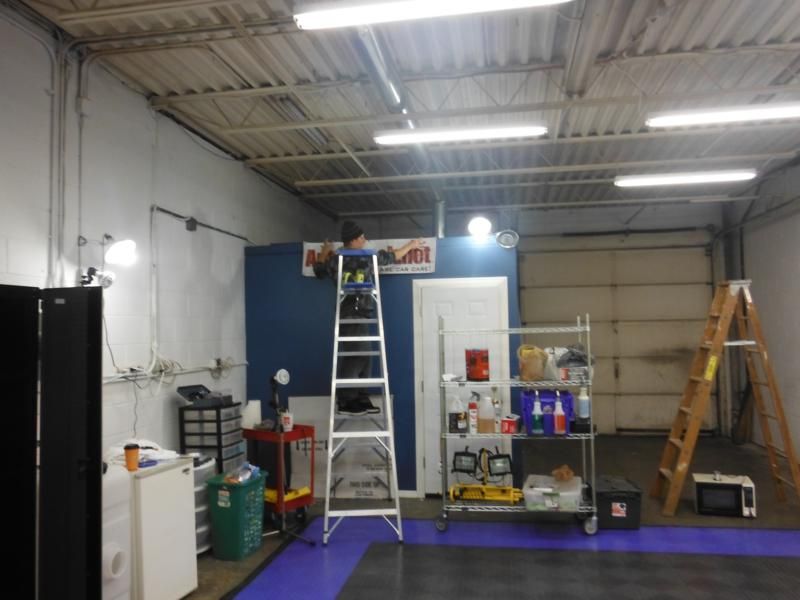
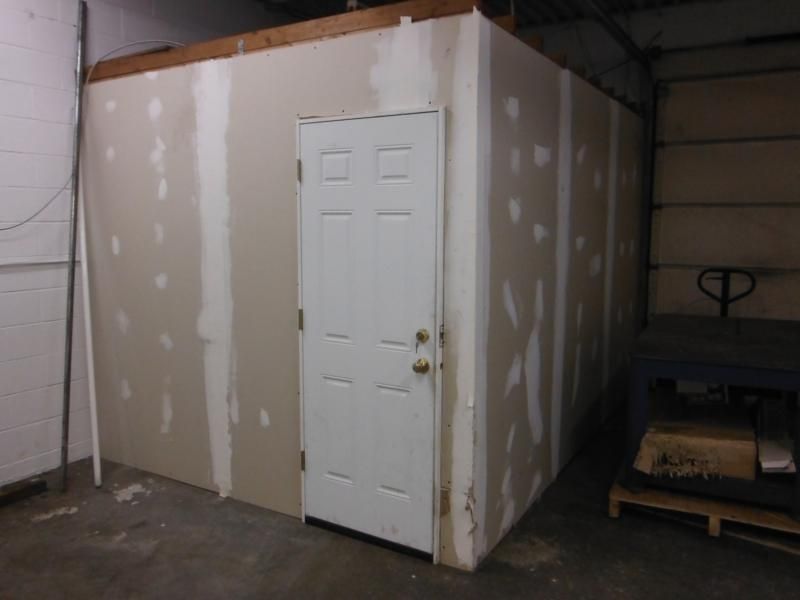
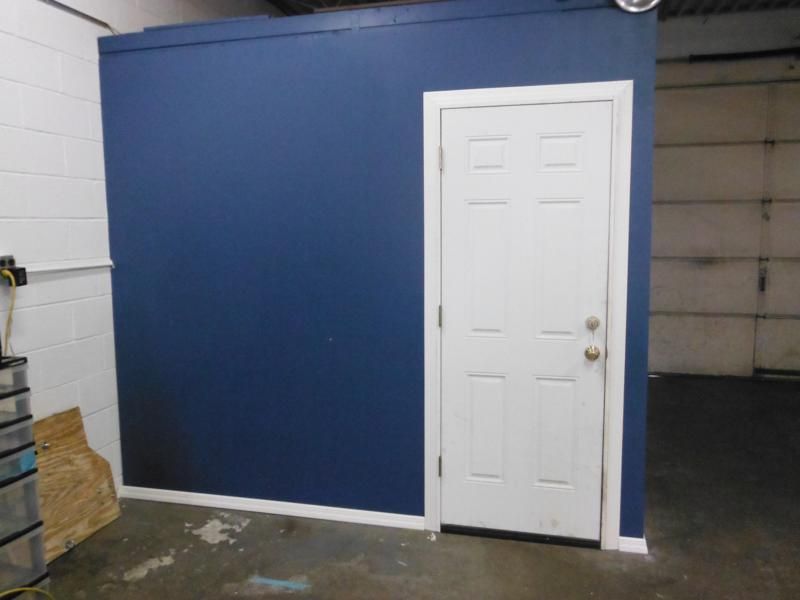
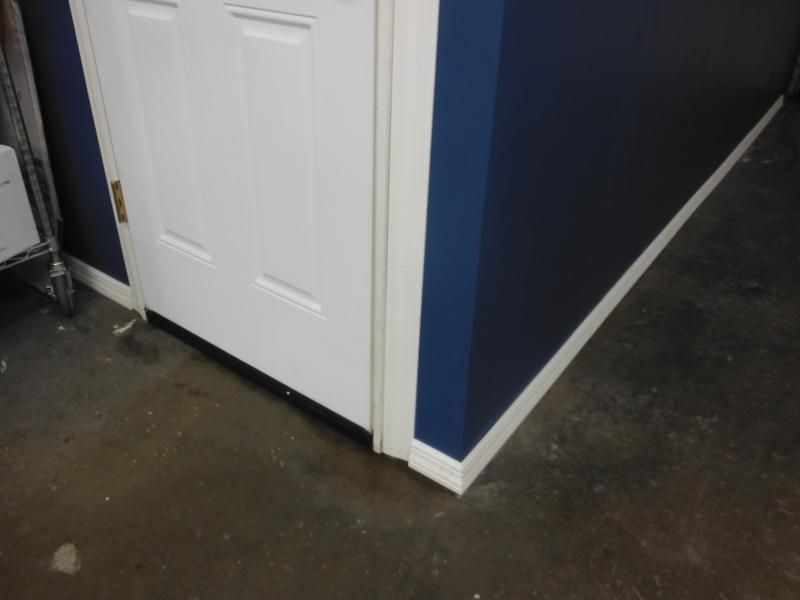
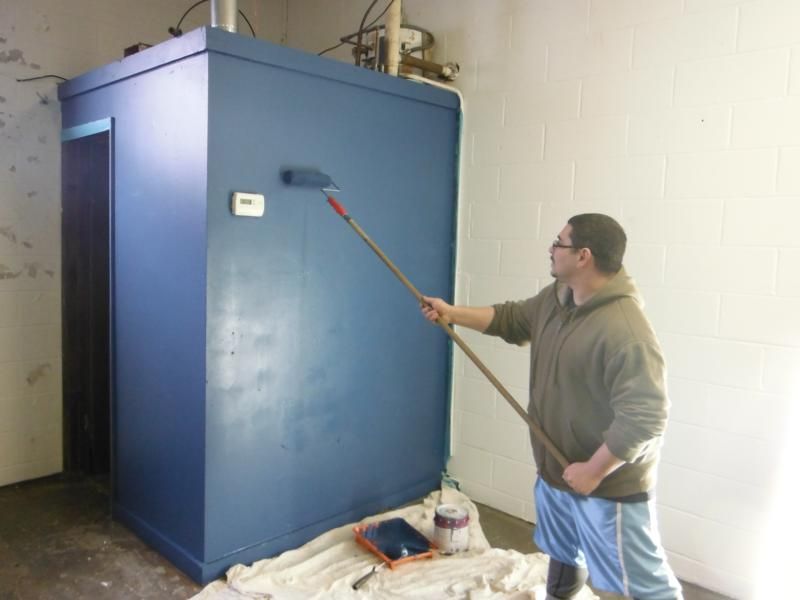
Painted and looking proper with some molding in place
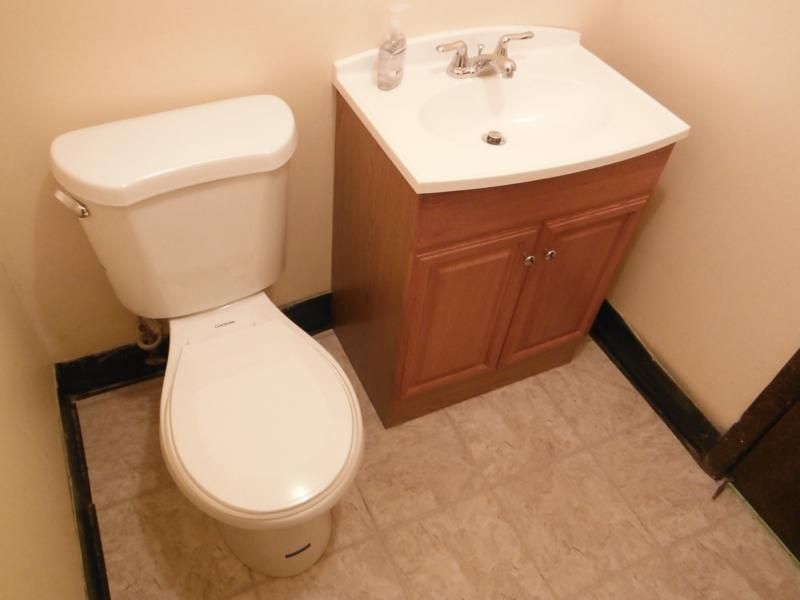
Painted the bathroom exterior that same day. More friends pitching in
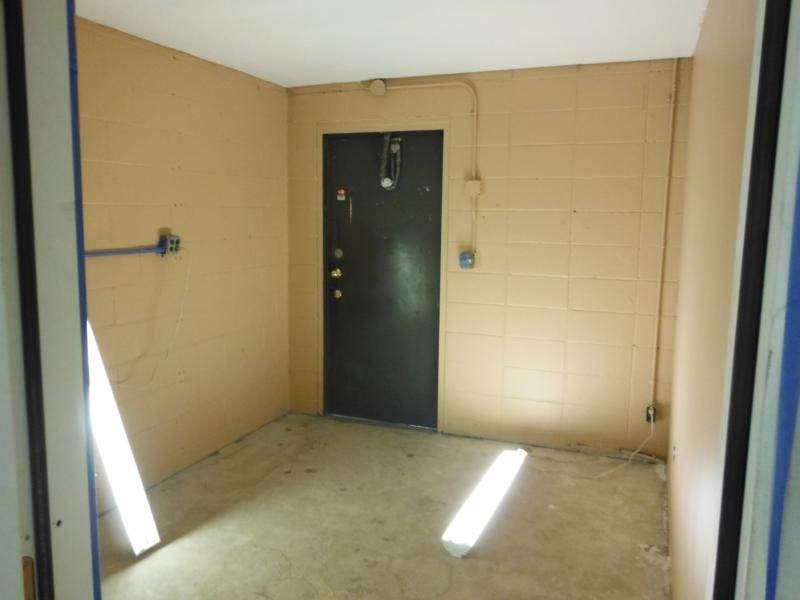
And while on the subject of painting, a look at the office interior to start. basically just 4 walls with ugly paint
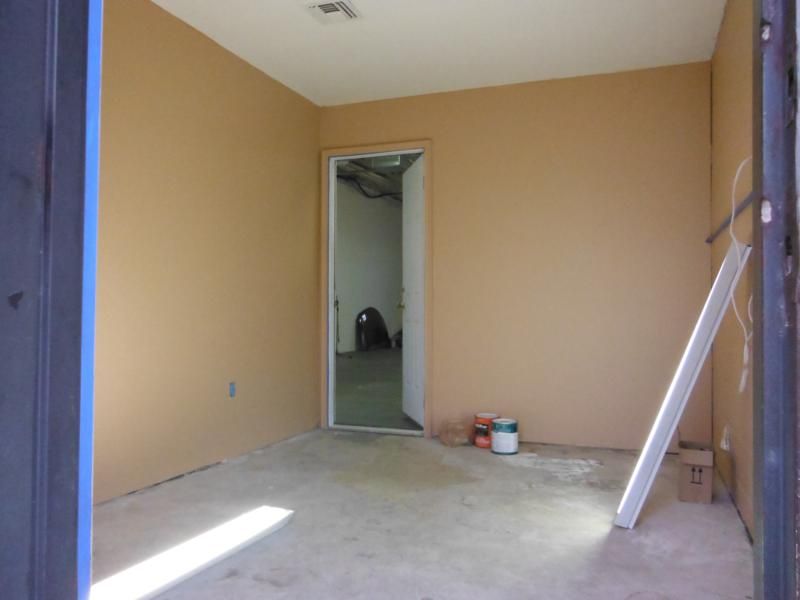
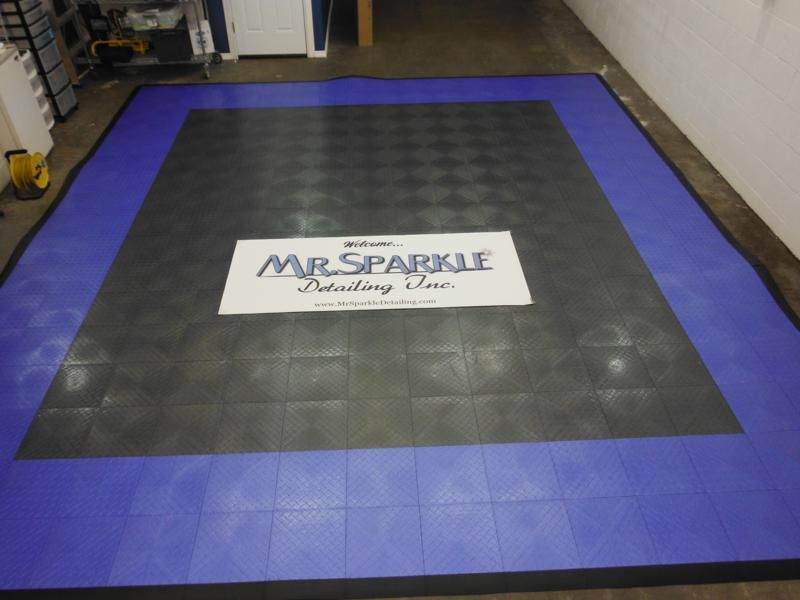
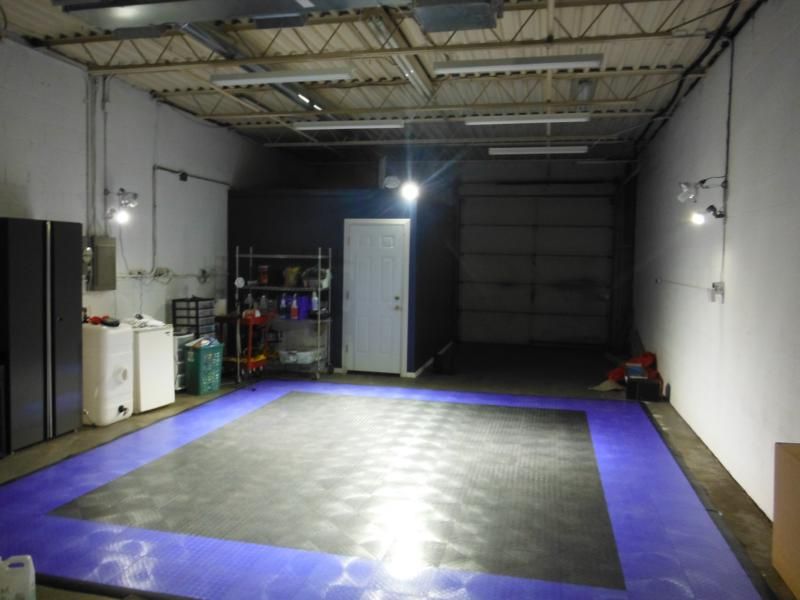
2 coats of primer, 3 coats of base. Lighting fixture installed. Commercial grade carpet installed (long story - that was a pain to deal with also). Ikea desk. Office chairs donated by a good friend

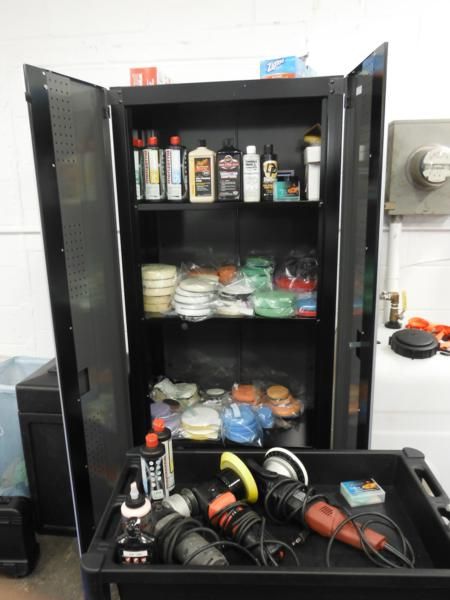
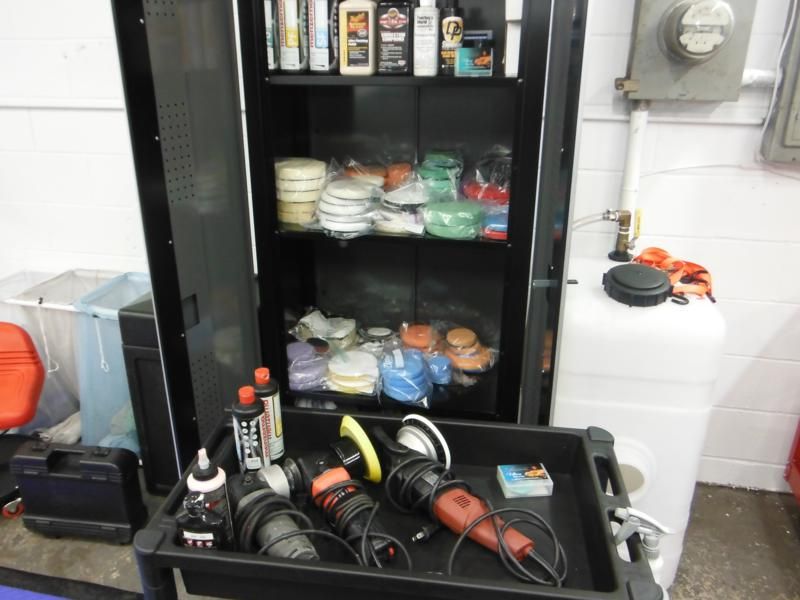
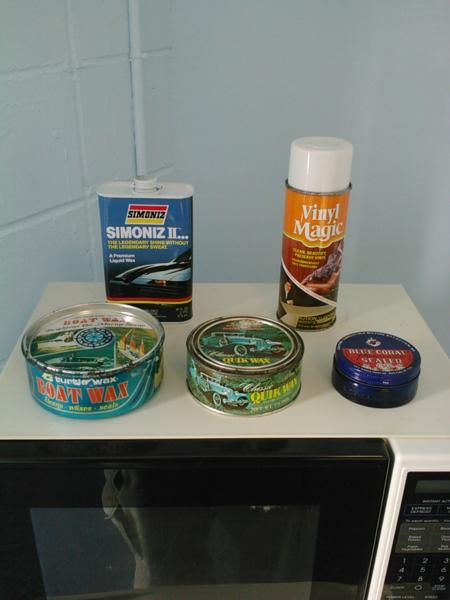
Also added a small fridge, microwave, and my small collection of vintage car care products :xyxthumbs:
This will be a long one, so hopefully I don't get interrupted in between posts
In the wake of Hurricane Sandy last year I found myself driving around industrial areas near my house, searching for the new home of Mr. Sparkle Detailing. What was once a part time and mobile only deal for me was going full time with a shop.
Made a lot of calls and found many landlords wanted nothing to do with any auto related business. I also found the same landlords controlled many buildings in the areas I was searching so it was tough. Eventually I found a spot close to home, with the space I needed, with a garage door, and fair rent. I walked into a dark dirty 1000sq ft warehouse space and saw potential. Fast forward through a month or two of BS, and my lease was effective Jan 1st. I was given the keys last week of december to get started on all of the work ahead.
This unit started as the storage area for the other tenants. There were some shelving units, random items, and a resident cat. Every industrial area has feral cats, but this one cat was allowed to live in unit #E, with a lamp, and he was fed by one of the neighbors. ANYWAY - after the shelving was out, and the cat, I started with this. not much to look at
Spent a day just vacuuming and sweeping. years of dust and crap. very exciting. Then I started the project like any good detailer would, with my foam gun. Scrubbed and power washed the walls and floors. Had to cover up the electrical stuff on the walls obviously
After the floor was clean, I nearly tripped over a metal spike in the floor. Seems there was once a lift in this unit. They cut the studs but not quite flush with the floor. Just enough to trip over or blow a tire. Had to borrow a grinder from a friend.
Here is what I mean. Before...
During... (Mr. Sparkle getting his grind on)
After....
Had to do about 12-15 of these scattered around. Few days later I found these right at the entrance to the garage and took care of them also
Then I wanted to paint the office and bathroom exterior. Did I mention a cat was living in there? Yeah the cat was running all over the damn place including up the walls to get on top of the office and bathroom. Cat prints everywhere. Was concerned about painting over that so had to sand all that down
Cat prints before & after gallery
So the office exterior sans cat prints
Drywall damage
Had to phone a friend for the drywall damage. Same friend is later responsible for the molding work as well
Painted and looking proper with some molding in place
Painted the bathroom exterior that same day. More friends pitching in
And while on the subject of painting, a look at the office interior to start. basically just 4 walls with ugly paint
2 coats of primer, 3 coats of base. Lighting fixture installed. Commercial grade carpet installed (long story - that was a pain to deal with also). Ikea desk. Office chairs donated by a good friend
Also added a small fridge, microwave, and my small collection of vintage car care products :xyxthumbs:
")