Sean M at ShowShine
New member
- Oct 8, 2016
- 99
- 0
Hello, fellow auto geeks!!!
If you've followed or viewed my past details, you'll notice I specialize in classic car work and other niche areas.
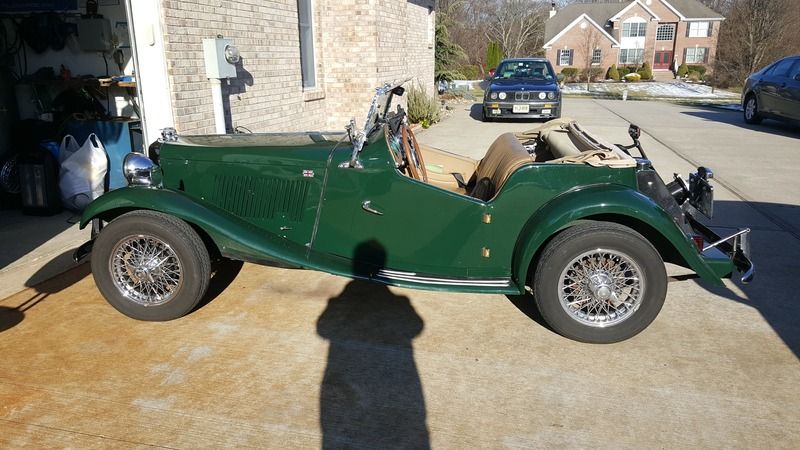
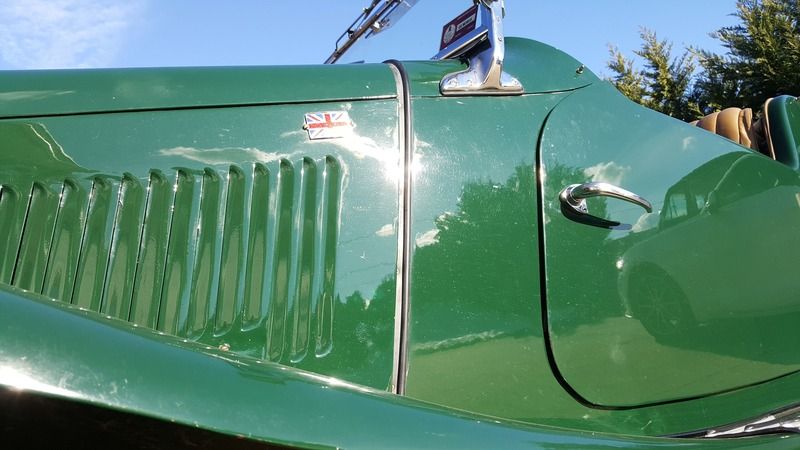
For this detail, I present to you a 1950 MG TD with a host of problems. The car has three different types of paint "enamel, lacquer, and urethane," years of neglect, wire wheels "what a pain in the butt," louvers/slats in the hood, and a variety of compound curves and hard to reach areas. Let's get to the pictures and see what we accomplished on the first day.
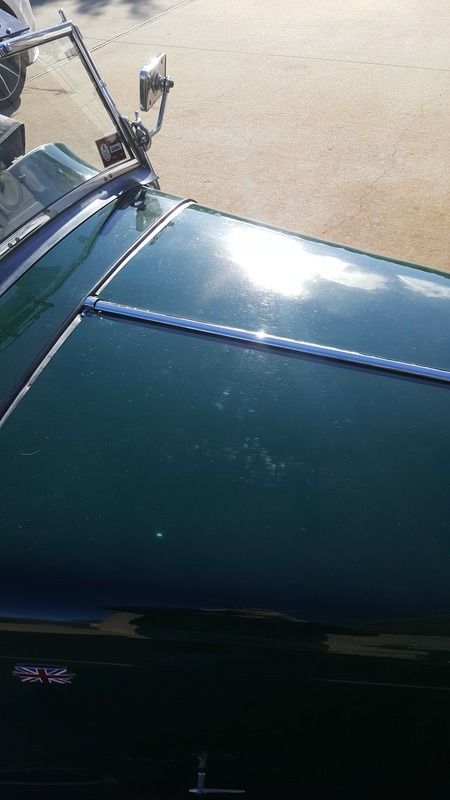
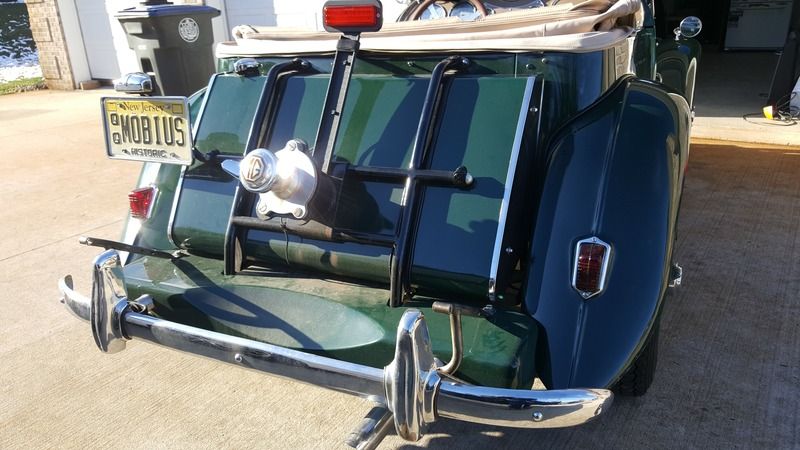
Here's how the car was dropped off, doesn't look too bad, does it?
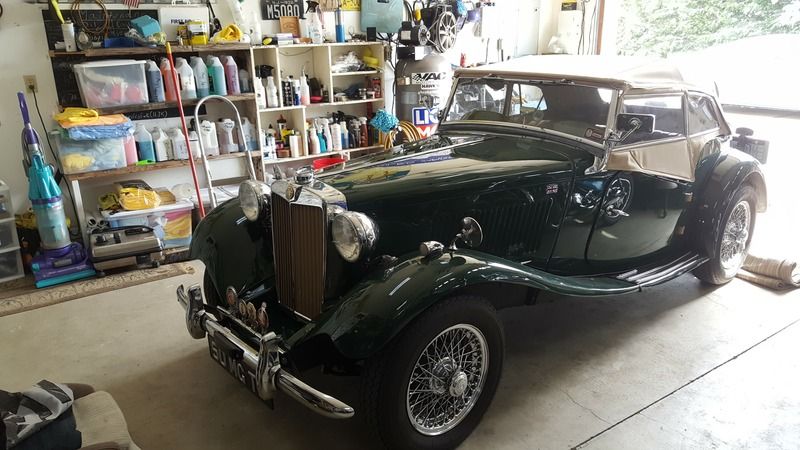
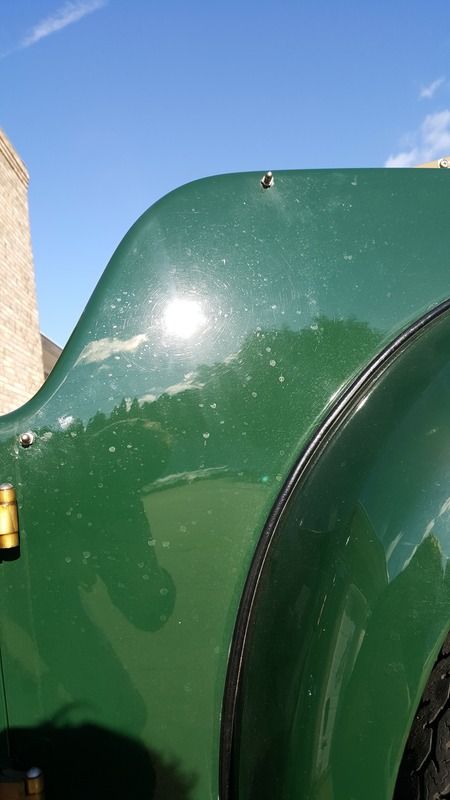
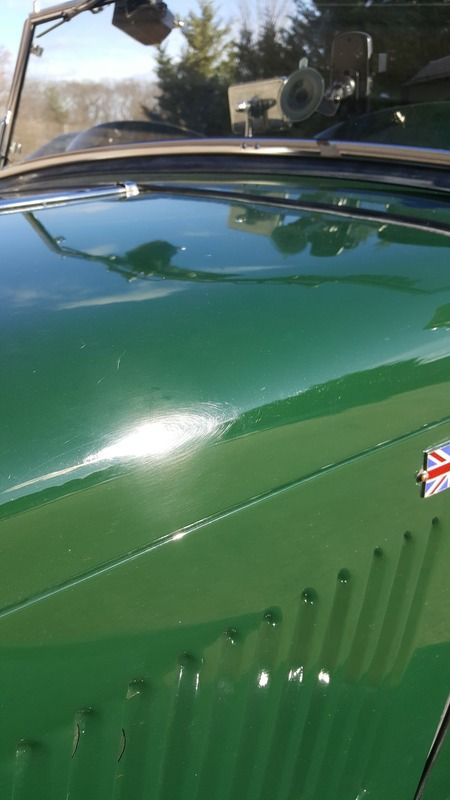
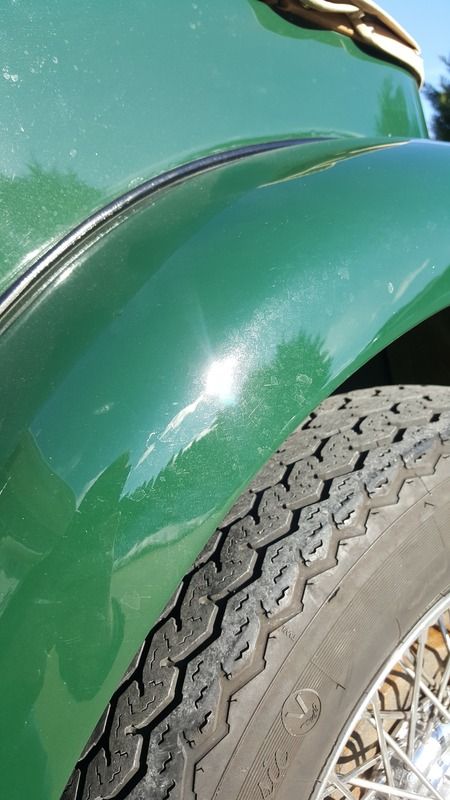
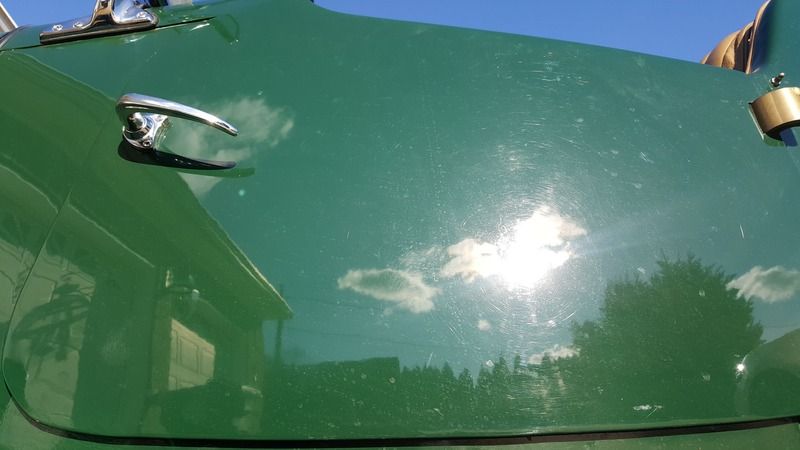
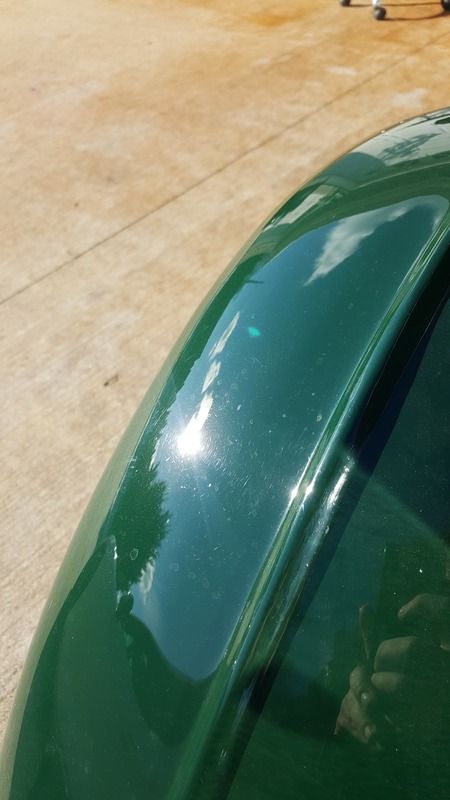
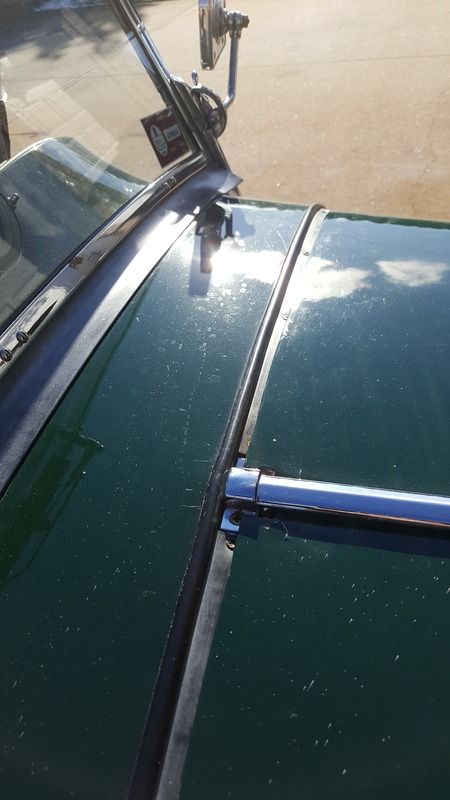
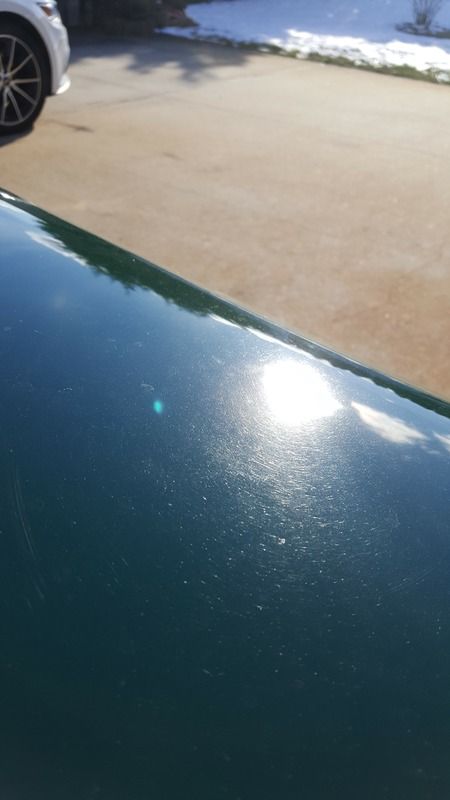
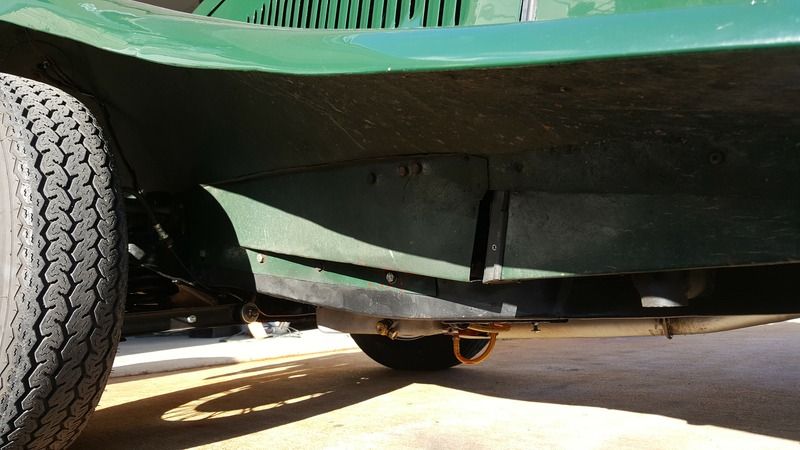
After closer inspection, this car has had a rough life. According to the owner it was raced in the 60's and had been repainted god knows how many times.
If you've followed or viewed my past details, you'll notice I specialize in classic car work and other niche areas.
For this detail, I present to you a 1950 MG TD with a host of problems. The car has three different types of paint "enamel, lacquer, and urethane," years of neglect, wire wheels "what a pain in the butt," louvers/slats in the hood, and a variety of compound curves and hard to reach areas. Let's get to the pictures and see what we accomplished on the first day.
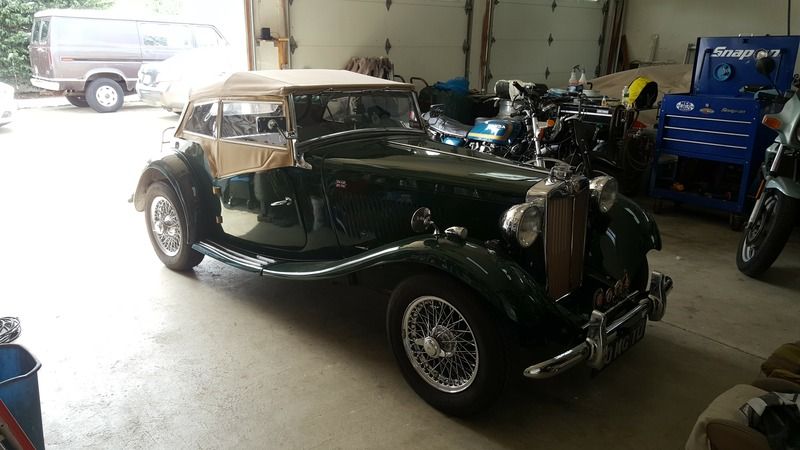
Here's how the car was dropped off, doesn't look too bad, does it?


After closer inspection, this car has had a rough life. According to the owner it was raced in the 60's and had been repainted god knows how many times.


