Audios S6
Active member
- Oct 12, 2011
- 1,634
- 0
I've done a few cars for this owner now. I'd never really taken a close look at it, except to avoid brushing up against it while working on another vehicle or moving gear in and out. Always looked decent under fluorescent lights when I'm hustling around it, closer inspection revealed otherwise.
The owner said the entire car had been resprayed, and based on the varying thickness, hardness, colors and sanding marks I don't think it was all at the same time. rear clip was mostly soft , except the bumper, Hood was rock hard, drivers side was pretty hard, passenger side was moderate, roof was moderate (did not want to correct with the rotary, but the 21 removed defects with typical effort)
Process
ONR wash
ONR and wheel woolies on the wheels
Minimal contamination so a very quick traditional clay with ONR lube
A few paint runs got wetsanded with 3000 grit
Hood got D300 with MF on the 21 (didn't cut it, literally) so stepped up to Menz PG1000 with wool on the rotary then D300 with MF on the 21 then Essence with LC white on the 21. Approximately 25 microns removed in total and still some pigtails and tracers.
Rest got D300 with MF on the 21 and Essence with LC white on the 21.
Finished with PBL Diamond paint coating V2.
Trim was cleaned with Mother's black to black cleaner and then dressing the UTTG v1
Tires for PERL 3:1
Exhaust got Pinnacle exhaust cleaner and brightener
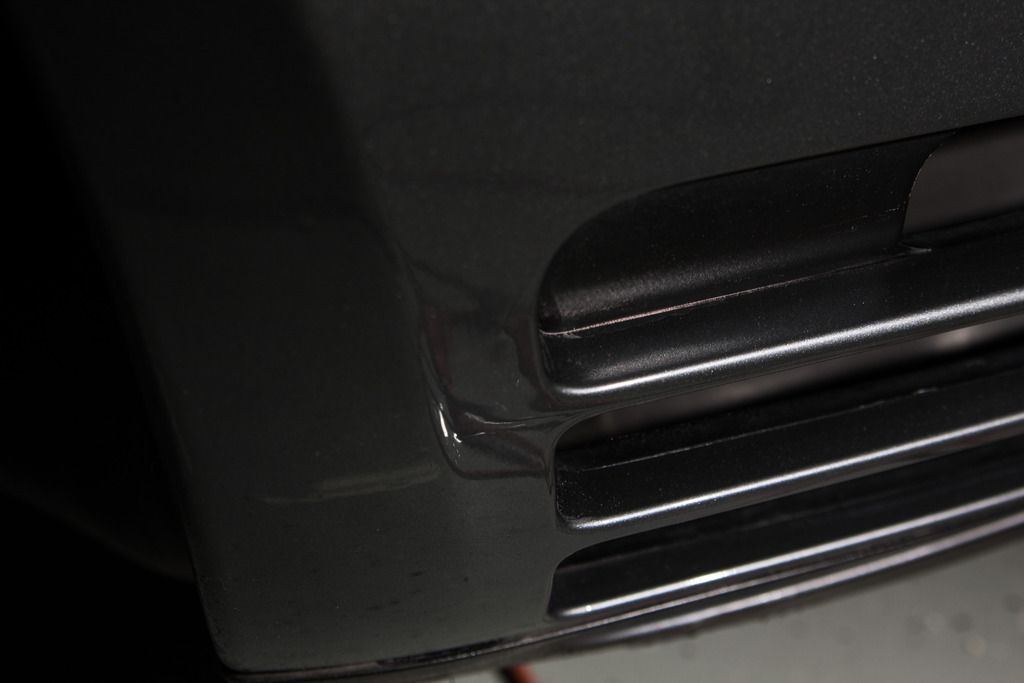
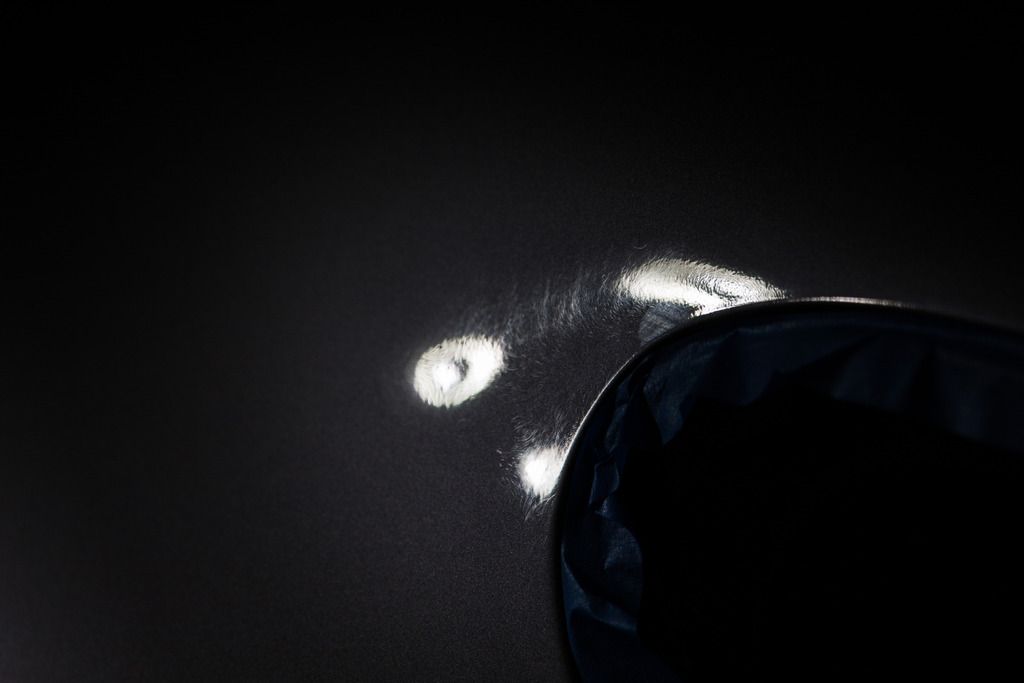
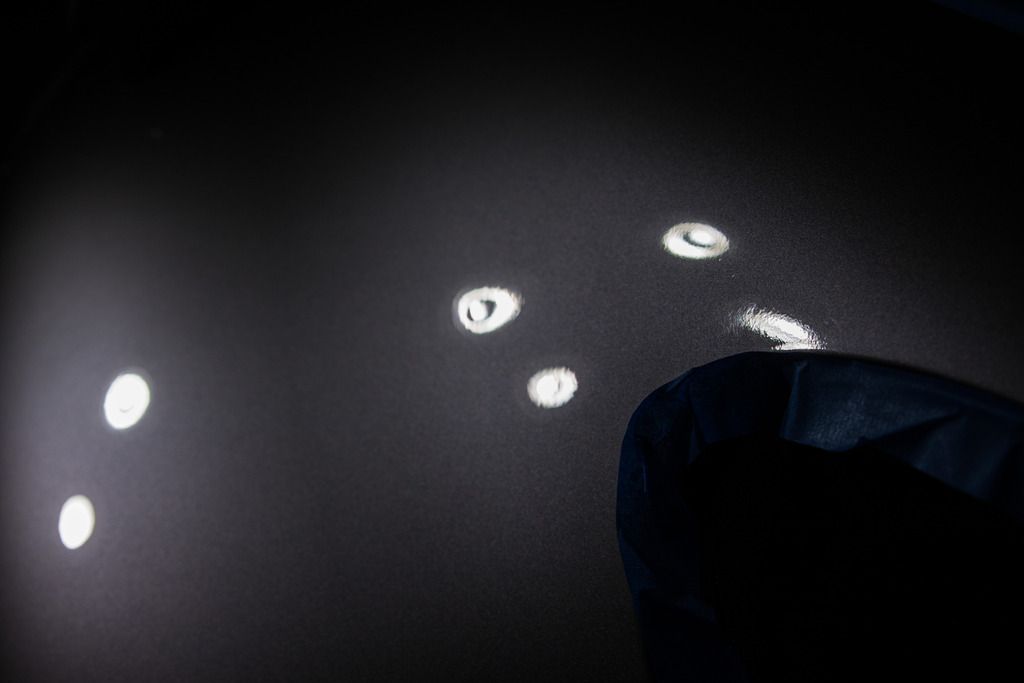
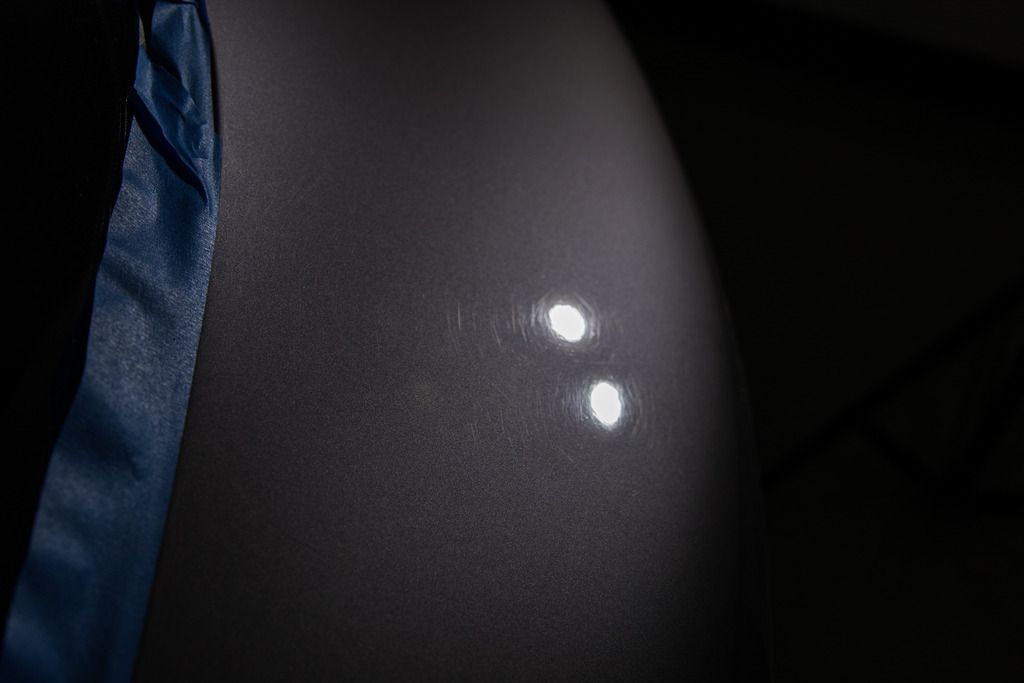
Sanding marks on hood (I'm guessing a backing plate was making contact here)
After the full hood correction plus some extra effort with the Flex Kompakt and there was still half left. I'm estimating 35+ microns were removed here and I wasn't comfortable going any further.
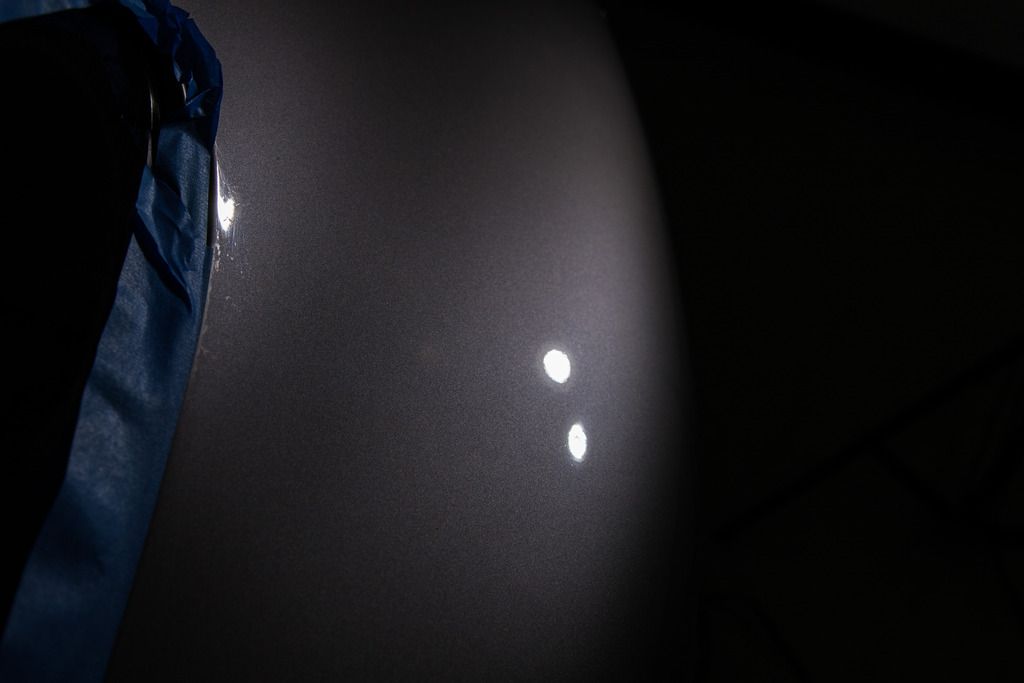
Pigtails remaining on the hood after a similar process.
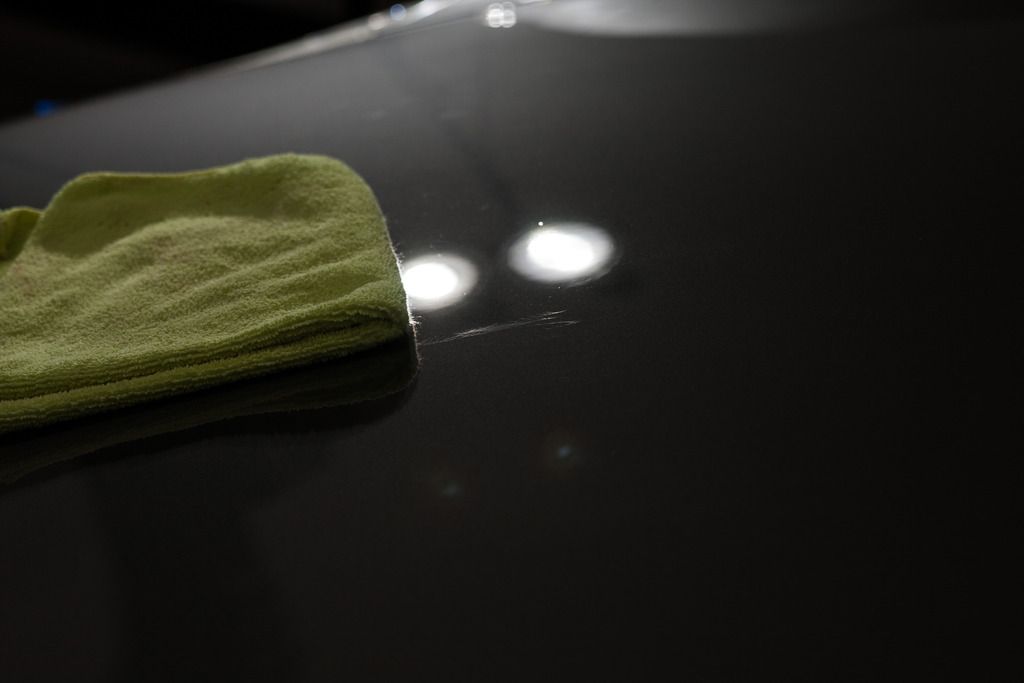
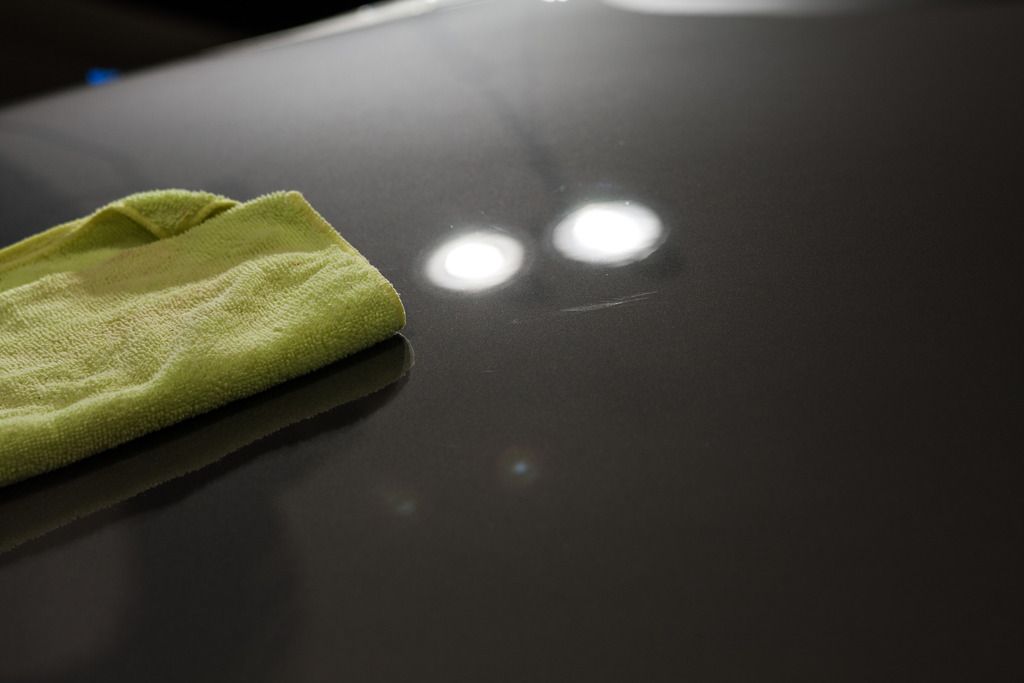
Wetsanding a run right on the edge

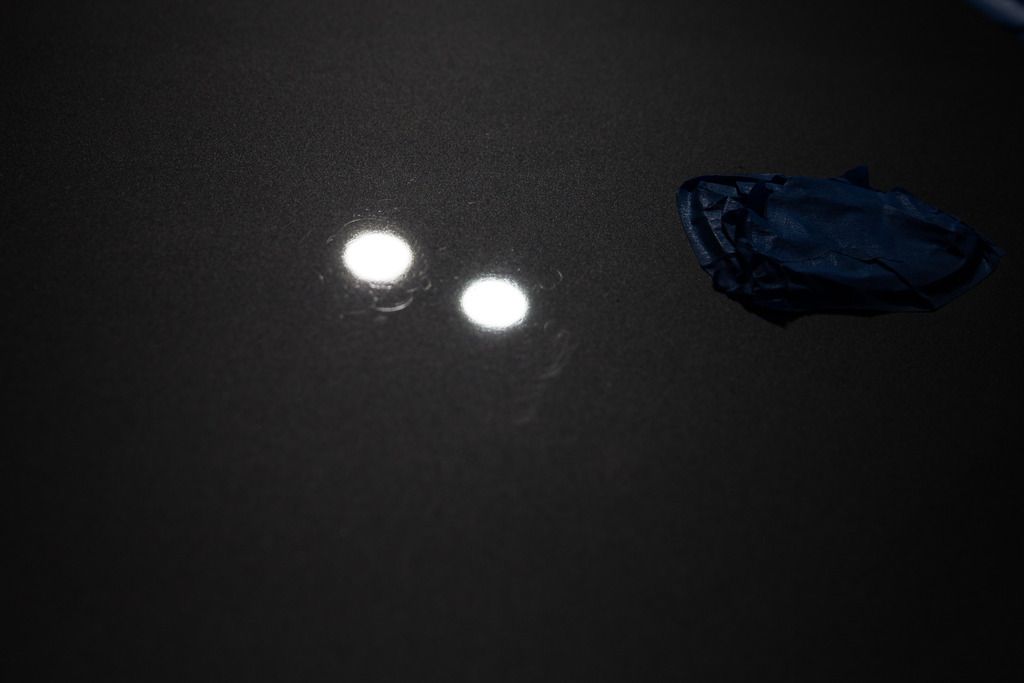
All done, no color on the pads
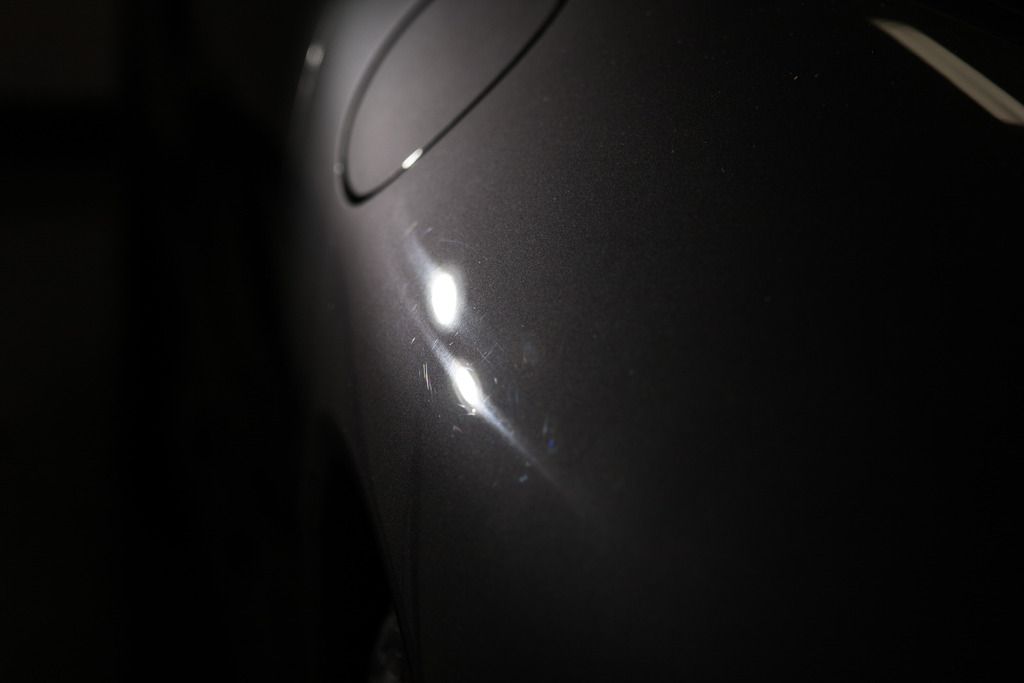
Passenger fender before
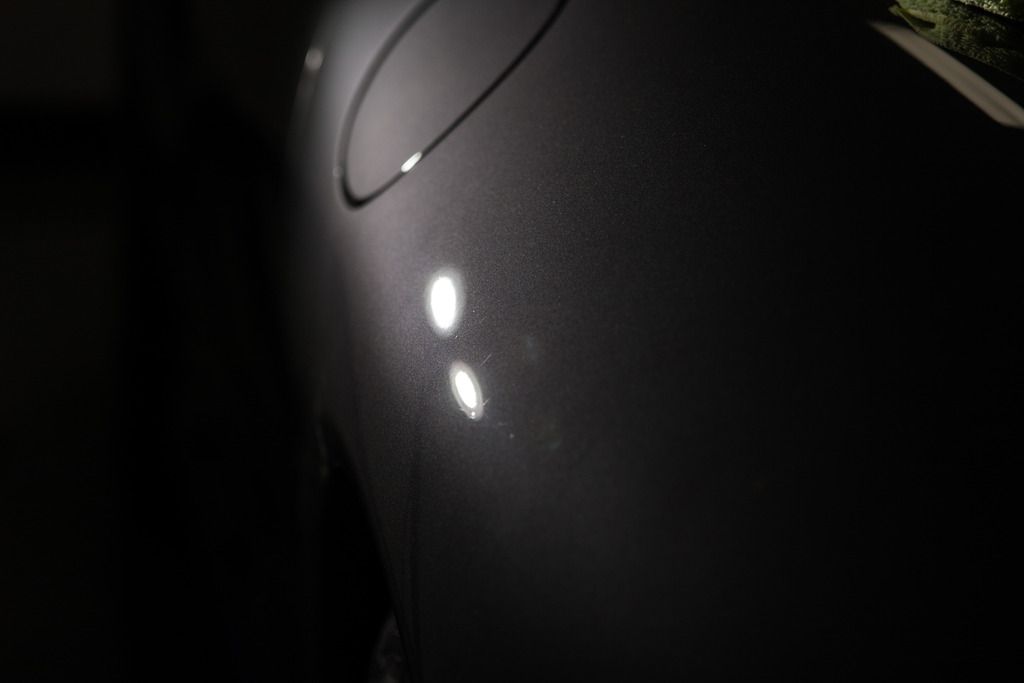
After
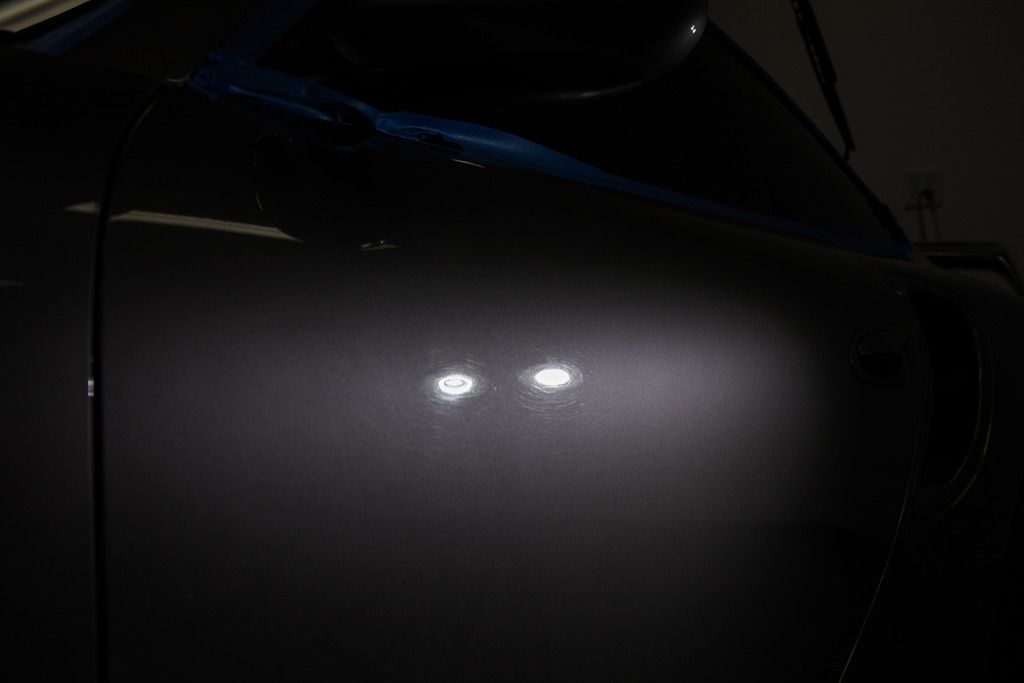
Passenger door before

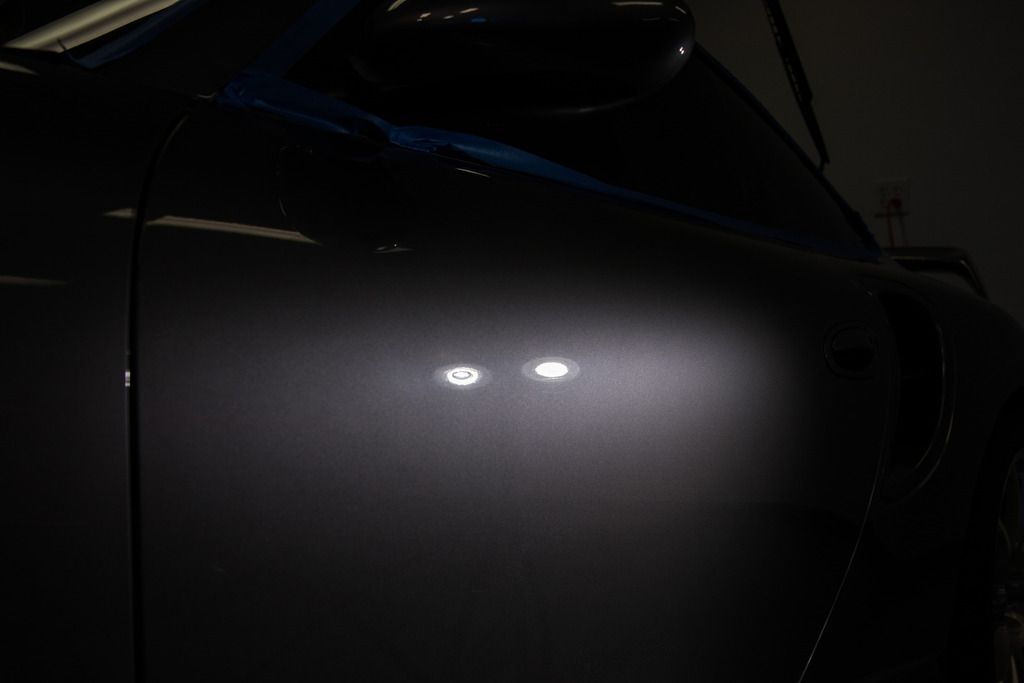
After
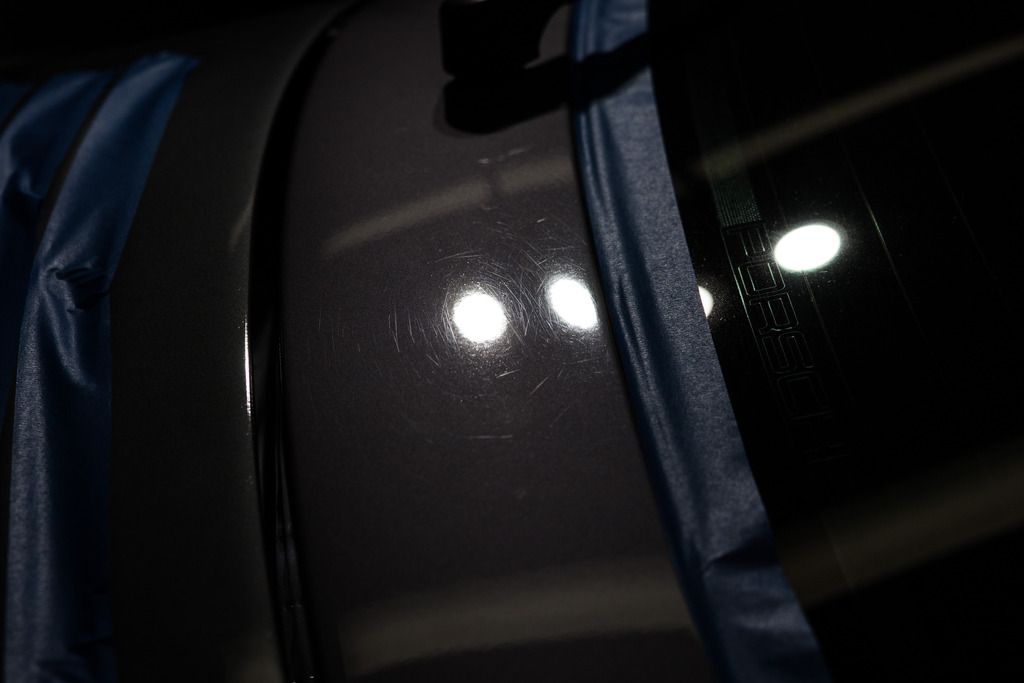
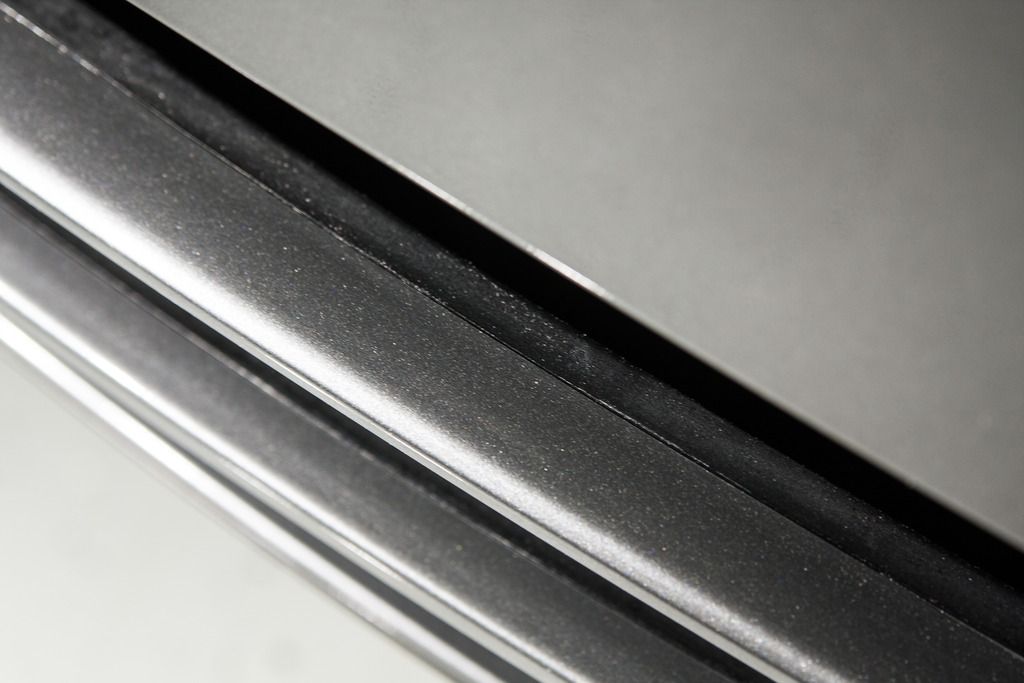
C-pillar sanding marks
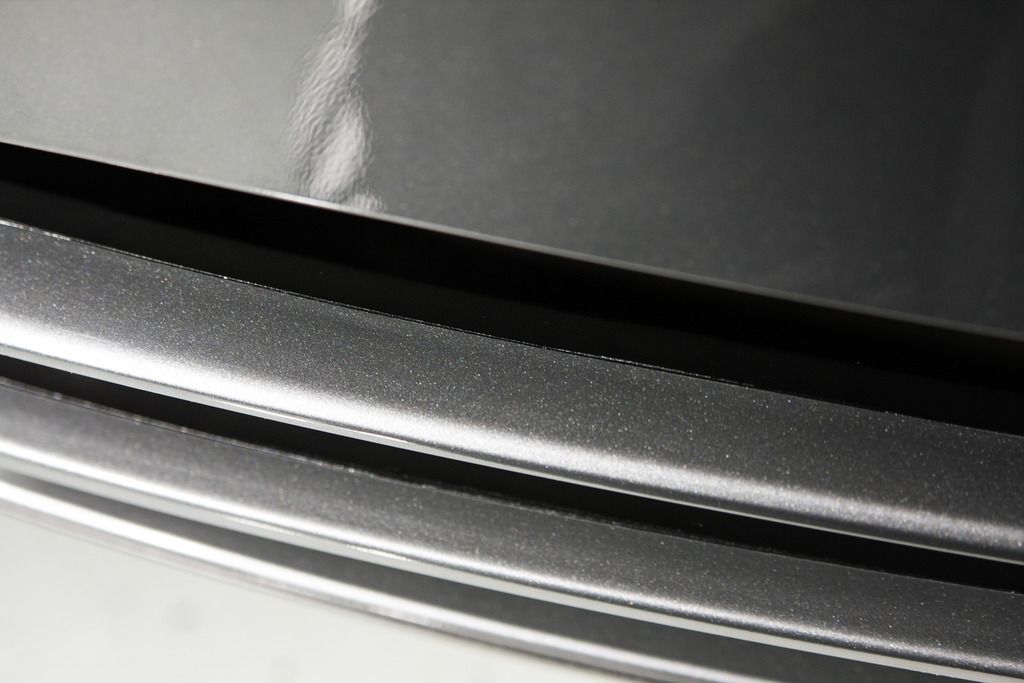
Fixed
Behind rear glass
After compound only via Flex Kompakt

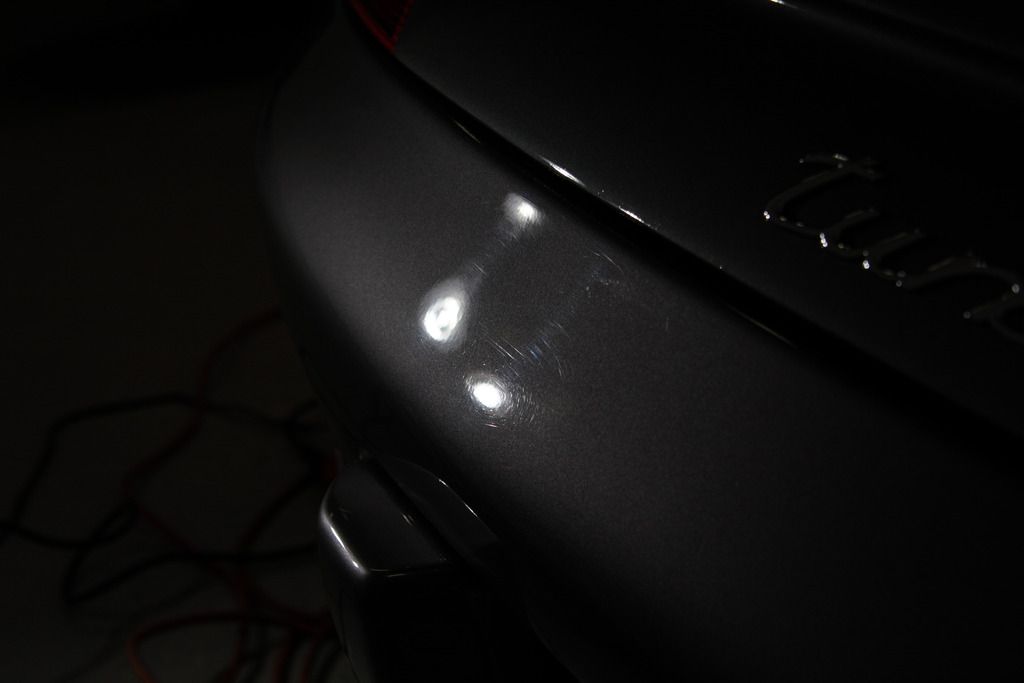
Rear bumper before
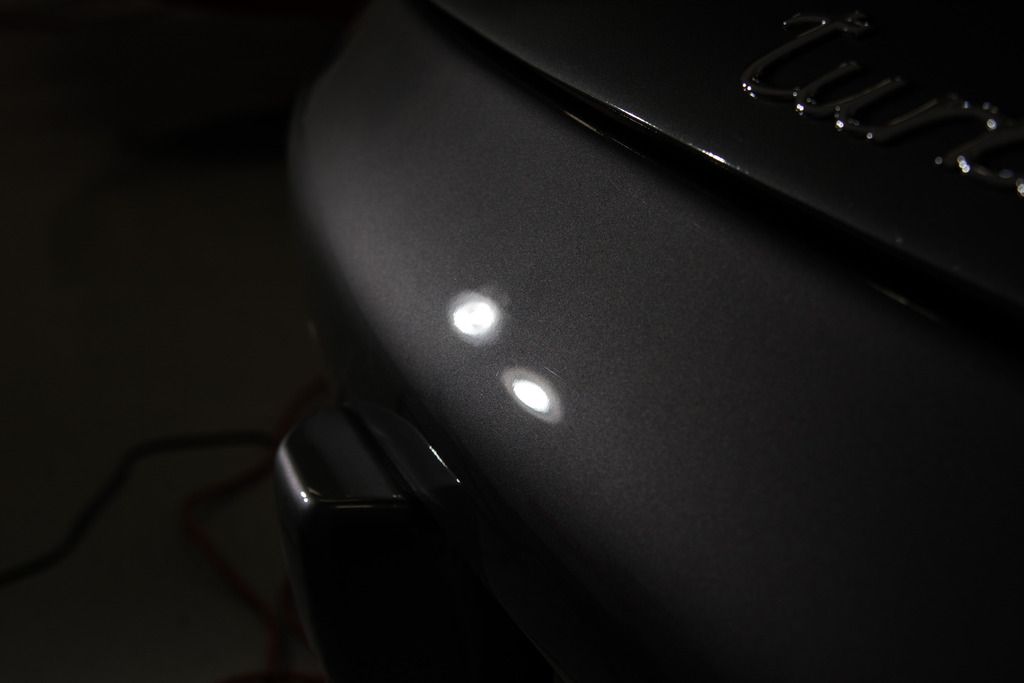
After
Driver rear before
After
Driver door before
After compound only
Trim before
After, what looks like remaining residue on the edge is actually paint from the respray I tried everything short of a magic eraser and the owner said stop there.
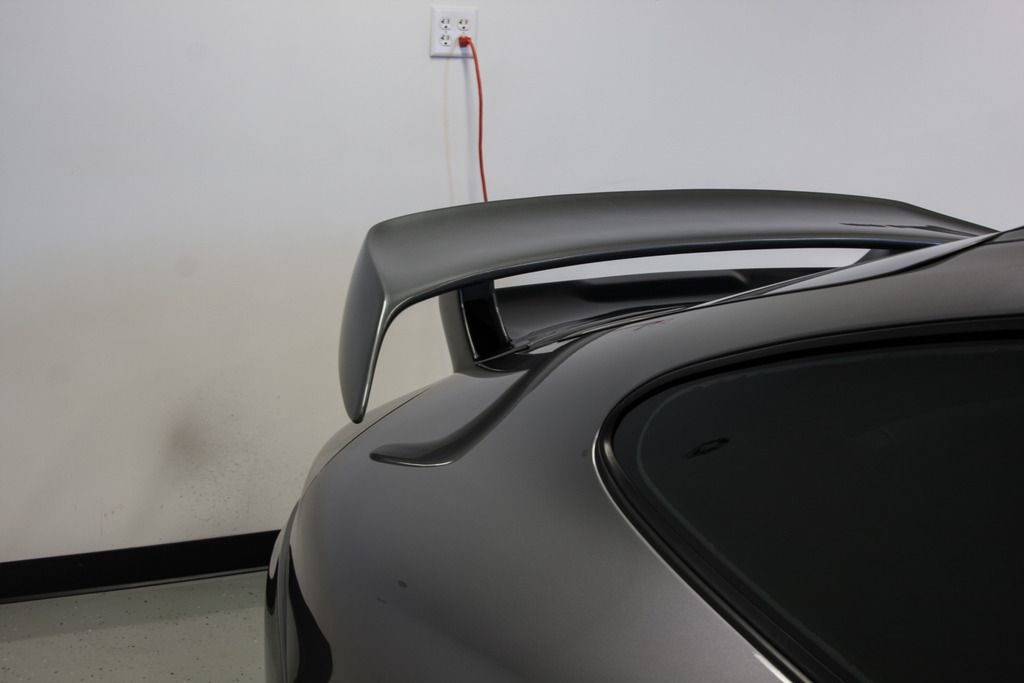
Gotta clean the underside of the spoiler now, or someone is going to see it's dirty
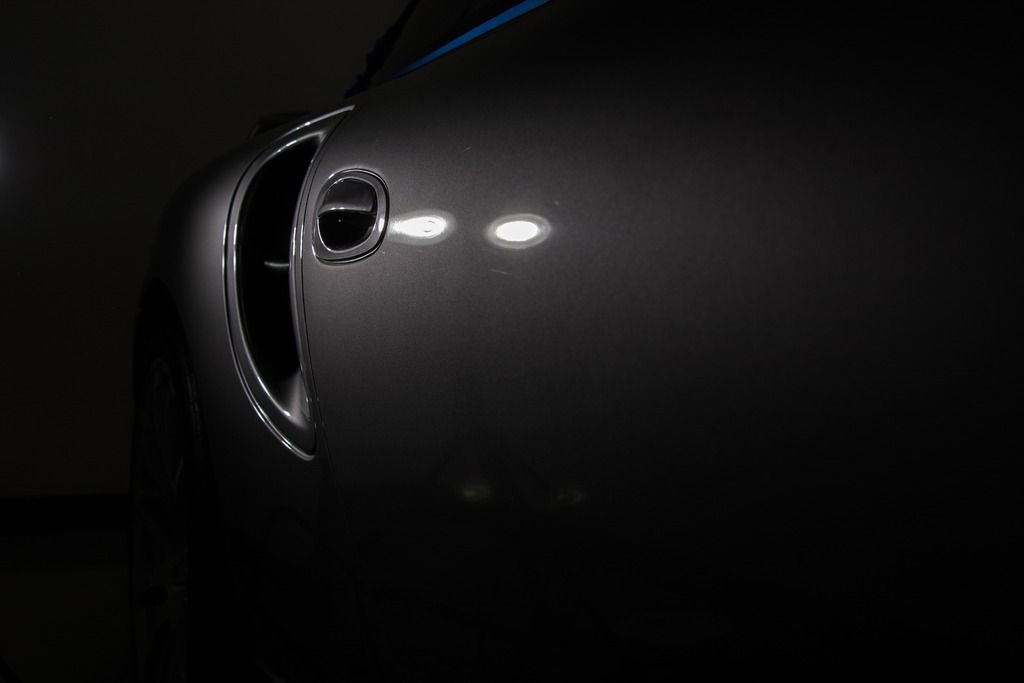
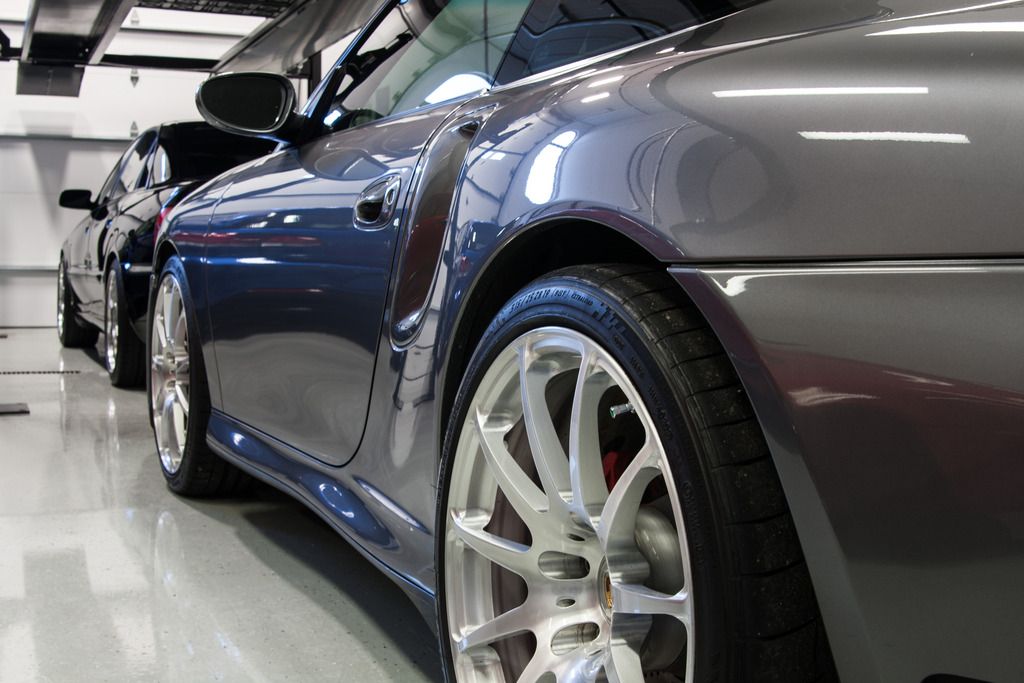
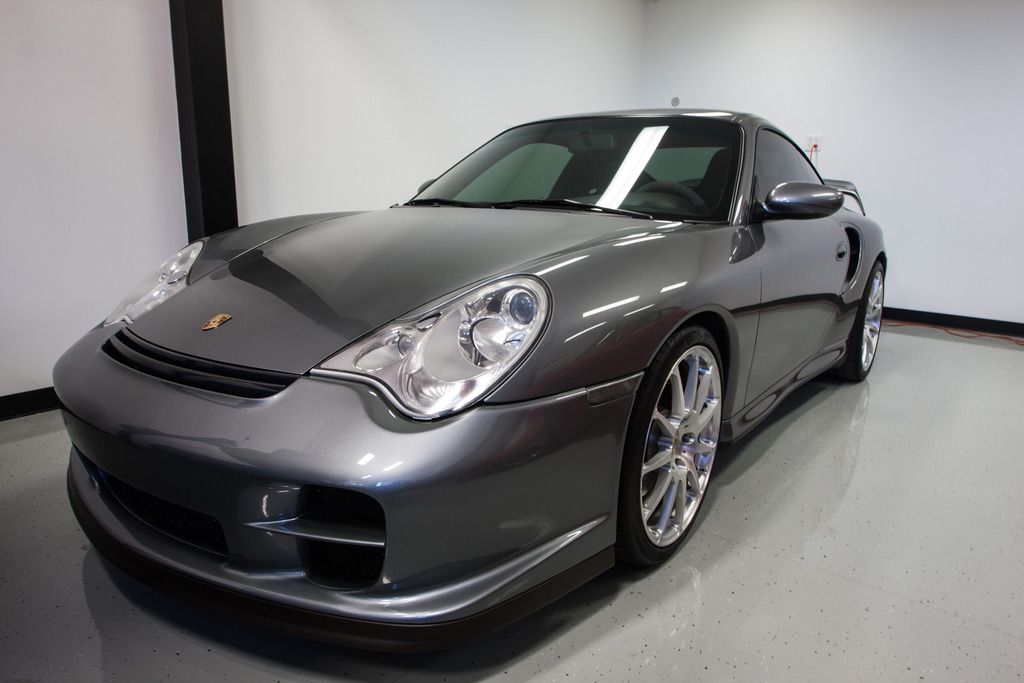
Few final shots

One thing of note, the bottom plastic of the front lip has turned brown. I tried solution finish and TW trim restorer coating, both just left some black streaks and darkened it slightly, but it was still brown. I advised the owner he'd likely need to paint it. Anyone had this issue and any success short of painting?
The owner said the entire car had been resprayed, and based on the varying thickness, hardness, colors and sanding marks I don't think it was all at the same time. rear clip was mostly soft , except the bumper, Hood was rock hard, drivers side was pretty hard, passenger side was moderate, roof was moderate (did not want to correct with the rotary, but the 21 removed defects with typical effort)
Process
ONR wash
ONR and wheel woolies on the wheels
Minimal contamination so a very quick traditional clay with ONR lube
A few paint runs got wetsanded with 3000 grit
Hood got D300 with MF on the 21 (didn't cut it, literally) so stepped up to Menz PG1000 with wool on the rotary then D300 with MF on the 21 then Essence with LC white on the 21. Approximately 25 microns removed in total and still some pigtails and tracers.
Rest got D300 with MF on the 21 and Essence with LC white on the 21.
Finished with PBL Diamond paint coating V2.
Trim was cleaned with Mother's black to black cleaner and then dressing the UTTG v1
Tires for PERL 3:1
Exhaust got Pinnacle exhaust cleaner and brightener
Sanding marks on hood (I'm guessing a backing plate was making contact here)

After the full hood correction plus some extra effort with the Flex Kompakt and there was still half left. I'm estimating 35+ microns were removed here and I wasn't comfortable going any further.

Pigtails remaining on the hood after a similar process.

Wetsanding a run right on the edge

All done, no color on the pads

Passenger fender before

After

Passenger door before

After

C-pillar sanding marks

Fixed

Behind rear glass

After compound only via Flex Kompakt

Rear bumper before

After

Driver rear before

After

Driver door before

After compound only

Trim before

After, what looks like remaining residue on the edge is actually paint from the respray I tried everything short of a magic eraser and the owner said stop there.

Gotta clean the underside of the spoiler now, or someone is going to see it's dirty

Few final shots


One thing of note, the bottom plastic of the front lip has turned brown. I tried solution finish and TW trim restorer coating, both just left some black streaks and darkened it slightly, but it was still brown. I advised the owner he'd likely need to paint it. Anyone had this issue and any success short of painting?