(2nd) Limestone Grey VW Golf 7 Gti - Detailed by Lawrence

lawrenceSA

New member
Joined
Feb 7, 2012
Messages
1,713
Reaction score
0
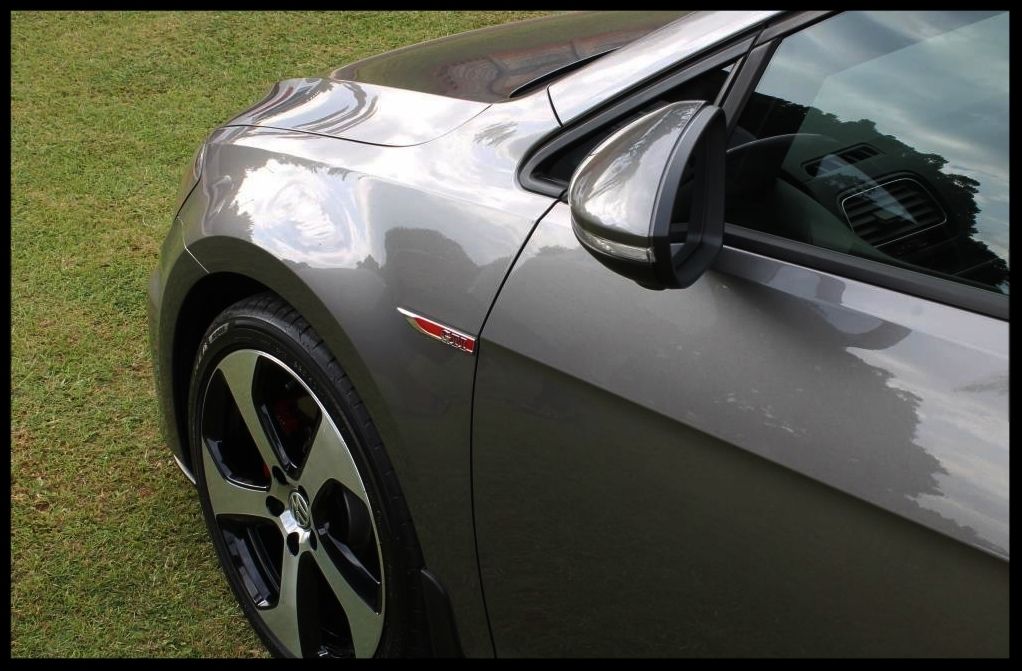
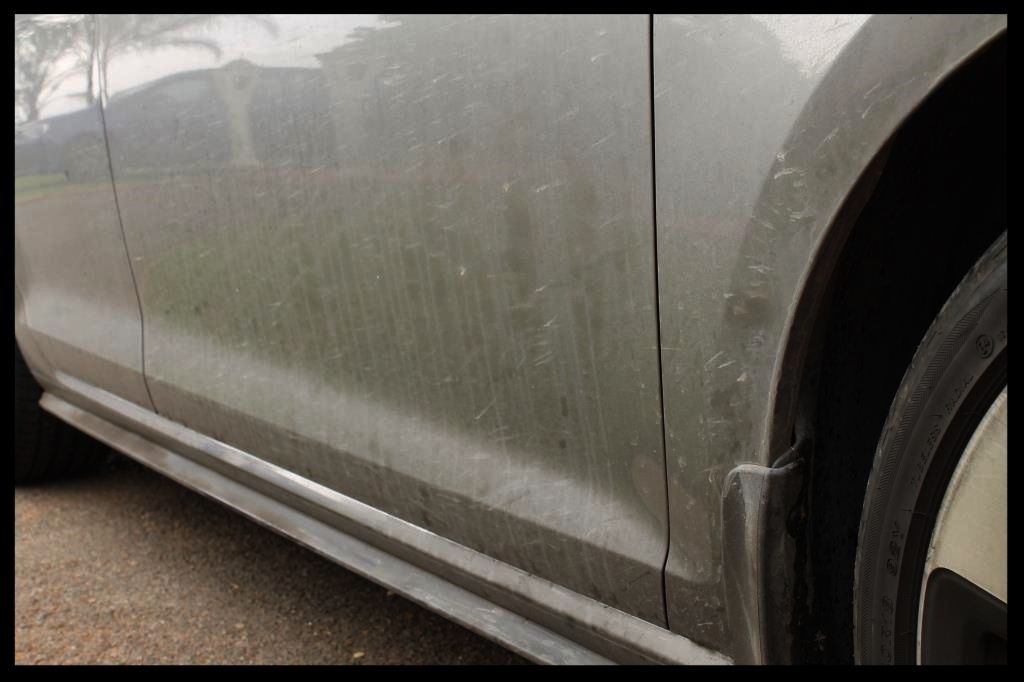
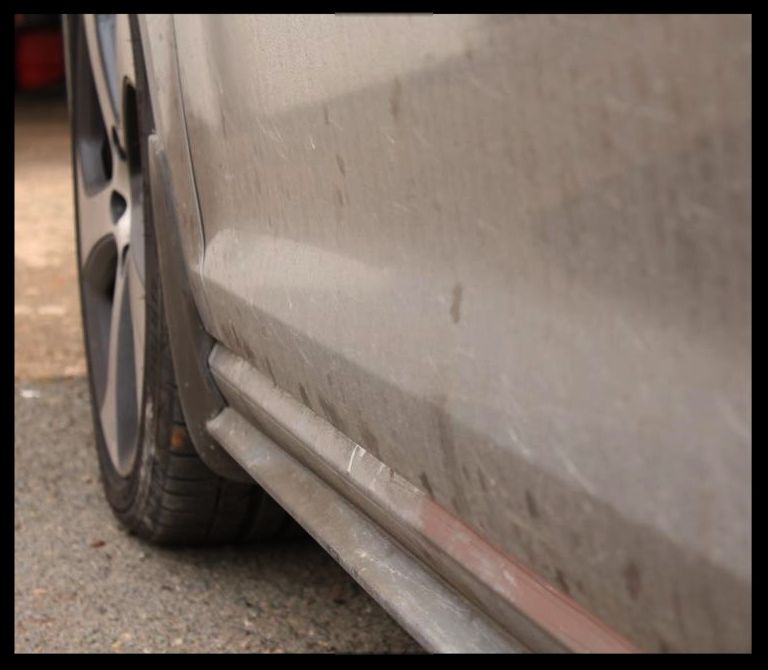
I originally detailed this car back in April last year http://www.autogeekonline.net/forum/show-n-shine/90337-limestone-grey-vw-golf-7-gti-detailed-lawrence.html and the owner has had some construction going on at home, and so the car needed to have a decent tidy up. Although it looks pretty rough on the outside, once all the dirt was cleaned off, the paint remained in very good condition and so the owner's efforts at maintaining it properly need to be recognised :hurray: It was however heavily contaminated.

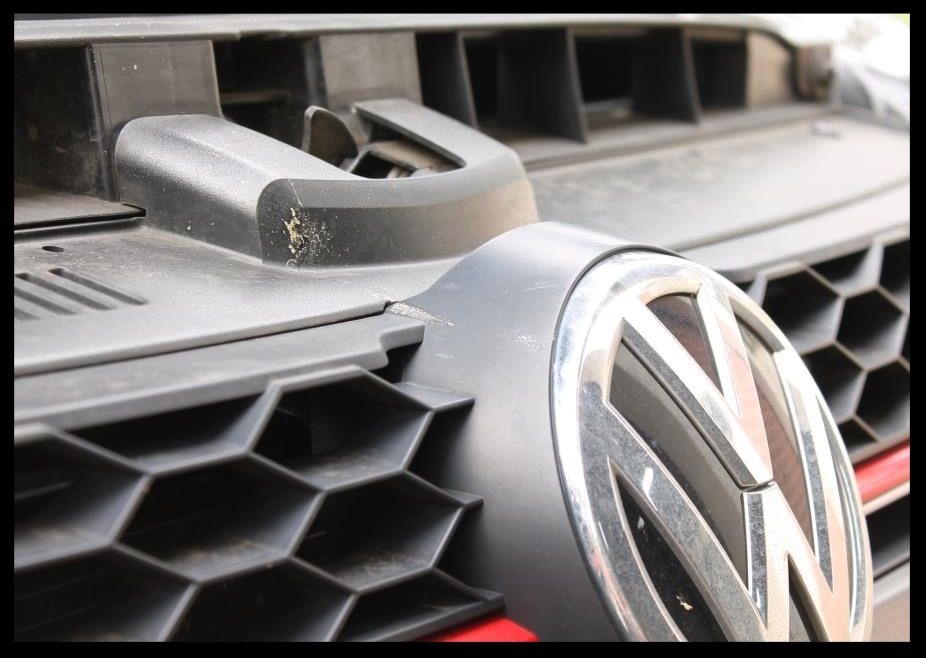
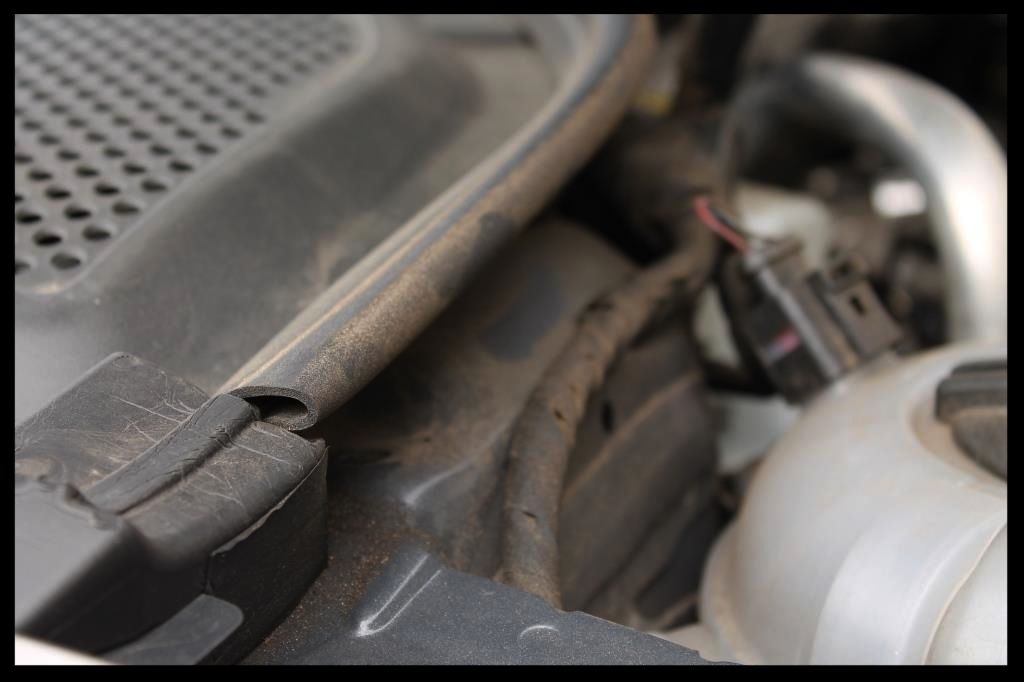
So as always the dirtiest part of the car first.
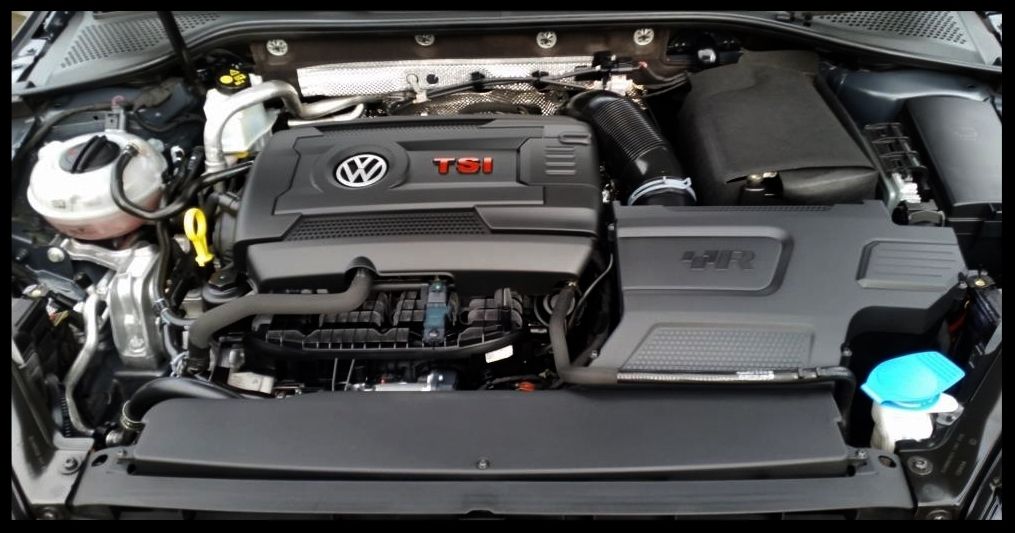
The engine bay.

IMG_2603_zpspchq2fof.jpg


IMG_2582_zps3y0g66oc.jpg


IMG_2579_zpszebqrapn.jpg


IMG_2583_zpsoy99ufwm.jpg


IMG_2588_zps1frxqmmz.jpg


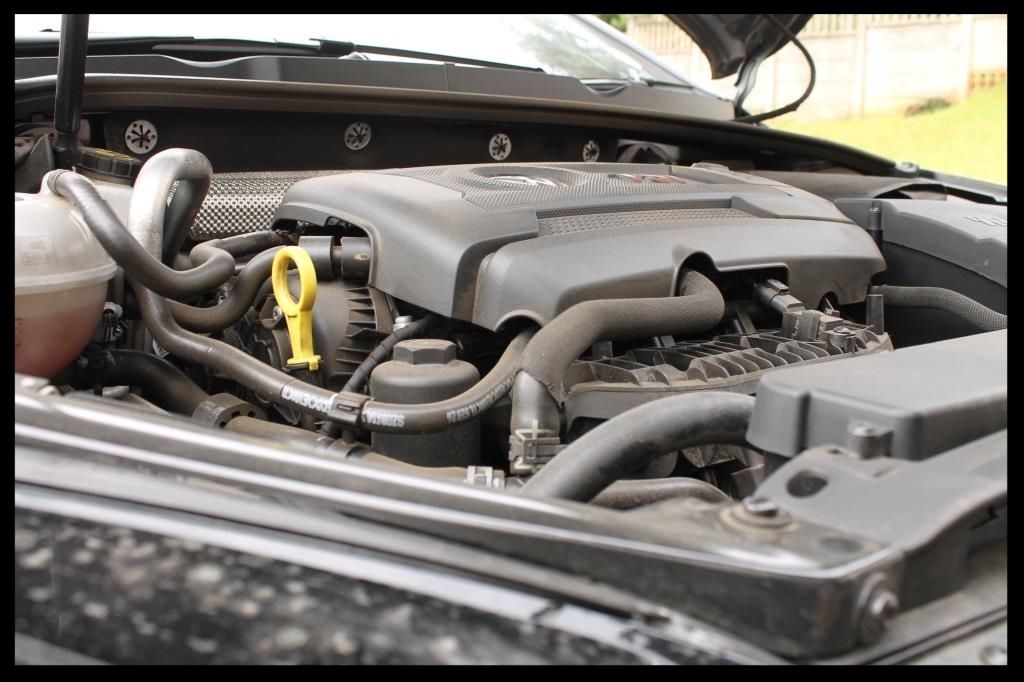
Paint - HP rinse | Clean with Carchem APC | HP rinse | Dry | Polish and Protect with Autofinesse Tripple
Plastics - HP rinse | Clean with Carchem APC | HP rinse | Dry | dress with Autofinesse Dressel

20160124_164656_zpsgqjyk2lj.jpg


IMG_2636_zpsczjeegdj.jpg


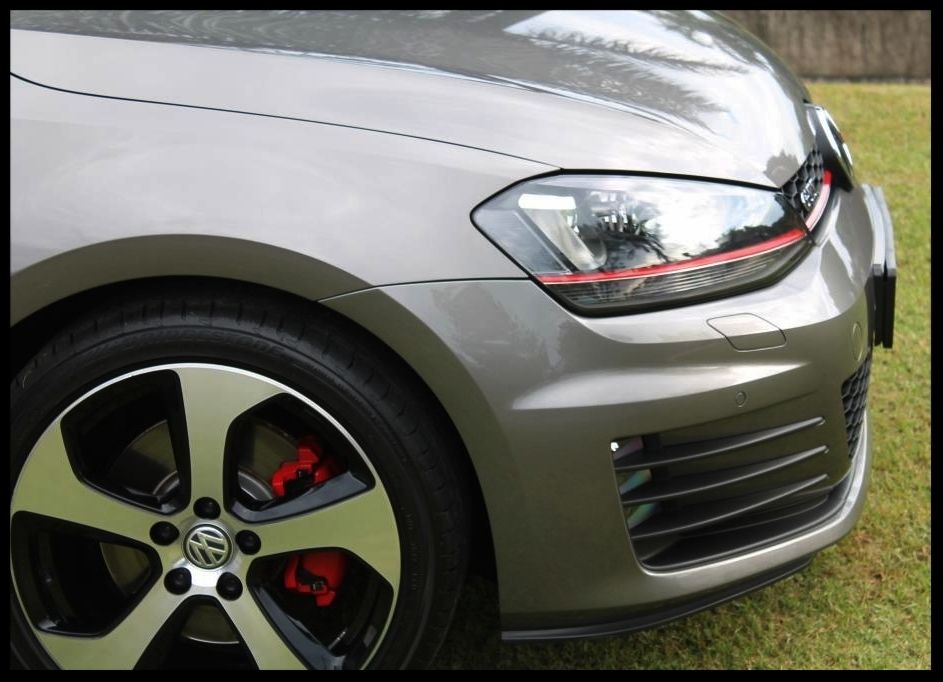
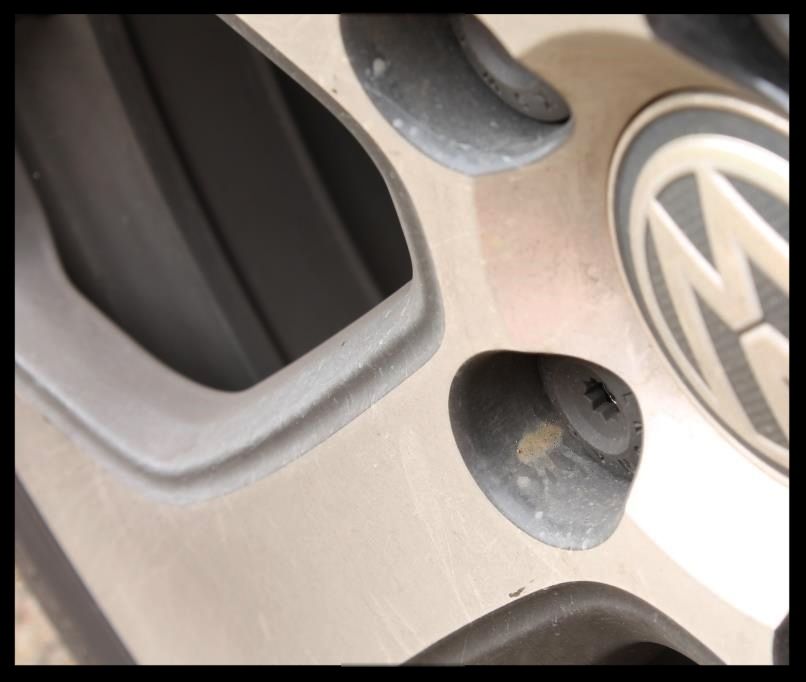
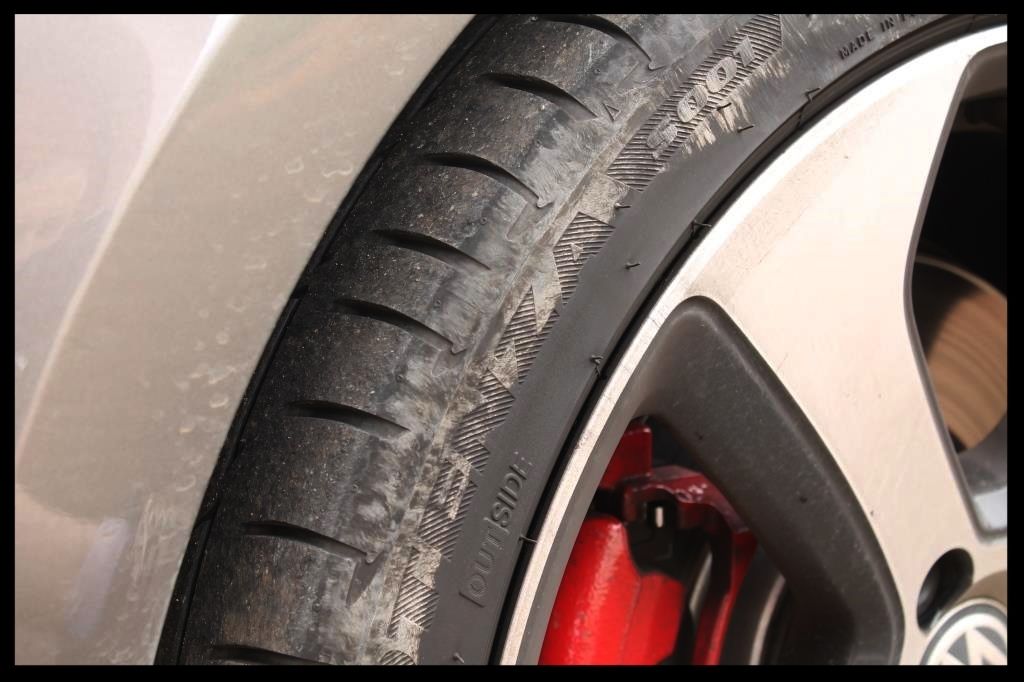
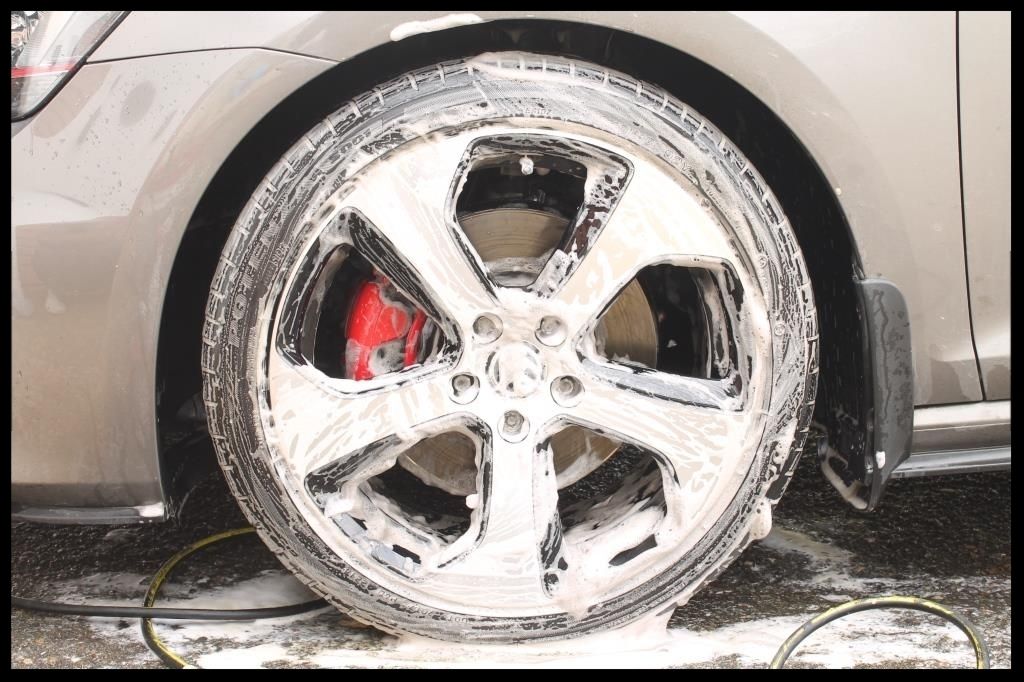
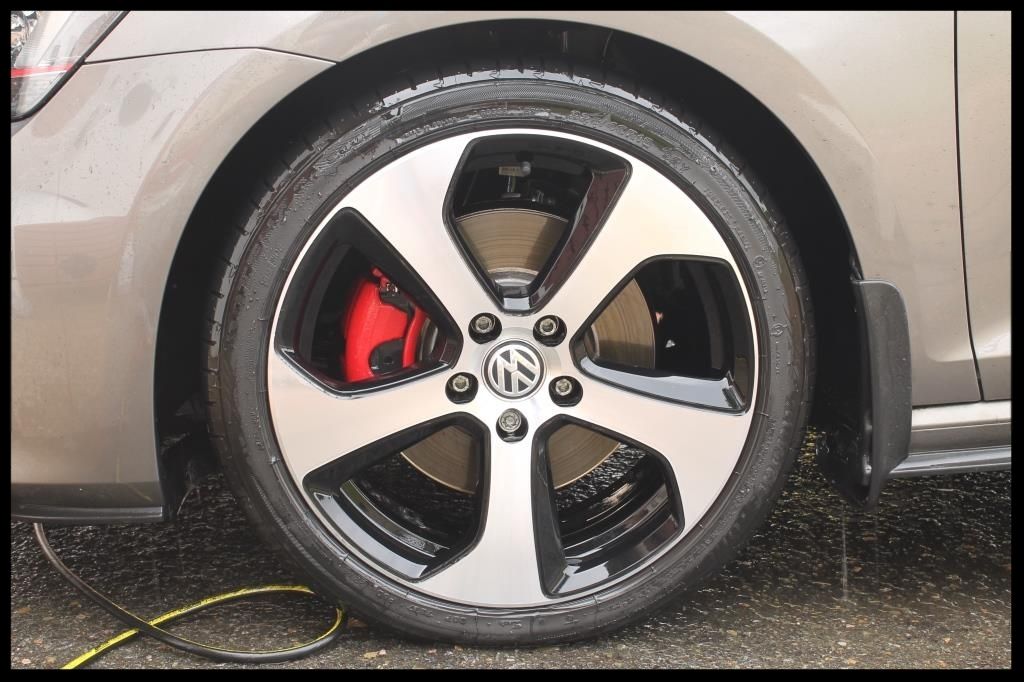
Next up the fender wells, tires, brake calipers and wheels

IMG_2555_zpswfuq8iqb.jpg


IMG_2572_zpsq15nvpjt.jpg


IMG_2551_zpswfze0ukh.jpg


IMG_2552_zpszclbnryz.jpg


IMG_2573_zpsue7qzj8k.jpg


IMG_2553_zpslcjjei8o.jpg


IMG_2574_zpsptz4chvt.jpg


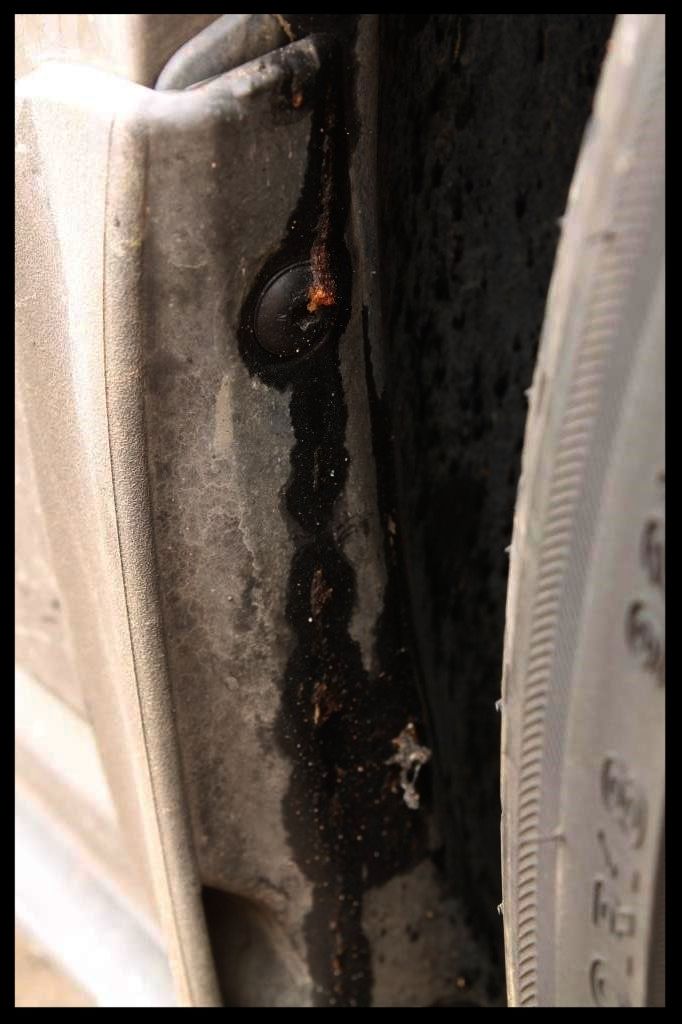
Fender wells - HP rinse | Clean with Carchem APC | HP rinse | Dry | Dress with Autofinesse Dressel
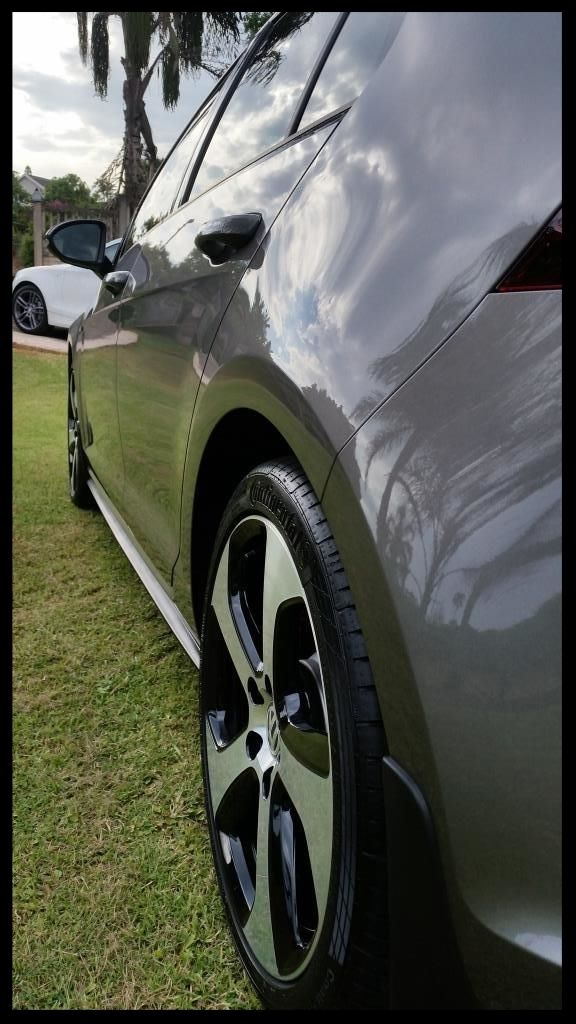
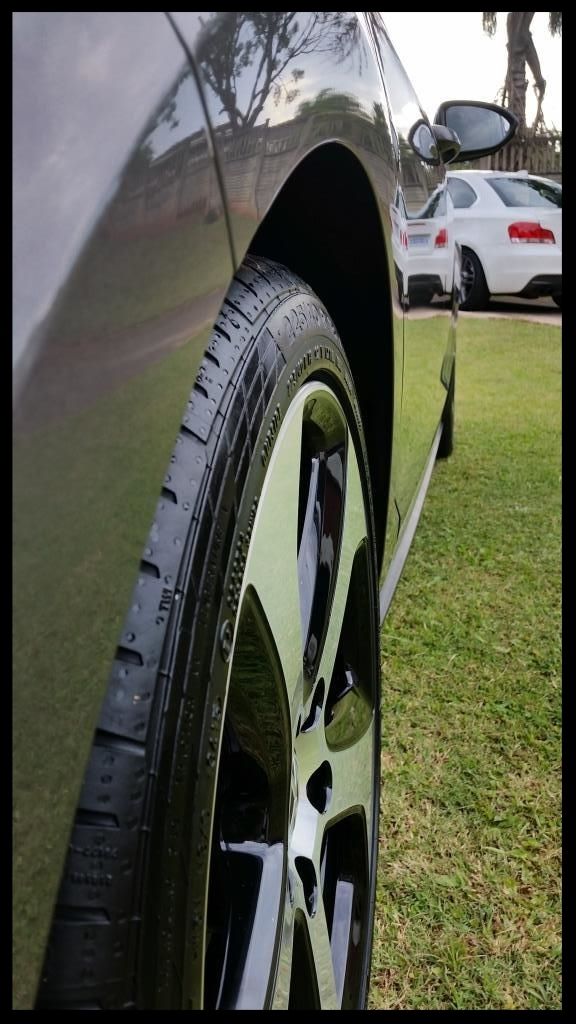
Tires- HP rinse | Clean with Angelwax Billberry | HP rinse | Dry | Dress with Optimum Tire Shine
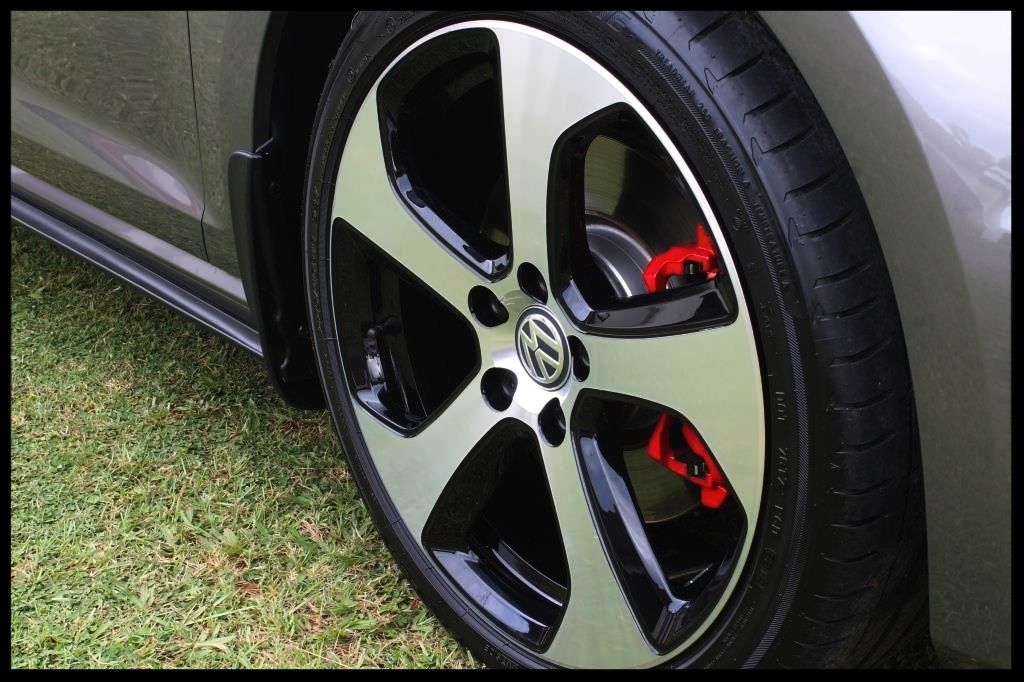
Wheels - HP rinse | Clean with Angelwax Billberry | HP rinse | Dry | Seal with Gyeon Wetcoat
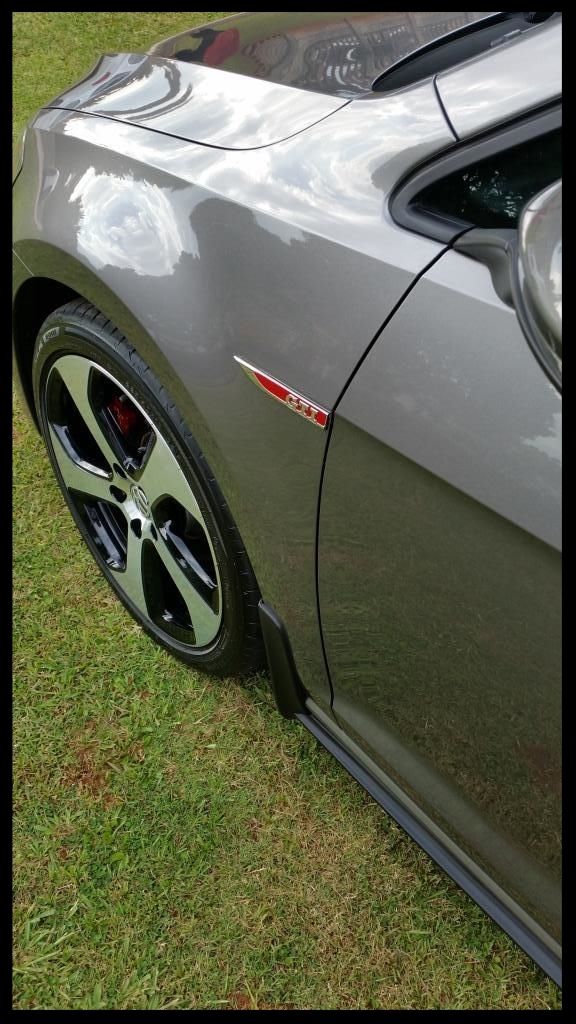
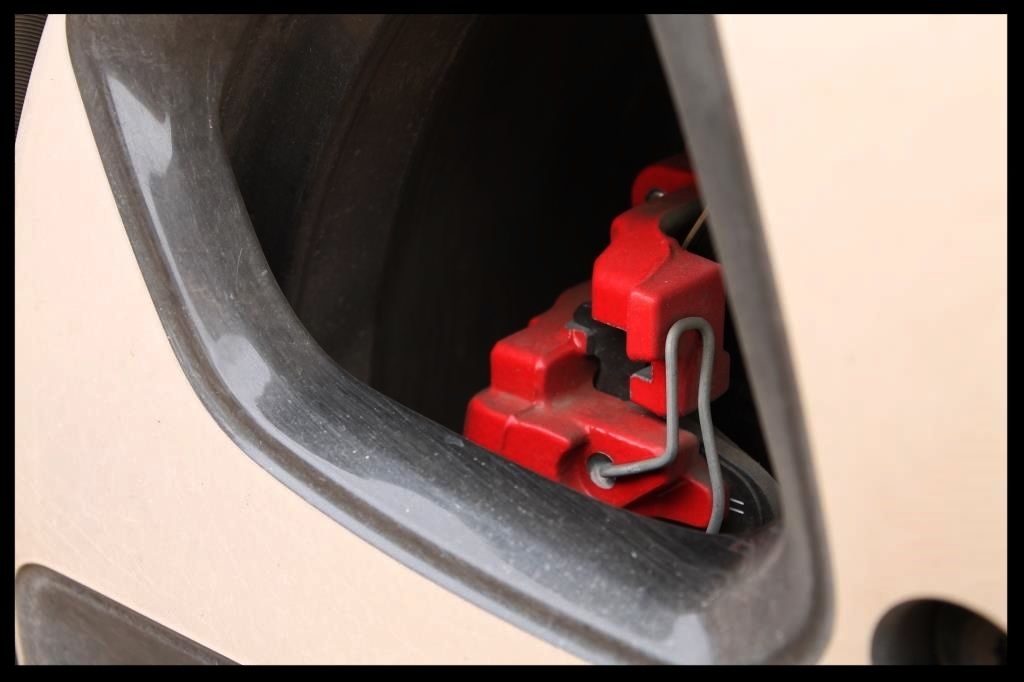
Brake Calipers - HP rinse | Clean with Angelwax Billberry | HP rinse | Dry | Seal with Gyeon Wetcoat

IMG_2597_zpspss87pft.jpg


IMG_2599_zpslf4v7zlz.jpg


IMG_2600_zpshfxrspza.jpg


IMG_2602_zpspoiyzwr2.jpg


IMG_2631_zpszmnjuzg9.jpg


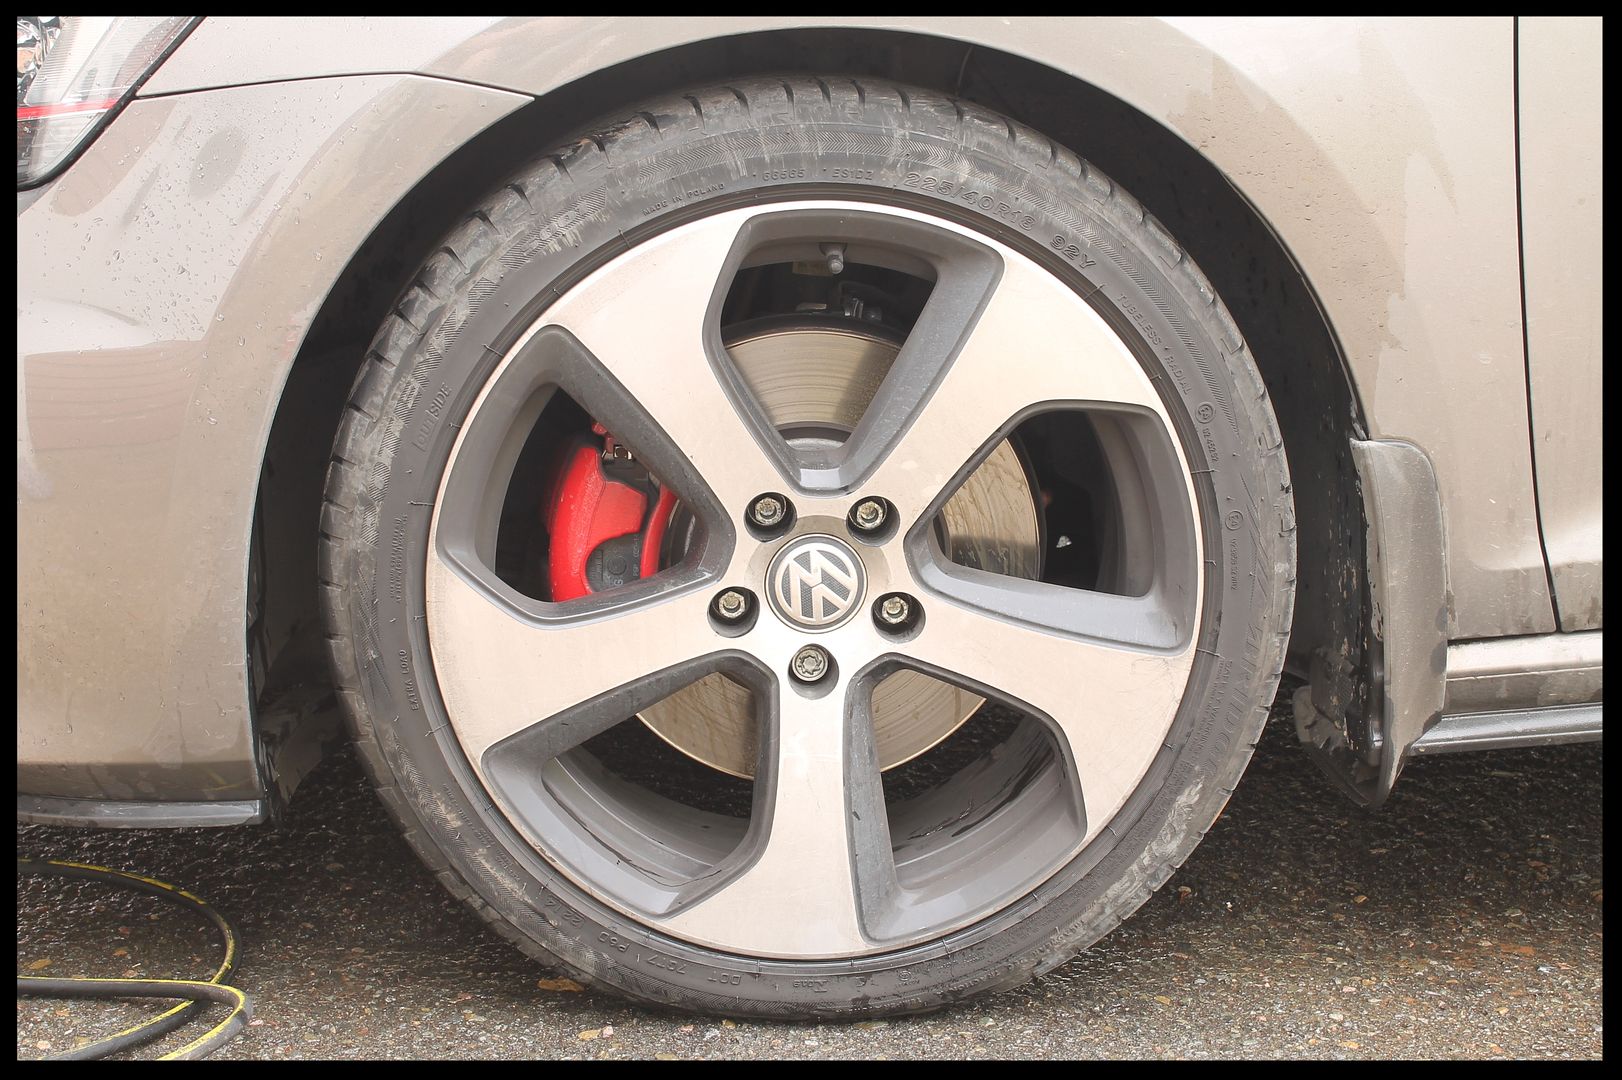
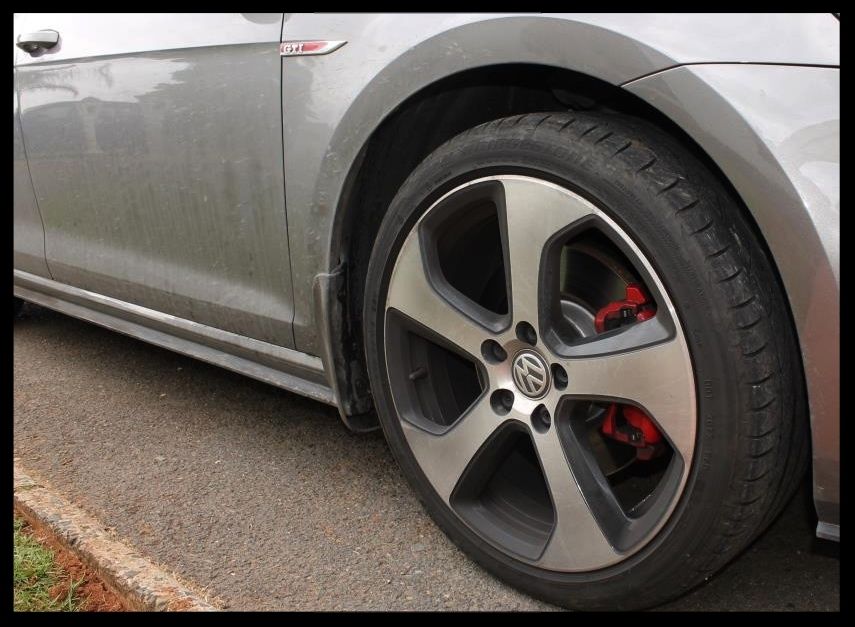
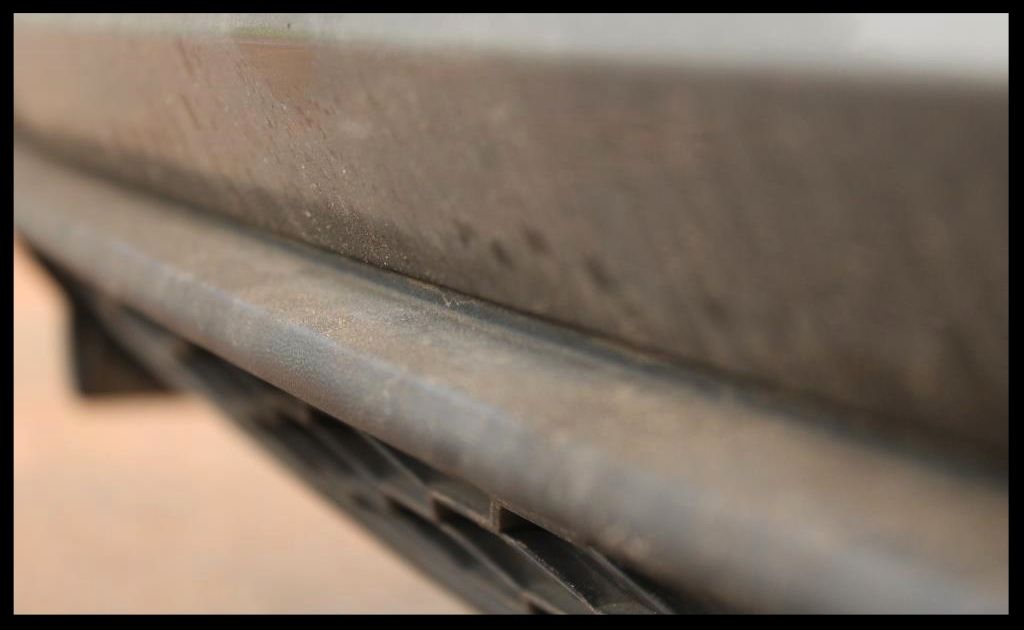
This is how the car looked before being washed

IMG_2551_zpswfze0ukh.jpg


IMG_2556_zpsd7jvacs9.jpg


IMG_2557_zpsgpic5dbj.jpg


IMG_2576_zps4oue45c1.jpg


IMG_2577_zpss1mbixx2.jpg


20160123_081106_zpswpvoatnx.jpg


IMG_2558_zpsri6jzosc.jpg


IMG_2567_zpsbdb32hy0.jpg


IMG_2569_zpsqnmmvczv.jpg


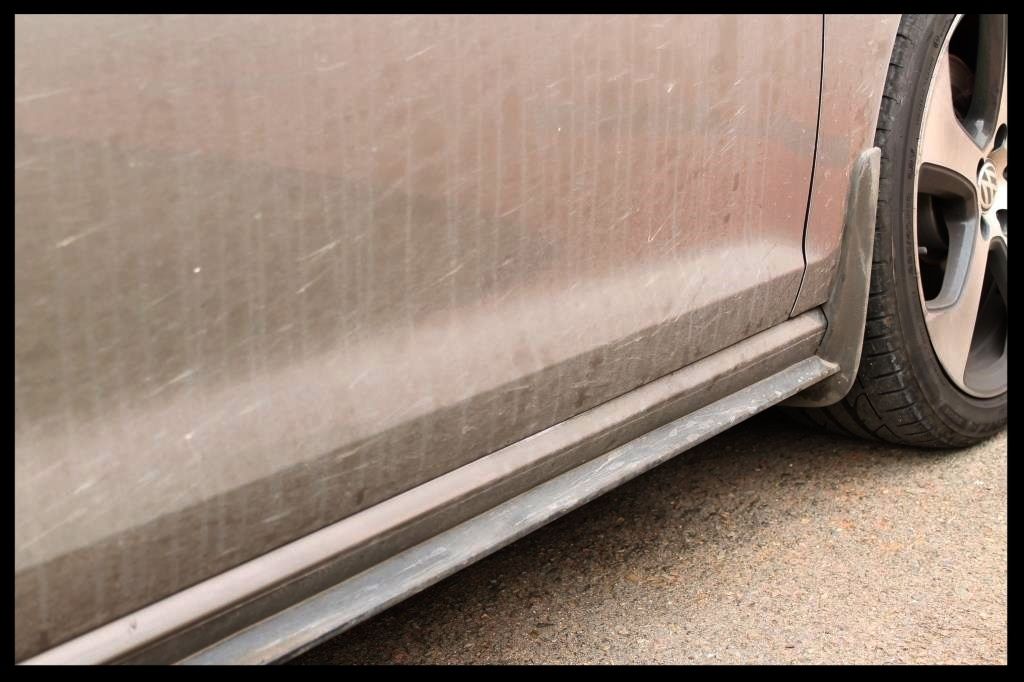
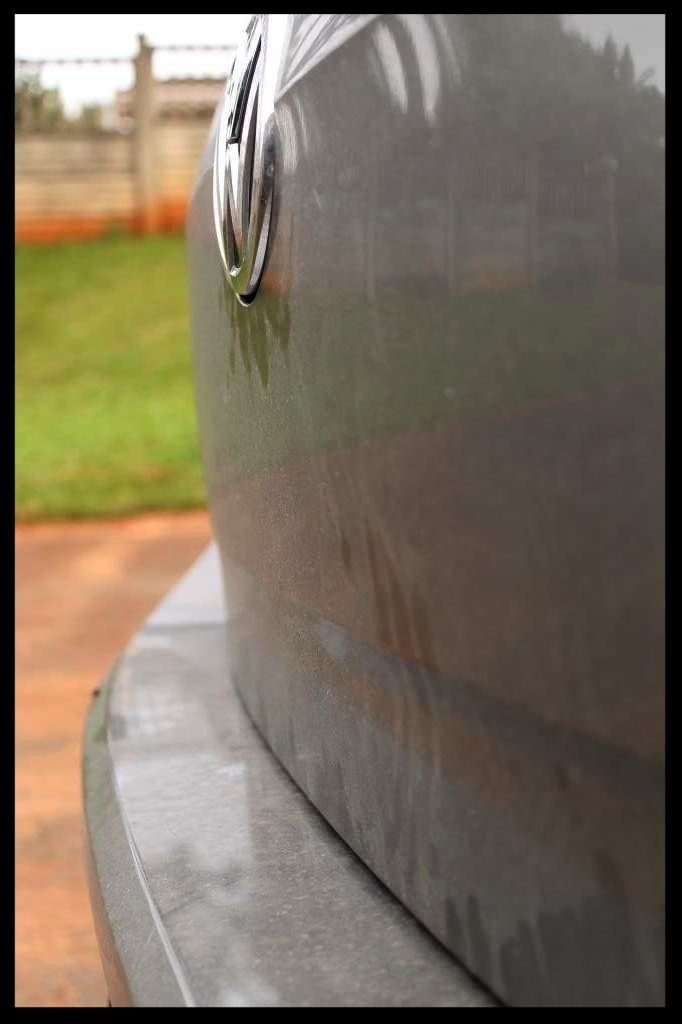
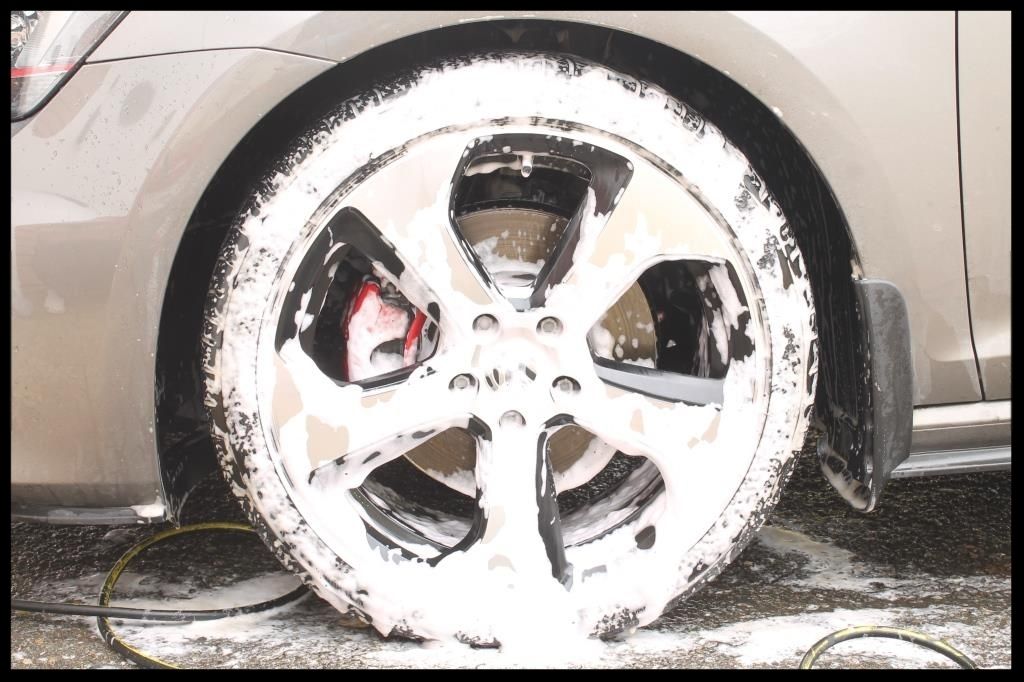
Then it was time for a wash and decon.

Pre-wash - HP rinse | Valet Pro Citrus Prewash | HP rinse | Angelwax Fastfoam | HP rinse
Wash - Carchem Luxury Shampoo | Lambswool wash mitts
Dry - Waffle Weave Drying Towel | ONR as a lubricant
Tar removal - Valet Pro Citrus Tar Remover
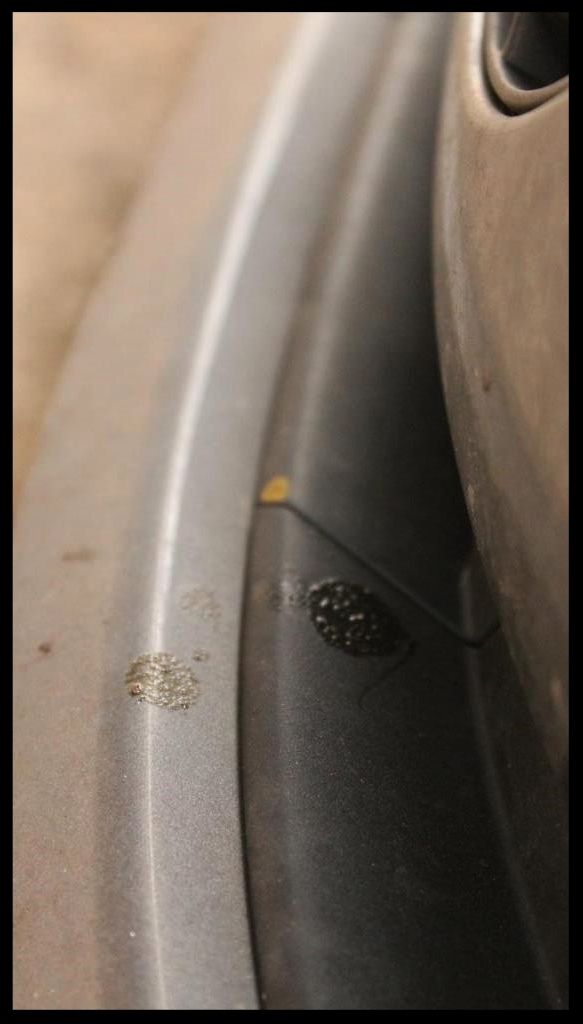
Iron removal - Carchem Revolt | HP rinse
Clay - Shield Heavy Duty | ONR as a lubricant
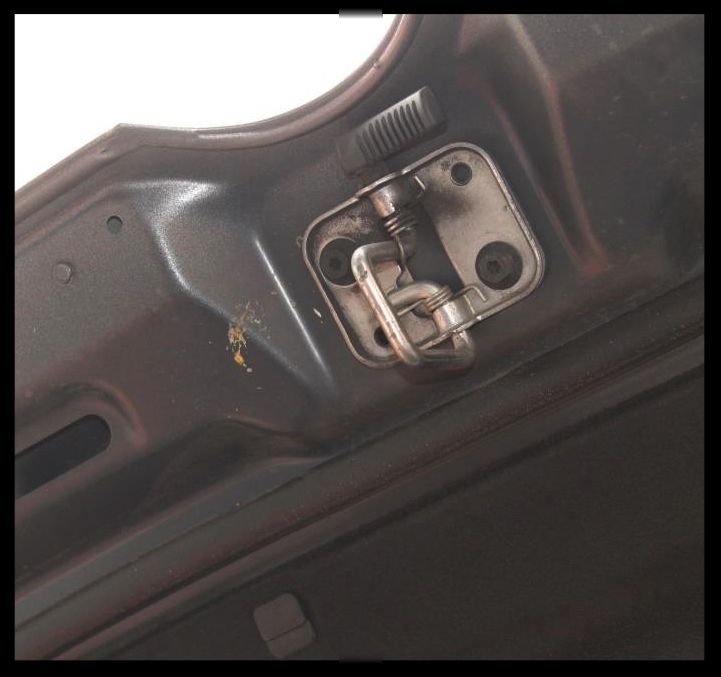
Inside Fuel Flap / Door Shuts - HP rinse | Carchem APC | HP rinse | Dry | Polish and Protect with Autofinesse Tripple
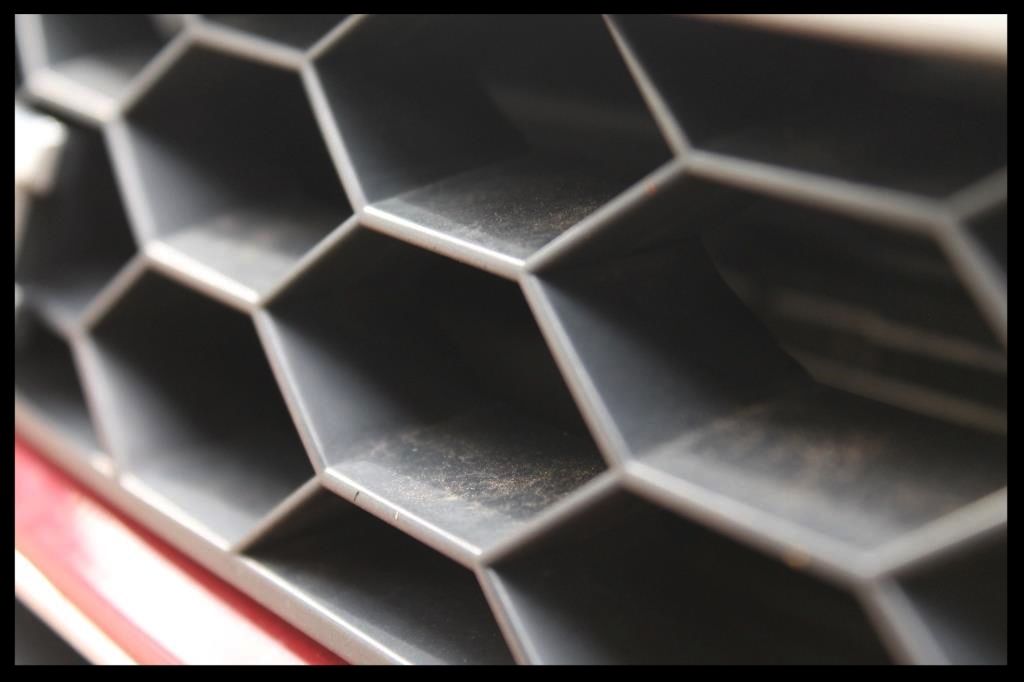
Honeycomb - HP rinse | Carchem APC | HP rinse | Dress with Autofinesse Dressel

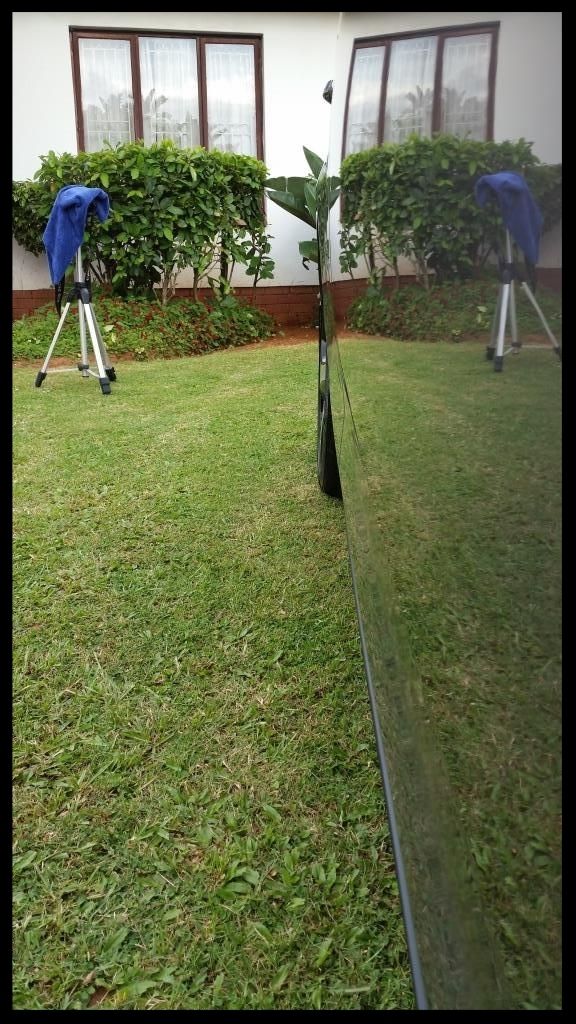
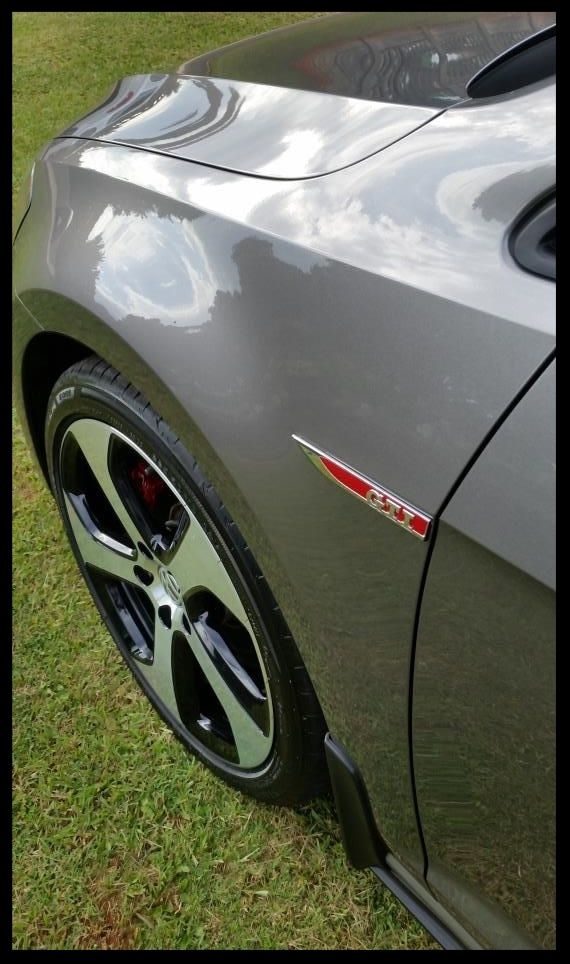
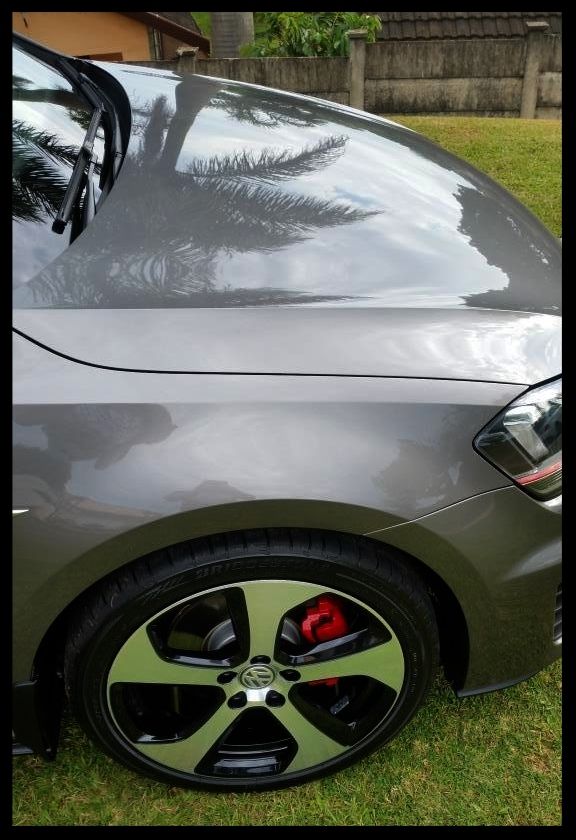
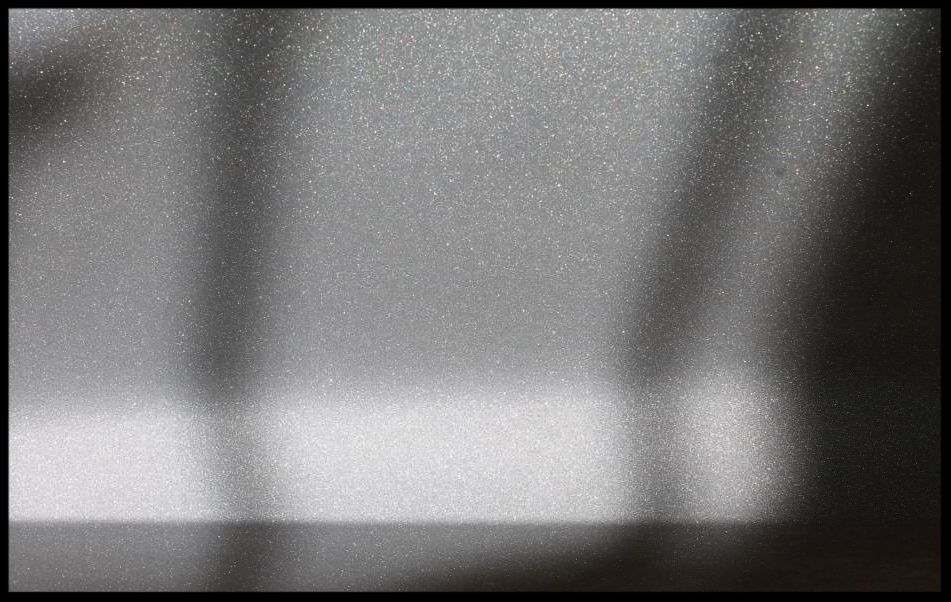
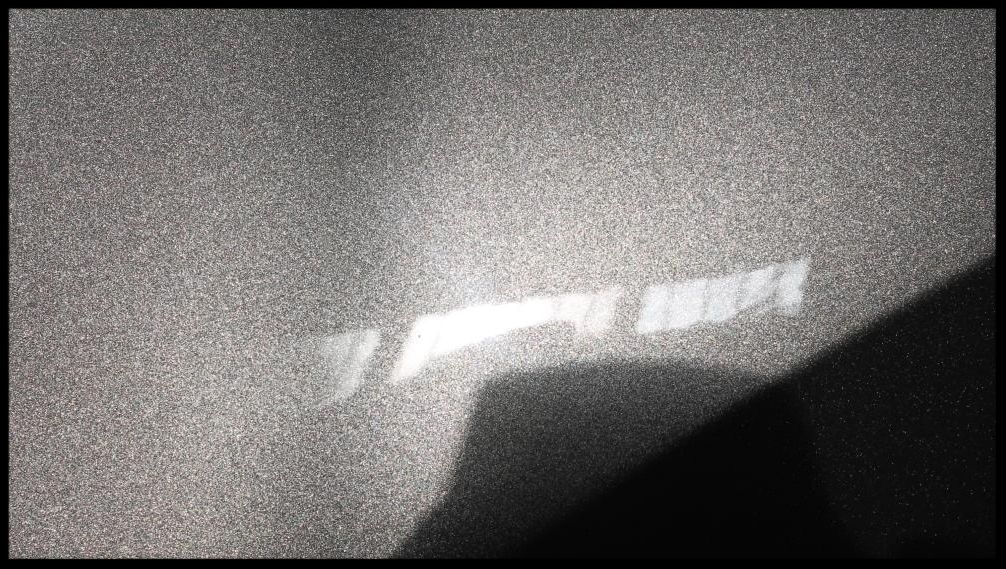
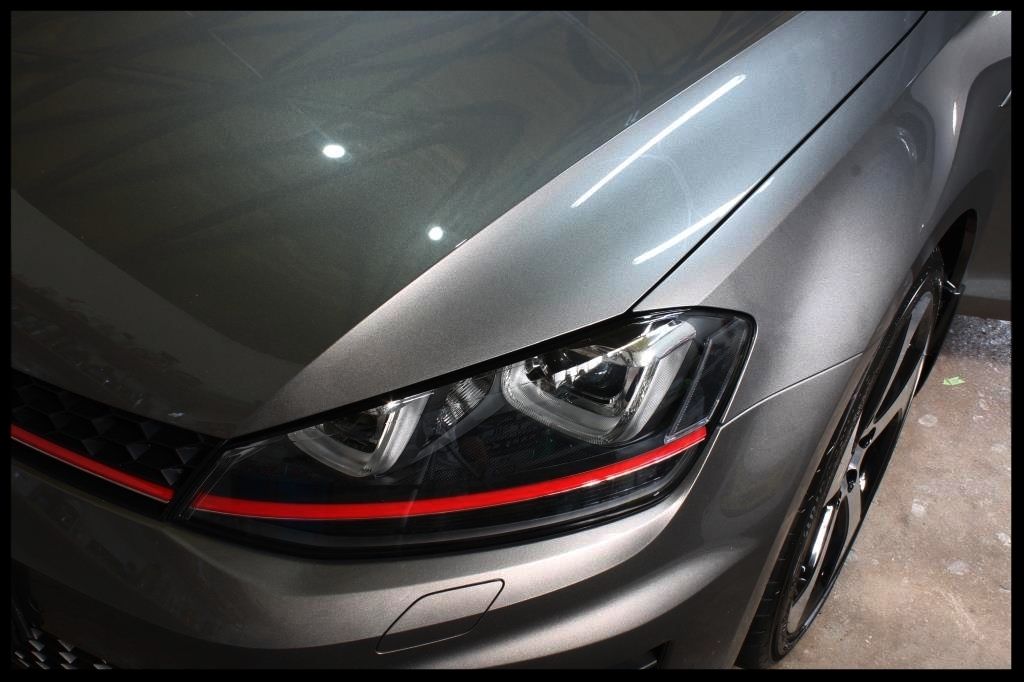
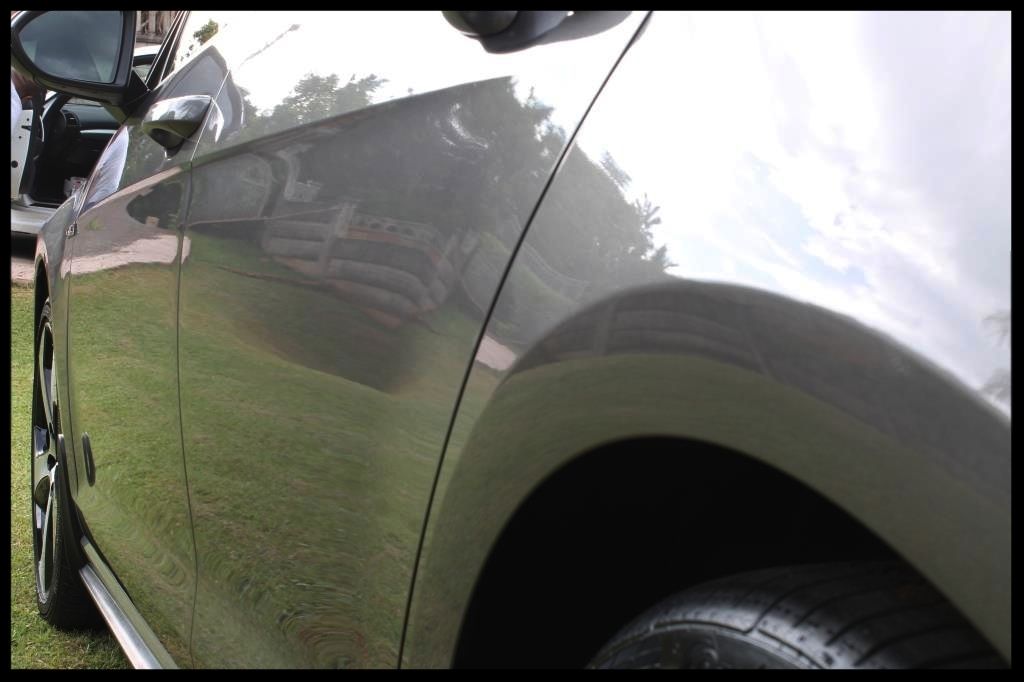
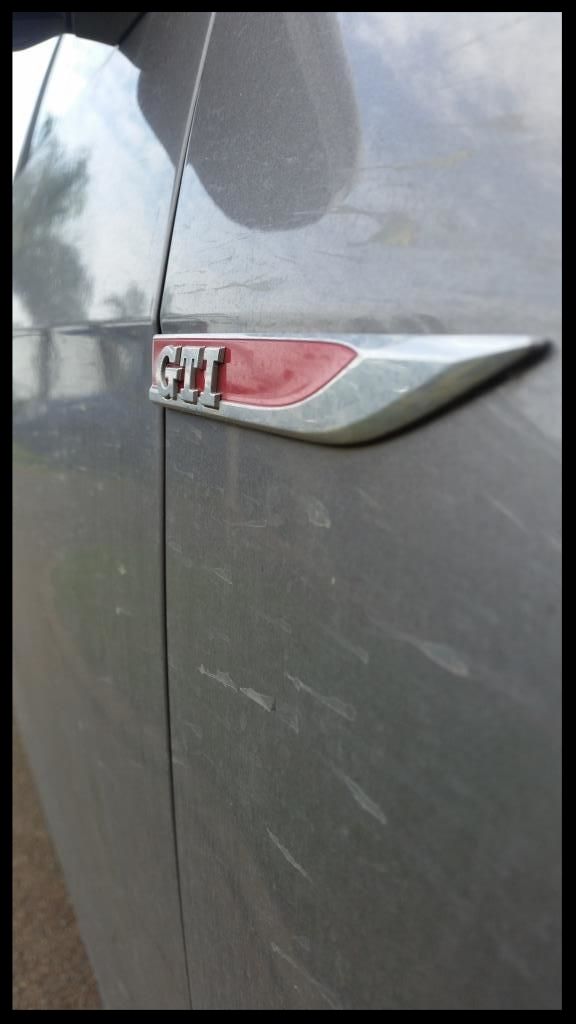
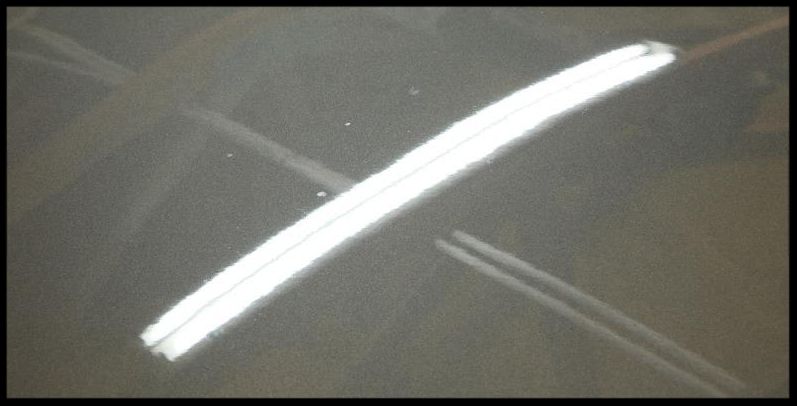
Despite a fair amount of contamination, the paint itself was in really good shape making it very difficult to capture whatever defects there were, and so the paint was given a light polish and re-protected.

Paint readings - 115µ to 170µ
Paint Correction - Menzerna SF4000 | White Lake Country Hybrid Pads | Flex 3401
Paint Inspection / Pre-sealant Clean - Gyeon Prep
HP rinse | Valet Pro Citrus Prewash | HP rinse | Angelwax Fastfoam | HP rinse
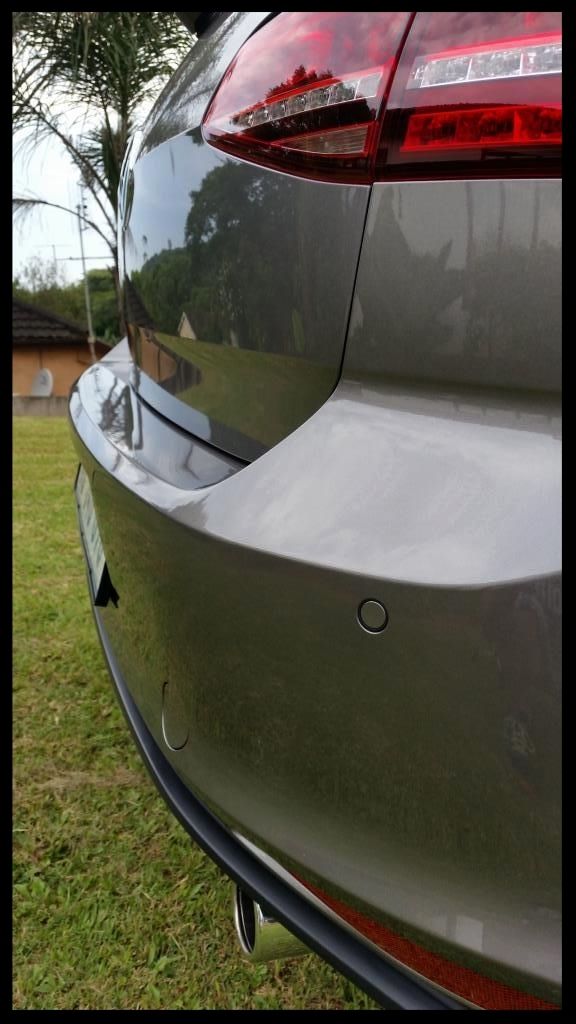
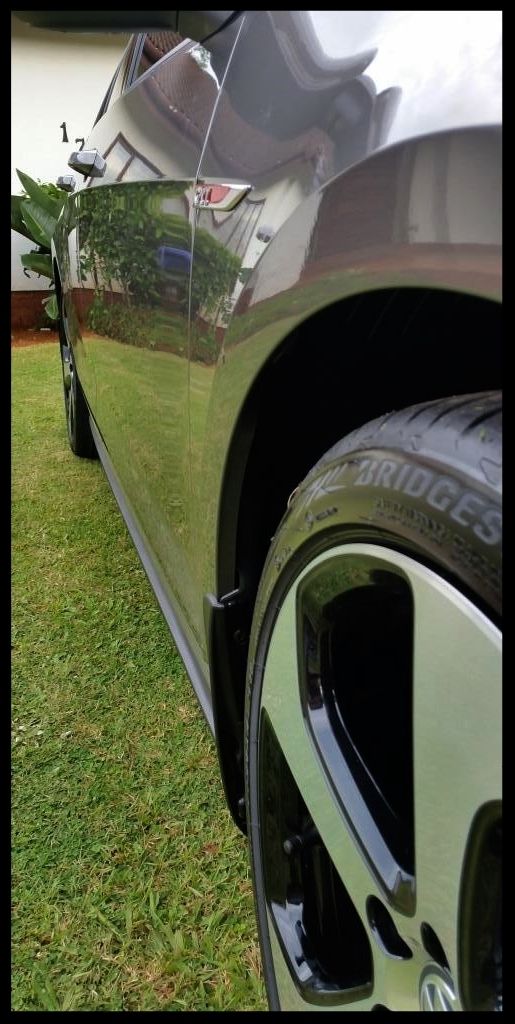
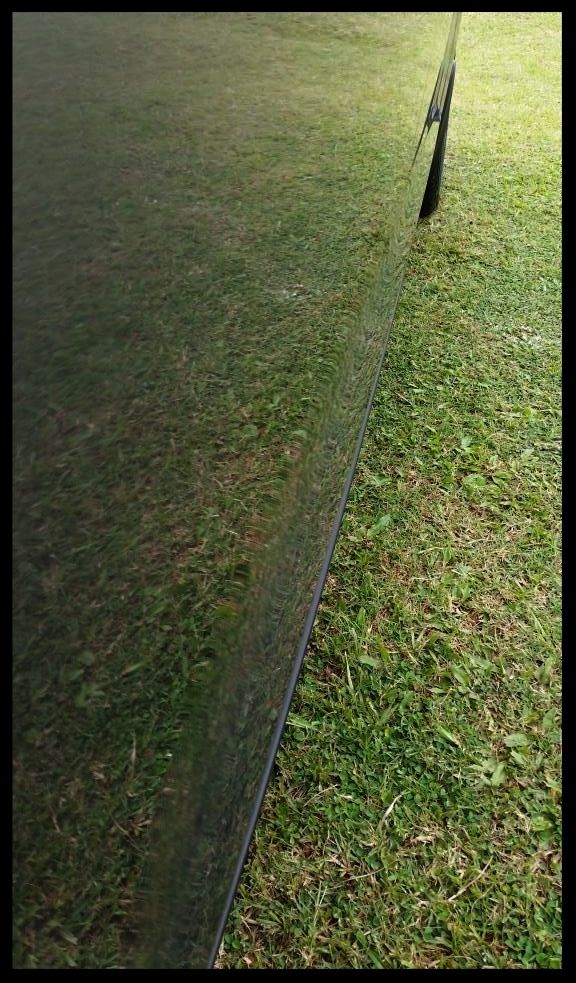
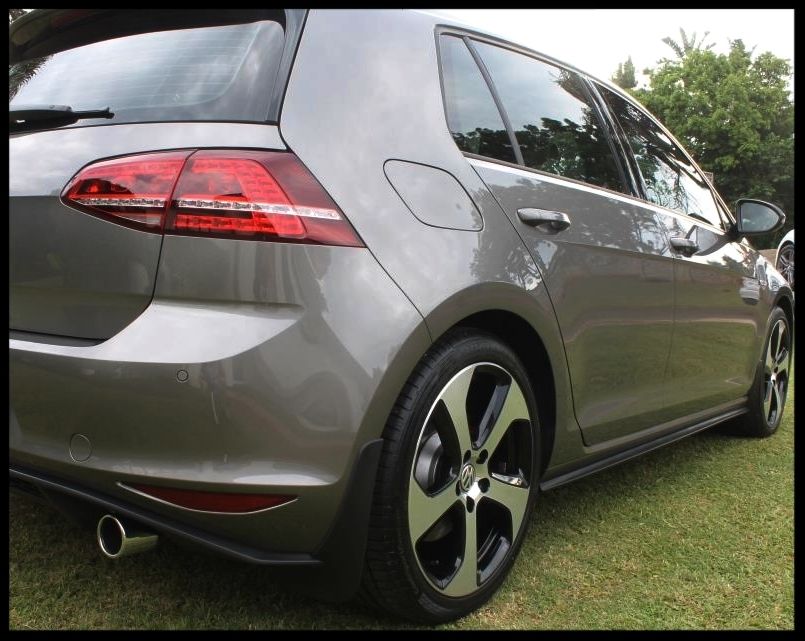
Protection - Soft 99 Fusso Coat (dark)

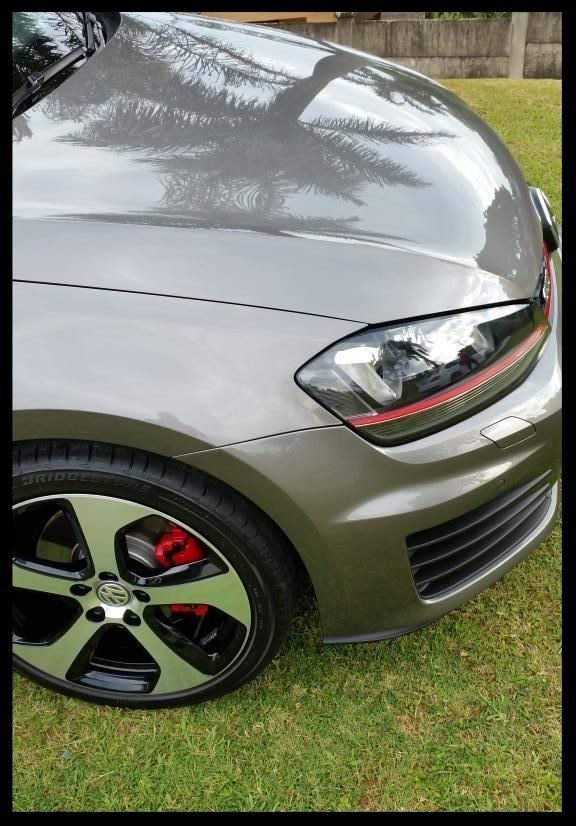
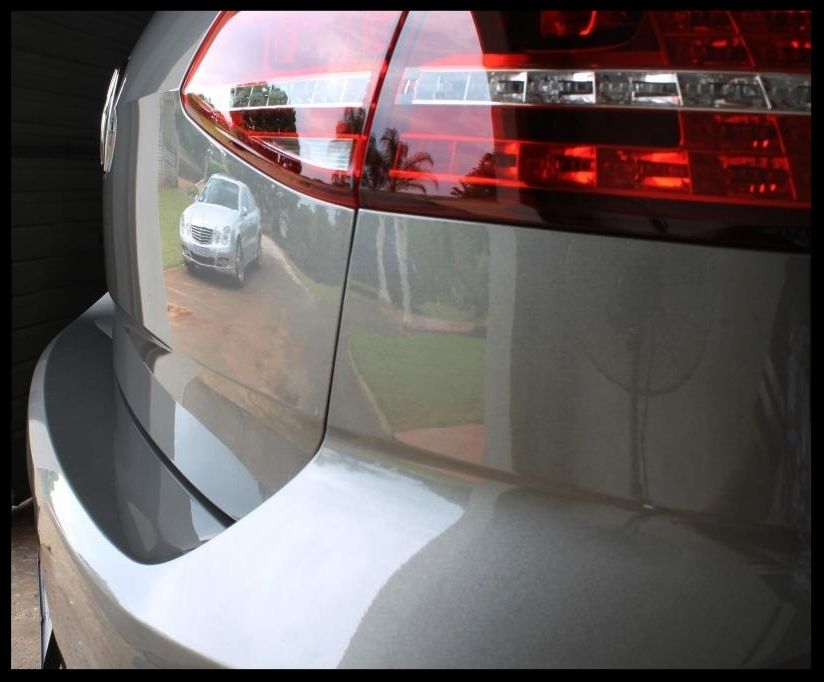
There was however some etching on the bonnet

IMG_2608_zpspbo0r0yi.jpg


IMG_2609_zpsrnkx9a5l.jpg


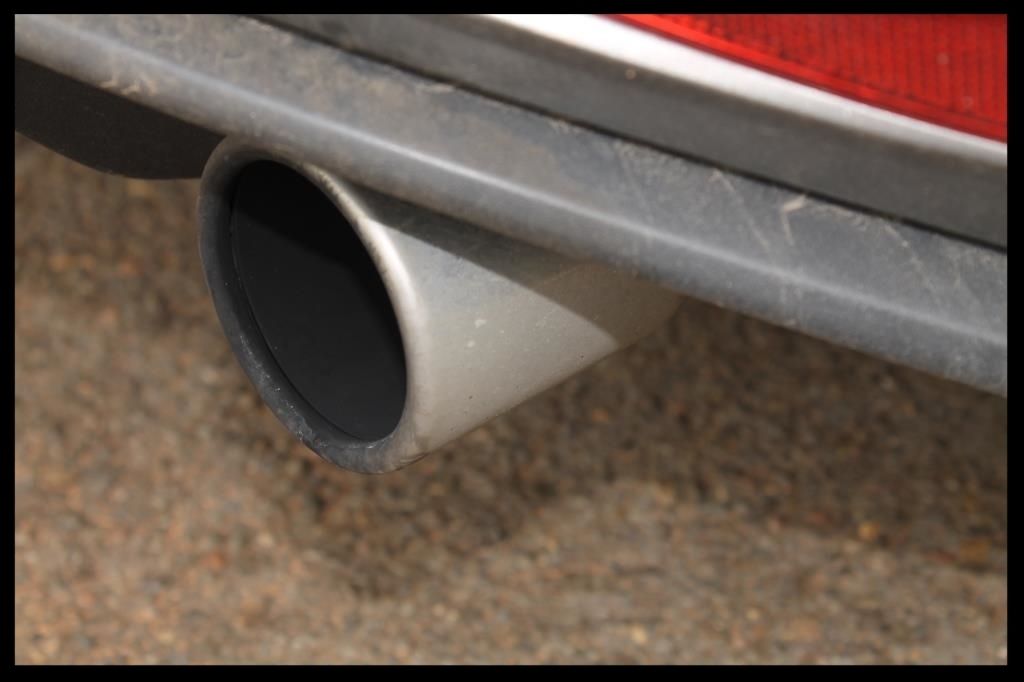
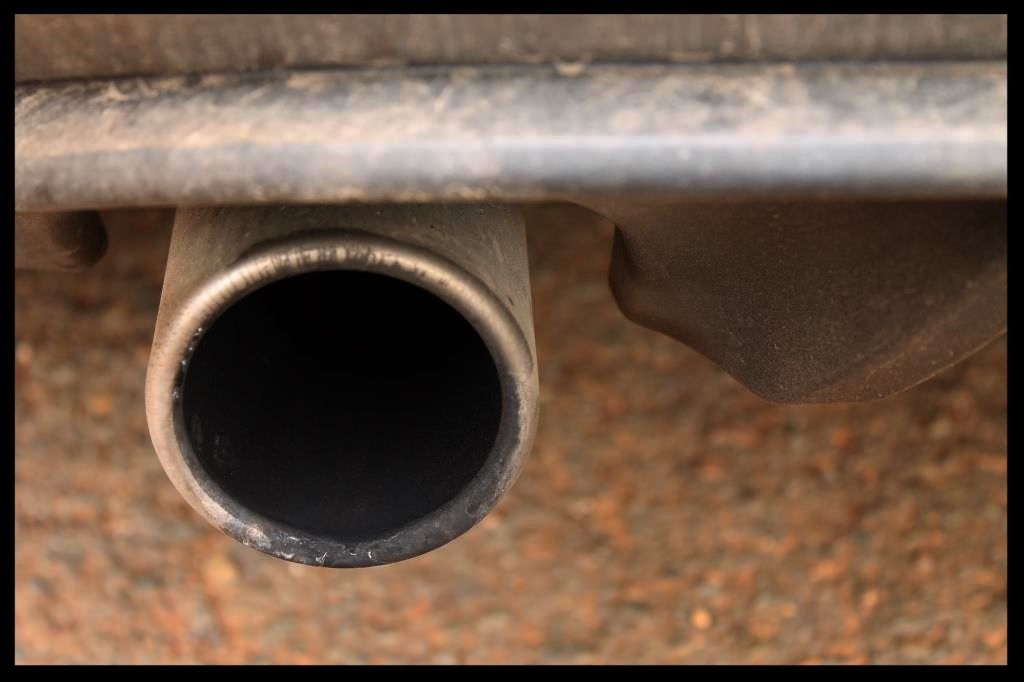
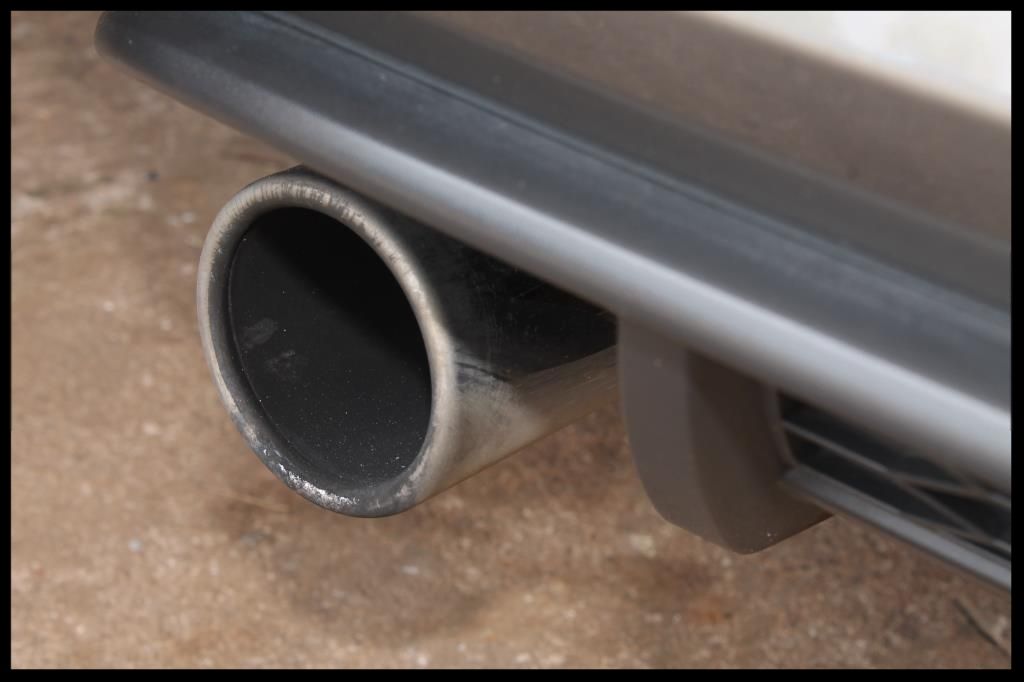
Exhaust tip cleaning - Carchem APC
Exhaust tip Polishing and Protection - Menzerna Polishing Cream | Meguiars NXT All Metal Polish

IMG_2564_zpsgozio18c.jpg


IMG_2568_zps79jadblb.jpg


IMG_2611_zpsy8y7exa8.jpg


IMG_2617_zpsxsbsm7in.jpg


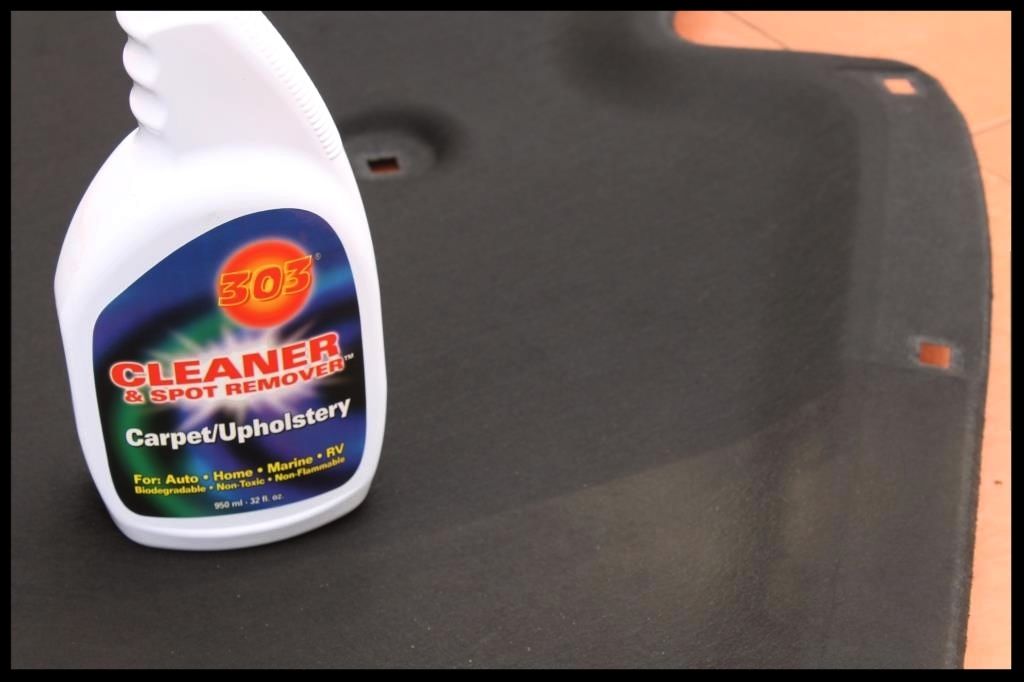
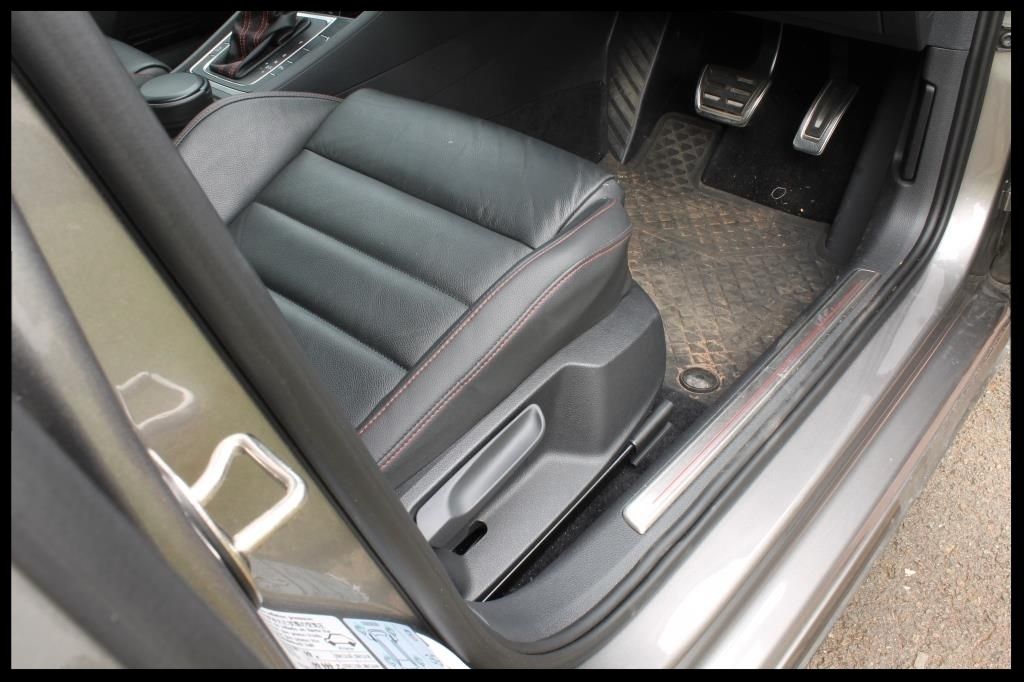
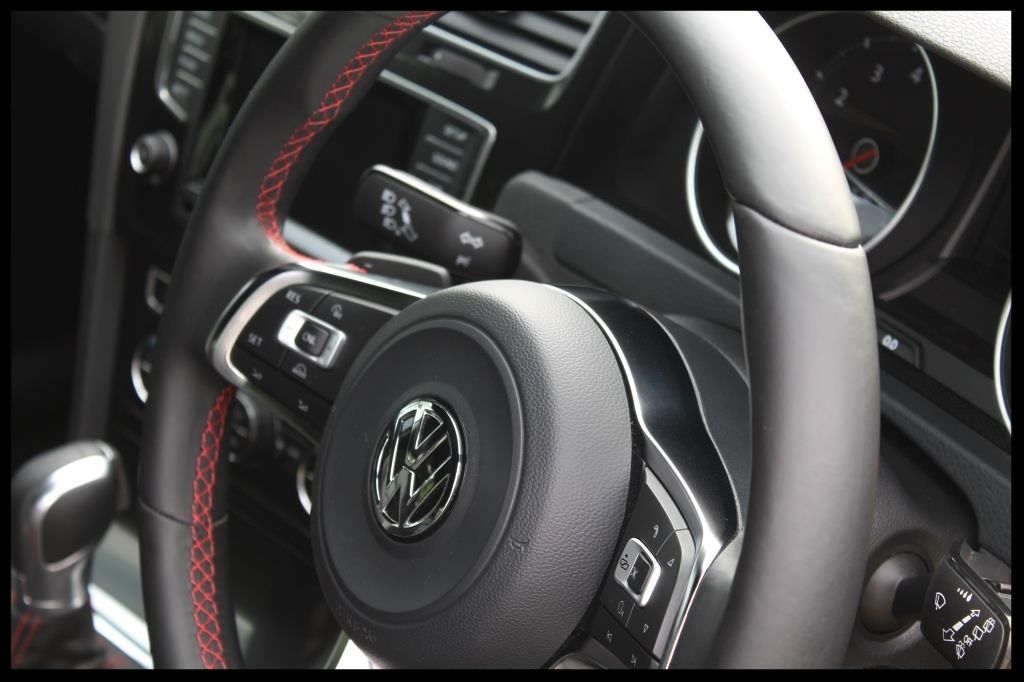
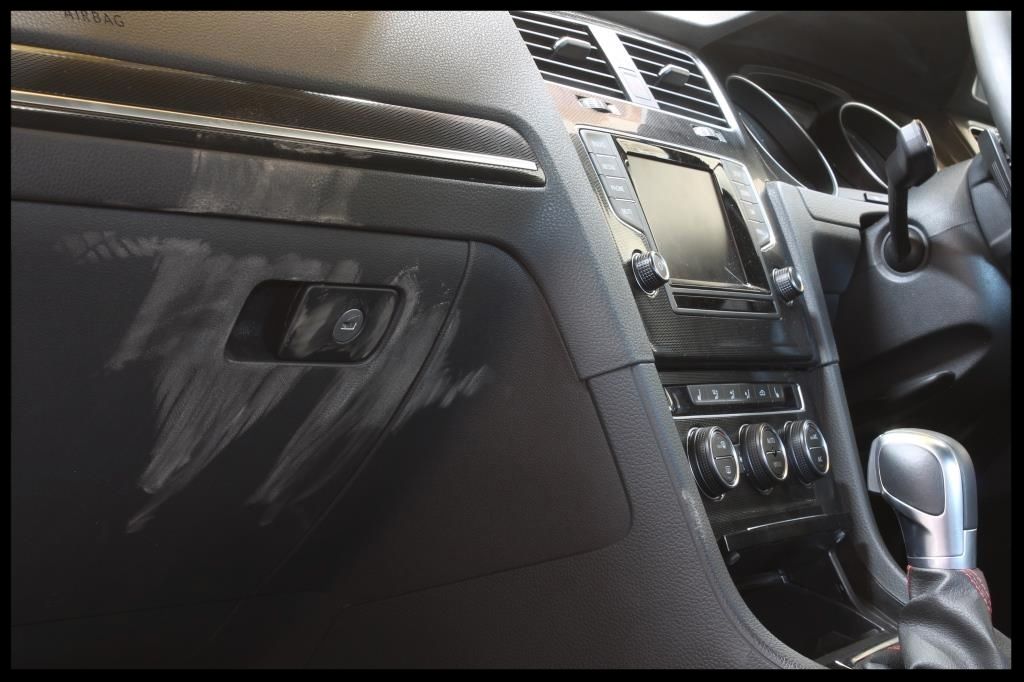
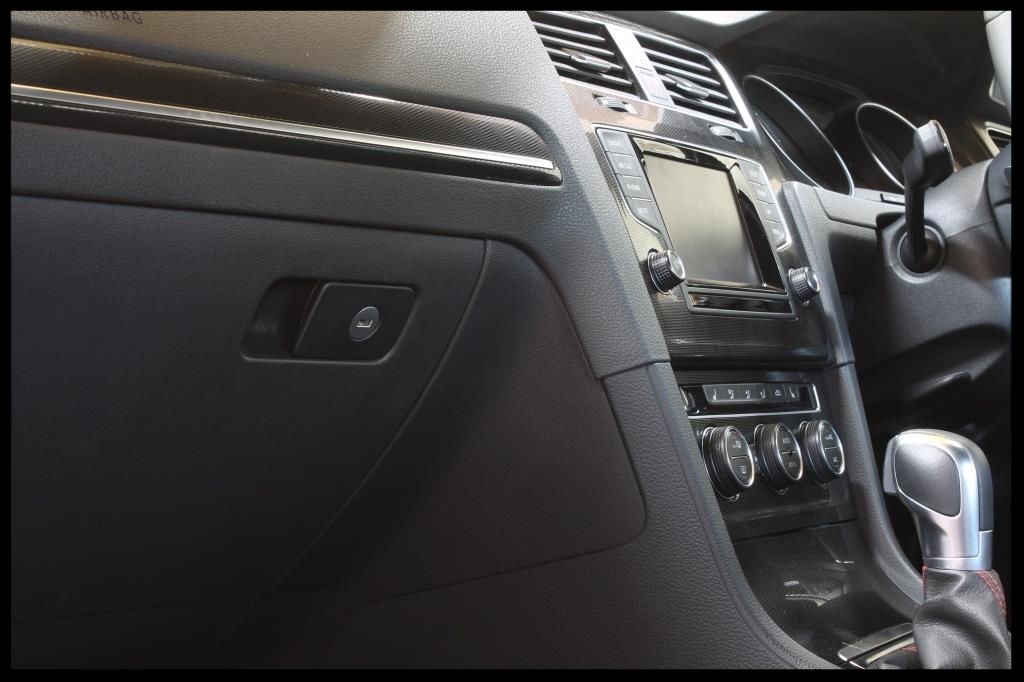
The interior was then tackled

Glass - Autoglym Fast Glass
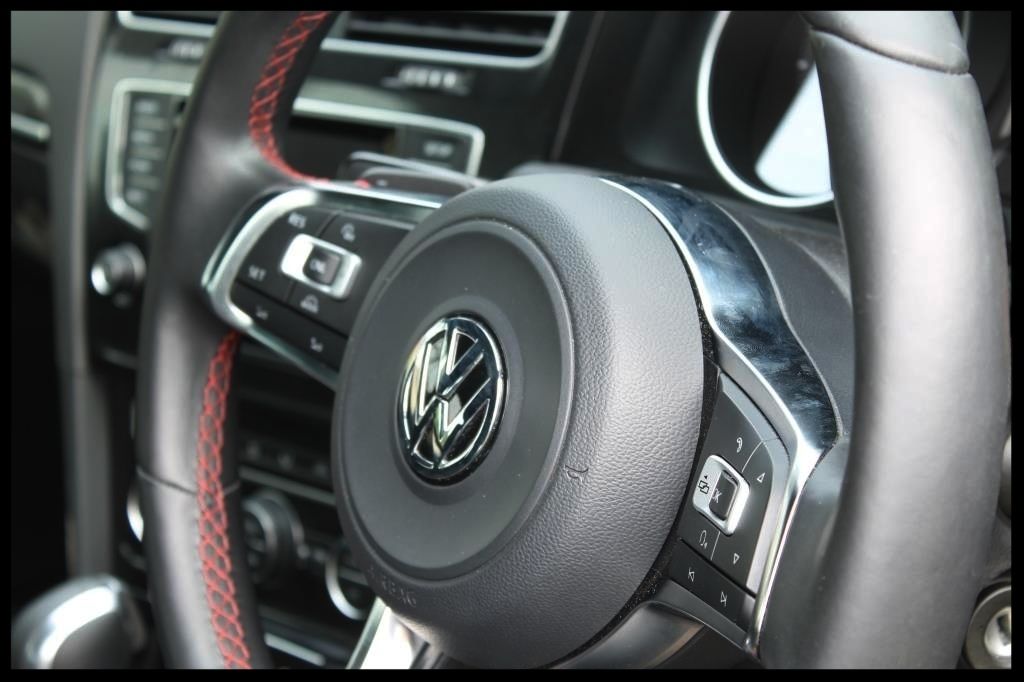
Plastics - Clean with Carchem APC | Dress with Autofinesse Spritz
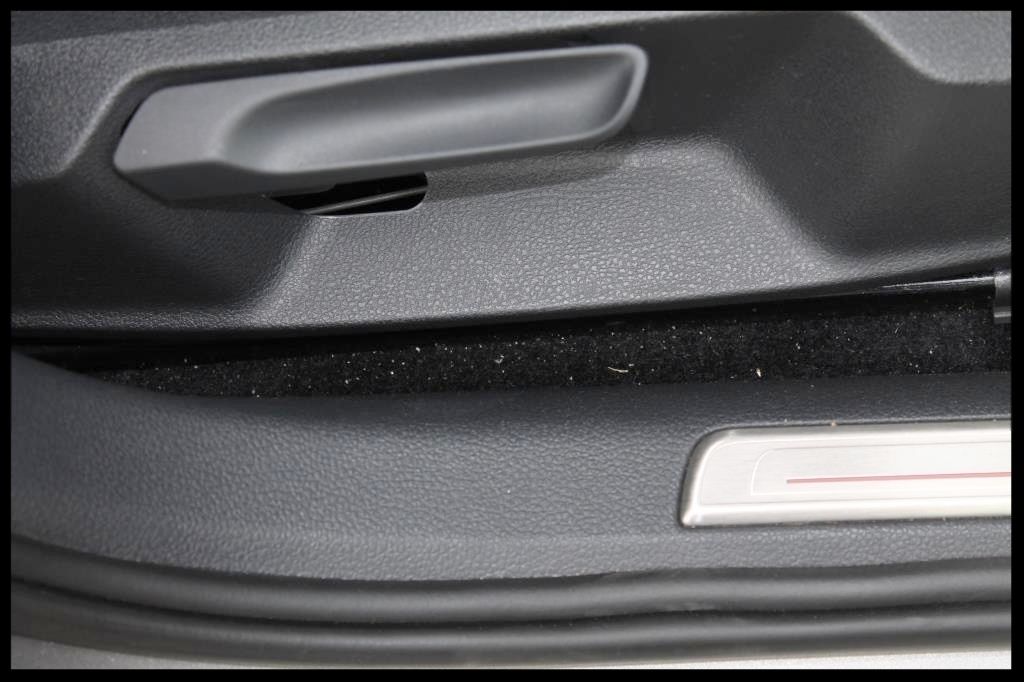
Carpets - Vacuum | Brush | Vacuum
Mats - HP rinse | Clean with Carchem APC | HP rinse
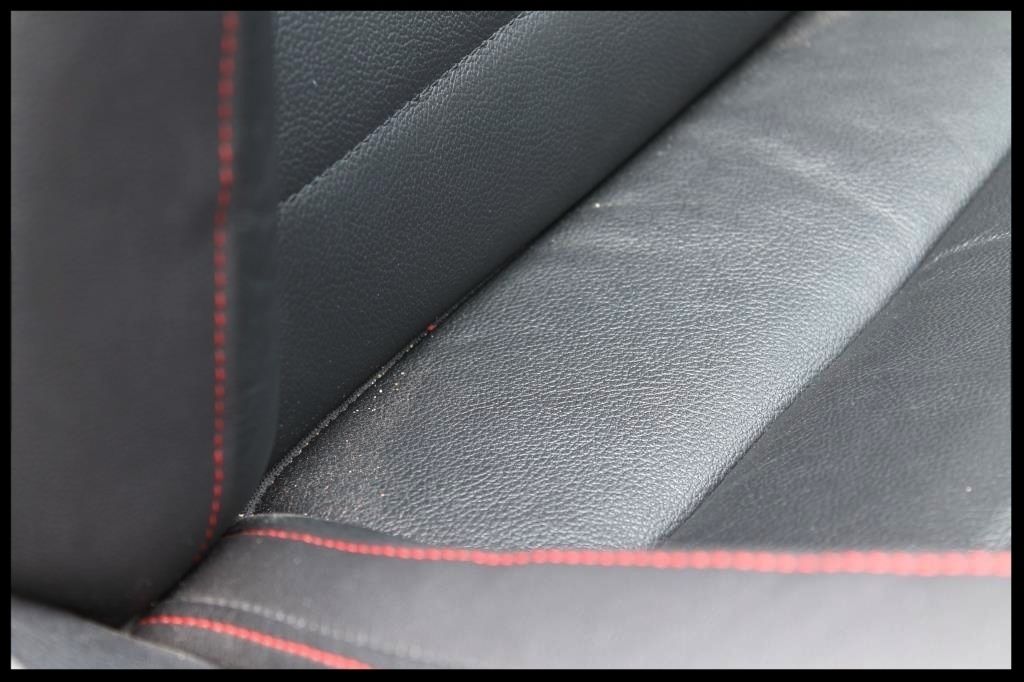
Leather - Clean with Carchem APC | Wipe with damp MF towel | Dry| Clean and Protect with Collinite 855
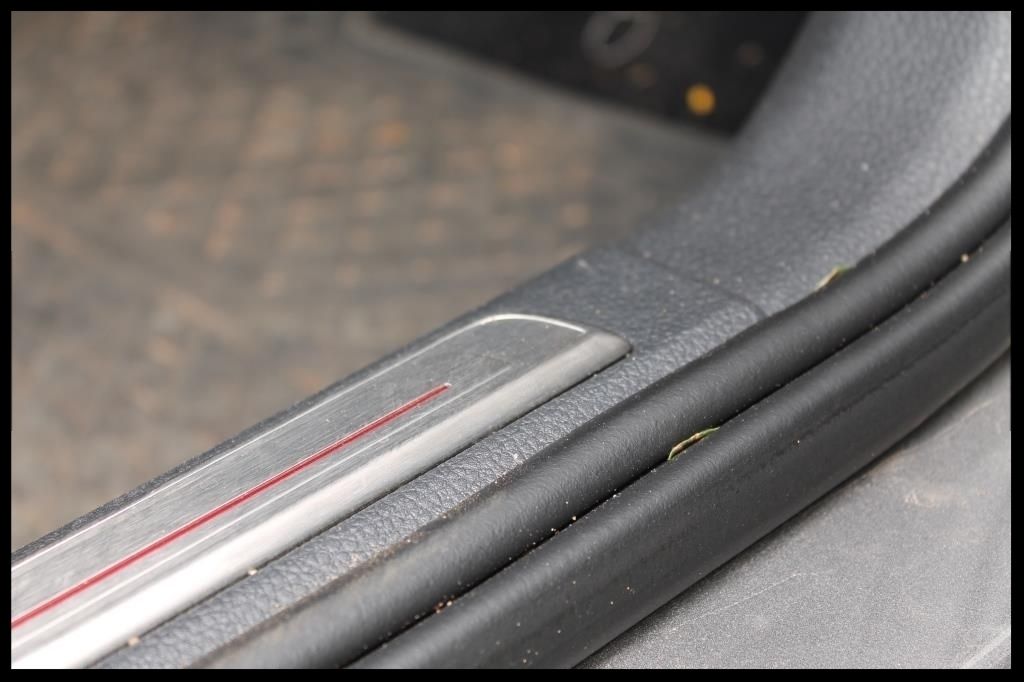
Door rubbers - Clean with Shield Heavy Duty Vinyl and Rubber Cleaner | Protect with Aerospace 303

IMG_2589_zps34icvetw.jpg


IMG_2590_zpsq2bn7jmk.jpg


IMG_2591_zpsxhxbhhzp.jpg


IMG_2594_zpszxkrpyls.jpg


IMG_2593_zpsqmgkqfwf.jpg


IMG_2638_zps2ey9icrl.jpg


IMG_2620_zpszqtwtgqx.jpg


IMG_2623_zps0wvqgk3m.jpg


Exterior Glass - Gyeon Prep | Wynns C-Thru
Exterior Rubbers - Shield Heavy Duty Vinyl and Rubber Cleaner | Aerospace 303
 
Here are some after shots, first with my cell phone

20160124_164338_zpssppqaxuk.jpg


20160124_164347_zpsyezflnp9.jpg


20160124_164354_zpsjujhjh7v.jpg


20160124_164408_zps8fhwfm6i.jpg


20160124_164417_zpsmi4yzgv6.jpg


20160124_164425_zpscluef4jx.jpg


20160124_164441_zpssplpdnwf.jpg


20160124_164457_zpssvocojnv.jpg


20160124_164624_zps8q0g2qzm.jpg


20160124_164923_zpsfnlcokdw.jpg


And some with the DSLR

IMG_2625_zpsdgmx5fmd.jpg


IMG_2626_zpsyvtfz8u8.jpg


IMG_2627_zpsswknv6kt.jpg


IMG_2628_zpsvgojtkpj.jpg


IMG_2629_zpspfi00lwl.jpg


IMG_2633_zpspr7cgqvn.jpg


IMG_2634_zps1teab8va.jpg


IMG_2635_zpsuobfndbs.jpg


IMG_2639_zpserjmingh.jpg


Total time spent = 26 hours

Thanks for looking and as always and comments or questions are welcome.

:hi:
 
Amazing as always. The car looks great!

Did you take the wheels off to get at those brake calipers? If not, what is your technique for getting them looking so good?
 
Gorgeous as always!!

I just sold mine and this post made me miss it a little.

:dblthumb2::dblthumb2:

I don't want to hijack the thread but If I may...I have a couple of questions.

1. Which rubbers exactly(you mentioned doors and exterior) were protected with Aerospace 303, I just picked up some and would like to try it out. Are you referring to the rubber window and windshield surrounds, inner door surrounds for keeping water out etc.?

2. You mention cleaning to engine bay with HP rinse, Apc, Hp rinse and then dressel. I'm very paranoid about using HP rinse in any car let alone the Gti, any tips? I don't know what is what in there so don't really know what to cover/what to avoid, how much pressure/dry etc.

You could PM me if you like haha :P
 
You nailed it like always my friend! looks outstanding my buddy!
 
i wish I could take pics this nice on my details

:iagree:

Hey Lawrence,

First off - I love the new logo on your avatar mate! Awesome! :dblthumb2:

As above, I agree totally! Your photos are ridiculous, I'd have them framed & hung on the wall in my shop if they were mine. :props:

Great to see that vehicles come to you in the condition I get alot of my work, refreshing to see. Hahaha, love the footprints on the glovebox! :xyxthumbs: Although theres no major 50/50 shots of a huge transformation from severely swirled out paint to a faultless finish - the quality & attention to "detail" is easily visible. Fantastic write up again Lawrence, very enjoyable! Thank you for sharing!

Aaryn NZ. :dblthumb2:
 
I always enjoy your write ups and work. Great job!!!
Thank you very much

Amazing as always. The car looks great!

Did you take the wheels off to get at those brake calipers? If not, what is your technique for getting them looking so good?
Thanks. Wheels were left on. They literally got the same treatment as the wheels themselves.... so in essence cleaned with Angelwax Billberry wheel cleaner followed by Carchem Revolt (iron remover) and sealed with Gyeon Wetcoat.

Brushes obviously make getting to them a lot easier and for the calipers themselves it was a combo of a Daytona Jnr, the small Wheel Woolie brush and Autofinesse Hogs Hair brush.

Gorgeous as always!!

I just sold mine and this post made me miss it a little.

:dblthumb2::dblthumb2:

I don't want to hijack the thread but If I may...I have a couple of questions.

1. Which rubbers exactly(you mentioned doors and exterior) were protected with Aerospace 303, I just picked up some and would like to try it out. Are you referring to the rubber window and windshield surrounds, inner door surrounds for keeping water out etc.?

2. You mention cleaning to engine bay with HP rinse, Apc, Hp rinse and then dressel. I'm very paranoid about using HP rinse in any car let alone the Gti, any tips? I don't know what is what in there so don't really know what to cover/what to avoid, how much pressure/dry etc.

You could PM me if you like haha :P
Thanks.

1. Basically it is the rubber that runs around the door shut area of the car itself, the rubbers on the door and around the windows (inside and out)....

2. For the engine bay, I typically will cover the alternator, computer box and coil packs on the Gti engine bays with a combo of plastic bags, saran wrap, mf towels and tape. Then its spray on the APC and agitate. Then I am using the HP washer from a few feet away so that it is really just a light mist of water landing on the engine bay, which then lifts up any of the foamy APC residue, allowing it to run off the bay. I then use a little air blower to blow out the bay. I guess there is ALWAYS going to be a risk, but I haven't had any issue to date, and I discuss the risk with all my customers prior to getting their approval to go ahead and detail the engine bay.

You nailed it like always my friend! looks outstanding my buddy!
Thanks Kyle

i wish I could take pics this nice on my details
Thank you very much.

Photography is something that you can teach yourself pretty quickly from the internet -its how I did it.... subscribe to places like Digital Photography School or Picture Correct for daily tips etc. There are countless articles etc to learn from.

I am using a very basic Cannon 1100D DSLR with the basic 18-55mm kit lens - really nothing fancy at all. To my mind (and I am no photography pro), the following are things that have really helped me improve my pics (detailing wise)

-Understanding the exposure triangle (ISO, Aperture, Shutter speed)
-Getting comfortable in full manual mode
-Understanding composition [what is where in the pic] (rule of thirds, filling the frame etc)
-Being able to manually focus on defects
-Being able to use a shallow DOF (depth of field) [this helps draw the eye to your subject by blurring out everything but the subject)

As with anything, it just takes practice to get better. First learn the art of photography before you worry about hardware upgrades. Its not the camera, but the person snapping the picture... Much like Mr Mike Phillips behind a PC 7424 will be able to make a car look better than someone who doesn't know HOW to polish paint who was using a Flex 3401:dblthumb2:
 
:iagree:

Hey Lawrence,

First off - I love the new logo on your avatar mate! Awesome! :dblthumb2:

As above, I agree totally! Your photos are ridiculous, I'd have them framed & hung on the wall in my shop if they were mine. :props:

Great to see that vehicles come to you in the condition I get alot of my work, refreshing to see. Hahaha, love the footprints on the glovebox! :xyxthumbs: Although theres no major 50/50 shots of a huge transformation from severely swirled out paint to a faultless finish - the quality & attention to "detail" is easily visible. Fantastic write up again Lawrence, very enjoyable! Thank you for sharing!

Aaryn NZ. :dblthumb2:

Thanks so much Aaryn. I have had the idea for the company name/logo for a while now, and could never 'get it out of my head onto paper' - I even fail at drawing stick men:laughing:.... never mind actually designing a logo.

Anyway, I happened to be chatting to one of my customers about it and he mentioned he is a graphic designer and would like to give it a bash in his spare time, so I gave him an idea of what I was looking for and this is what he came up with - I'm happy with it:dblthumb2: I am detailing his Toyota 86 on the weekend of 14 Feb so I think I owe it a little extra love, not only for Valentine's but also for the huge favor he did me:D

As for the swirled out paint on this detail, well.... there really wasn't any.... the owner has been taking really great care of it (despite the very dirty state it arrived in) and so trying to snap a 50/50 of the 'correction' proved kind futile, especially on this color.


Yeah definately, as much as it looked to be in a poor state - its really just dirt huh! My guess is you had some influence in how the owner cared for it after you detailed it the first time. Also, credit to you & you standards/techniques too Lawrence, so many people could inflict a fair amount of damage washing a car in that state. :props: Looks great!

I'm a fan of the logo mate!:dblthumb2: I kinda like the more "graphic" look as apposed to just a simple"outline" styled look, which seems to be the trend these days. I must admit, I'm not all that bad with a pen or pencil in hand but it can be hard to get whats in your head on to paper. I just finished rebranding my shop & played a major part of the logo design. I do like what you have there mate! :props:

Ahh, a Toyota 86. Ironic I must say - I have an 86 coming in on the 22nd - A "new" car as of last weekend when a good client purchased it from a dealership - going to put Pinnacle Black Label Coatings on the paint, glass & wheels, obviously any correction that needs to be done will be. Haven't actually been up close to one of these as yet.

Aaryn NZ. :dblthumb2:
 
1. Basically it is the rubber that runs around the door shut area of the car itself, the rubbers on the door and around the windows (inside and out)....

2. For the engine bay, I typically will cover the alternator, computer box and coil packs on the Gti engine bays with a combo of plastic bags, saran wrap, mf towels and tape. Then its spray on the APC and agitate. Then I am using the HP washer from a few feet away so that it is really just a light mist of water landing on the engine bay, which then lifts up any of the foamy APC residue, allowing it to run off the bay. I then use a little air blower to blow out the bay. I guess there is ALWAYS going to be a risk, but I haven't had any issue to date, and I discuss the risk with all my customers prior to getting their approval to go ahead and detail the engine bay.

Thank you Lawrence, always appreciate your help and advice :dblthumb2:
 
Excellent work and fantastic process documentation! :props: :dblthumb2:

CarChem APC sure seems to be a WINNER!!!!!
 
Back
Top