BryanH
New member
- Jan 9, 2013
- 152
- 0
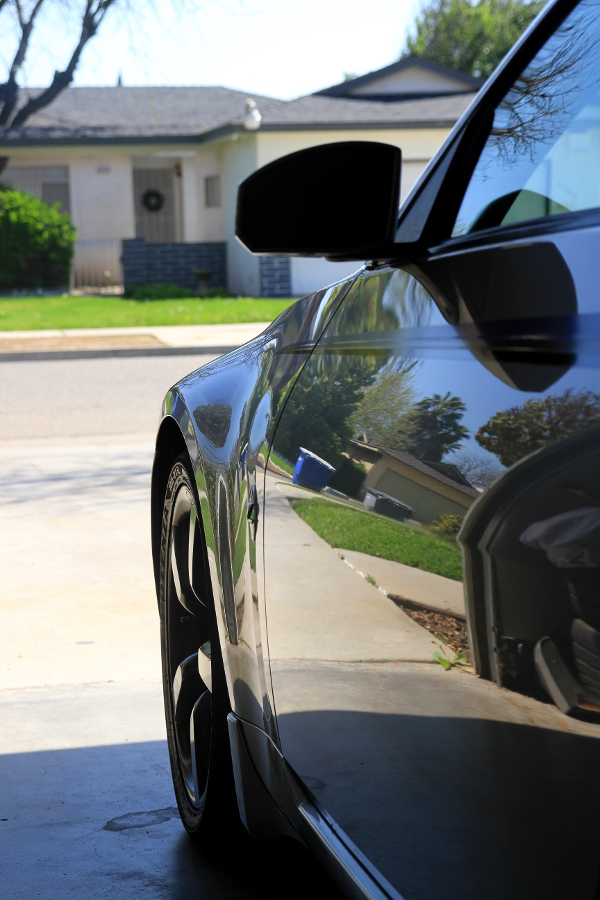
This car sits outside all the time and it hadn't been detailed in a couple years at least. The only thing it did receive was one application of PowerLock a year ago and a couple of D156 Spray Wax uses more recently. No correction. This color hides imperfections well, and even though it had plenty of mild swirls, some RIDS, some light water spots, and a little haze to the clear coat, D156 still made it look pretty reasonable from 5 feet. The plastic headlight lenses, on the other hand, had to be machine polished and sealed every few months. They turn yellow frequently sitting outside. I've tried various sealants on them and not noticed any differences in how long it takes for the lenses to yellow again.
The blue part of the replica NISMO stripe had faded and cracked so it was removed a few weeks ago. I got a replacement recently and planned to apply it after paint correction but before sealant. This was also a good excuse to get the Griots Garage 3" DA polisher on sale.") To get those smaller areas around the stripes as well as things like A-pillars and headlights going forward.
To get those smaller areas around the stripes as well as things like A-pillars and headlights going forward.
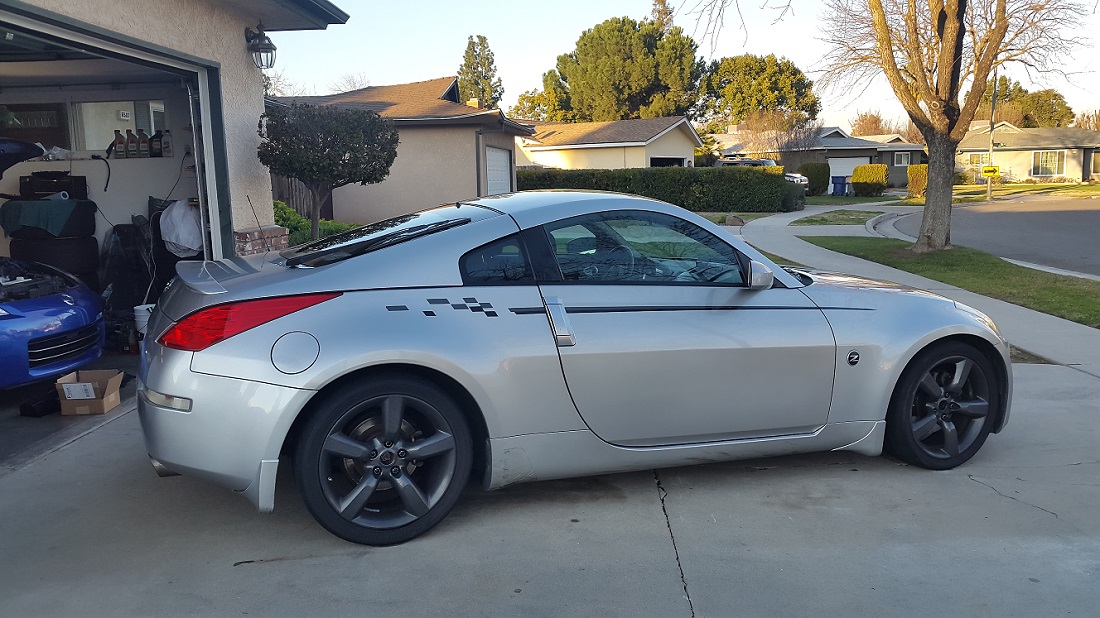
What I started with:
I began by washing with Chemical Guys Clean Slate to strip any D156 remaining. I used it at a higher dilution ratio in an attempt to give it extra stripping power. It felt like a good car soap, one of the best I've used, although there was still plenty of beading afterwards so I'm not sure it removed very much protection if any. I dried the car 90%, sprayed on IronX, let it dwell a few minutes and gave it a good rinse, then fully dried the car. Then it was time to pull it in the garage and start claying.
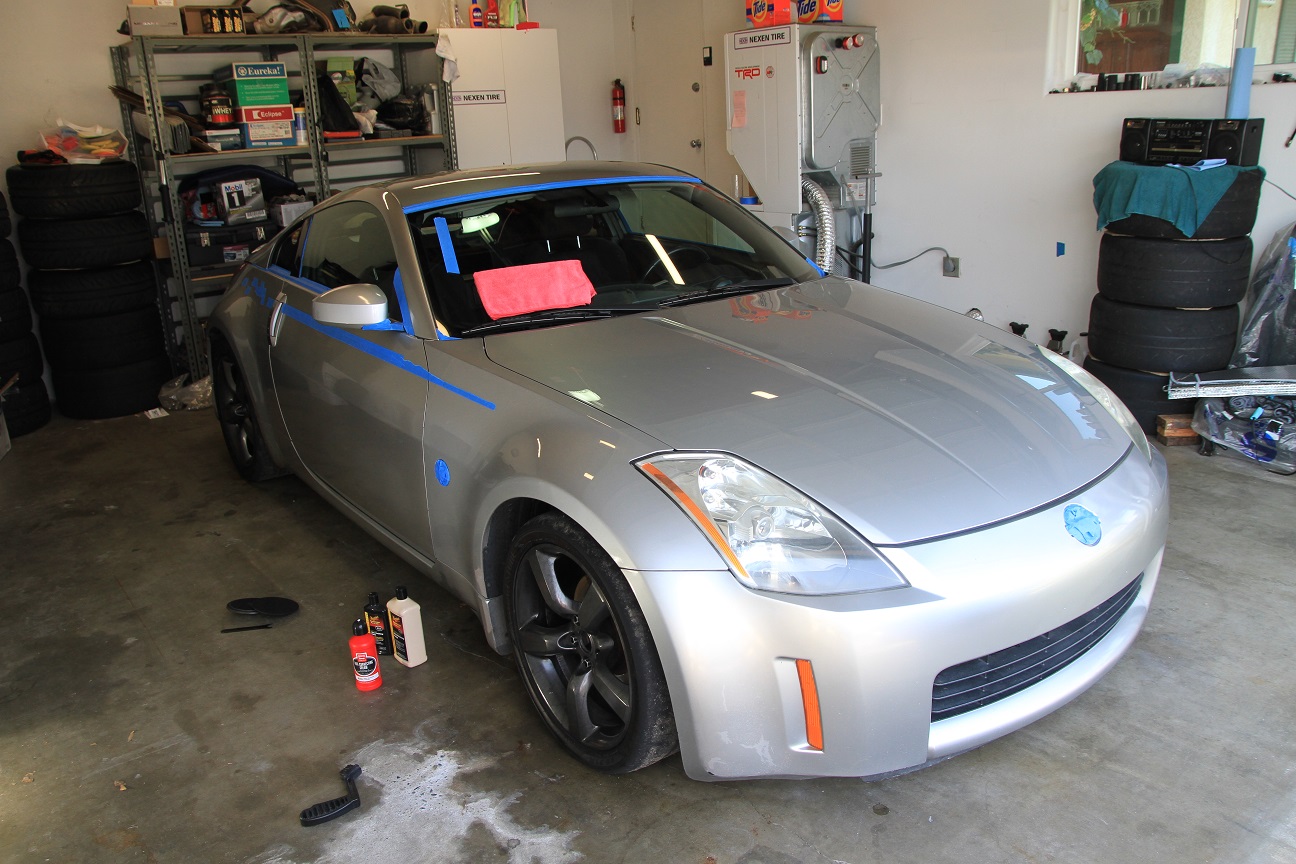
Masked off and ready for test spots.
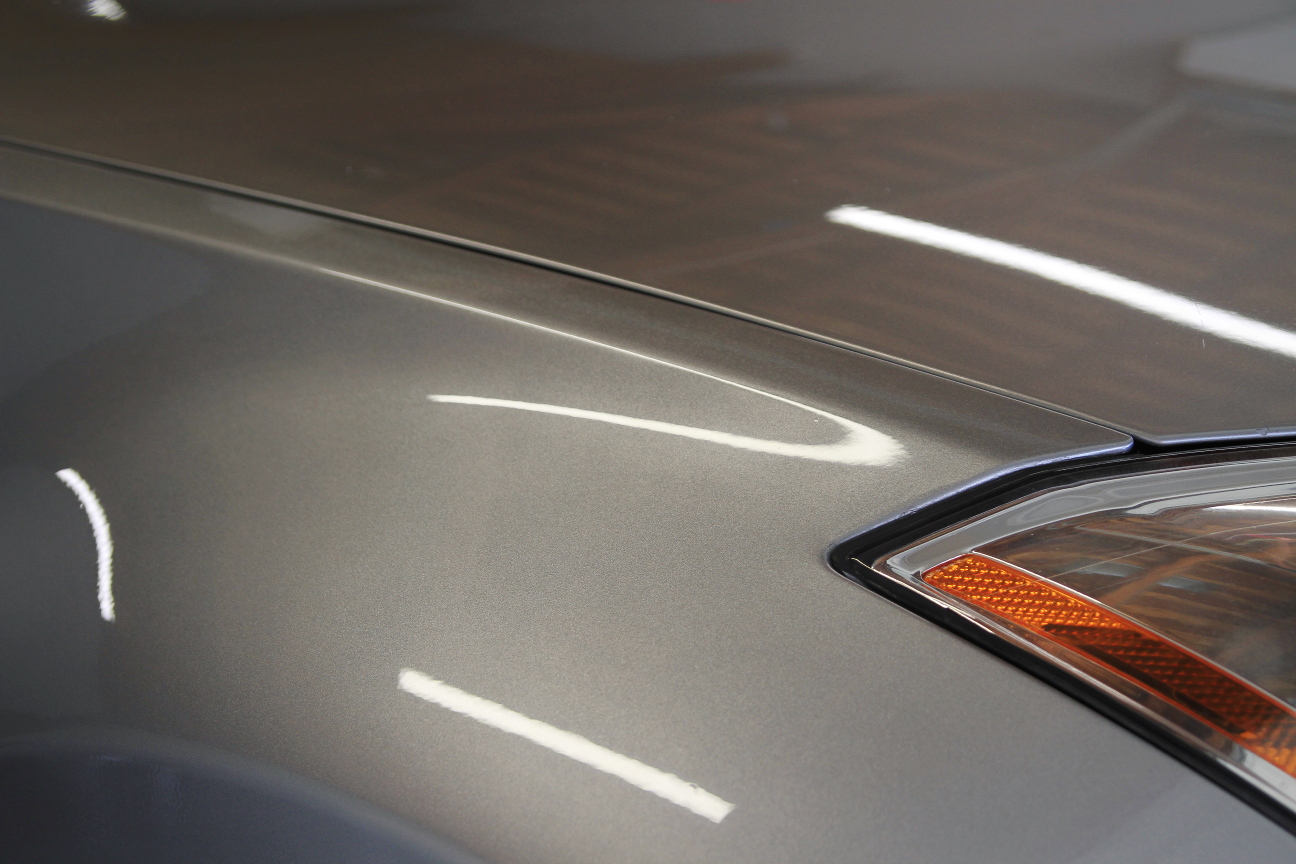
I wasn't aiming for 100% correction on a daily driver, but I found Griots Fast Correcting Cream to work well. In a few small areas I went over them twice to get some extra correction. What amazed me is that on both a Meguiars yellow polishing pad and Meguiars MF cutting pad, FCC finished out extremely well. When testing my process I did a section with FCC then went back over half of it with my go-to final polish -- M205. With the lighting I had and the light color of the paint, I wasn's sure if there was a difference or not. So once I did the whole car with FCC I went back and did a couple more 50/50 tape lines with M205 in different areas of the car. I could tell no difference. Pretty amazing that a compound can cut that well *and* finish that well, at least on this paint. The cutting ability reminded me of UC, maybe a little better. But it didn't leave the paint hazy like UC does. Very impressive.
For the clear lenses recessed in the rear bumper I compounded by hand. They were also yellowed and hazy before.
For the smaller sections I used a Hydrotech cyan 3" pad on the GG3. The little DA was louder and less ergonomic/balanced than my G110v2, and with this pad it didn't seem to have quite as much cut. It's my first time using Hydrotech pads and a 3" polisher/pad for that matter. Should I look into a more aggressive 3" pad? It did feel like a very high quality pad, my one other nitpick being it was hard to peel off the backing plate.
I then applied the stripes to the car after using some CarPro Eraser. Applying vinyl was a learning process in itself. I'm happy with how they came out.
The car was finished up with DG601/105 which was also new to me. 601 flashes so fast, it's tough to know if you've gotten full coverage of the bonding agent. It's also sticky enough (not very creamy/smooth) that I wondered if I wasn't putting a few micro scratches in the clear by applying it. When it was time to apply 105 it went on a little better, although still wasn't the easiest to work with (it can't touch PowerLock or P21S Concours wax in that regard). The end result looks good, as you'd expect, and I'm hoping for durable protection. The car has already been washed once since the 105 application and it cleans and dries very nicely.

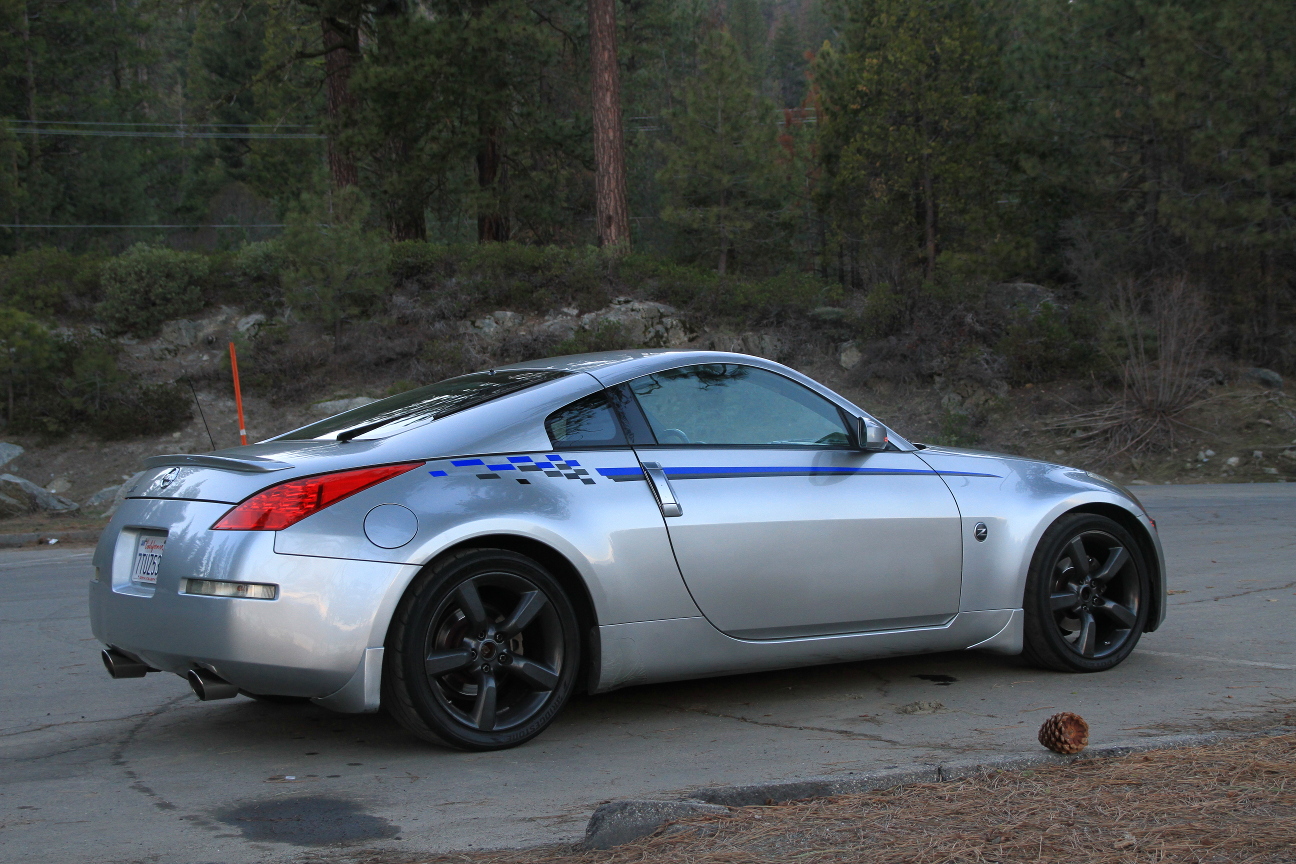
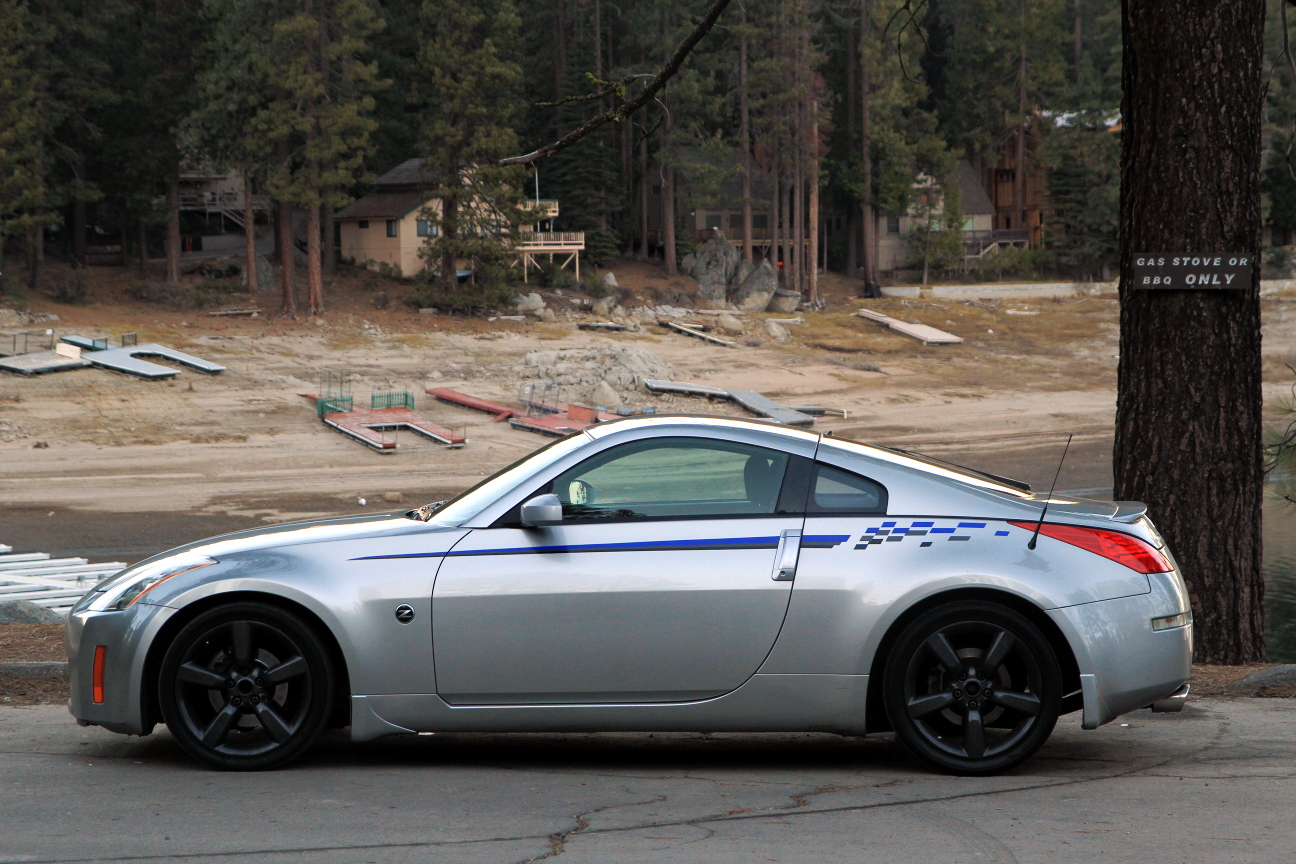
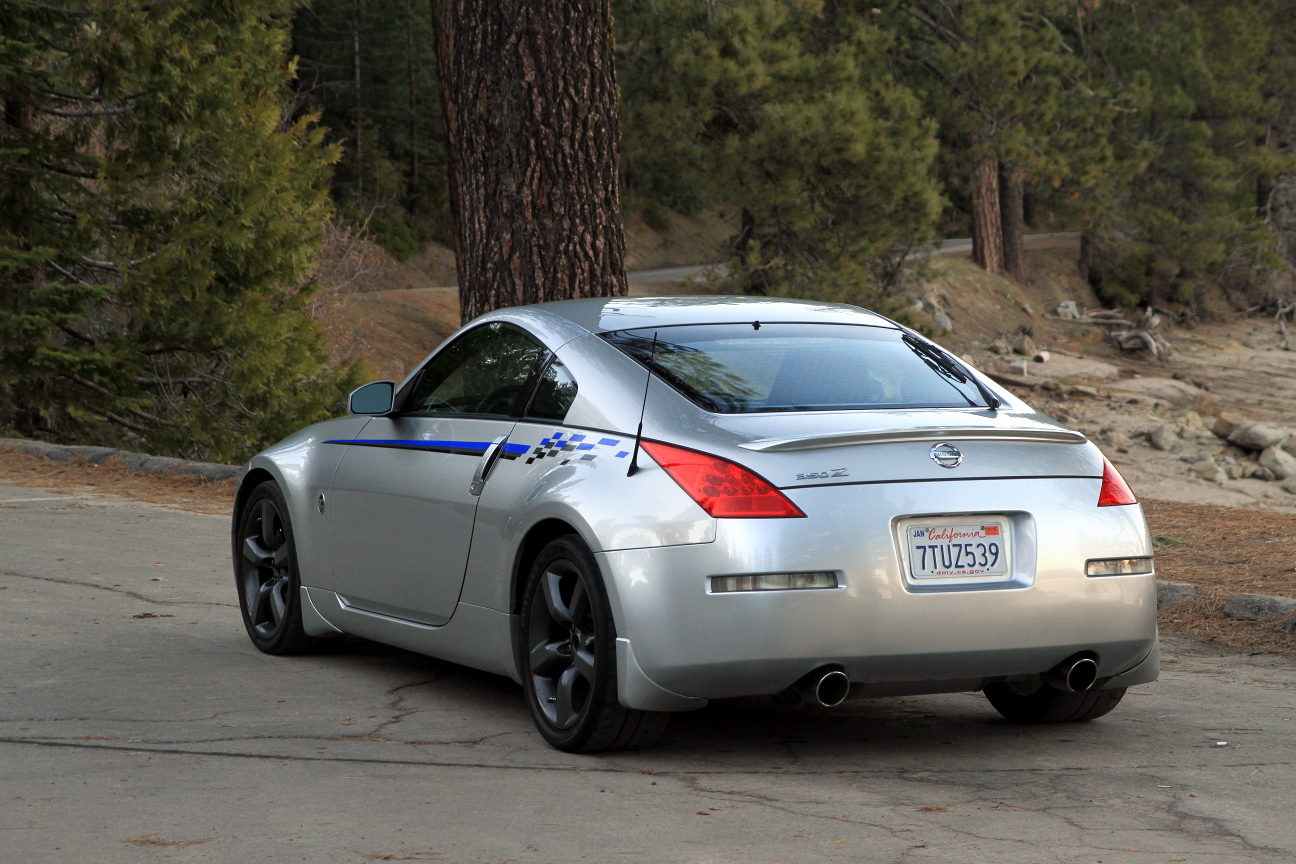
This wasn't a radical transformation like my last Z detail. The paint on this one wasn't so neglected and the light silver color isn't as striking. I took a few 50/50 shots during the process but none properly showed the difference that my eyes could see. So instead of that, enjoy some pictures from a a drive to the lake. Don't mind the fresh bugs on the bumper.

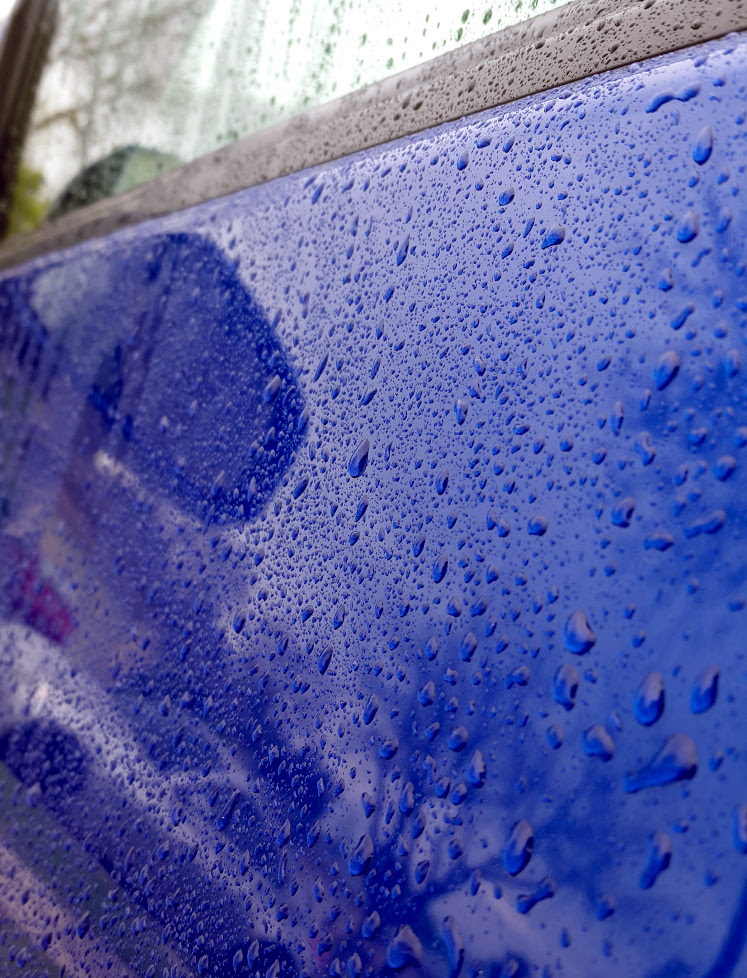
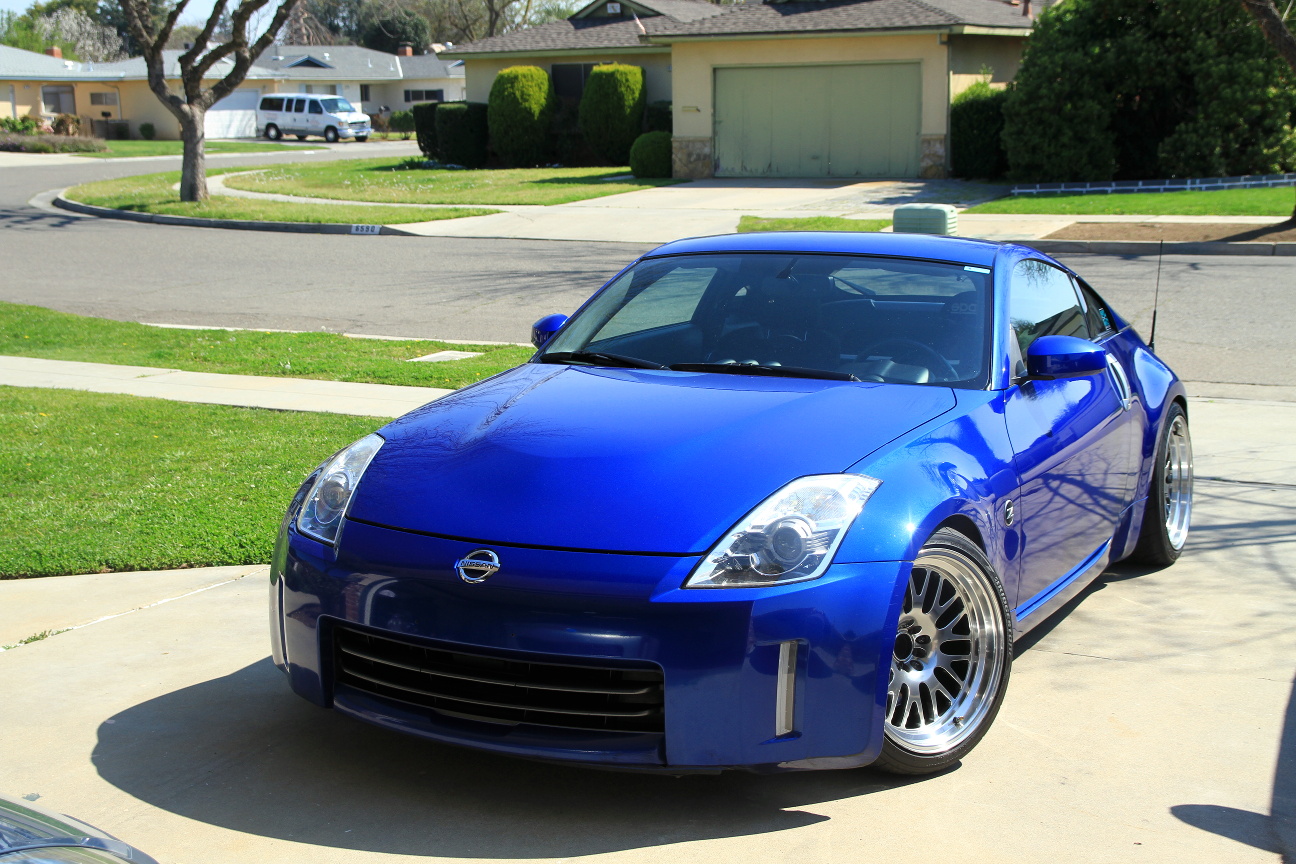
That's all for now. Here's what's up next.") The deep blue should be a lot more rewarding.
The deep blue should be a lot more rewarding.
The blue part of the replica NISMO stripe had faded and cracked so it was removed a few weeks ago. I got a replacement recently and planned to apply it after paint correction but before sealant. This was also a good excuse to get the Griots Garage 3" DA polisher on sale.
To get those smaller areas around the stripes as well as things like A-pillars and headlights going forward. What I started with:
I began by washing with Chemical Guys Clean Slate to strip any D156 remaining. I used it at a higher dilution ratio in an attempt to give it extra stripping power. It felt like a good car soap, one of the best I've used, although there was still plenty of beading afterwards so I'm not sure it removed very much protection if any. I dried the car 90%, sprayed on IronX, let it dwell a few minutes and gave it a good rinse, then fully dried the car. Then it was time to pull it in the garage and start claying.
Masked off and ready for test spots.
I wasn't aiming for 100% correction on a daily driver, but I found Griots Fast Correcting Cream to work well. In a few small areas I went over them twice to get some extra correction. What amazed me is that on both a Meguiars yellow polishing pad and Meguiars MF cutting pad, FCC finished out extremely well. When testing my process I did a section with FCC then went back over half of it with my go-to final polish -- M205. With the lighting I had and the light color of the paint, I wasn's sure if there was a difference or not. So once I did the whole car with FCC I went back and did a couple more 50/50 tape lines with M205 in different areas of the car. I could tell no difference. Pretty amazing that a compound can cut that well *and* finish that well, at least on this paint. The cutting ability reminded me of UC, maybe a little better. But it didn't leave the paint hazy like UC does. Very impressive.
For the clear lenses recessed in the rear bumper I compounded by hand. They were also yellowed and hazy before.
For the smaller sections I used a Hydrotech cyan 3" pad on the GG3. The little DA was louder and less ergonomic/balanced than my G110v2, and with this pad it didn't seem to have quite as much cut. It's my first time using Hydrotech pads and a 3" polisher/pad for that matter. Should I look into a more aggressive 3" pad? It did feel like a very high quality pad, my one other nitpick being it was hard to peel off the backing plate.
I then applied the stripes to the car after using some CarPro Eraser. Applying vinyl was a learning process in itself. I'm happy with how they came out.
The car was finished up with DG601/105 which was also new to me. 601 flashes so fast, it's tough to know if you've gotten full coverage of the bonding agent. It's also sticky enough (not very creamy/smooth) that I wondered if I wasn't putting a few micro scratches in the clear by applying it. When it was time to apply 105 it went on a little better, although still wasn't the easiest to work with (it can't touch PowerLock or P21S Concours wax in that regard). The end result looks good, as you'd expect, and I'm hoping for durable protection. The car has already been washed once since the 105 application and it cleans and dries very nicely.
This wasn't a radical transformation like my last Z detail. The paint on this one wasn't so neglected and the light silver color isn't as striking. I took a few 50/50 shots during the process but none properly showed the difference that my eyes could see. So instead of that, enjoy some pictures from a a drive to the lake. Don't mind the fresh bugs on the bumper.
That's all for now. Here's what's up next.
The deep blue should be a lot more rewarding.


 My brothers wife used to have a Tercel back in the days.