5 day correction detail 997 Turbo

tdekany

SELF BANNED
Joined
May 5, 2009
Messages
1,052
Reaction score
0
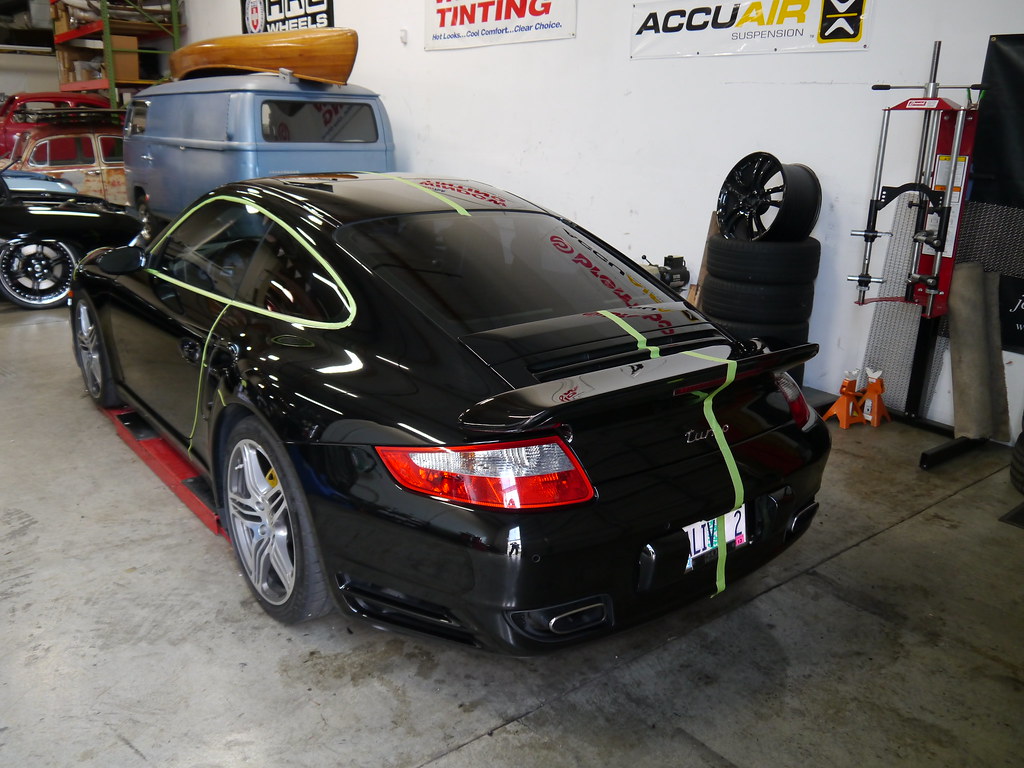
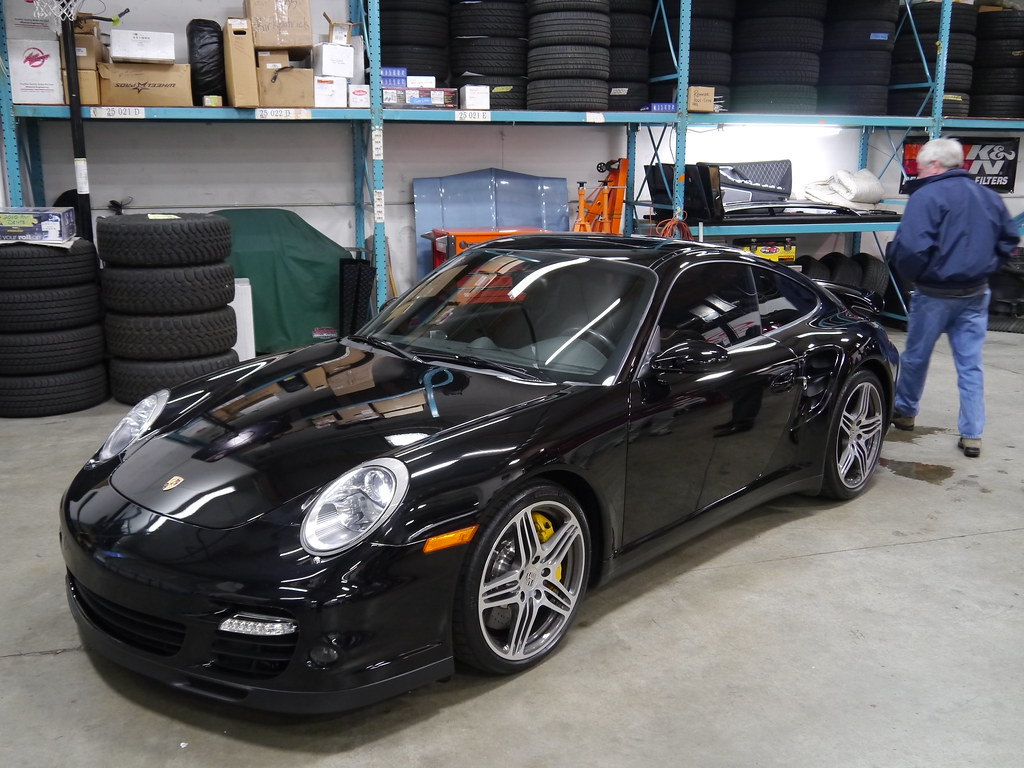
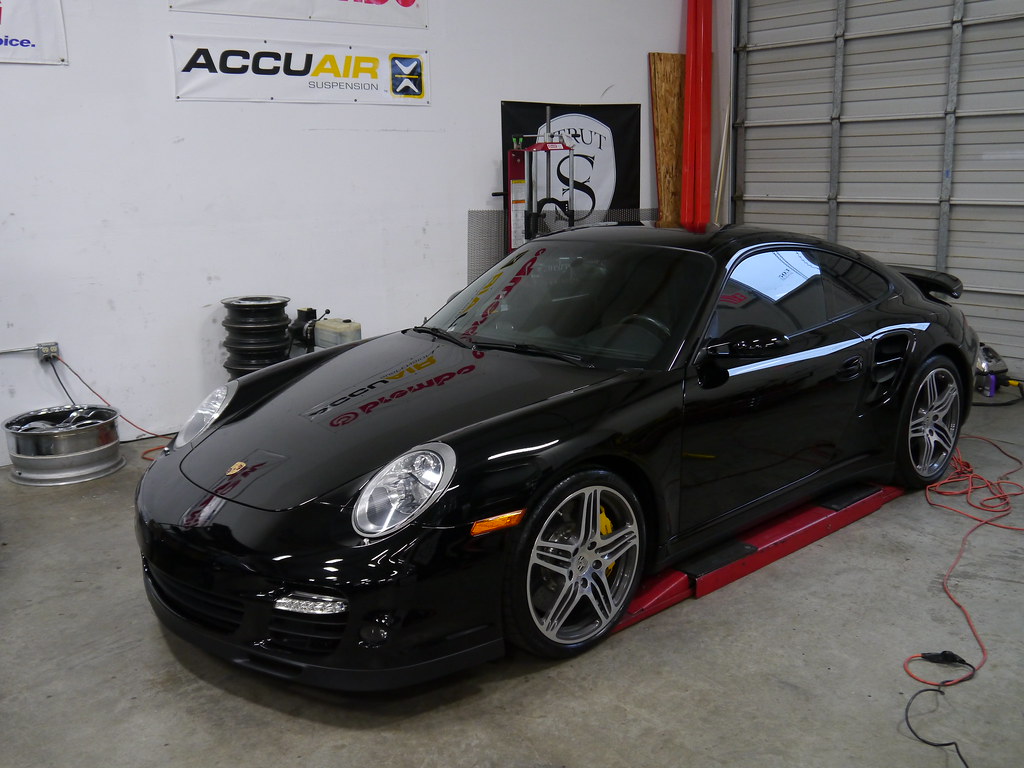
I'd say over 35 hours went into this detail. The car is a 2007, and owned by the client for just about a year.


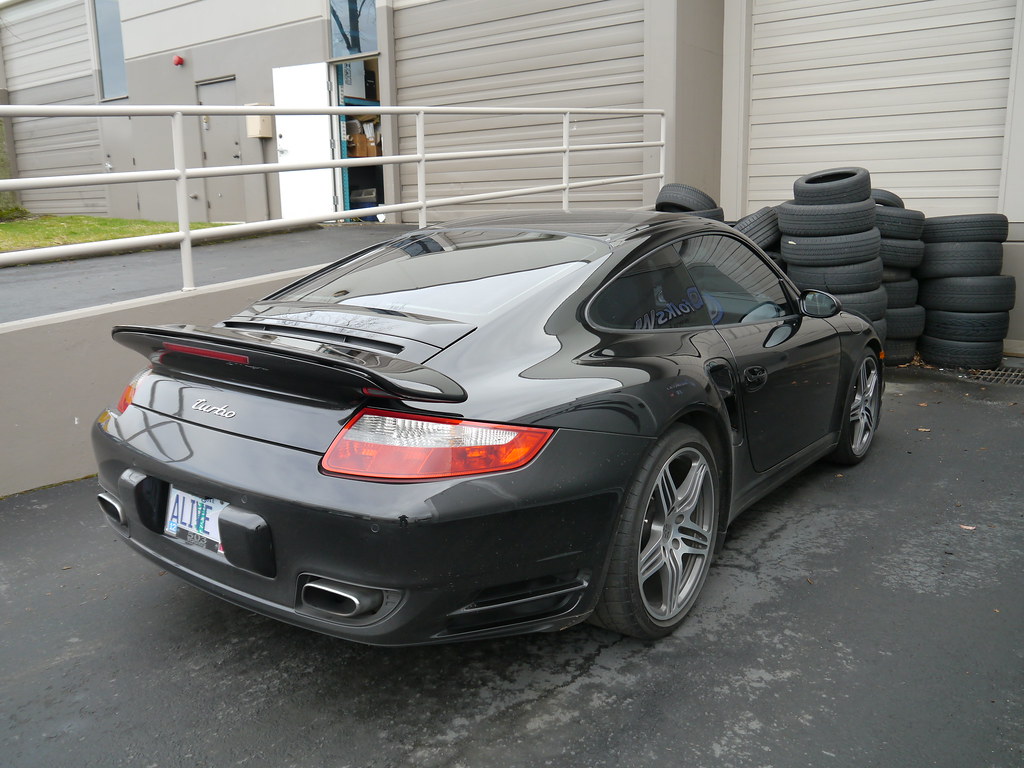
P1020120 by thomasdekany, on Flickr


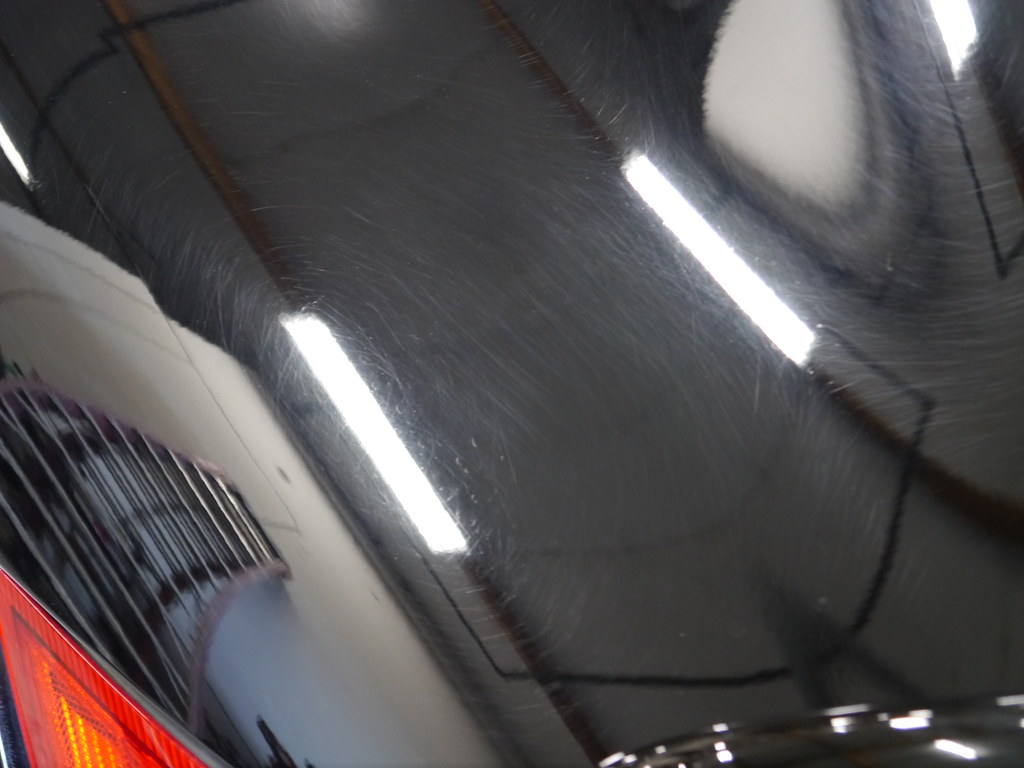
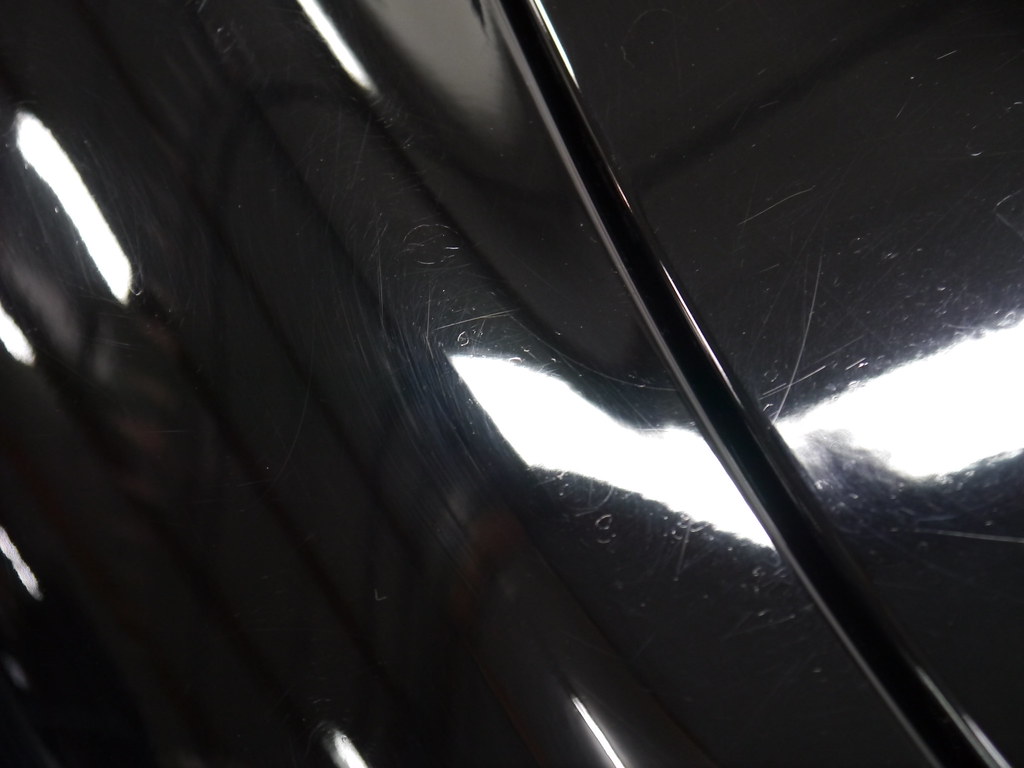
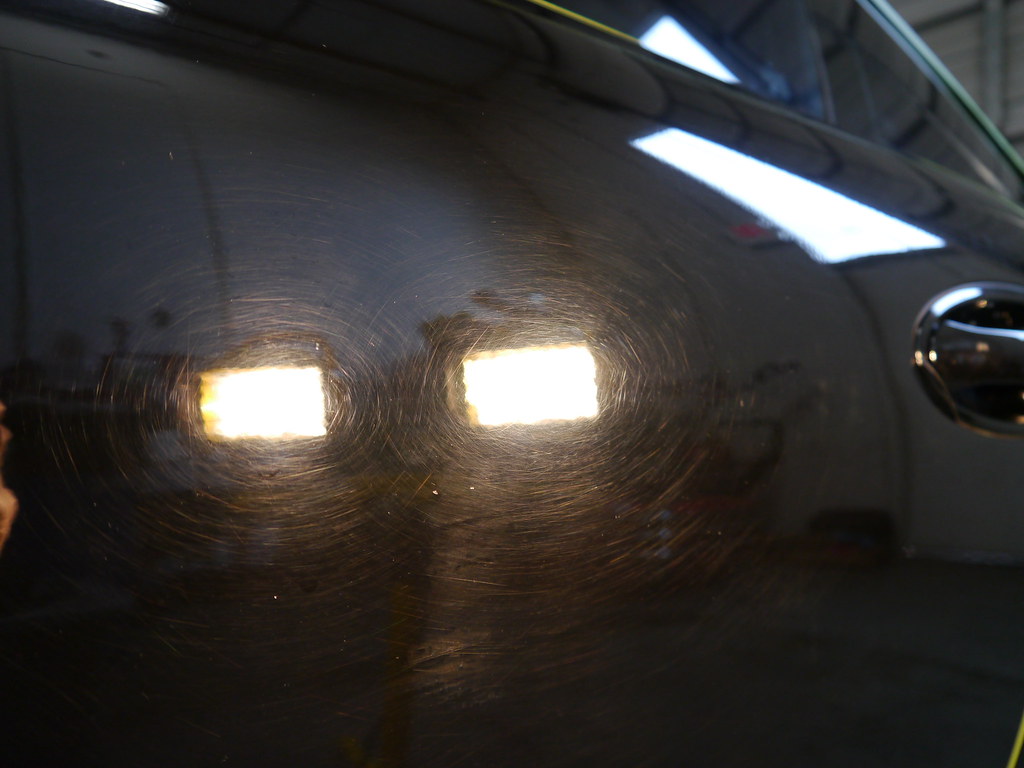
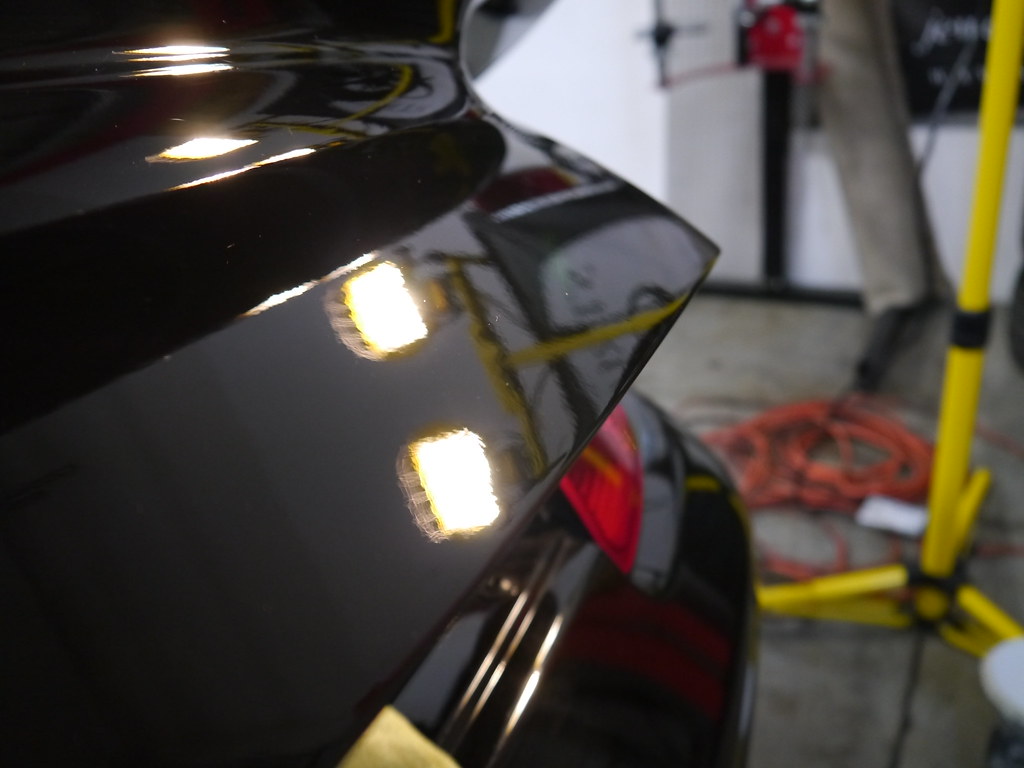
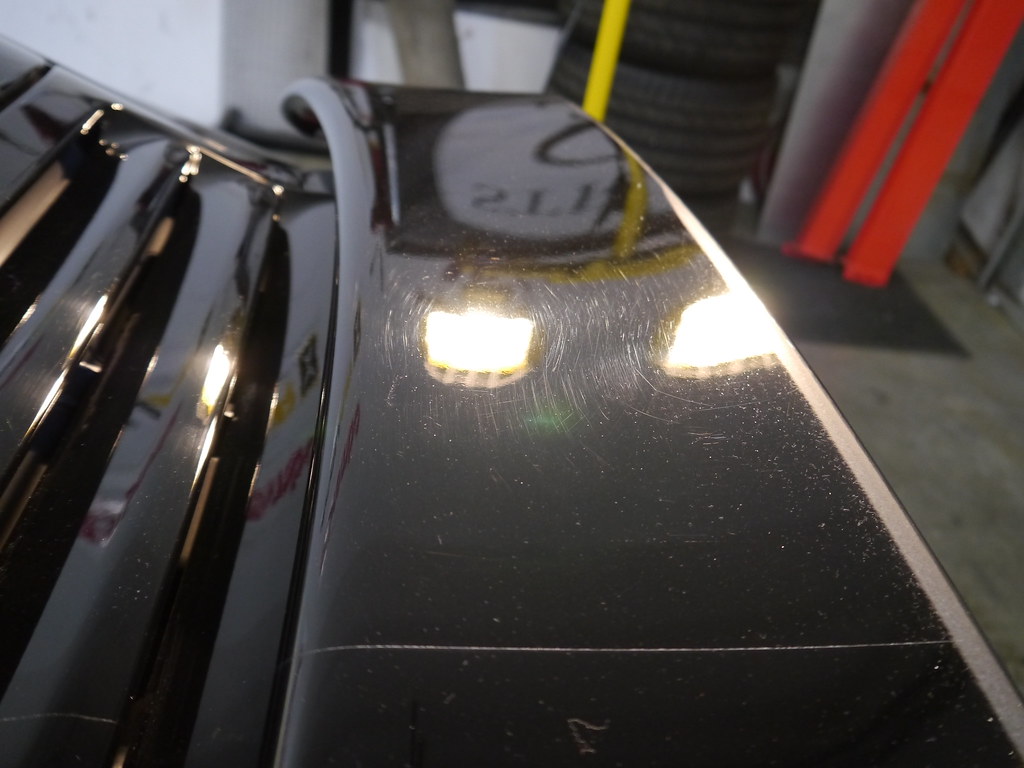
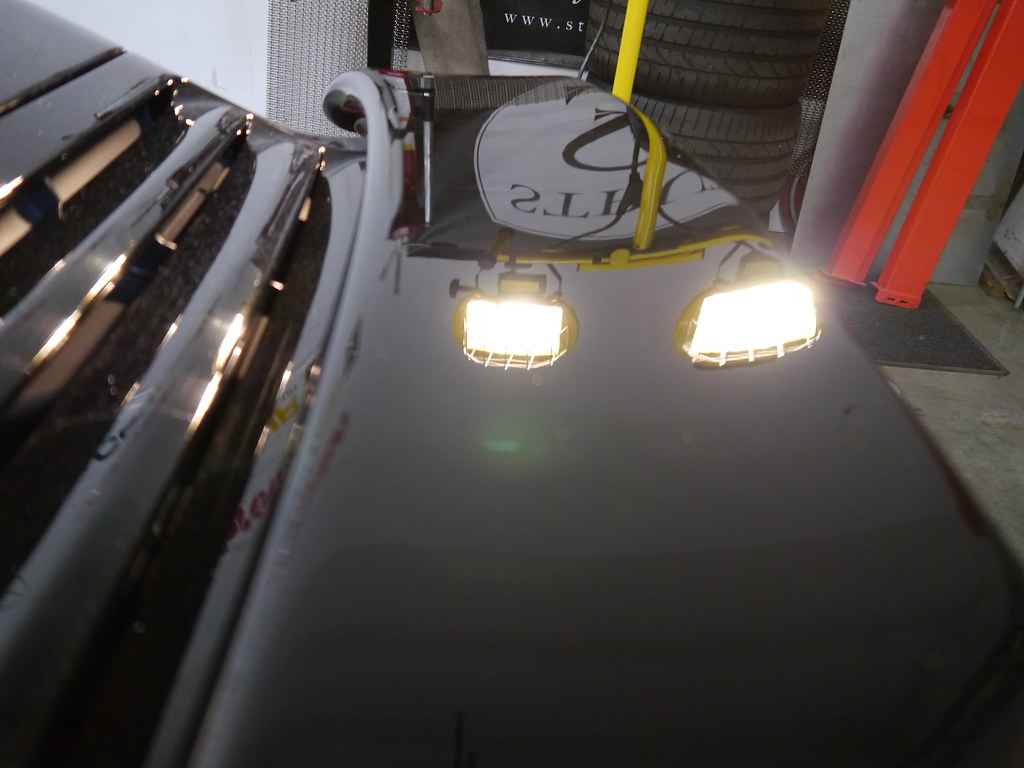
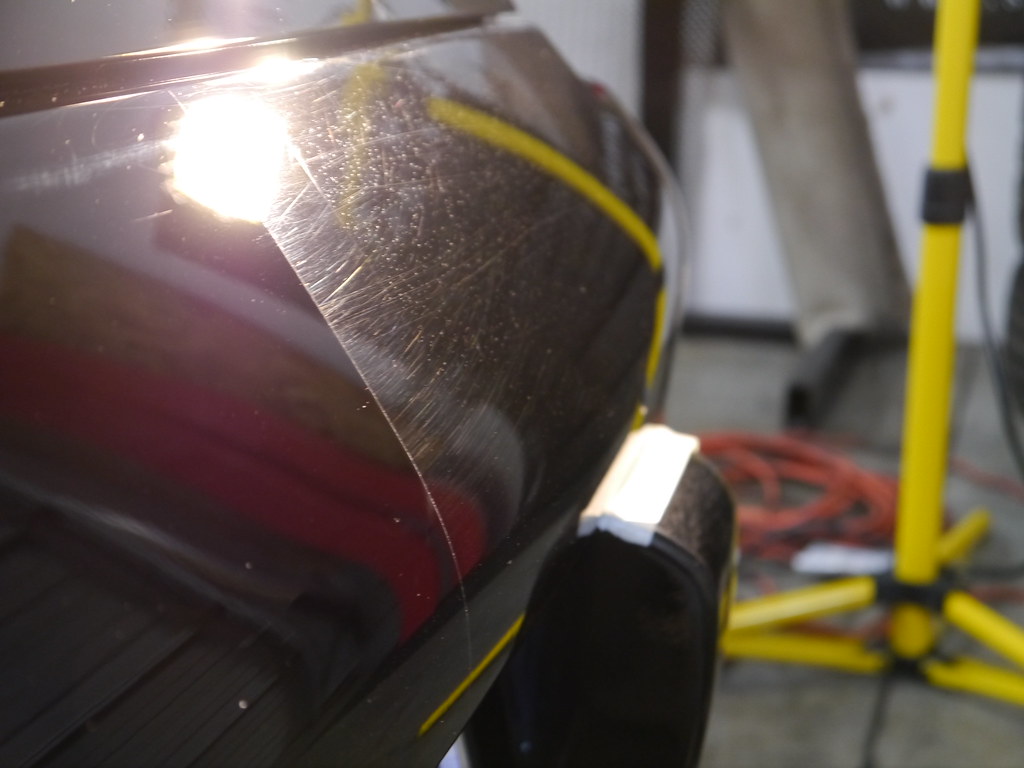
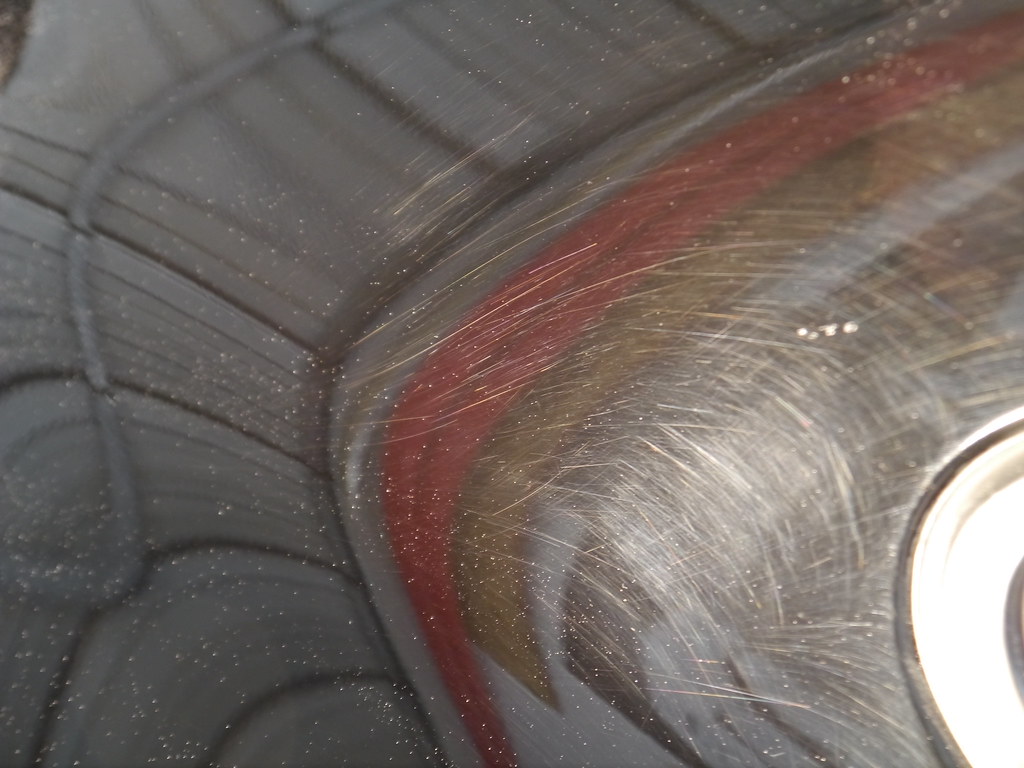
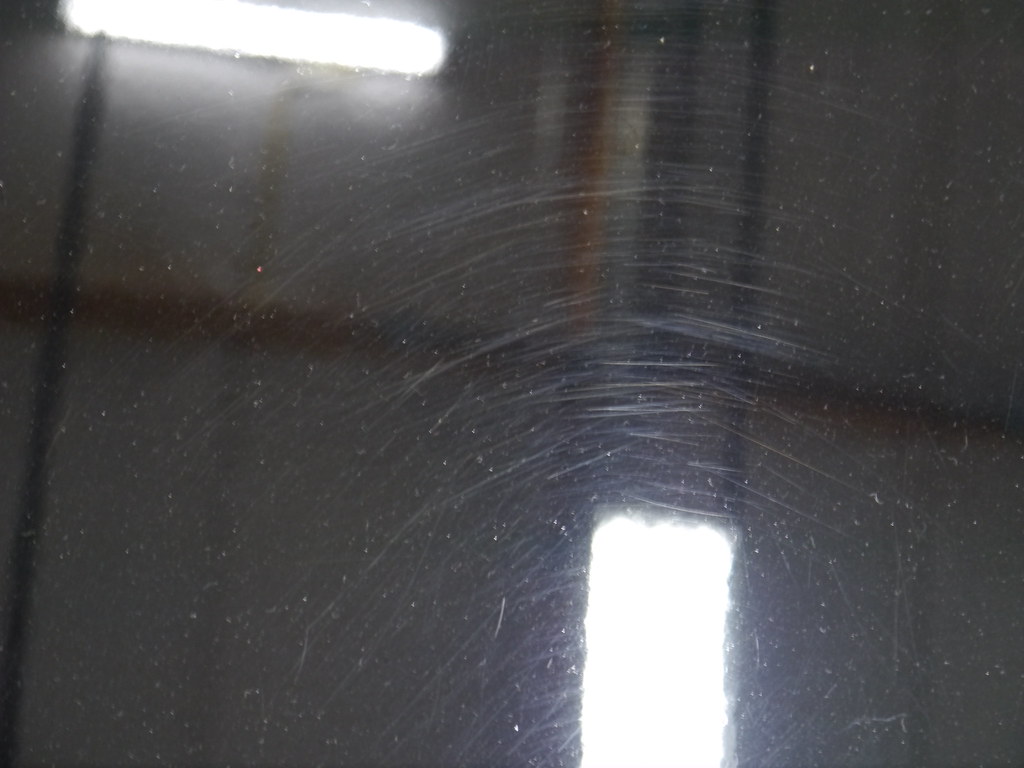
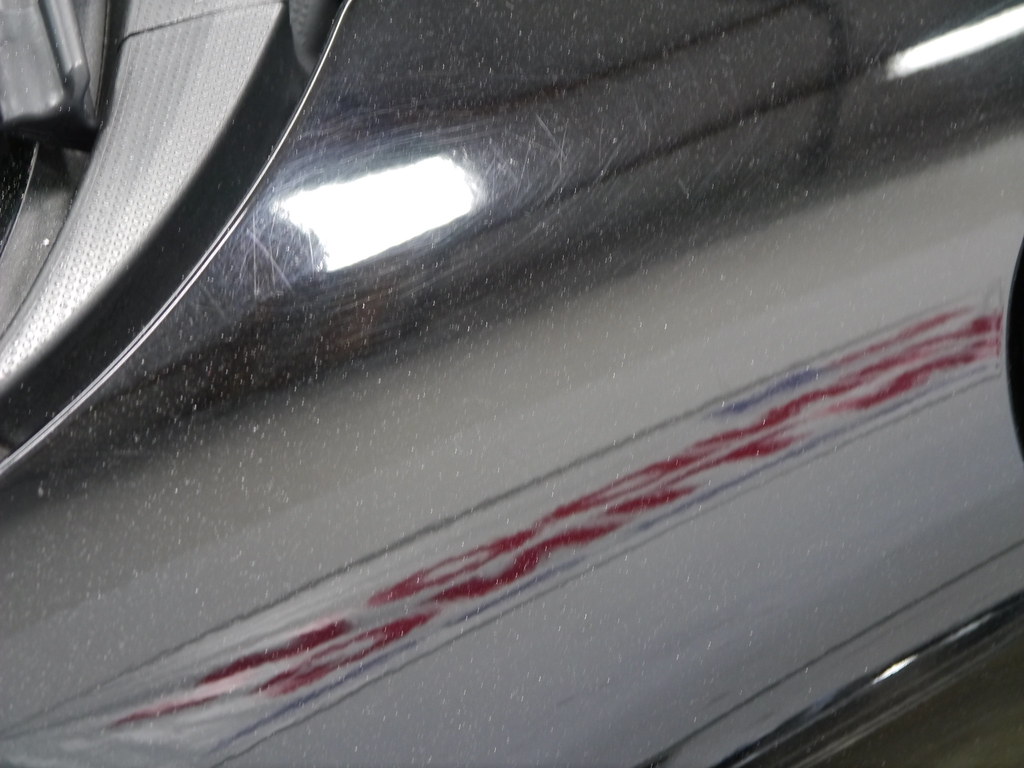
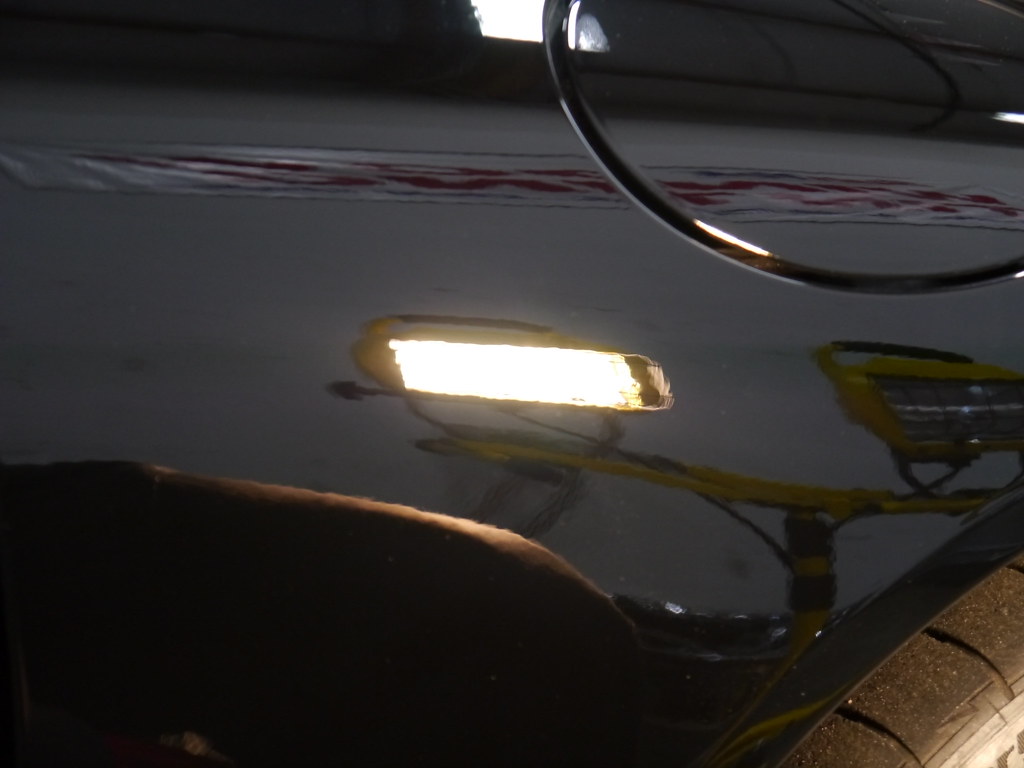
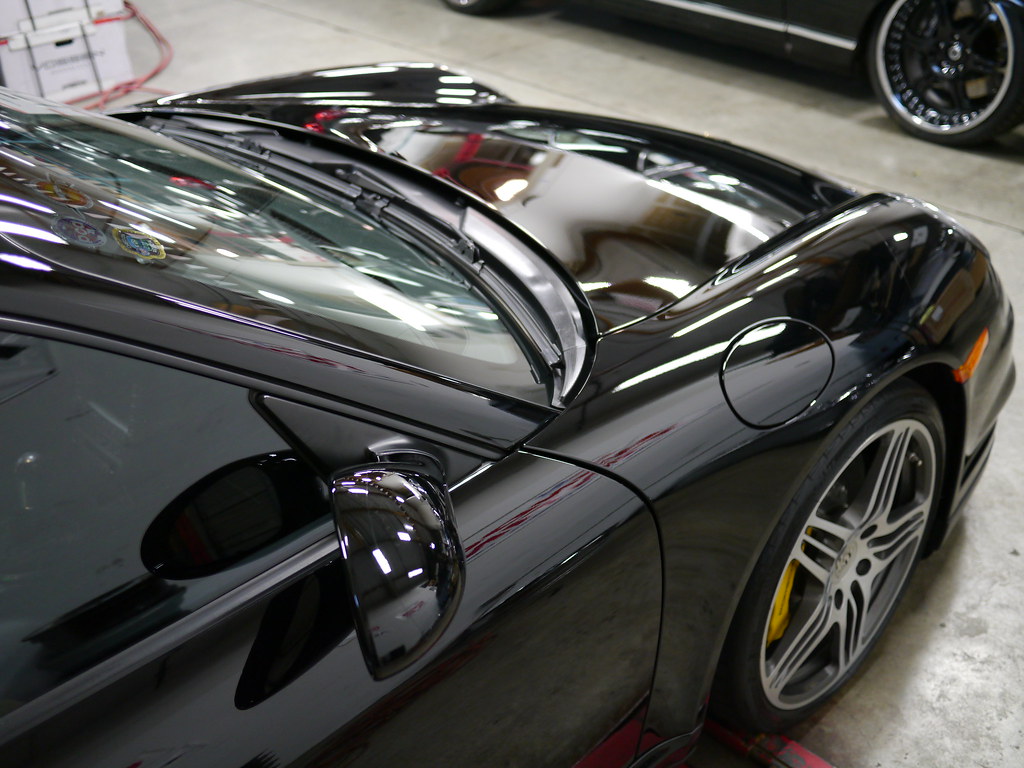
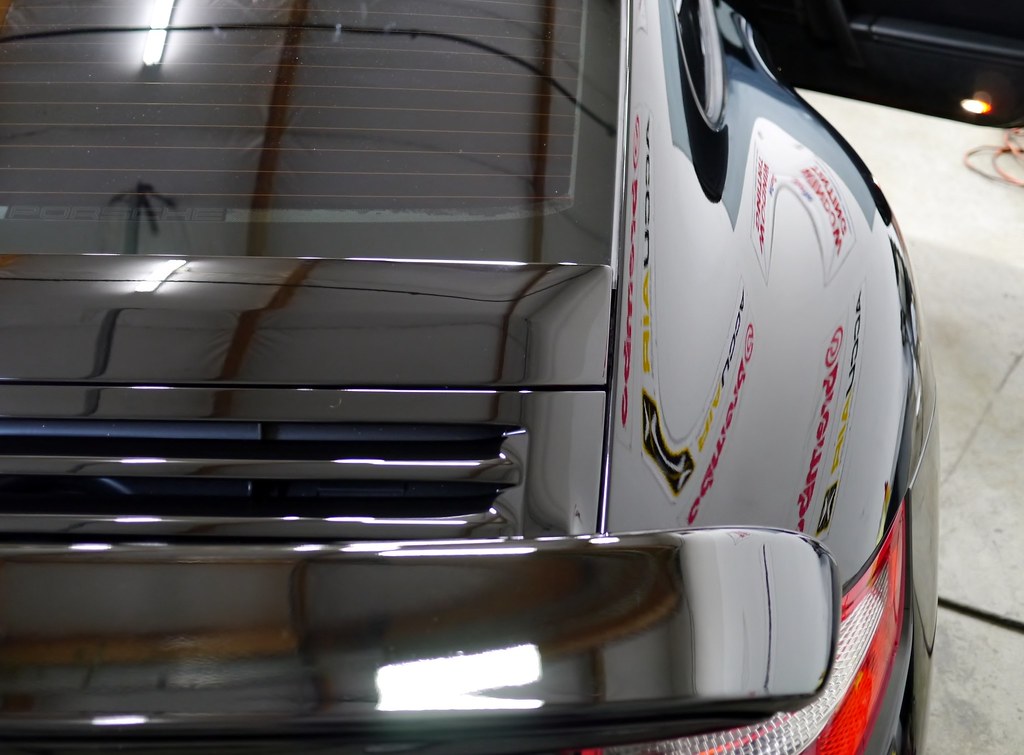
The condition was very typical, which was not very good, but that is to be expected. It took awhile to convince the owner to do a full paint correction, because doing a 2 step simply isn't good enough when it comes to neglected flat black paint imo. So after washing and claying the car, it was brought in for me to dry and evaluate the true condition. Here are some random pictures from the different panels. RIDS, water spots, (the owner's only concern) and lots of swirls


P1020148 by thomasdekany, on Flickr


P1020135 by thomasdekany, on Flickr


P1020136 by thomasdekany, on Flickr


P1020137 by thomasdekany, on Flickr


P1020138 by thomasdekany, on Flickr


P1020139 by thomasdekany, on Flickr


P1020142 by thomasdekany, on Flickr


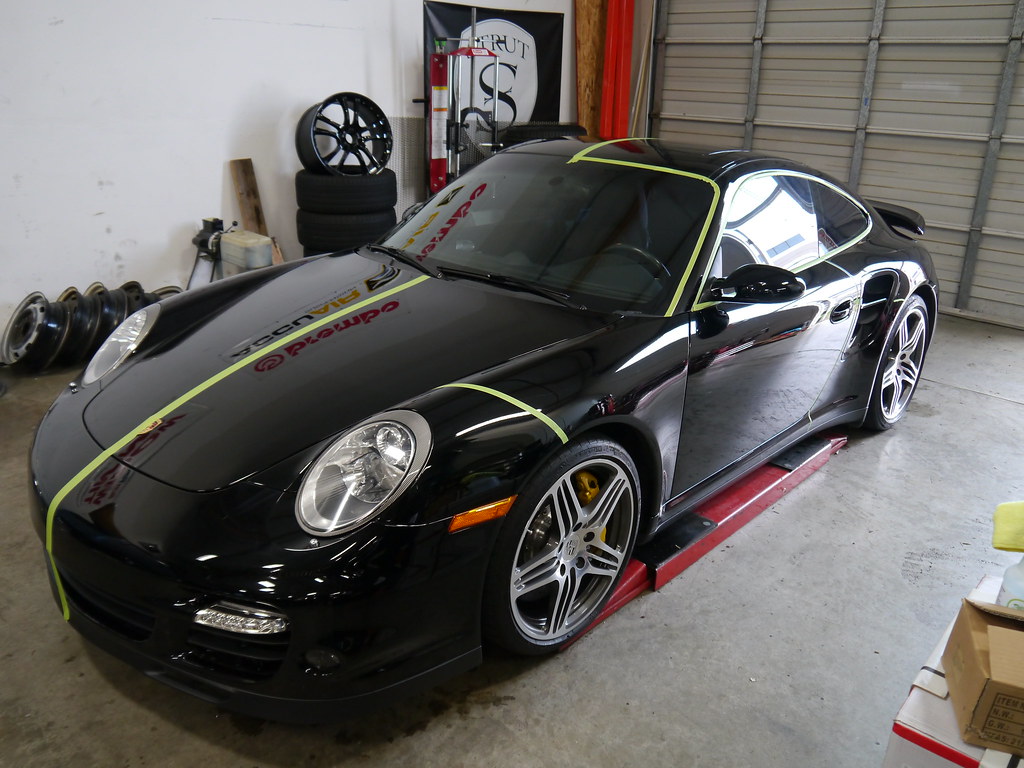
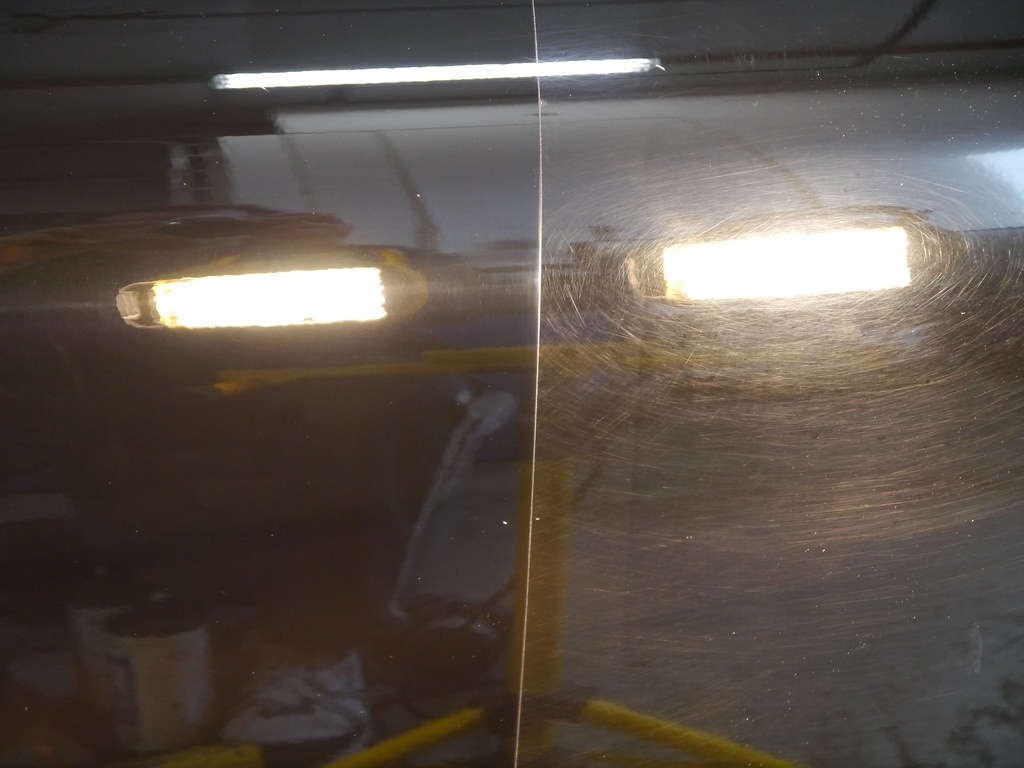
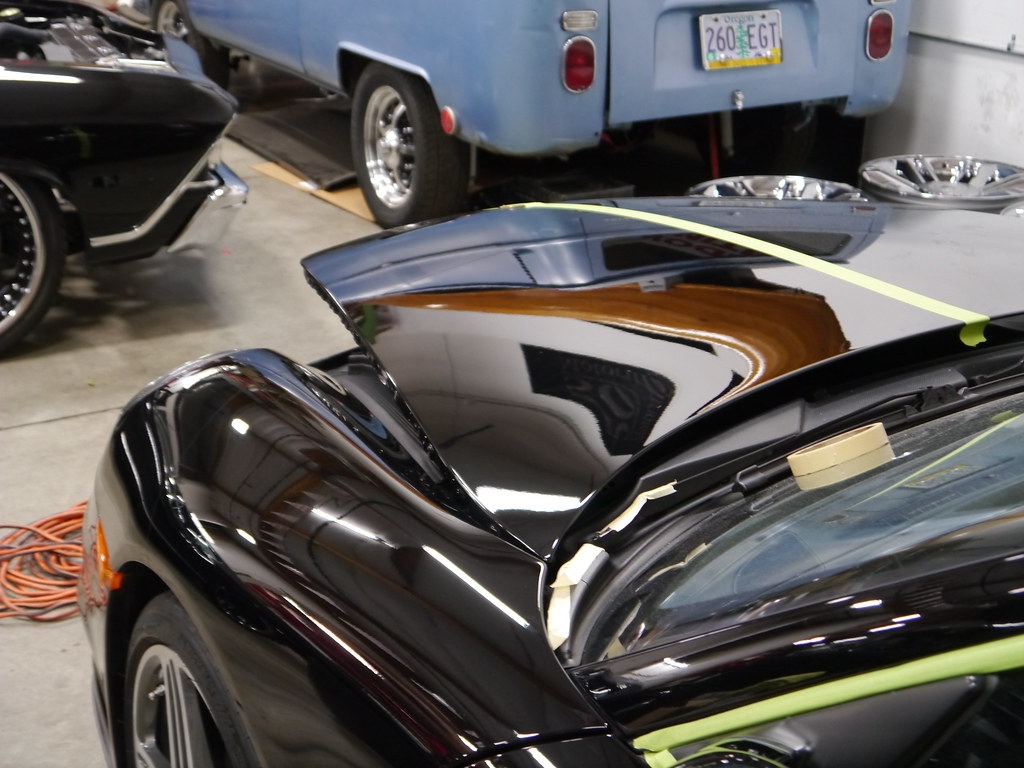
In the middle of it all, there was going to be a club meeting for the NW Porsche club, so we decided to do a true 50/50 display and I taped the car down in the middle​


P1020143 by thomasdekany, on Flickr


P1020144 by thomasdekany, on Flickr

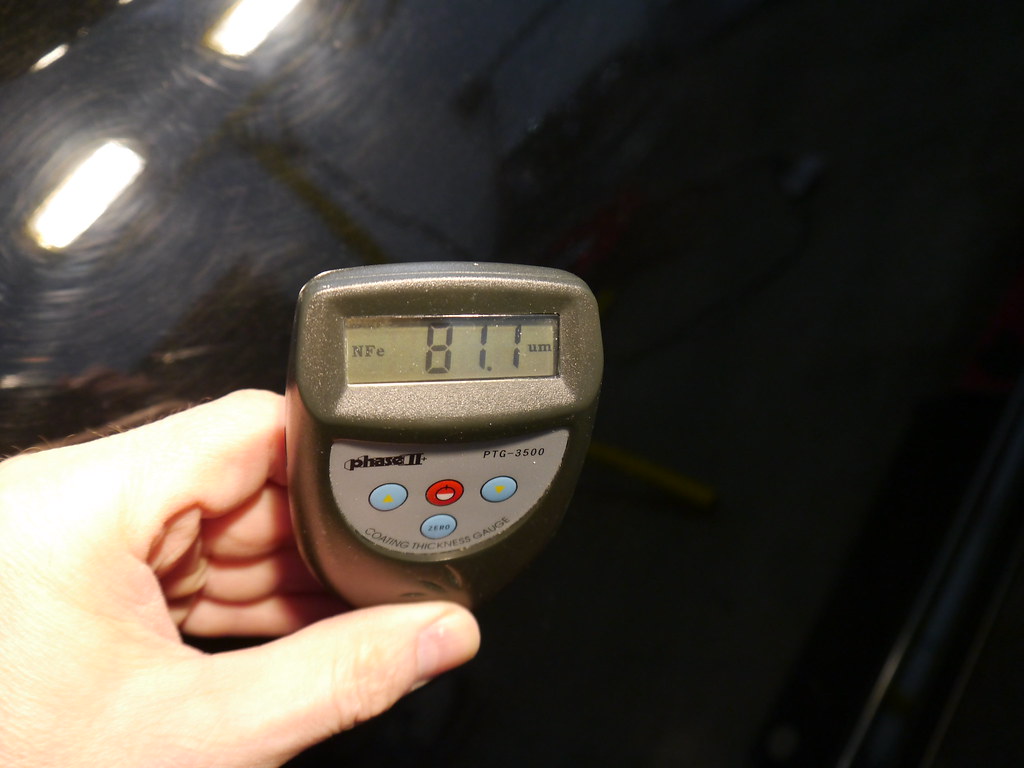
As soon as I was done taping, I measured the paint on the left side


P1020149 by thomasdekany, on Flickr


P1020151 by thomasdekany, on Flickr


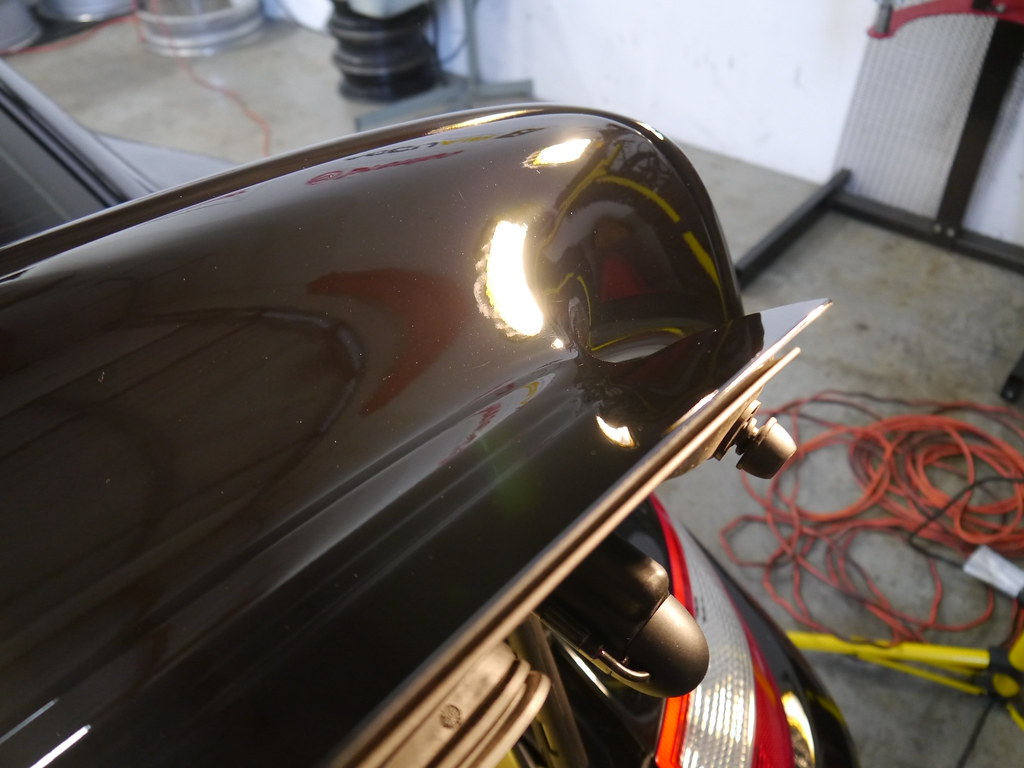
Once I had an idea, I started to cut the paint right away because I only had 2 days to do the driver's side.

How is this for a start?


P1020155 by thomasdekany, on Flickr

Much better


P1020158 by thomasdekany, on Flickr


P1020161 by thomasdekany, on Flickr

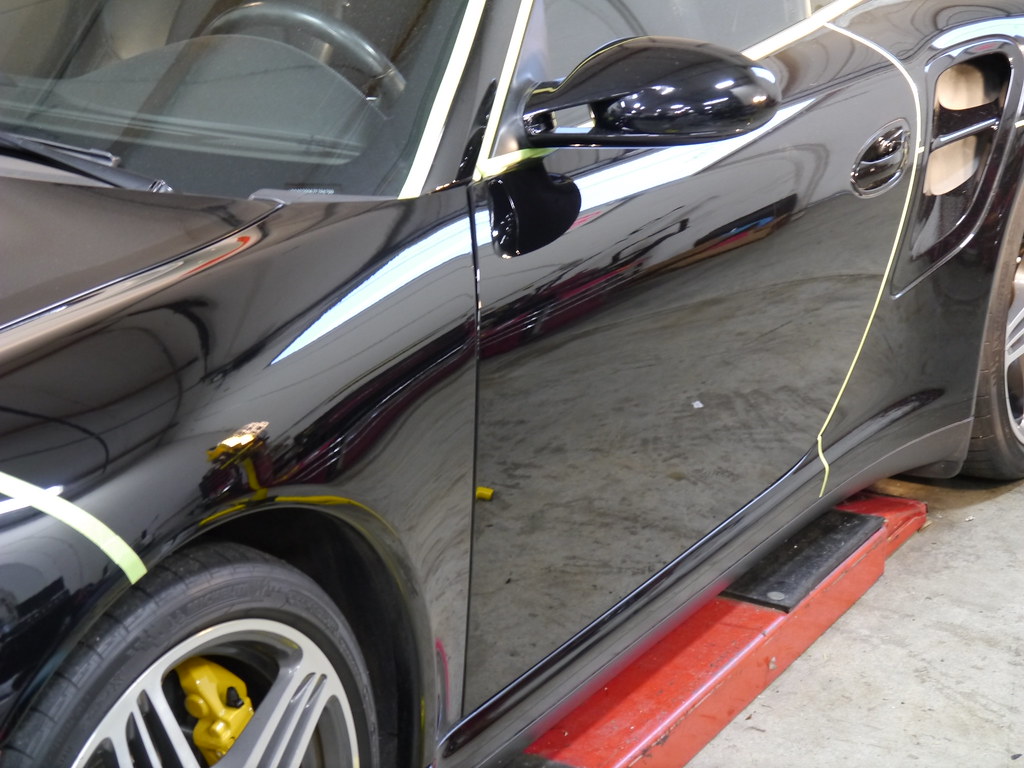
Front fender and door is done


P1020167 by thomasdekany, on Flickr

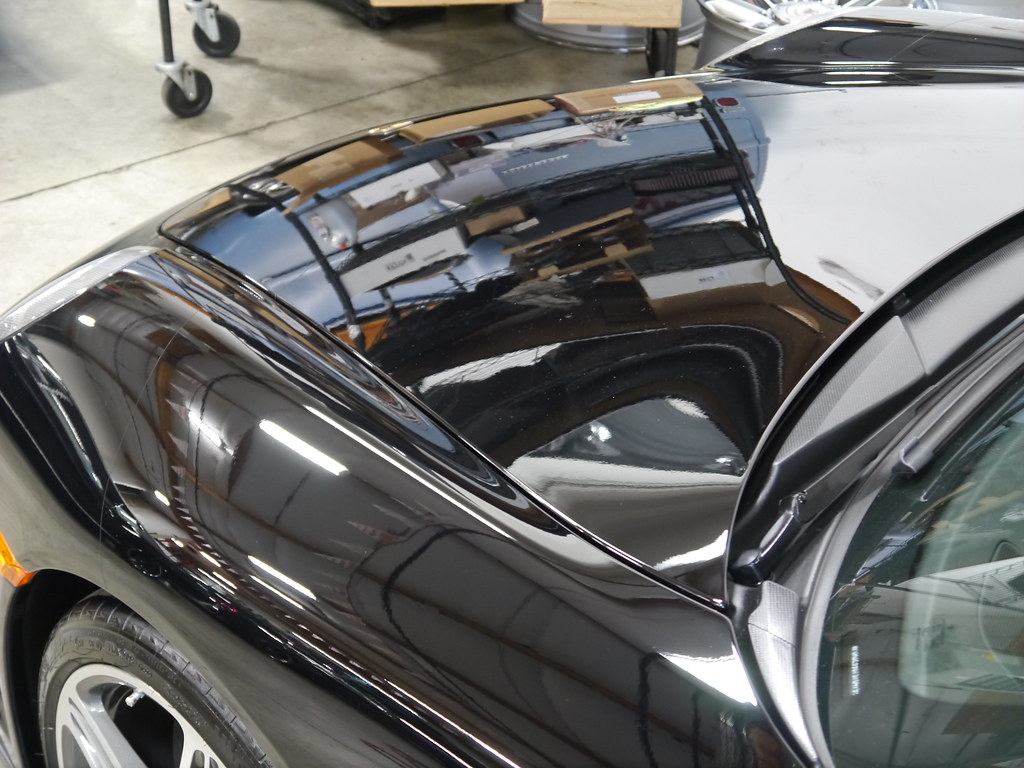
Half the hood is detailed


P1020177 by thomasdekany, on Flickr


P1020181 by thomasdekany, on Flickr

Rear fender is done!!!!!!!!!!!!


P1020208 by thomasdekany, on Flickr

Once the roof was completed, (no pictures) day one was coming to an end and I cleaned up the area and grabbed my dirty pads and drove home.

DAY 2 - was going to be really stressful as was day 3. The back of this car was a mess and very hard to work on due to the shape.

Progress!!!!


P1020211 by thomasdekany, on Flickr

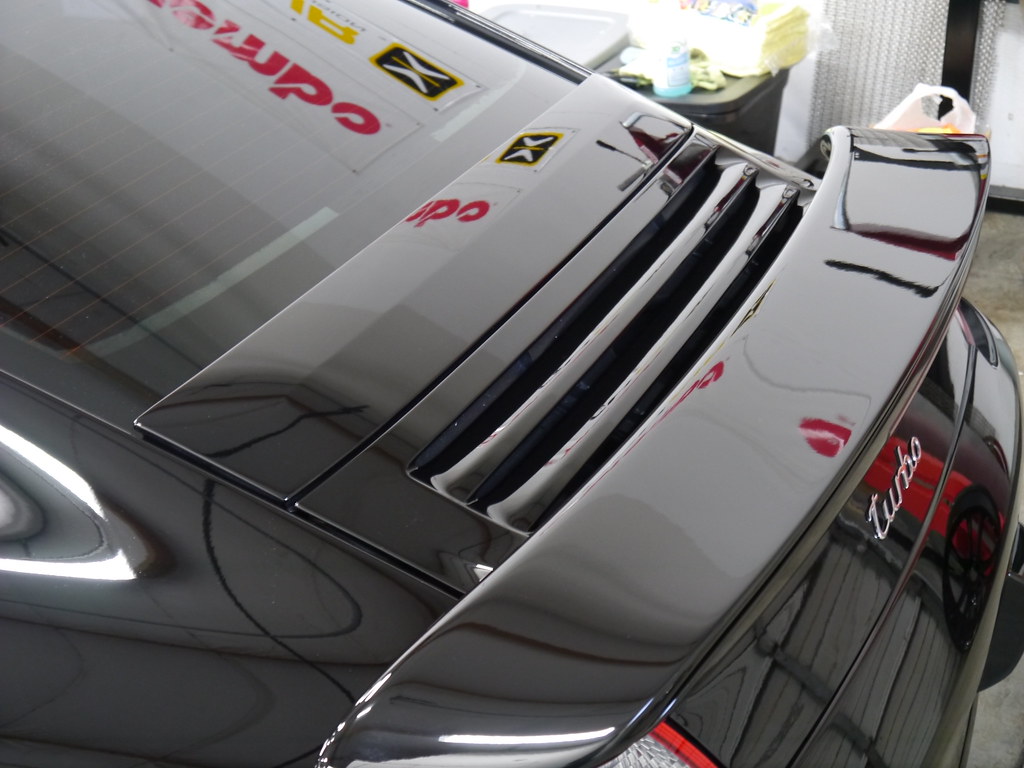
Half of the wing is finished


P1020219 by thomasdekany, on Flickr

Half of the "trunk" is finally corrected


P1020221 by thomasdekany, on Flickr

Day 2 at this point came to an end finally, and I put on a coat of Poxy.


P1020224 by thomasdekany, on Flickr


P1020223 by thomasdekany, on Flickr


P1020228 by thomasdekany, on Flickr

Day 3 was a day off for me but I was invited to talk at the Club meet

Car on display. I was told that the owner was stunned when he first saw the corrected side.


P1020246 by thomasdekany, on Flickr

People are starting to show up


P1020249 by thomasdekany, on Flickr

Pretty good turnout, about 30 people.


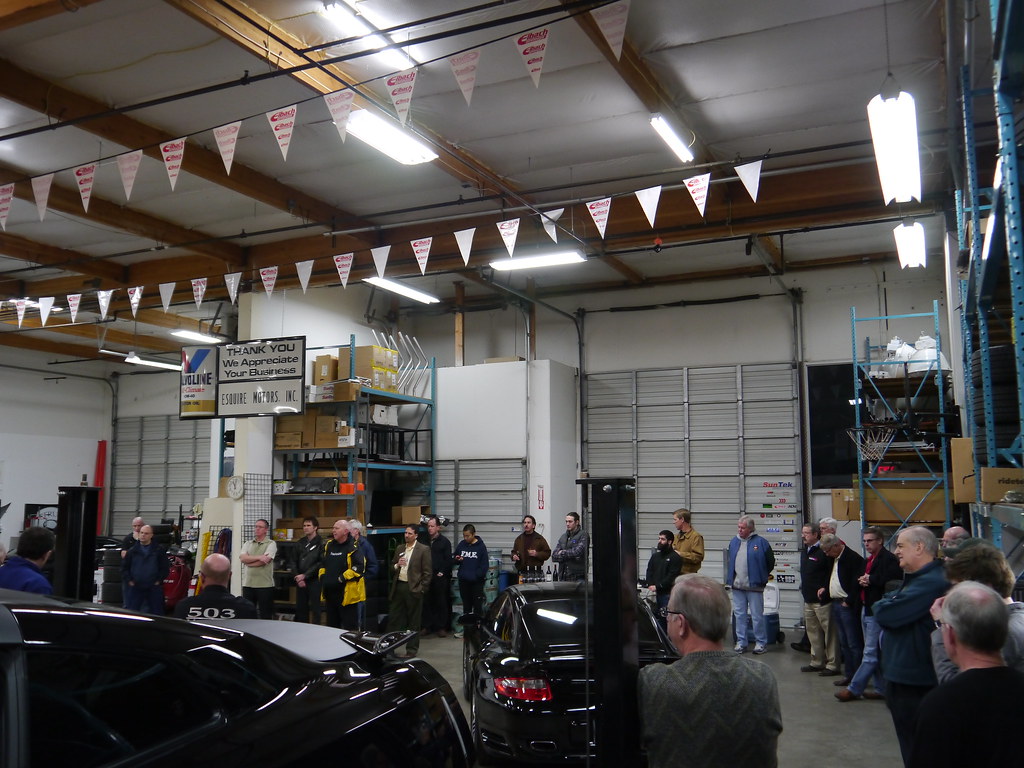
P1020257 by thomasdekany, on Flickr

The first question I asked when it was my turn to talk was: HOW MANY OF YOU HAD YOUR CARS DETAILED IN THE LAST 12 MONTHS?

1 person raised his hand.

All in all, only these guys had any interest in detailing.


P1020271 by thomasdekany, on Flickr

 
Day 3

After a much needed day off I was re energized and ready to go. My goal was to be able to finish the back of the car by the end of the day.

Here are some before and after shots

Before

P1020276 by thomasdekany, on Flickr

After


P1020279 by thomasdekany, on Flickr

Before


P1020277 by thomasdekany, on Flickr

After


P1020280 by thomasdekany, on Flickr


P1020281 by thomasdekany, on Flickr

Slowly but surely I was making my way around the car


P1020284 by thomasdekany, on Flickr

Back to the wing once again


P1020285 by thomasdekany, on Flickr

DONE!


P1020287 by thomasdekany, on Flickr

I asked one of the guys at 503 to remove the tail lights so I can correct that thin part of the bumper a little better. First I went back to do the left side.


P1020288 by thomasdekany, on Flickr

Back to the bumper


P1020289 by thomasdekany, on Flickr

Corrected


P1020290 by thomasdekany, on Flickr


P1020292 by thomasdekany, on Flickr

Making my way....

Before


P1020295 by thomasdekany, on Flickr

After


P1020302 by thomasdekany, on Flickr

I couldn't believe it, but I actually finished the back of the car on day 3!!!!!!


P1020303 by thomasdekany, on Flickr

Day 4

Initially, I was hoping to finish the car in 4 days, but at this point I knew it would be an extra day.

Regardless, working on fairly flat METAL panels gave me a huge boost to go full force and level the paint as fast as possible.

Started on the rear fender


P1020309 by thomasdekany, on Flickr


P1020304 by thomasdekany, on Flickr


P1020307 by thomasdekany, on Flickr

After some leveling


P1020394 by thomasdekany, on Flickr


P1020393 by thomasdekany, on Flickr


P1020398 by thomasdekany, on Flickr

Next was the door - here are some readings - these were the lowest ones, but I had no choice. It needed to be like the rest of the car.


P1020404 by thomasdekany, on Flickr


P1020403 by thomasdekany, on Flickr

How the door looked initially


P1020401 by thomasdekany, on Flickr

After some 101, UNO and 205


P1020406 by thomasdekany, on Flickr


P1020407 by thomasdekany, on Flickr

Once the door was done, I moved to the roof..... or was it the other way around? I can't recall now.
 
The roof was also pretty bad, lots of RIDS and water spots.


P1020317 by thomasdekany, on Flickr


P1020314 by thomasdekany, on Flickr

Afterwards the roof looked pretty good


P1020390 by thomasdekany, on Flickr


P1020392 by thomasdekany, on Flickr

Here comes the front fender!


P1020312 by thomasdekany, on Flickr


P1020135 by thomasdekany, on Flickr


P1020396 by thomasdekany, on Flickr

After leveling the paint


P1020408 by thomasdekany, on Flickr


P1020409 by thomasdekany, on Flickr

Unfortunately I don't have any pictures of the hood on the right side, but it was the last panel and I guess I wasn't thinking about taking pictures, I just wanted to finish correcting on day 4.


P1020408 by thomasdekany, on Flickr
 
Day 5 and LSP

I was going to OPTI COAT this car, because it can mar so very easy but 1 - my unused OC was crystallized, 2 - the product was coming out on the wrong end and 3 - wouldn't level at all. So, I did the next best thing. I think.

PROCESS:

3D Pink Soap
3D Gentle Clay
HD UNO
101
205
Lime Prime
HD Poxy
FK1 #1000
HD Protect
HD Metal Polish
Meg's Tire Shine
3D Tire Shine
3D Window Cleaner
Meg's tape

Here are some final shots of the car - I hope you enjoyed my 5 days of work.


P1020430 by thomasdekany, on Flickr


P1020429 by thomasdekany, on Flickr


P1020428 by thomasdekany, on Flickr


P1020426 by thomasdekany, on Flickr


P1020425 by thomasdekany, on Flickr


P1020424 by thomasdekany, on Flickr


P1020423 by thomasdekany, on Flickr


P1020421 by thomasdekany, on Flickr


P1020420 by thomasdekany, on Flickr


P1020418 by thomasdekany, on Flickr


P1020417 by thomasdekany, on Flickr


P1020416 by thomasdekany, on Flickr


P1020414 by thomasdekany, on Flickr


P1020422 by thomasdekany, on Flickr​
 
That's just beautiful. :applause:

You can rest assured from the time that car rolled out of the factory doors, it has never looked better than it does now. Water spots, lol! Yup, I'd say you got rid of all the water spots alright. :props:


-Rick
 
Truly stunning Thomas. The NW Porsche Club sounds alot like mine...one or two guys that care about their paint. Job well done!
 
Amazing job as always Thomas! That's some serious detailing. I hope you got some new customers from the club meet.
 
Awesome job man, that paint is "ALIVE" again!! haha. Sorry for the stupid pun but someone had to say it!!! haha. I can't believe only one guy raised their hand to your question. Most of them are probably ok with shiny and surface scratches, but I don't understand why!!

Congrats on a job well done!

-Cash
 
Awesome job!

Question: How did you get rid of those water spots? I have some water spots just like those in the pic. There is no way I can completly remove it. tried M105 and yellow pad combo, not work. Tried 2000 sanding(lightly sanding), not work. I am too nervous to thoroughly sand the area with 2000 grit.
 
Thank you guys very much!!!!! The car indeed looks very good, but not 100% unfortunately. Some RIDS had to stay due to the thin paint, but those are not noticeable because of where they are.

szjalo - the paint was easy to level, so the water spots came out without much problem. Finishing down was the hard part. I used Micro Fiber pads to cut them. If the paint is very hard, use wool. If sanding is not removing it, maybe they are etched too deep?
 
Amazing turnaround!!

Before and afters are truly amazing! Great work! :xyxthumbs:
 
:urtheman:wwwwwwwwwwwwwwwooooooooooooooowwwwwwwwwwwwwwwwwwwwwwwwwwwwwwwwwwwwwwwwwwwwwwwwwww!!!!

goodness man!! Fantastic work!!!
 
Back
Top