Hey Mike,
First, I just wanted to say thank you for taking the time to write your many articles. I can’t imagine how many people (and cars) have/will benefit from all the expert advice you’ve shared.
And second, I want to apologize in advance for the long message. I imagine you stay very busy. The car is just very IMPORTANT to me (as you say), so I’m trying to be thorough.
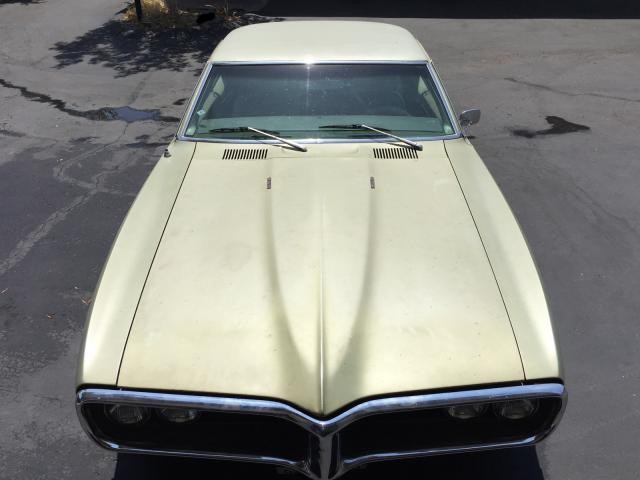
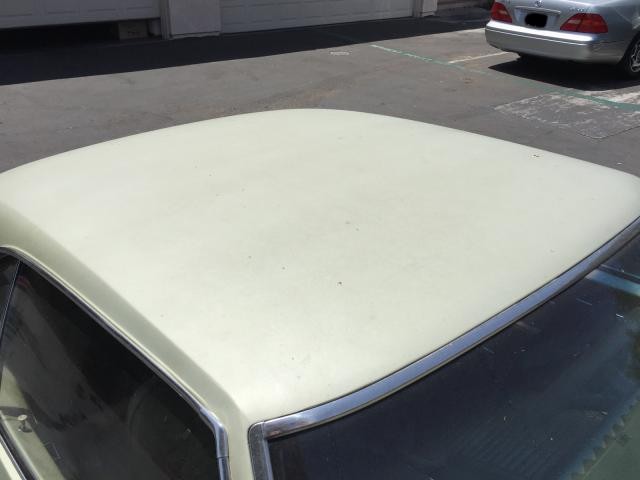
I’m working on my brothers all original, 1 owner (he just inherited it from my grandparents), 68 Firebird with metallic single stage April Gold paint. I’ve read over your article, “The Secret to Removing Oxidation and Restoring a Show Car Finish to Antique Single Stage Paints” maybe half a dozen times, as well as many of your other articles like the 69 thunderbird with the 3D products and the 53 Hudson with Wayne Carini.
I did a test spot and it didn’t evaporate after a 2 weeks in the sun, so I believe the paint is stable. I’m currently on my 3[SUP]rd[/SUP] coat of Meguiars #7. I just wanted to show you where I’m at and what I have planned, and ask if you have any advice for me? Anything you'd do differently?
Here’s what I’ve done:
1. Wash: Meguiars Gold Class Shampoo and microfiber wash-mit. (I feel like the wash caused more fading, so maybe I already messed up here, but it was just so dirty)
2. Clay: Nanoskin AutoScrub medium grade mit and Nanoskin glide (48 years of contaminants…)
(I found your 69 thunderbird 3D article after I had already started with the oils. Now I’m wishing I would of used CarPro Iron X too. I guess the #7 oils and washcloth take off contaminants too though…)
3. Meguiars #7 with washcloth. I’m on the 3[SUP]rd[/SUP] coat now. I let the first coat soak 24hrs.
This is what I plan to proceed with…
4. A few more coats of Meguiars #7
5. Buff: Flex 3401 DA orbital polisher, White 6” Kompressor Pad, Pinnacle advanced swirl remover
6. Buff: Flex 3401 DA orbital polisher, White 6” Kompressor Pad, Pinnacle advanced finishing polish
(I have other Kompressor pads as well as 6.5” Lake Country CCS pads too, if you have any opinion on either choice for this particular project? I was a little concerned if the diminishing abrasives would work as well with the Kompressor pads? )
7. XMT 360 ??? Or would you recommend using a product like Wolfgang Perfekt Finish Paint Prep to prepare the surface for wax, OR would the wax still adhere to the paint if I were to just wax right over the oils left behind from the Meguiars #7 and pinnacle polish? I worry about removing the #7 oils from the paint. And I also like the idea of the Pinnacle lubricants hiding some of the scratches (I know the pinnacle polish doesn’t have any fillers, but as I understood it, the lubricants left over still do hide the appearance of scratches to some degree).
8. Wax: Pinnacle Signature Series II Carnauba Paste Wax
9. Wax: Pinnacle Souveran Liquid Spray Wax
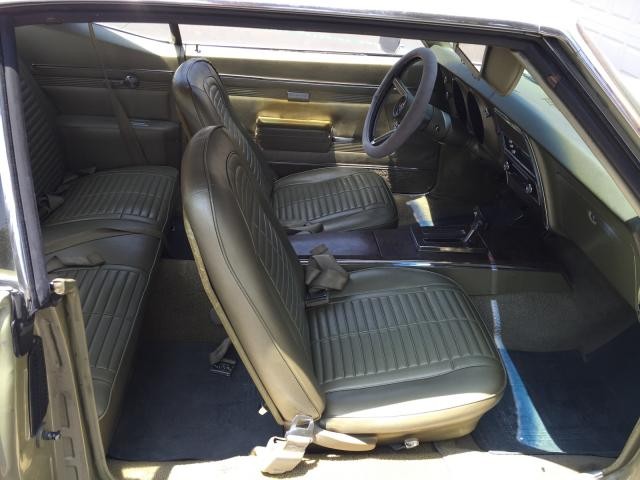
Interior: Meguiars #40. Meguiars #39 (if necessary)
Exterior Trim: Meguiars #40
Tires: McKee’s 37 Tire and Rubber Rejuvenator. McKee’s 37 Tire Coating
Aluminum Rims: Eagle One All Wheel and Tire Cleaner. Nevr-Dull. Pinnacle Signature Series II Wax
Chrome: Nevr-Dull. Pinnacle Signature Series II
Glass: Nanoskin Autoscrub medium grade mit and Nanoskin Glide. SprayWay Glass Cleaner
You can see where I did my test stop on the trunk lid.
The passenger side of the car and the driver fender were touched up.
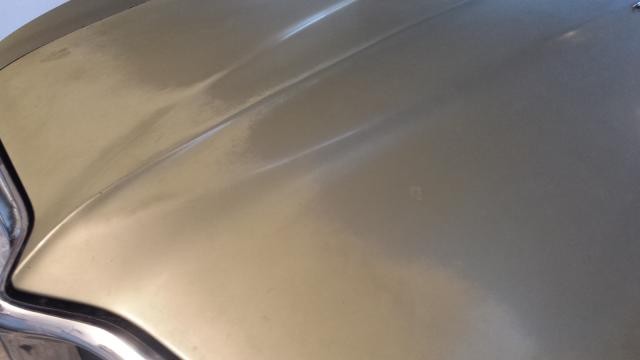
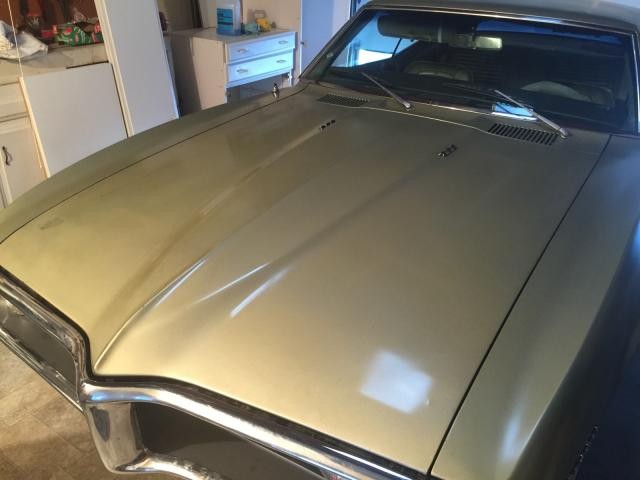
The 3rd to last paint pic is: After being washed
The 2nd to last paint pic is: After being clayed.
The last paint pic is after the 2nd coat of #7 was removed.
The ground is wet in the photos because it wasn't until after I had finished cleaning the first wheel that I realized..... I forgot to take the before pics!!! So I stopped, rolled the hose back up, put away all my supplies, and took those precious before shots")
Thank you in advance for your time!
-Ryan
View attachment 51139View attachment 51140View attachment 51141View attachment 51142View attachment 51143View attachment 51144View attachment 51145View attachment 51146View attachment 51150View attachment 51147View attachment 51148View attachment 51149
First, I just wanted to say thank you for taking the time to write your many articles. I can’t imagine how many people (and cars) have/will benefit from all the expert advice you’ve shared.
And second, I want to apologize in advance for the long message. I imagine you stay very busy. The car is just very IMPORTANT to me (as you say), so I’m trying to be thorough.
I’m working on my brothers all original, 1 owner (he just inherited it from my grandparents), 68 Firebird with metallic single stage April Gold paint. I’ve read over your article, “The Secret to Removing Oxidation and Restoring a Show Car Finish to Antique Single Stage Paints” maybe half a dozen times, as well as many of your other articles like the 69 thunderbird with the 3D products and the 53 Hudson with Wayne Carini.
I did a test spot and it didn’t evaporate after a 2 weeks in the sun, so I believe the paint is stable. I’m currently on my 3[SUP]rd[/SUP] coat of Meguiars #7. I just wanted to show you where I’m at and what I have planned, and ask if you have any advice for me? Anything you'd do differently?
Here’s what I’ve done:
1. Wash: Meguiars Gold Class Shampoo and microfiber wash-mit. (I feel like the wash caused more fading, so maybe I already messed up here, but it was just so dirty)
2. Clay: Nanoskin AutoScrub medium grade mit and Nanoskin glide (48 years of contaminants…)
(I found your 69 thunderbird 3D article after I had already started with the oils. Now I’m wishing I would of used CarPro Iron X too. I guess the #7 oils and washcloth take off contaminants too though…)
3. Meguiars #7 with washcloth. I’m on the 3[SUP]rd[/SUP] coat now. I let the first coat soak 24hrs.
This is what I plan to proceed with…
4. A few more coats of Meguiars #7
5. Buff: Flex 3401 DA orbital polisher, White 6” Kompressor Pad, Pinnacle advanced swirl remover
6. Buff: Flex 3401 DA orbital polisher, White 6” Kompressor Pad, Pinnacle advanced finishing polish
(I have other Kompressor pads as well as 6.5” Lake Country CCS pads too, if you have any opinion on either choice for this particular project? I was a little concerned if the diminishing abrasives would work as well with the Kompressor pads? )
7. XMT 360 ??? Or would you recommend using a product like Wolfgang Perfekt Finish Paint Prep to prepare the surface for wax, OR would the wax still adhere to the paint if I were to just wax right over the oils left behind from the Meguiars #7 and pinnacle polish? I worry about removing the #7 oils from the paint. And I also like the idea of the Pinnacle lubricants hiding some of the scratches (I know the pinnacle polish doesn’t have any fillers, but as I understood it, the lubricants left over still do hide the appearance of scratches to some degree).
8. Wax: Pinnacle Signature Series II Carnauba Paste Wax
9. Wax: Pinnacle Souveran Liquid Spray Wax
Interior: Meguiars #40. Meguiars #39 (if necessary)
Exterior Trim: Meguiars #40
Tires: McKee’s 37 Tire and Rubber Rejuvenator. McKee’s 37 Tire Coating
Aluminum Rims: Eagle One All Wheel and Tire Cleaner. Nevr-Dull. Pinnacle Signature Series II Wax
Chrome: Nevr-Dull. Pinnacle Signature Series II
Glass: Nanoskin Autoscrub medium grade mit and Nanoskin Glide. SprayWay Glass Cleaner
You can see where I did my test stop on the trunk lid.
The passenger side of the car and the driver fender were touched up.
The 3rd to last paint pic is: After being washed
The 2nd to last paint pic is: After being clayed.
The last paint pic is after the 2nd coat of #7 was removed.
The ground is wet in the photos because it wasn't until after I had finished cleaning the first wheel that I realized..... I forgot to take the before pics!!! So I stopped, rolled the hose back up, put away all my supplies, and took those precious before shots
Thank you in advance for your time!
-Ryan
View attachment 51139View attachment 51140View attachment 51141View attachment 51142View attachment 51143View attachment 51144View attachment 51145View attachment 51146View attachment 51150View attachment 51147View attachment 51148View attachment 51149