A little Compounding help

Vizzin72

New member
Joined
Mar 12, 2012
Messages
28
Reaction score
0
I have a truck coming up that i want to restore ... the paint is very faded ... its a ford truck with two colors (red and Black). I was going to do it with my random orbital buffer, but another member suggersted for me to buy a porter 7425. so i did. i just want to make sure i have a good method going on from what i have seen on other posts.

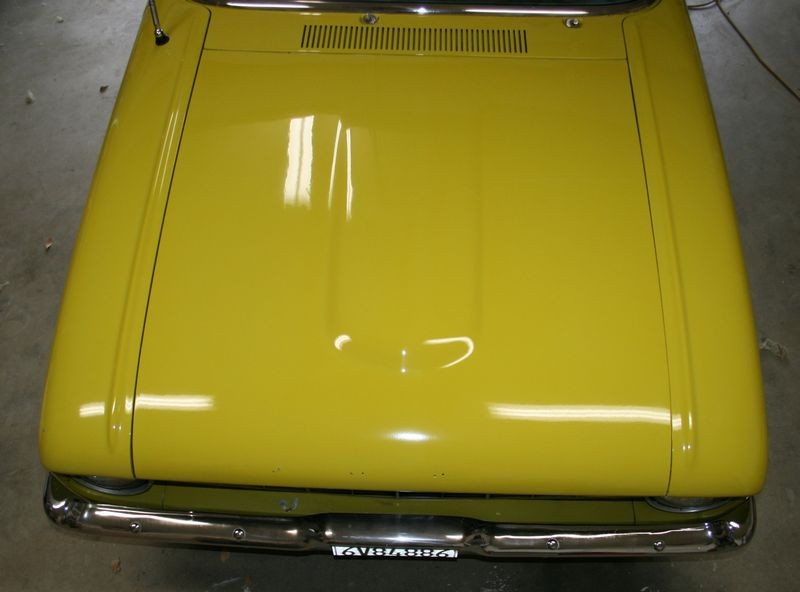
this is what the truck looks like ( i did a test strip by hand ).
View attachment 11179

now, i bought a yellow LC foam cutting pad and i'm going to use Meguires ultimate compound, followed by a white pad with ultimate polish, and then apply wax with a grey pad.

My main concern is that ALOT of paint is going to come off on the yellow pad. If i stick to the cleaning on the fly technique with a terry cloth pad and take my time ... reguardless of how oxidized the paint is or having black paint and red paint should i be able to get the job done with one pad? (if my pad gets destroyed mid job ... i'm going to be low on options)
 
do you only have one pad in each colour? Any orange? A truck is not something I would even think of attempting with only one pad of each colour.

If you only have one, you're going to have to clean the pad quite frequently and maybe even stop so you can wash the pad and let it dry. Maybe do half the car then switch to the white pad with UP and do the same half that you just compounded. Then once your pads are dry do the same thing for the other half of the vehicle.

Your test spot looks pretty good by hand. Are you going to do a test spot with the polisher and a few pad combinations? You may not need to jump right to the yellow so you can save yourself some clearcoat...
 
The yellow pad with compound is a pretty aggressive combo. I think a lot of people for one reason or another have it in their head that compound is necessary to remove oxidation.

I've found that polish does a fine job. I really only use compound to remove wet sanding etchings, or swirls. Either way, you're going to remove some paint. You could always do it by hand with some #7, but that is definitely more time consuming...and being that your vehicle isn't necessarily something of value like a classic...it's no big deal to take a layer of paint.

I would use an LC orange pad with some 205. Compound a yellow IMO is just going to cut more than necessary.
 
single stage paint is going to polish fairly easy so I would try the white pad with the Ultimate Polish on say speed 5 or 5.5 and check your results, should look great

BTW clean pad often will clog quickly with single stage paint, maybe wash after each side of truck
 
I did a neighbors 60 something dark green VW Bug after he had done most of it with a can of turtle compound from pepboys, the nice part was most of the top had been taken off already but it really did a number on the orange CCS pad so yeah you will need a few at least.
 
IMO - clean pad in the compounding process is very important. I found that 2-3 pads per medium size car are quite enough with frequent cleaning on the fly (I use a tooth brush).
 
IMO - clean pad in the compounding process is very important. I found that 2-3 pads per medium size car are quite enough with frequent cleaning on the fly (I use a tooth brush).

This is still for single stage paints right? :)
 
No, 2 stage paint, single stage would need a bit more as the paint transfers on to the pad.
 
If you need more pads (and it sounds like you do), there's a buy one get one on LC 6.5 flats. Makes it a lot easier to get around the car when you can swap pads and not clean the ones that are totally gunked up.
 
Wow ... Thanks for these replies ... I definitely will get some more pads according to all of your recommendations ... Maybe I'll save the yellow for a microfiber to be placed on. I would definitely feel safer and more confident using polish instead of compound I just have never worked on a vehicle in such bad shape ... I assumed that compound was necessary. With that all said ... The owner of the truck has postponed the detail of his truck in leu of his jeep ... which is in similar condition but obviously a lot less surface area to work on. I will take my time and see how the paint responds and if anyone is interested I will post the results weather pending on Saturday.
 
that 7425 is one nasty machine

11,000 rpm? I don't think I've heard of anyone going over 1500 on their rotaries. Is that thing safe for car paint?
 
7425? Is this a typo? If not, you bought the wrong tool for the job. 11,000 RPM, the pad will fly apart at that speed before you ever get it on the paint. Did you mean 7424?
 
this is all new to me ... i've used hand techniques and a random orbital like cheap o buffer that is good for apply wax to cars that are in good protected shape ... i've been finding that even though i'm detailing as a little side gig ... i'm not getting thorough looks out of all the cars that i'm doing ... only the ones in good shape ... so i'm investing in the tool to save time and just make the time that i spend somewhat profitable.
 
You'll be fine.

Read through this
DA Polisher Articles - Help for Newbies to Machine Polishing


And this, (actually read the below trouble shooting guide before you get into trouble)


DA Polisher Trouble Shooting Guide


And these,

How to prime a foam pad when using a DA Polisher

Wet Buffing Technique

Handle? Or No Handle? - Using DA Polishers Without the Handle

Video: How-To do a "Section Pass" when Machine Polishing with a DA Polisher

Why it's important to clean your pads often...

How to clean your foam pad on the fly


How to correctly fold and use a Microfiber Towel

The practical differences between single stage paints and a clear coat paints


The Clearcoat Failure Photo Gallery Archive

Beginning Clearcoat Failure


And for fun...

The power in the after shots is created in the before shots

Before
1960Ranchero01.jpg


After
1960Ranchero06.jpg


:)
 
thanks mike ... i really appreciate ... i will definitely read and re-read to make sure i've got it down.
 
Back
Top