HUMP DIESEL
New member
- Dec 2, 2013
- 930
- 0
So you should go back and take a look at this thread that shows where this whole detail started.
http://www.autogeekonline.net/forum...ra-mdx-interior-only-carolina-auto-image.html
I was contacted by the owner. She has this older dark colored (I'll explain that one in a minute) Acura MDX. She is like most, a working mom who wants to get the vehicle looking better and protected so she can keep it and maybe pass on to her older child.
So we spoke at length on what we could do and I told her it would be best to do an interior detail, and to focus on correcting the outside with a dual step process. I explained that it would cost more to do that, but it would render better results that would last longer. Considering the age of the paint and the other defects, I was looking for about 70-75% correction.
So we did the interior as the added thread will show, and she came to pick it up and wait on the exterior at a later date. Initially it was to be the next weekend, but life happened and we had to wait.
Fast forward and I contacted her before this past weekend and she said that she was glad I kept on top of it and that she would like to bring it in this weekend.
Let's Go!!
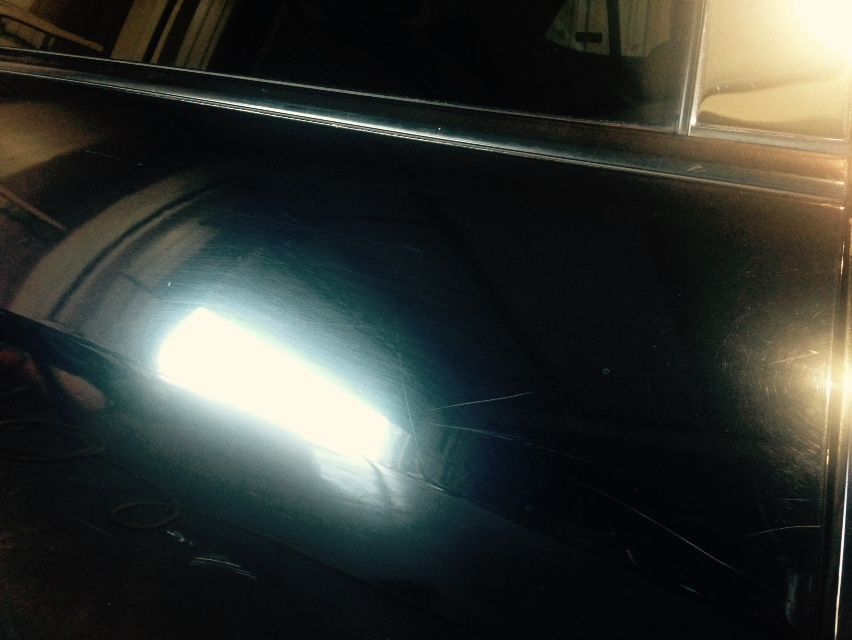
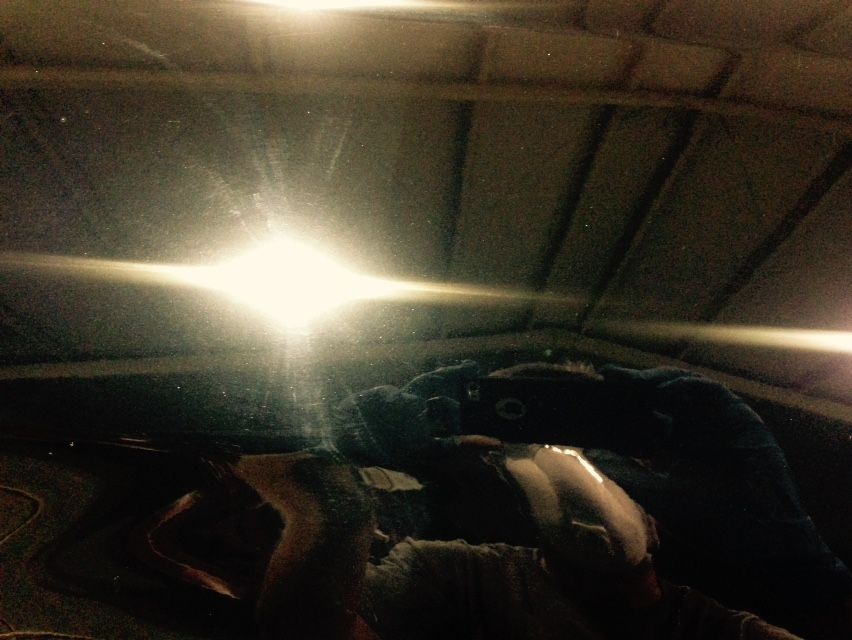
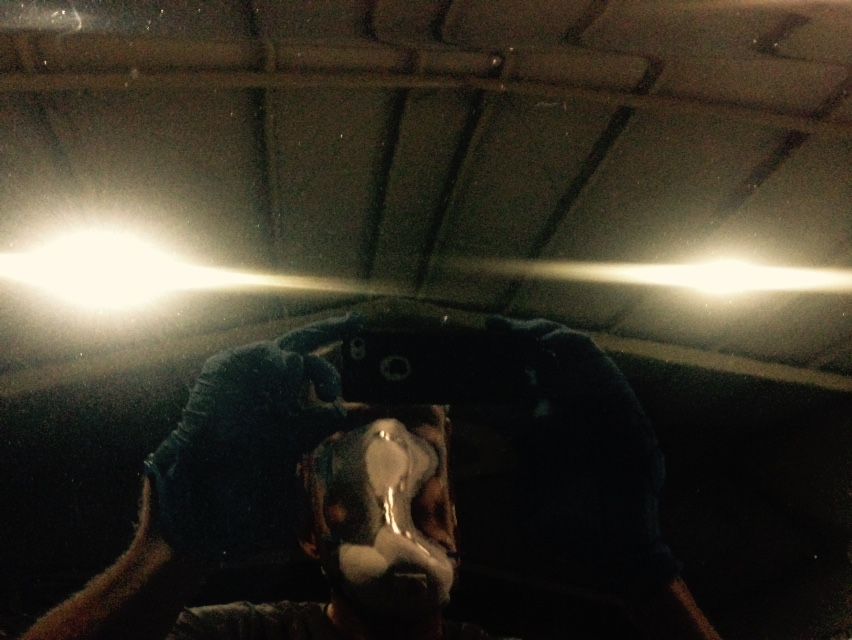
Here are some pics of the paint as it came and after washing and claying, using a clay towel, similar to Nanoskin. The paint was really rough, but I found out more as I started my correction.
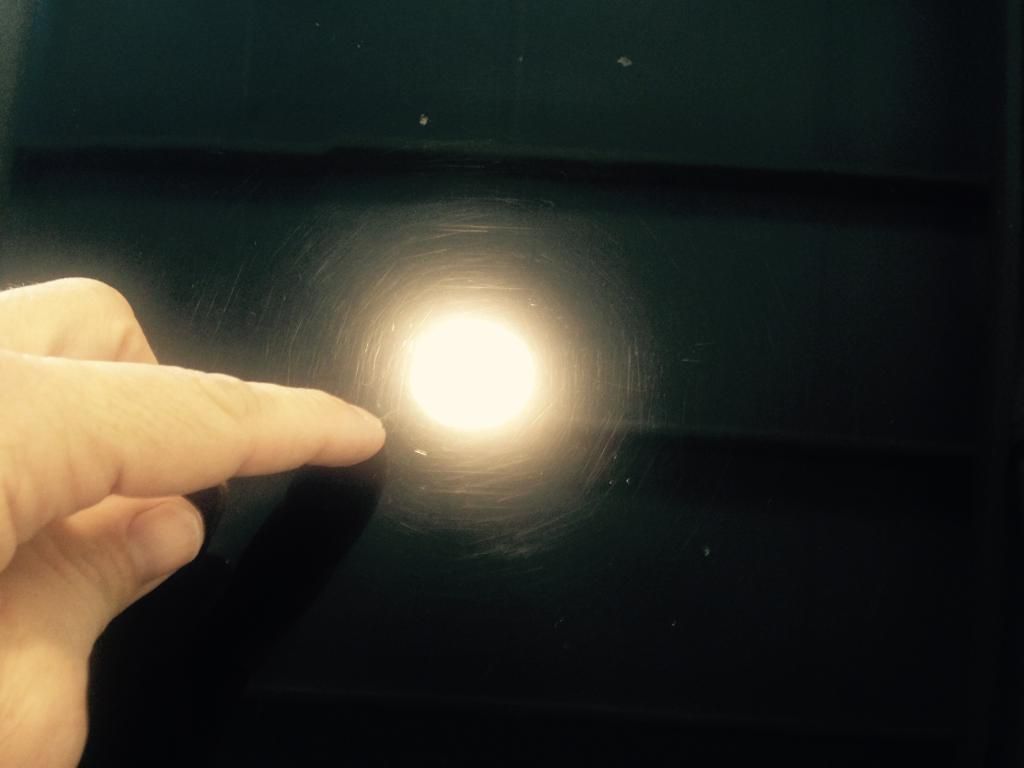
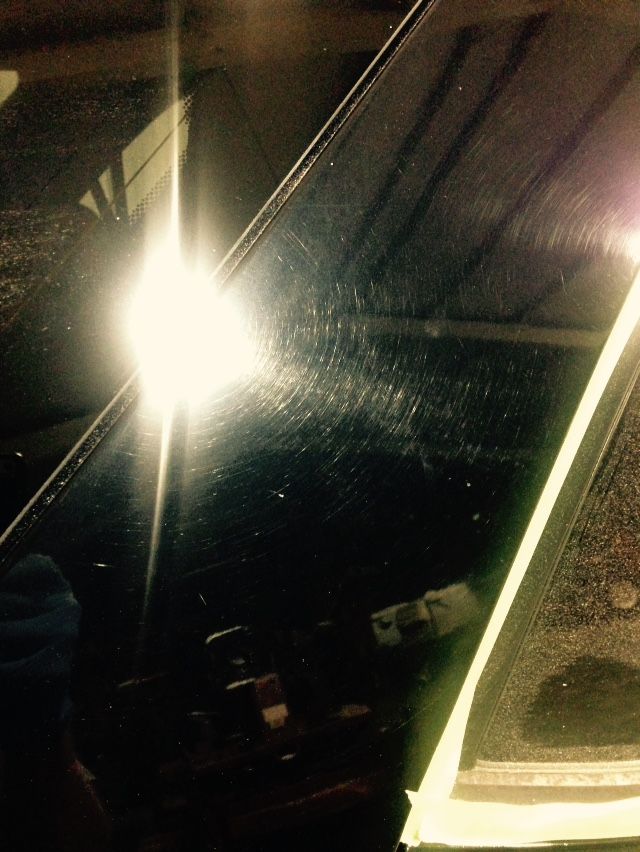
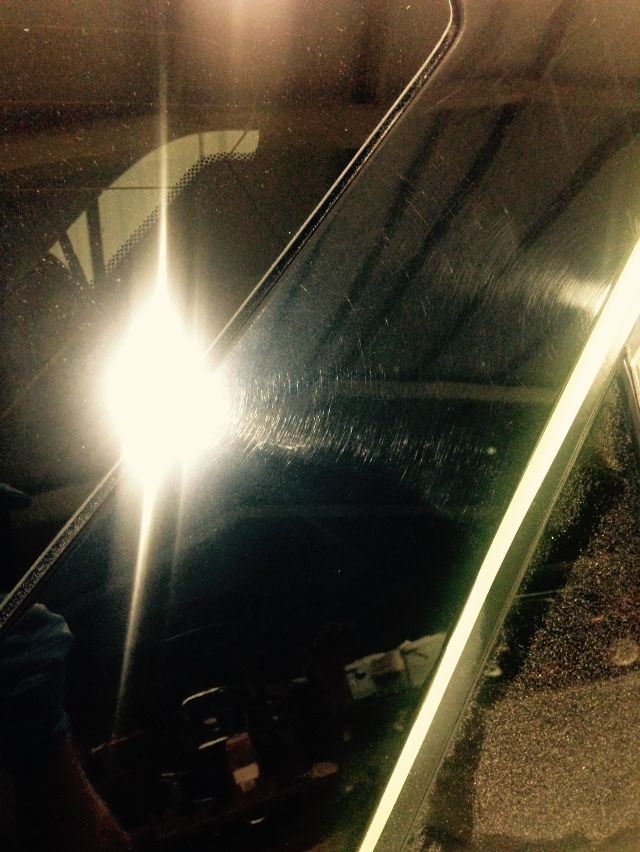
This next pic is the test spot upper left corner flanked by a swirled up hood. Pay close attention to the corrected area. I called the owner after this shot and explained to her that her hood had "Crow's Feet" http://www.autogeekonline.net/forum...coat-fracturing-versus-clearcoat-failure.html
I then told her that what I would do is make a compromise. I'll correct the hood and then coat the hood with Opti Coat 2.0 to try to mitigate any further damage and then make up the time and cost on the very top.
She said that was great.
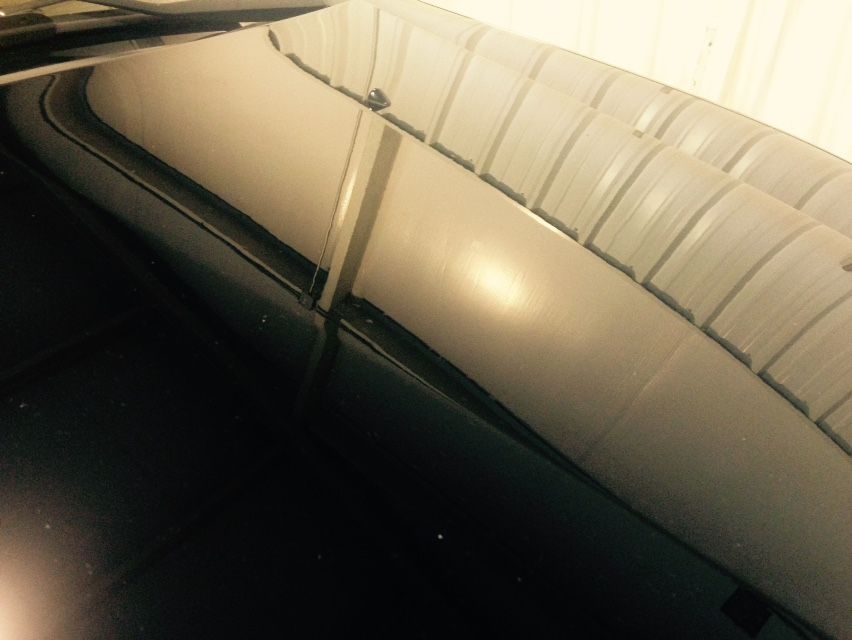
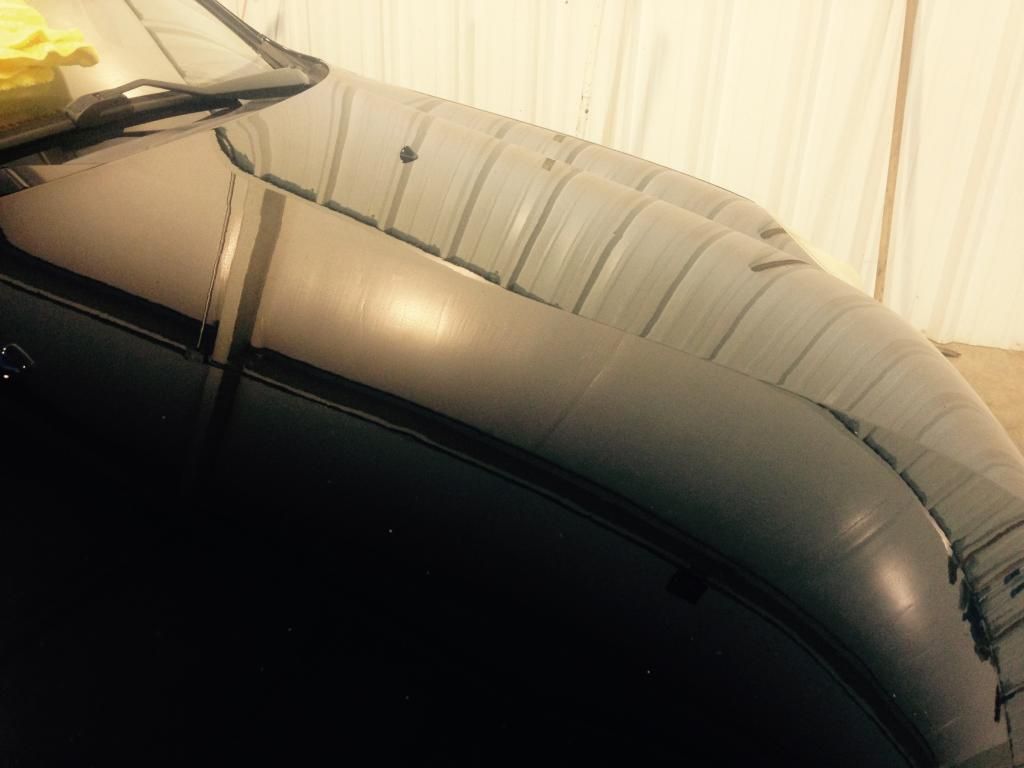
Hood shot after full correction and coating.
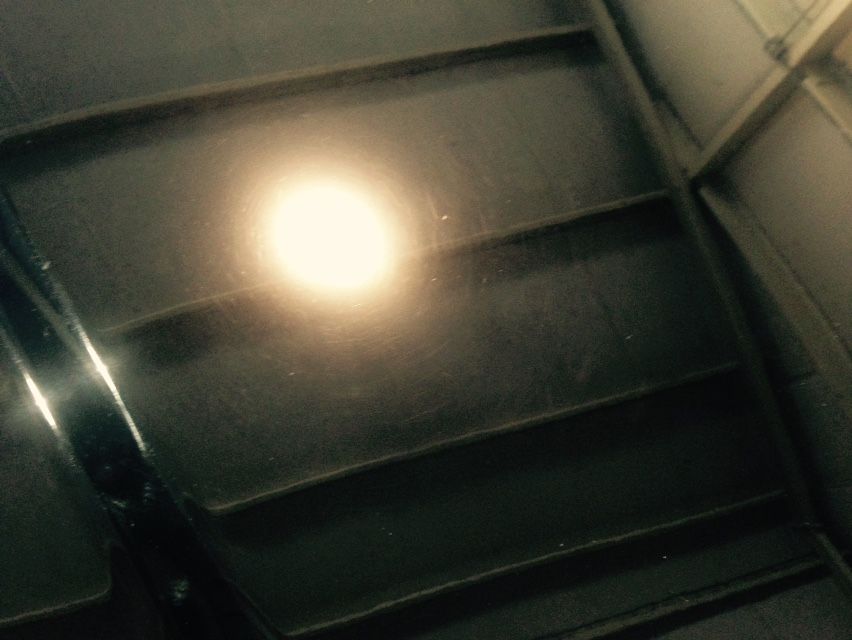
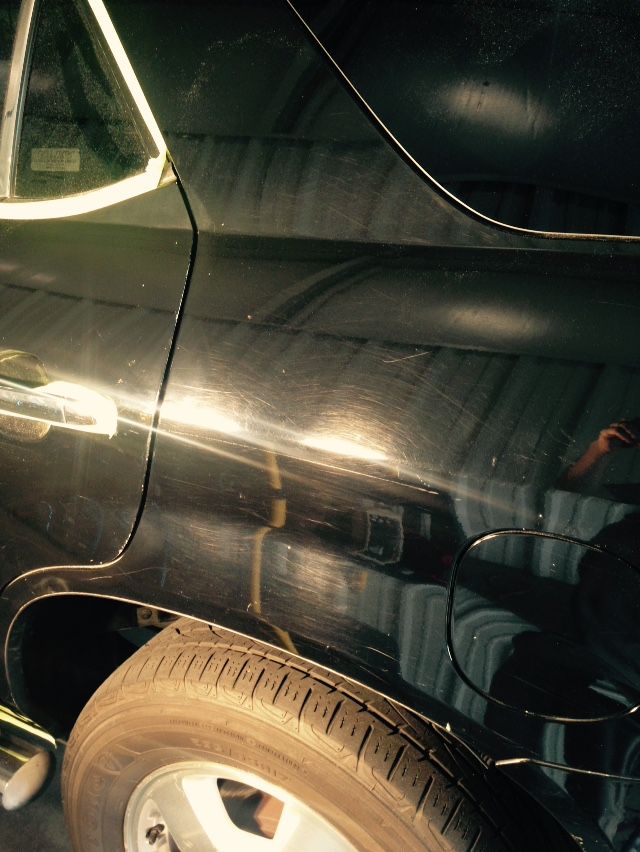
More swirls and scratches:
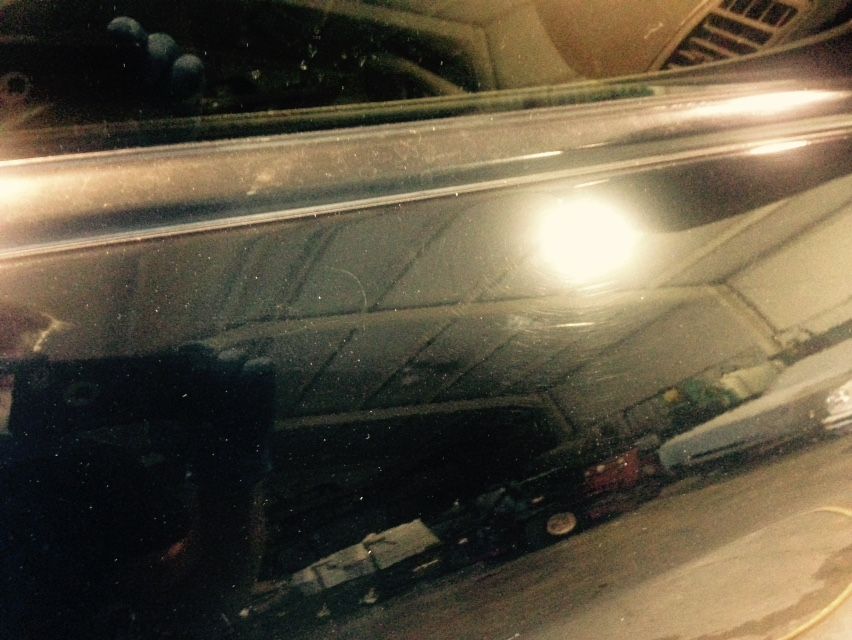
Passenger side rear pillar before:
Bottom half cut before final polish:
Drivers side rear:
Whew!
Drivers Side Initial cut:

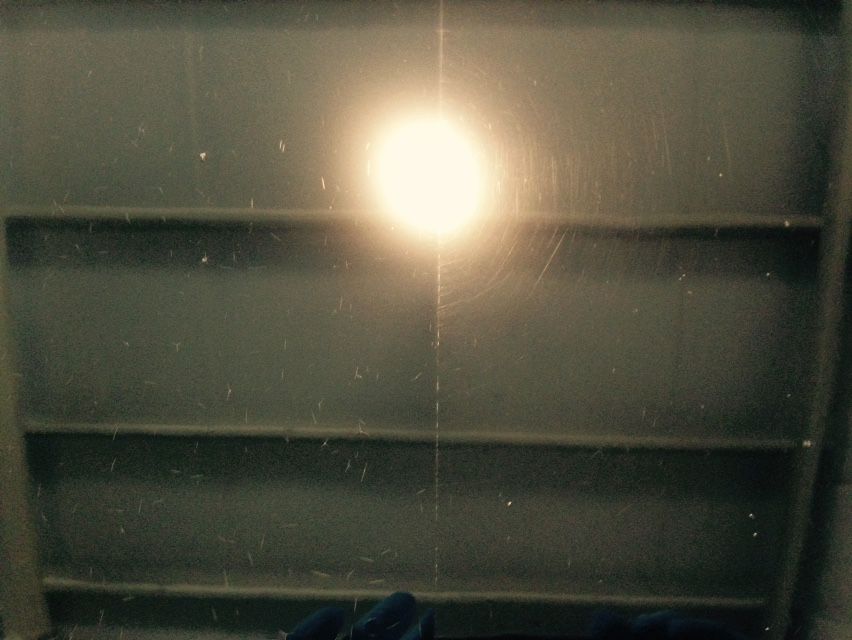
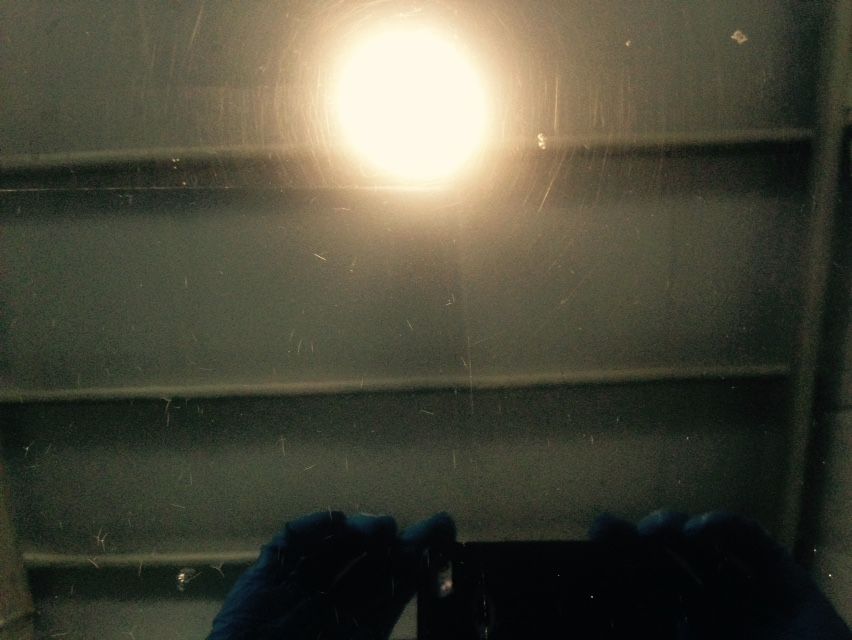
Some reflection shots:
Headlight Restored:
You may be able to see in the first interior thread that these were completely yellow and chalky.

Here's the set up:
Washed and decontaminated
Megs MF Cutting disc on the GG6" machine. (I initially reached for my Rupes 15, but it would not come on. Glad I had my GG6)
and M105
Orange Medium polish pad and M205 to get rid of compound haze left with M105.
I have not used this combo a lot, because I love my Menzerna products, but this worked so well on this vehicle. The M205 was finishing down so nice and so easy to wipe off.
LSP - Sonax Polymer Netshield except for the hood, which got OC 2.0
Now, the dark color deal. The owner and myself at first thought this vehicle was black, and this goes into what Mike talks about with how swirls and scratches will make a car look dull and muted. Upon completion, I was surprised to see that this car had a midnight blue paint job. I don't know if this is factory, because this vehicle had been repainted, I could tell from the numerous runs and scratches in the primer.
That being said, the owner loved it. She is supposed to take some outside pictures that I will post when the sun comes out.
She refused to drive it today because it is raining.
HUMP
http://www.autogeekonline.net/forum...ra-mdx-interior-only-carolina-auto-image.html
I was contacted by the owner. She has this older dark colored (I'll explain that one in a minute) Acura MDX. She is like most, a working mom who wants to get the vehicle looking better and protected so she can keep it and maybe pass on to her older child.
So we spoke at length on what we could do and I told her it would be best to do an interior detail, and to focus on correcting the outside with a dual step process. I explained that it would cost more to do that, but it would render better results that would last longer. Considering the age of the paint and the other defects, I was looking for about 70-75% correction.
So we did the interior as the added thread will show, and she came to pick it up and wait on the exterior at a later date. Initially it was to be the next weekend, but life happened and we had to wait.
Fast forward and I contacted her before this past weekend and she said that she was glad I kept on top of it and that she would like to bring it in this weekend.
Let's Go!!
Here are some pics of the paint as it came and after washing and claying, using a clay towel, similar to Nanoskin. The paint was really rough, but I found out more as I started my correction.


This next pic is the test spot upper left corner flanked by a swirled up hood. Pay close attention to the corrected area. I called the owner after this shot and explained to her that her hood had "Crow's Feet" http://www.autogeekonline.net/forum...coat-fracturing-versus-clearcoat-failure.html
I then told her that what I would do is make a compromise. I'll correct the hood and then coat the hood with Opti Coat 2.0 to try to mitigate any further damage and then make up the time and cost on the very top.
She said that was great.


Hood shot after full correction and coating.


More swirls and scratches:


Passenger side rear pillar before:

Bottom half cut before final polish:

Drivers side rear:
Whew!

Drivers Side Initial cut:

Some reflection shots:


Headlight Restored:
You may be able to see in the first interior thread that these were completely yellow and chalky.

Here's the set up:
Washed and decontaminated
Megs MF Cutting disc on the GG6" machine. (I initially reached for my Rupes 15, but it would not come on. Glad I had my GG6)
and M105
Orange Medium polish pad and M205 to get rid of compound haze left with M105.
I have not used this combo a lot, because I love my Menzerna products, but this worked so well on this vehicle. The M205 was finishing down so nice and so easy to wipe off.
LSP - Sonax Polymer Netshield except for the hood, which got OC 2.0
Now, the dark color deal. The owner and myself at first thought this vehicle was black, and this goes into what Mike talks about with how swirls and scratches will make a car look dull and muted. Upon completion, I was surprised to see that this car had a midnight blue paint job. I don't know if this is factory, because this vehicle had been repainted, I could tell from the numerous runs and scratches in the primer.
That being said, the owner loved it. She is supposed to take some outside pictures that I will post when the sun comes out.
She refused to drive it today because it is raining.
HUMP
 rops:
rops:


