lawrenceSA
New member
- Feb 7, 2012
- 1,713
- 0
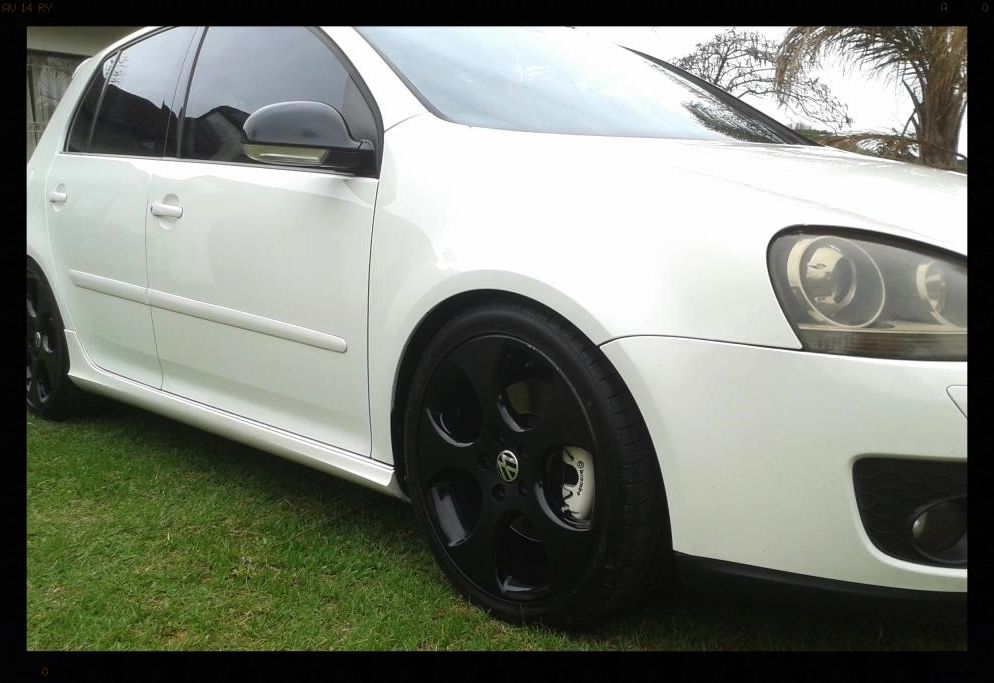
The owner of this car purchased it from someone who clearly saw it as an appliance to get them from A to B and never really gave it any love. He has been replacing parts as needed and generally fixing it up and making it presentable again and so it was booked in for a full detail.
The only time prior to the car arriving on Friday night I had seen this car was a few months ago for (during my lunch break at the corner garage, with no proper lighting, PTG etc etc) whereafter it was booked in for a full detail, and my initial impressions back then was that is was rather 'tatty' and would need some love, but I underestimated just how much love it would actually need - this detail was definitely up there with some of the longest (in terms of man-hours invested) I have done, but seeing the owner's reaction when he fetched it last night made it all worth it.
So let's get into it....
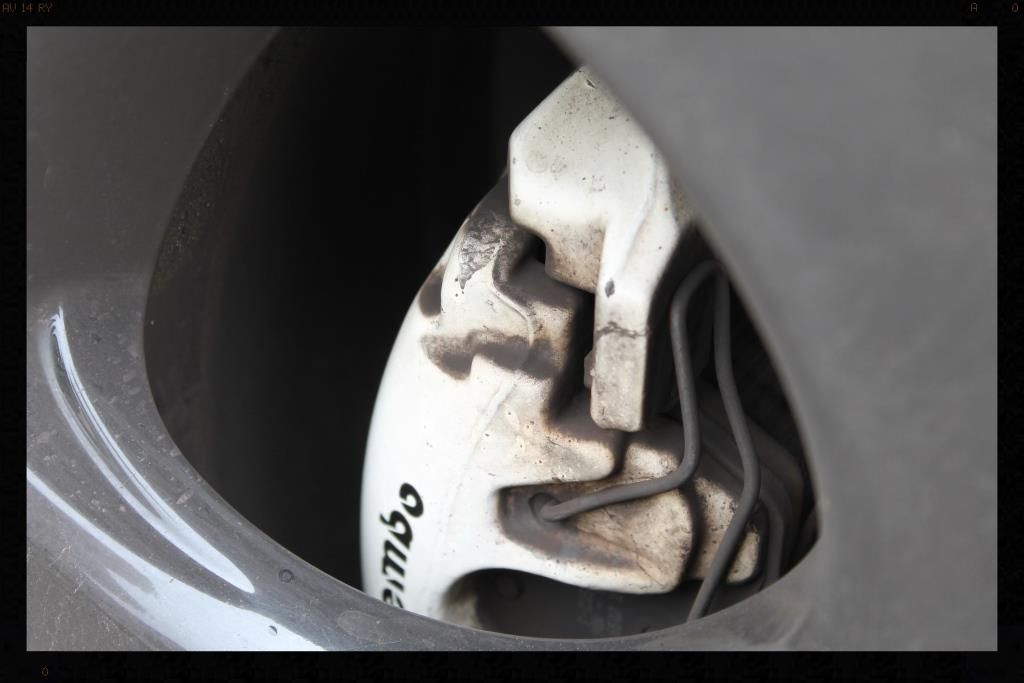
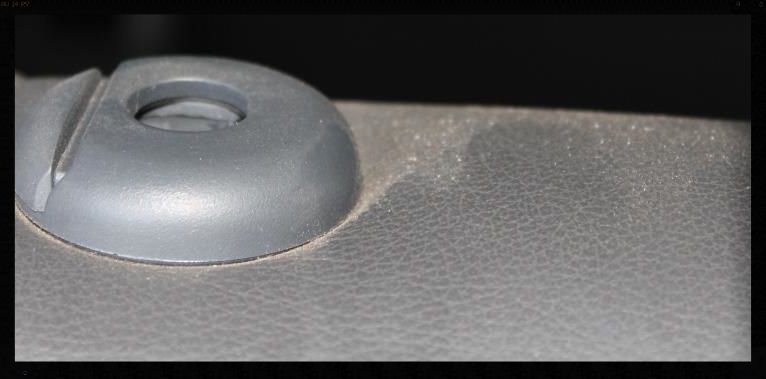
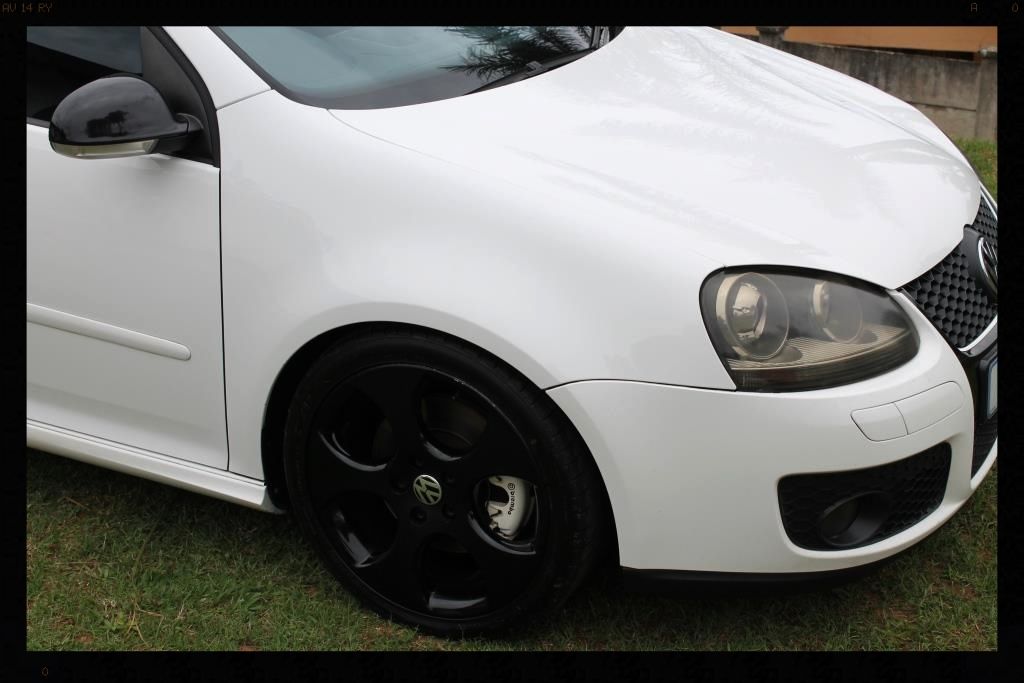
As usual we start with the dirtiest part of the car....
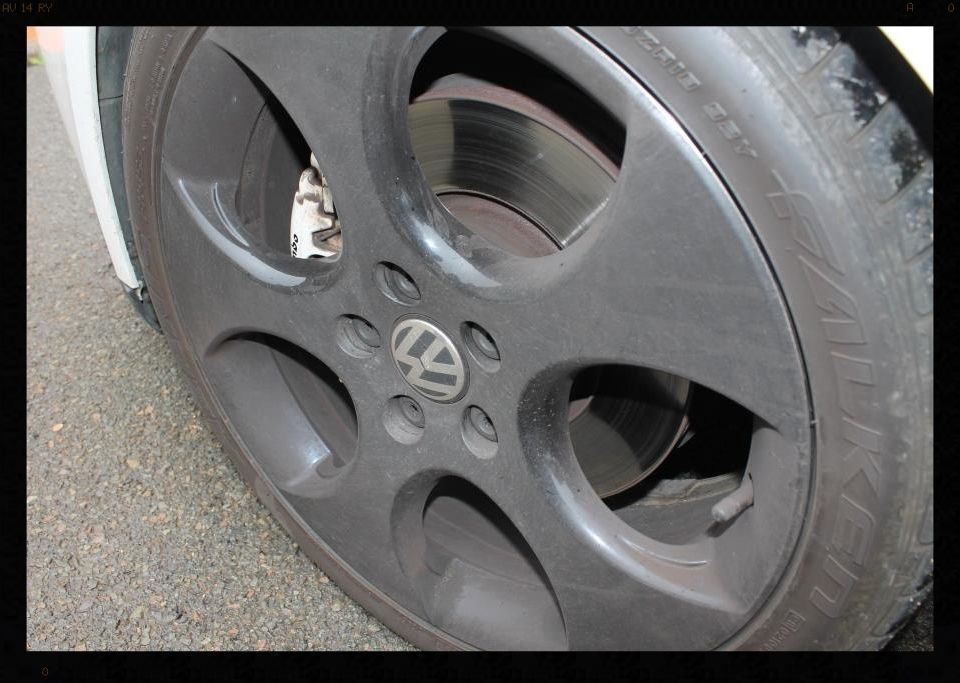
Process and products:
-Remove lug nut covers
-HP rinse arches, tires and wheels.
-Clean arches with APC and Mothers Fenderwell Brush
-HP rinse
-Clean tires with Meguiars All Wheel and Tire Cleaner and a Mothers Tire brush
-HP rinse
-Repeat tire cleaning
-HP rinse
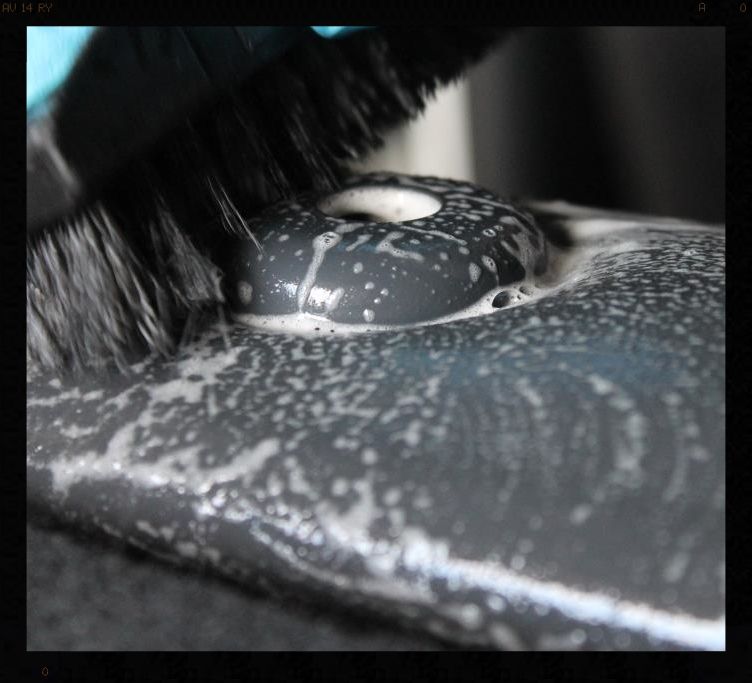
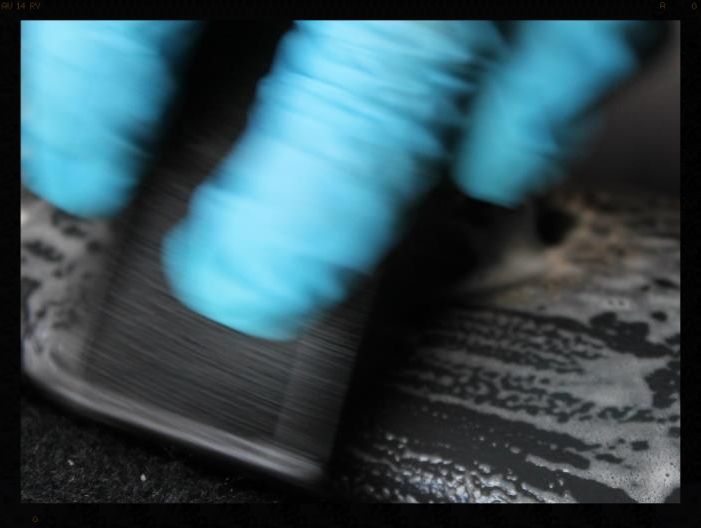
-Wash wheels and brake calipers with VP Bilberry Wheel Cleaner @ 1:6, Daytona and Daytona Jnr brushes and Valet Pro Boars Hair Brushes
-HP rinse
-Dry
-Remove tar using Autoglym Intensive Tar Remover
-Spray with APC and HP Rinse
-Dry
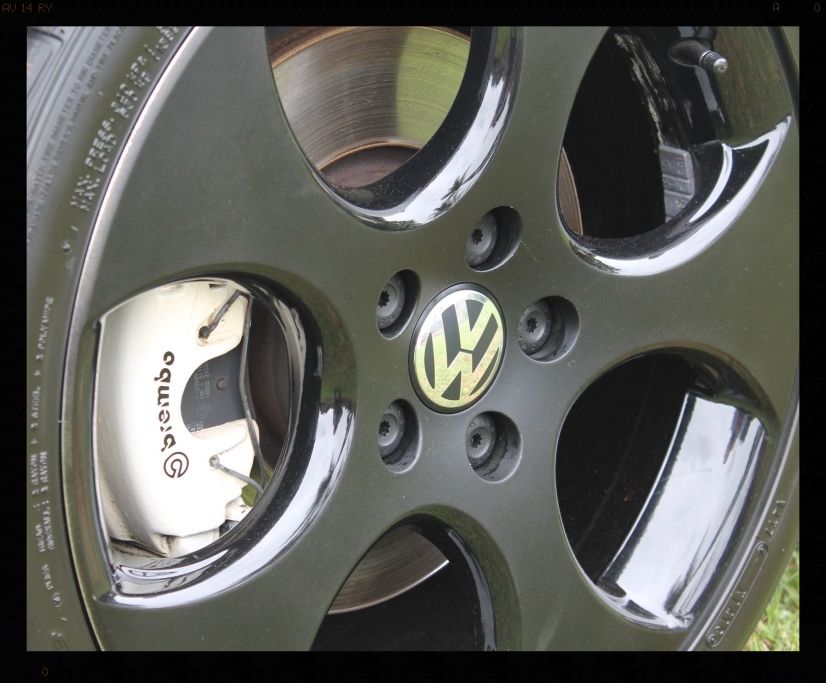
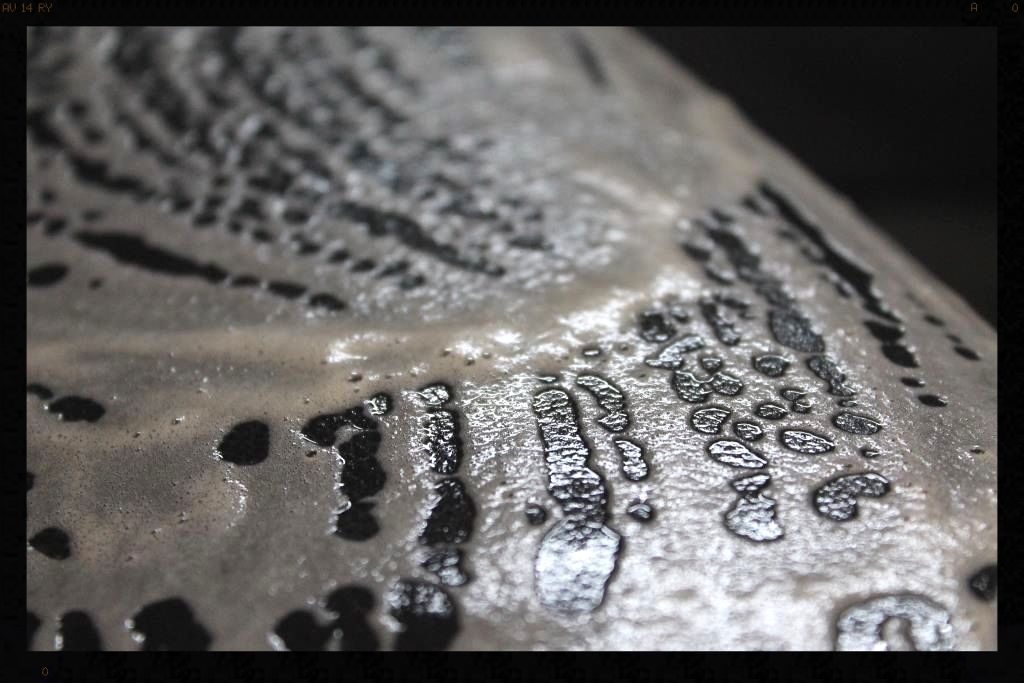
-Remove bonded and embedded ferrous contaminants on wheels and brake calipers with Valet Pro Dragon's Breath Daytona and Daytona Jnr brushes and Valet Pro Boars Hair Brushes
-HP Rinse + flood rinse
-Then when foaming the car, I hit the wheels too, and rinsed and dried them along with the car
-Later the tires would be coated with Gyeon Tire and the wheels sealed with Menzerna Powerlock and the arches dressed using Shield Sheen
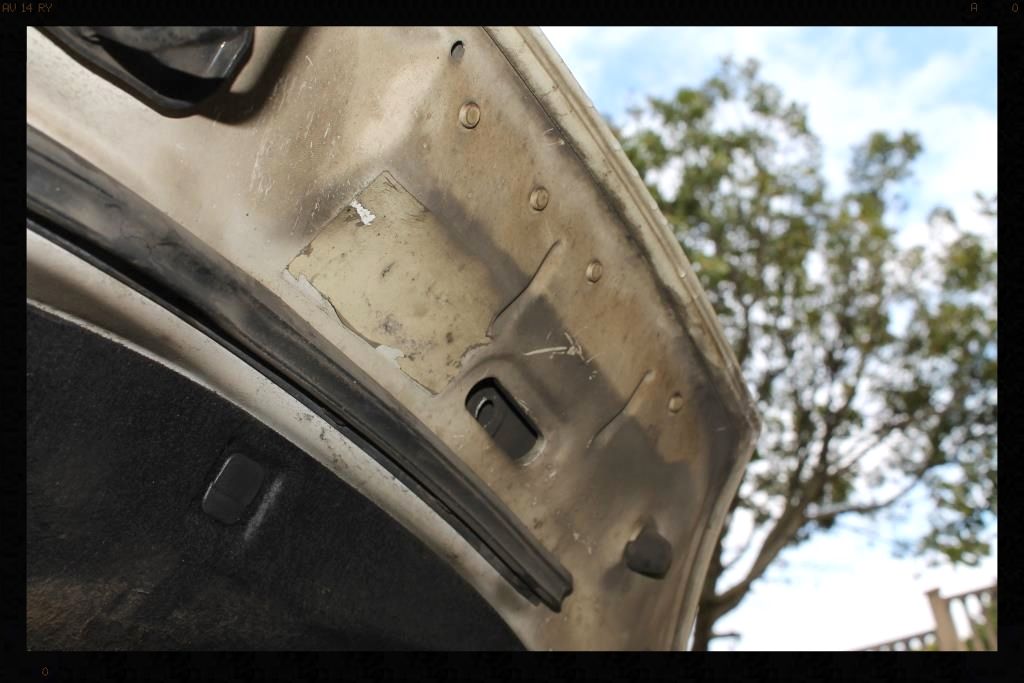
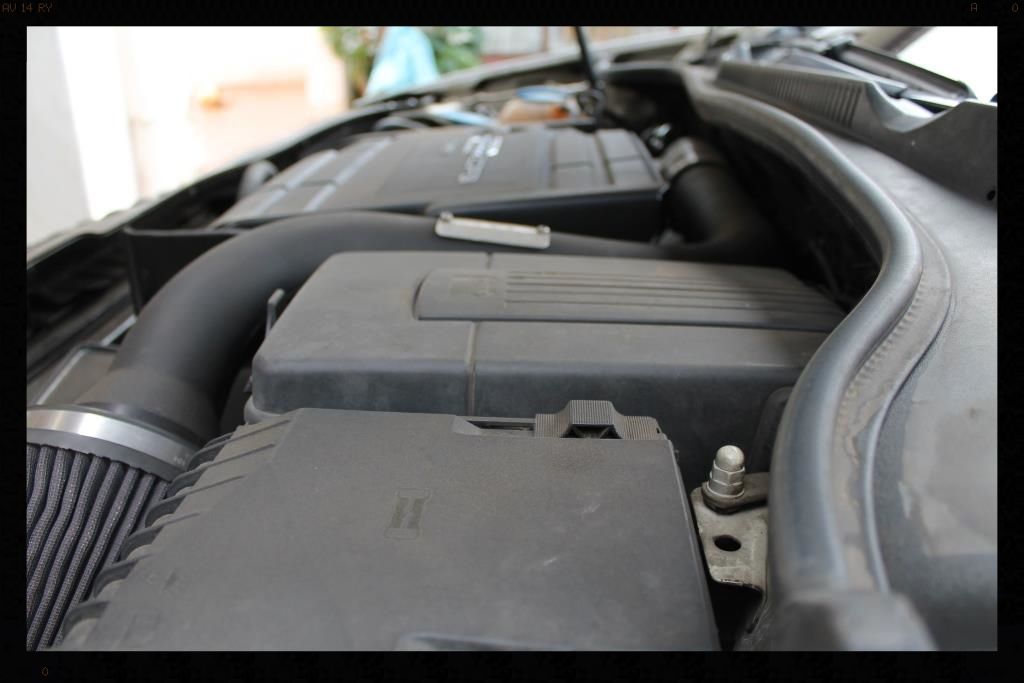
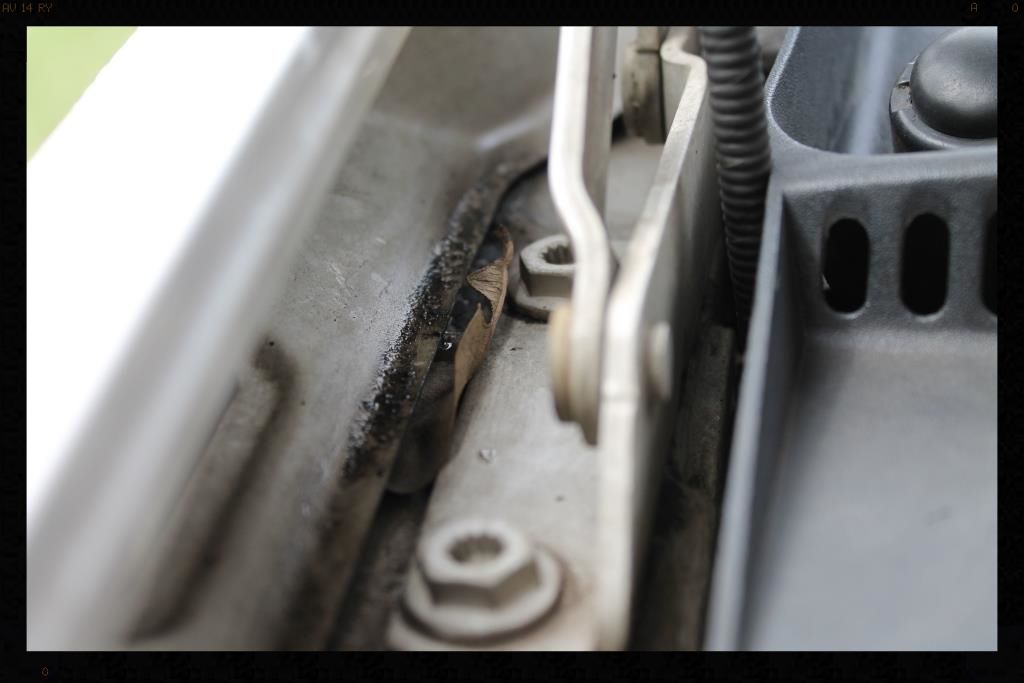
Now to move onto the next dirtiest part of the car.... the engine bay, which I don't think had ever been cleaned in the 250k+ km's
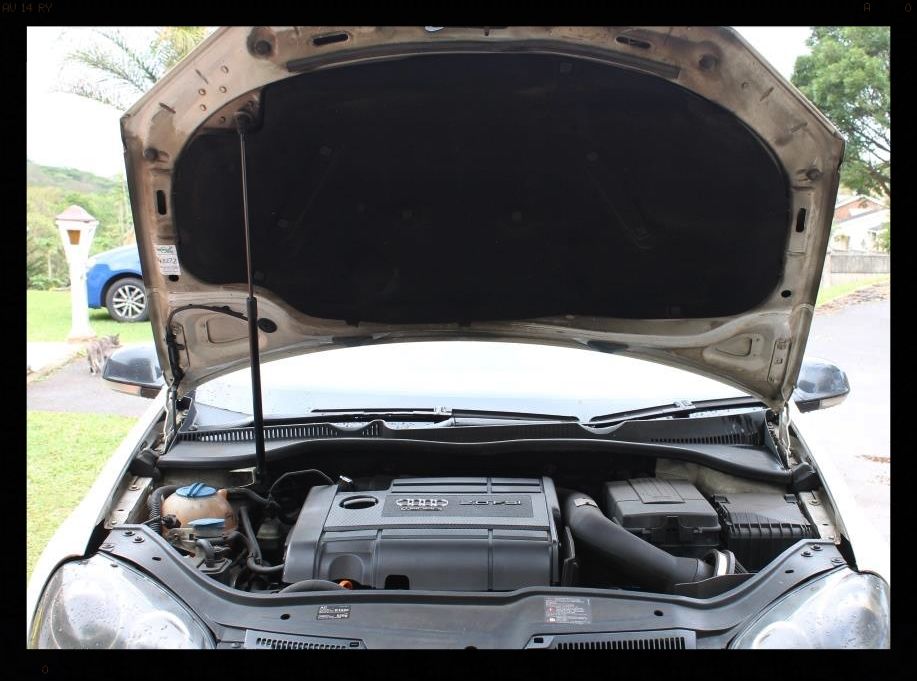
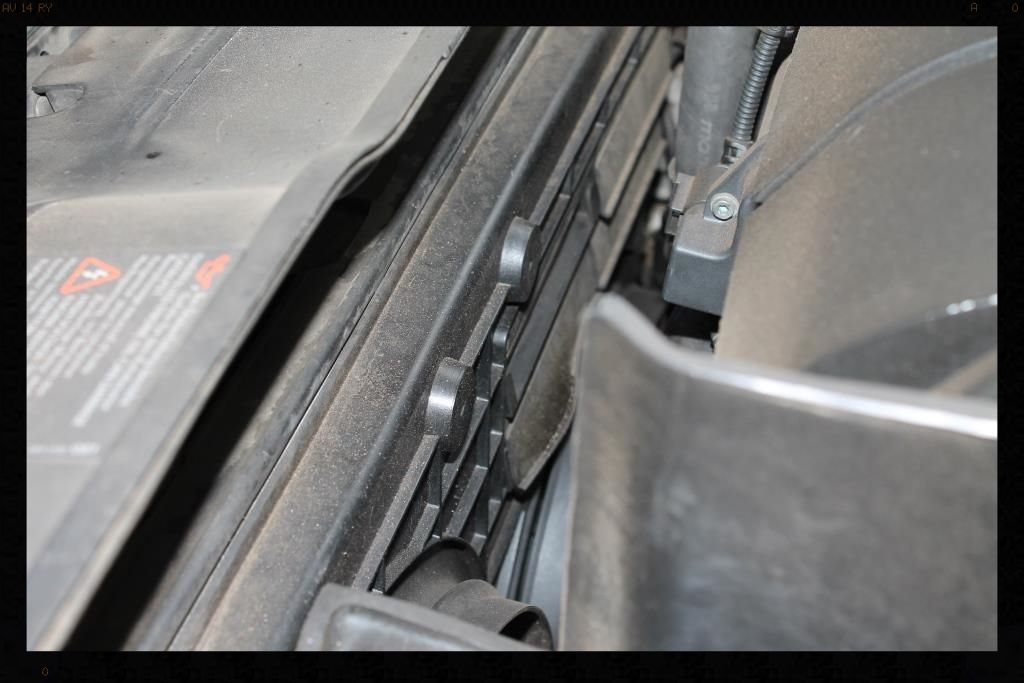
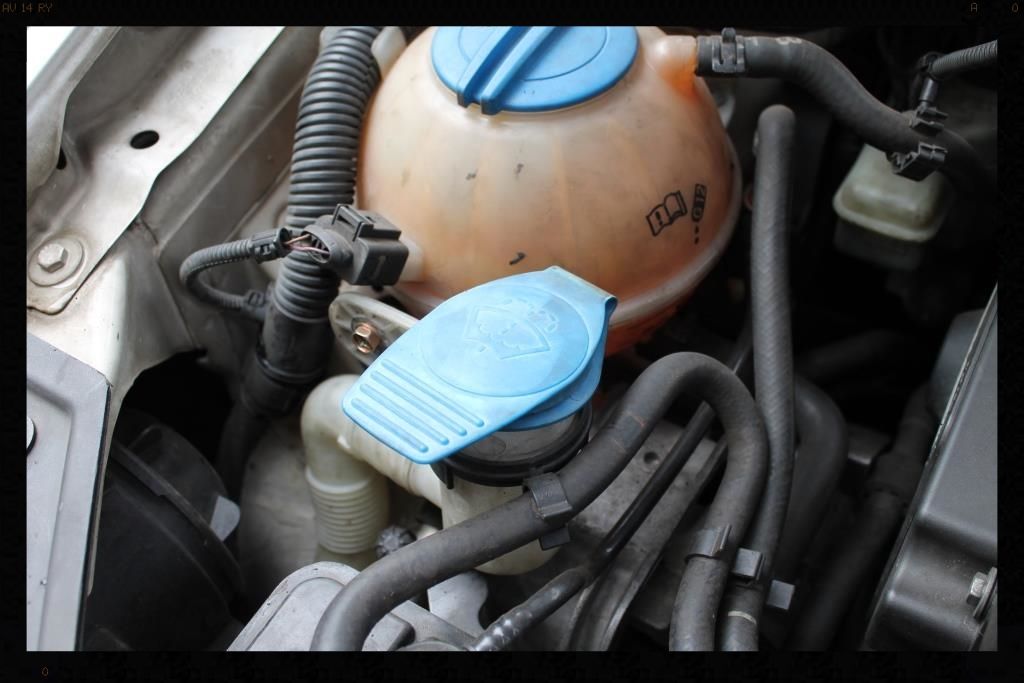
Process and products:
-HP rinse loose dirt off
-Clean with APC and various brushes
-Polish painted surfaces using Teroson Heavy Cut XP by hand
-Clean/Polish/Protect (AIO) using AF Tripple
-Plastics dressed with Shield Sheen
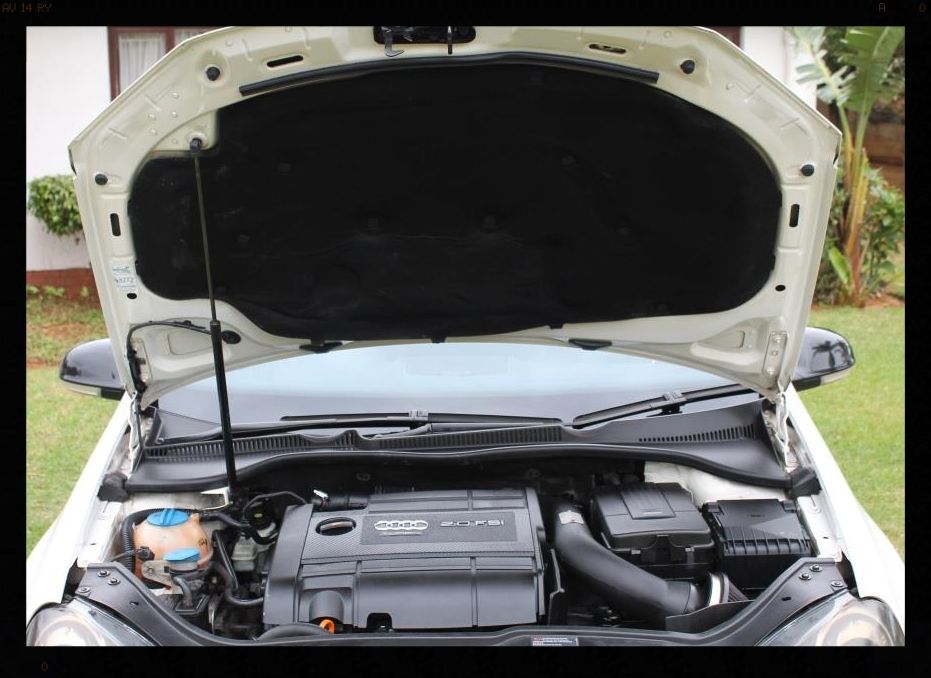
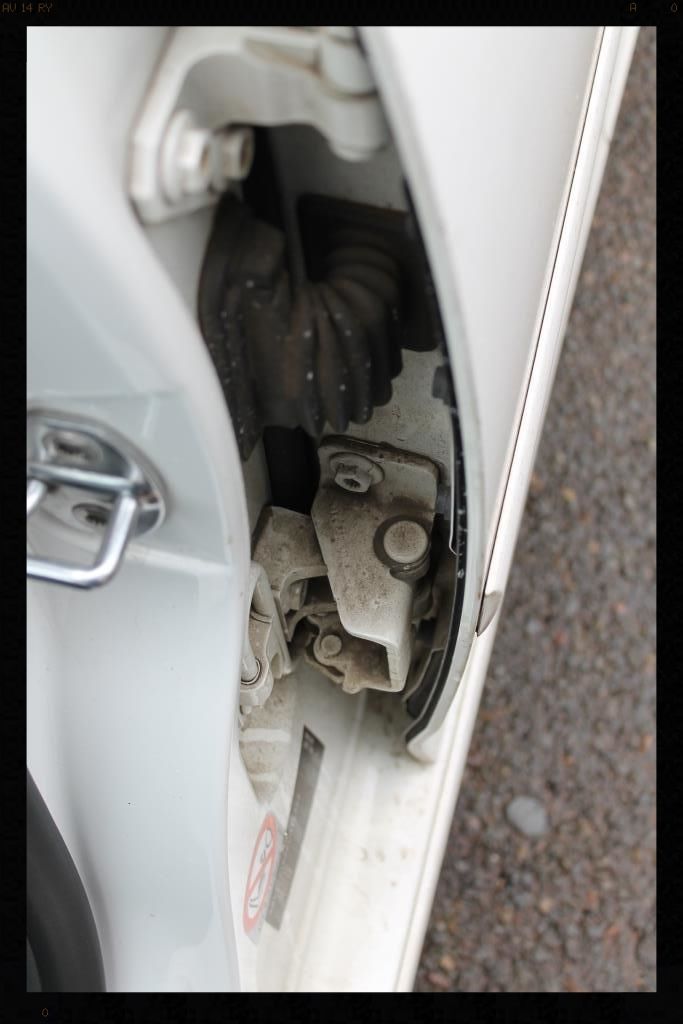
Then it was on to the door shuts, boot shut and inside the fuel flap
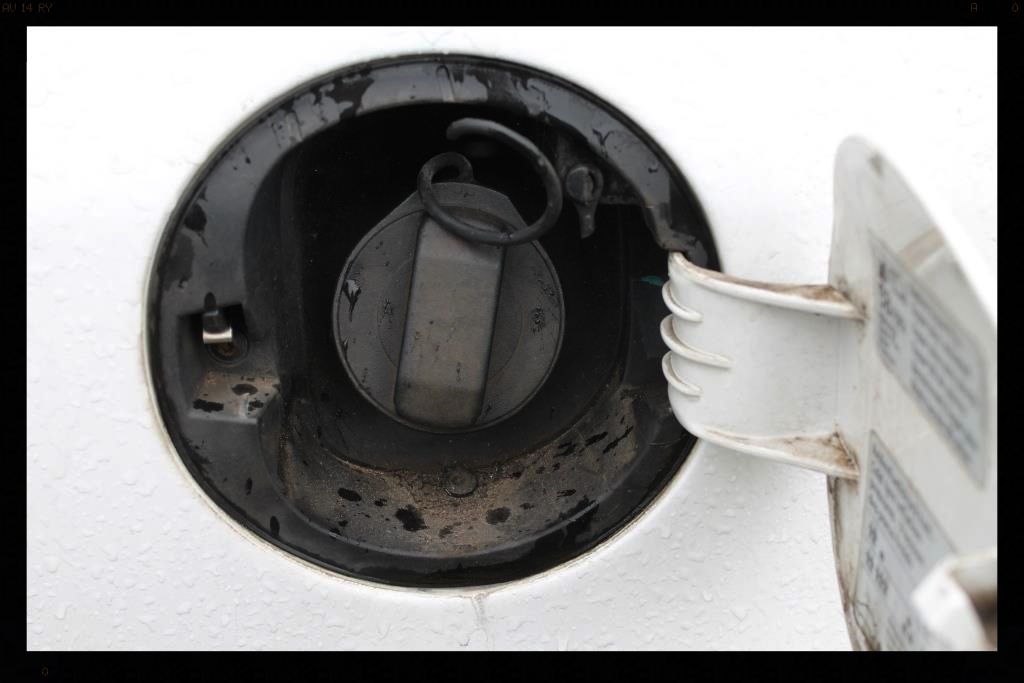
Process and products:
-HP rinse
-Cleaned using APC and various brushes
-HP rinsed
-Clayed
-Polished painted surfaces using Teroson Heavy Cut XP by hand
-Clean/Polish/Protect (AIO) using AF Tripple
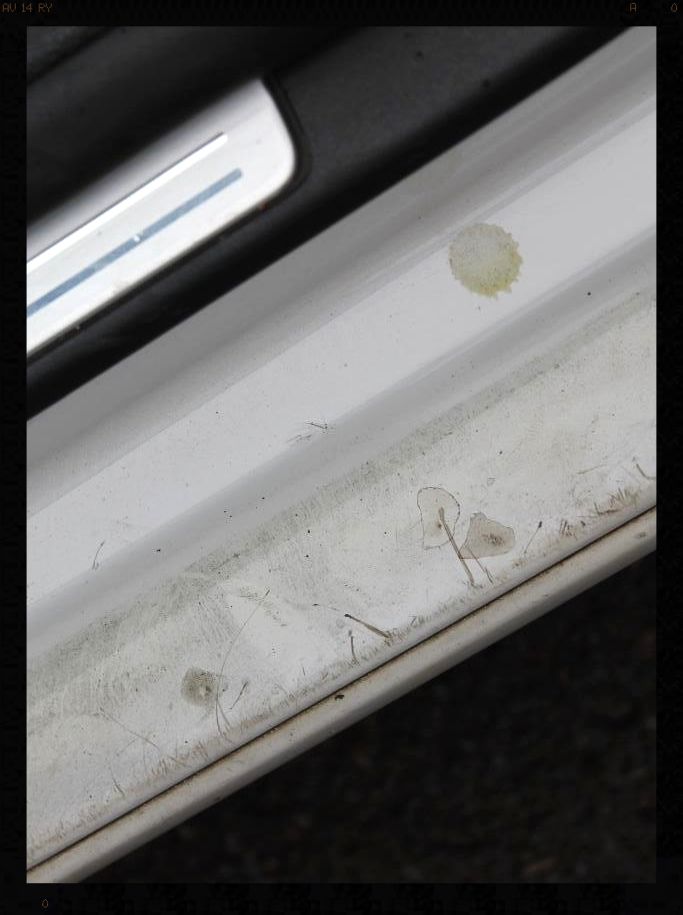
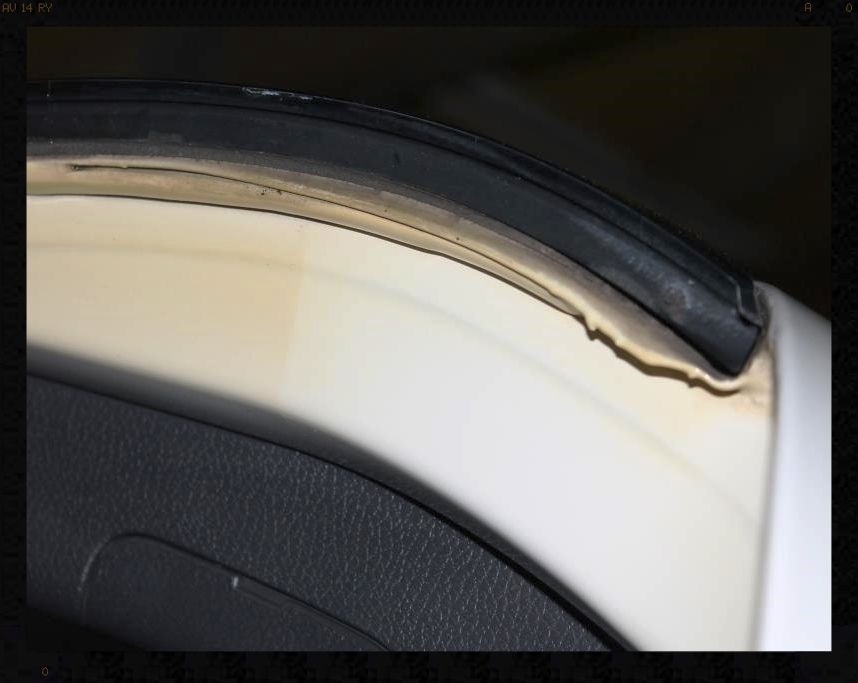
The horrendous staining, particularly in the boot shut, was an absolute bear to remove, and I simply could not invest any additional time trying to perfect it.

Then it was on to the exhaust tips
Process and products:
-Cleaned using APC and various brushes
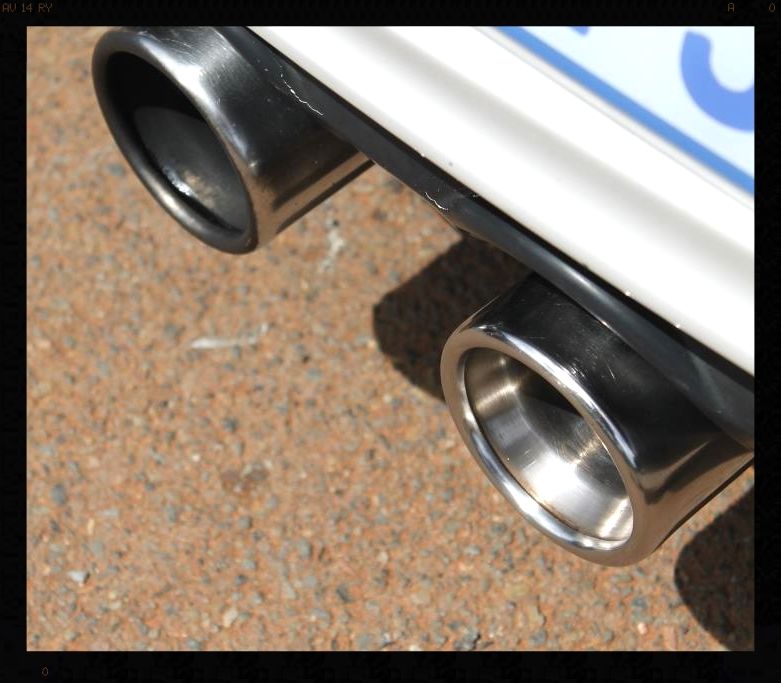
-Polished and protected using Meguiars NXT All Metal Polish
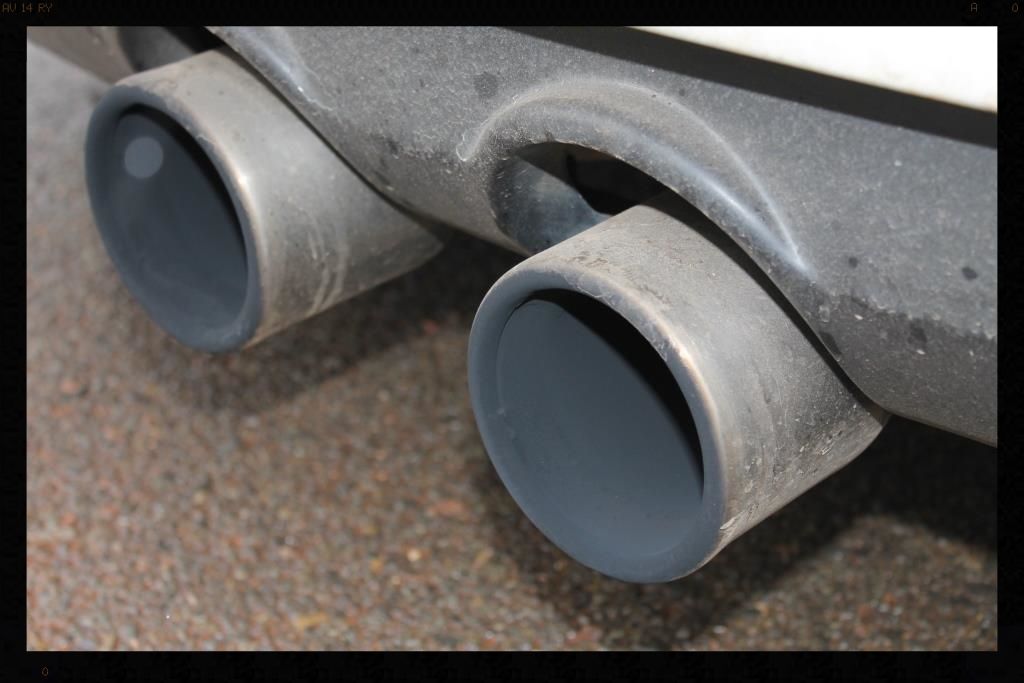
50/50
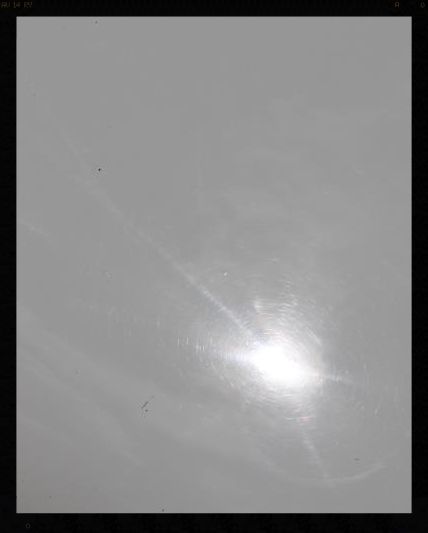
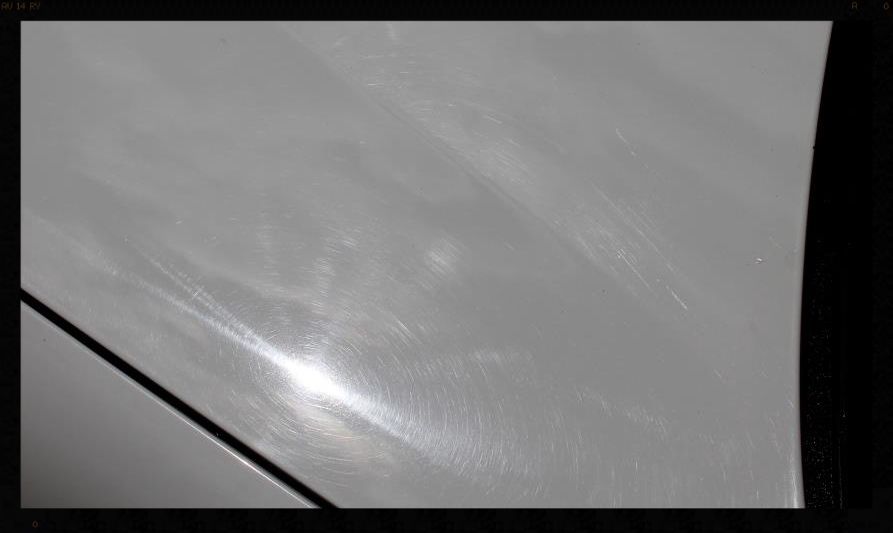
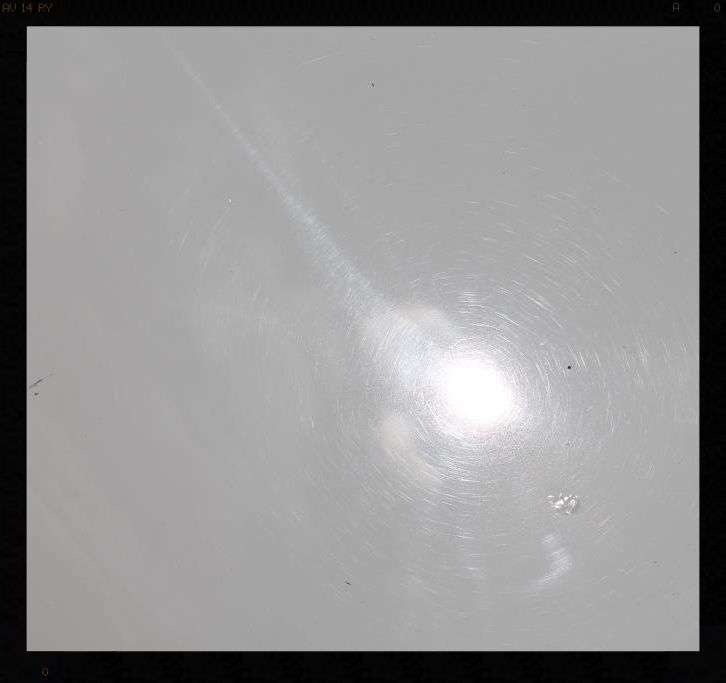
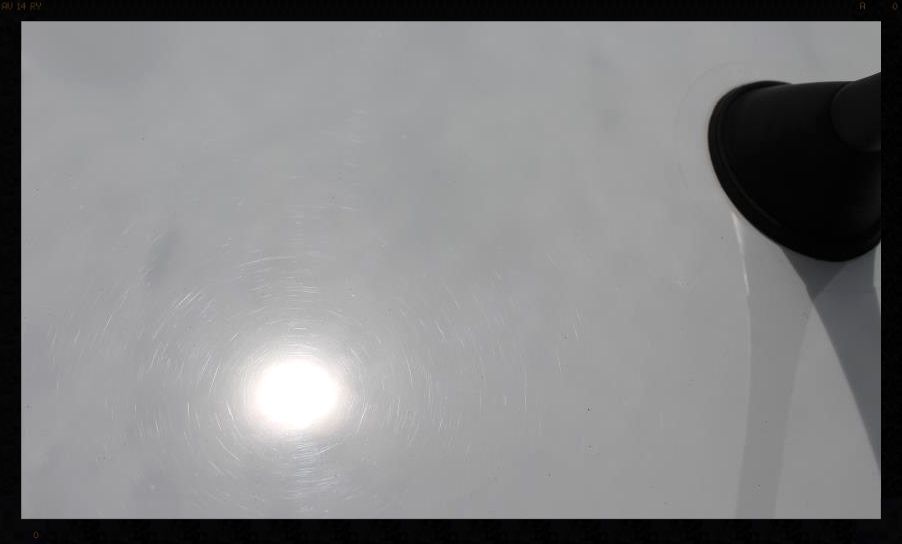
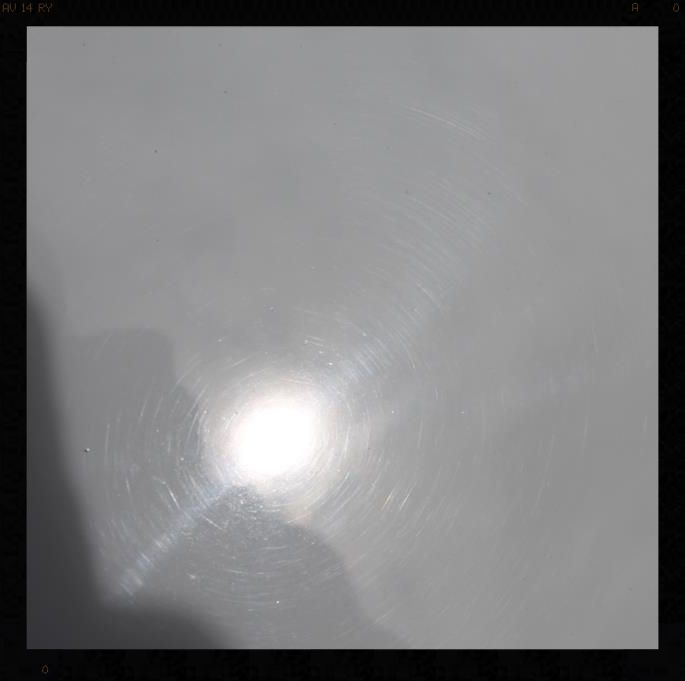
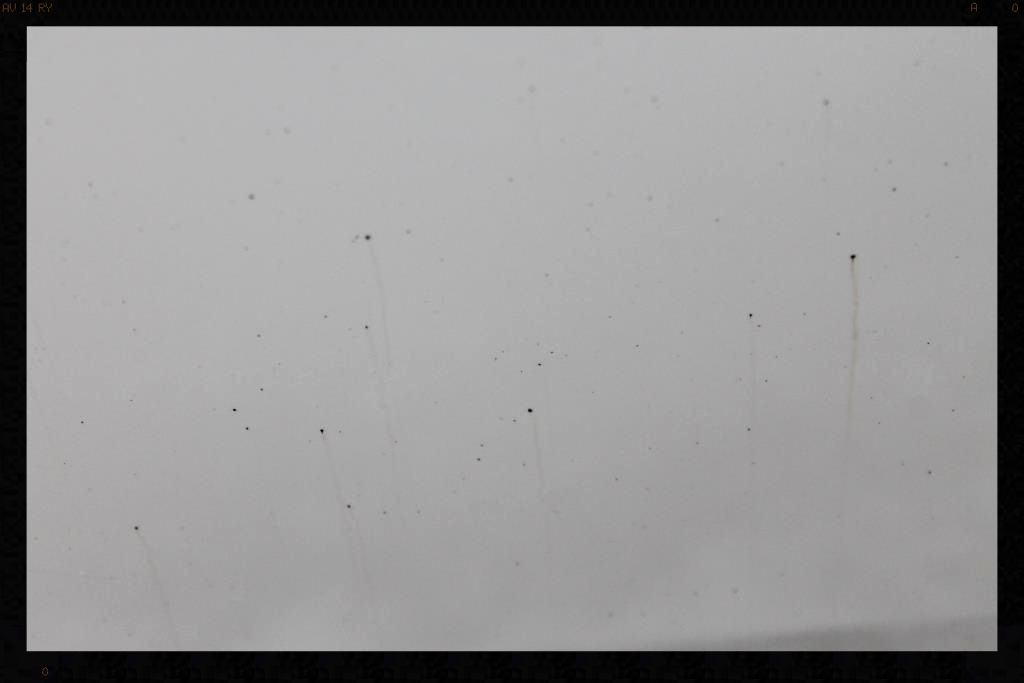
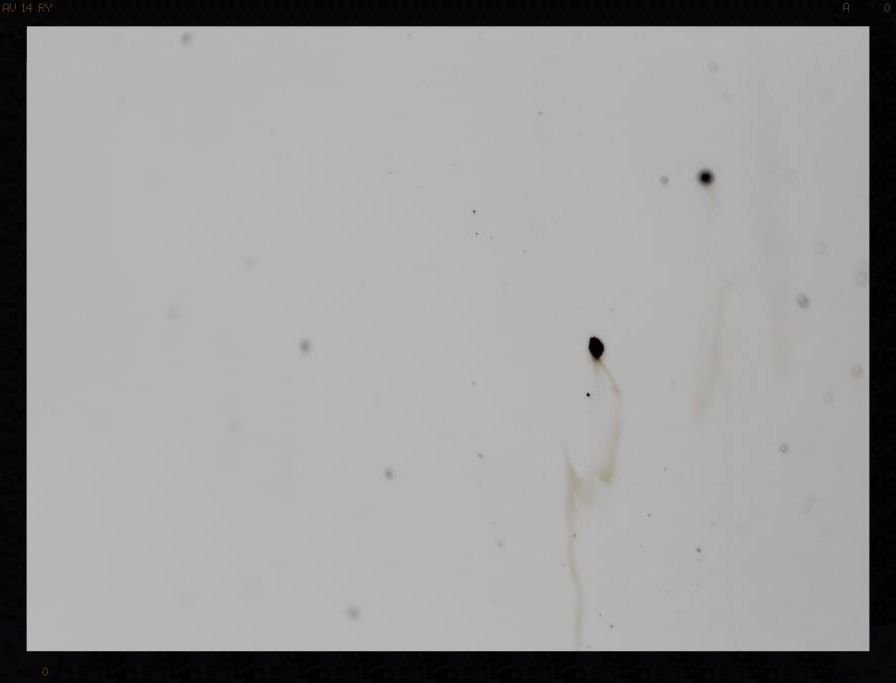
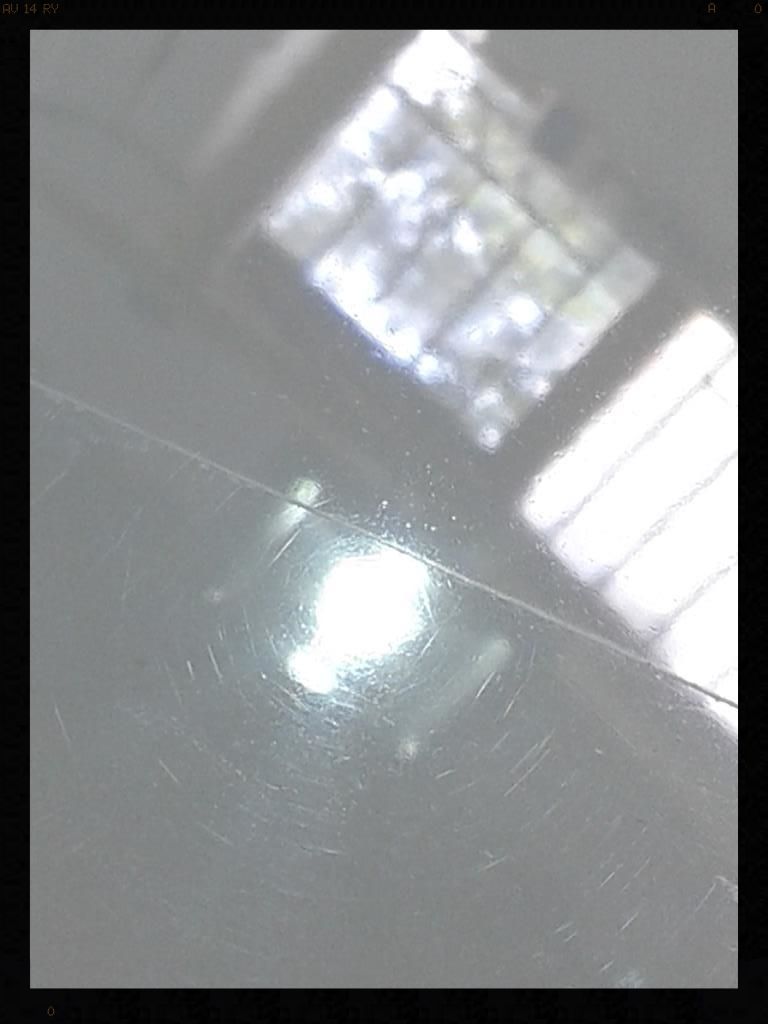
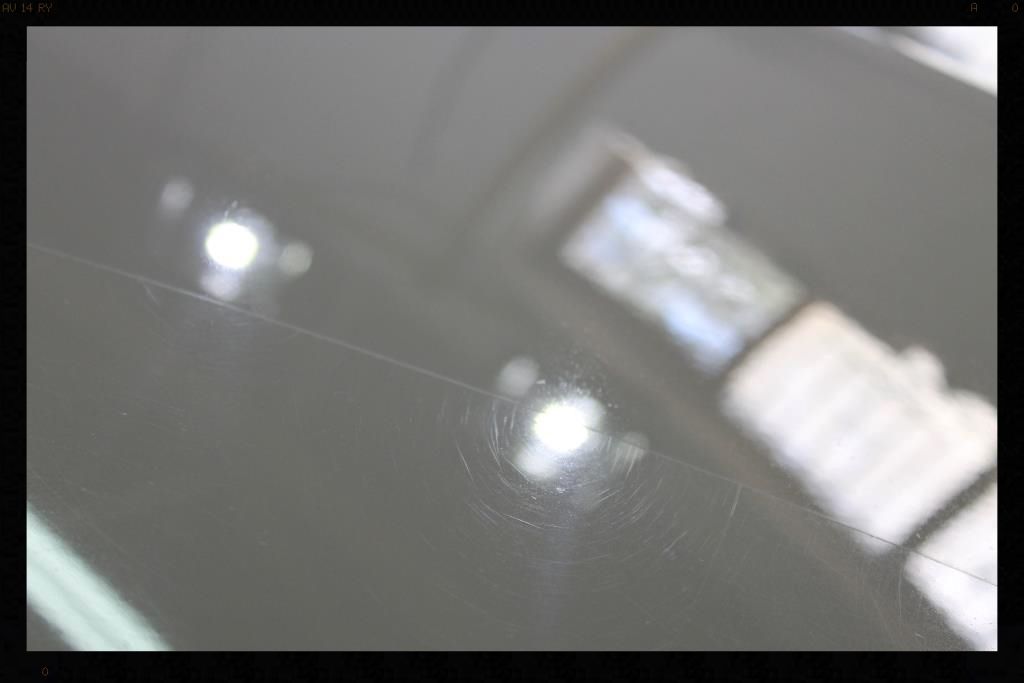
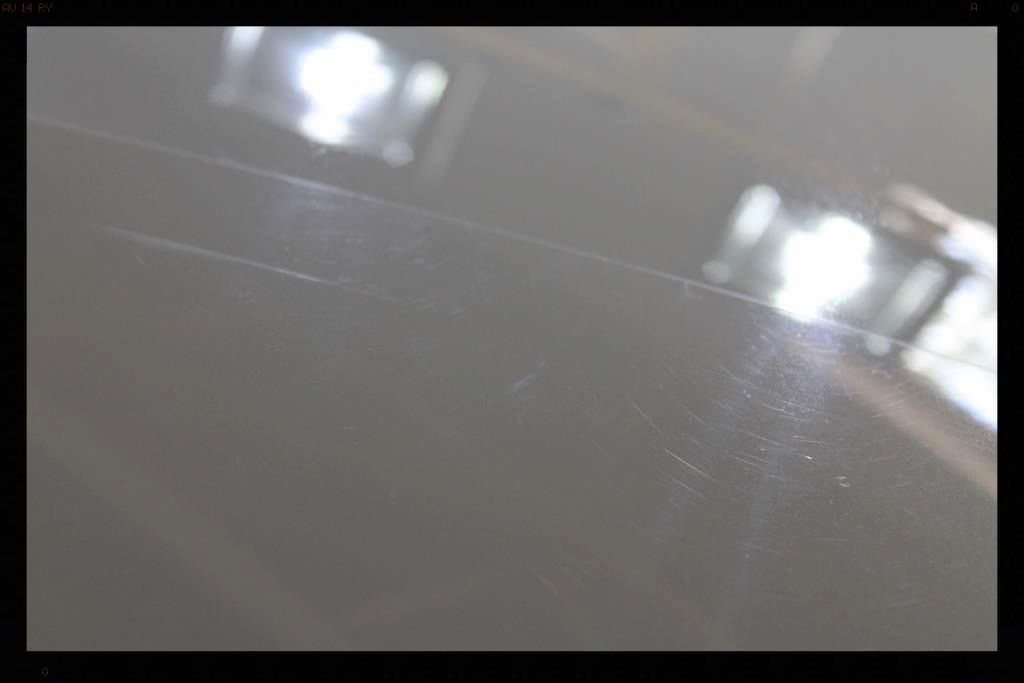
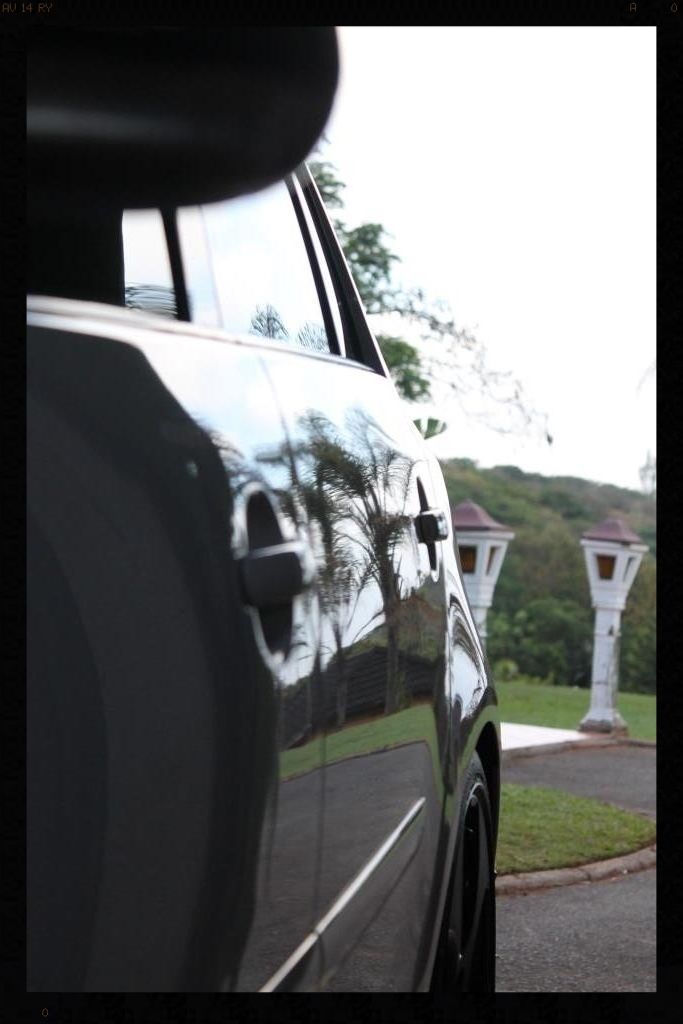
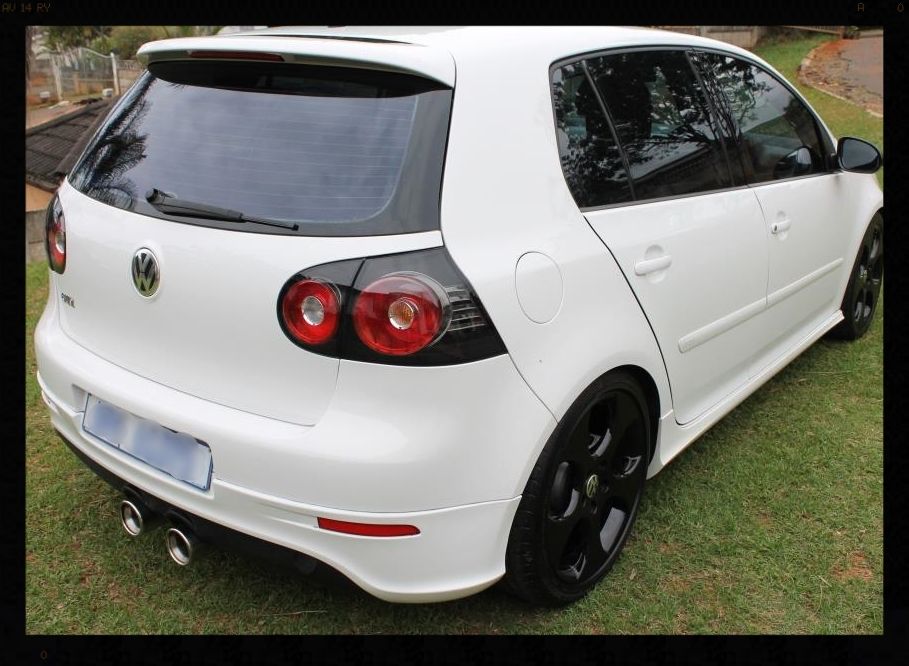
Now with most of the major dirt out the way, it was time to wash the car. First, let's see what the paint looks like...

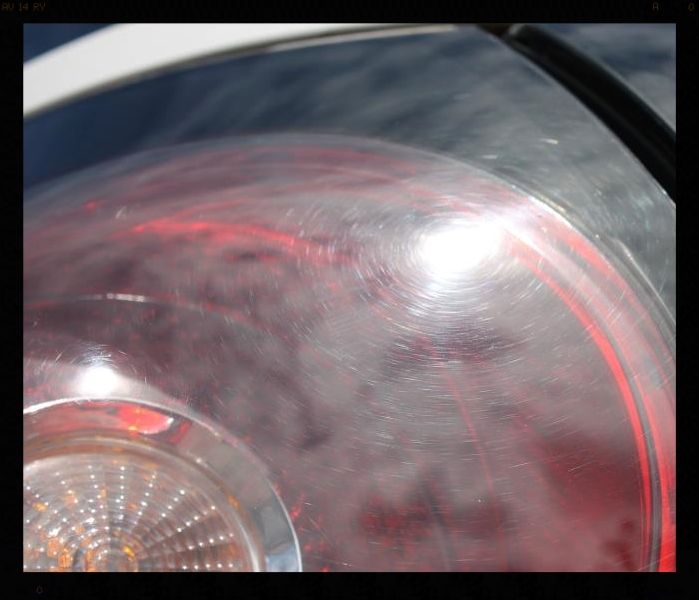
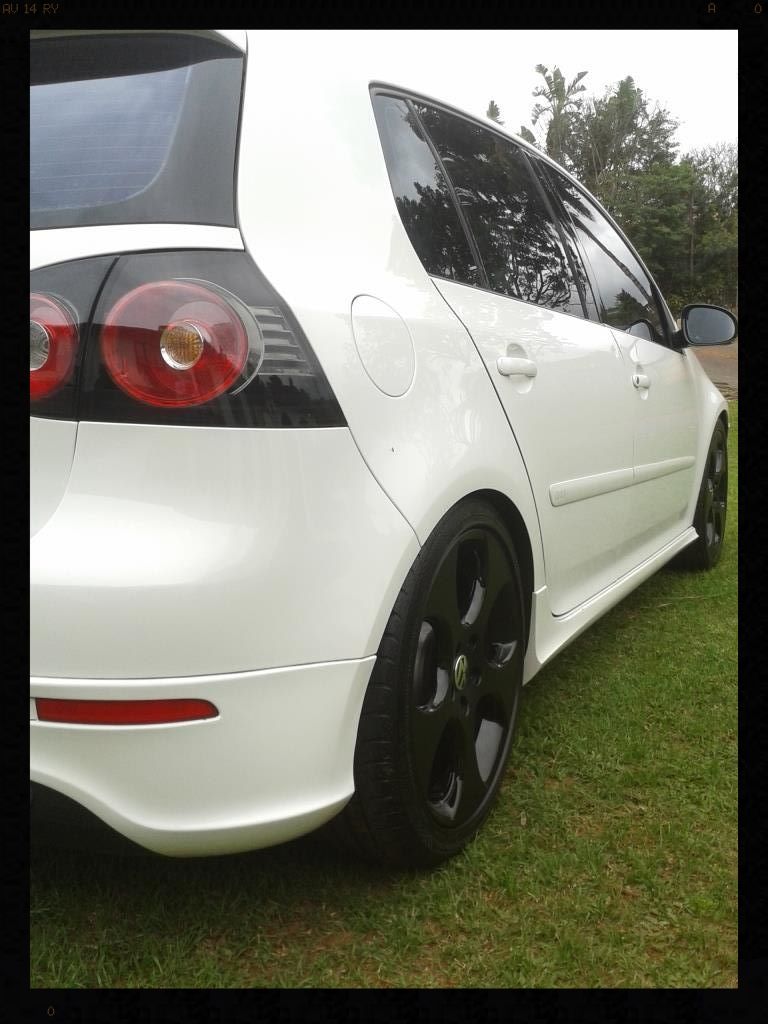
The tail lights didn't escape the damage either
Process and products:
-HP rinse
-Applied Valet Pro Citrus Pre-wash via a spray bottle, left to dwell
-HP rinse
-Applied Chemical Guys Maxi Suds II via a MTM Hydro, left to dwell
-HP rinse
-2BM wash using lambswool wash mitts and Chemical Guys Maxi Suds II
-HP rinse
-Flood Rinse
-Dried using ONR and WW drying towels
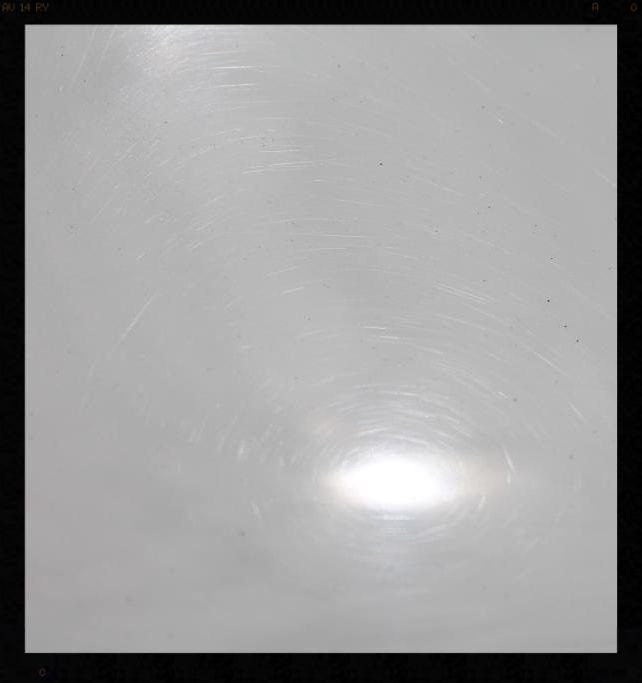
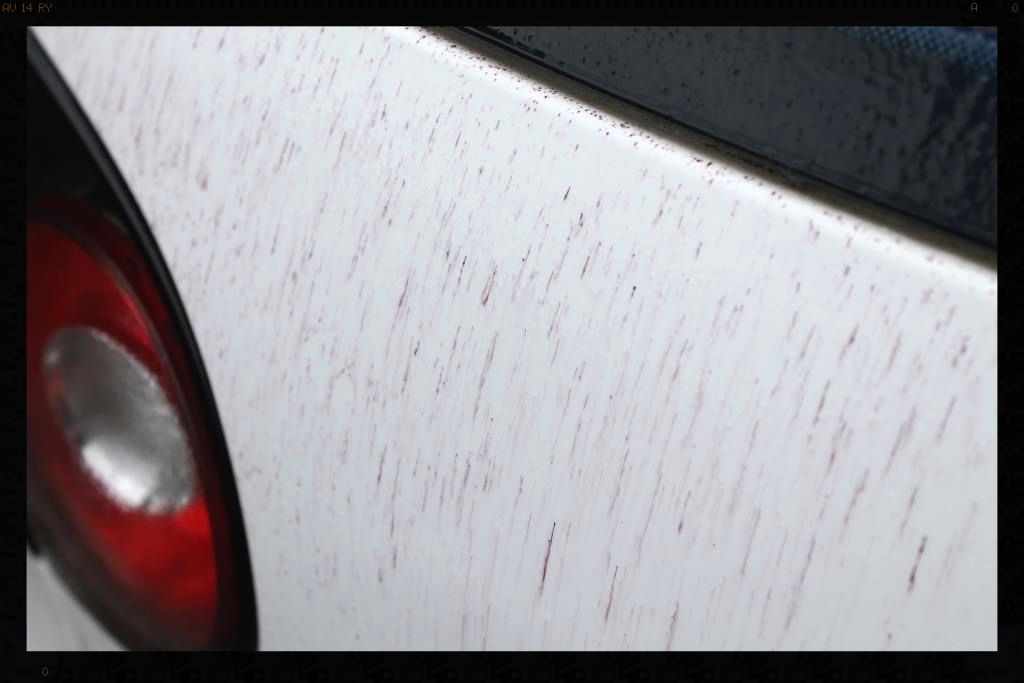
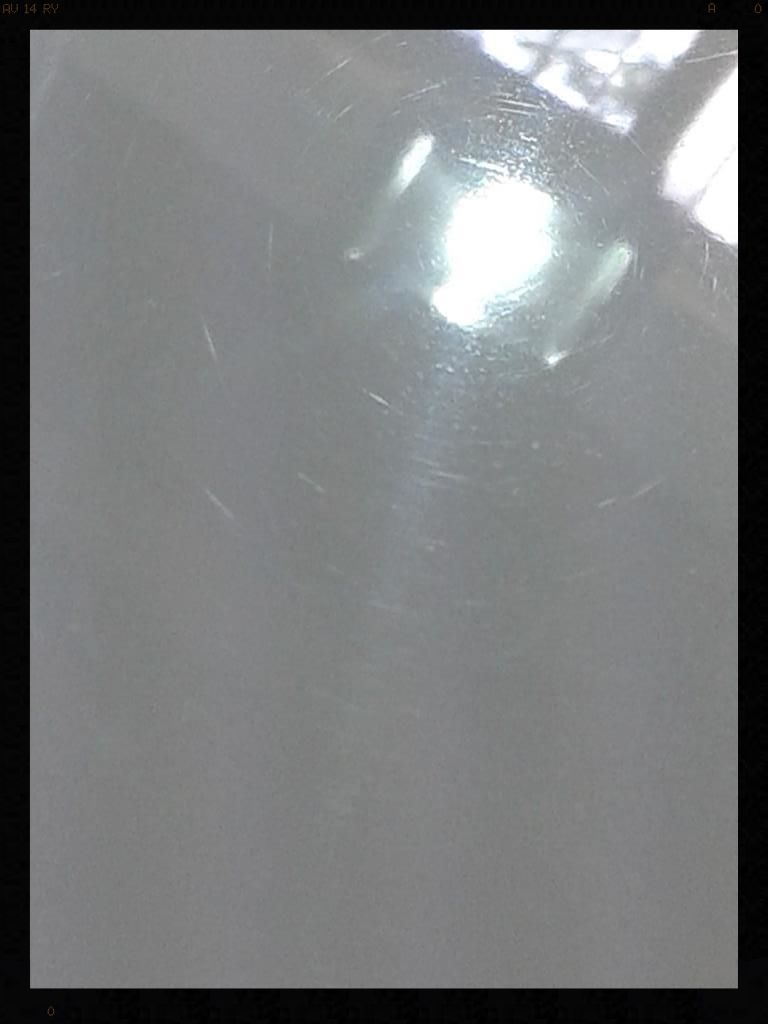
At this point I could already see some of the white starting to come back into the paint. The next 3 steps to decontaminate the paint however would make a significant difference. Decontamination obviously matters on any car, but for me, white cars benefit the most visually from this step and so it it is really important to not rush through the claying step, which was done after the tar and iron were chemically removed.
Process and products:
-Tar removed using Autoglym Intensive Tar Remover
-Iron removed using Valet Pro Dragon's Breath


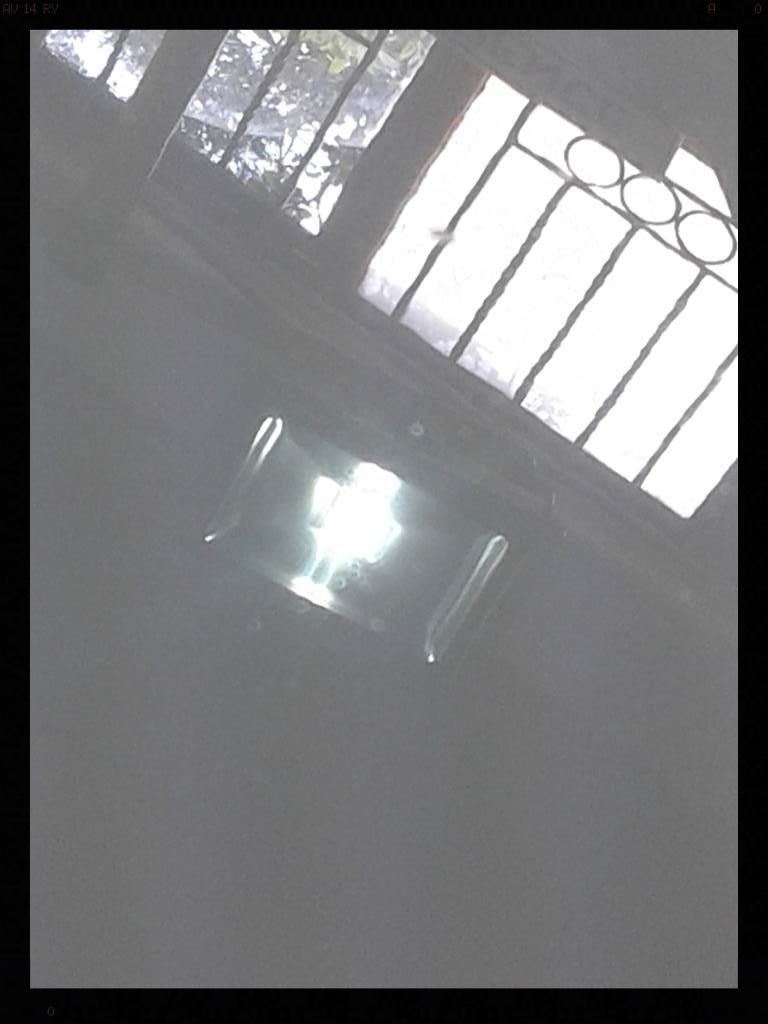
Here is what the same section looked like after I was done with it
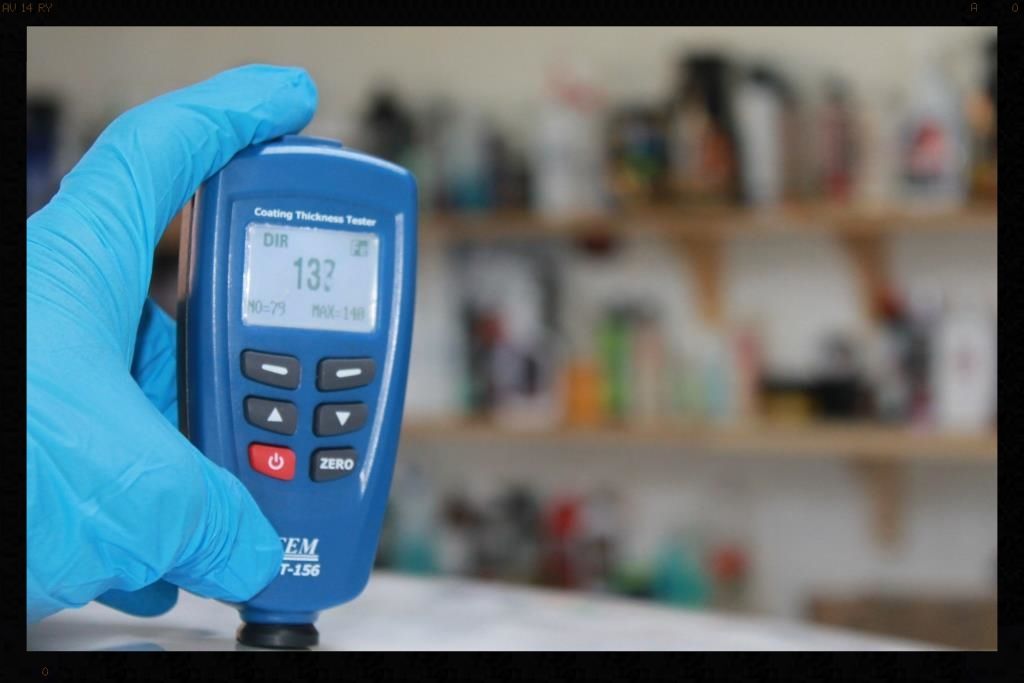
So the first step was to measure the various panels.
The average readings across the whole car were in this region
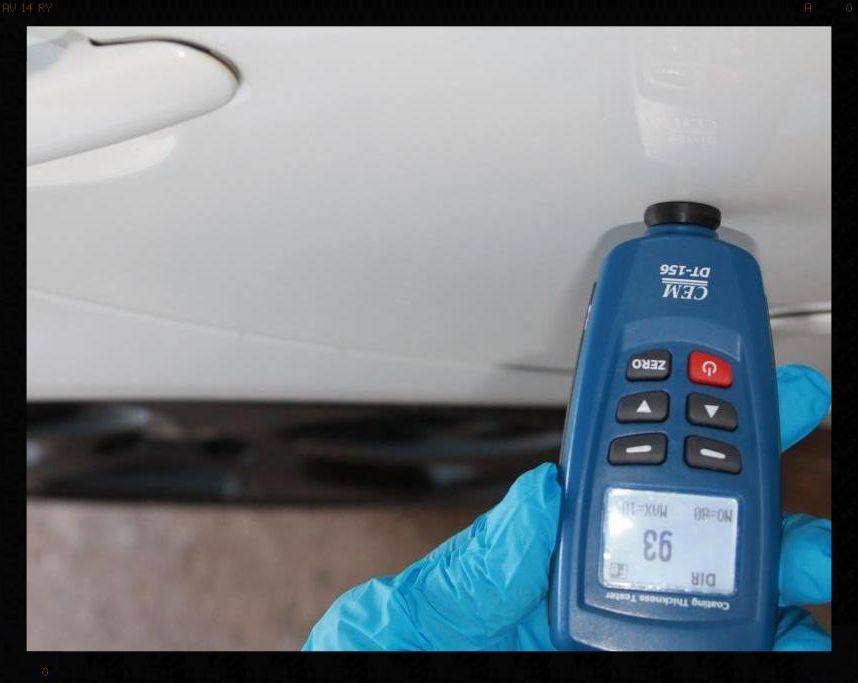
Except for the drivers side rear door
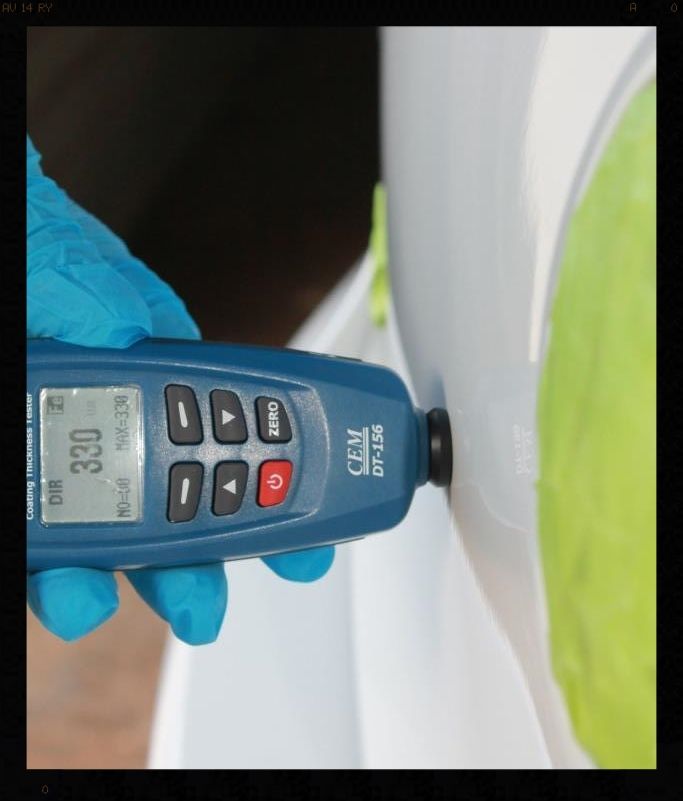
And the boot
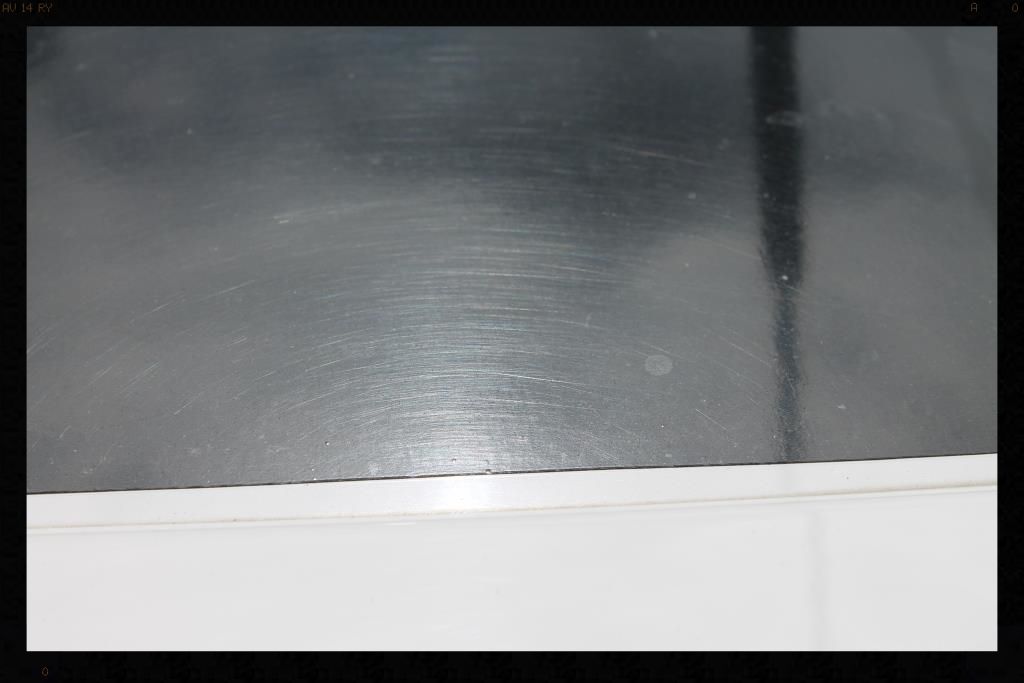
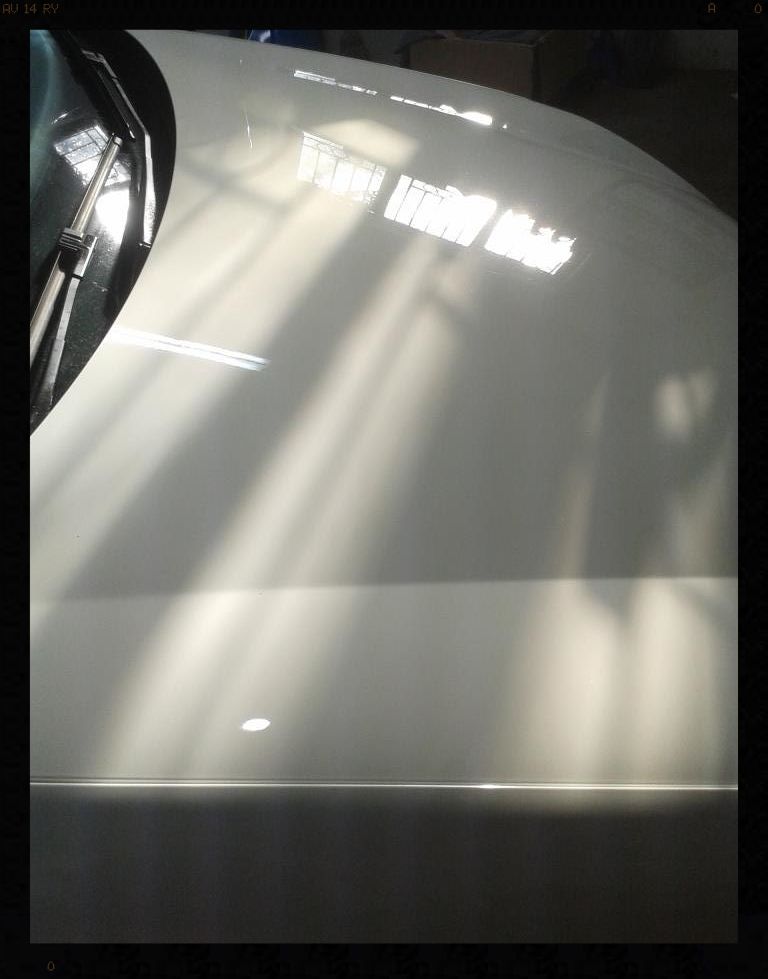
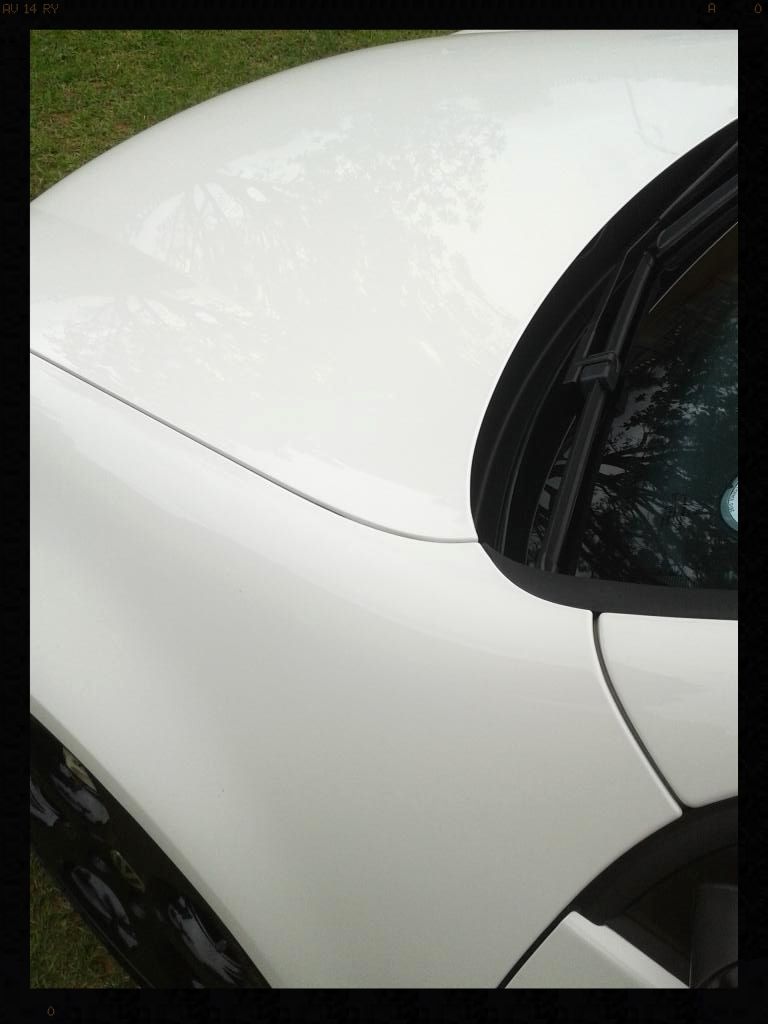
Then it was time to conduct a few test spots and dial in a combo that would deliver the results I was looking for. The below are after the initial cut using the Flex 3401, Menzerna FG400 and a 5.5" LC Cyan Hydrotech pad.
Before
After
Not the best pic, but hopefully you can see how much whiter the polished half is
This would then be refined using Menzerna SF4000 on a 5.5" LC Cyan Hydrotech pad, and protected using Menzerna Powerlock.
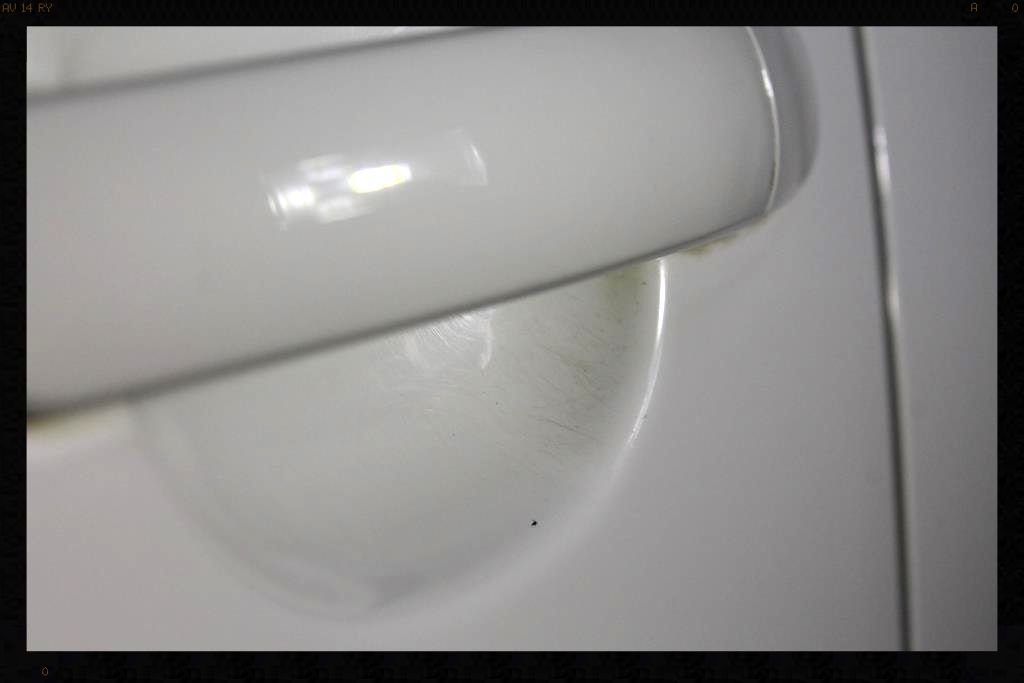
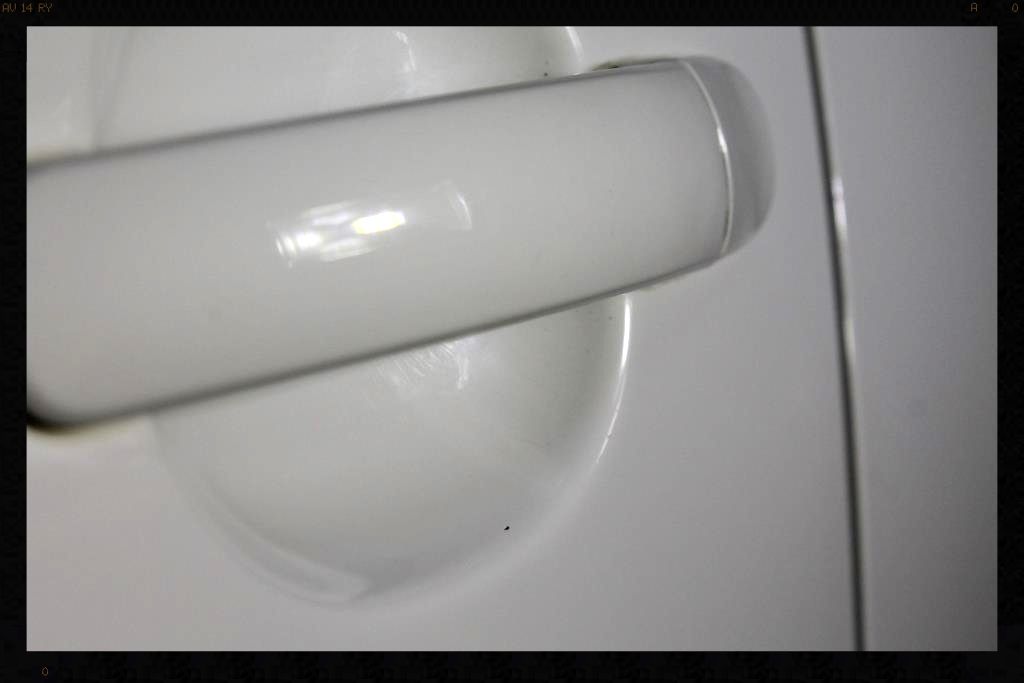
Then inside the door handles was polished out by hand with FG400 and a MF pad.
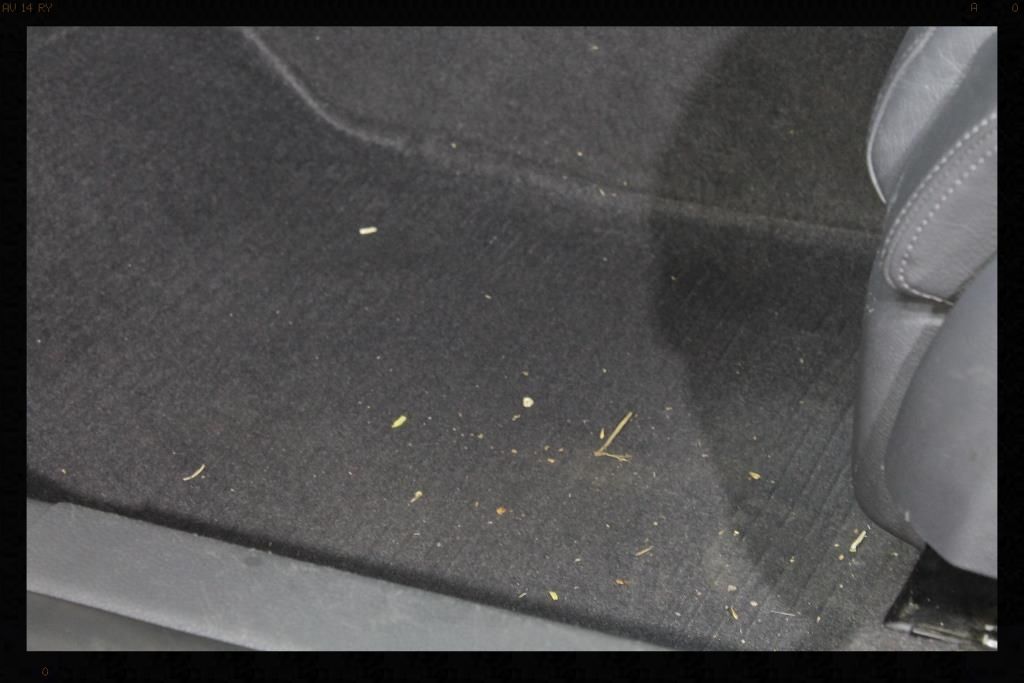
Then the interior needed to be sorted out.
This was all obviously vacuumed, then the carpets brushed and re-vacuumed.
Headrests were removed and cleaned using APC, also making it easier to get to the harder to reach areas.
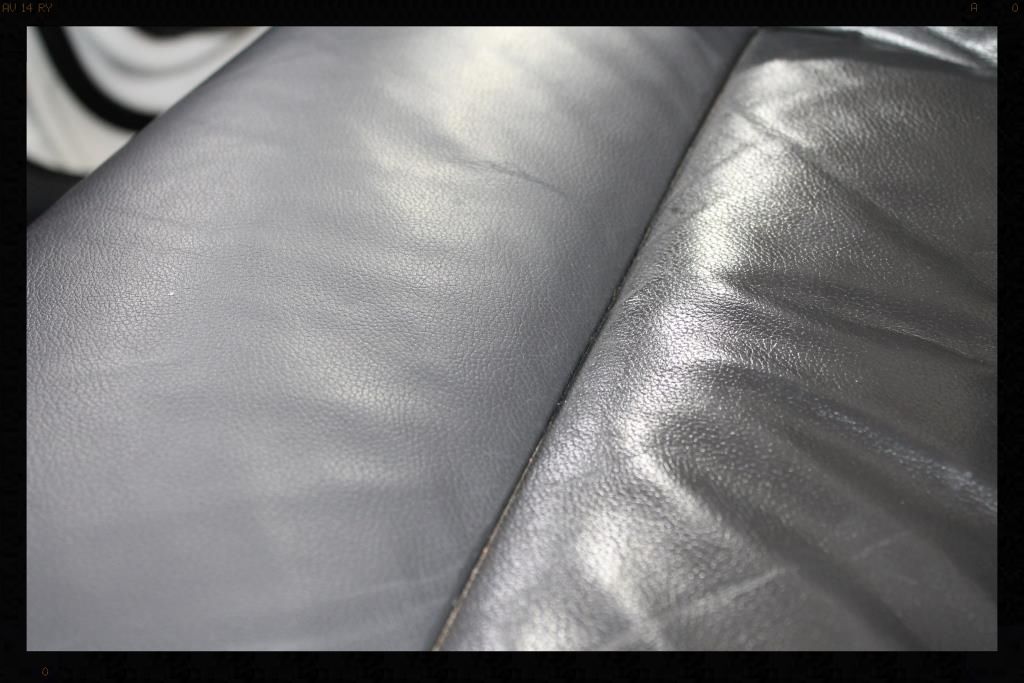
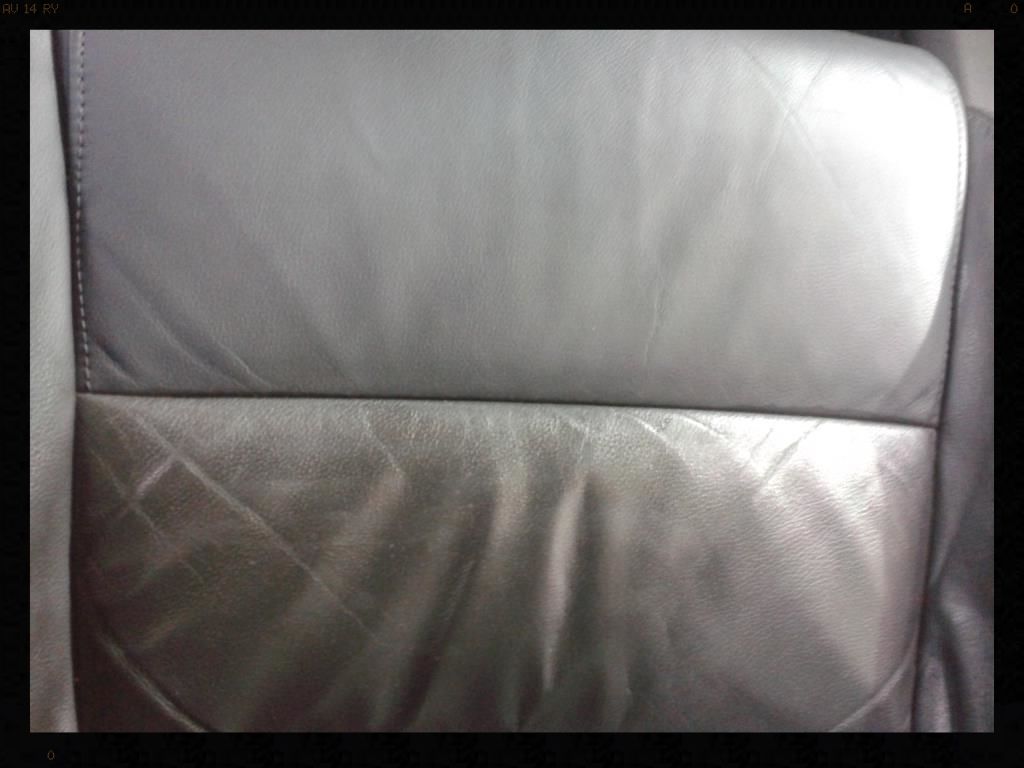
The seats were then cleaned using the same process
All interior plastics were cleaned with APC then dressed/protected with Autofinesse Spritz. The pedals were then cleaned with APC.
The interior glass was then cleaned using Autoglym Fast Glass. All the exterior glass was first clayed, then polished using Autoglym Glass Polish on a 6" LC White Pad with the Flex 3401. Fast Glass was then used to clean off any remaining polish residue and the windows coated with C-Thru.
Then the door rubbers, window rubbers, exterior plastic trim including the front grille and mirror housings were cleaned with Shield Heavy Duty Vinyl and Rubber Cleaner and then Protected using Aerospace 303.
The only time prior to the car arriving on Friday night I had seen this car was a few months ago for (during my lunch break at the corner garage, with no proper lighting, PTG etc etc) whereafter it was booked in for a full detail, and my initial impressions back then was that is was rather 'tatty' and would need some love, but I underestimated just how much love it would actually need - this detail was definitely up there with some of the longest (in terms of man-hours invested) I have done, but seeing the owner's reaction when he fetched it last night made it all worth it.
So let's get into it....
As usual we start with the dirtiest part of the car....
Process and products:
-Remove lug nut covers
-HP rinse arches, tires and wheels.
-Clean arches with APC and Mothers Fenderwell Brush
-HP rinse
-Clean tires with Meguiars All Wheel and Tire Cleaner and a Mothers Tire brush
-HP rinse
-Repeat tire cleaning
-HP rinse
-Wash wheels and brake calipers with VP Bilberry Wheel Cleaner @ 1:6, Daytona and Daytona Jnr brushes and Valet Pro Boars Hair Brushes
-HP rinse
-Dry
-Remove tar using Autoglym Intensive Tar Remover
-Spray with APC and HP Rinse
-Dry
-Remove bonded and embedded ferrous contaminants on wheels and brake calipers with Valet Pro Dragon's Breath Daytona and Daytona Jnr brushes and Valet Pro Boars Hair Brushes
-HP Rinse + flood rinse
-Then when foaming the car, I hit the wheels too, and rinsed and dried them along with the car
-Later the tires would be coated with Gyeon Tire and the wheels sealed with Menzerna Powerlock and the arches dressed using Shield Sheen
Now to move onto the next dirtiest part of the car.... the engine bay, which I don't think had ever been cleaned in the 250k+ km's
Process and products:
-HP rinse loose dirt off
-Clean with APC and various brushes
-Polish painted surfaces using Teroson Heavy Cut XP by hand
-Clean/Polish/Protect (AIO) using AF Tripple
-Plastics dressed with Shield Sheen
Then it was on to the door shuts, boot shut and inside the fuel flap
Process and products:
-HP rinse
-Cleaned using APC and various brushes
-HP rinsed
-Clayed
-Polished painted surfaces using Teroson Heavy Cut XP by hand
-Clean/Polish/Protect (AIO) using AF Tripple
The horrendous staining, particularly in the boot shut, was an absolute bear to remove, and I simply could not invest any additional time trying to perfect it.
Then it was on to the exhaust tips
Process and products:
-Cleaned using APC and various brushes
-Polished and protected using Meguiars NXT All Metal Polish
50/50
Now with most of the major dirt out the way, it was time to wash the car. First, let's see what the paint looks like...
The tail lights didn't escape the damage either
Process and products:
-HP rinse
-Applied Valet Pro Citrus Pre-wash via a spray bottle, left to dwell
-HP rinse
-Applied Chemical Guys Maxi Suds II via a MTM Hydro, left to dwell
-HP rinse
-2BM wash using lambswool wash mitts and Chemical Guys Maxi Suds II
-HP rinse
-Flood Rinse
-Dried using ONR and WW drying towels
At this point I could already see some of the white starting to come back into the paint. The next 3 steps to decontaminate the paint however would make a significant difference. Decontamination obviously matters on any car, but for me, white cars benefit the most visually from this step and so it it is really important to not rush through the claying step, which was done after the tar and iron were chemically removed.
Process and products:
-Tar removed using Autoglym Intensive Tar Remover
-Iron removed using Valet Pro Dragon's Breath
Here is what the same section looked like after I was done with it
So the first step was to measure the various panels.
The average readings across the whole car were in this region
Except for the drivers side rear door
And the boot
Then it was time to conduct a few test spots and dial in a combo that would deliver the results I was looking for. The below are after the initial cut using the Flex 3401, Menzerna FG400 and a 5.5" LC Cyan Hydrotech pad.
Before
After
Not the best pic, but hopefully you can see how much whiter the polished half is
This would then be refined using Menzerna SF4000 on a 5.5" LC Cyan Hydrotech pad, and protected using Menzerna Powerlock.
Then inside the door handles was polished out by hand with FG400 and a MF pad.
Then the interior needed to be sorted out.
This was all obviously vacuumed, then the carpets brushed and re-vacuumed.
Headrests were removed and cleaned using APC, also making it easier to get to the harder to reach areas.
The seats were then cleaned using the same process
All interior plastics were cleaned with APC then dressed/protected with Autofinesse Spritz. The pedals were then cleaned with APC.
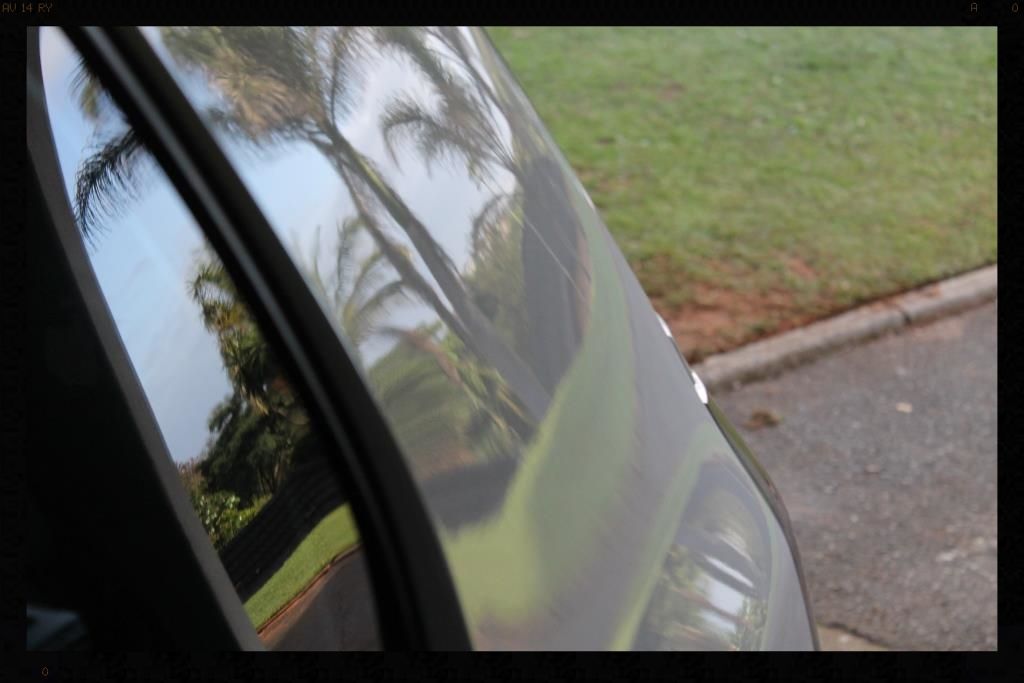
The interior glass was then cleaned using Autoglym Fast Glass. All the exterior glass was first clayed, then polished using Autoglym Glass Polish on a 6" LC White Pad with the Flex 3401. Fast Glass was then used to clean off any remaining polish residue and the windows coated with C-Thru.
Then the door rubbers, window rubbers, exterior plastic trim including the front grille and mirror housings were cleaned with Shield Heavy Duty Vinyl and Rubber Cleaner and then Protected using Aerospace 303.


")
 rops:
rops: