anyone here have experience with dr. colorchip?

timaishu

New member
Joined
Sep 12, 2010
Messages
1,598
Reaction score
0
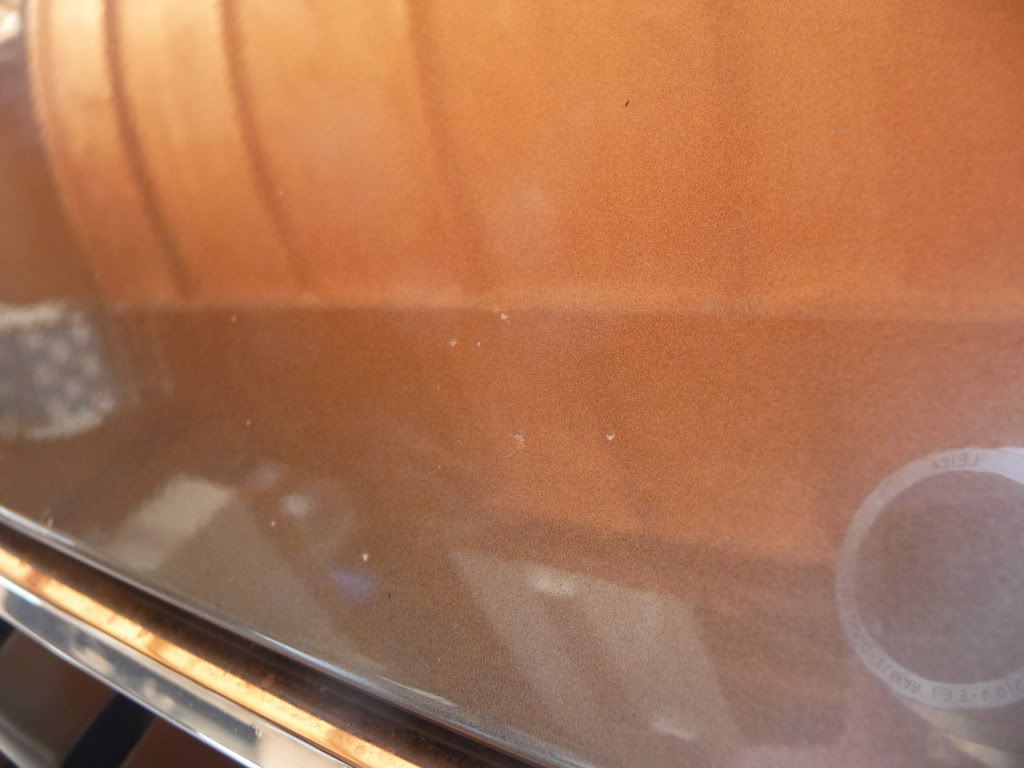
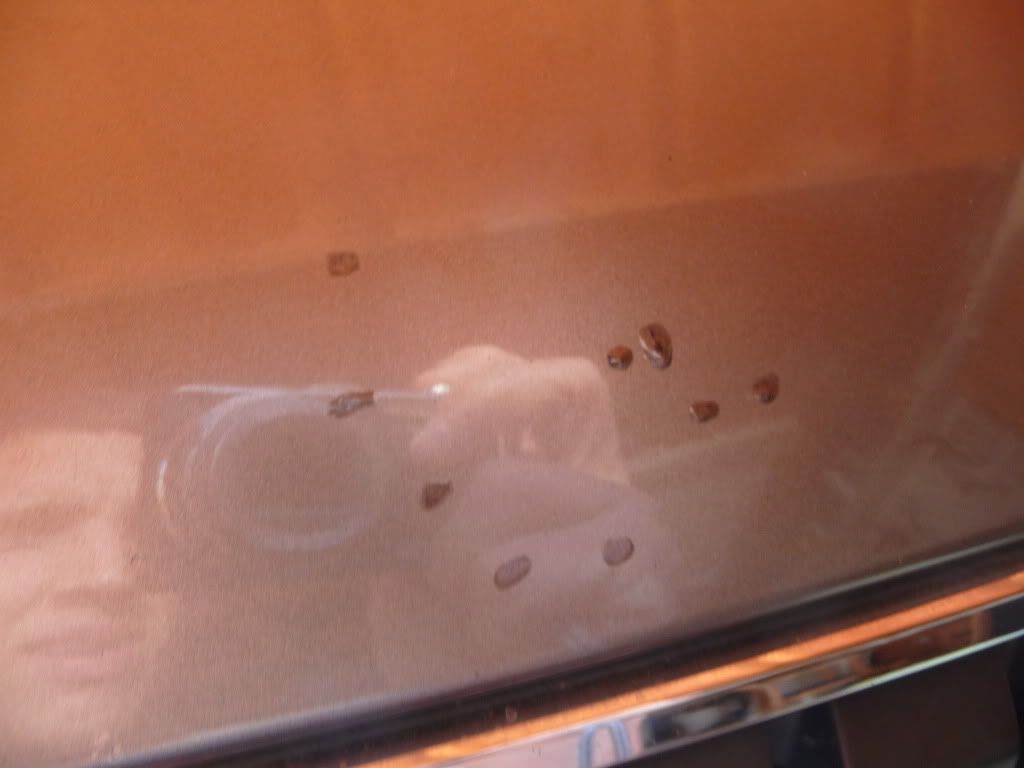
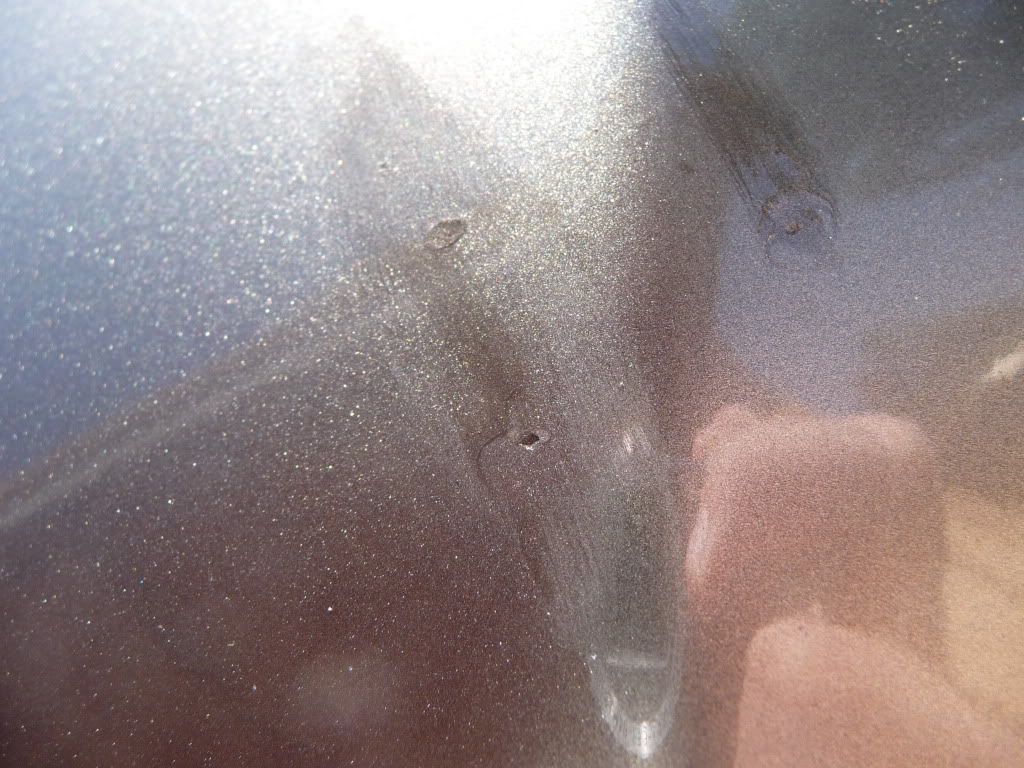
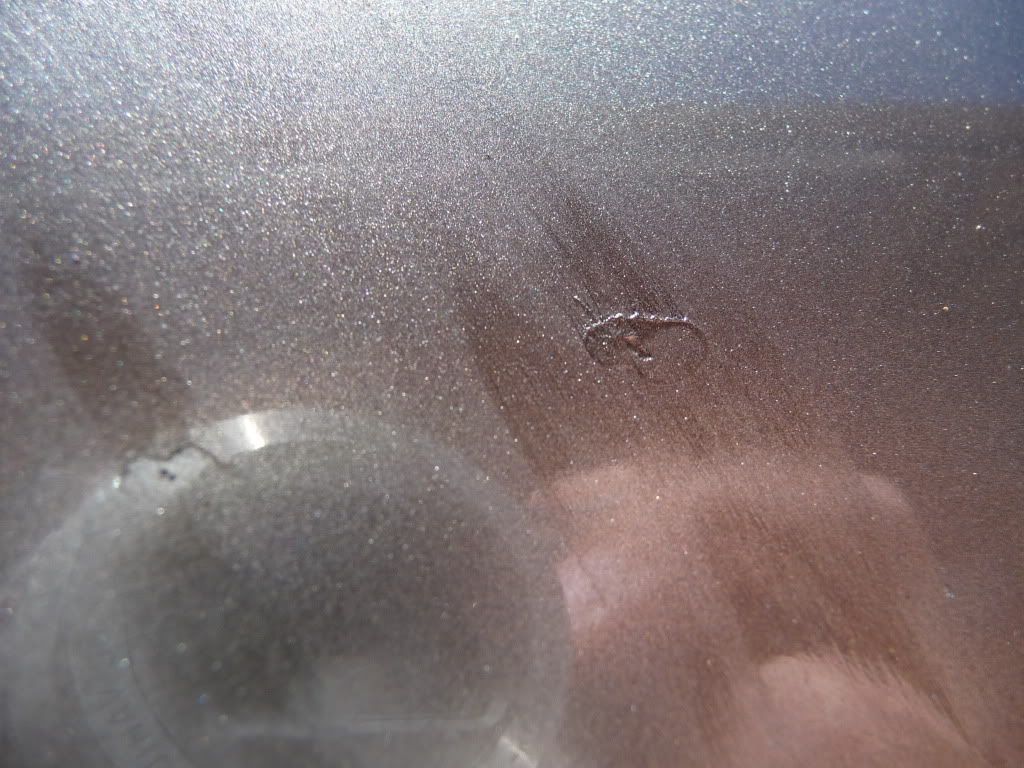
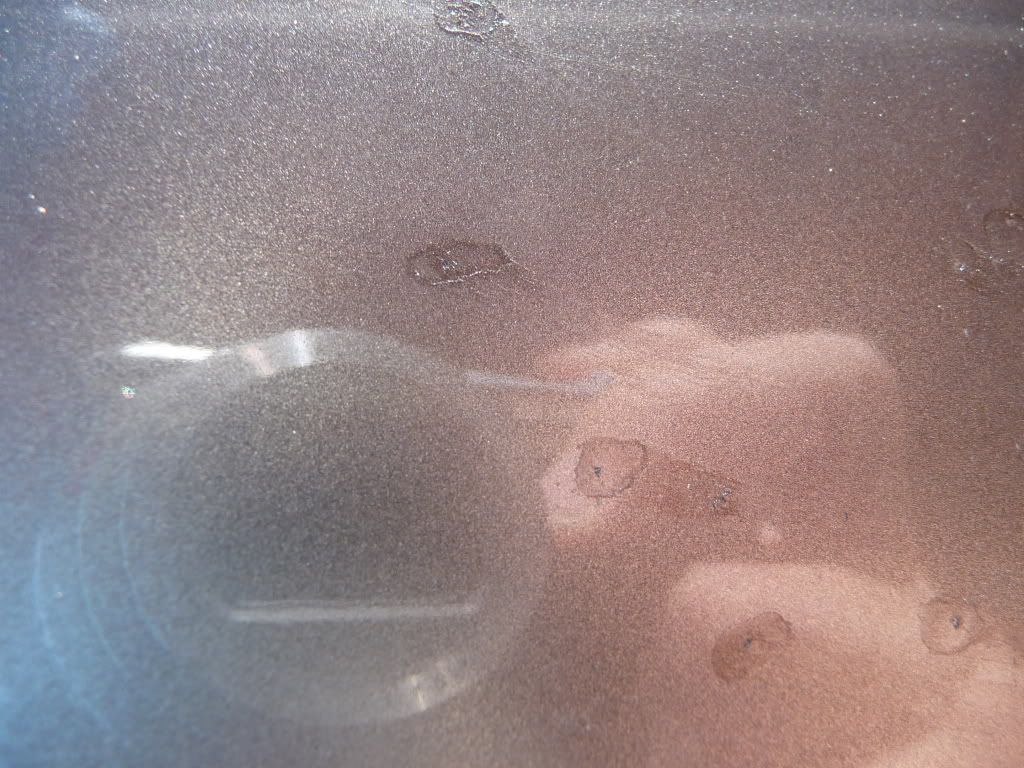
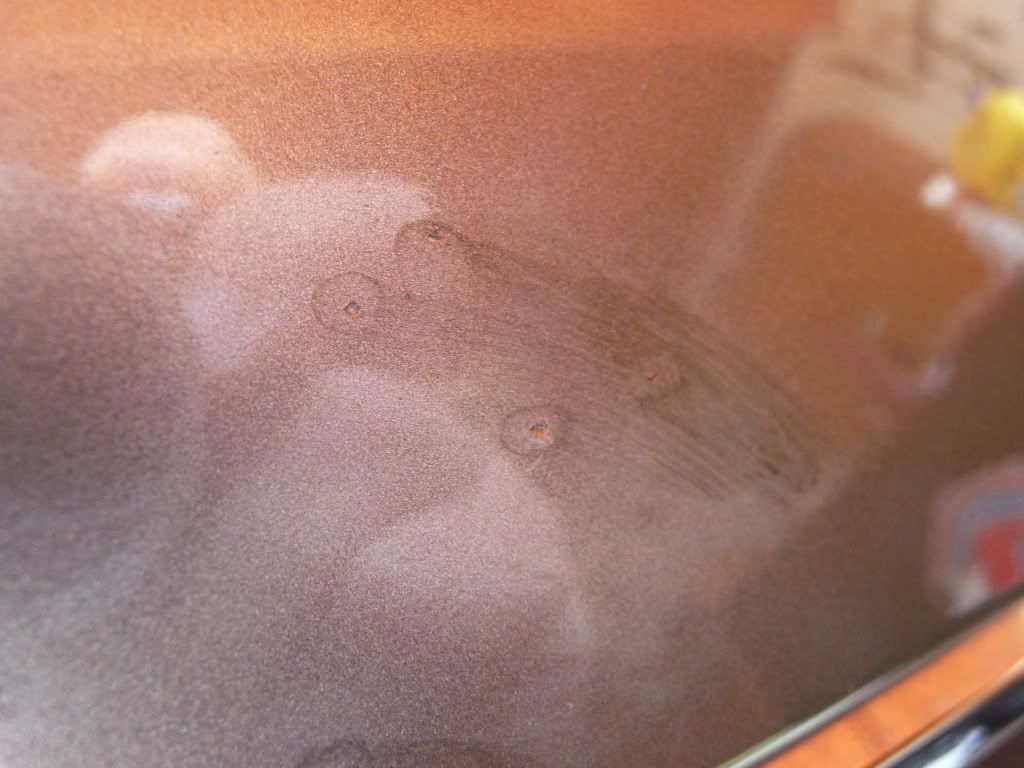
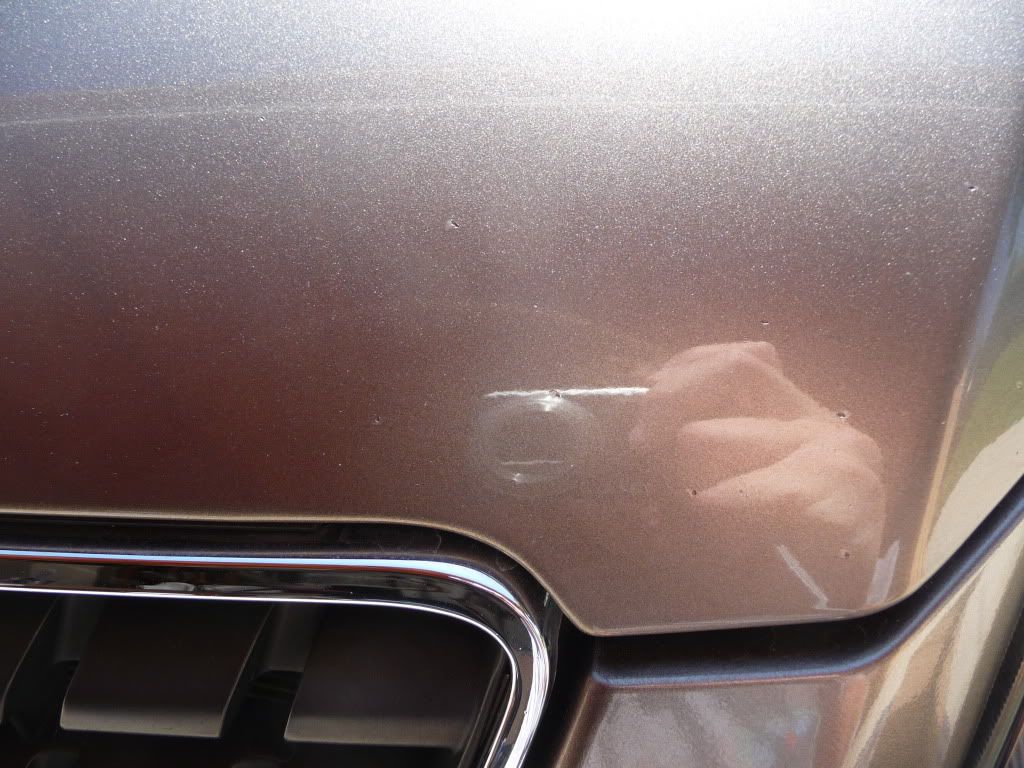
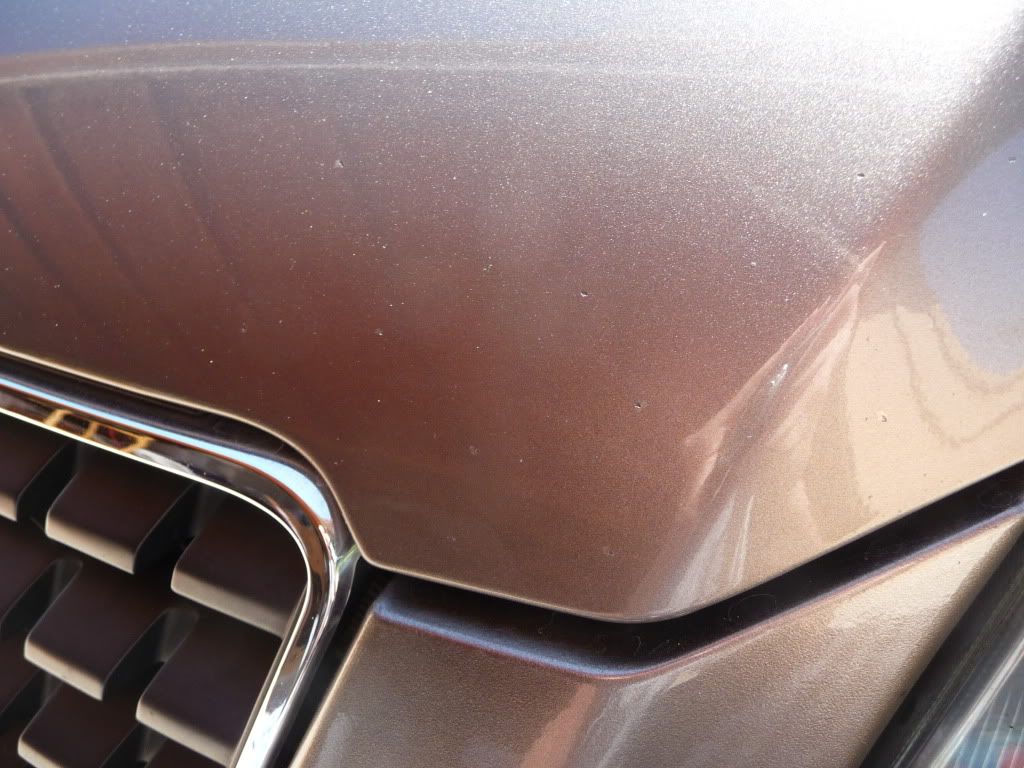
So my kit arrived yesterday. I read all the instructions and followed them precisely. But I think I must be missing something, because the results I got were no better than what I can do by CAREFULLY applying a little touch up paint into the chip, it still leaves the pit, but I basically made the chip the same color as the car.

Isnt dr. colorchip supposed to FILL in the chips? I dab it on the chip just like the pictures and then smear it flat with my thumb, but doing so seems to pull the paint out of the chip leaving just a painted chip with no filling. I could of just been careful with the 5 dollar touchup paint I have and got the same results.

What am I missing?
 
I've used DrColorchip with great results. Do you have any pictures? What exactly was your process? Did you let the paint sit before using the other solution?

I posted a thread on here with some pictures, if you wanna check that out
 
No pictures. Ill see if I can take some tomorrow.

I started by washing the panels to be fixed. I then sprayed the panel with IPA to get any wax/compount out of the chips.

Shook the paint bottle and used one of the little brushes to fill in the chip with paint. I let the paint flow off the brush into the chip, and then smeared it flat with the side of my thumb with the nitrile glove like it said. The problem I ran into was when I smeared it flat it kept pulling paint out of the chip! Yes it made the chip the same color. But it for some reason pulled out too much paint when I smeared it.

The problem Im having isnt related to using the solution and flat cloth. Its the initial application of the paint.

Ill take an in process picture tomorrow by doing another chip or two.
 
There are alot of links for Dr. Color Chip here. Alot of user's. Great Product.
As mentioned earlier, pictures please. Two things come to mind, if you are removing all of the paint. (1.) The area is not clean. (2.) You are not leaving it on long enough to dry properly. (3.) You can be using too much solvent to remove. One of the things I had to get use to. You need to layer it. A couple of times to achieve the desired results. Take your time. I have found that a small artist pin point brush works good. Another thought, how large an area are you trying to fill/finish.
 
I've had great results with all the vehicles I've used it on. My biggest complaint is the shelf life of the stuff. I need to get some more but I'm not sure if I want to shell out 28 bucks for a 1/2 oz bottle for one small fix and have it sit and dry out! Does anyone have any suggestions for keeping this stuff fresh longer??
 
I don't think it's meant to fully fill the chip. It's more for turning the chip body color so you don't notice it as much. I just purchased it but have yet to use it. Read the other threads on here so you can get a feel for others results. I think what you are expecting out of it is not what it was intended to do. In order to fully fill the chip you'd need more than paint, i.e. Body filler which would be nearly impossible to do on a per chip basis.
 
I took some pictures my process.
P1020155.jpg

Here is the paint applied. I waited about 30 seconds before smearing.
P1020156.jpg

As you can see, the chips were full of paint when I applied it. But now after I smear it, it seems to pull all the paint out, almost like emptying a pool just a tiny layer of paint on the bottom of the chip. Most noticeable on pic 4.
P1020160.jpg

P1020159.jpg

P1020158.jpg

P1020157.jpg

After buffing off using provided flat cloth and solution. Not impressed. Could have done this with my other touchup and small brush. I went over a second time the spot I did yesterday and it made no improvement.
P1020162.jpg

P1020161.jpg


Am I just expecting to much?
 
Have you watched the demo video showing the technique they used? If you're doing something differently it may be making a difference with regards to your results:

[ame=http://www.youtube.com/watch?v=1rxBEPVmgOo&feature=related]YouTube - Dr. ColorChip paint chip repair live demo[/video]

I've used the Dr. Colorchip system a couple times and had great results with it, but it's not my regular go-to because of the lead time to get a kit mixed and shipped in.
 
Only thing I see him doing differently is he is quickly smearing the paint. It also looks like he is working with chips much much smaller than mine. Mine are big enough that they need to be painted inviducally. He just hits the car with his brush and covers several at once.
 
Only thing I see him doing differently is he is quickly smearing the paint. It also looks like he is working with chips much much smaller than mine. Mine are big enough that they need to be painted inviducally. He just hits the car with his brush and covers several at one.

Two other things to consider:

1) Be careful to use a feather-light touch to prevent pulling a lot of paint back out of the chip

2) Dr. Colorchip isn't really meant for filling in "huge" or deep chips, so you may have to put a couple of layers of paint or primer in larger craters and let them dry before using the "fill/smear/level" technique.
 
I just used it this weekend on two different cars. I followed the directions on the video and it worked great. Keep in mind that it is not going to fill in monster sized chips. I even used it on a deep scratch and it clearly made it less noticeable.
 
Not sure if this will help, but in one of the photo's it looks like alot of the product is being used. The way the pattern looks, did you by chance thin the paint with anything? I have never had a problem like what you are experiencing. I have used a brush (artist) dab on, and in the same stroke wiped it with the brush to remove any excess. Then wiped with the glove. Never had a swipe profile like yours. A light touch and it smears to desired outcome. Also, have you tried using the t-shirt method that others have used?
 
your paint is also fairly light and the system works better with darker colours...

try layering the paint such that you get a little raised area over the chip then wrap the cloth with reducer over a credit card and use it like a sanding block to lightly feather the blob down to the surrounding paint level. This is what you do for the Lanka system so maybe it will work for you.
 
No, I didnt thin out the paint at all. The first time I tried it I swiped it immediately, this time I let it sit for 30 seconds to see if it would adhere to the chip better, made no difference other than making it harder to remove the excess.

And what do you mean by t-shirt method? The kit came with a flat folded white cloth that I use with the fluid to wipe off the excess.
 
No, I didnt thin out the paint at all. The first time I tried it I swiped it immediately, this time I let it sit for 30 seconds to see if it would adhere to the chip better, made no difference other than making it harder to remove the excess.

Here is one forum member, describing his use.

Re: Dr. Colorchip (before, during and after)
Quote:
Originally Posted by 05RLS2
For a larger area you mentioned using a soft cloth. Could you be more descriptive on what that is, such an an old t shirt or a microfiber?

That's exactly correct, an old t-shirt. I did a front bumper that was road-rashed and you just spread the paint over the entire area with the t-shirt and then use the fluid to remove the paint from the unwanted areas and it stays put in the mini-chips. In my case in didn't look showroom but it passed the 10 ft test and polished up fine after letting it cure for about a month. YMMV.

This is one of the many links about user's working with the Dr. Color Chip.

http://www.autogeekonline.net/forum/auto-detailing-101/30379-dr-colorchip-before-during-after.html

Hope this is helpful. Don't give up Dr. Color Chip is an excellent product.
 
Check this out - [ame=http://www.youtube.com/watch?v=a3RYHBdh9Xo&feature=player]YouTube - CarPaintChipRepair[/video]

btw I was wondering if Dr. colorchip carries my car's paint?

Code is U6(Sparkle Blue) for Hyundai (Pearl Blue mica)

Can they make like paint for any vehicle just from the code?
This car isnt sold in the US!
 
Got to the Dr. Color Chip website, then you can look up your car.
 
As a few have stated it's not meant to 'fill' the chip, just camouflage them. So that when someone takes a general look at the affected area, the chips aren't as noticeable. Of course being sunny, cloudy, color, size of chip, etc will affect how they look. After you remove the excess paint you may have to dab some of the larger chips with a small paint brush to make sure they are fully covered.

Keep in mind though that on your own vehicle, because you know where the chips are, when you look at the area you will inevitably zero right in on the painted chip.
 
your paint is also fairly light and the system works better with darker colours...

try layering the paint such that you get a little raised area over the chip then wrap the cloth with reducer over a credit card and use it like a sanding block to lightly feather the blob down to the surrounding paint level. This is what you do for the Lanka system so maybe it will work for you.

So I recently used this on my bumper and did experience the problem with pulling paint out of the chips when I hit the area with the sealact. Did it again using a block of wood (any hard edge will do) with some sealact applied right along the edge, and then did a back and forth over the area until all the paint I wanted removed was removed. I found it best to use a thin cloth, like the kind you get with eyeglasses (I wrecked the one that came with the kit with all the paint that I took off the first time I went over the bumper -- the ones you use for c quartz would work too but they are expensive to be wrecking with paint).
 
So I was looking critically at my hood again looking for more chips to experiment with. I noticed a bunch of tiny ones from sand or whatever type stuff. Teeny tiny white dots that I didnt even notice when I first tried this kit. I basically painted over the whole front lip of the hood because there were to many white dots and they were to small to hit individually.

Let me say that for THAT application I was impressed. I didnt get them all in one go, but for the areas I hit it masked them perfectly because they were so small to begin with, now they are impossible to see unless you get within a foot of the hood.
 
Back
Top