lawrenceSA
New member
- Feb 7, 2012
- 1,713
- 0
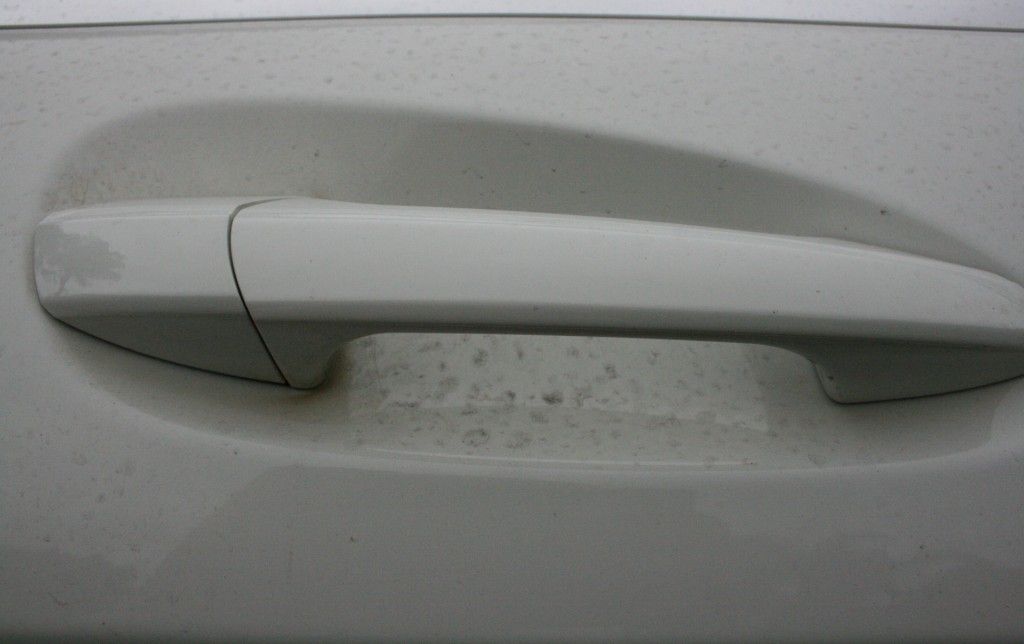
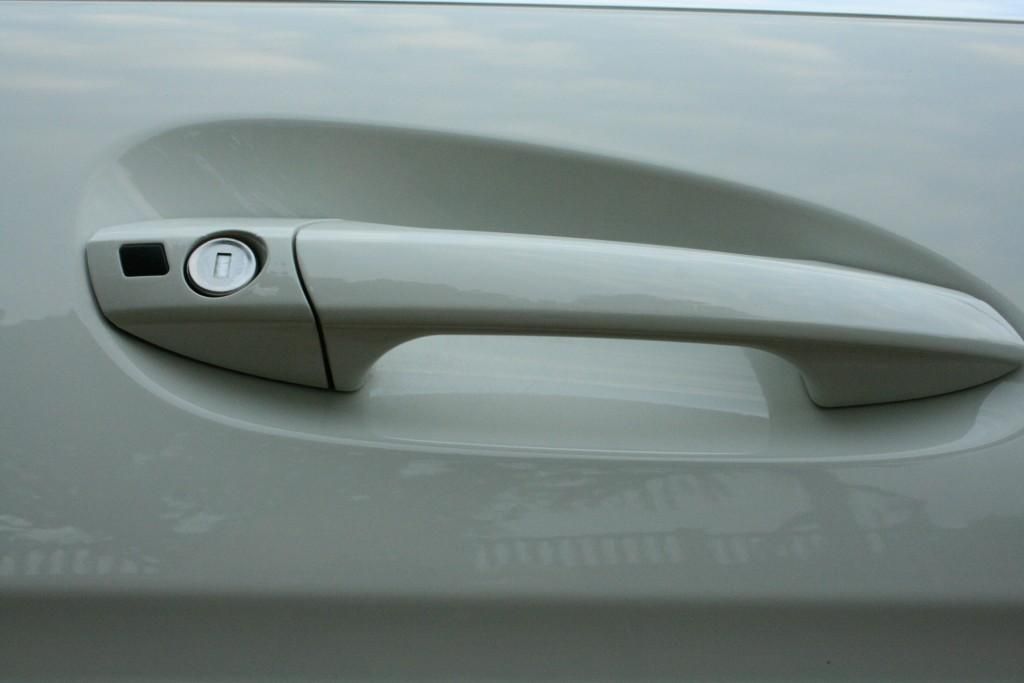
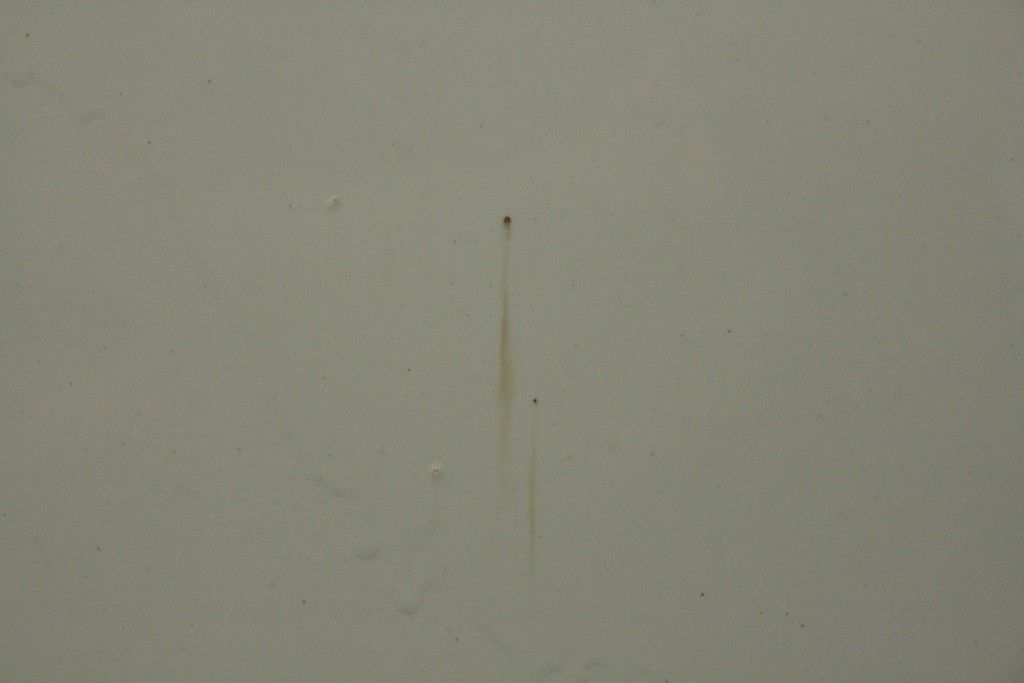
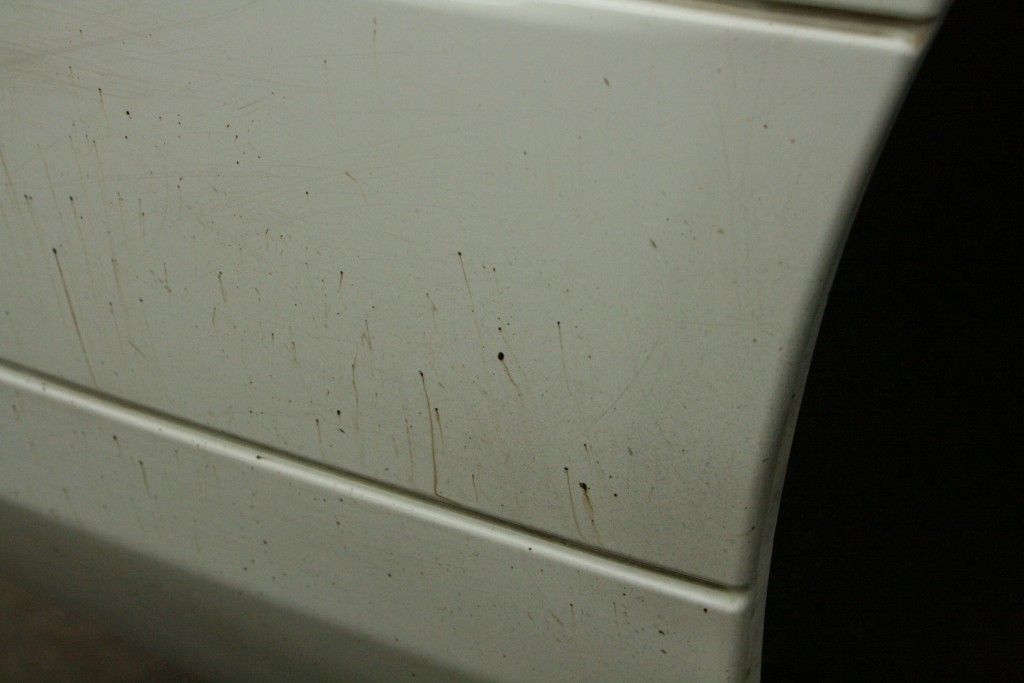
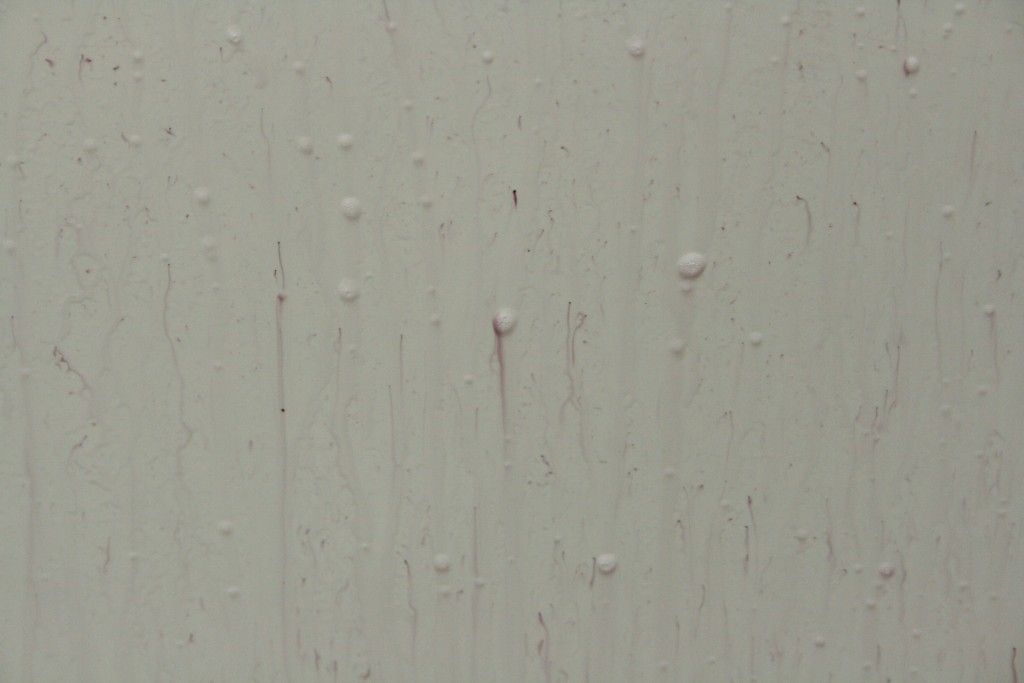
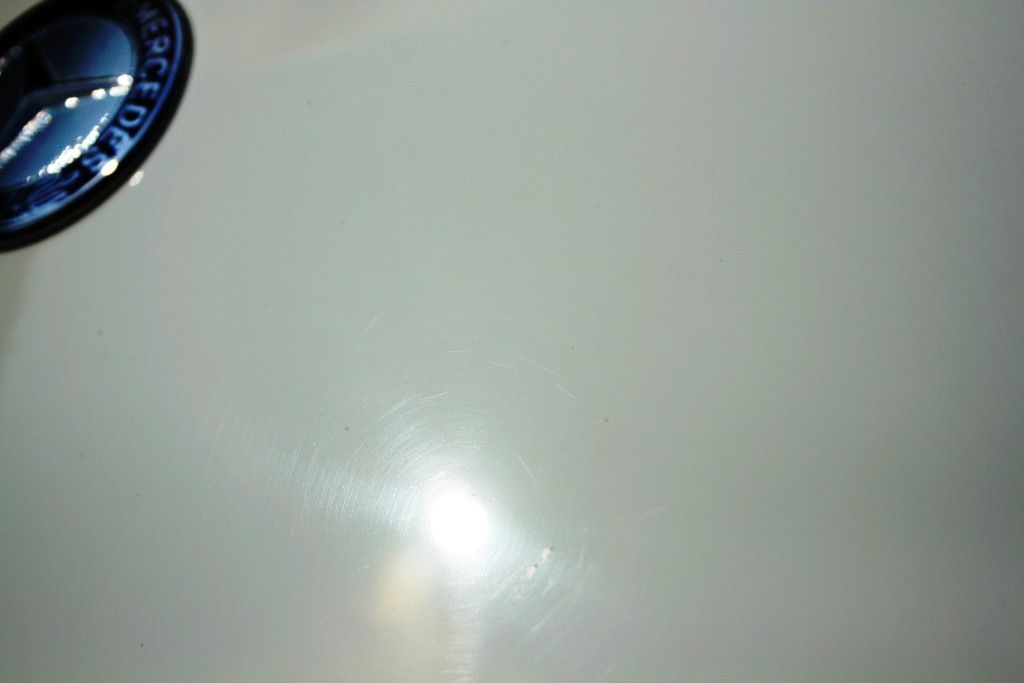
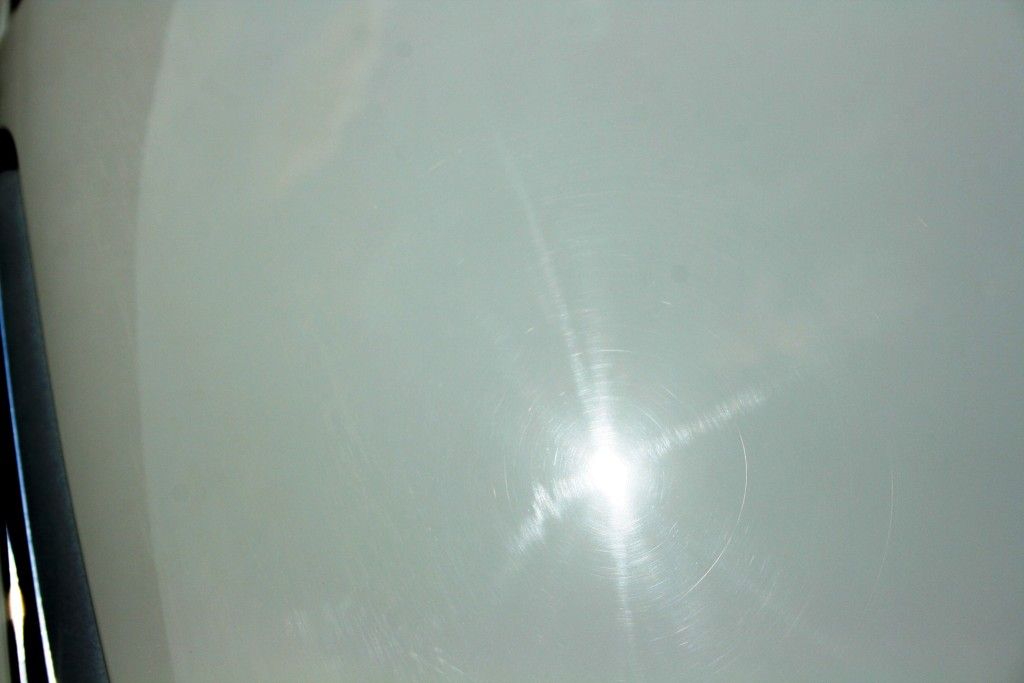
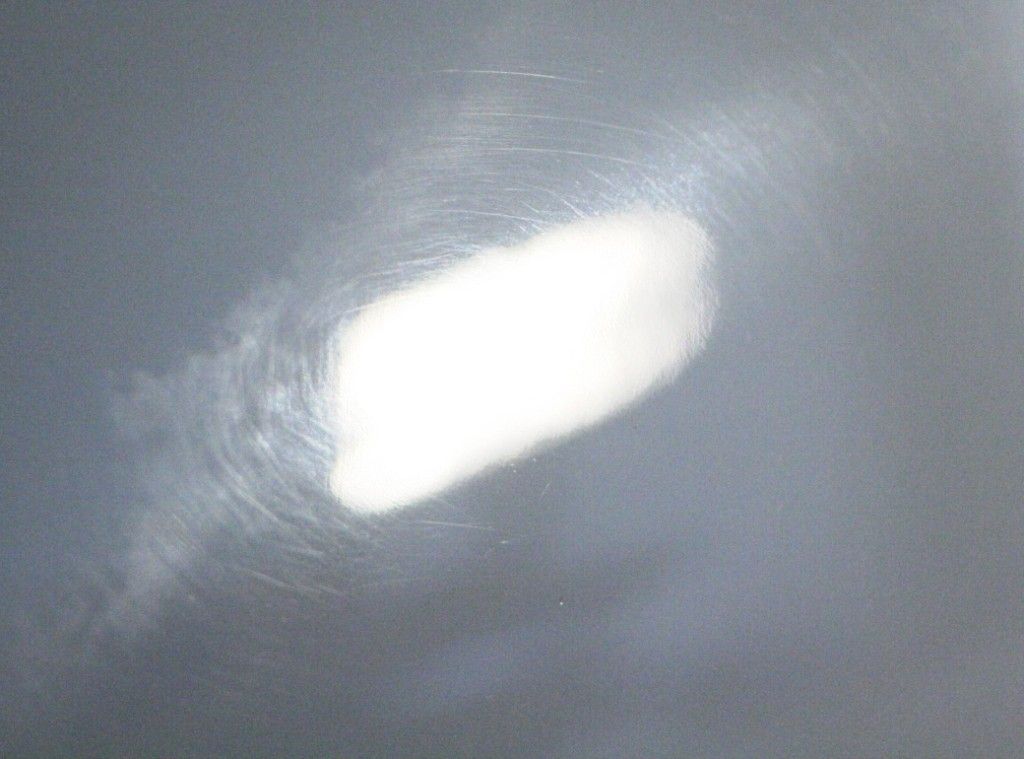
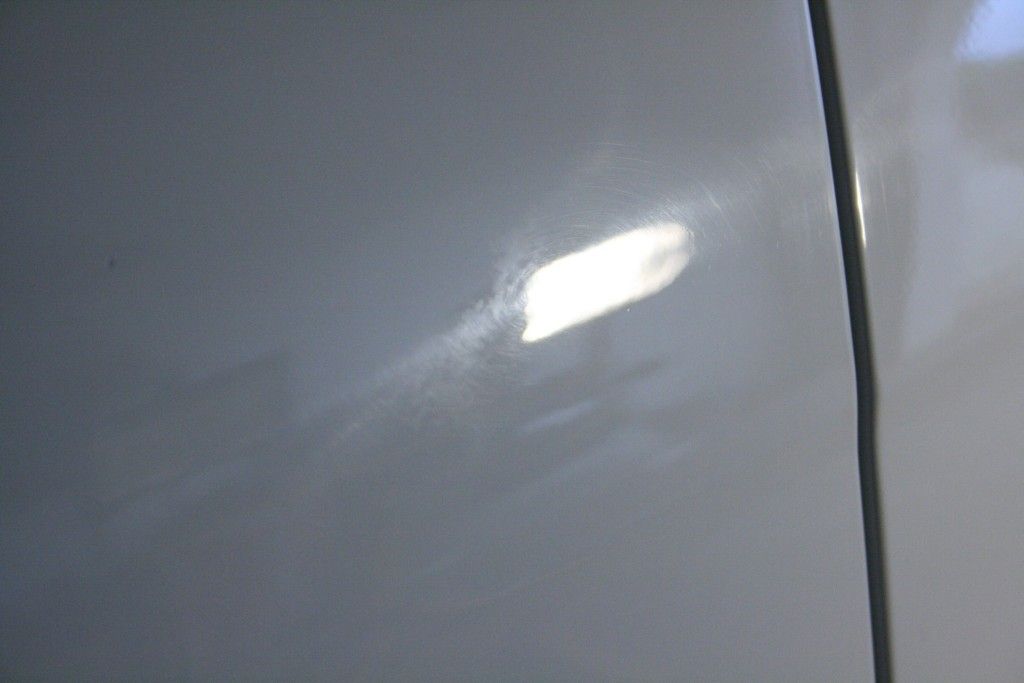
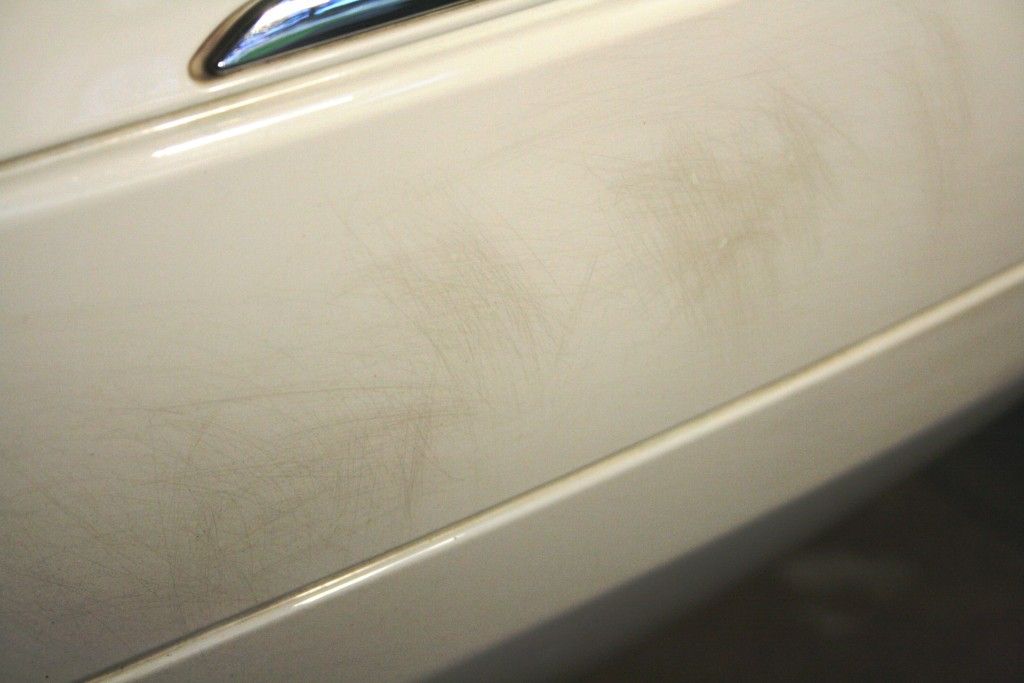
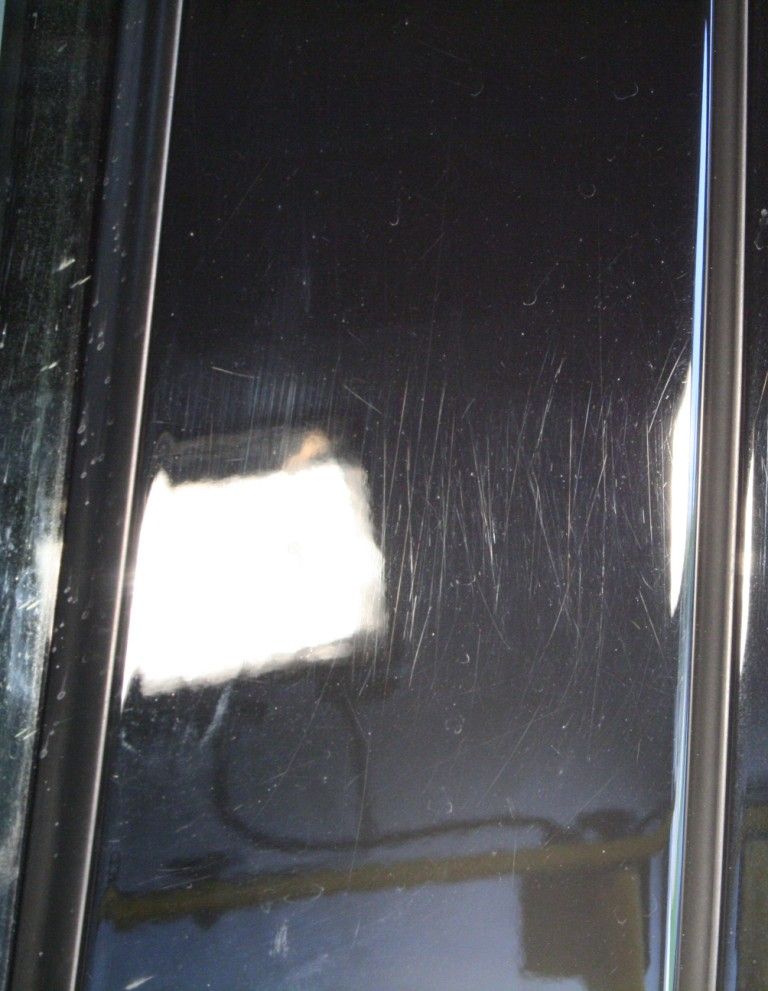
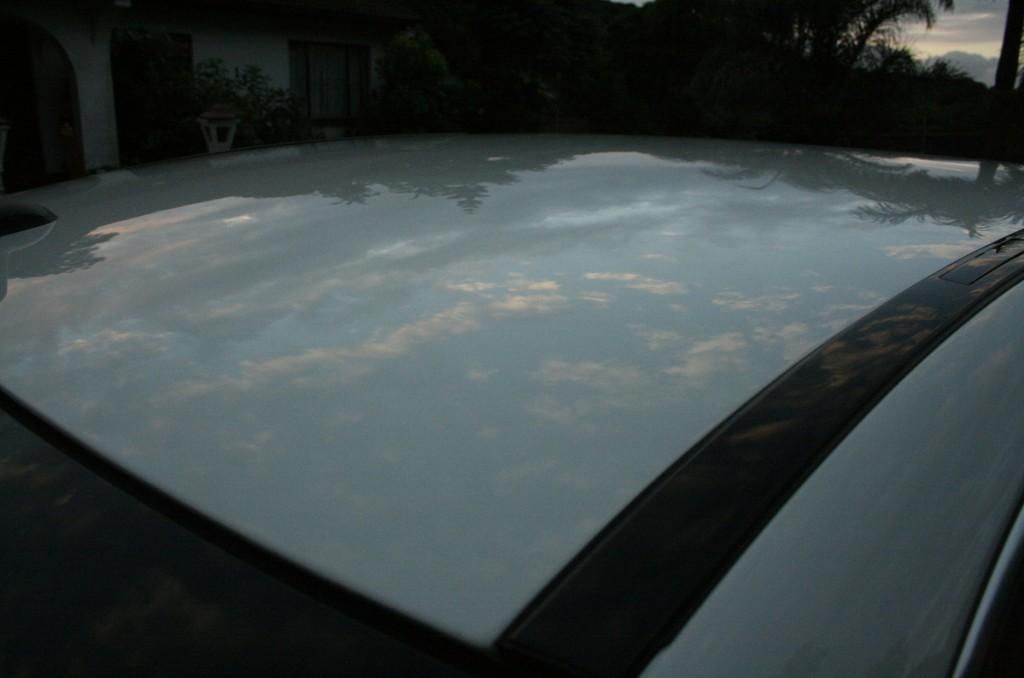
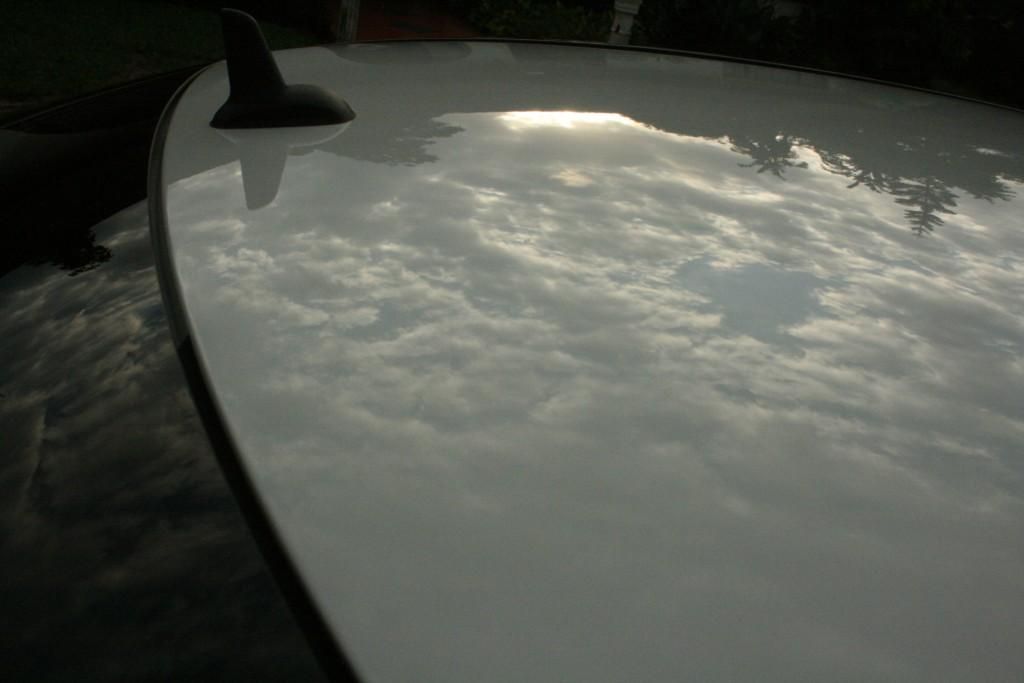
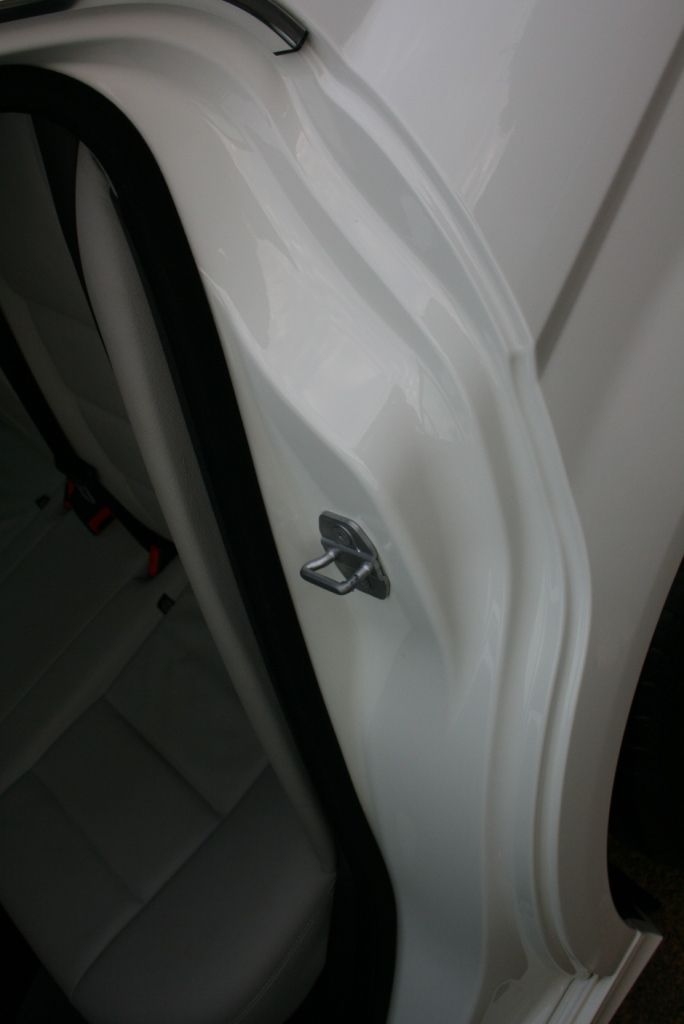
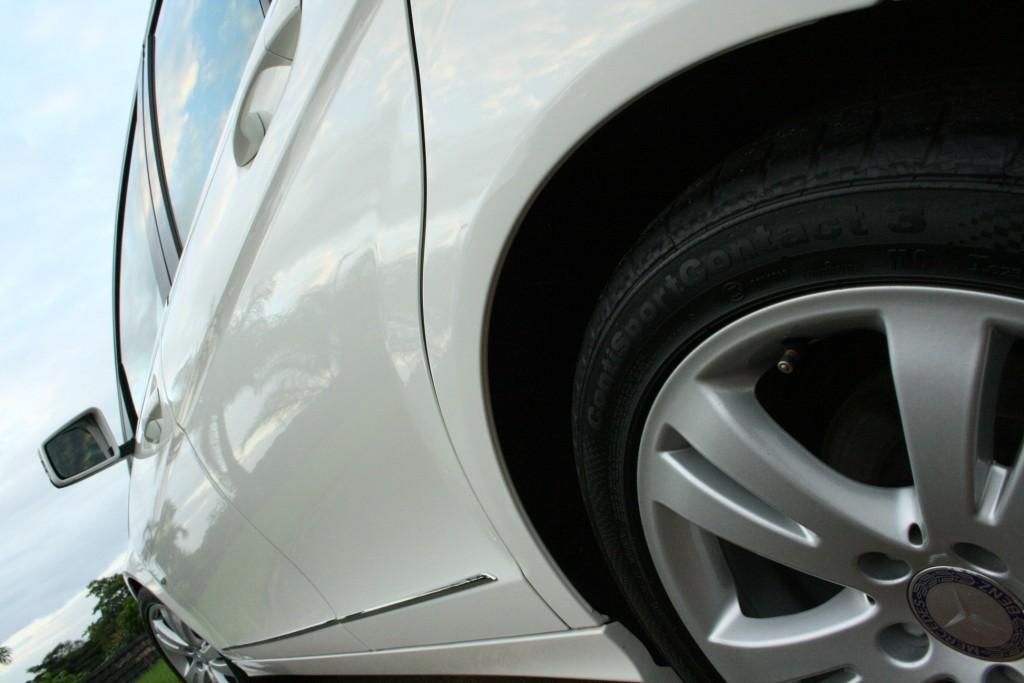
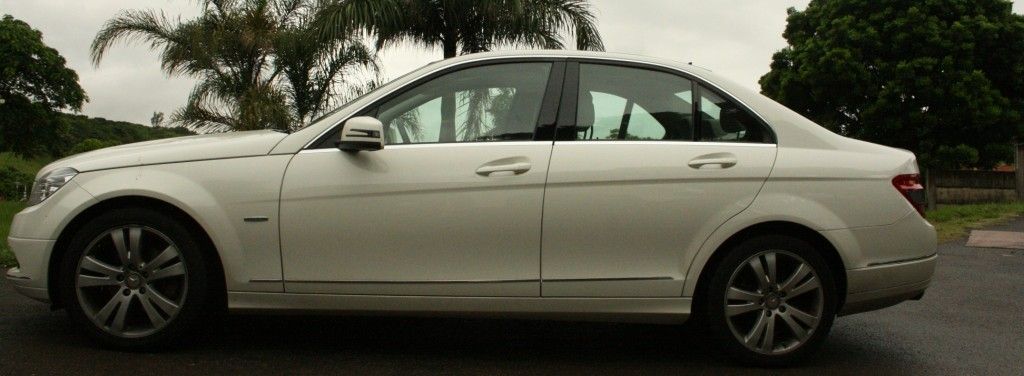
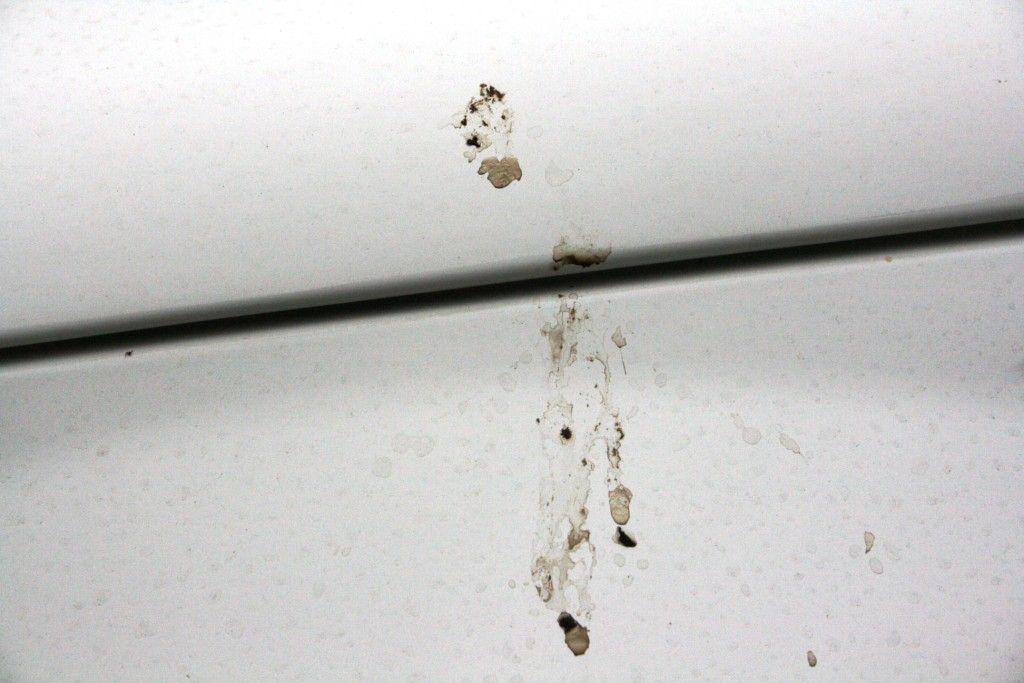
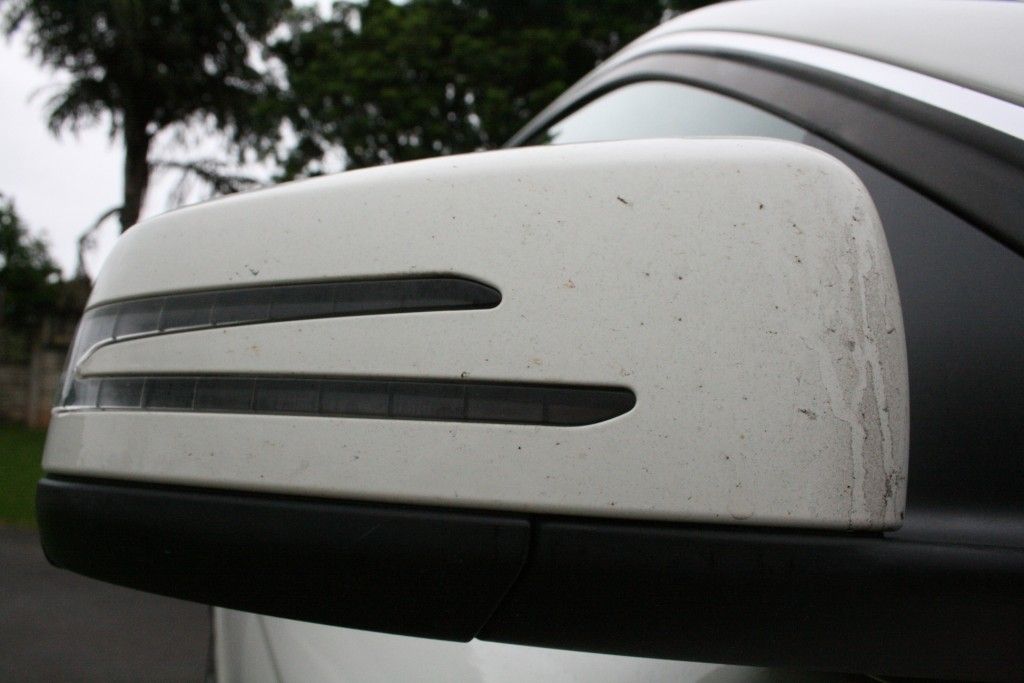
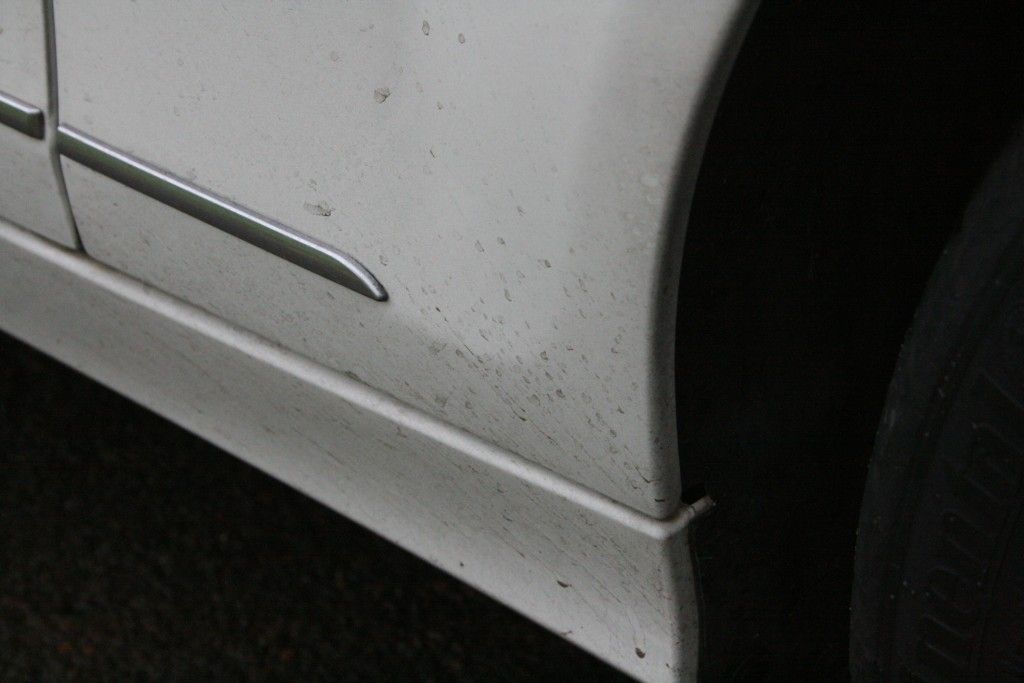
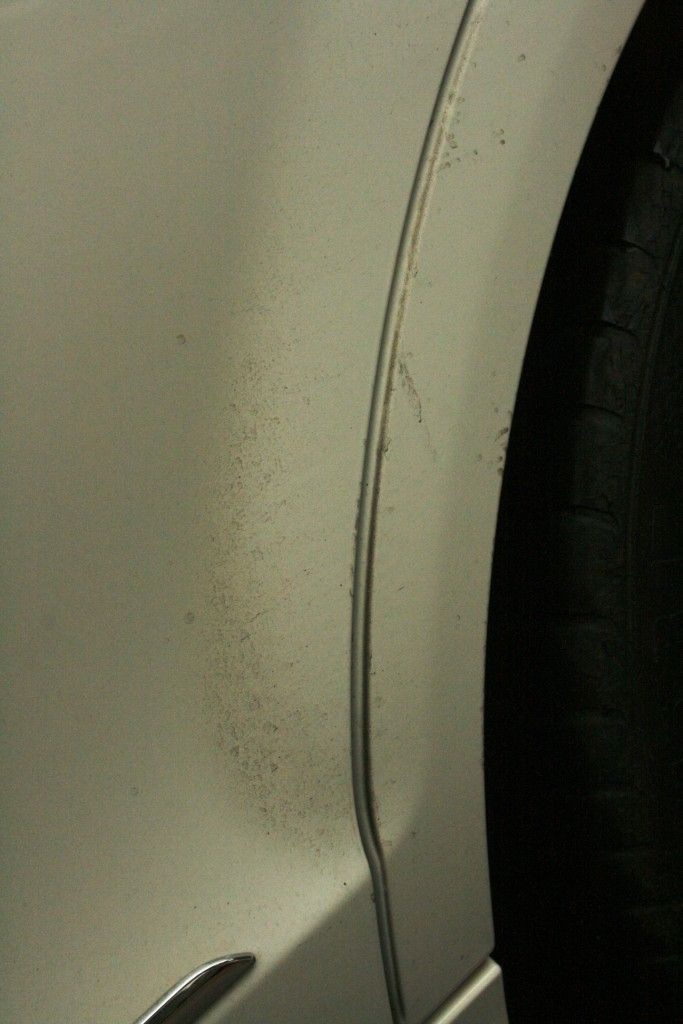
As can be seen from these pics, the vehicle was covered in surface dirt, stains, droppings etc when it arrived
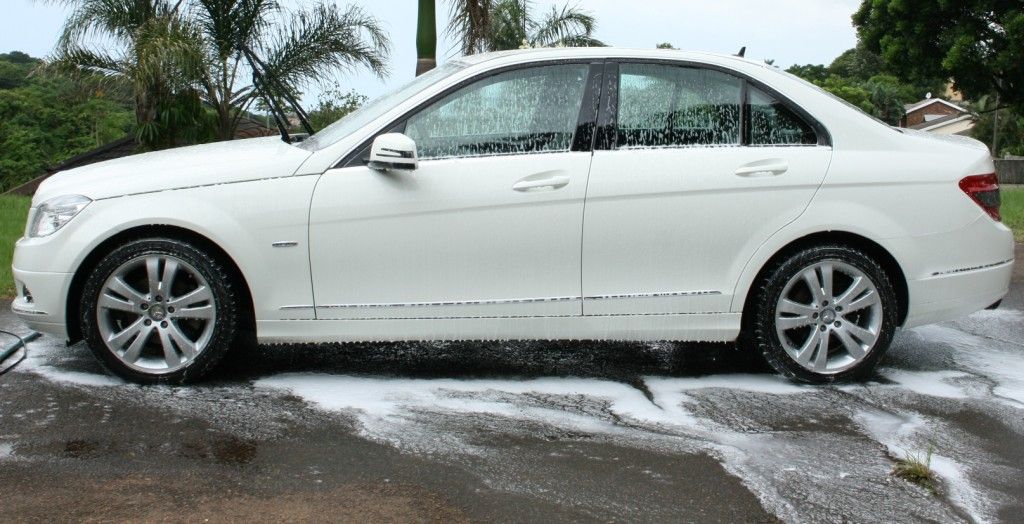
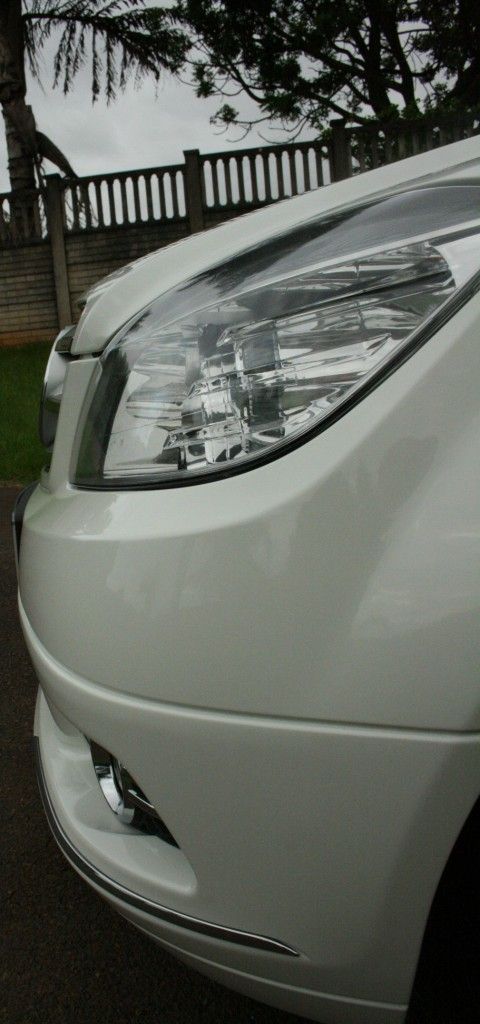
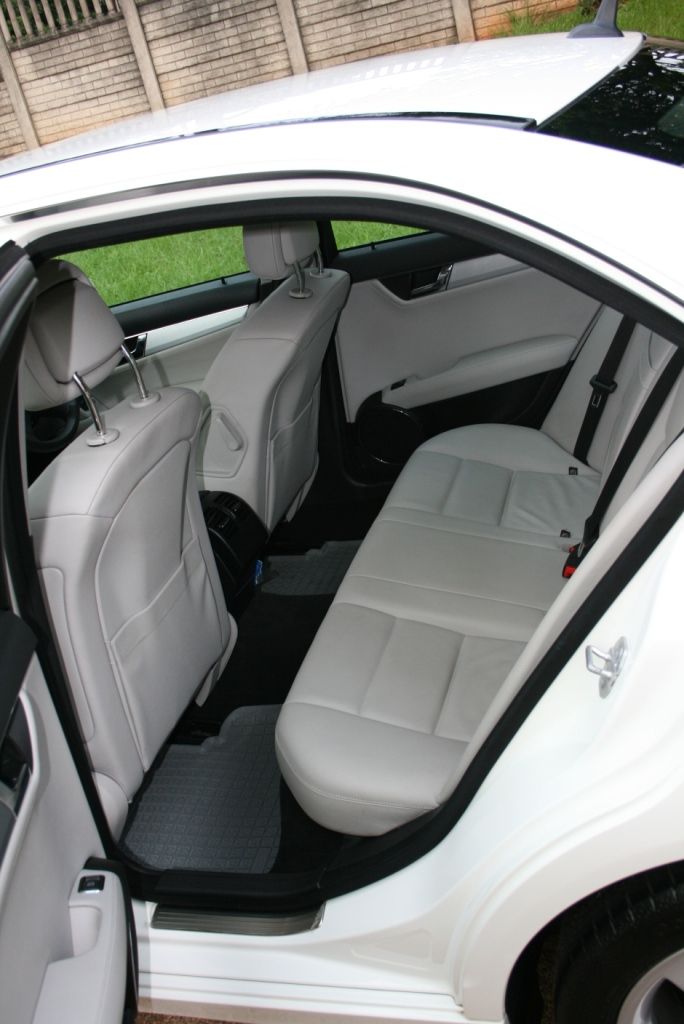
Friday evening was spent cleaning the dash and other plastic panels in the vehicle, vacuuming out all the carpets, and cleaning and conditioning the leather using Smartwax SmartLeather.


So I got up early on Saturday morning to get the vehicle's up on jack stands and the wheels off - usually a simple enough job however I don't know who last tightened the wheel nuts but I can tell you that had the owner of the vehicle ever needed to remove the wheel on the side of the road to fit a spare, she would have been up the creek without a paddle - I broke one of my lug nut sockets using a power bar (similar to pic below) and landed up bending one of those 'X' 4 -way type wheel spanners in the process, but eventually got them off after a few choice expletives :lol:
:lol:

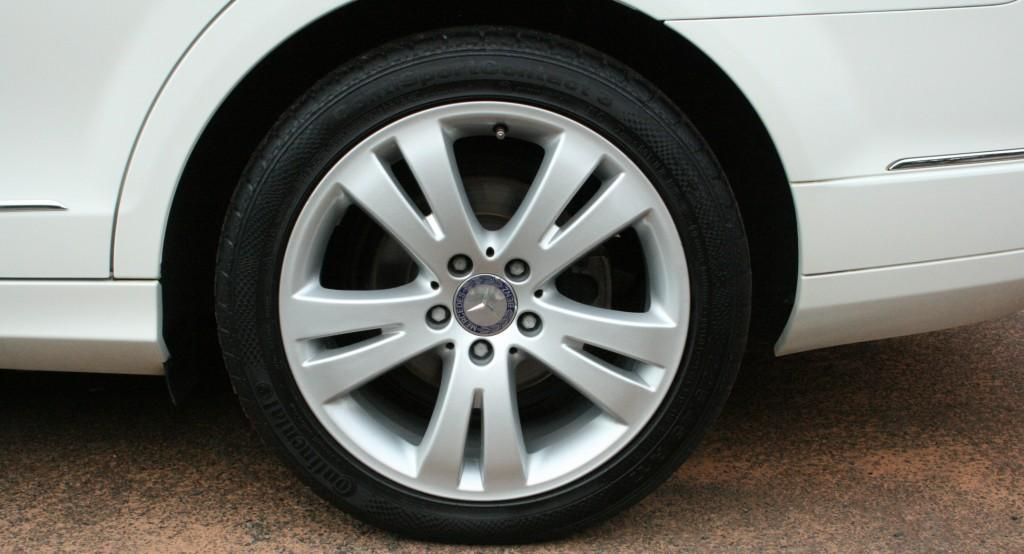
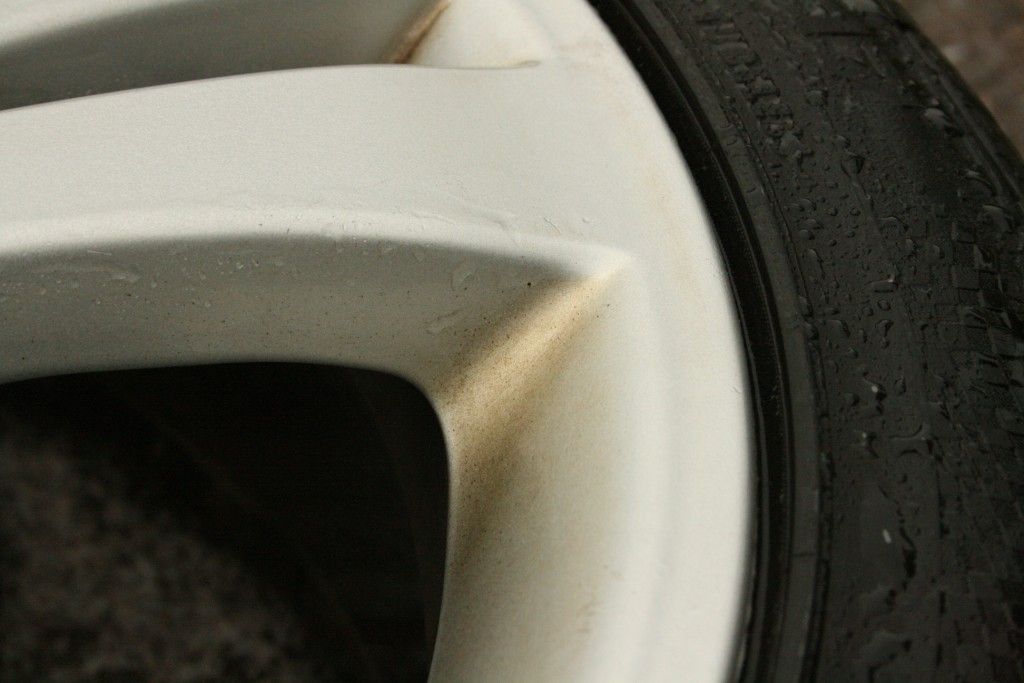
Once the wheels were off they were thoroughly rinsed, the tires cleaned using Cyclo CMS30 and then the faces cleaned using Autofinesse Imperial Wheel Cleaner
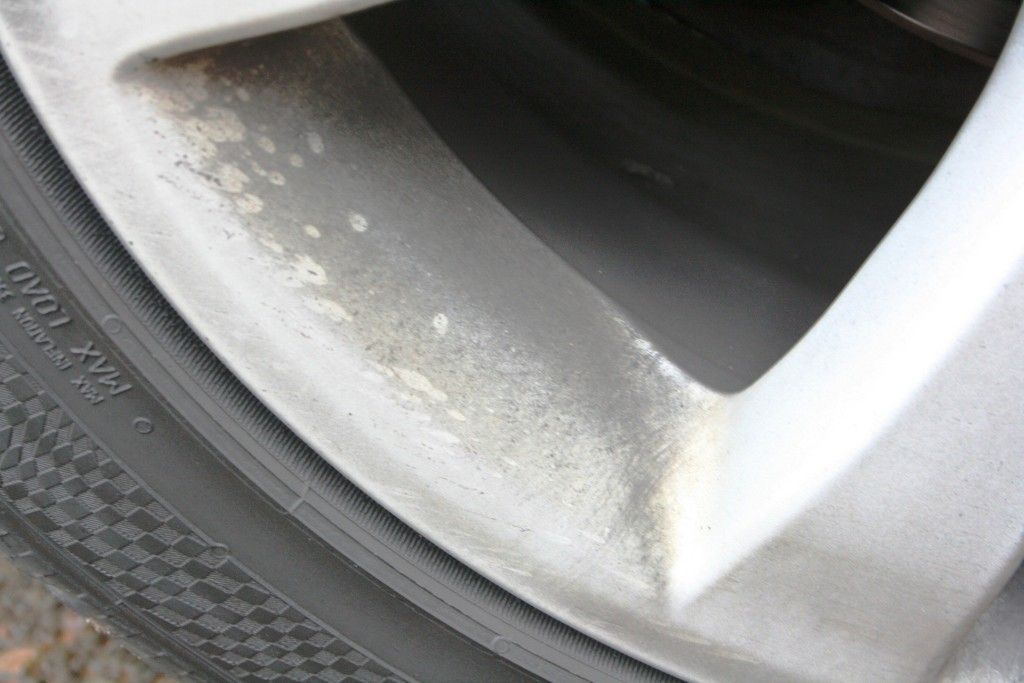

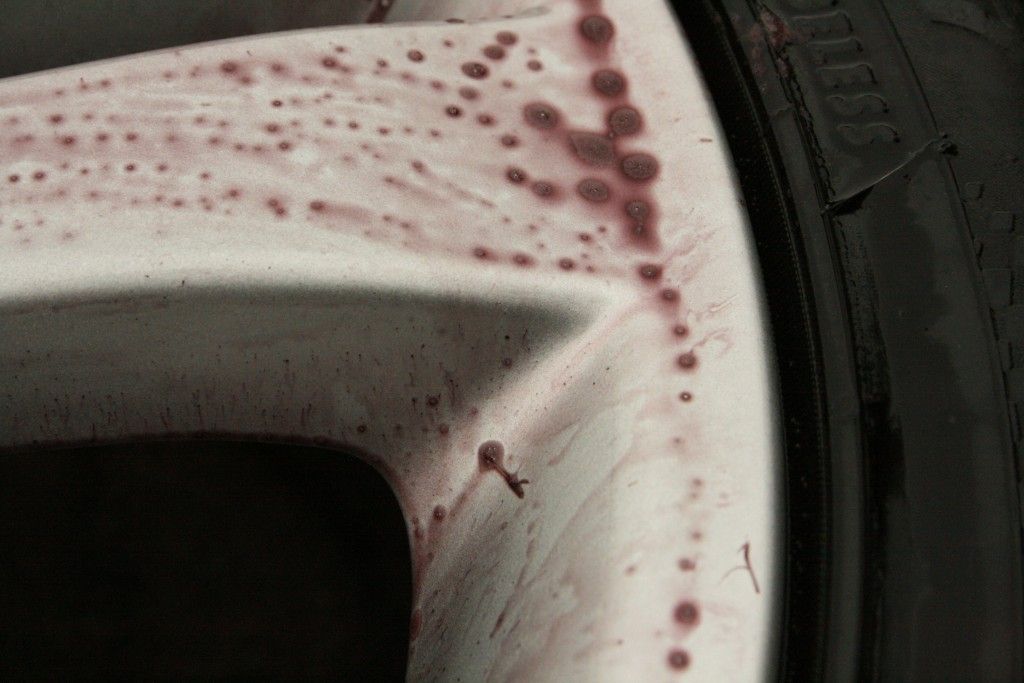
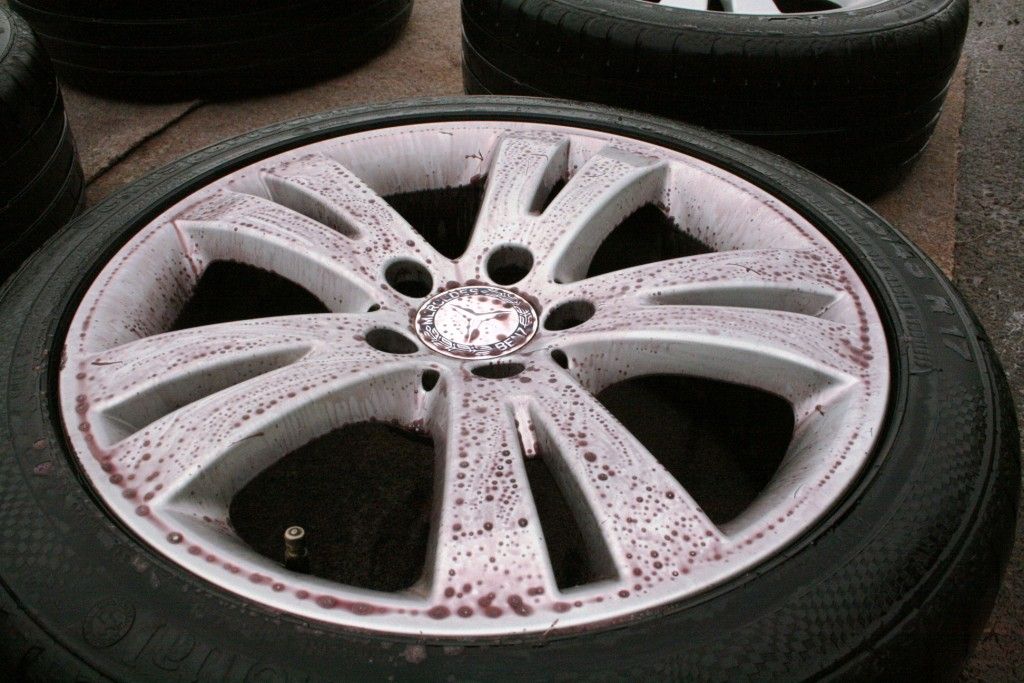
This removed a lot of the brake dust and other baked on road grime, however there were still horrible brown stains remaining which were of concern to the owner. and so Iron-x was called upon to remove these.
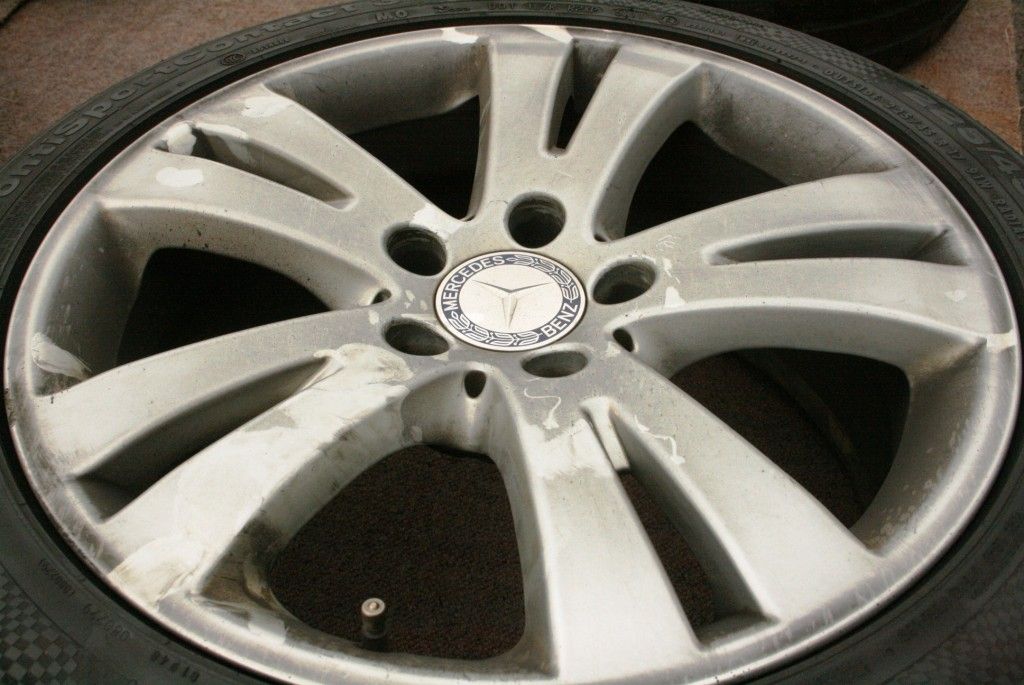
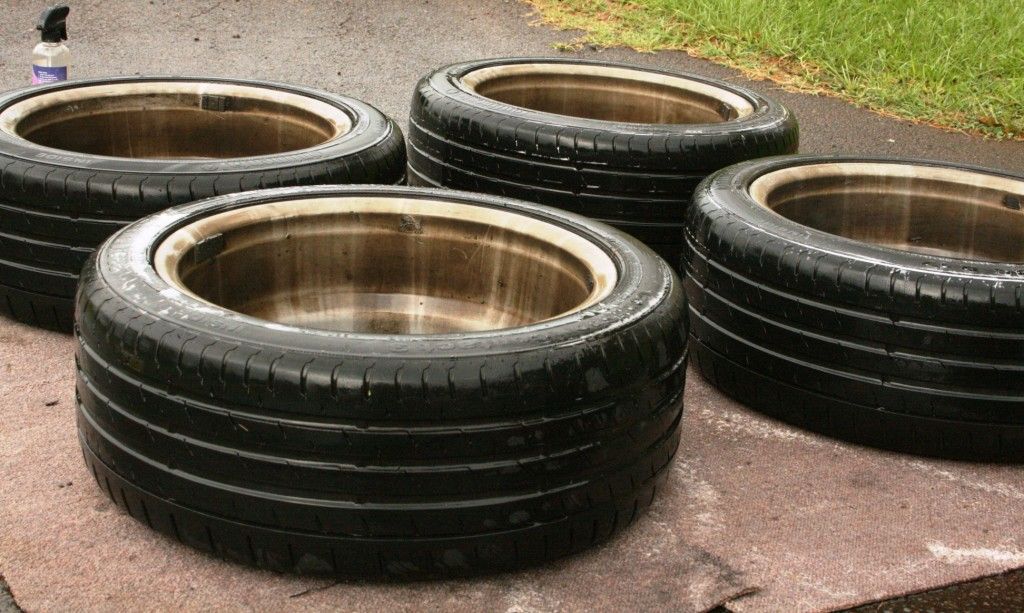
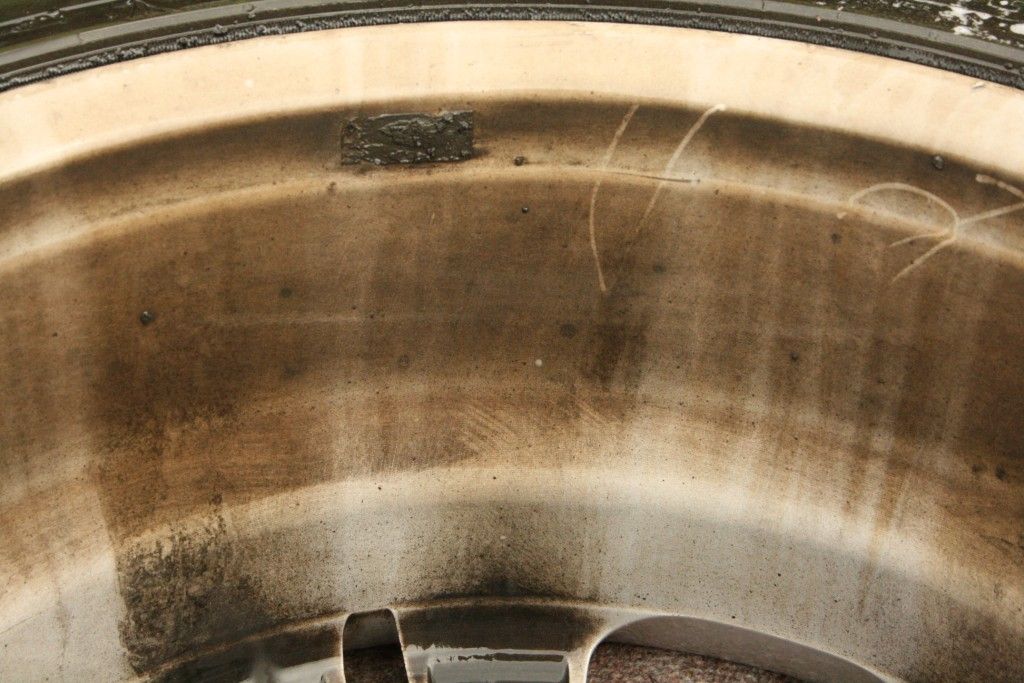
Once the faces had been cleaned the rims were flipped over to reveal the barrels, which look like they had never been cleaned before :fear:
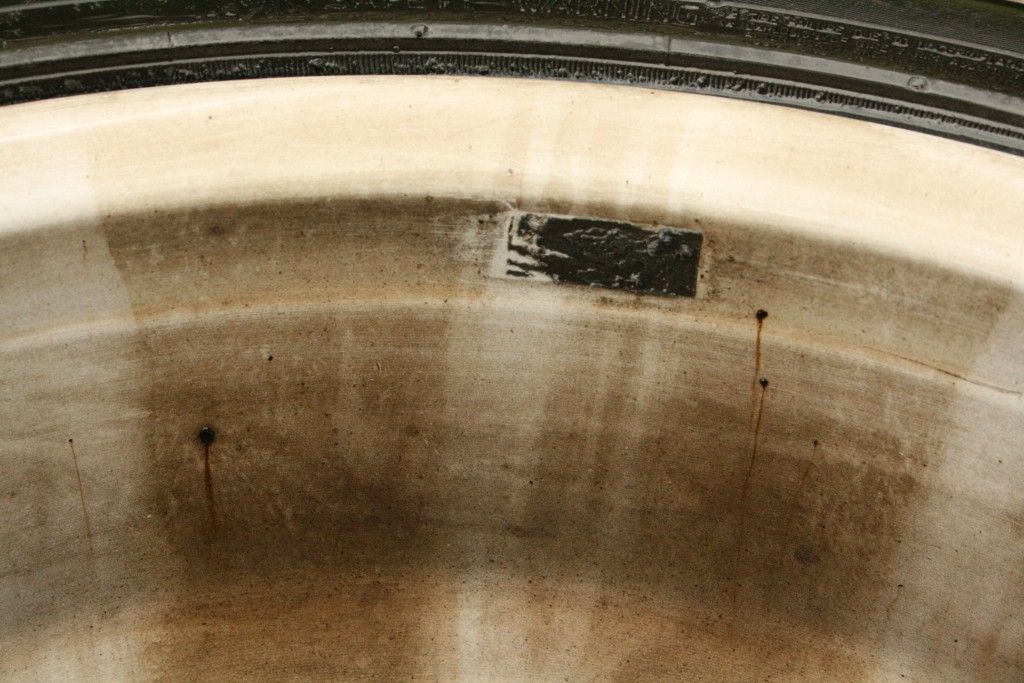
Firstly all the tar deposits were removed using Autoglym Intensive Tar Remover (which actually has quite a pleasant smell for such a potent chemical, unlike Iron-x, which just stinks :lol: ) The tar is simply dissolved and you can wipe it away with a microfibre cloth. Once all the tar had been removed, the barrels were attacked with some iron-x and then rinsed and dried, leaving the barrels looking a lot better, but still not 100%.
Next up I used a Lake Country Uni-ball foam polishing ball attached to a drill, along with some Meguiars NXT Metal Polish to polish out the barrels and the backside of the 'spokes' of these rims (made by Borbet FWIW)
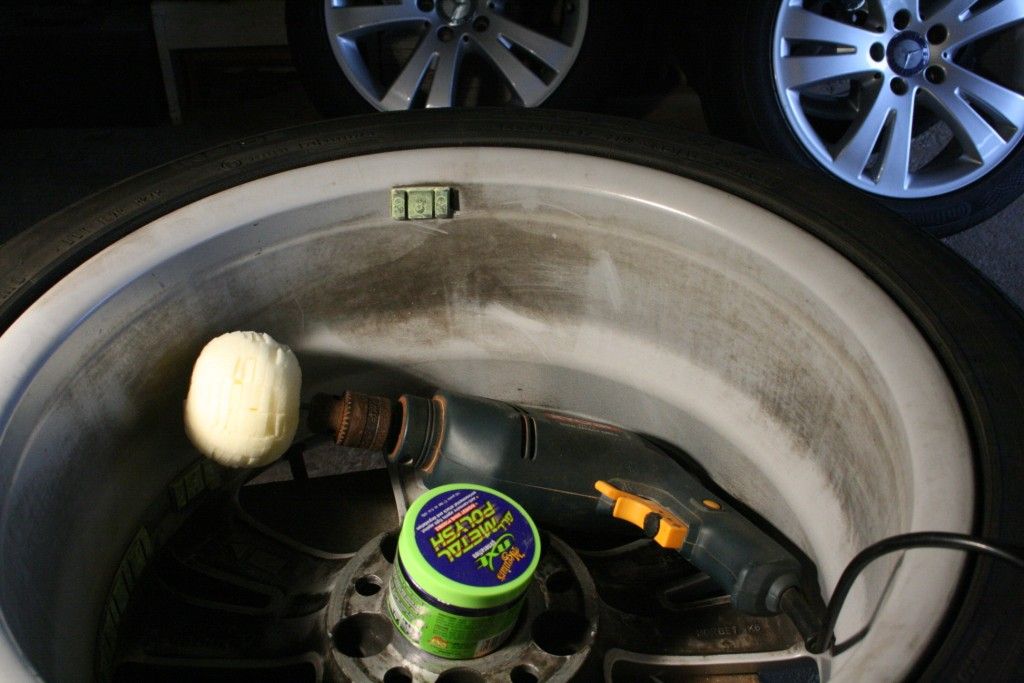
Here is a pic taken during the polishing process.
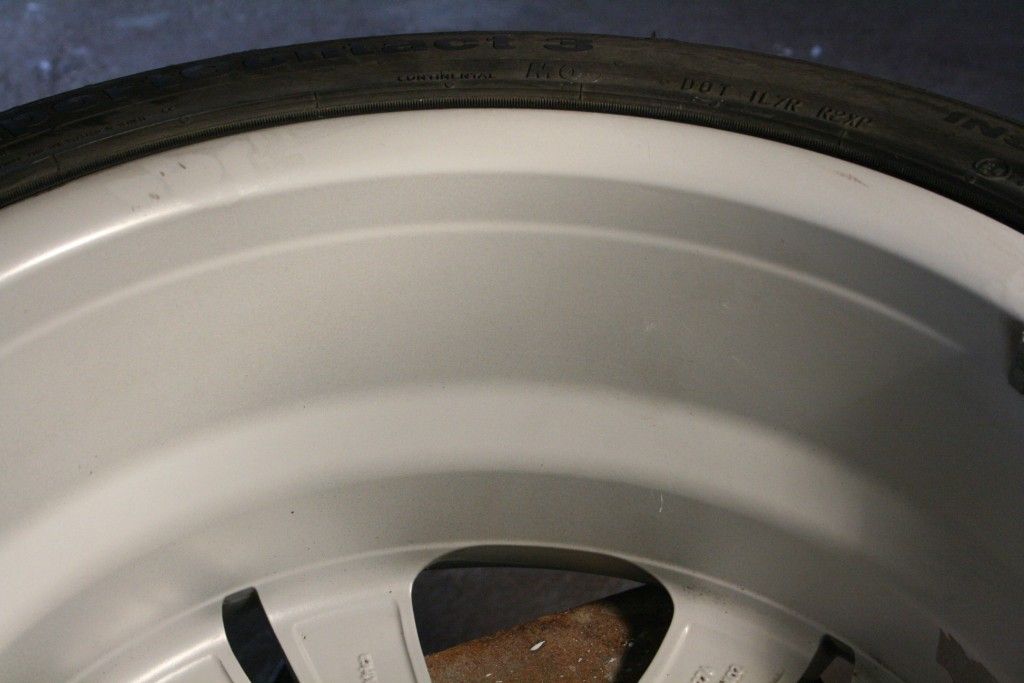
The rims were then sealed with Collinte 845 and tires dressed using SmartWax SmartDressing.
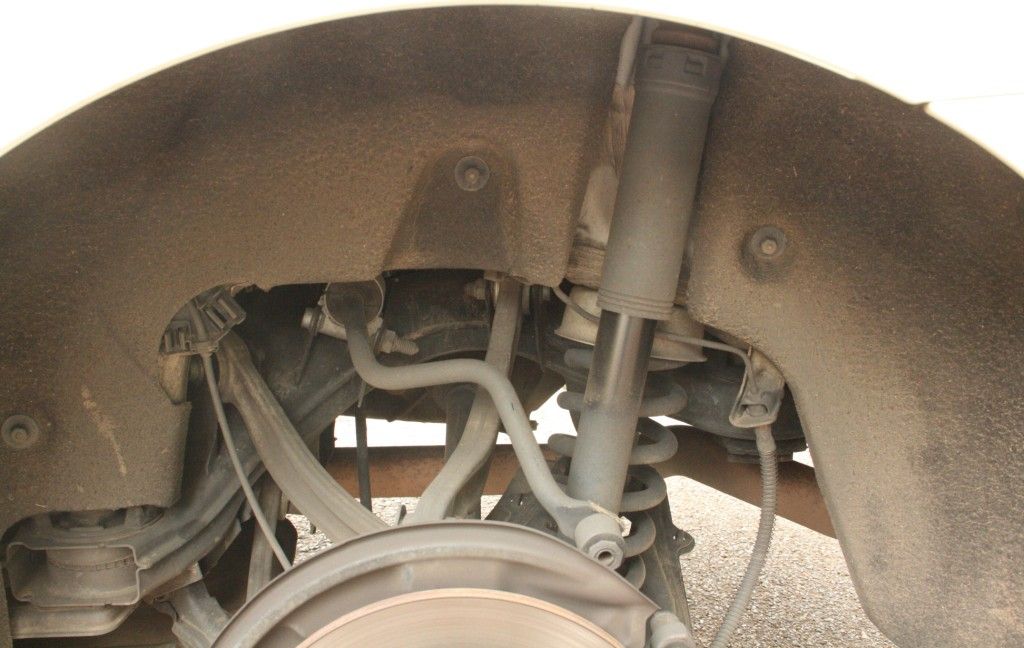
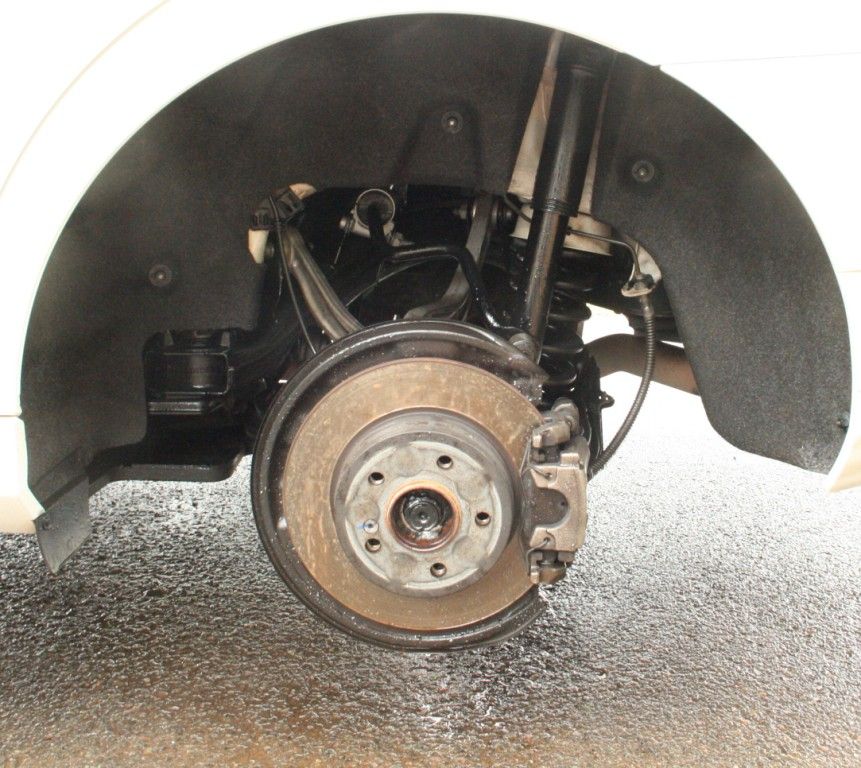
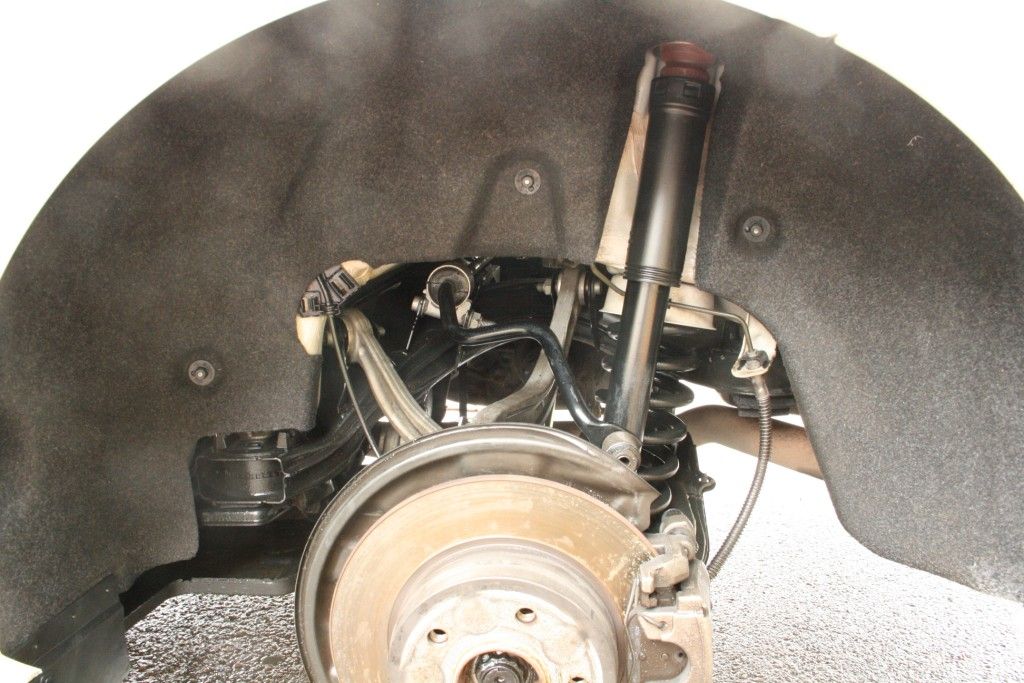
It was now time to turn my attention to the wheel arches, which as you can see in these pics, were filthy. Cyclo CM30 was sprayed on and allowed to dwell before being agitated with various brushes and then rinsed with the HP washer. Once dried they were treated with Chemical Guys Bare Bones.
Before

After
Friday evening was spent cleaning the dash and other plastic panels in the vehicle, vacuuming out all the carpets, and cleaning and conditioning the leather using Smartwax SmartLeather.
So I got up early on Saturday morning to get the vehicle's up on jack stands and the wheels off - usually a simple enough job however I don't know who last tightened the wheel nuts but I can tell you that had the owner of the vehicle ever needed to remove the wheel on the side of the road to fit a spare, she would have been up the creek without a paddle - I broke one of my lug nut sockets using a power bar (similar to pic below) and landed up bending one of those 'X' 4 -way type wheel spanners in the process, but eventually got them off after a few choice expletives
:lol:
Once the wheels were off they were thoroughly rinsed, the tires cleaned using Cyclo CMS30 and then the faces cleaned using Autofinesse Imperial Wheel Cleaner
This removed a lot of the brake dust and other baked on road grime, however there were still horrible brown stains remaining which were of concern to the owner. and so Iron-x was called upon to remove these.
Once the faces had been cleaned the rims were flipped over to reveal the barrels, which look like they had never been cleaned before :fear:
Firstly all the tar deposits were removed using Autoglym Intensive Tar Remover (which actually has quite a pleasant smell for such a potent chemical, unlike Iron-x, which just stinks :lol: ) The tar is simply dissolved and you can wipe it away with a microfibre cloth. Once all the tar had been removed, the barrels were attacked with some iron-x and then rinsed and dried, leaving the barrels looking a lot better, but still not 100%.
Next up I used a Lake Country Uni-ball foam polishing ball attached to a drill, along with some Meguiars NXT Metal Polish to polish out the barrels and the backside of the 'spokes' of these rims (made by Borbet FWIW)
Here is a pic taken during the polishing process.
The rims were then sealed with Collinte 845 and tires dressed using SmartWax SmartDressing.
It was now time to turn my attention to the wheel arches, which as you can see in these pics, were filthy. Cyclo CM30 was sprayed on and allowed to dwell before being agitated with various brushes and then rinsed with the HP washer. Once dried they were treated with Chemical Guys Bare Bones.
Before
After