Best video ever on how to machine buff a car from start to finish

Mike,

What a great video! And what a nice paint specimen in the Chevelle.

Photo's can certainly be deceiving... that Chevelle looks beautiful and you would never guess that it was a swirled mess until you put the swirl finder light on it.

The paint job also appears to be of a very high quality... Comparable to some of my prior works. I couldn't see any waviness in the paint and that to me is an indication of a top-notch paint job that was flawlessly prepped for and applied, and I'd bet the farm it was sanded between coats at least a time or two during the process. You just can't get that kind of finish by loading the paint on and then sanding only once immediately prior to compounding/polishing. Again, these observations are based solely by what I can see in the photos.

The content and presentation are as nearly perfect as anyone could hope for.

For anyone embarking on their first machine polishing and those early in the process of honing their skills this is a “must see”. In fact, I sent a link to a friend of mine who I’ve helped in the past. You’re a much better teacher than I am and I think he will get more from your video than from me first-hand.

Then, for those of us with more experience it’s a great refresher.

From a constructive critique perspective, I have two comments…

At 35:20;
You are running the polisher on the surface without moving it while you’re explaining how to adjust the polisher speed. Obviously, being in the “instructor” mode contributed to this situation, and you didn’t have much pressure on the polisher, but nevertheless that is certainly not a best practice that someone learning would want to do. Keeping the polisher moving is a good rule of thumb for anyone/anytime.

At 48:45;
The audio preceding indicates that you are compounding the finish at this point, but I can tell by the pad that you are actually applying wax. Point being, anyone compounding wouldn’t want to, or at least they shouldn’t want to, run the polisher across the body line in the fender in the vertical up and down motion depicted. Edges and body lines require special attention, and especially so during the more aggressive processes, like compounding.

During this holiday I've been spending some free-time reading through many of your "How To" threads. What a wealth of knowledge you have documented in this forum! The way you share that knowledge is nothing short of incredible.
 
Great video Mike!!!! Helped a lot cleared up a lot of questions.......... I take it pinnacle products is you favor for paint correction!!!
 
Great video Mike!!!! Helped a lot cleared up a lot of questions.......... I take it pinnacle products is you favor for paint correction!!!

Mike works for the company that owns Autogeek and he plays with all sorts of products so I don’t think he necessarily has a favorite. Through he does like Blackfire One Step but really he works with and does videos and reviews of a ton of products.

Stick around and you’ll see and learn about a ton of products and methods. Welcome! And a Happier New Year!
 
just seen the video, very good its great to see a master at work without going to florida
 
I try to share how long it takes to machine buff out a car in a lot of different venues I work in including on this forum and what I tell people is this as an example.

If you were buff out an average size passenger car, something like a 4-door Honda Accord. Assuming the paint was filled with swirls and scratches and the goal was 95% of perfection, then the compounding alone would take at least 6 hours. And that's for someone that's good at this type of work. Read the word good to mean experienced.

If a person plays on their phone or stops buffing for any other reason then it will take longer.


That also means getting in there and getting busy. By this I mean get to buffing and don't stop till you're done. No phone breaks, maybe a water break or two but no goofing off.

The compounding step takes the longest because you cannot simply move the polisher FASTER in order to get the job done quicker.

You must divide larger panels into smaller sections and buff each section out independently.

You must move the polisher slowly over the surface making controlled section passes over each section of paint.


I also tell car owners this one of the ways you can tell a good job from a bad job. If a detailer tell you he can wash and detail your car in a few hours he's probably doing more damage than good.

I plan on sharing this with my customers in an effort to help educate them. Thanks Mike! I'll say something like, "Well, Mike Phillips Director of training at Autogeek says this..."

Also I've been searching around and I thought you'd said something to me in one of the threads that read something like when you are adjusting your pad and product combo you always move to a more aggressive product before switching to a more aggressive pad.

For example if I were using a polishing pad with polish but I wasn't getting the results I desired then I'd switch to a medium cut polish before switching to a more aggressive pad such as a light compounding pad.

Is this accurate?

Also your book has been a big help to me in inspecting and evaluating paint conditions and also choosing the right pad and product combinations for the job!
 
Great video Mike!!!! Helped a lot cleared up a lot of questions..........

Thank you. Yancy and I shot this a few years ago when Autogeek started a ROKU Channel. Since then the channel was killed off but the videos still endure. Most everything in the video are terms and techniques I created in my career and that's whey as you watch there's no stumbling for words or awkwardness as I work through the process. Now days, you see everyone teaching all this stuff in their videos but for most of it - I am the original source.

"It ain't braggin' if you can back it up." -Dizzy Dean[/B]

And I can back it up.


I take it pinnacle products is you favor for paint correction!!!

Pinnacle compounds and polishes use GREAT abrasive technology. When I came to work to Autogeek they used horrible abrasive technology. I wouldn't use them so the company switched to better and more expensive abrasive technology and that's the nutshell story. You can trust the abrasive technology to work on any paint system and even clear plastics.

Polishing Plexiglas to be as clear as glass using Pinnacle Advanced Finishing Polish

1965_Corvette_Backwindow_01.JPG


1965_Corvette_Backwindow_04.JPG


Before and after
(You can see the 24' Edgewater Center Console boat in the background, this project was leftover from my big 3-day detailing class)

1965_Corvette_Backwindow_05.JPG


1965_Corvette_Backwindow_06.JPG


Mike works for the company that owns Autogeek and he plays with all sorts of products so I don’t think he necessarily has a favorite.

Through he does like Blackfire One Step but really he works with and does videos and reviews of a ton of products.

This is true.

When I worked for Meguair's that was a walk in the park, by this I mean, it was really easy to showcase ONE BRAND and basically TWO TOOLS, the Porter Cable the the DeWALT 849 Rotary Buffer, (the new 849X had not been invented yet but I was asked by DeWALT for my input to create the 849X)

When I came to Autogeek in 2009 it was a Herculean Challenge. Now I have to showcase at least 151 brands. At least this is my count of different brands on this page,

Shop by Brands at Autogeek


And I'm guessing around 25 to 30 different tools.


So yeah, freaking huge challenge but I really like the challenge. One thing I won't do is I won't showcase products I won't use on my own car. This usually has to do with compounds, polishes and aios, the things that use abrasive technology. There's no gray area, products either work or they don't.


just seen the video, very good its great to see a master at work without going to florida

Wow! Thanks Larry, appreciate the kind words.


I plan on sharing this with my customers in an effort to help educate them. Thanks Mike! I'll say something like, "Well, Mike Phillips Director of training at Autogeek says this..."

Good for you. Nothing wrong with helping others to get further up the road. I share this thread/video all the time to, in fact, just shared it here,

Hey from Evansville, Wisconsin


Also I've been searching around and I thought you'd said something to me in one of the threads that read something like when you are adjusting your pad and product combo you always move to a more aggressive product before switching to a more aggressive pad.

For example if I were using a polishing pad with polish but I wasn't getting the results I desired then I'd switch to a medium cut polish before switching to a more aggressive pad such as a light compounding pad.

Is this accurate?

I think there's a number of variables that come into play when working up the aggressive scale or working down the aggressive scale. My guess is there's a general rule-of-thumb but it depends on the car and the paint. The most important thing though is use products that use great abrasive technology as all else is secondary.


Also your book has been a big help to me in inspecting and evaluating paint conditions and also choosing the right pad and product combinations for the job!


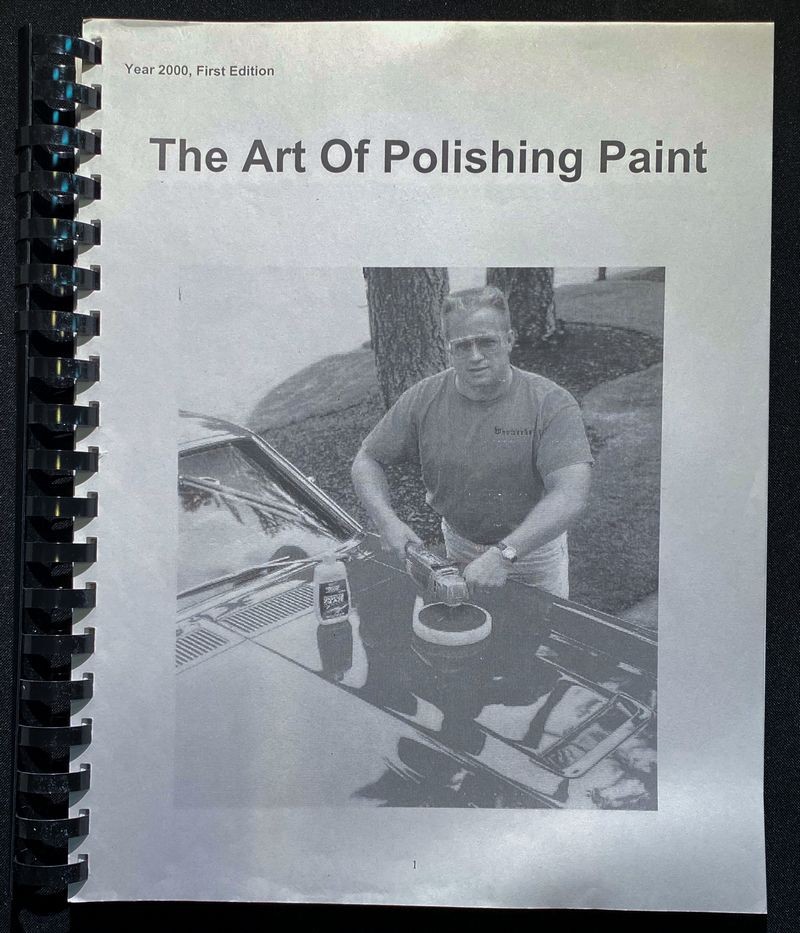
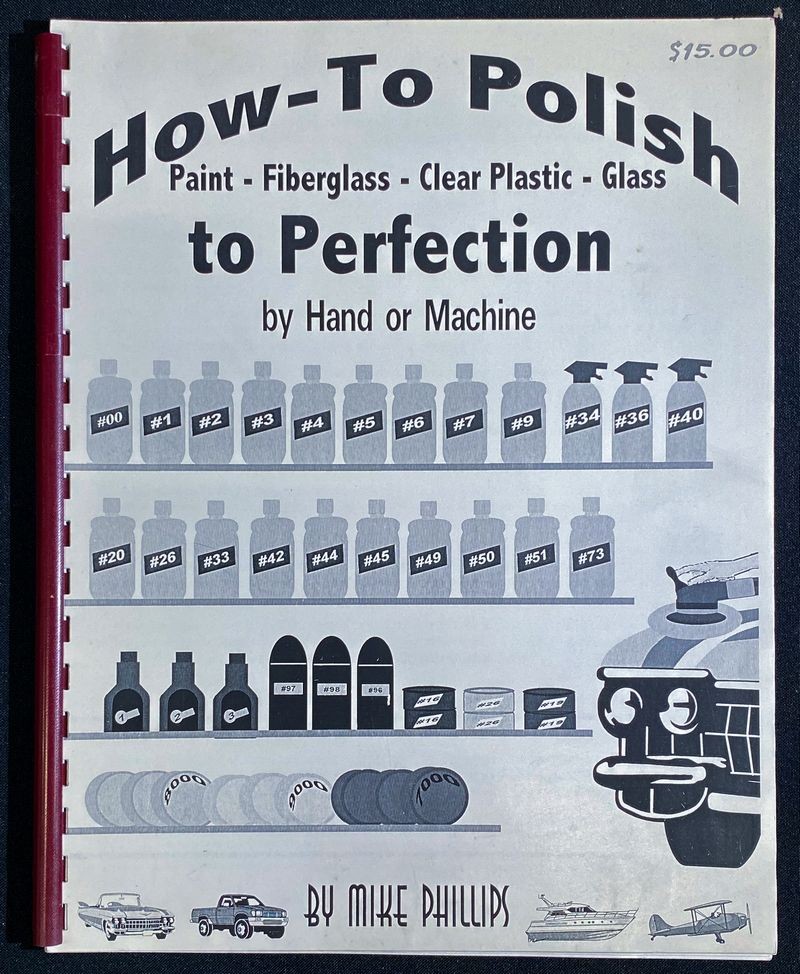
Thank you for the kind words. When I wrote my third book, technically The Art of Detailing was my third book and The Complete Guide to a Show Car Shine was my 4th book. My 1st and 2nd books I wrote before coming to work for Autogeek.

My first car detailing how-to book from 1998 - Mike Phillips

Mike_Phillips_First_Book.jpg


Mike_Phillips_Second_Book.jpg


Here's the copies of these first two books on my desk. I also have the original text on an old laptop as well as 2 floppy discs.
laughing.gif


Mike_Phillips_First_Book_021.JPG


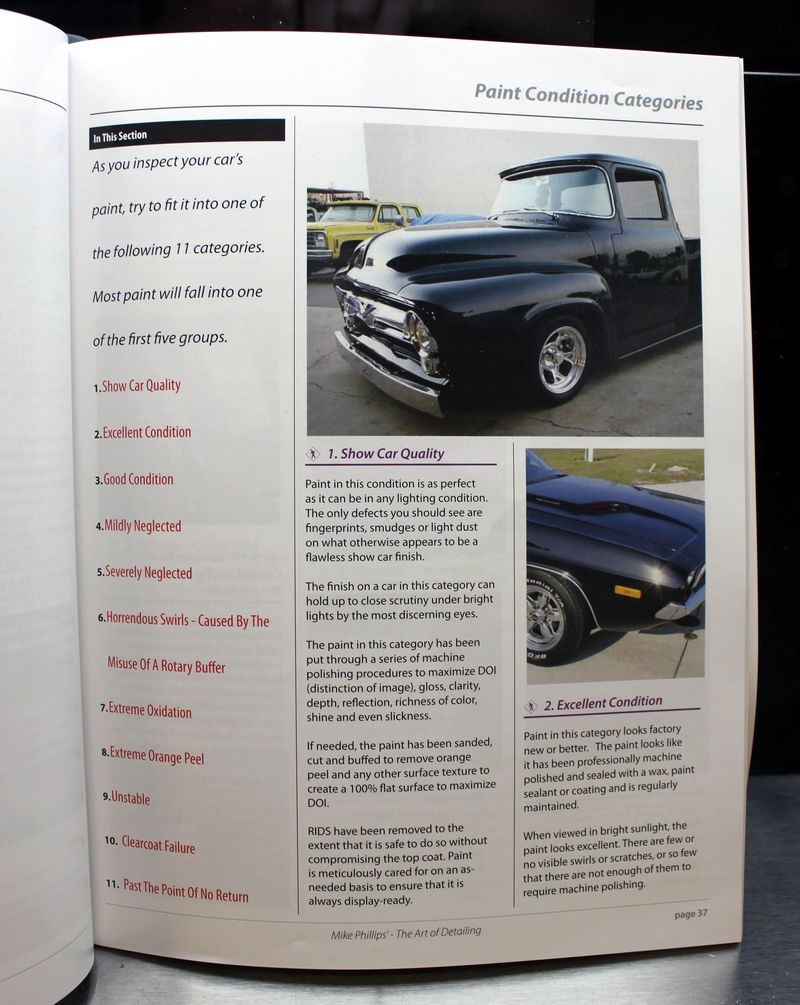
When I wrote the 3rd and 4th books I needed away to communicate with others about the paint condition on the car they're working on. So I came up with a chapter in this 3rd book, and later an updated version in the 4th book called,


Paint Condition Categories


And in both books you can find the different categories of paint conditions. In The Art of Detailing there are 11 categories and when I wrote The Complete Guide to a Show Car Shine, I added a new category. The new category was

Beginning Clearcoat Failure

In the original list of paint condition categories there was only Clearcoat Failure.


Here's what the category list looked like in The Art of Detailing.


Page 37 - Paint Condition Categories

Page37ofBook.jpg


Here's Page 37 in The Complete Guide to a Show Car Shine

Paint_Condition_Catagories_002.JPG


Paint_Condition_Catagories_002c.JPG


And even to this day, I use this list to talk to people about their car's paint. In fact, I did this just a week ago when talking to a customer about the original single stage paint on his 1969 Corvette.


1969_Corvette_Original_Paint_004.JPG


1969_Corvette_Original_Paint_005.JPG


1969_Corvette_Original_Paint_006.JPG


And although the paint on the horizontal panels was Category #12, Paint the Point of No Return, and also Category #9 Unstable, the owner still wanted me to buff the hell out of the paint and squeeze as much shine as possible out of what was left.

1969_Corvette_Original_Paint_001.JPG


I love your passion for this craft, (detailing cars), as well as your passion for the art of polishing paint. So glad you joined this forum.


:cheers:
 
Back
Top