lawrenceSA
New member
- Feb 7, 2012
- 1,713
- 0
So as some of you know I normally detail over a weekend and for the most part spend somewhere between 18 and 25 hours on a car - the forced deadline certainly makes it tougher and does not leave much time for sleep etc so..... with me currently being on leave and the owner of this car not being in any rush for the car, I was able to invest 32 hours on the car at my own leisure over the past 4 days - what a different experience.
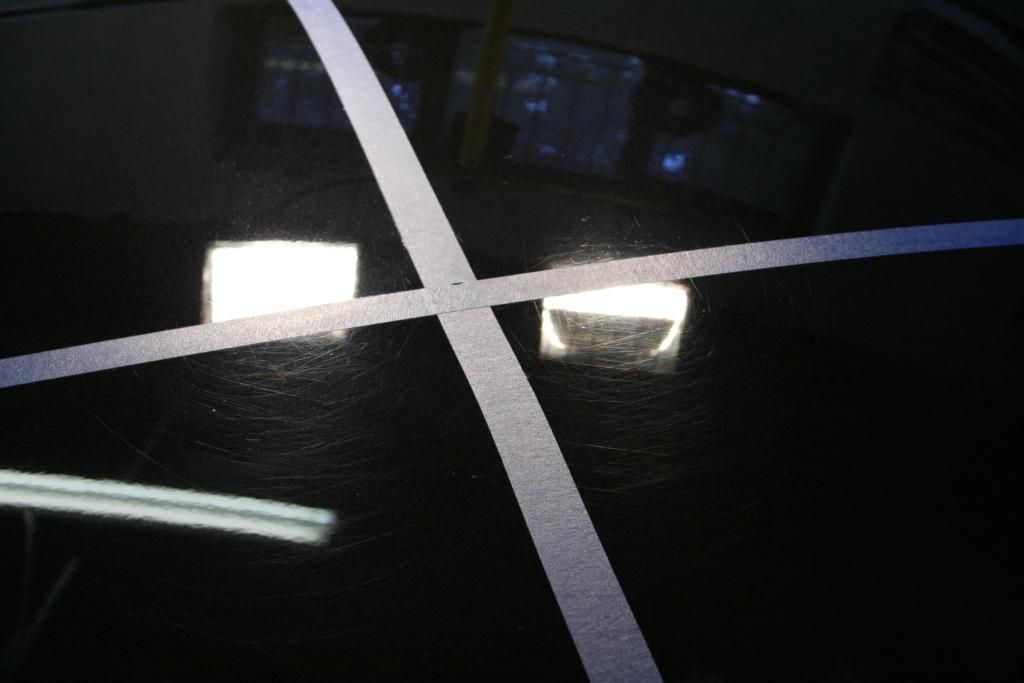
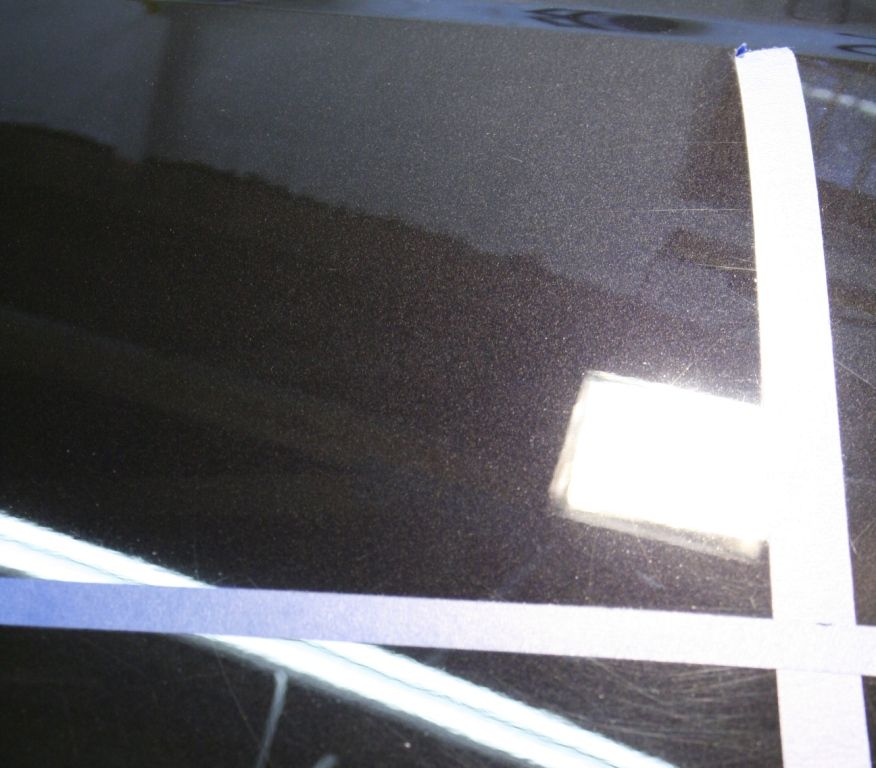
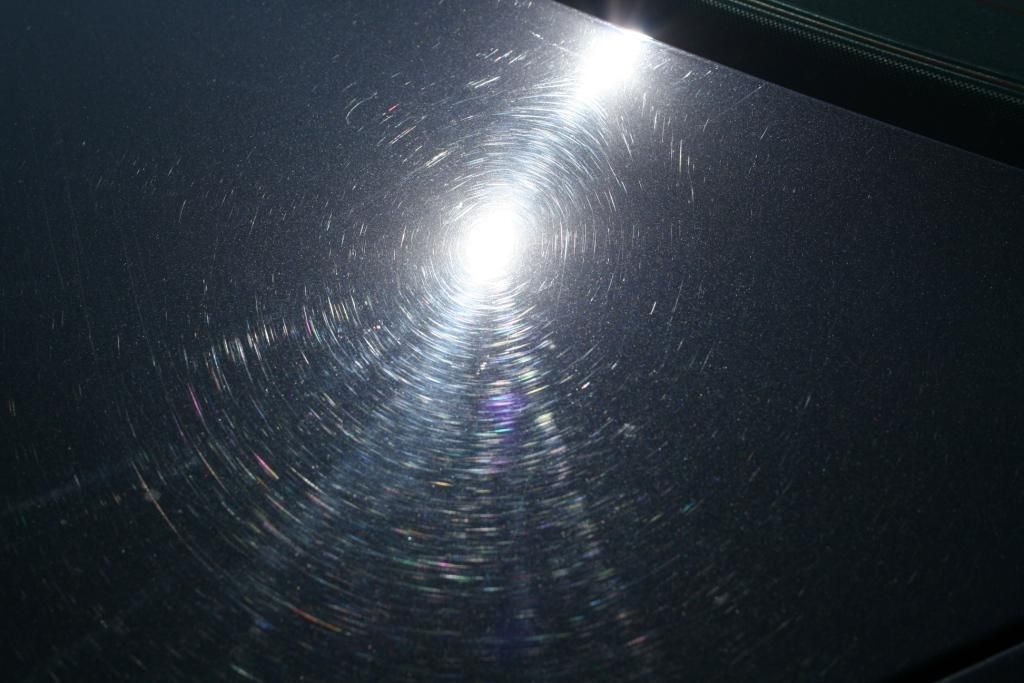
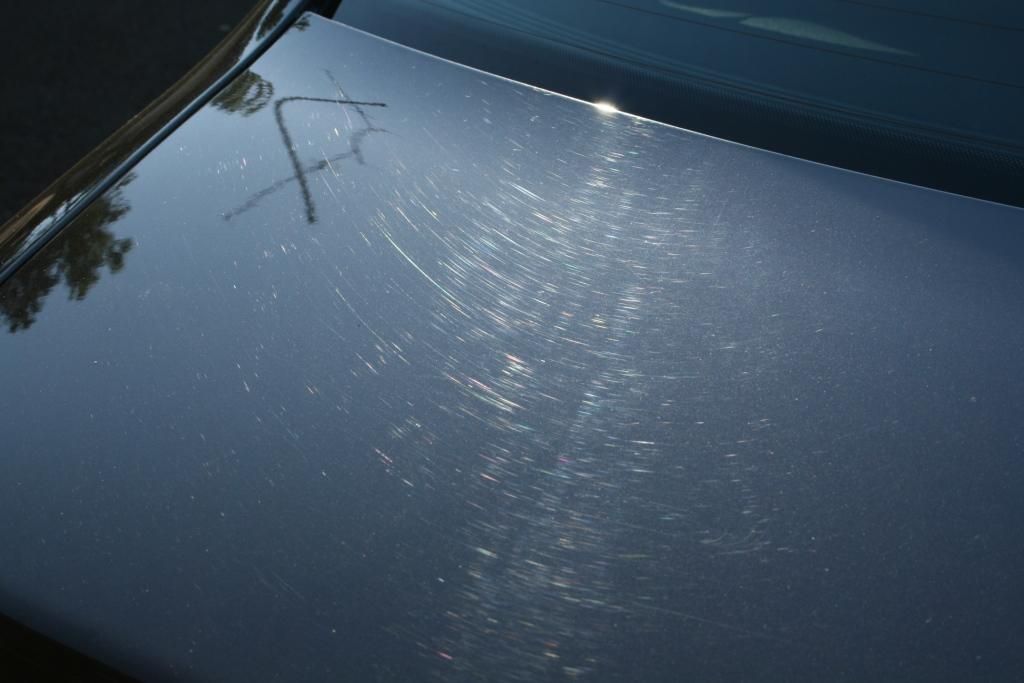
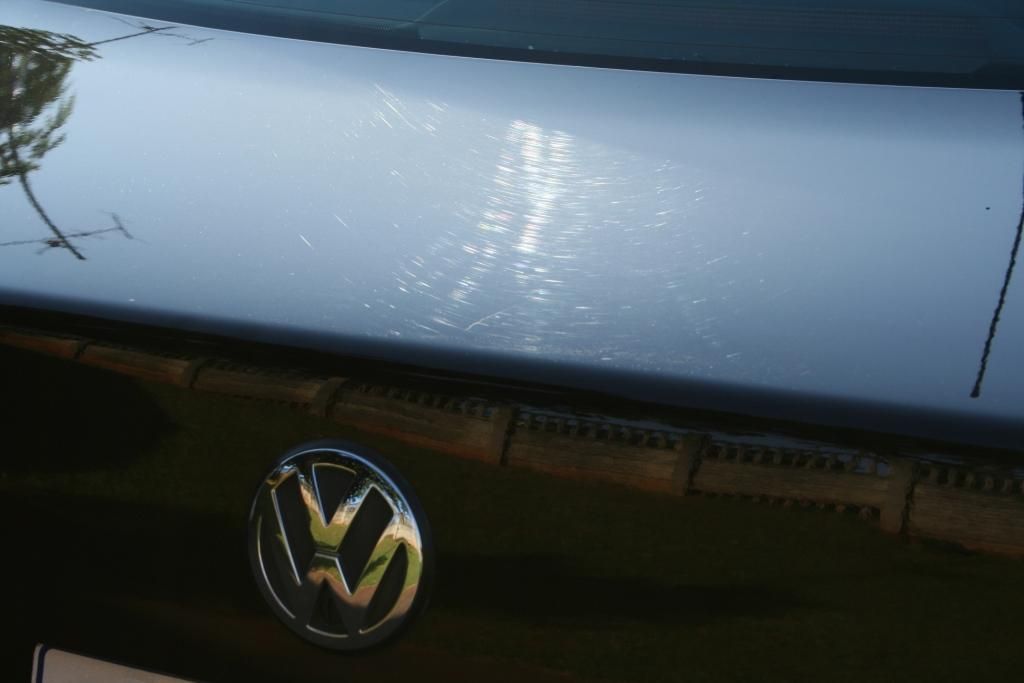
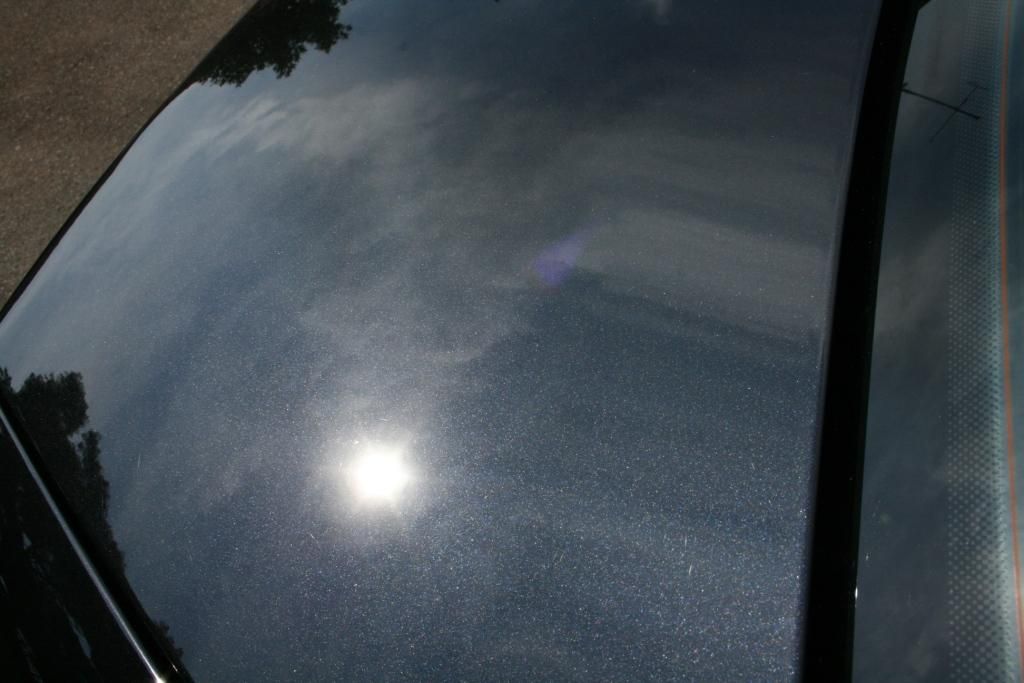
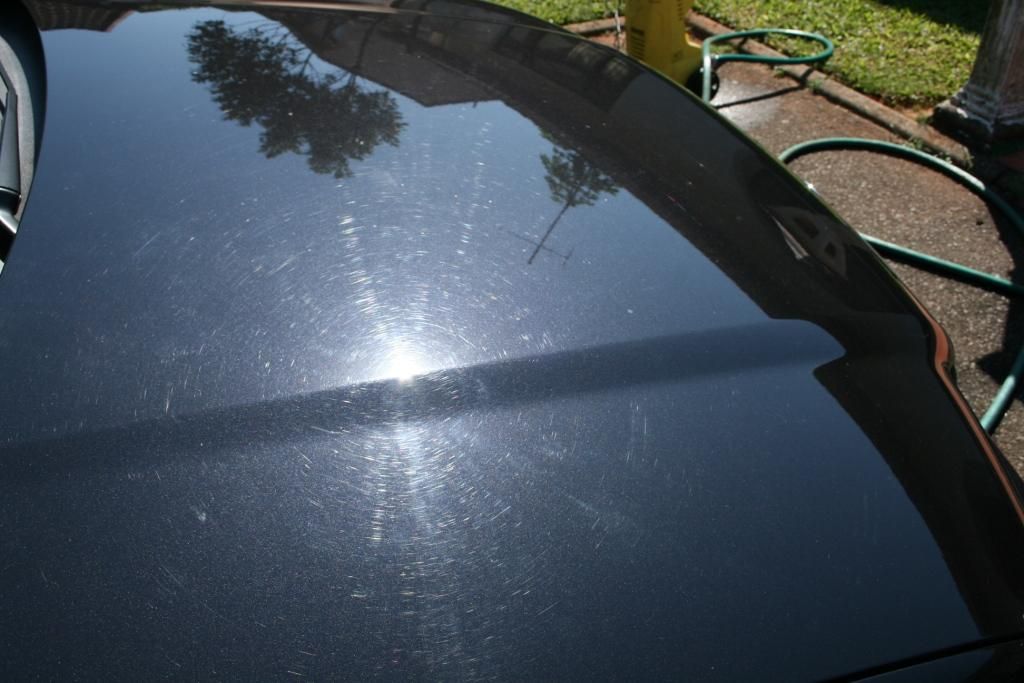
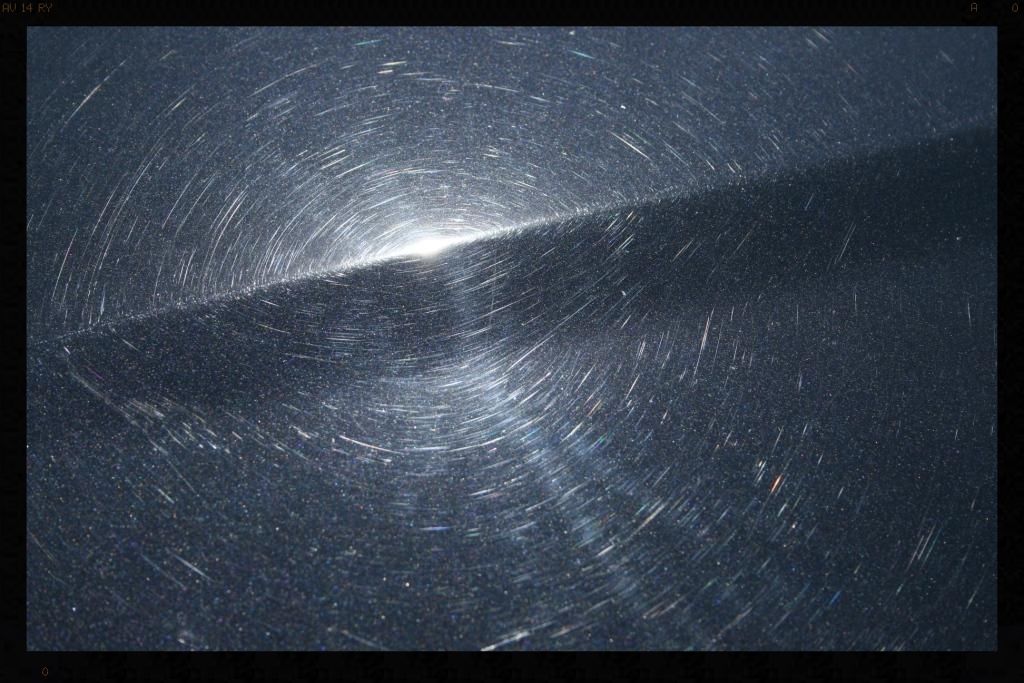
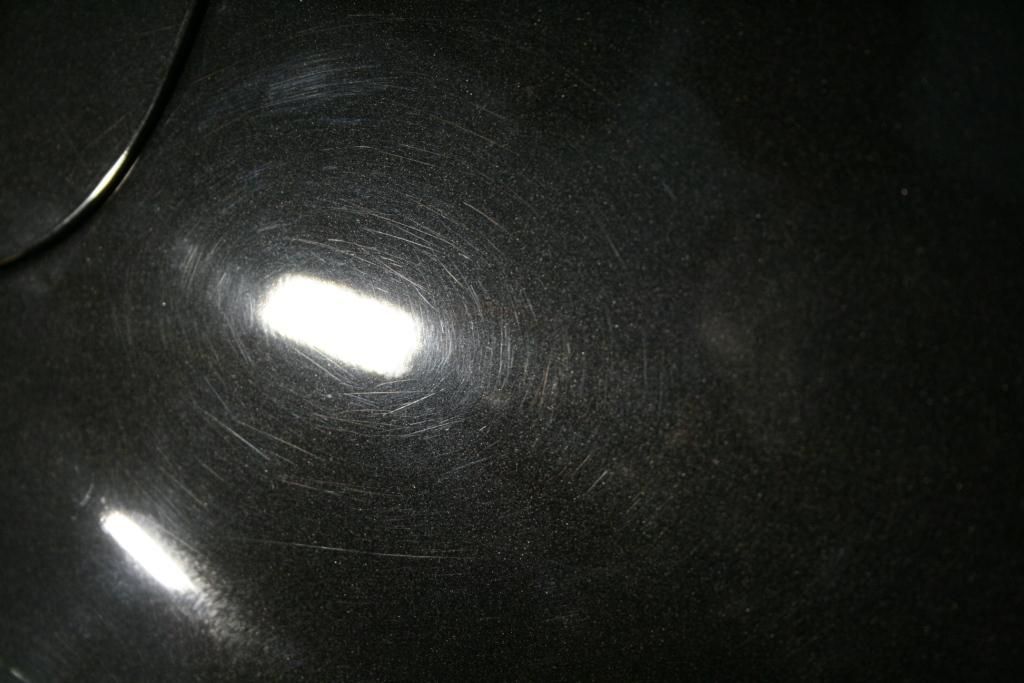
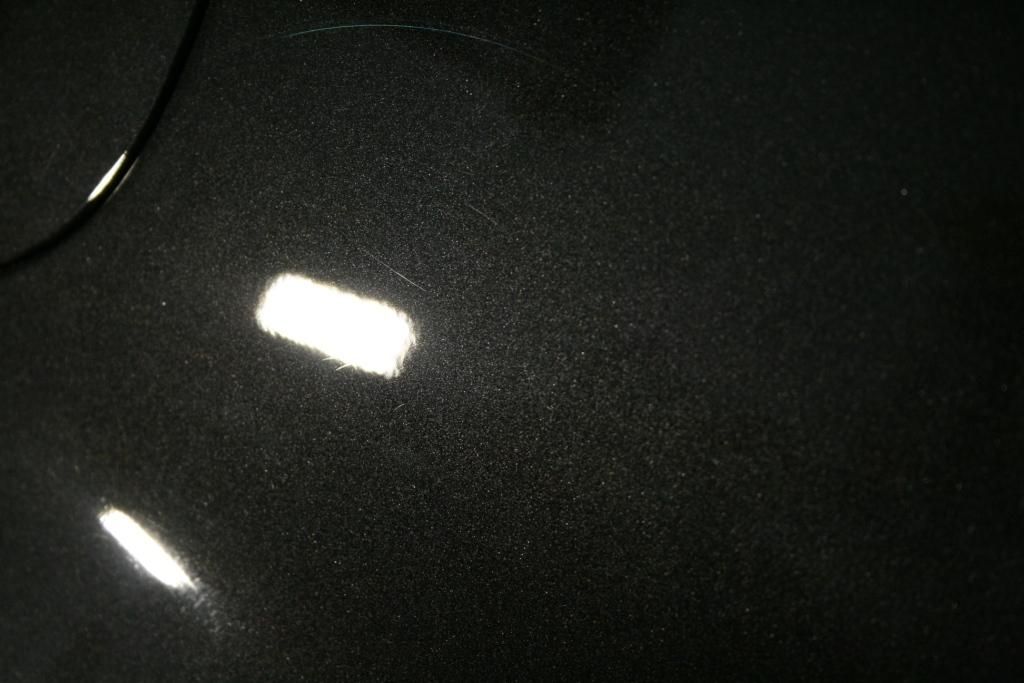
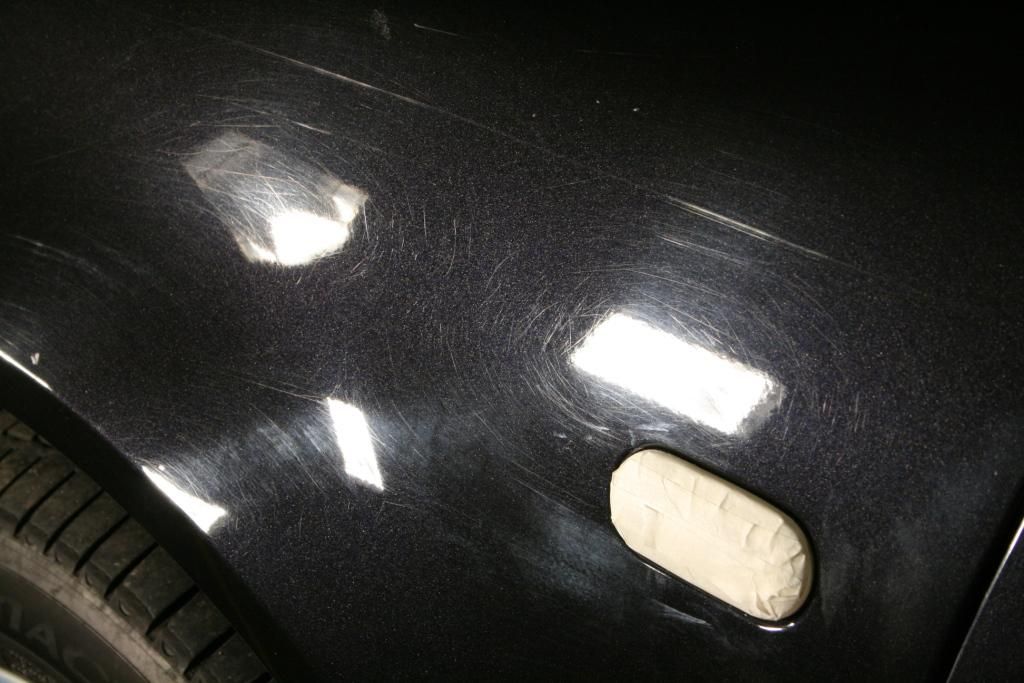
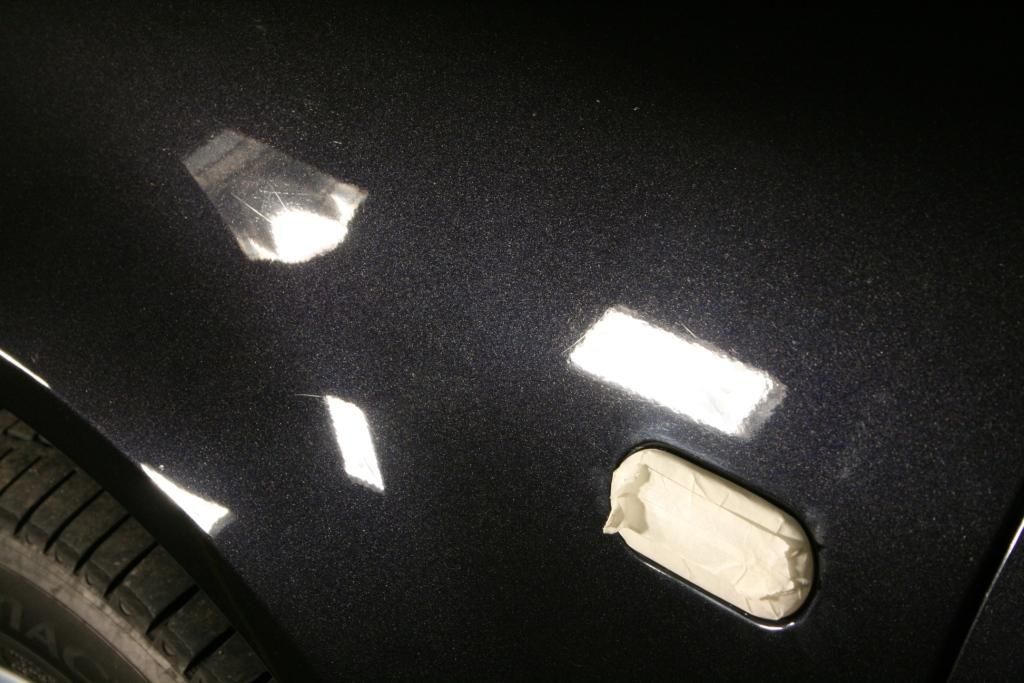
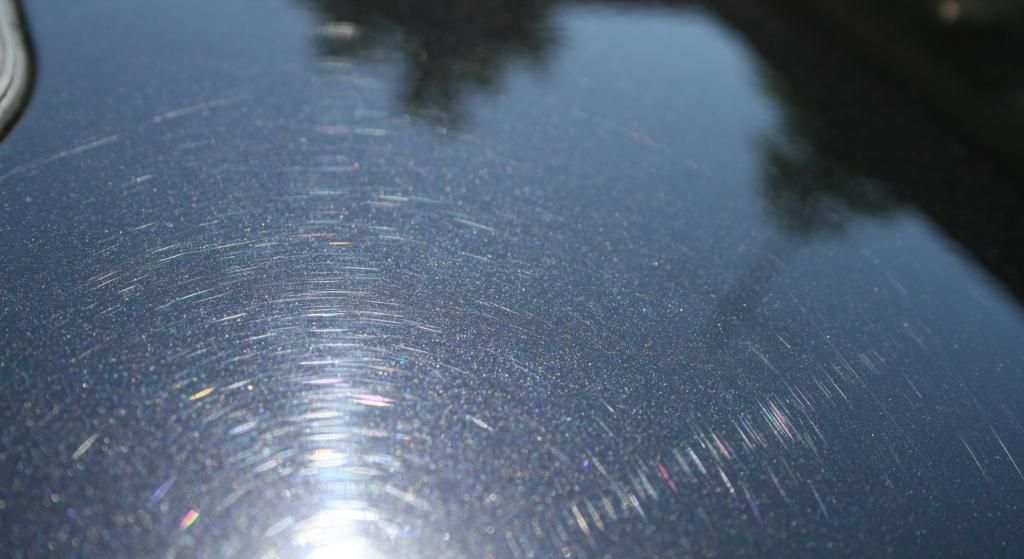
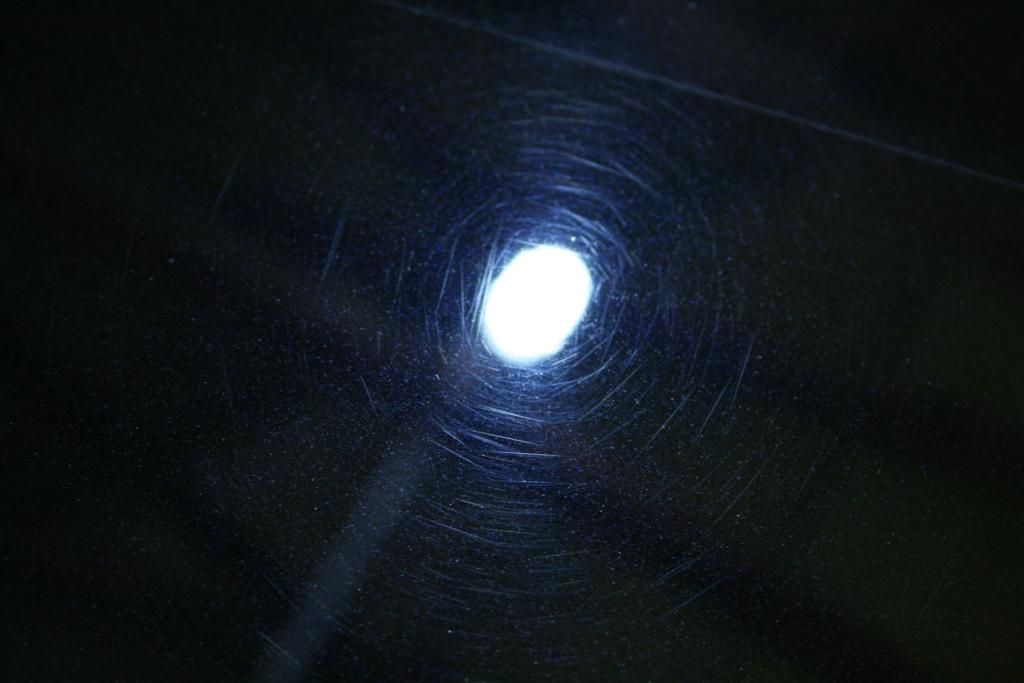
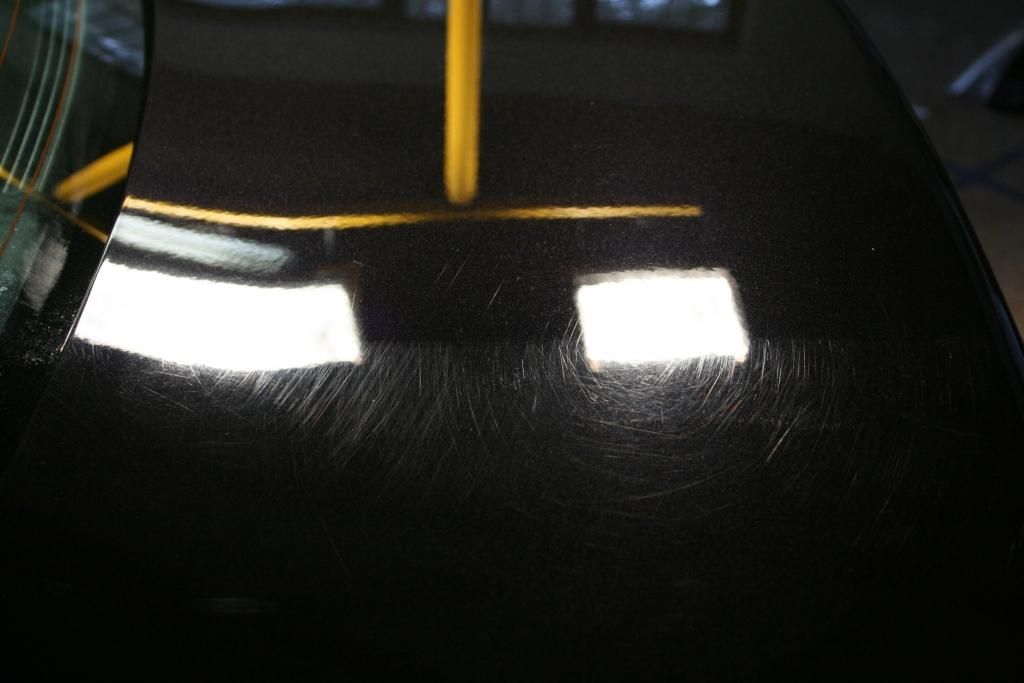
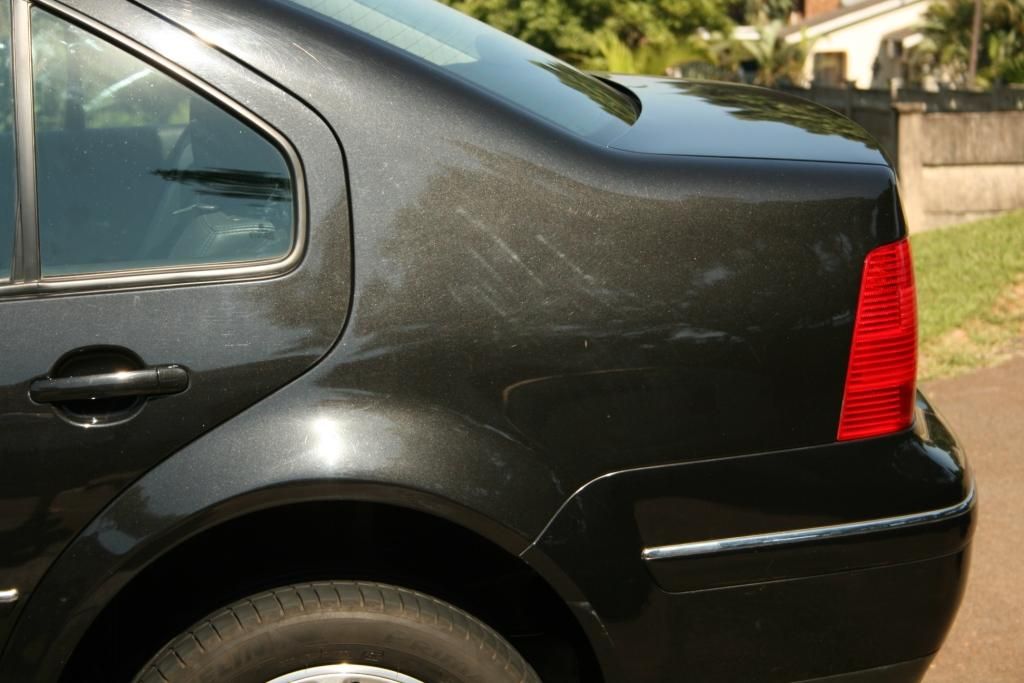
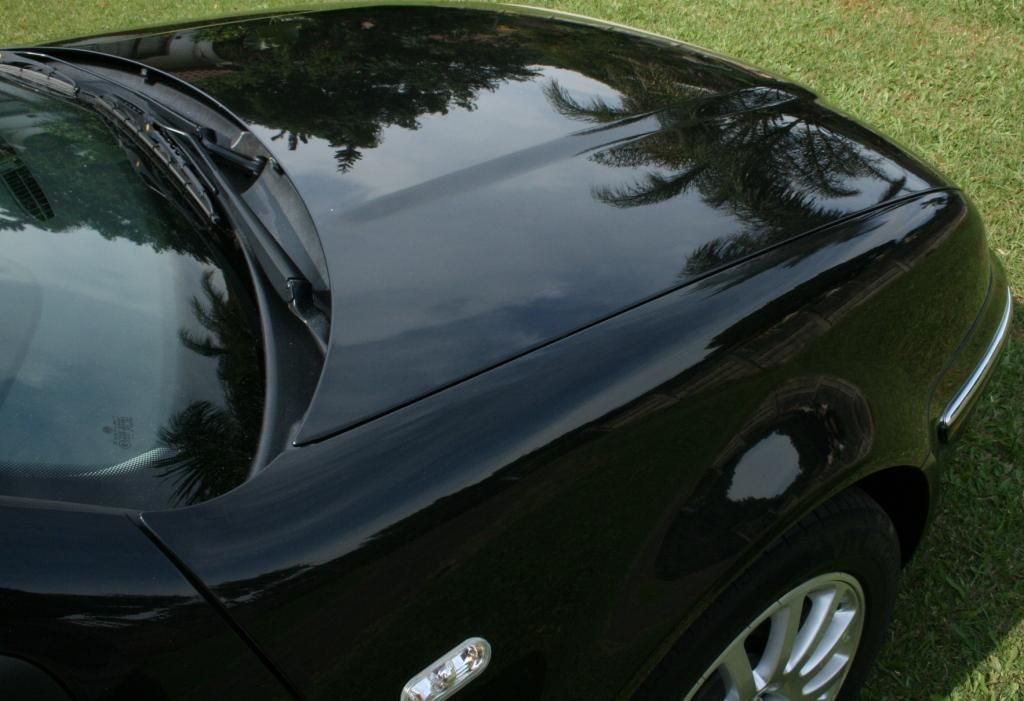
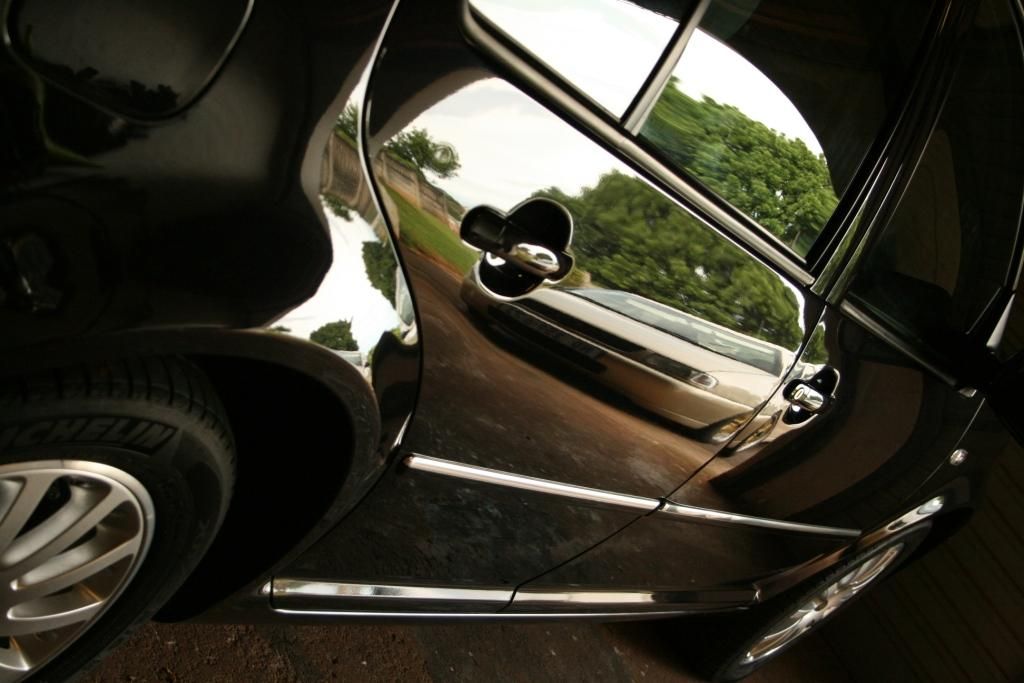
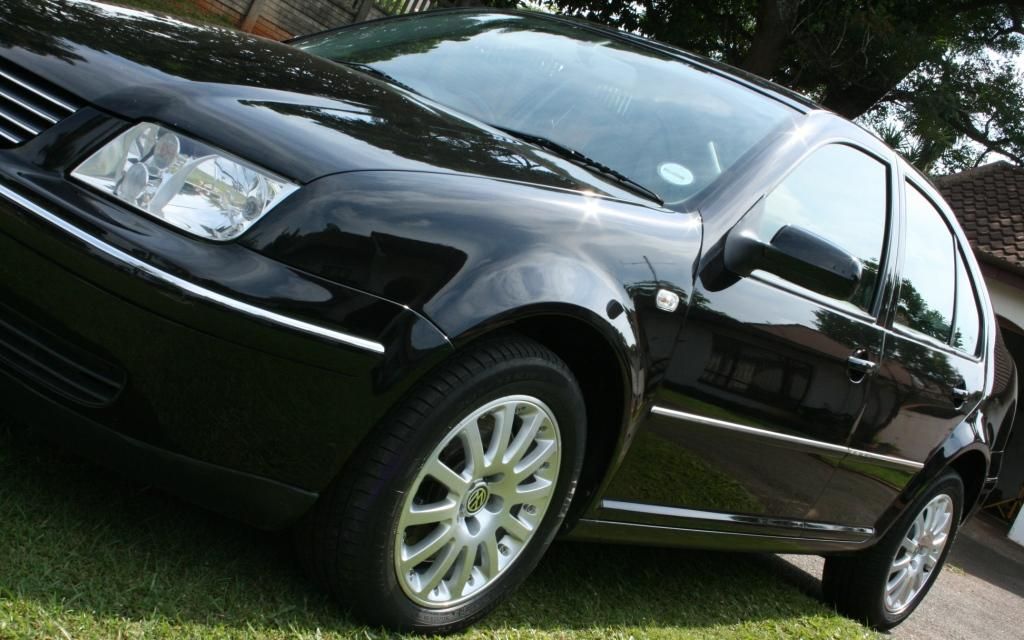
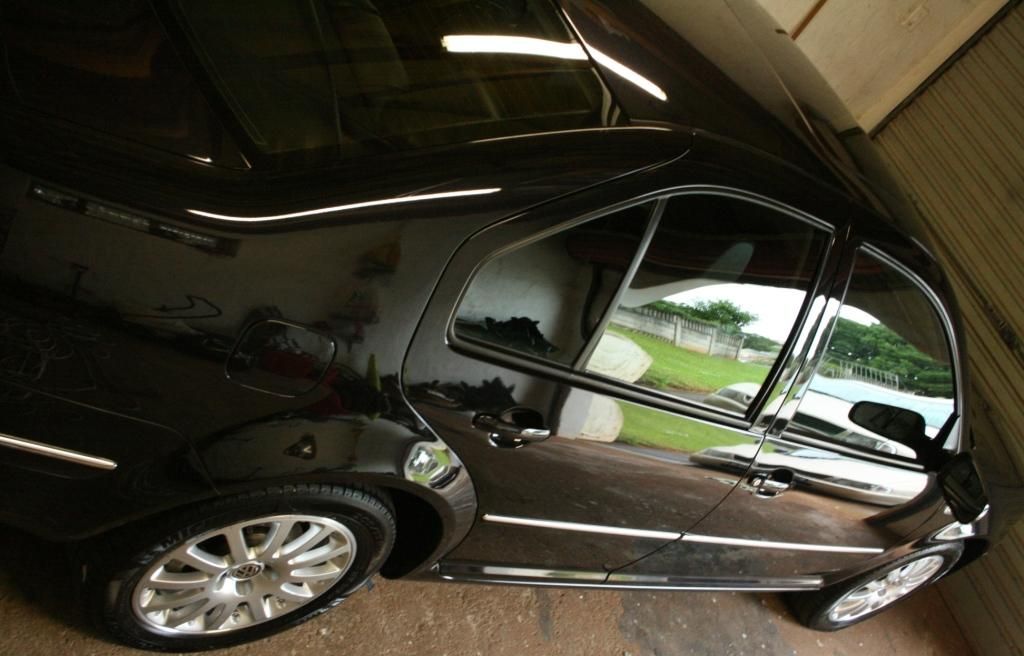
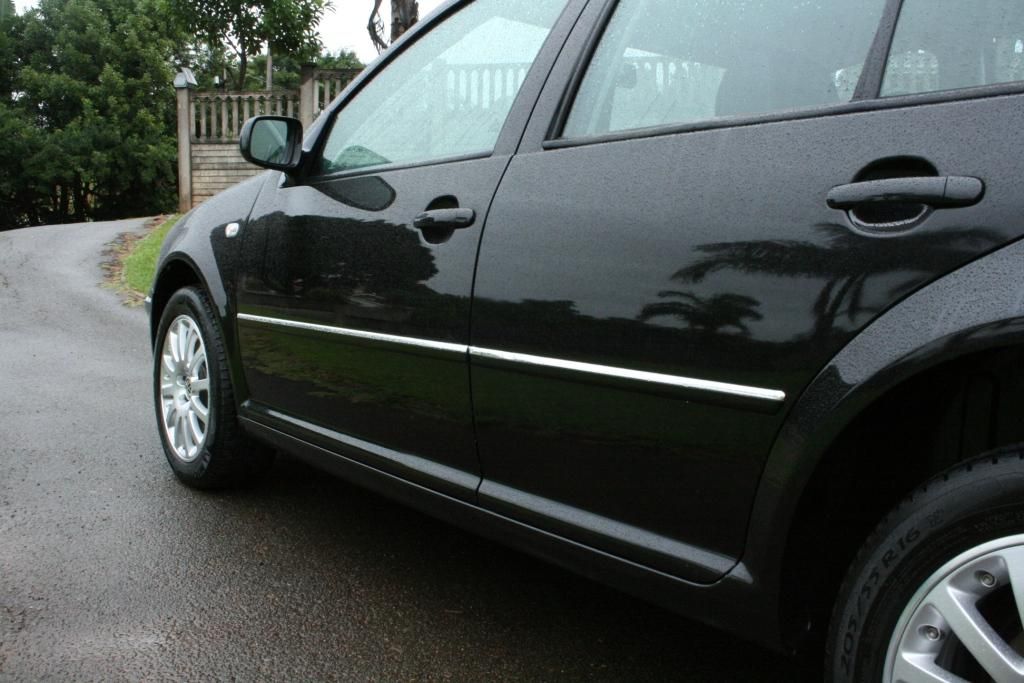
This is a 2002 model with just over 100K km's on the clock and the current owner is the 2nd owner from new. 13 Years on and the paintwork showed signs of a hard life doing daily duty.... plenty of swirls (some rather deep), deep scratches, water spots, contamination etc but the car had received its usual 2 bucket wash the morning before it was dropped off with me - the interior was however in really good condition.
Products used:
Cyclo CM30
Sonax Extreme Wheel Cleaner
Autofinesse Iron-Out
Turtle Wax Platinum Series Tire Dressing
Meguiars Gold Class Shampoo
Autofinesse ObliTARate
Clay Magic (Blue) Clay
ONR
Menzerna FG400
Meguiars Ultimate Compound
Lake Country Orange CCS Pads
Menzerna Black Finishing Pads
Meguiars Deep Crystal Paint Cleaner
Chemical Guys Blacklight
Chemical Guys V7 Sealant
Collinte #845
Smartwax Smart Dressing
Autoglym Fast Glass
C-Thru
A multitude of brushes and MF Cloths and foam applicator pads
HP Washer / Foam Cannon / Wet 'n Dry vac
Day 1 - Tuesday (10.5 hours)
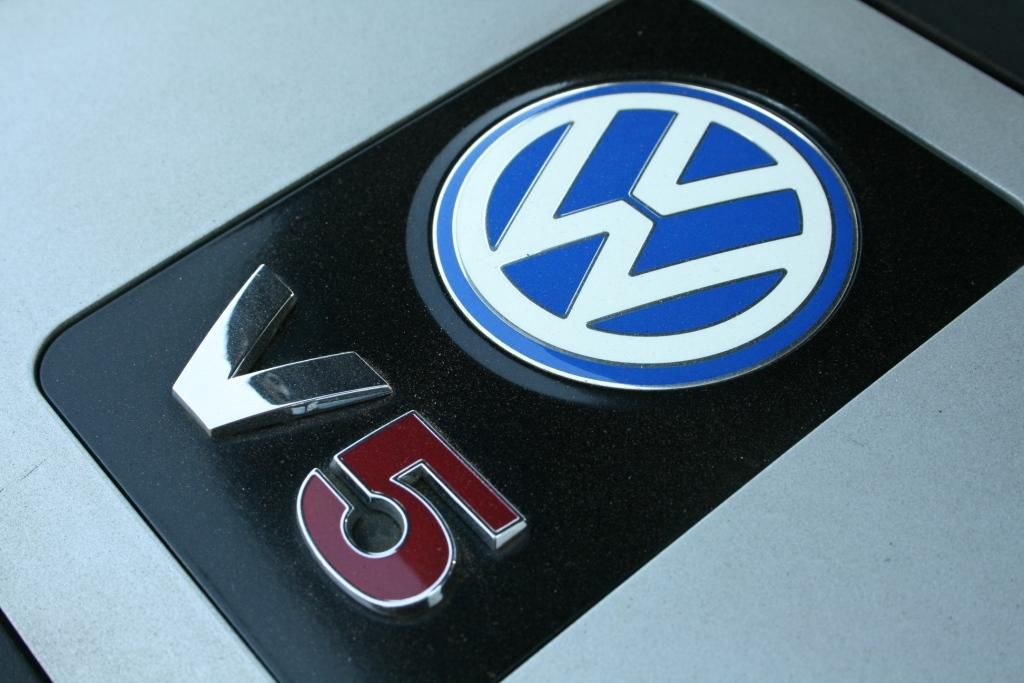
Wheels, Tires, Brake Caliper, Wheel Arches, Engine Bay, Door Jambs, Boot Jamb, Badges
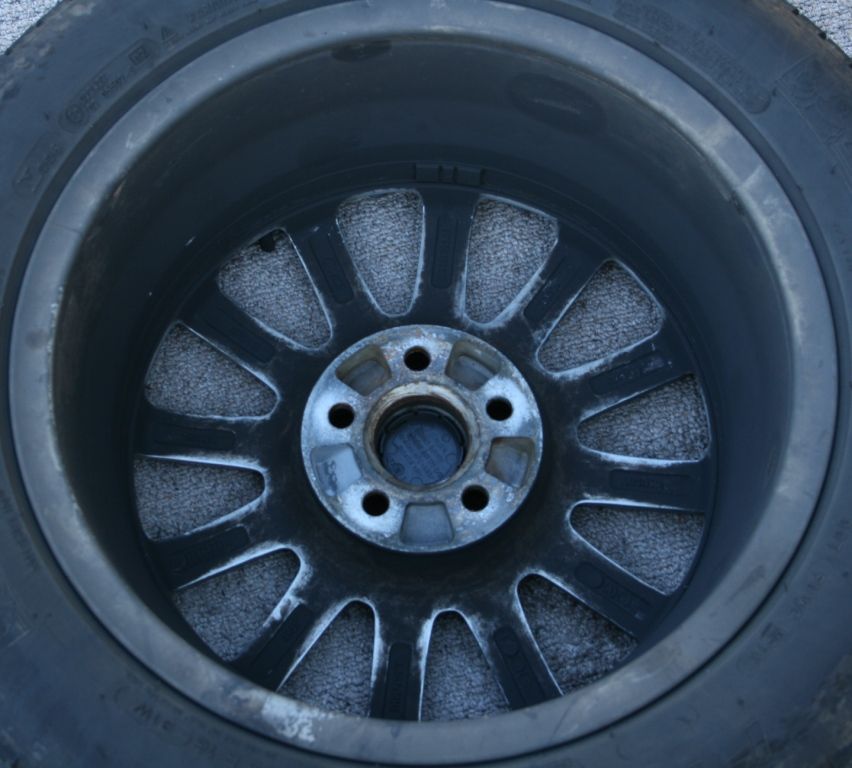
The wheels were removed from the car revealing a lot of built up dirt, road grime and tar
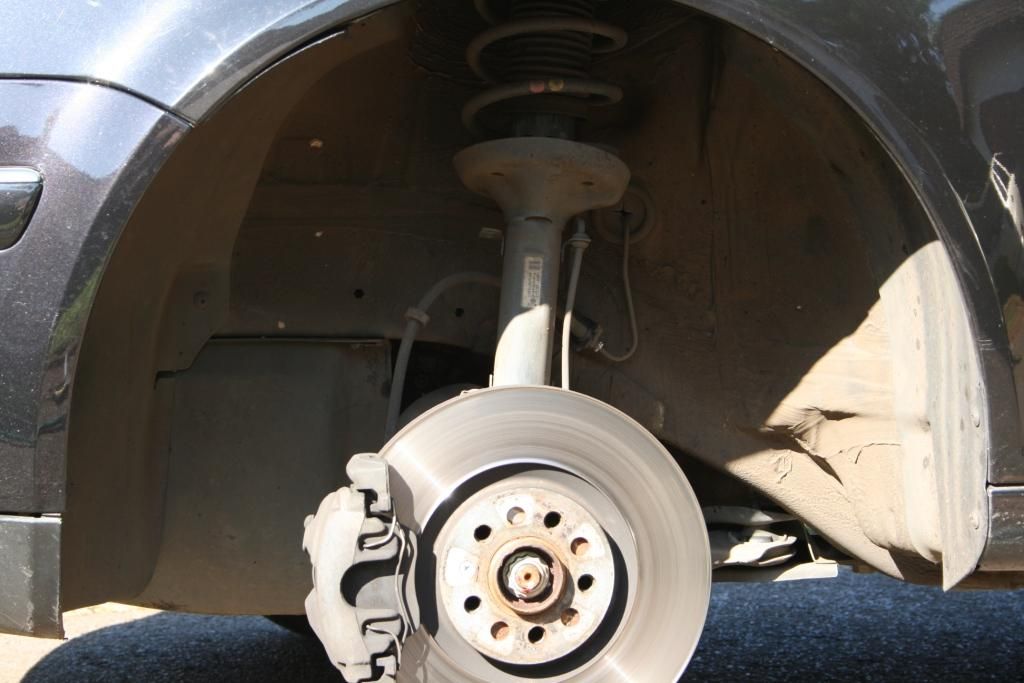
The arches, brake calipers and exposed suspension bits were hosed off with a high pressure washer and then sprayed with APC, which was then left to dwell before being agitated with various brushes and rinsed and treated
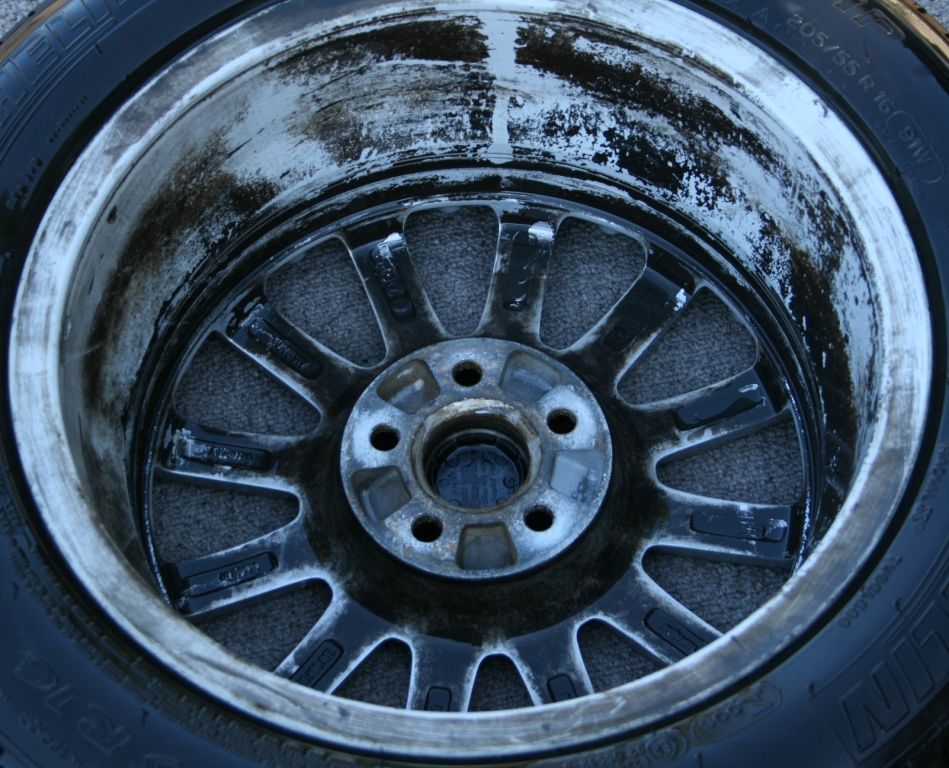
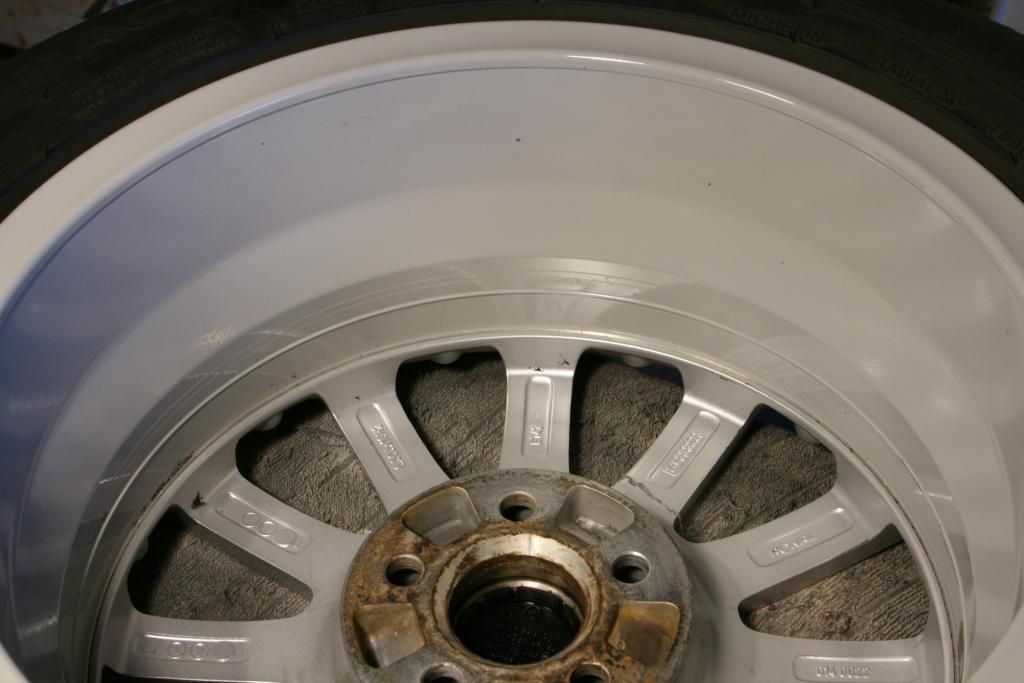
The wheels themselves were definitely the worst I have done to date. The faces had dirt buildup in the usual places and were no worse than most....
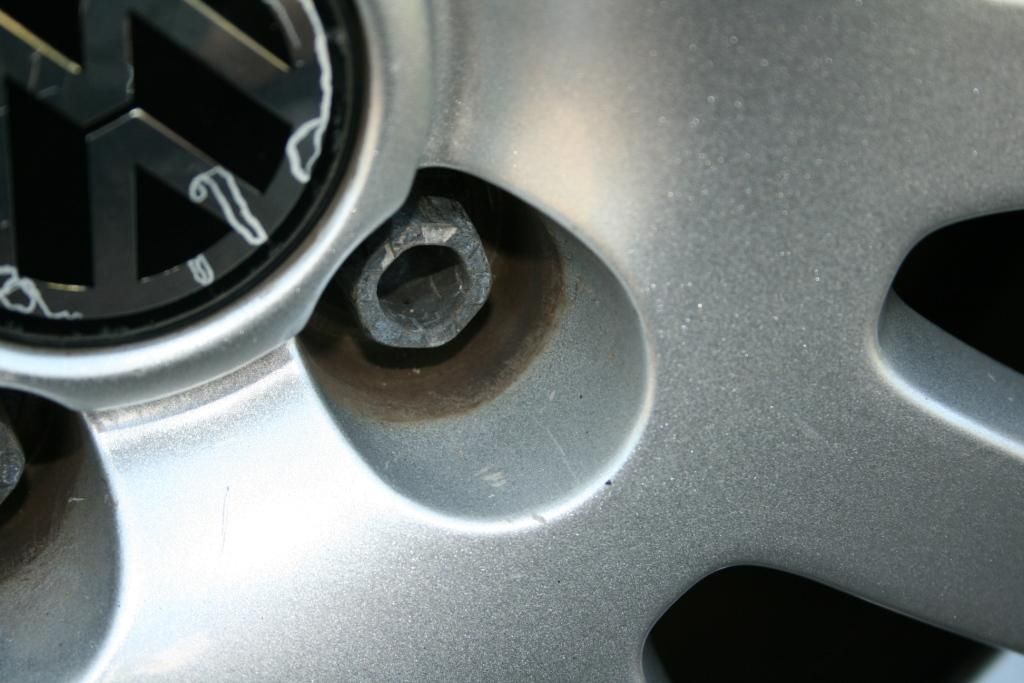
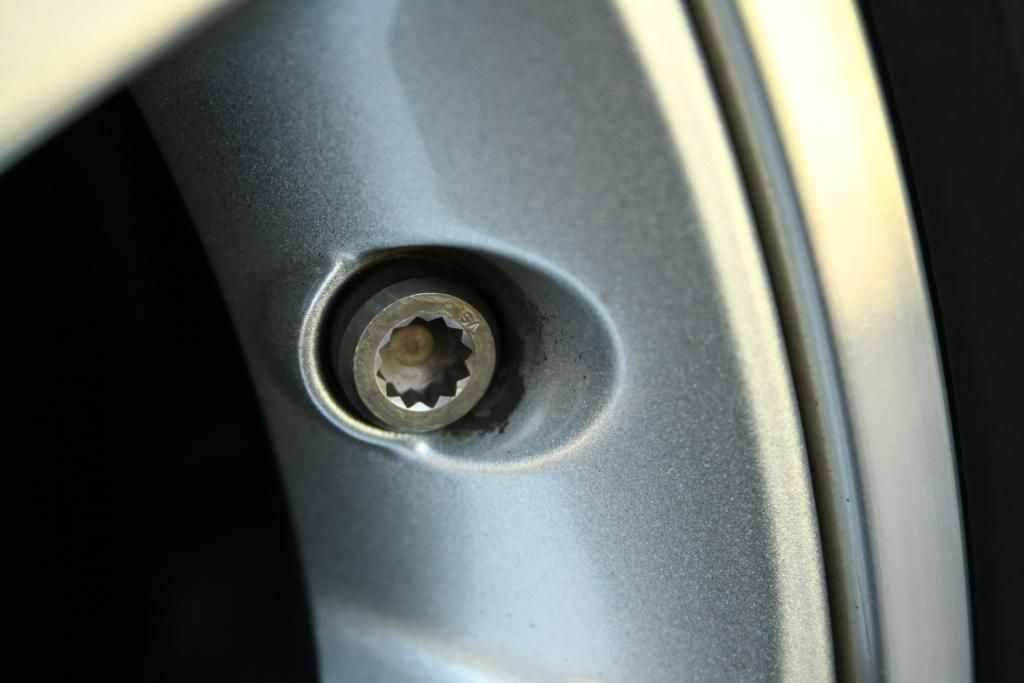
But the inside barrels.... well....
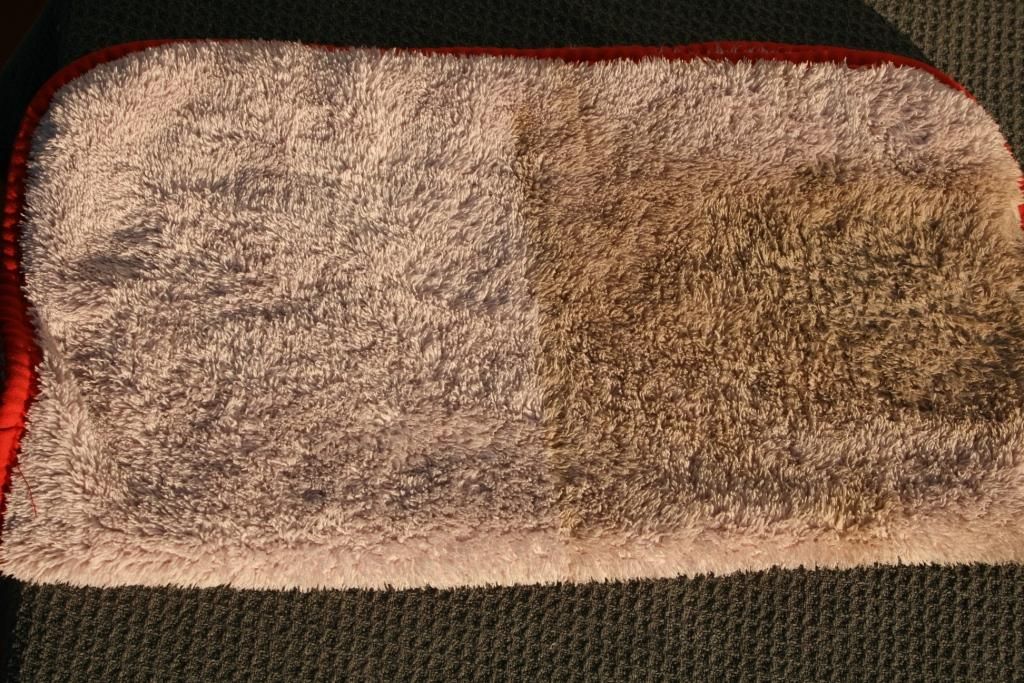
I started by spraying APC onto the tires and then scrubbing them with a Mothers Tire Brush. I then cleaned the rims with Sonax Extreme Wheel cleaner and it only removed some of the 13 years of baked in brake dust (I landed up using a whole bottle on these wheels, along with a fair amount of AF Iron out)
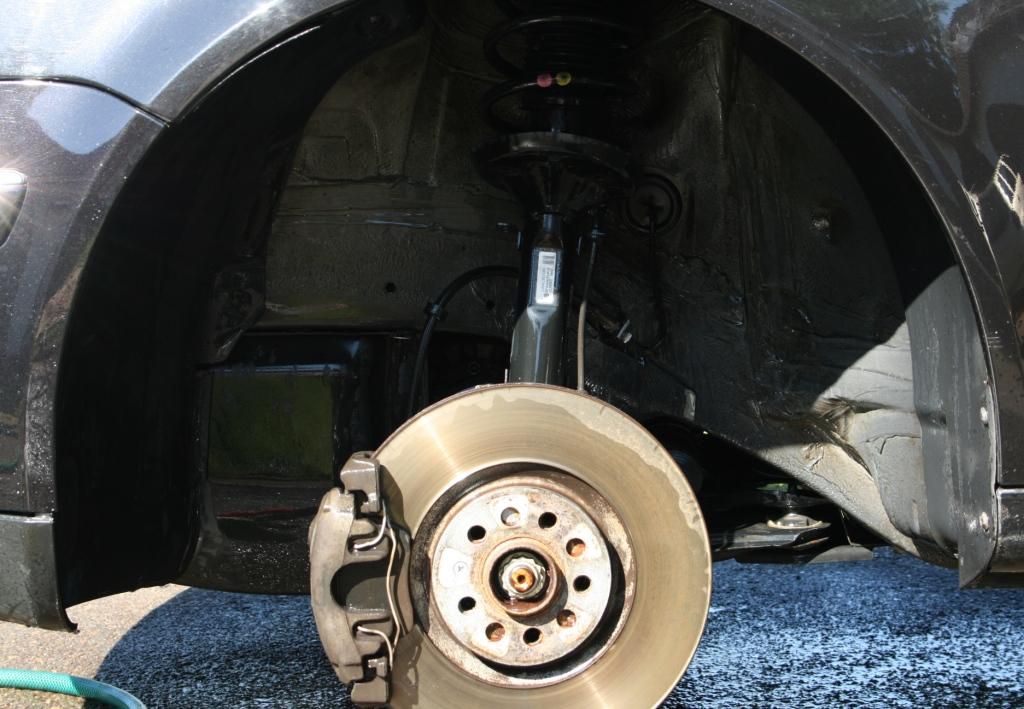
I then hit them with AF Iron Out leaving them almost clean, but still with tar deposits on them.
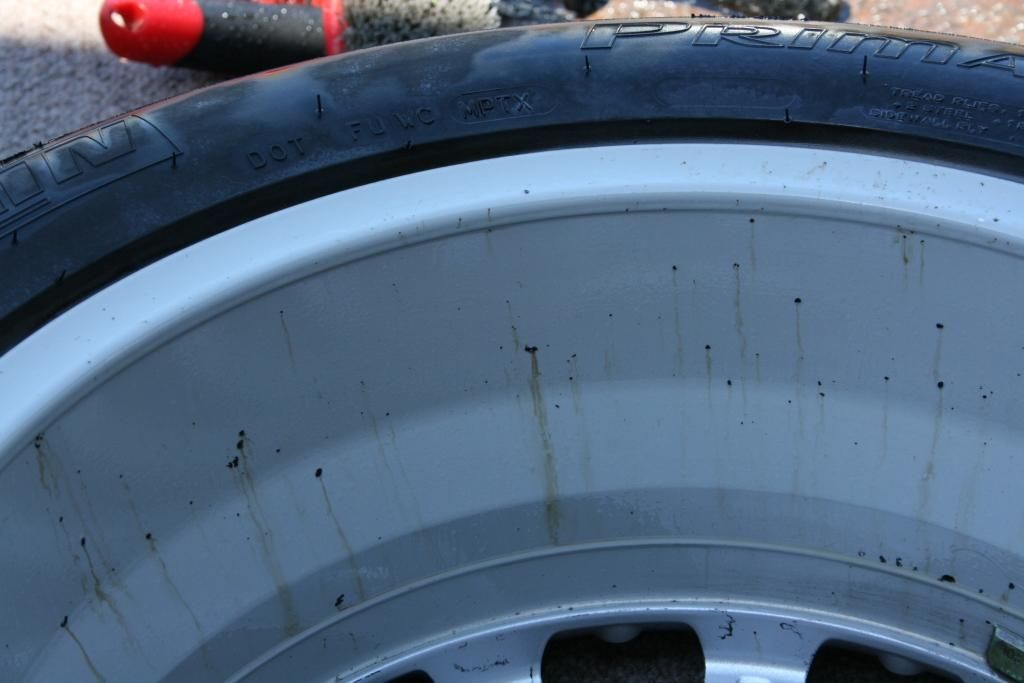
After removing the tar they were given a final working of Iron AF Out and were finally clean
 [/URL]
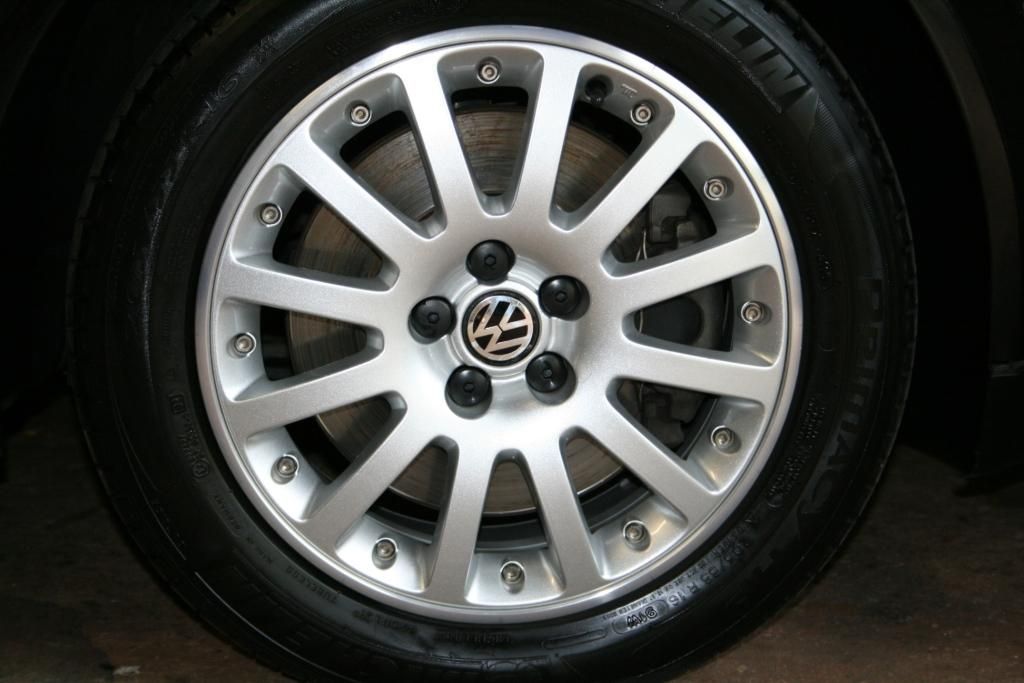
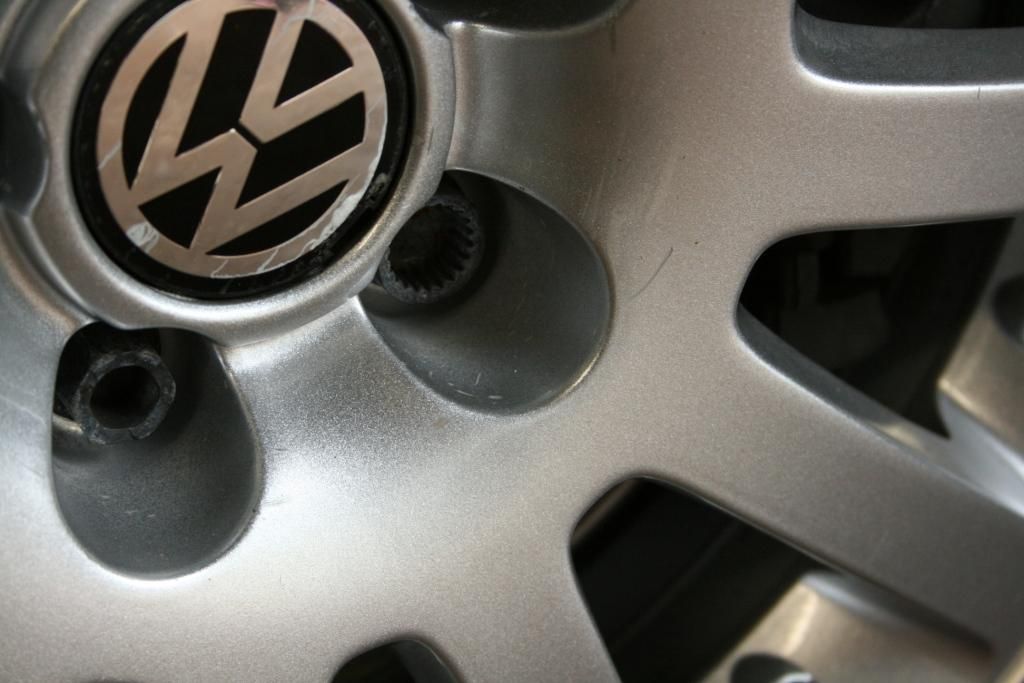
They were then sealed and tires dressed and refitted to the car
 [/URL]
Engine Bay
All loose dirt/dust was blown out the engine bay and a thorough cleaning was performed and the engine bay then dressed.
Before
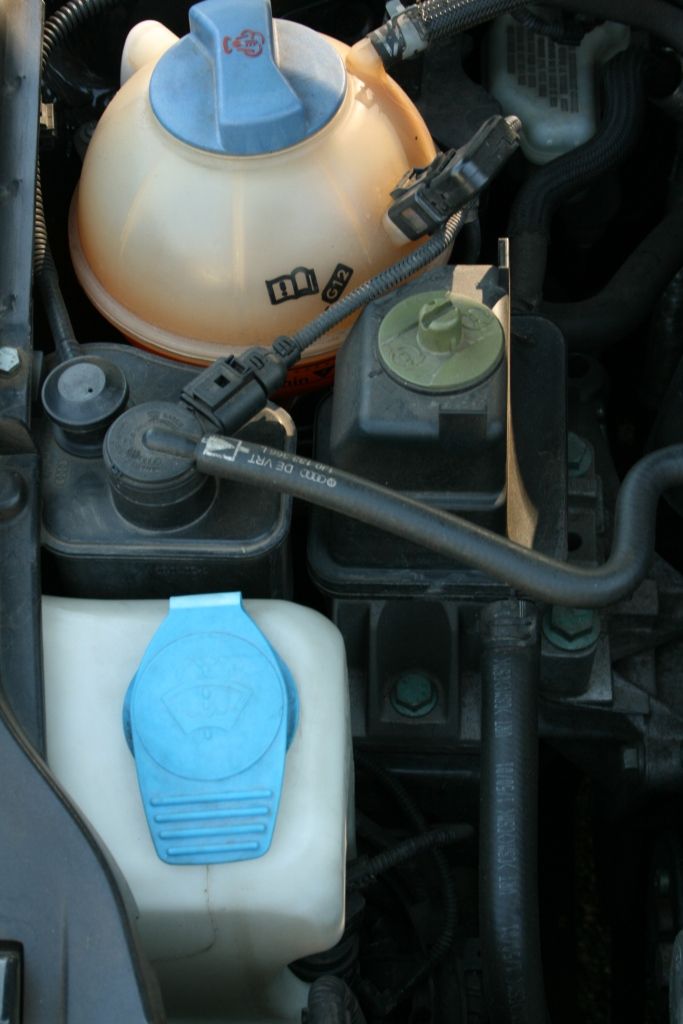
At this point I will apologise for the lack of after pics - the weather turned for the worse at the end of the detail - when I usually go around and snap up all the after pics so I got caught out a little
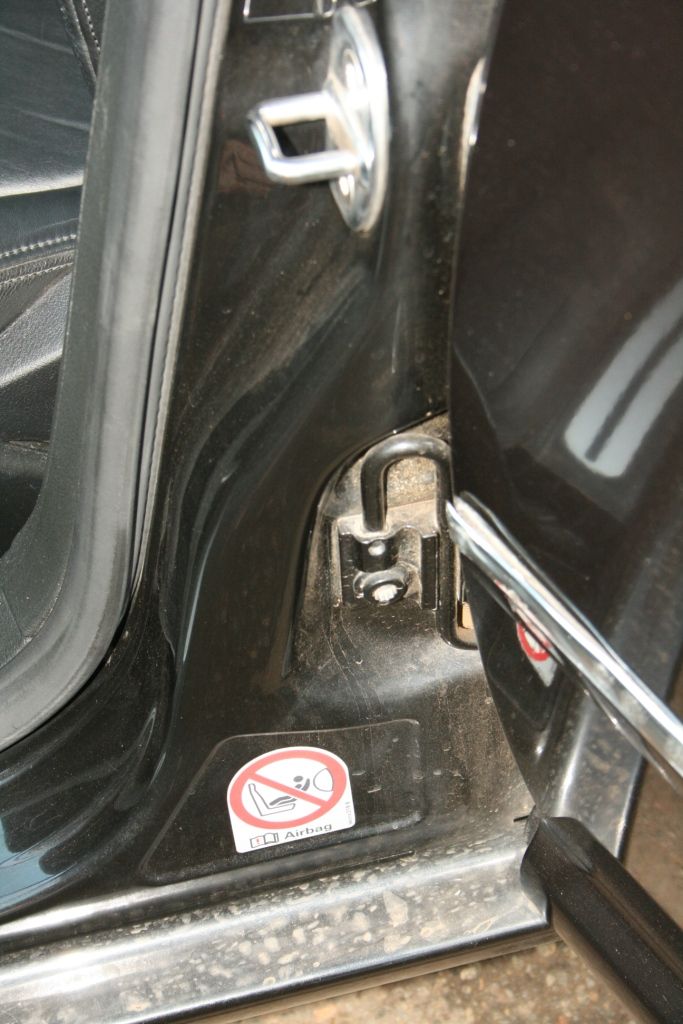
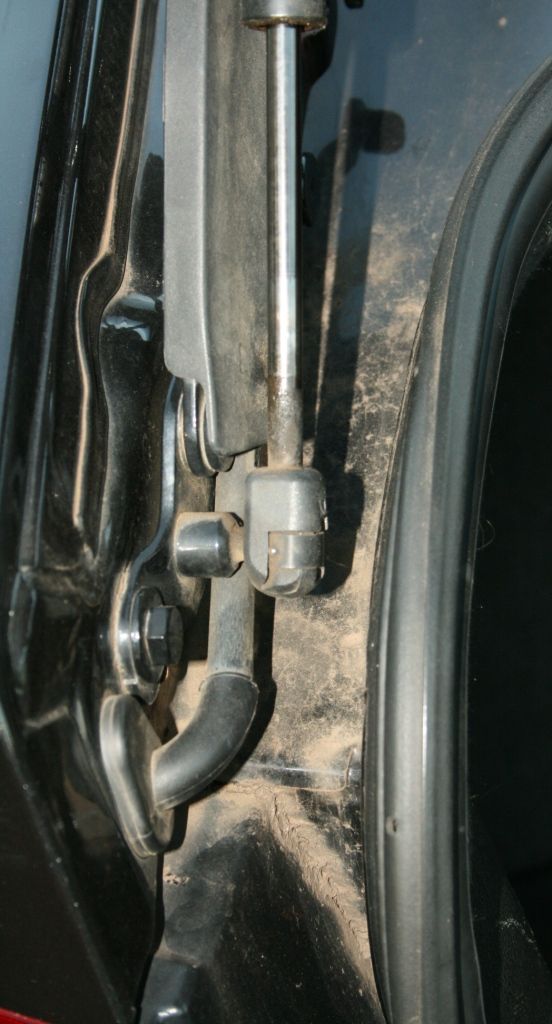
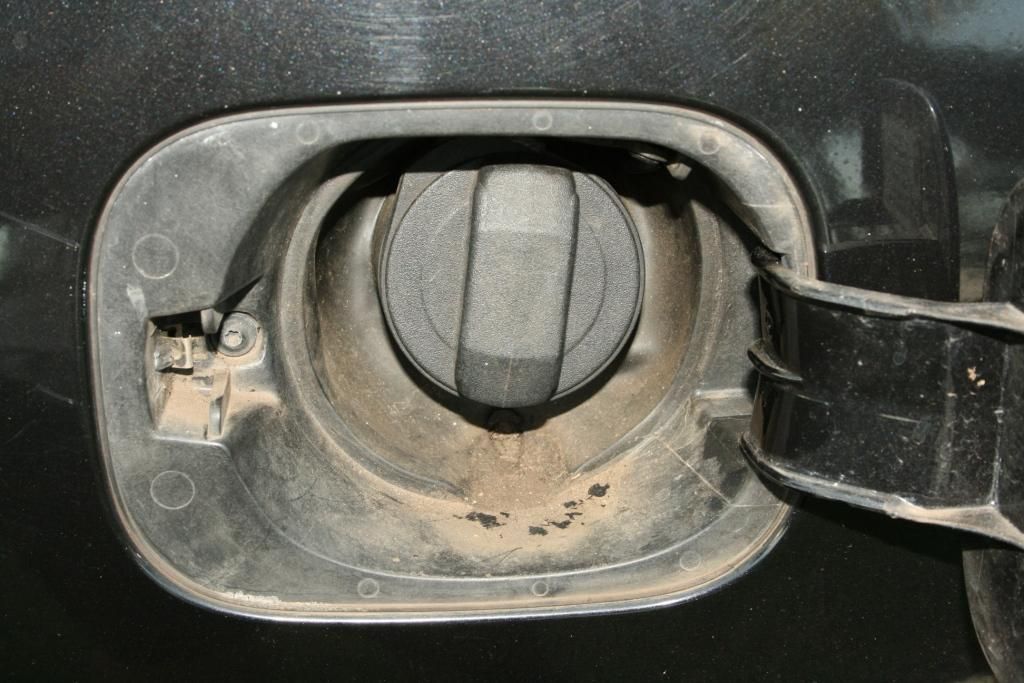
Door Jambs, Boot Jamb, Badges
APC was sprayed on, left to dwell and agitated before being rinsed with a HP washer

With all the really dirty work out the way day 1 came to and end
This is a 2002 model with just over 100K km's on the clock and the current owner is the 2nd owner from new. 13 Years on and the paintwork showed signs of a hard life doing daily duty.... plenty of swirls (some rather deep), deep scratches, water spots, contamination etc but the car had received its usual 2 bucket wash the morning before it was dropped off with me - the interior was however in really good condition.
Products used:
Cyclo CM30
Sonax Extreme Wheel Cleaner
Autofinesse Iron-Out
Turtle Wax Platinum Series Tire Dressing
Meguiars Gold Class Shampoo
Autofinesse ObliTARate
Clay Magic (Blue) Clay
ONR
Menzerna FG400
Meguiars Ultimate Compound
Lake Country Orange CCS Pads
Menzerna Black Finishing Pads
Meguiars Deep Crystal Paint Cleaner
Chemical Guys Blacklight
Chemical Guys V7 Sealant
Collinte #845
Smartwax Smart Dressing
Autoglym Fast Glass
C-Thru
A multitude of brushes and MF Cloths and foam applicator pads
HP Washer / Foam Cannon / Wet 'n Dry vac
Day 1 - Tuesday (10.5 hours)
Wheels, Tires, Brake Caliper, Wheel Arches, Engine Bay, Door Jambs, Boot Jamb, Badges
The wheels were removed from the car revealing a lot of built up dirt, road grime and tar
The arches, brake calipers and exposed suspension bits were hosed off with a high pressure washer and then sprayed with APC, which was then left to dwell before being agitated with various brushes and rinsed and treated
The wheels themselves were definitely the worst I have done to date. The faces had dirt buildup in the usual places and were no worse than most....
But the inside barrels.... well....
I started by spraying APC onto the tires and then scrubbing them with a Mothers Tire Brush. I then cleaned the rims with Sonax Extreme Wheel cleaner and it only removed some of the 13 years of baked in brake dust (I landed up using a whole bottle on these wheels, along with a fair amount of AF Iron out)
I then hit them with AF Iron Out leaving them almost clean, but still with tar deposits on them.
After removing the tar they were given a final working of Iron AF Out and were finally clean
They were then sealed and tires dressed and refitted to the car

Engine Bay
All loose dirt/dust was blown out the engine bay and a thorough cleaning was performed and the engine bay then dressed.
Before
At this point I will apologise for the lack of after pics - the weather turned for the worse at the end of the detail - when I usually go around and snap up all the after pics so I got caught out a little
Door Jambs, Boot Jamb, Badges
APC was sprayed on, left to dwell and agitated before being rinsed with a HP washer
With all the really dirty work out the way day 1 came to and end