lawrenceSA
New member
- Feb 7, 2012
- 1,713
- 0
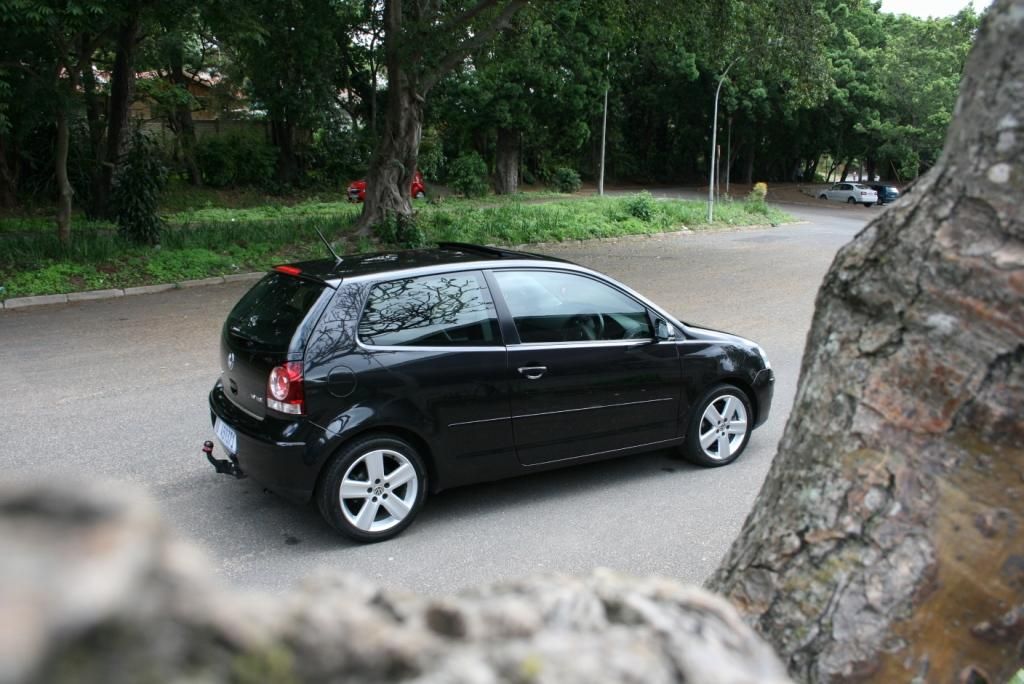
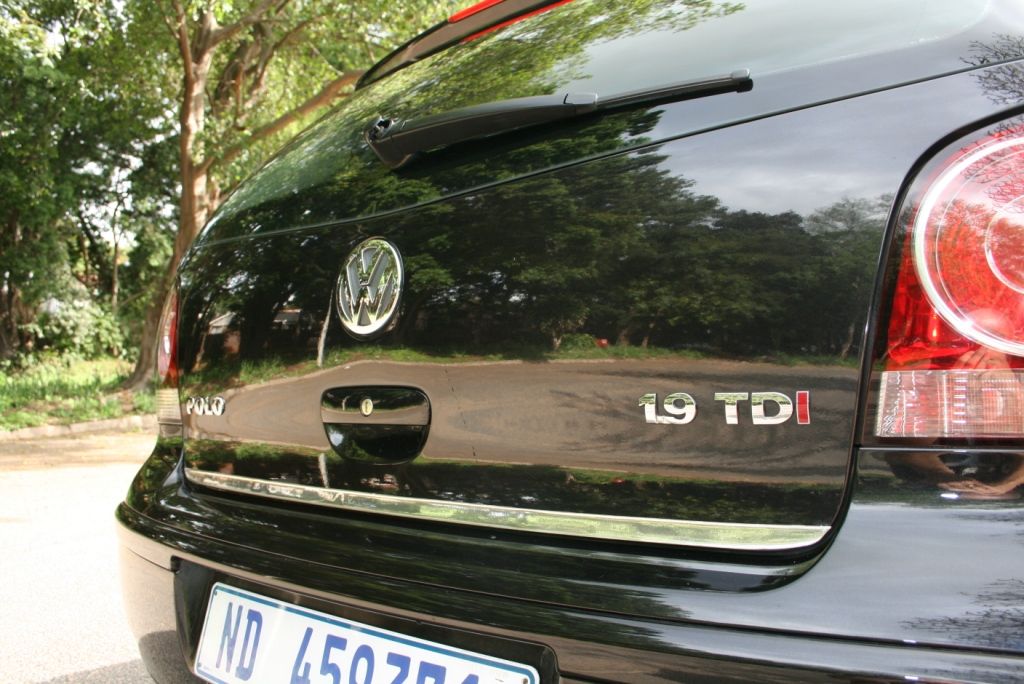
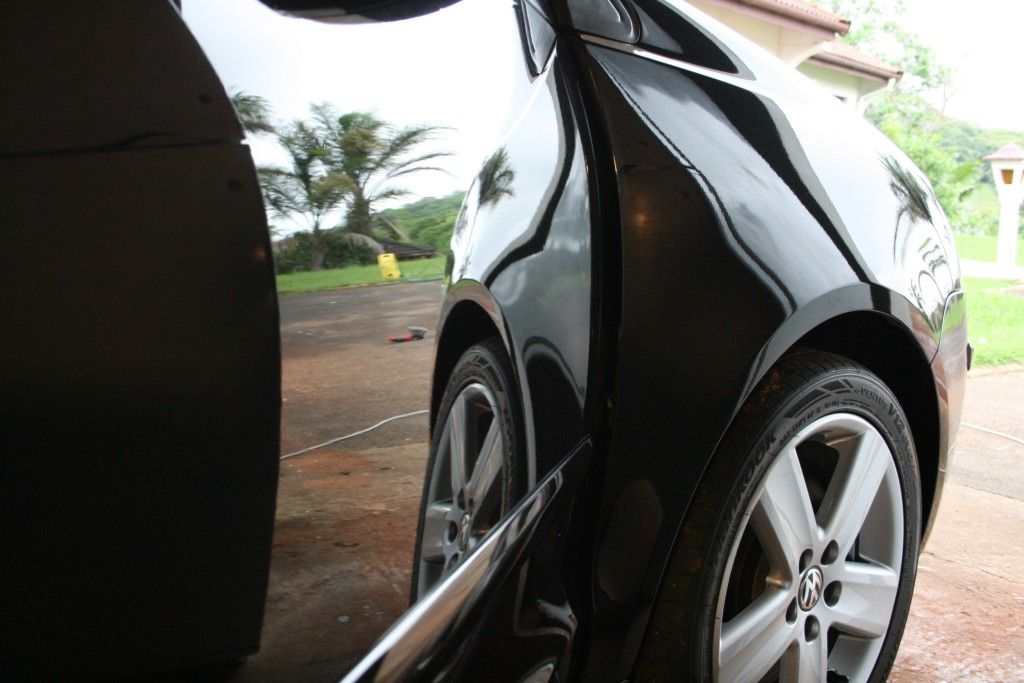
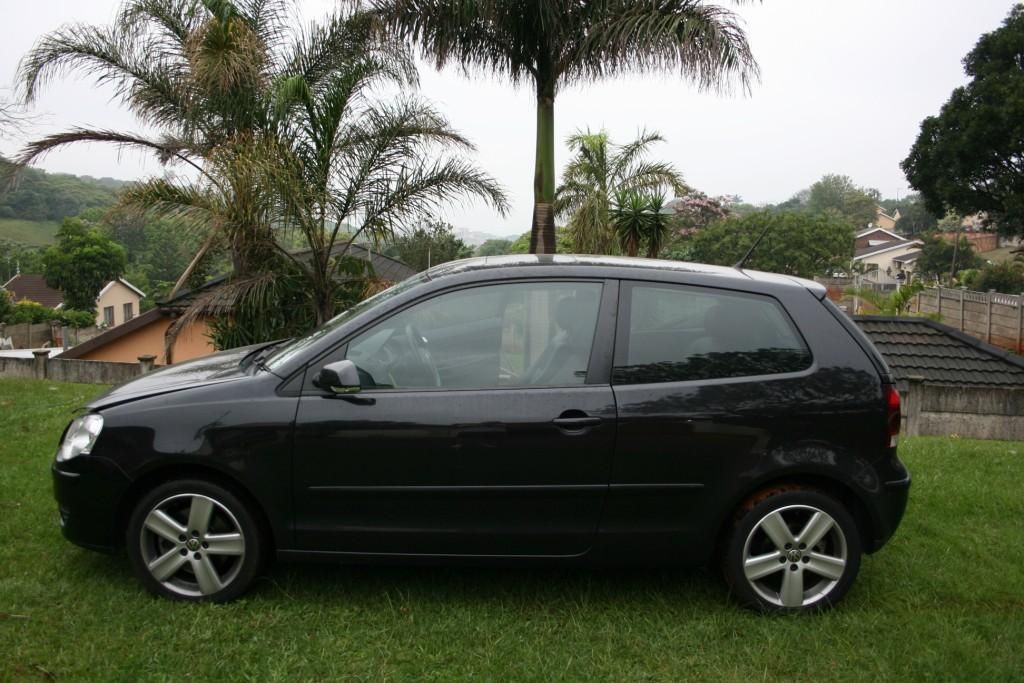
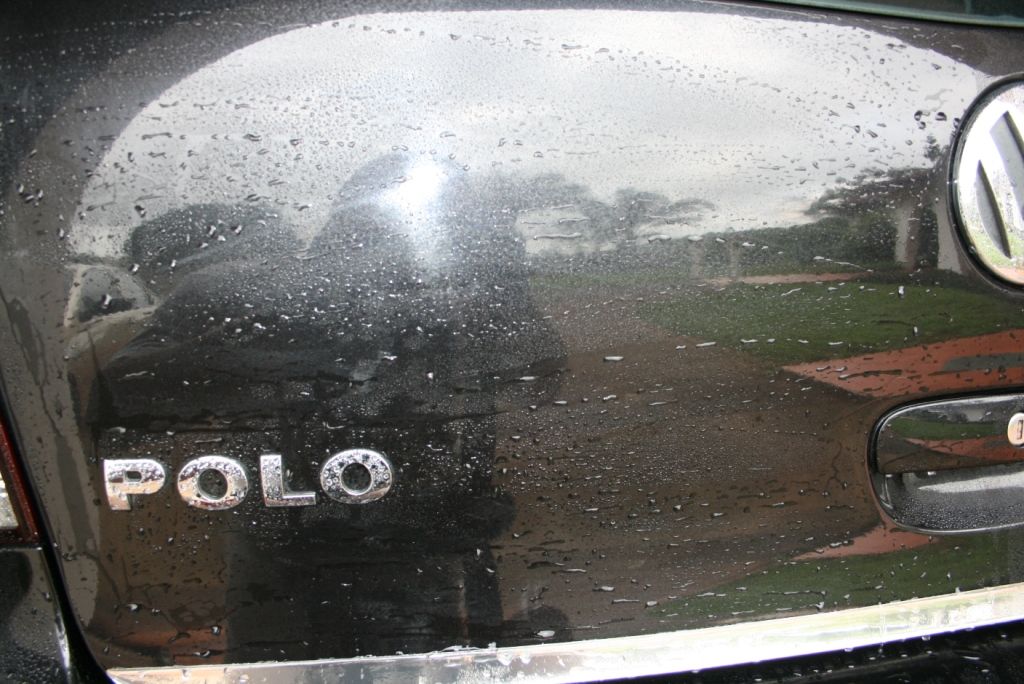
Last weekend I had the pleasure of detailing this Black VW Polo
First a list of all the products used on the detail, which took me 15 hours to complete :yawn:
-CM30 cyclonic cleaner
-Turtle Wax - Platinum Series Performance Wheel Cleaner
-Turtle Wax - Platinum Series Revitalising Tyre Dressing
-Smarwax Rimwax
-Autofiness Oblitarate
-Carpro Iron-X
-Cyclo – polymer hand car wash
-Autofiness Citrus Power
-Chemical guys Maxi Suds II
-Clay Magic (Purple)
-ONR
-Menzerna PF2500
-Chemical Guys - Body Shine and Speed Wipe
-Black Light Hybrid Radiant Finish
-Chemical Guys - Extreme Top-coat Paint sealant
-Smartwax Smart Dressing
-Smartwaz SmartLeather - Leather Cleaner & Conditioner
-Autoglym Fast Glass
-Meguiars Cleaner wax
-Various brushes
-Various MF cloths/wash mitt's/drying towels etc.
-HP washer
-CD Foam Cannnon
-2 Buckets
-DA polisher
-Various Lake Country CCS pads
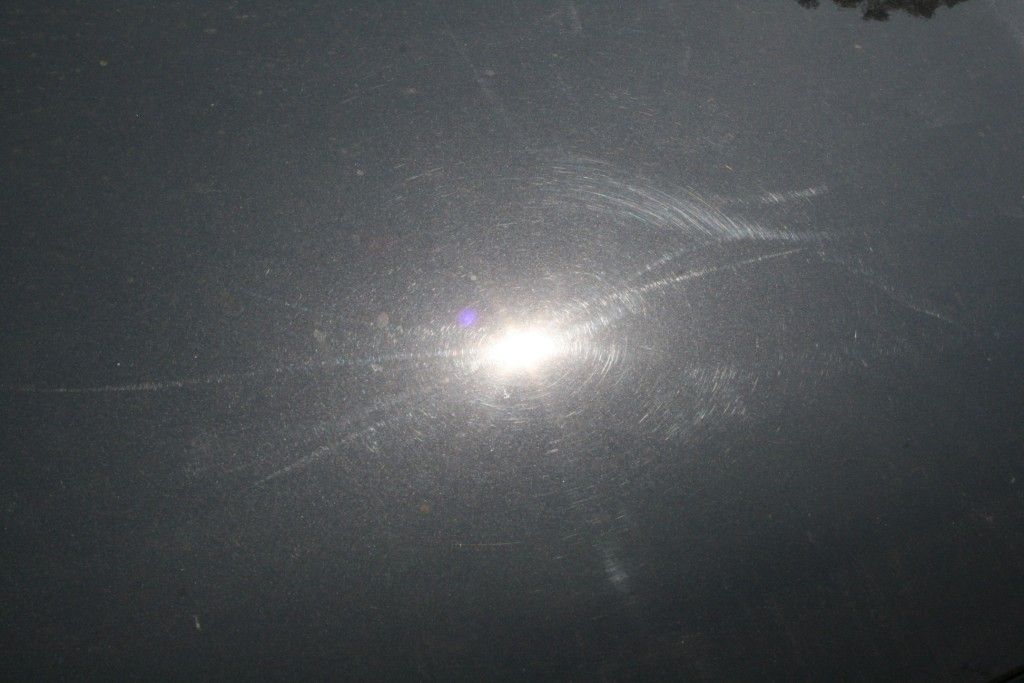
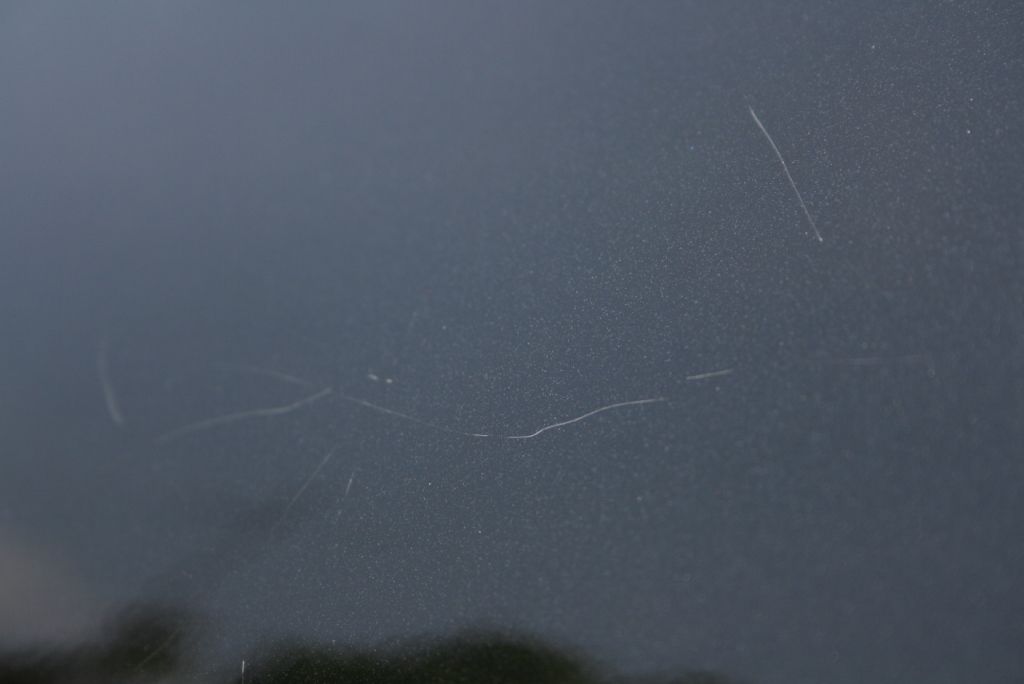
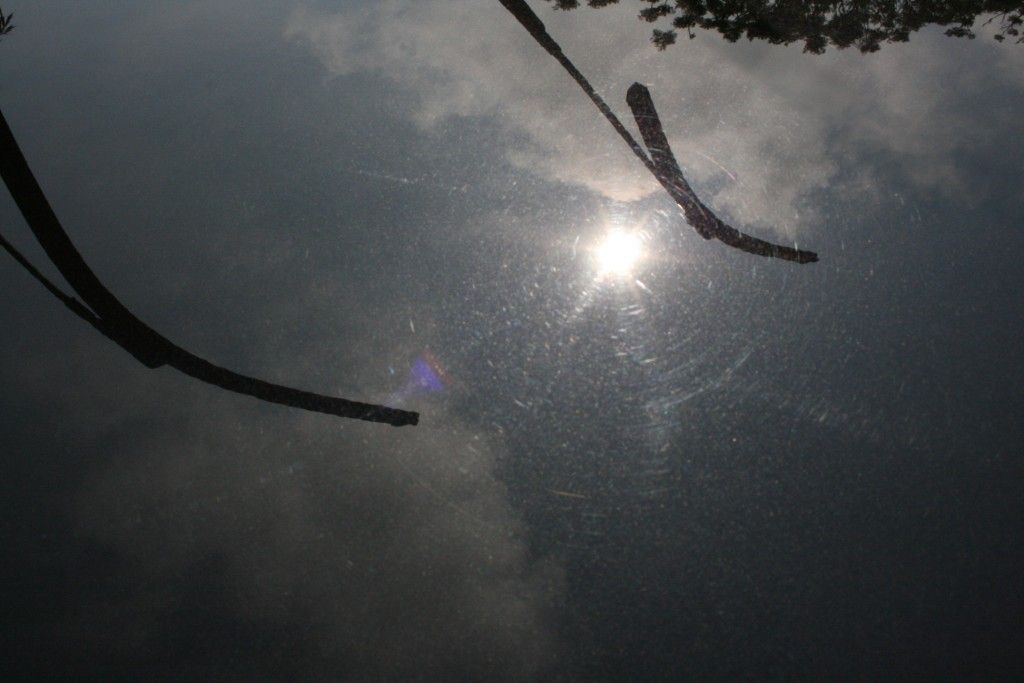
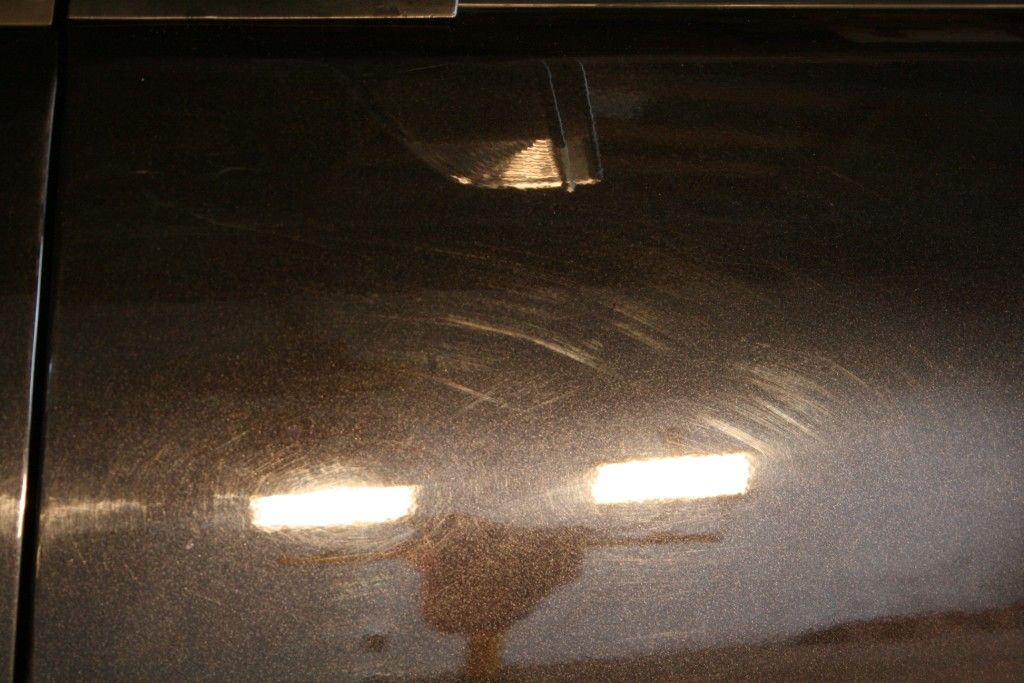
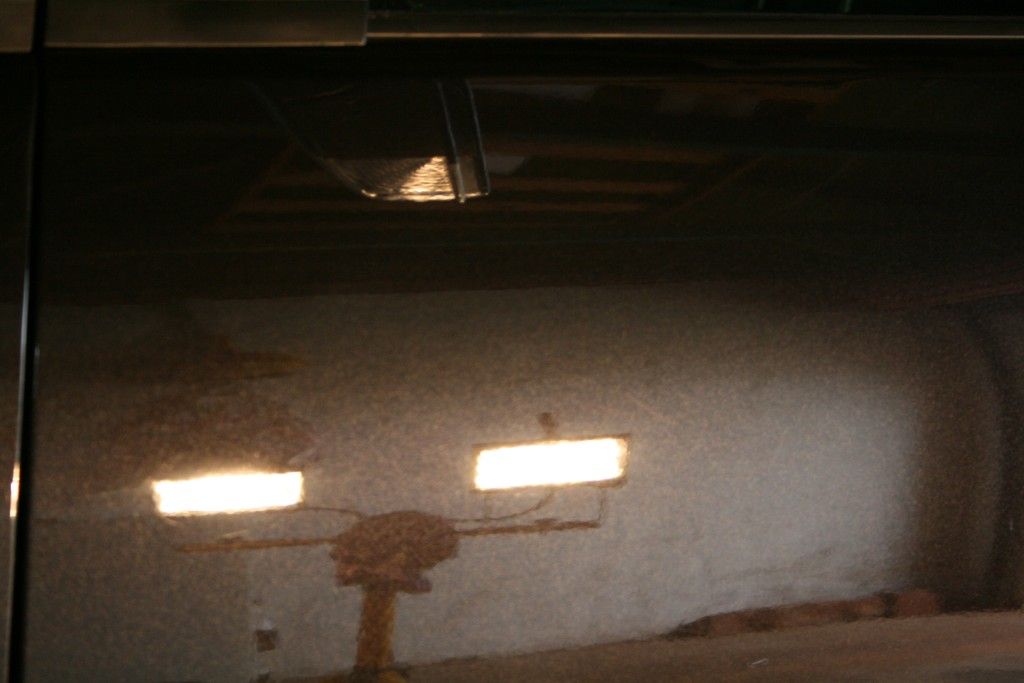
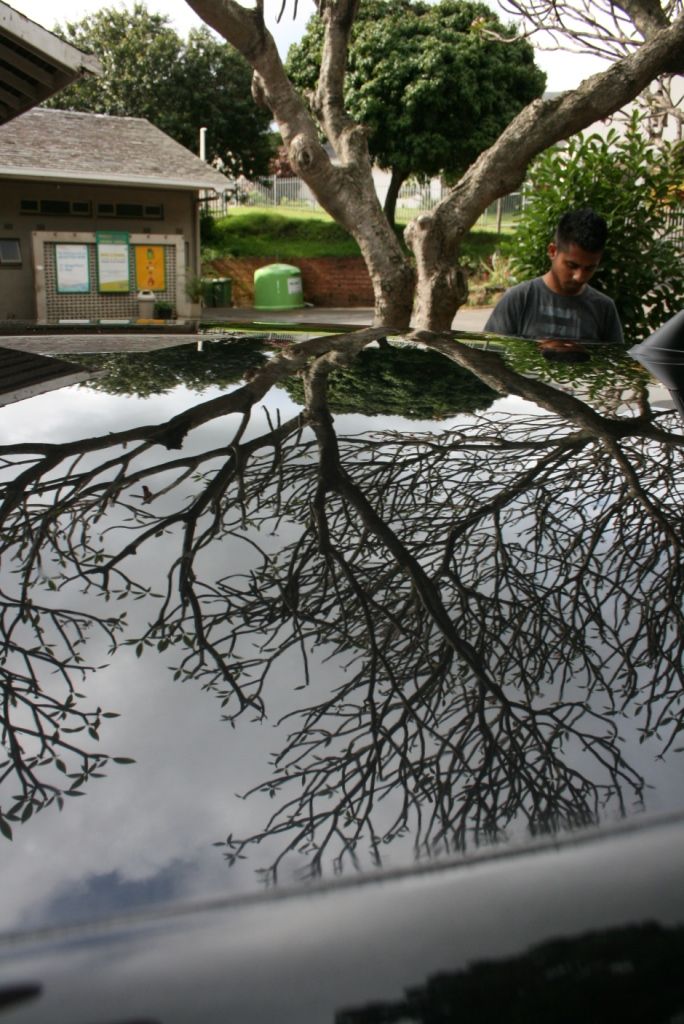
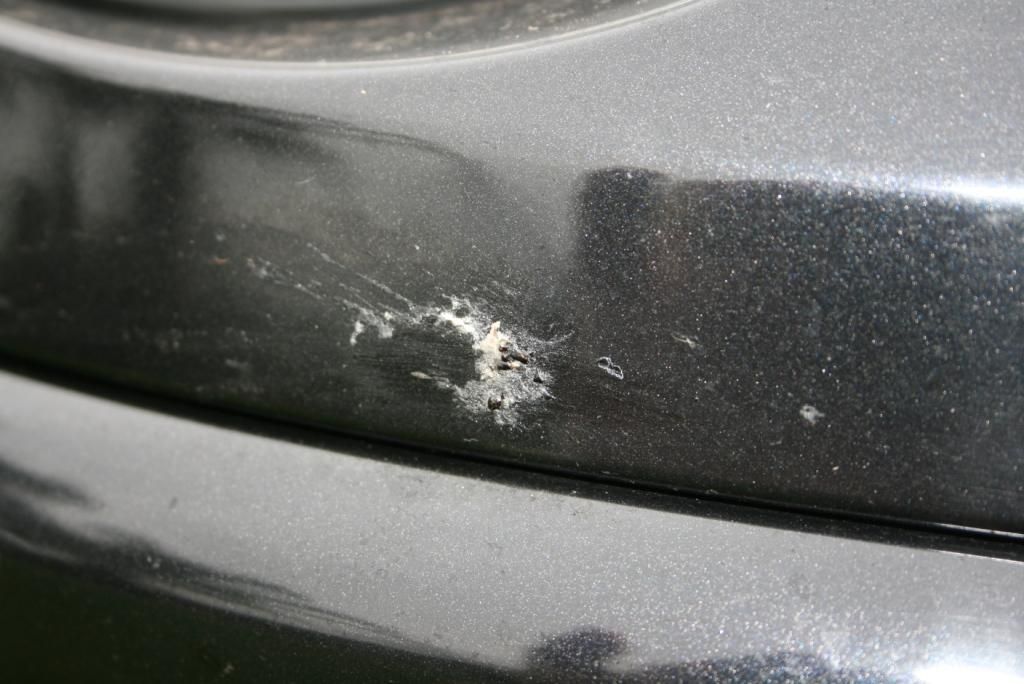
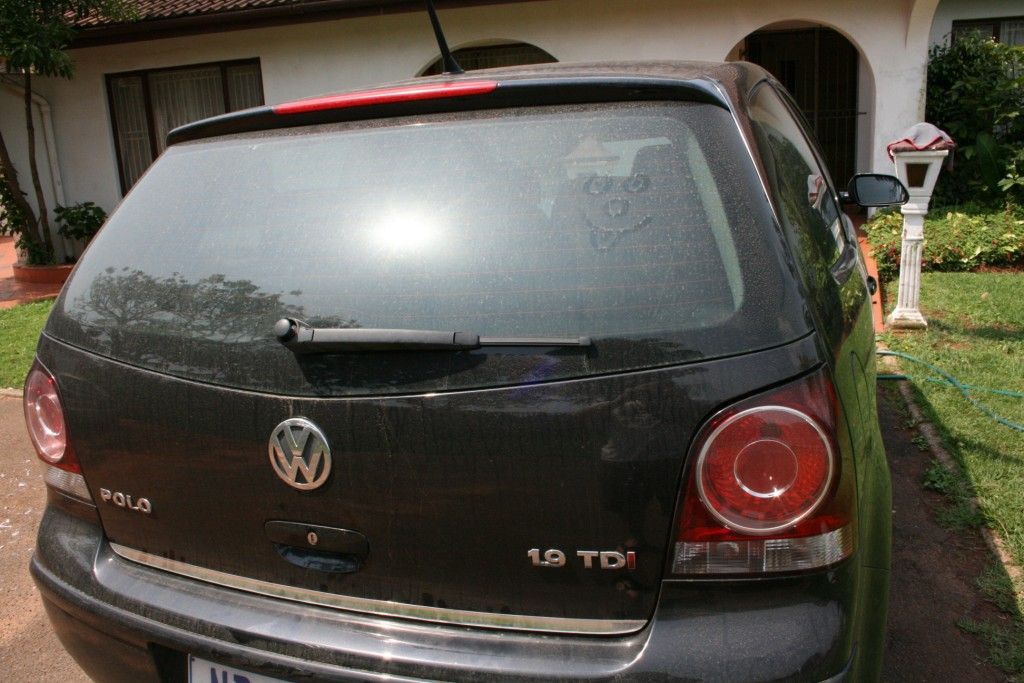
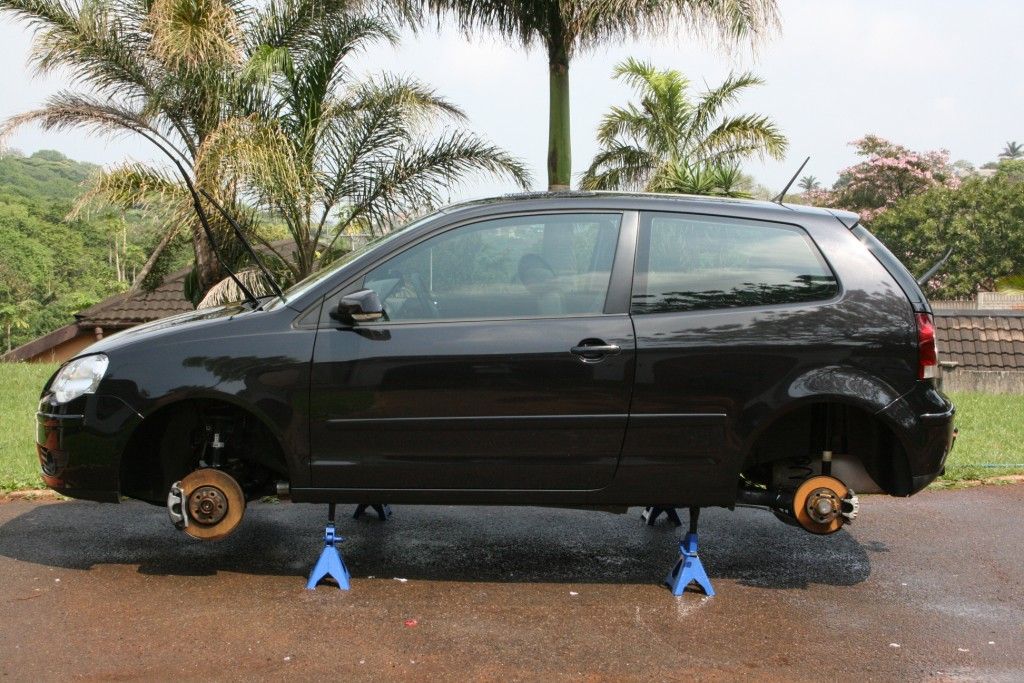
When the car arrived it was covered in surface dirt as can be seen by these pics:

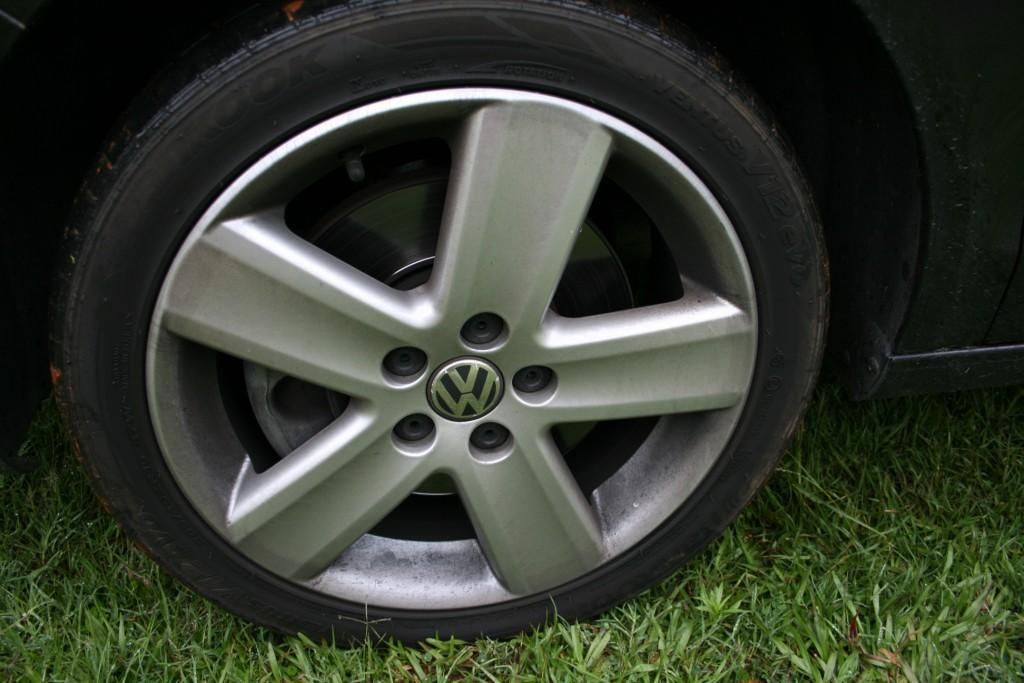
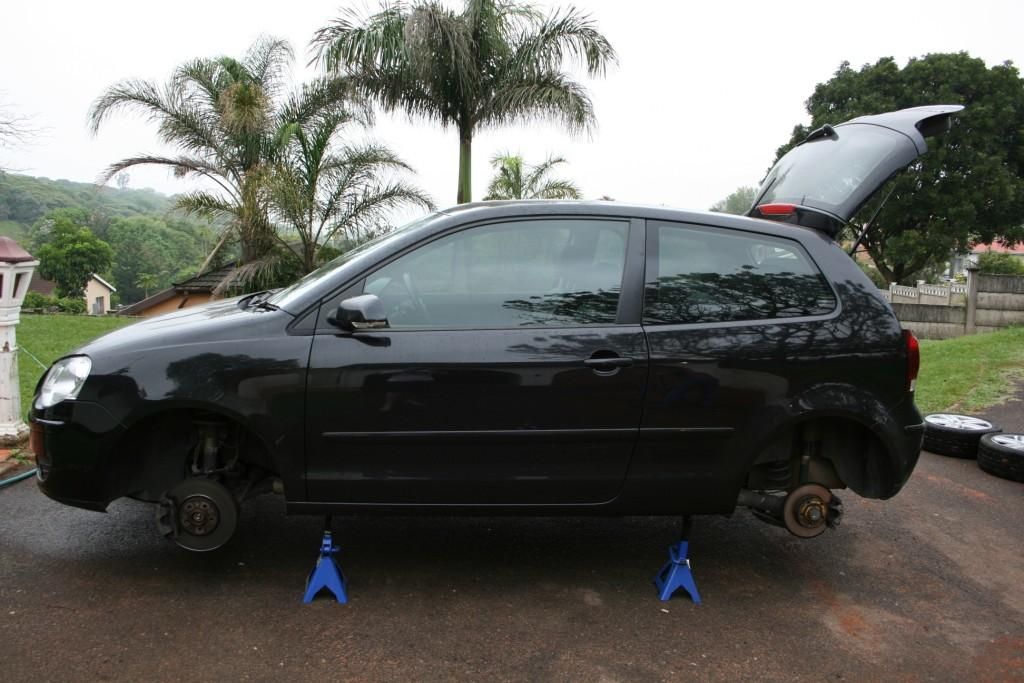
So the first order of business, as usual, was to clean up the wheels. The car was placed on jack stands and the wheels removed to ensure a thorough cleaning.
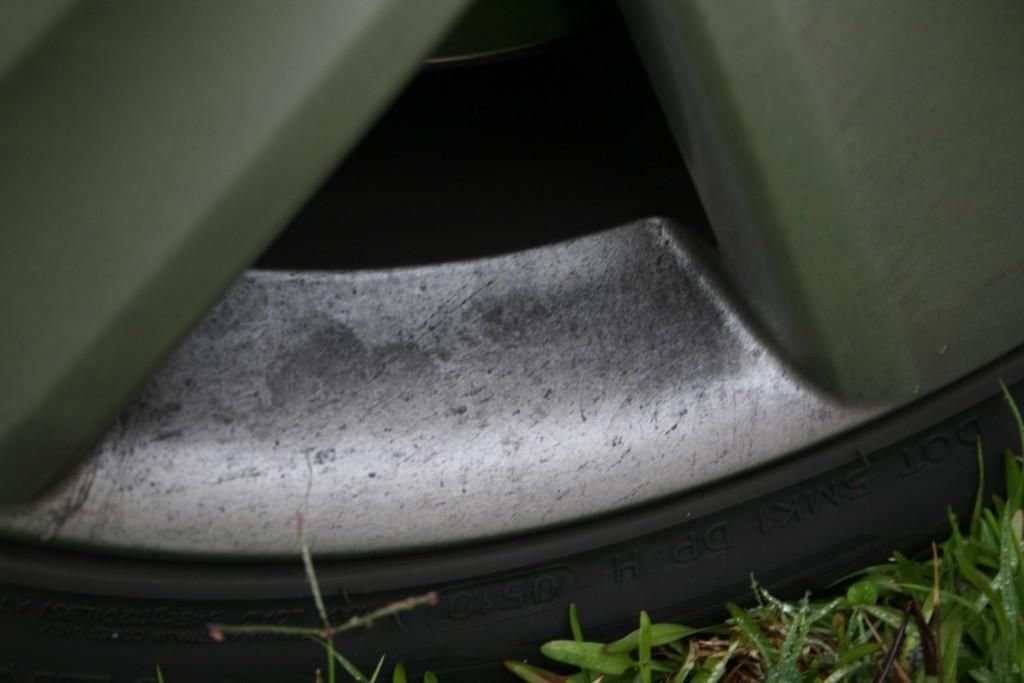
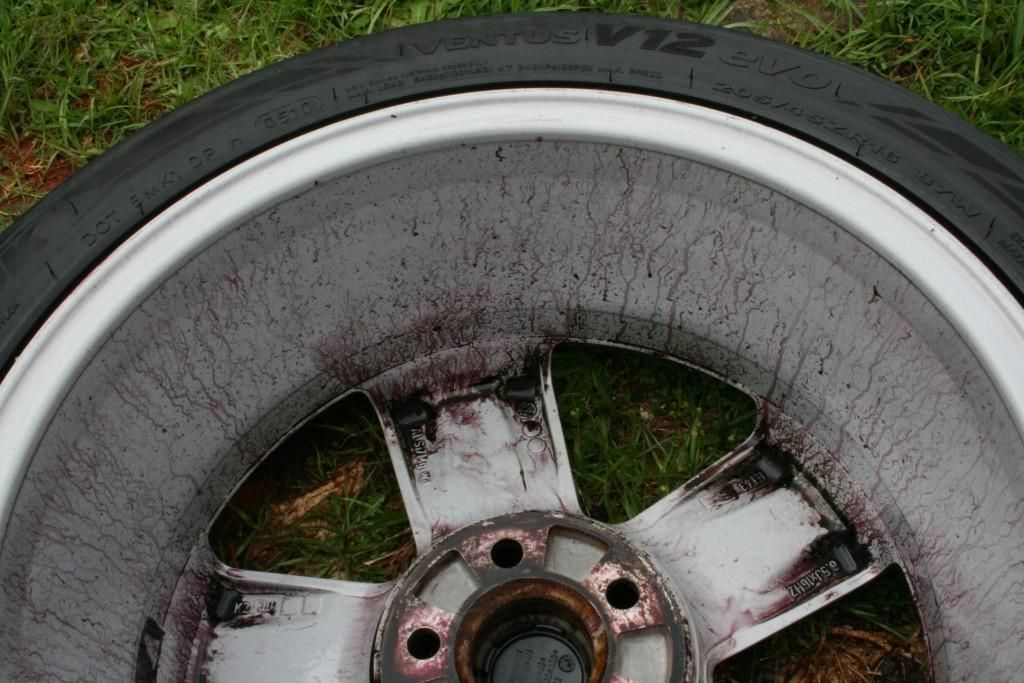
Once removed it was clear just how dirty the wheels were. Years of built up brake dust left the barrels looking black (they are in fact silver)
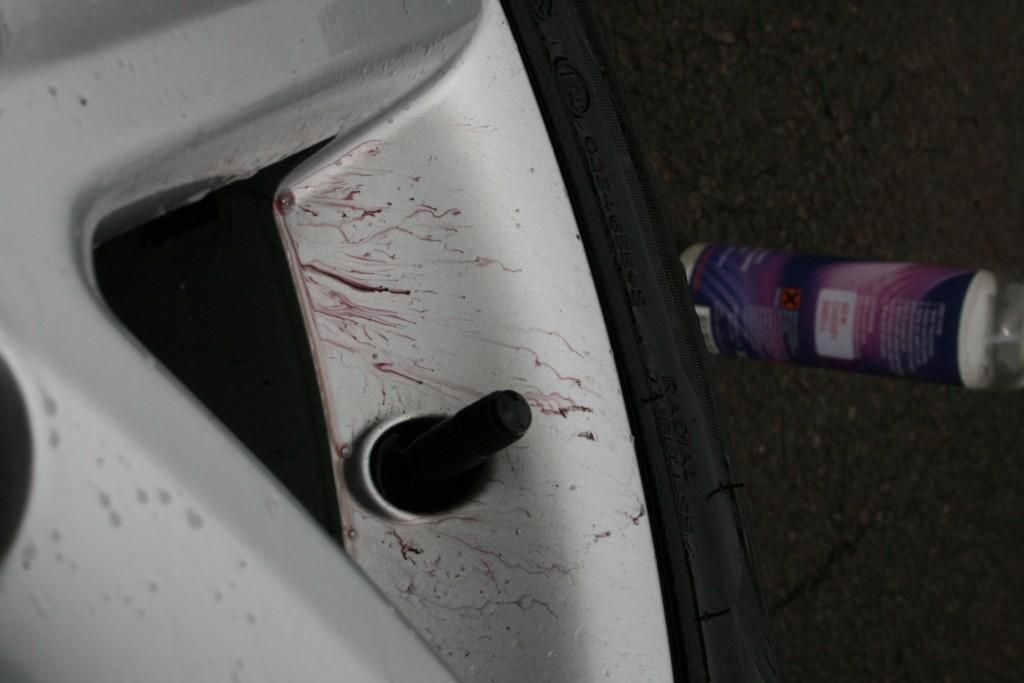
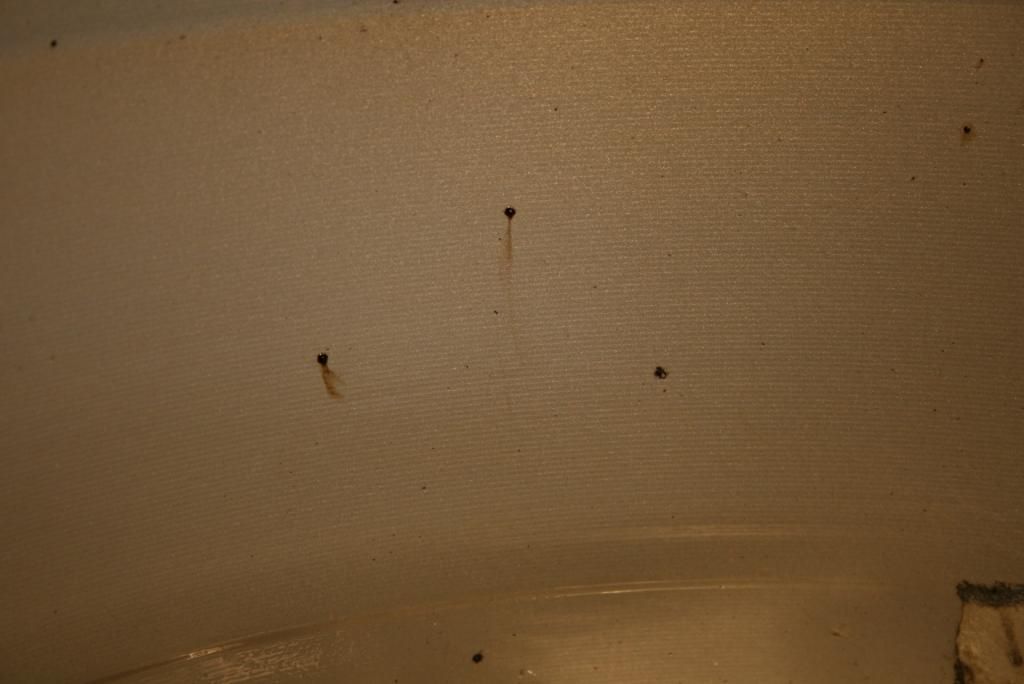
The wheels were washed with a dedicated wheel cleaner, and were then treated to a full chemical decontamination. Here you can see the product reacting with the ferrous particles (such as embedded brake dust) and 'bleeding' them away.
Once all the ferrous particles were removed, the wheels were treated with a dedicated tar remover
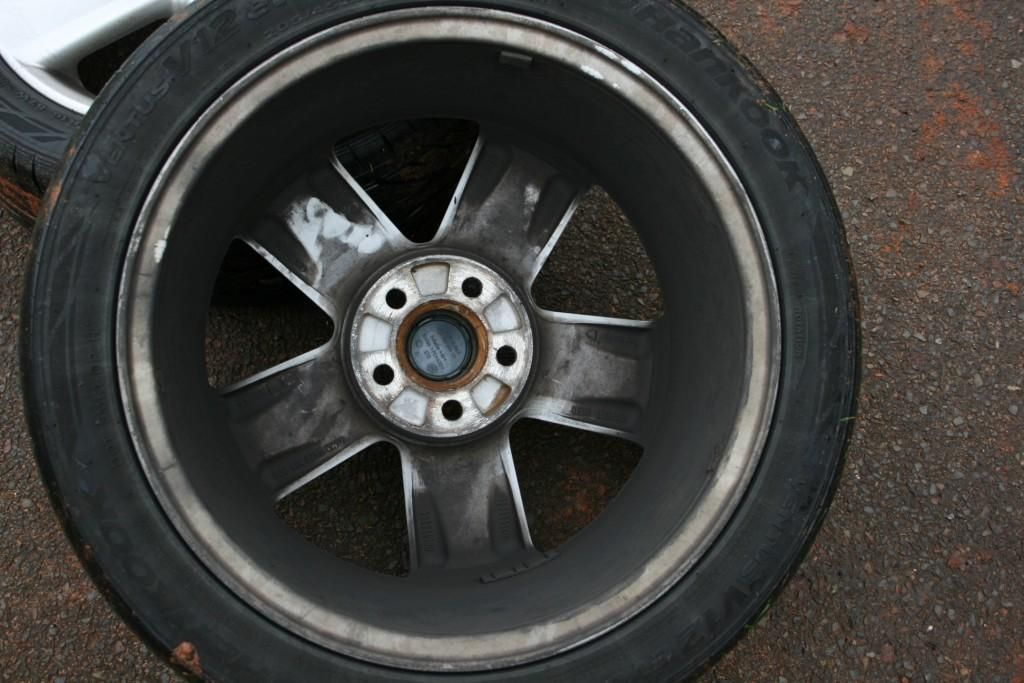
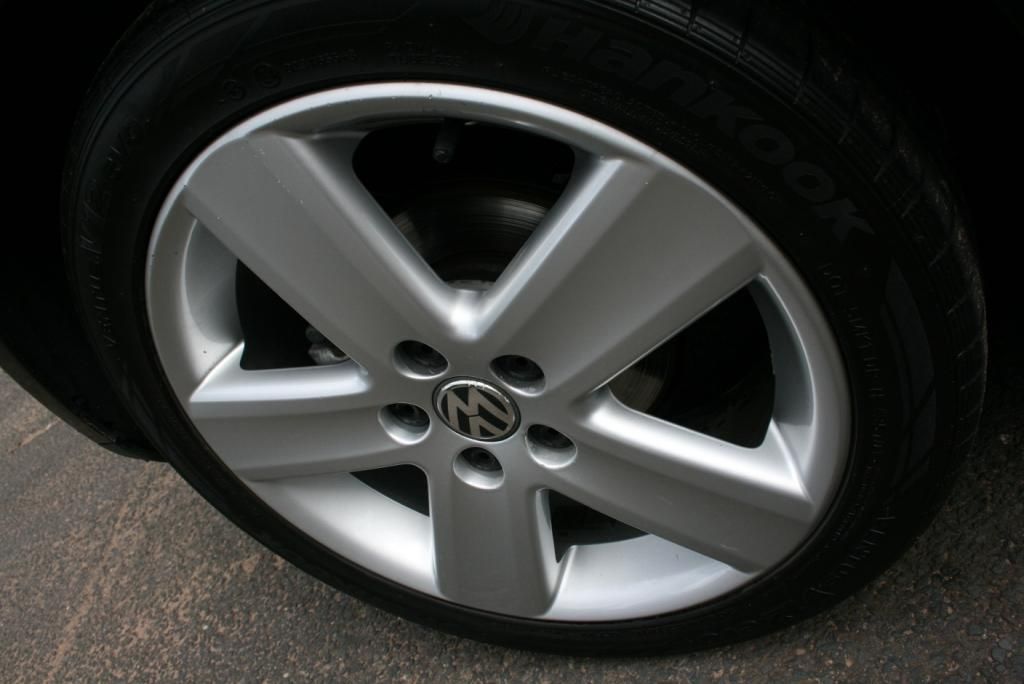
Resulting in perfectly clean wheels that were then polished up and sealed.

The wheel arches, brake calipers and springs/dampers were then cleaned up
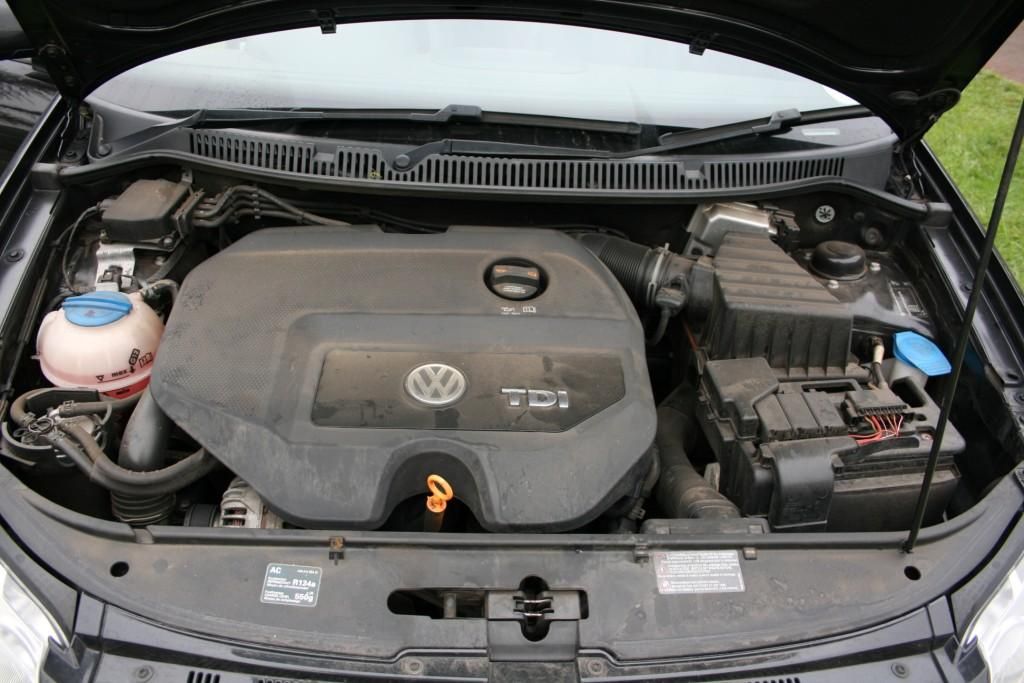
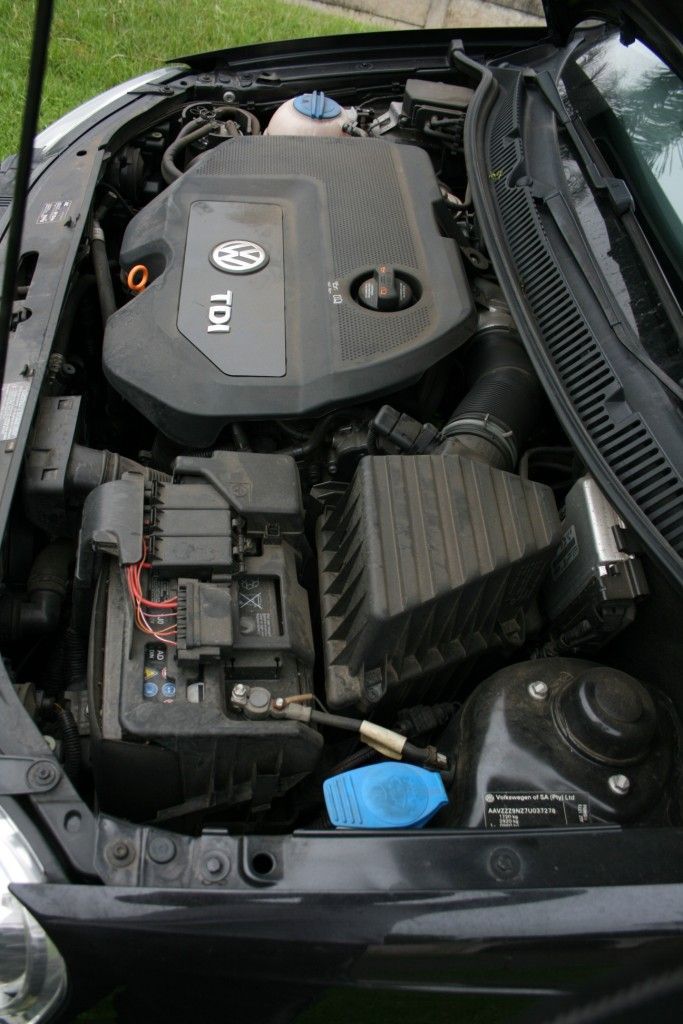
I then moved onto the engine bay.
Before
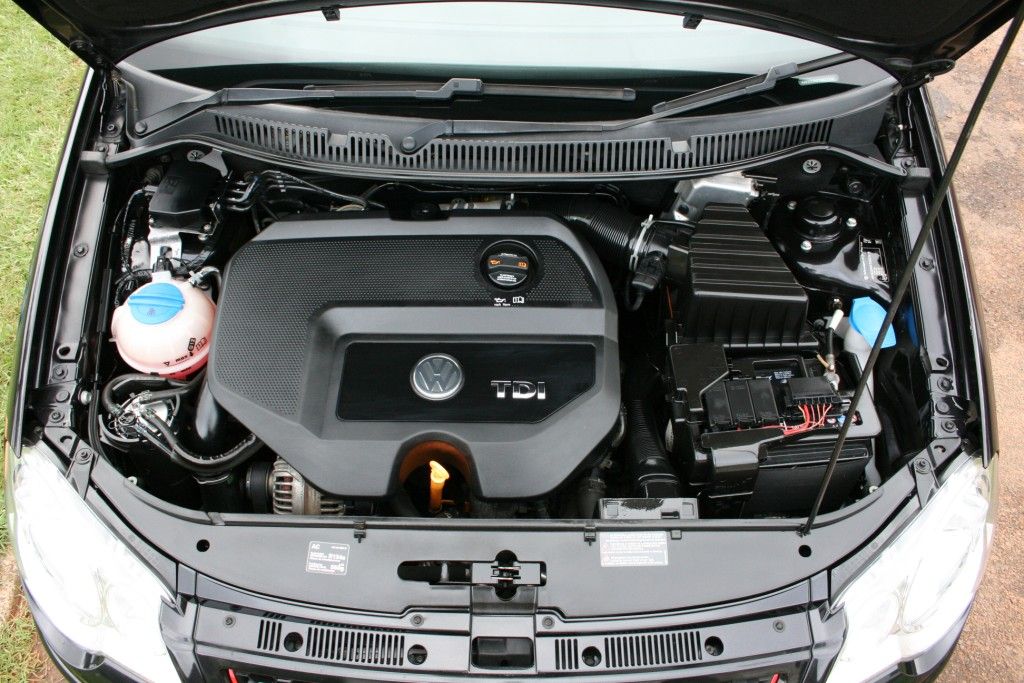
After

The car wash then pre-washed using a foam cannon with Maxi Suds and bug and tar remover along with Autofinese Citrus Power were used. This was followed with a full wash using the 2 bucket method.
Before
After
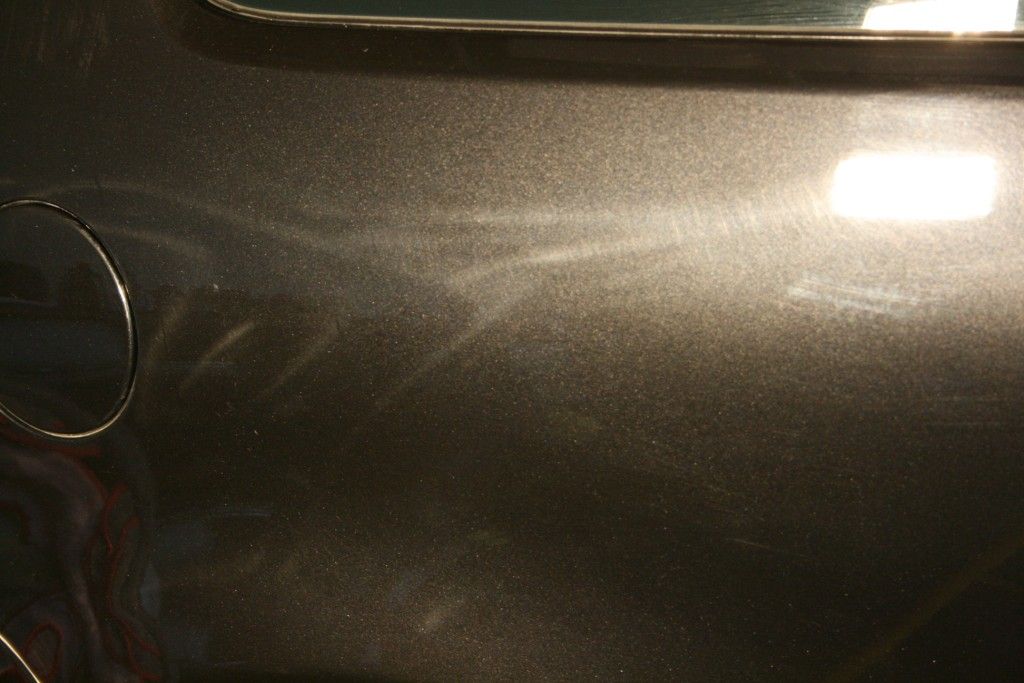
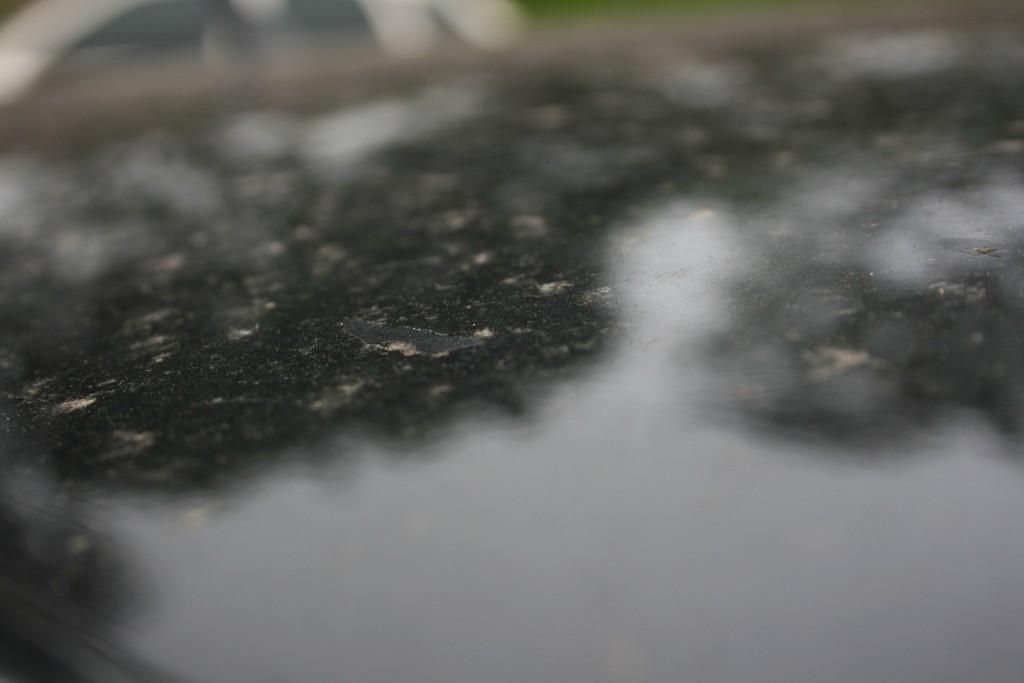
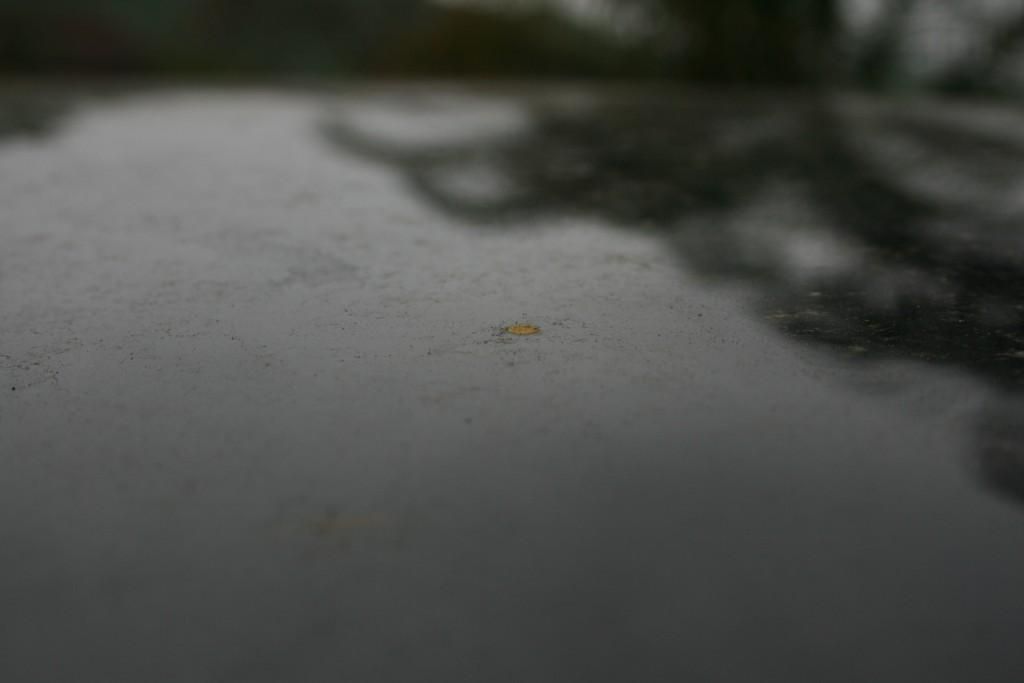
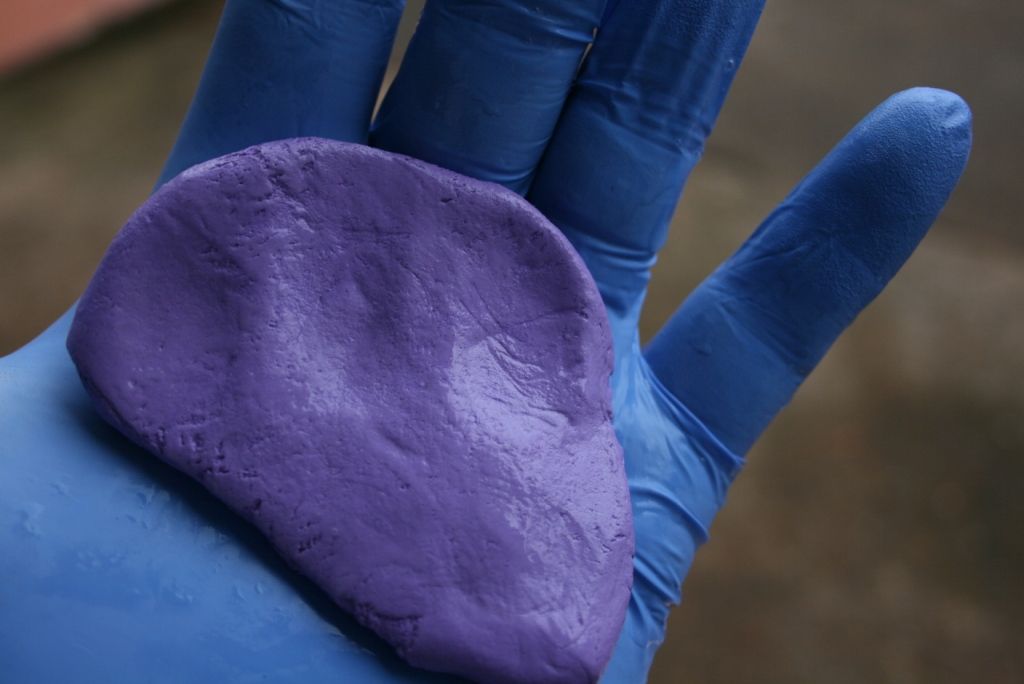
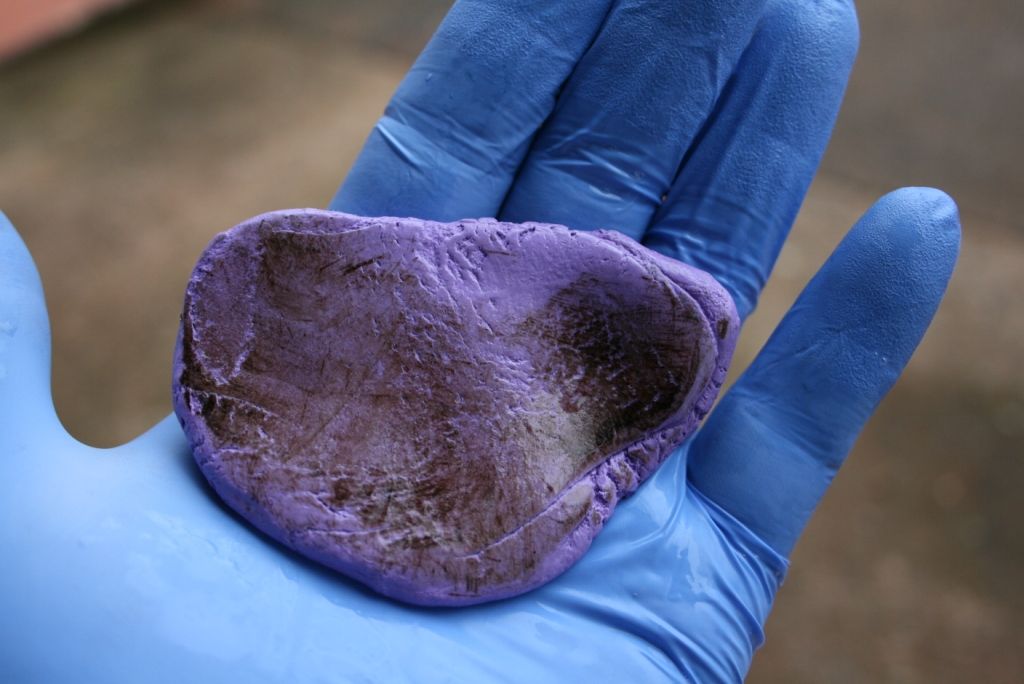
At this point the entire vehicle (including the windows) was clayed. As you can see there was a massive amount of contamination.
Working on this small section
Turned this
Into this
First a list of all the products used on the detail, which took me 15 hours to complete :yawn:
-CM30 cyclonic cleaner
-Turtle Wax - Platinum Series Performance Wheel Cleaner
-Turtle Wax - Platinum Series Revitalising Tyre Dressing
-Smarwax Rimwax
-Autofiness Oblitarate
-Carpro Iron-X
-Cyclo – polymer hand car wash
-Autofiness Citrus Power
-Chemical guys Maxi Suds II
-Clay Magic (Purple)
-ONR
-Menzerna PF2500
-Chemical Guys - Body Shine and Speed Wipe
-Black Light Hybrid Radiant Finish
-Chemical Guys - Extreme Top-coat Paint sealant
-Smartwax Smart Dressing
-Smartwaz SmartLeather - Leather Cleaner & Conditioner
-Autoglym Fast Glass
-Meguiars Cleaner wax
-Various brushes
-Various MF cloths/wash mitt's/drying towels etc.
-HP washer
-CD Foam Cannnon
-2 Buckets
-DA polisher
-Various Lake Country CCS pads
When the car arrived it was covered in surface dirt as can be seen by these pics:
So the first order of business, as usual, was to clean up the wheels. The car was placed on jack stands and the wheels removed to ensure a thorough cleaning.
Once removed it was clear just how dirty the wheels were. Years of built up brake dust left the barrels looking black (they are in fact silver)
The wheels were washed with a dedicated wheel cleaner, and were then treated to a full chemical decontamination. Here you can see the product reacting with the ferrous particles (such as embedded brake dust) and 'bleeding' them away.
Once all the ferrous particles were removed, the wheels were treated with a dedicated tar remover
Resulting in perfectly clean wheels that were then polished up and sealed.
The wheel arches, brake calipers and springs/dampers were then cleaned up
I then moved onto the engine bay.
Before
After
The car wash then pre-washed using a foam cannon with Maxi Suds and bug and tar remover along with Autofinese Citrus Power were used. This was followed with a full wash using the 2 bucket method.
Before
After
At this point the entire vehicle (including the windows) was clayed. As you can see there was a massive amount of contamination.
Working on this small section
Turned this
Into this