lawrenceSA
New member
- Feb 7, 2012
- 1,713
- 0
I am sure I am no different to the rest of the detailers in that one of the most rewarding feelings I get from detailing is seeing the customers' reaction when they collect their car after a detail. To see someone 'fall in love' with the their car all over again and knowing you had a hand in that.... well....its tough to beat. So this detail was made all the more rewarding by knowing that the owner is an avid follower of my work and drove the 375 miles from Johannesburg just to have the car detailed by me....
So let's get into it...
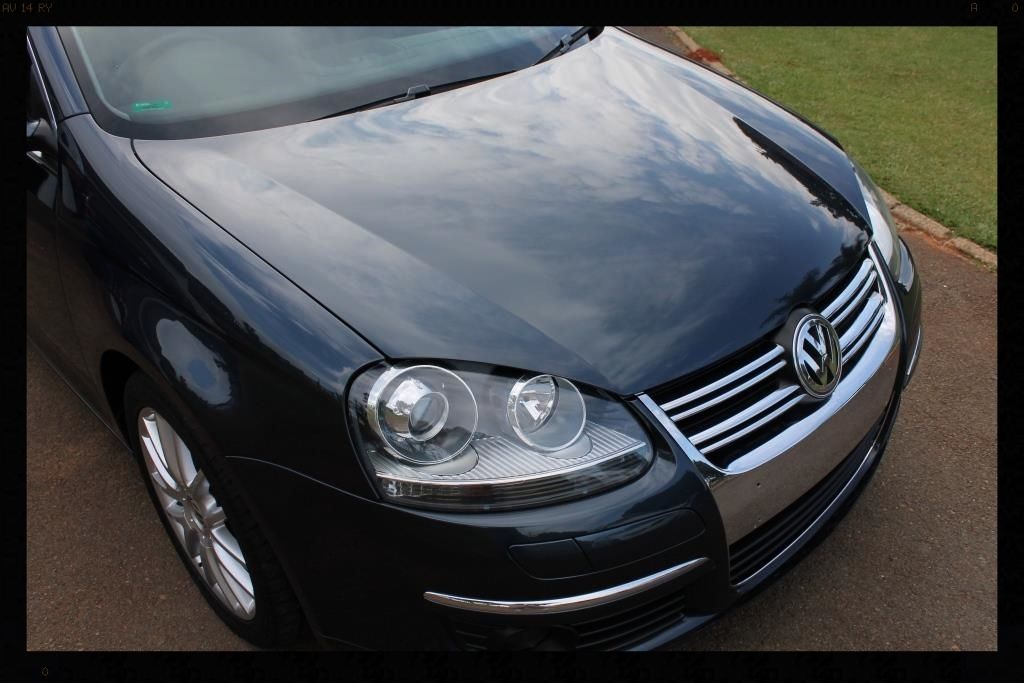
First up I was asked to remove the old lamin-x on the headlights, which as you can see from the pic below, was in quite a state
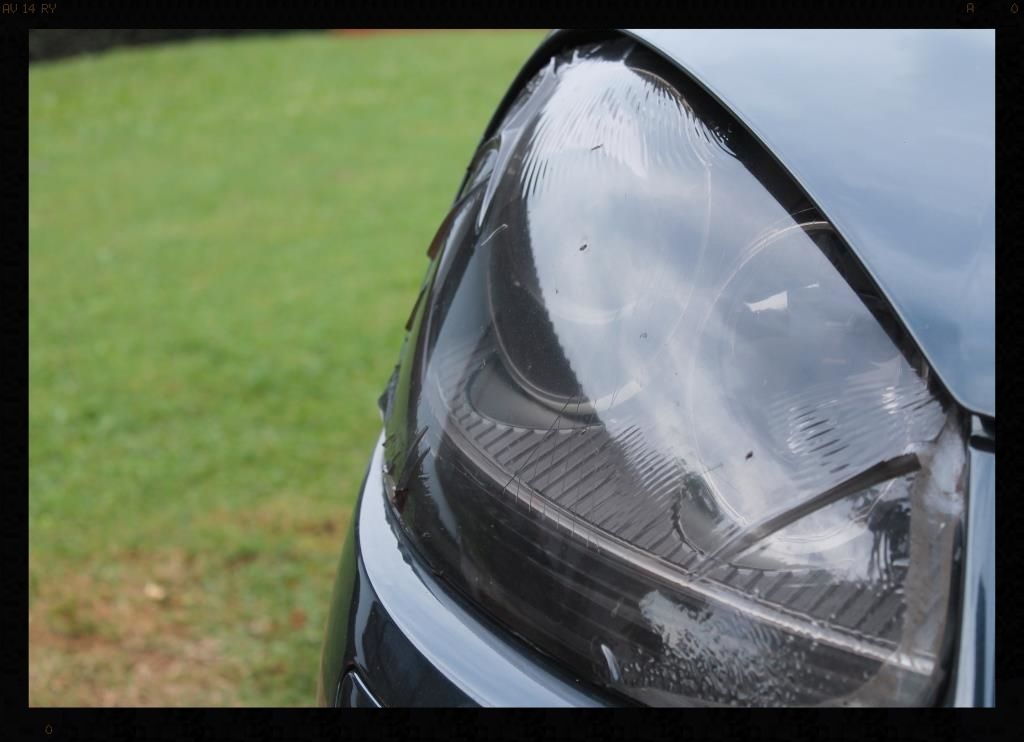
I heated the film up with a hair-dryer then removed exposing the underlying glue residue.
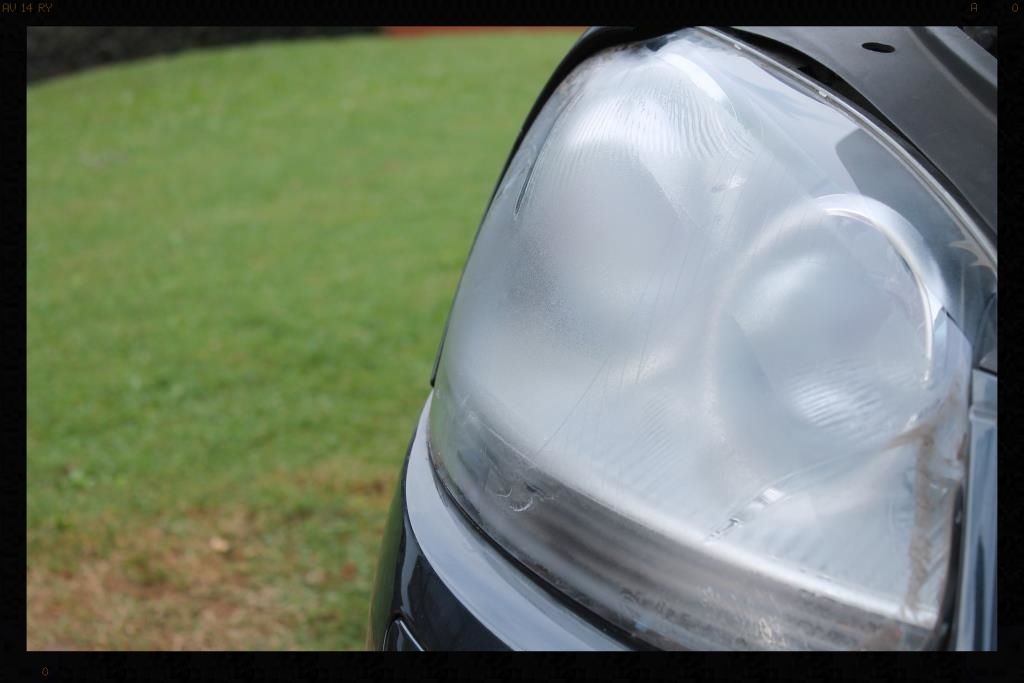
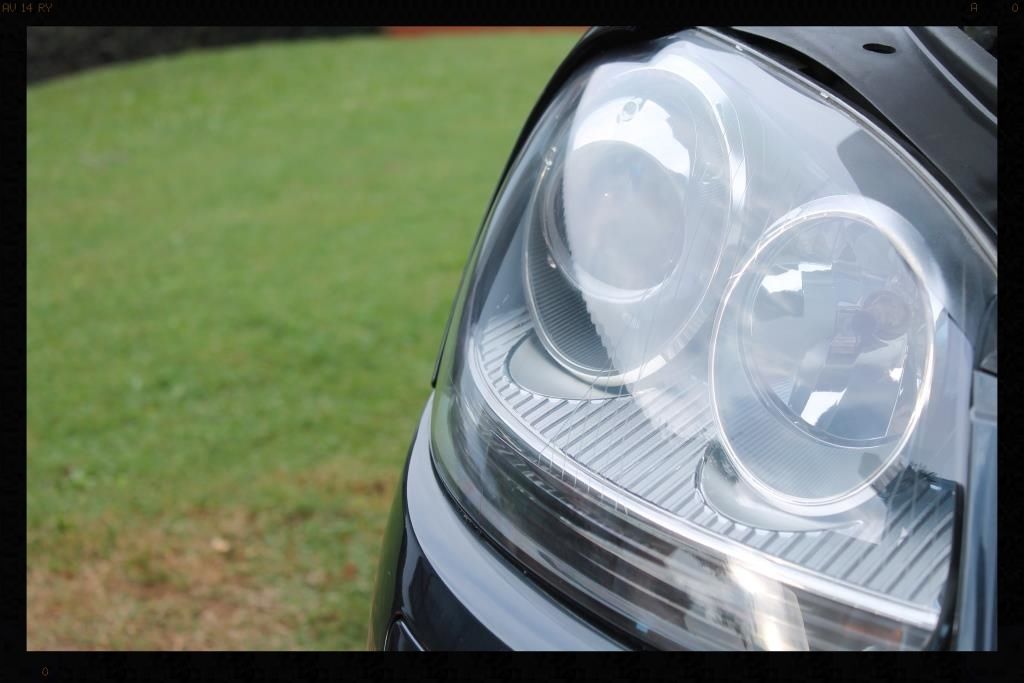
I then tackled this with Valet Pro Citrus Glue and Tar Remover and a MF towel leaving the headlight looking new again. I found 1 very small area where the OEM film was just starting to fail - not enough to warrant a full wet-sand and re-polish, so they were protected with Optiseal instead.
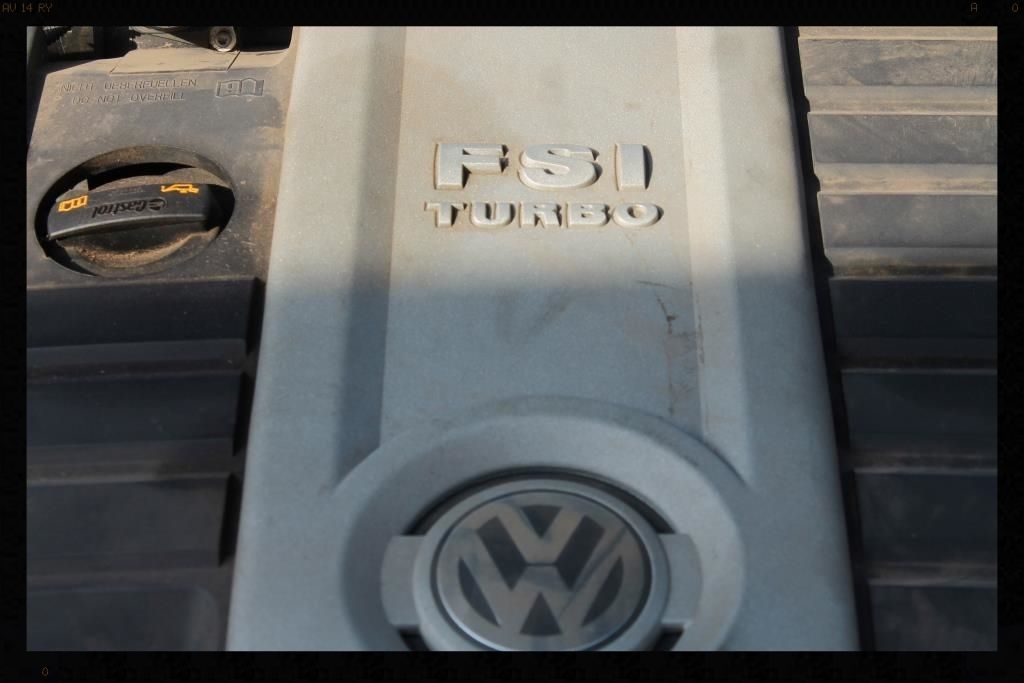
Then it was time to tackle the engine bay.
Before
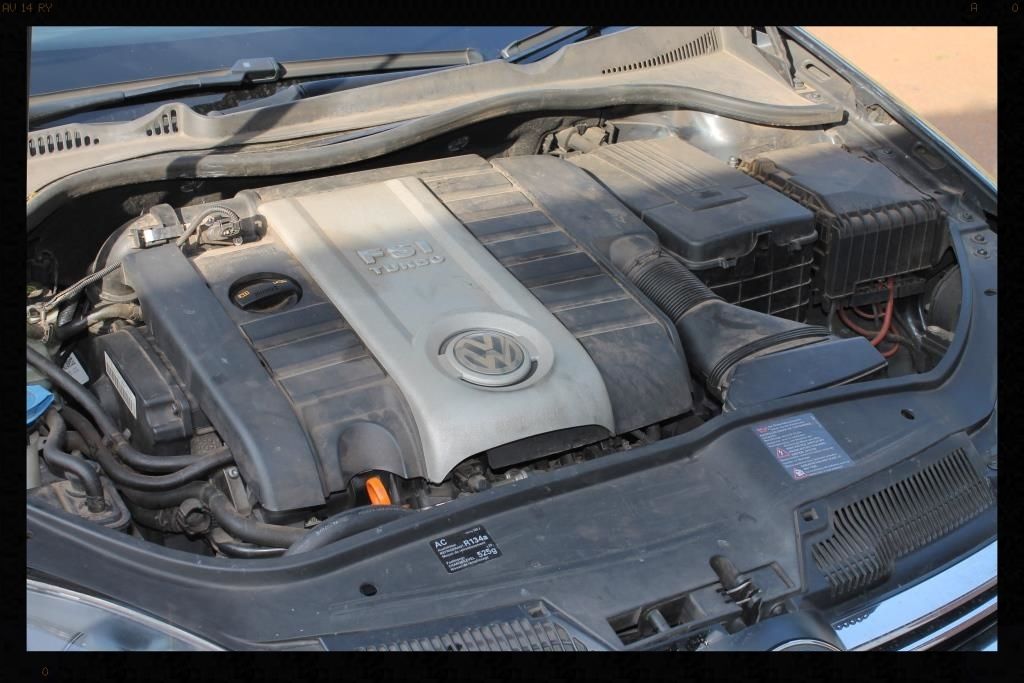

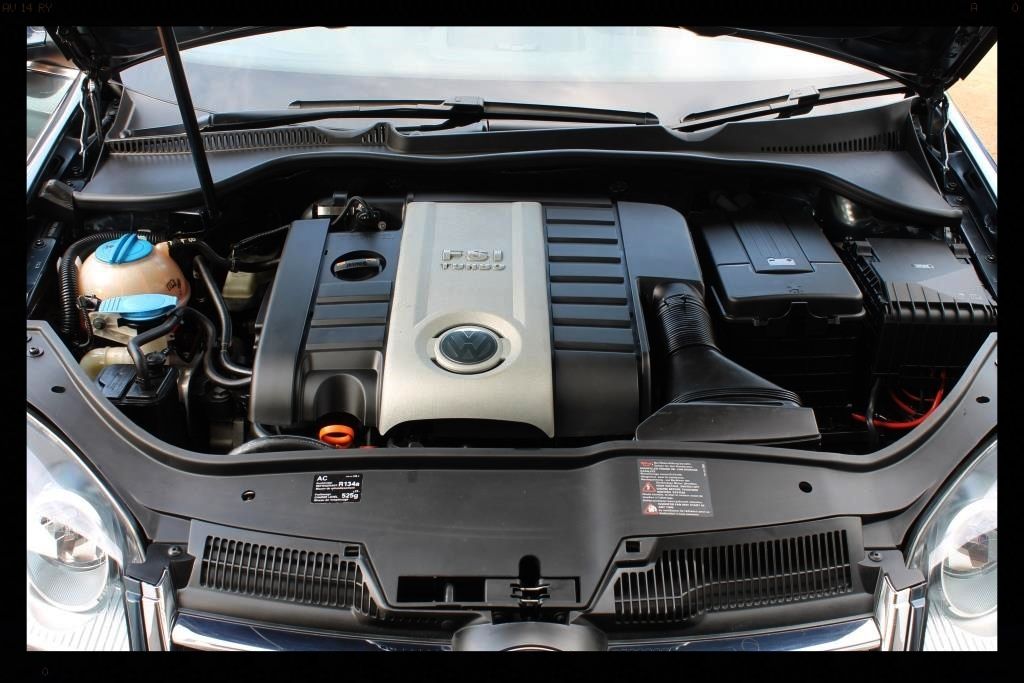
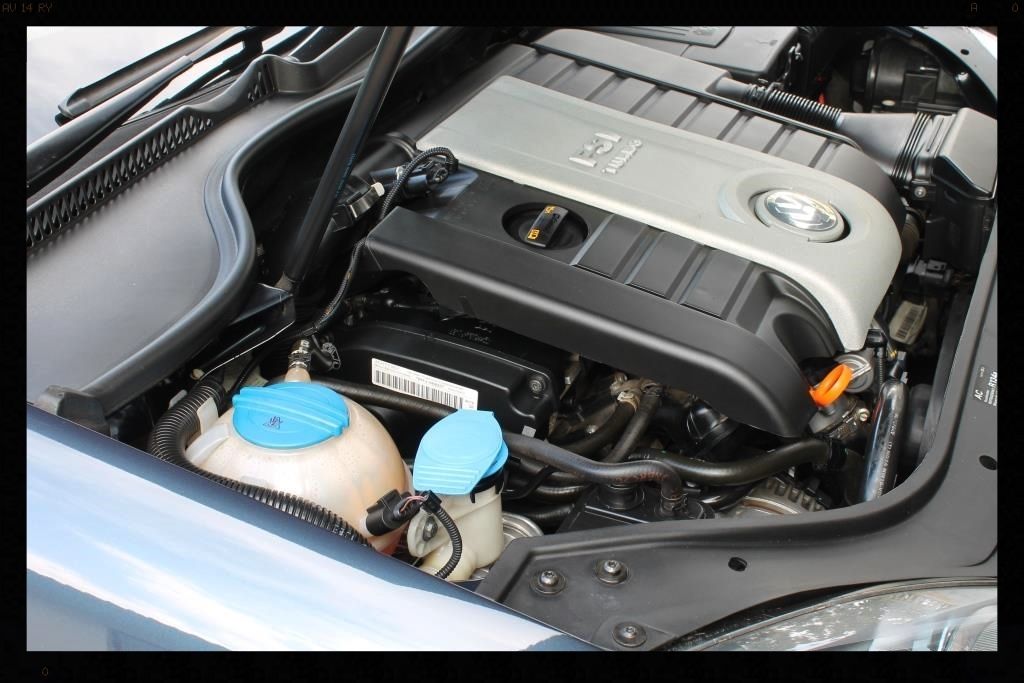
The liner under the hood was removed, sprayed with APC, agitated with a brush and throughly HP rinsed, then left out in the sun for the remainder of the day to dry. Valet Pro Citrus prewash was sprayed over the entire bay and this was then followed with APC, various brushes and MF towels and a HP rinse to remove all the years of dirt and grime. The painted surfaces were then cleaned/polished/protected using Autofinesse Tripple on a MF applicator pad. Plastics and rubbers were cleaned using Shield Heavy Duty Vinyl and Rubber cleaner and dressed using Aerospace 303 Protectant.
After
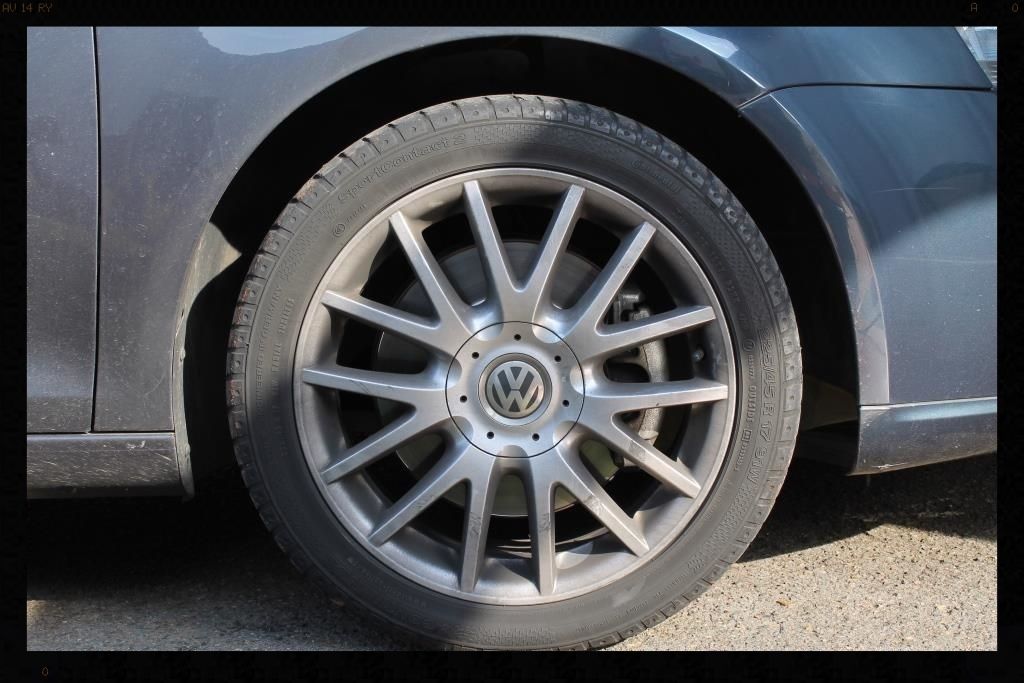
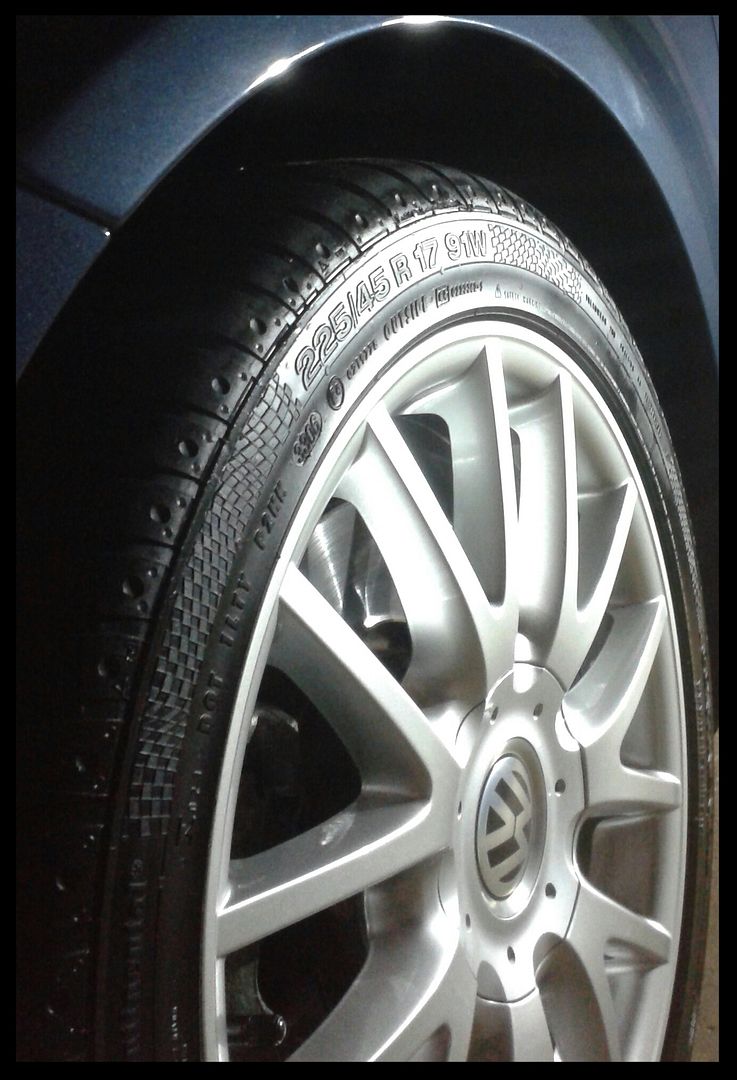
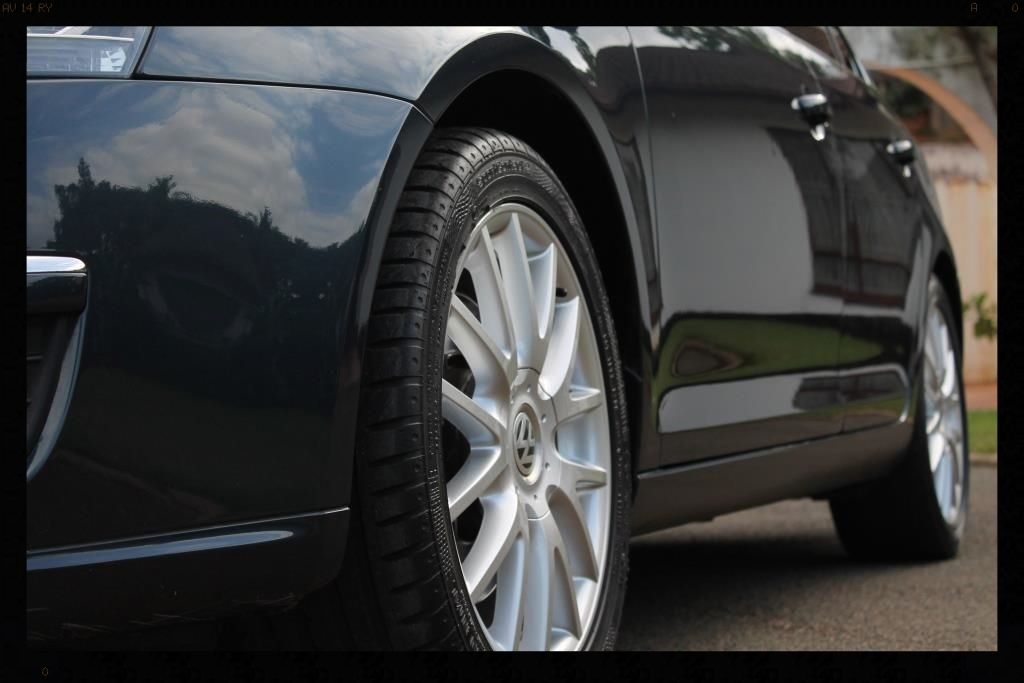
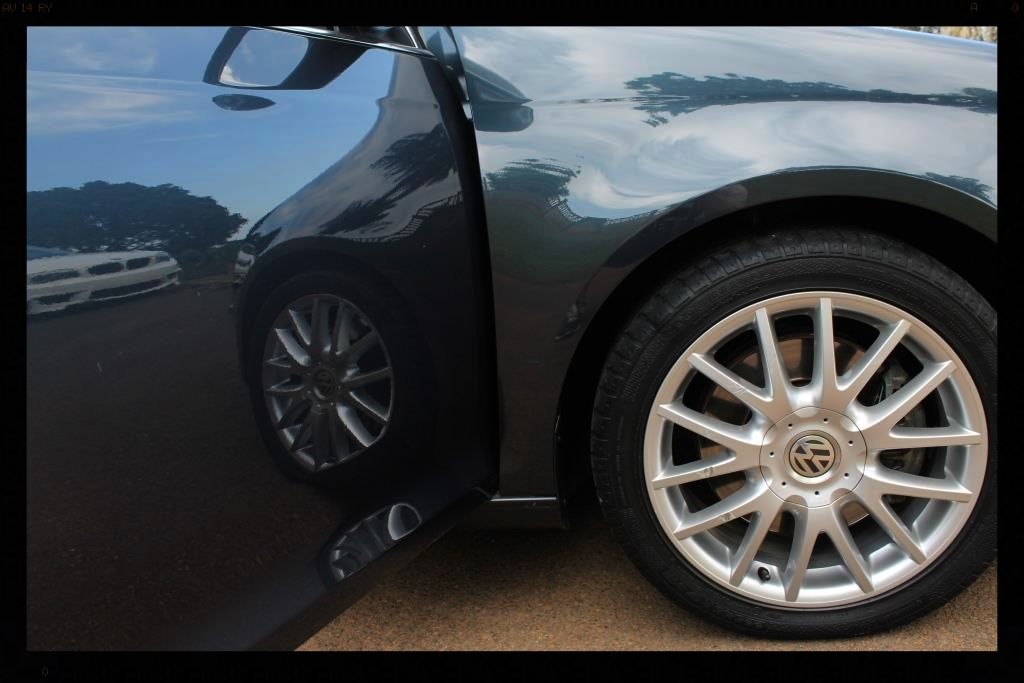
Then it was time to tackle the dirty wheels, tires and arches
Before
 [/URL]
Arches
-HP rinse
-Clean with Cyclo APC using a Mothers Fenderwell Brush
-HP rinse
-Dressed with Aerospace 303
Tires
-Clean tires with Valet Pro Billbery Wheel Cleaner @ 1:6 and a Mothers Tire brush.
-HP rinse
-Repeat tire cleaning
-HP rinse
-Dressed with 2 coats of Optimum Tire Sheen 12 hours apart
Wheels
-HP rinse
-VP Bilberry Wheel Cleaner @ 1:6, Daytona and Daytona Jnr brushes and Valet Pro Boars Hair Brushes
-HP rinse
-Dry
-Remove tar using VP Citrus Tar Remover
-Spray with APC and HP Rinse
-Dry
-Remove bonded and embedded ferrous contaminants on wheels and brake calipers with Valet Pro Dragon's Breath, Daytona (big and small) brushes and Valet Pro Boars Hair Brushes
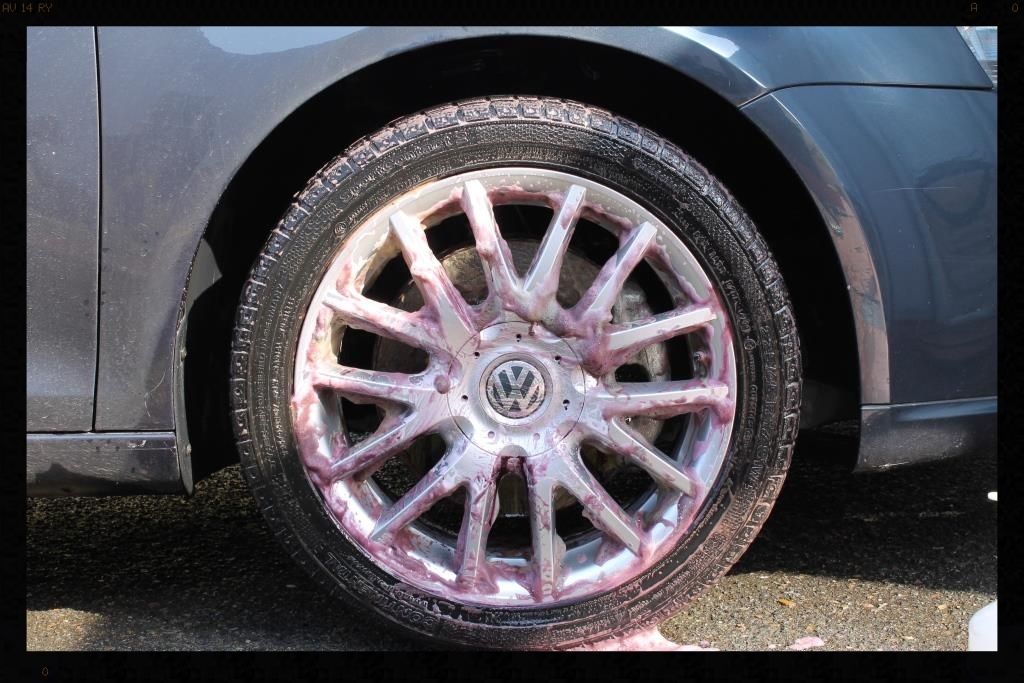
-HP Rinse + flood rinse
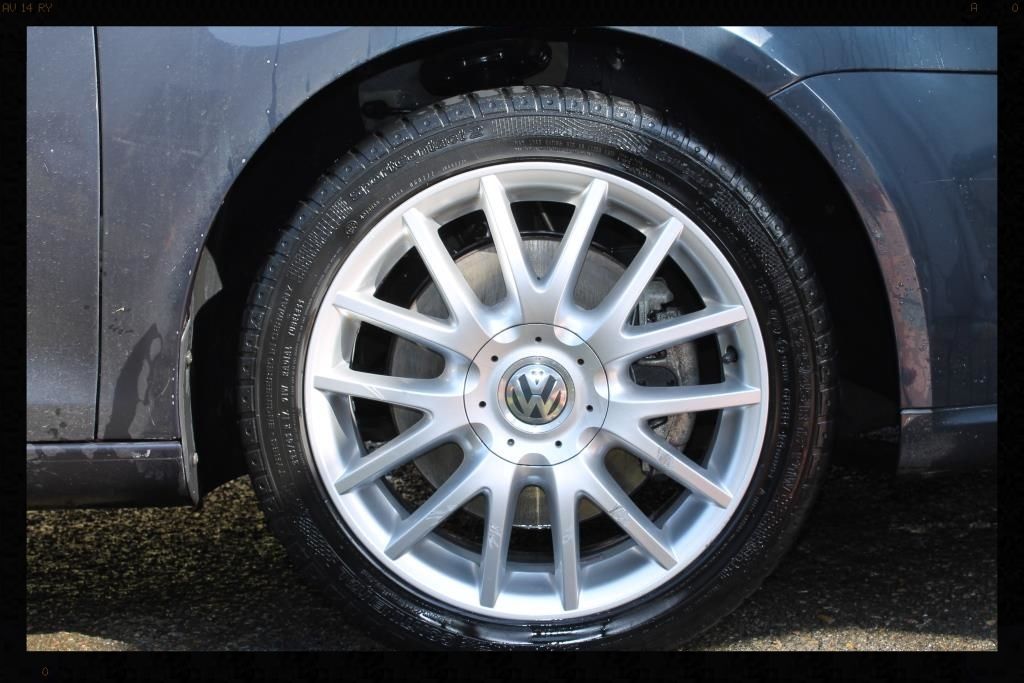
-Dry
-Polished with Meznerna FG400 and a MF applicator by hand
-Protected with Collinite #845
Then it was time to tackle the door/trunk shuts and fuel flap - you want to do this before you wash the car as you do not want to have any dirt from the door shuts then dripping down onto your cleaned paint, which would necessitate washing the paint a second time, thus increasing the risk of swirls.
Before
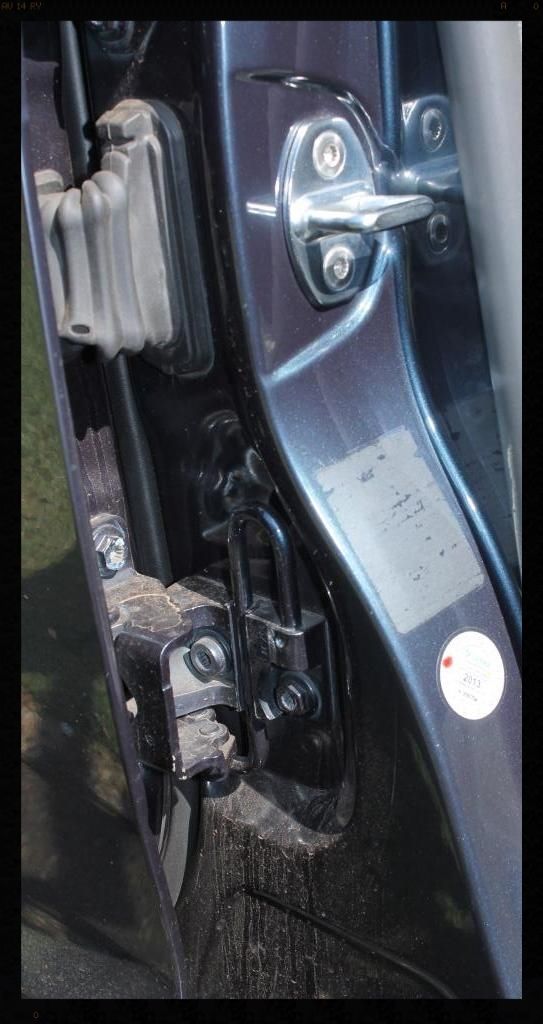
-HP rinse
-Clean with Cyclo APC and Valet Pro Boars Hair Brushes
-HP rinse
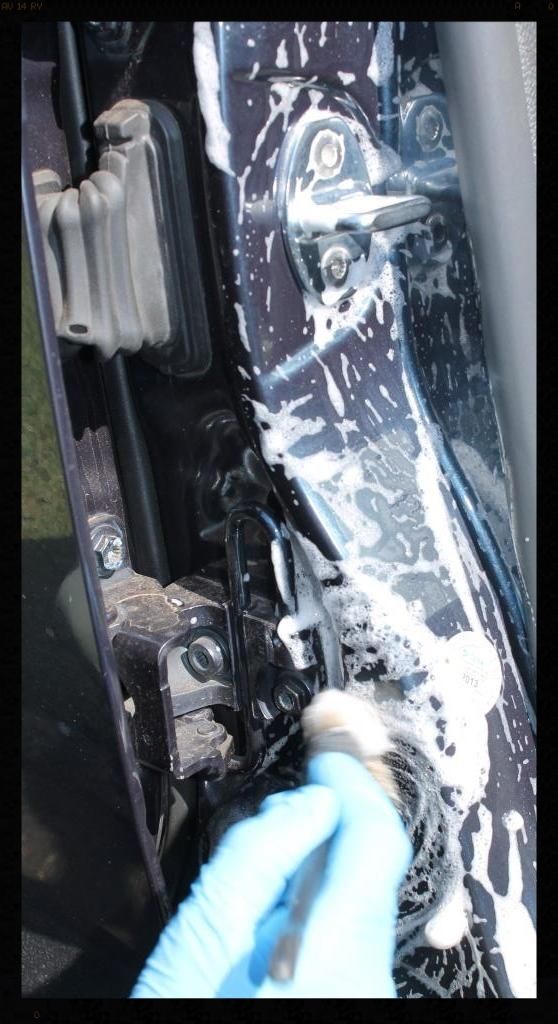

Later these would be cleaned/polished/protected using Autofinesse Tripple
Then I removed the rear number plate holder revealing this
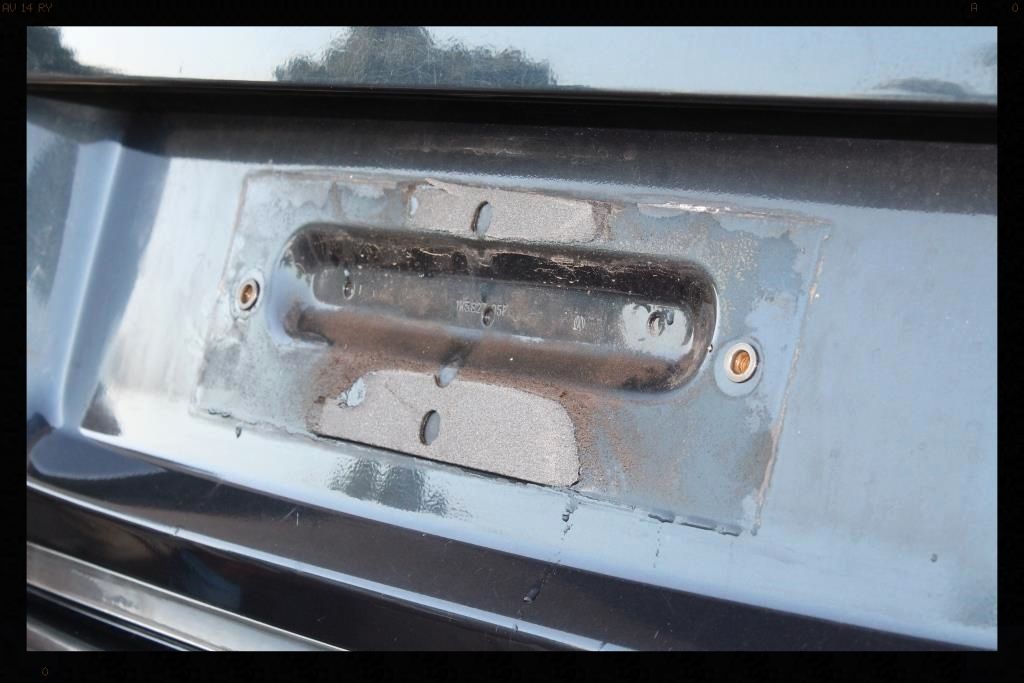
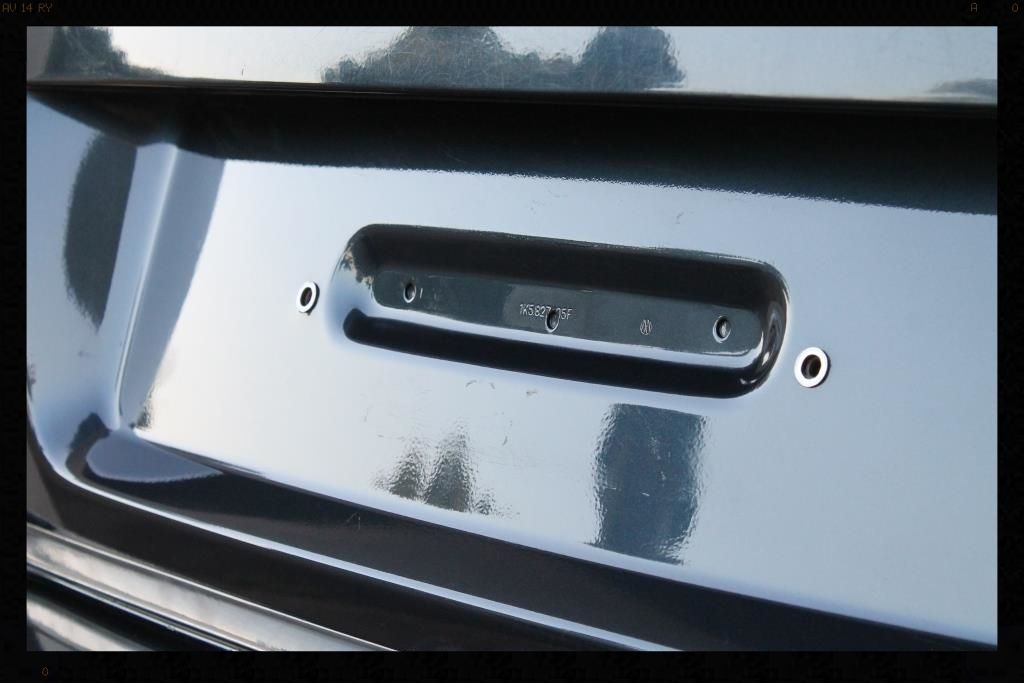
And gave it a good clean using some APC - this section was the also polished and sealed leaving it looking a lot better
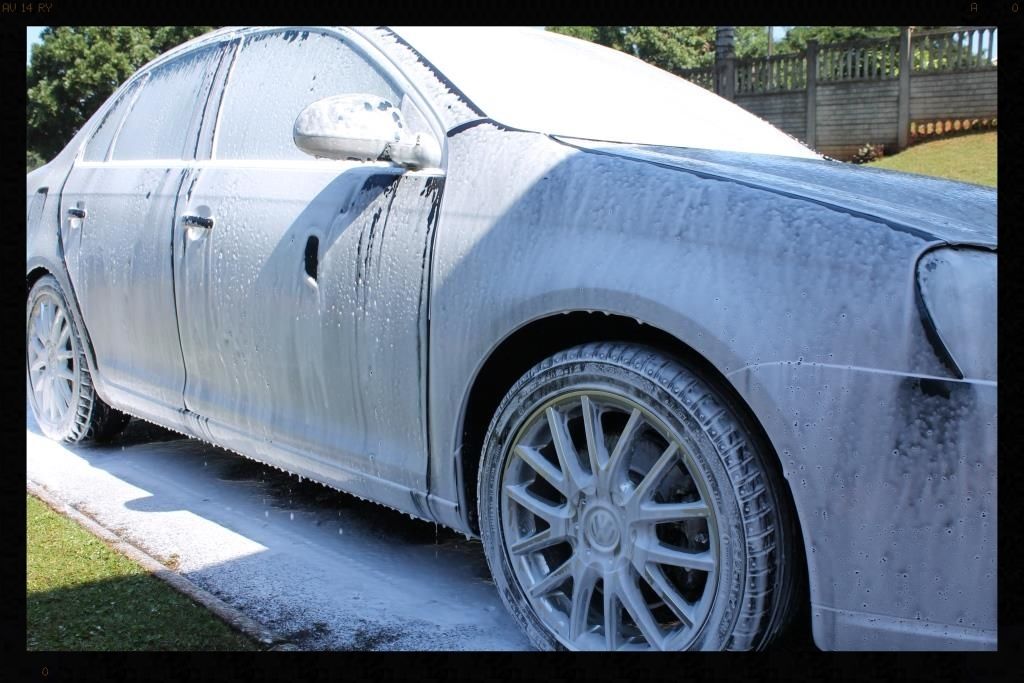
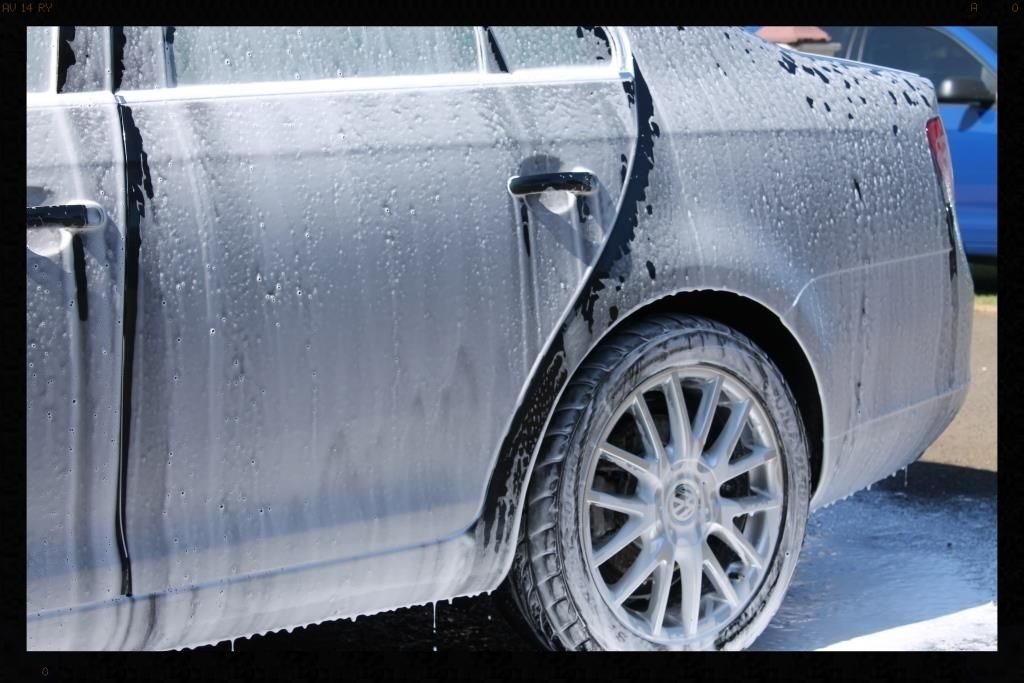
Then it was time to give the car a decent wash. There were obviously some bugs on the front end from the drive down and a fair amount of dirt on the car. The first step was to thoroughly HP rinse the car to try and remove as much dirt as possible. This was then followed by a full foaming using Chemical Guys Maxi Suds II using the CD ver 2 Foam Cannon and a Karcher K7 HP washer. The below pics are after dwelling for around 4 minutes
This was followed by another HP rinse, then I sprayed Valet Pro Citrus Prewash through a pump sprayer, let that sit on the paint for around 5 minutes and HP rinsed that off. This left the car a lot cleaner than it initially was, and much less prone to any further damaged during the subsequent 2 bucket wash, which was done using 4 Lambswool wash mitts, and CarChem shampoo. The vehicle was then flood rinsed, sprayed with ONR at QD dilution as a drying aid dried using 3 x waffle weave drying towels.
The paint was then fully decontaminated using Valet Pro Citrus Tar Remover, Valet Pro Dragons Breath and Shield Heavy Duty Clay with ONR as lube. There was a significant amount of contamination on the paint, which felt like sandpaper to the touch, especially when using a bag for inspection purposes.
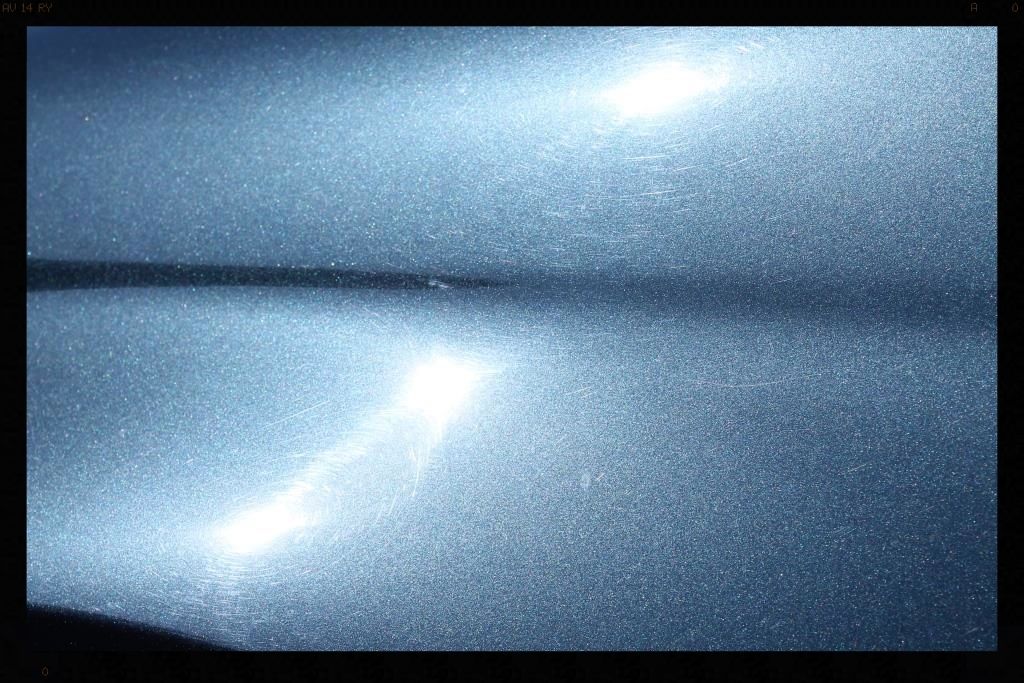
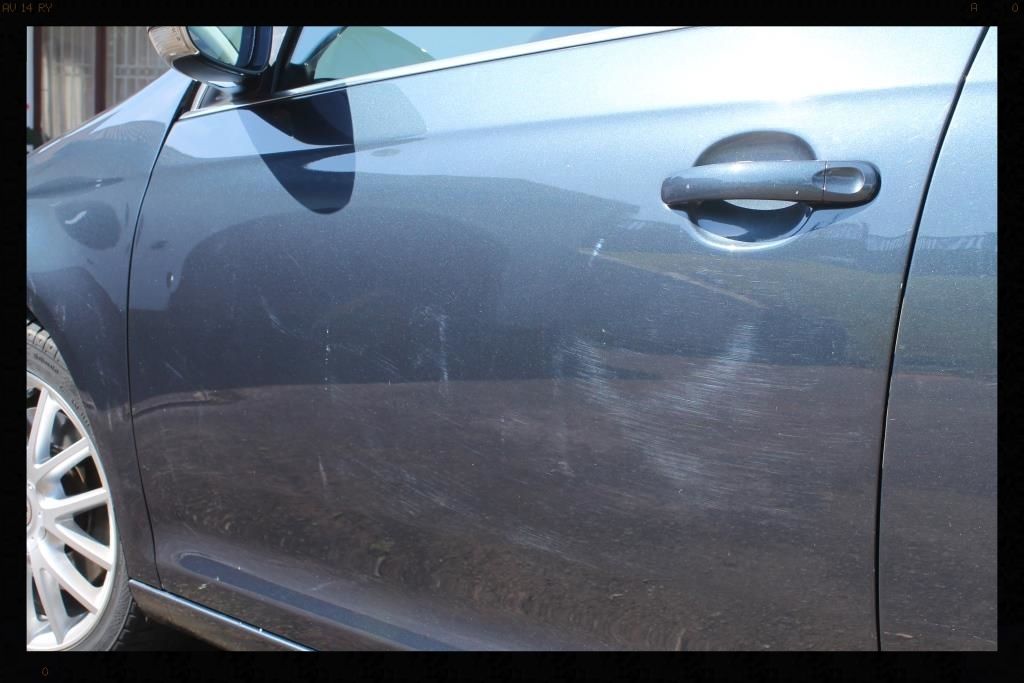
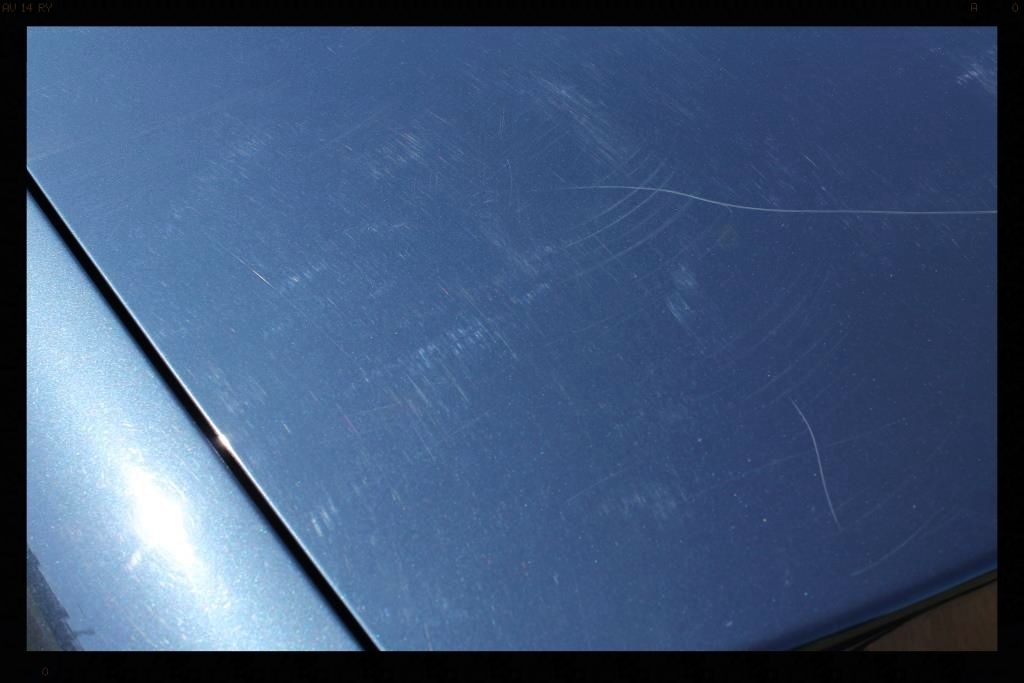
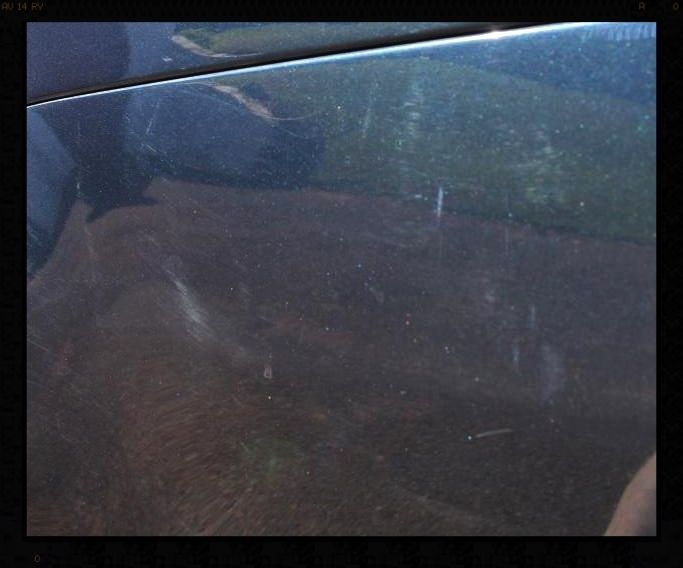
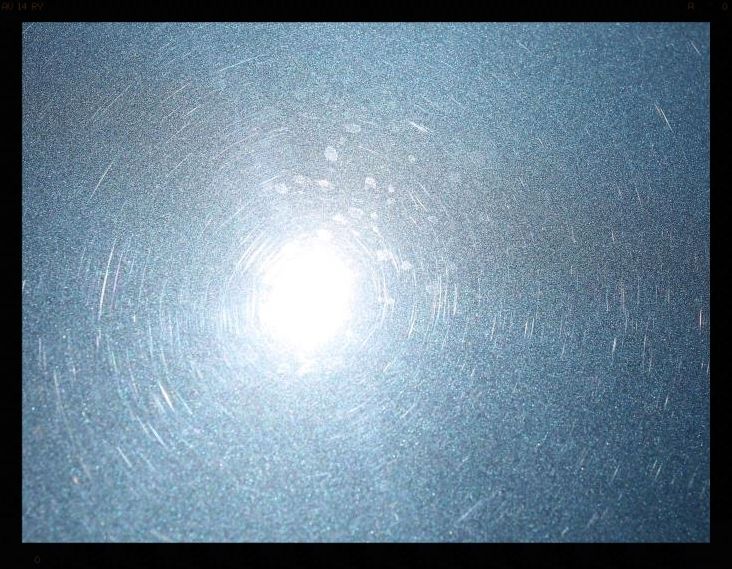
Time to see the damage that was lurking below. There were swirls, some really bad deep scratches (one in particular on the trunk), bird etchings, water spots but fortunately, no evidence of any repaints, and therefore no sanding marks to deal with.


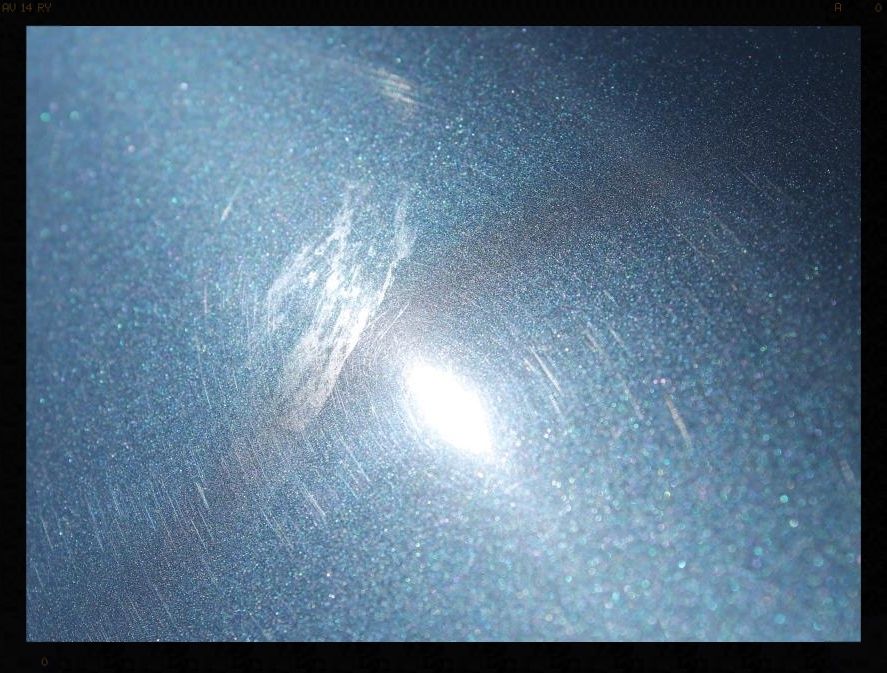
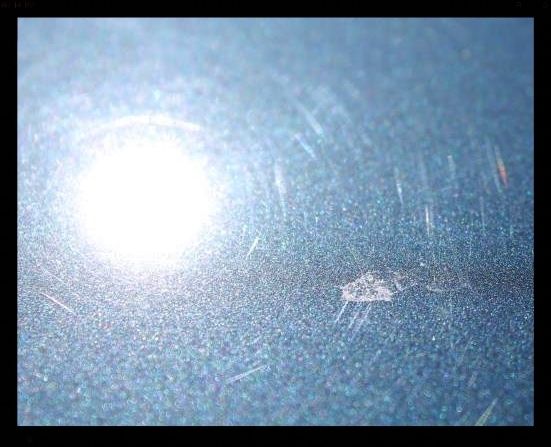
Paint readings were taken, which were mostly between 110µ and 130µ - more than enough to work with.
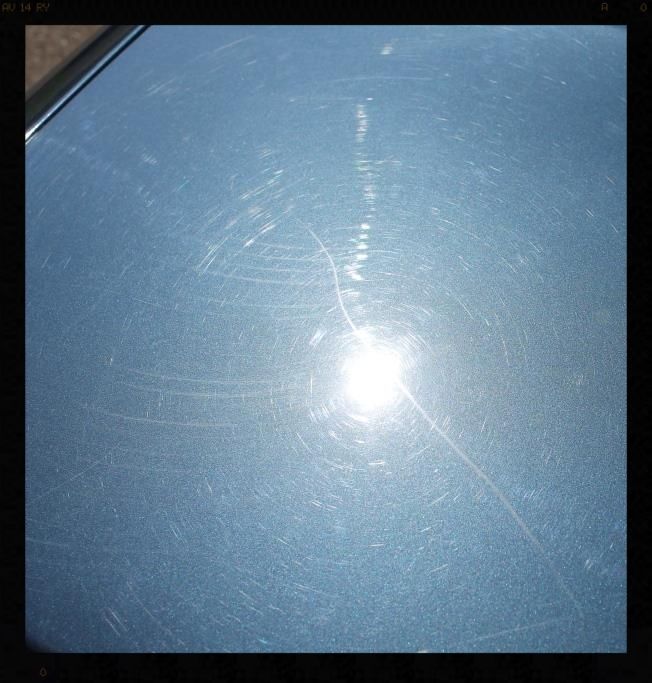
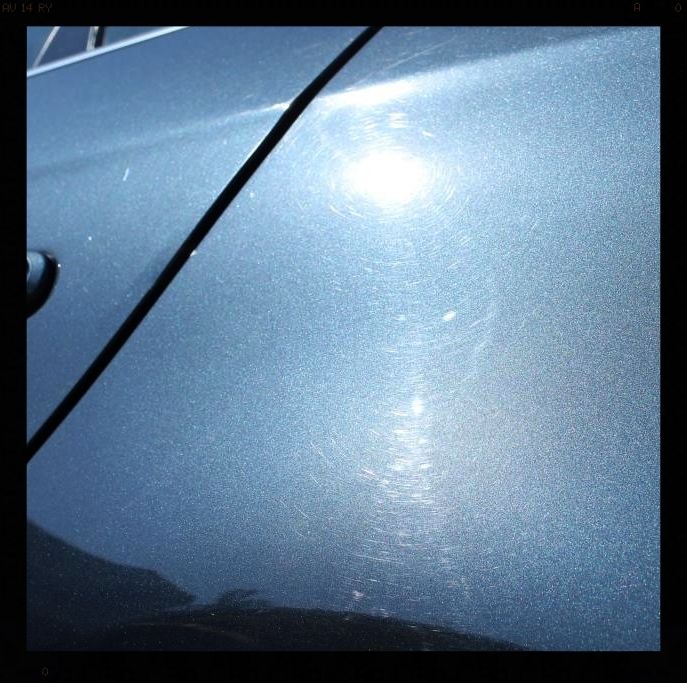
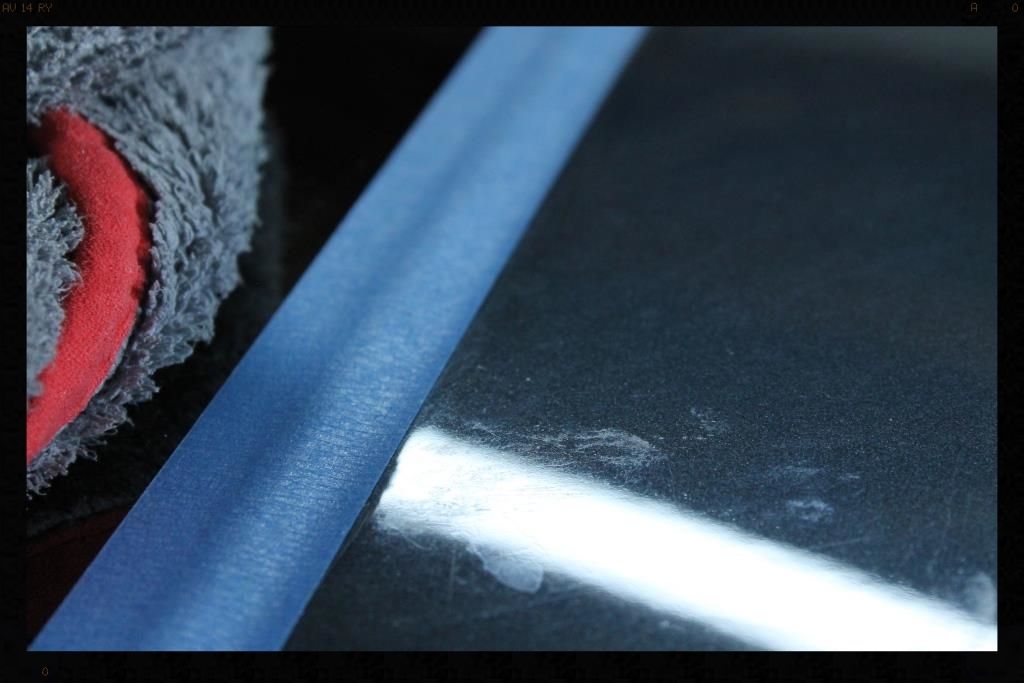
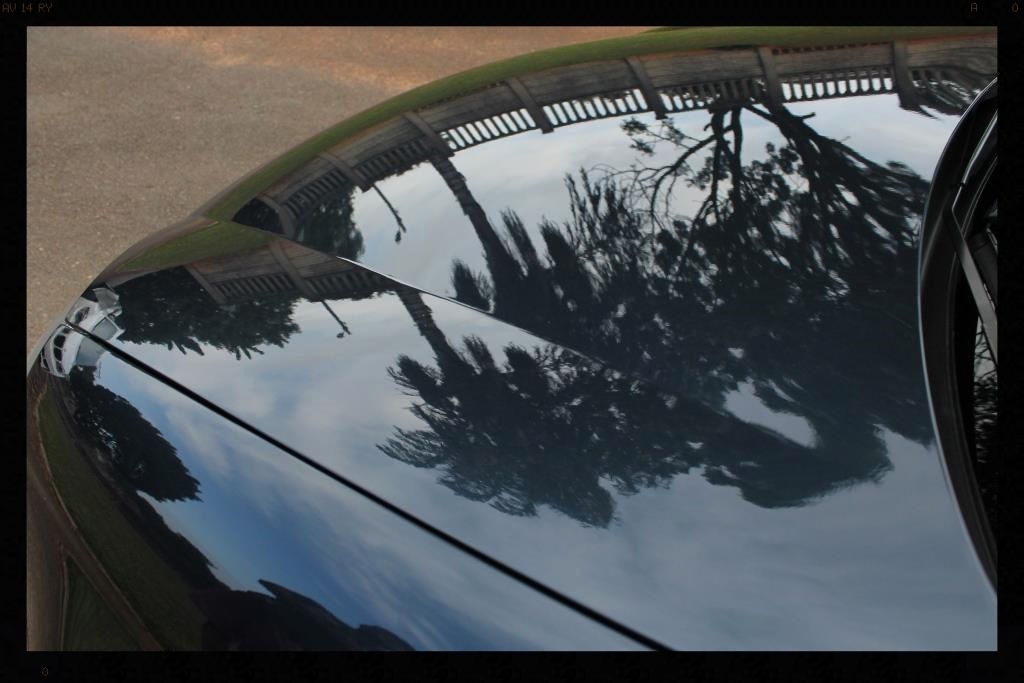
The hood and roof had a lot of water spotting and the trunk had some really heavy scratches so these were tackled with the Flex 3401, a Lake Country Blue Hybrid Wool Pad and Menzerna FG400 for the intial cut, followed by a White Hybrid Pad and Menzerna SF4000
Here is the trunk before
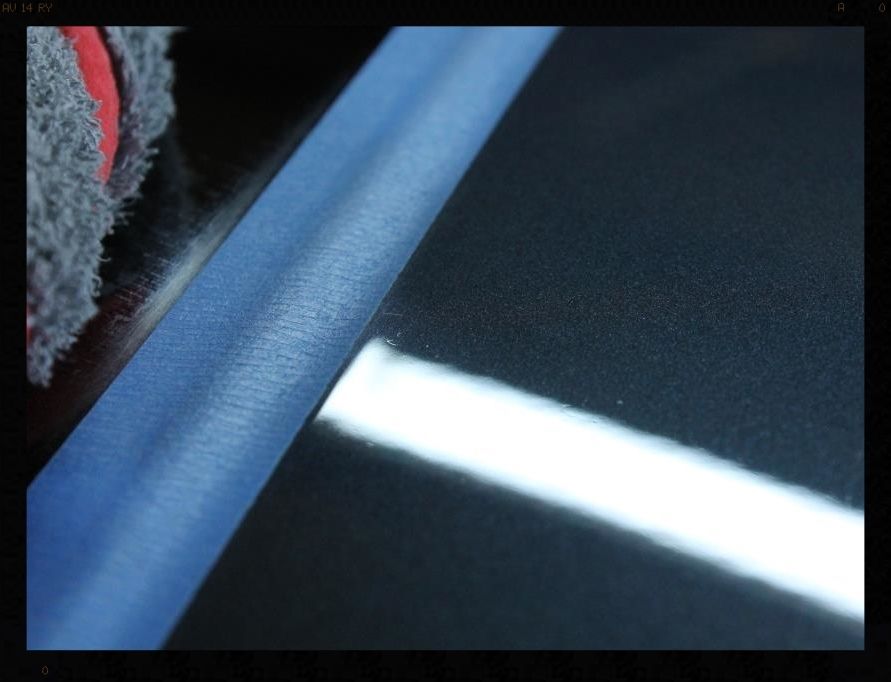
And following the initial cut
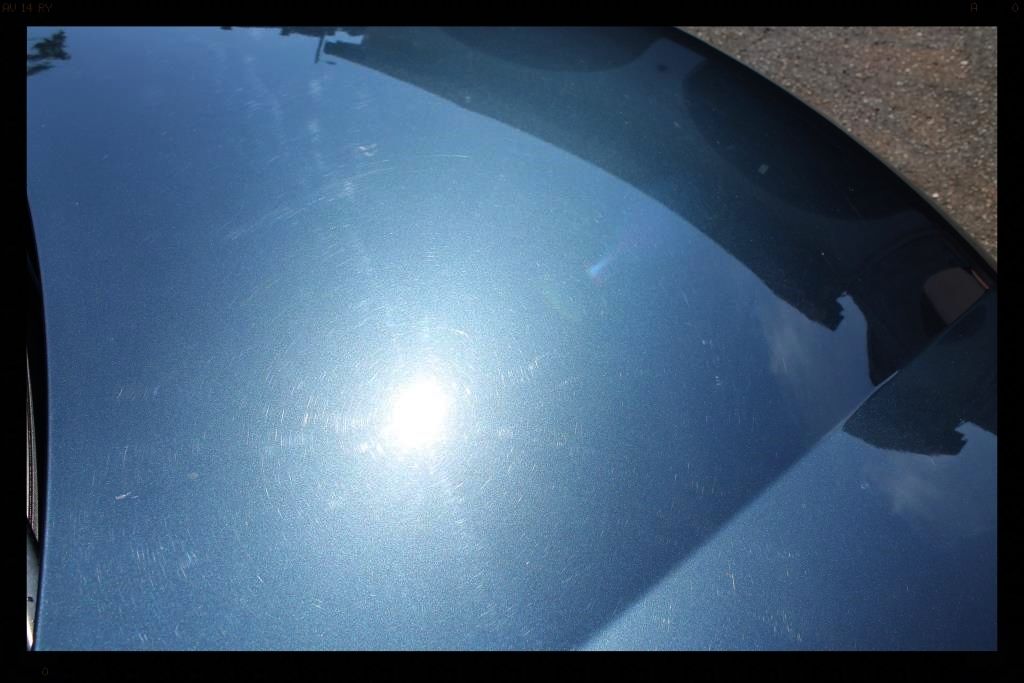
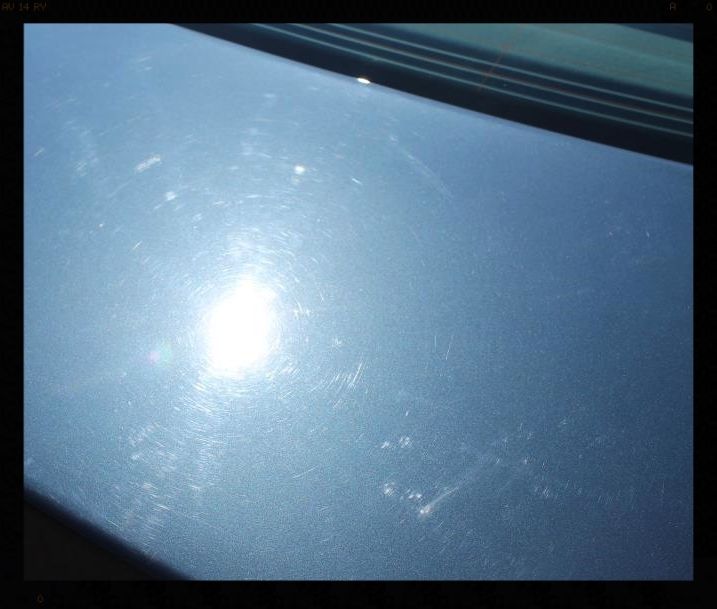
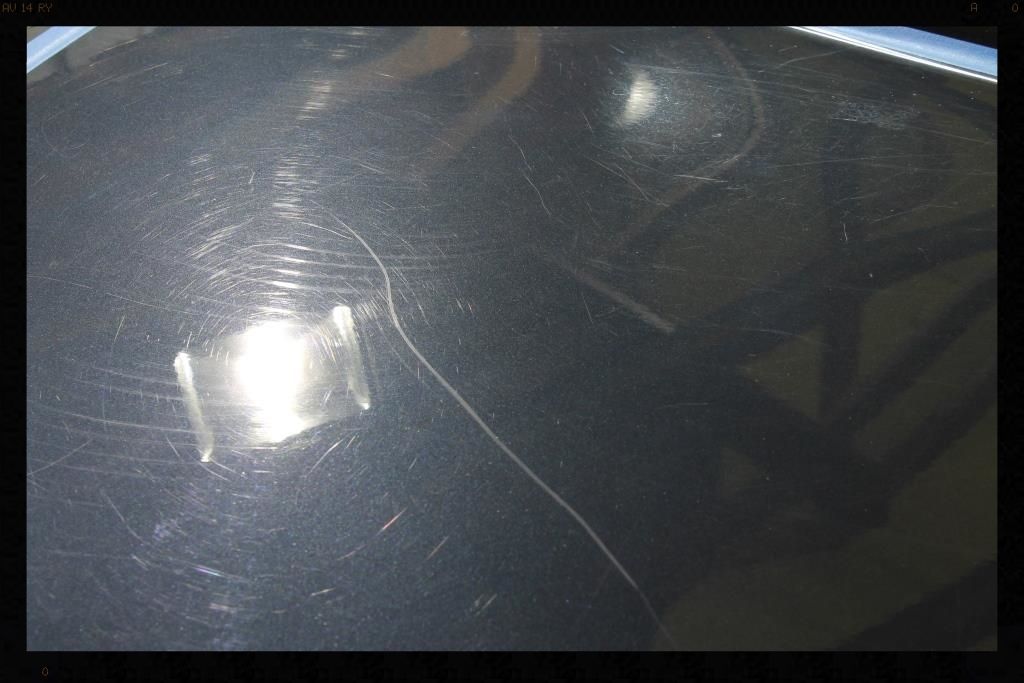
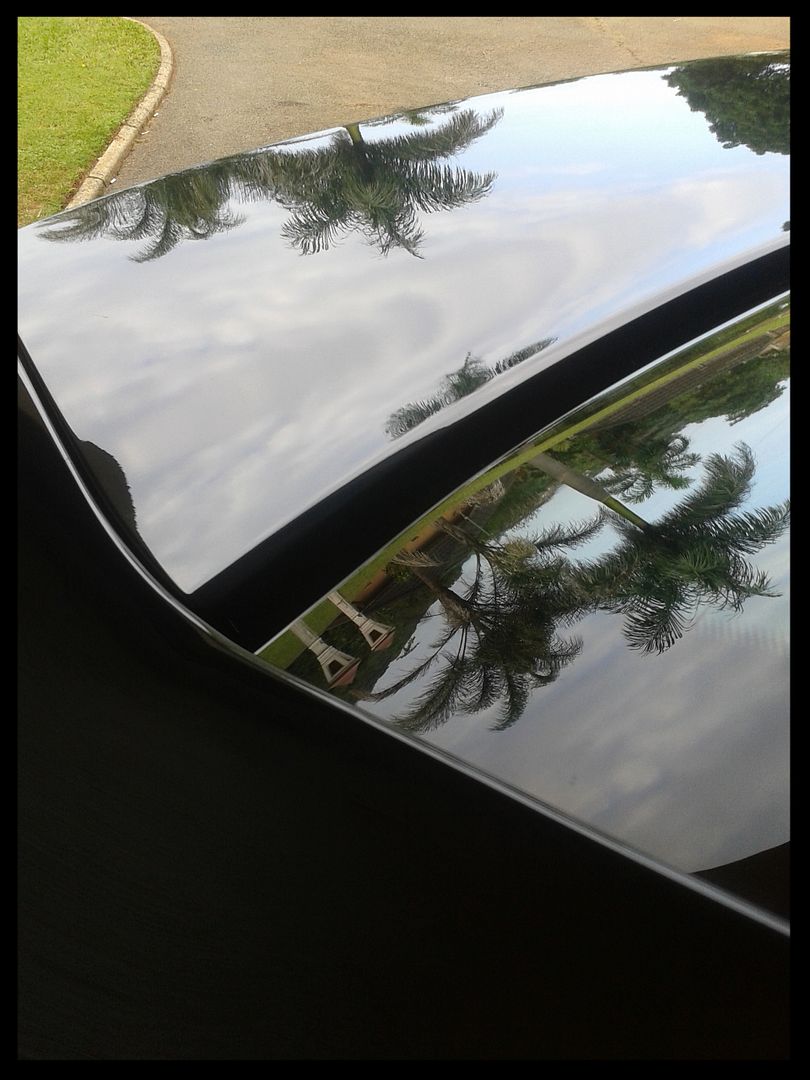
Here is the roof with some water spots before
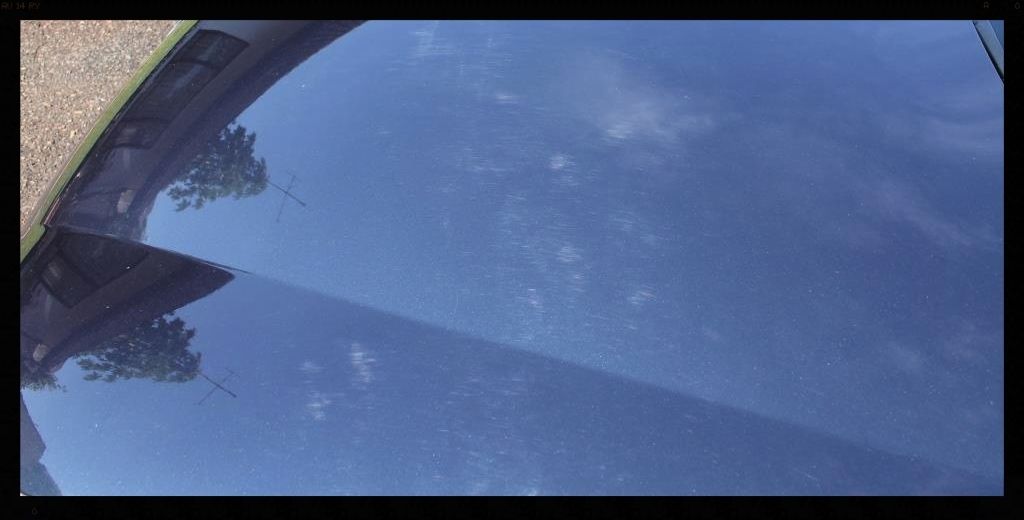
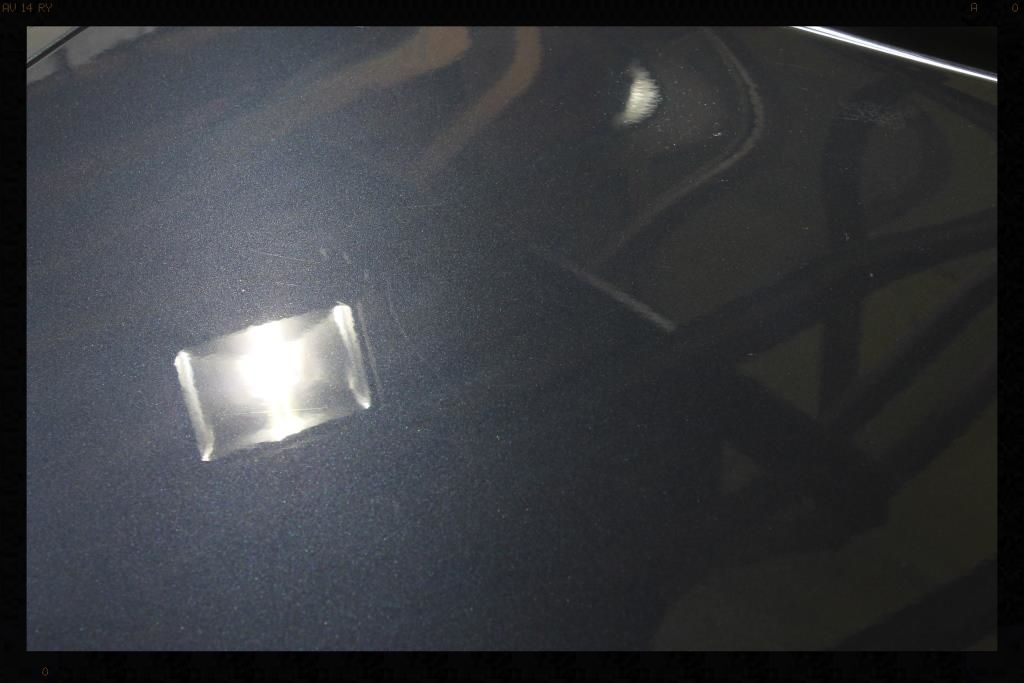
After the initial cut
The rest of the car was tackled using the Flex 3401 with Lake Country Orange Hybrids and FG 400 followed by a White Hybrid Pad and Menzerna SF4000.
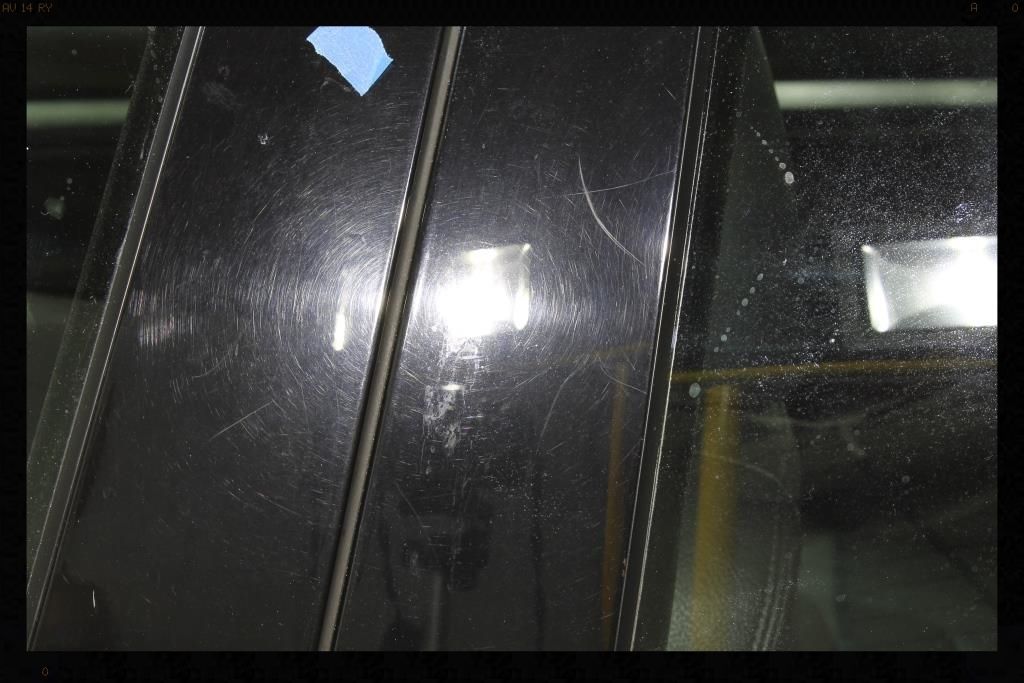
The paint on the B-pillars is typically a lot softer than the rest of the car and so I switched to the Shield DA with 4" Lake Country White and Grey pads and used Menzerna PF2300 and SF4000 respectively to correct them. The idea was not to chase perfection, especially given the deeper damage, but rather just a decent improvement.
Before
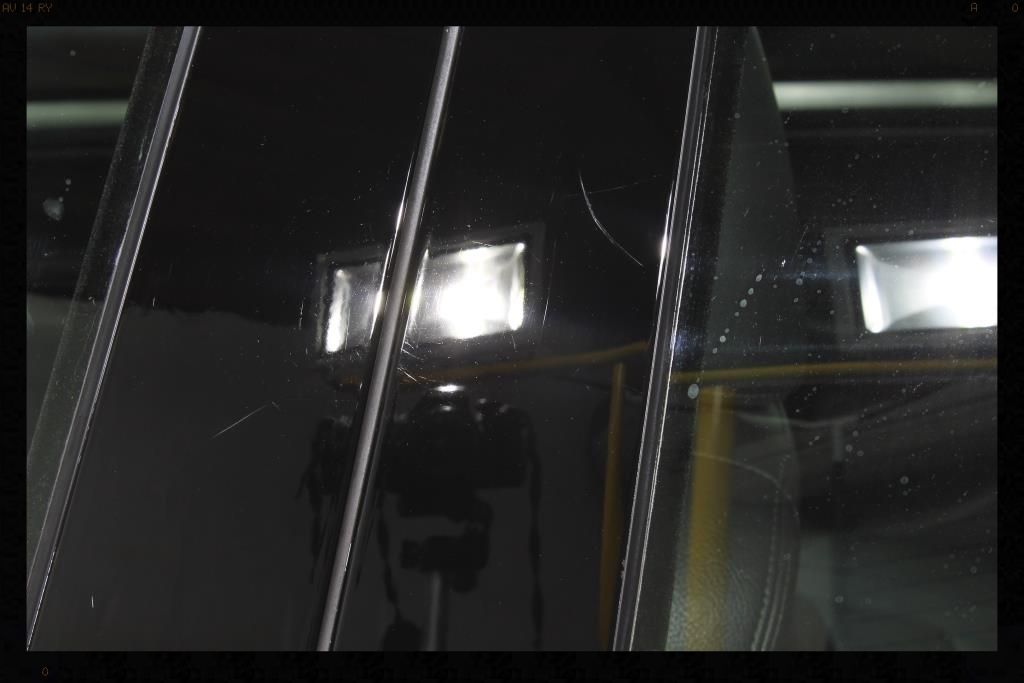
After
The paint was then stripped of any oils and fillers using Gyeon Prep and given a coat of Meznerna Powerlock which was left to cure for 12 hours, before it was topped with Collinite 915.
Then all the other bits and pieces were tackled.
Glass
-Shield Heavy Duty Clay / ONR
-Glossworx Glass Cleaner
-Wynns C-Thru
Badges
-Autofinesse Tripple
-Cotton buds
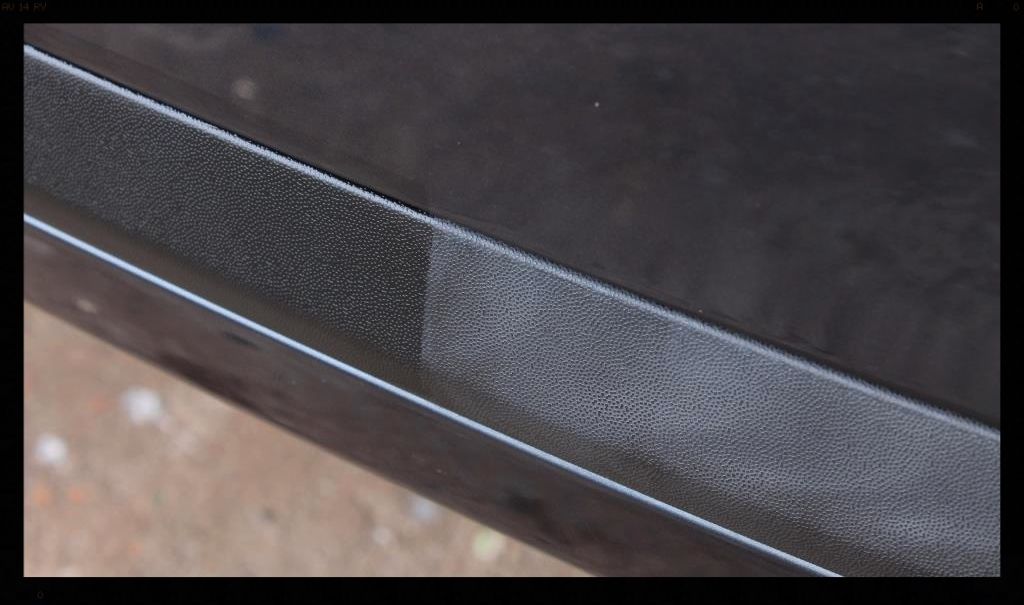
Door rubbers, window rubbers, exterior plastic trim
- Cleaned using Shield Heavy Duty Vinyl and Rubber Cleaner
- Protected using Aerospace 303
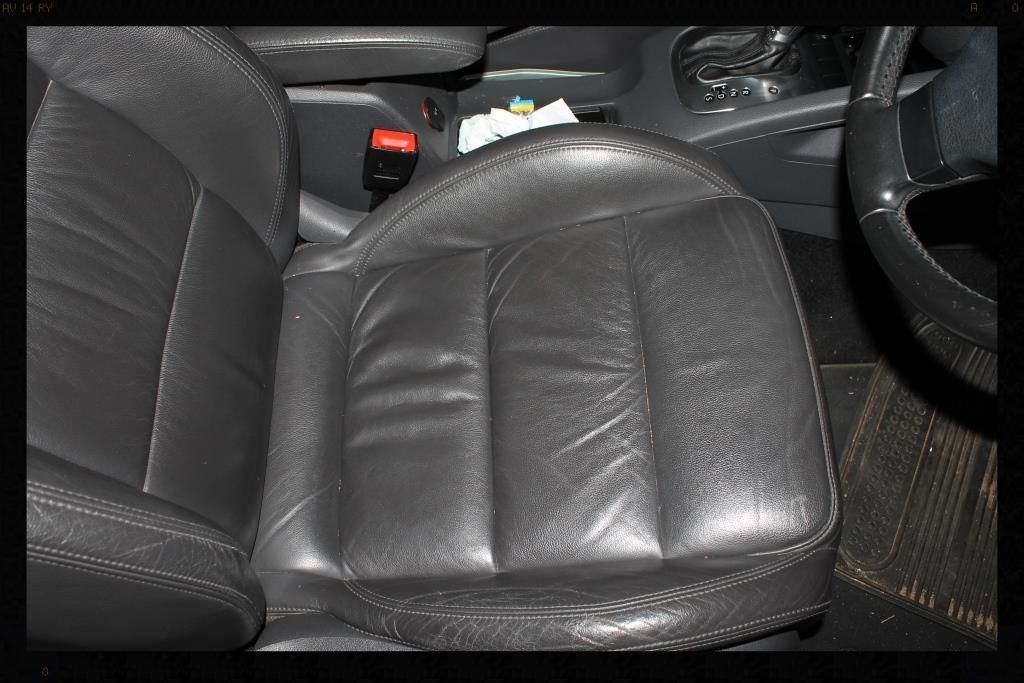
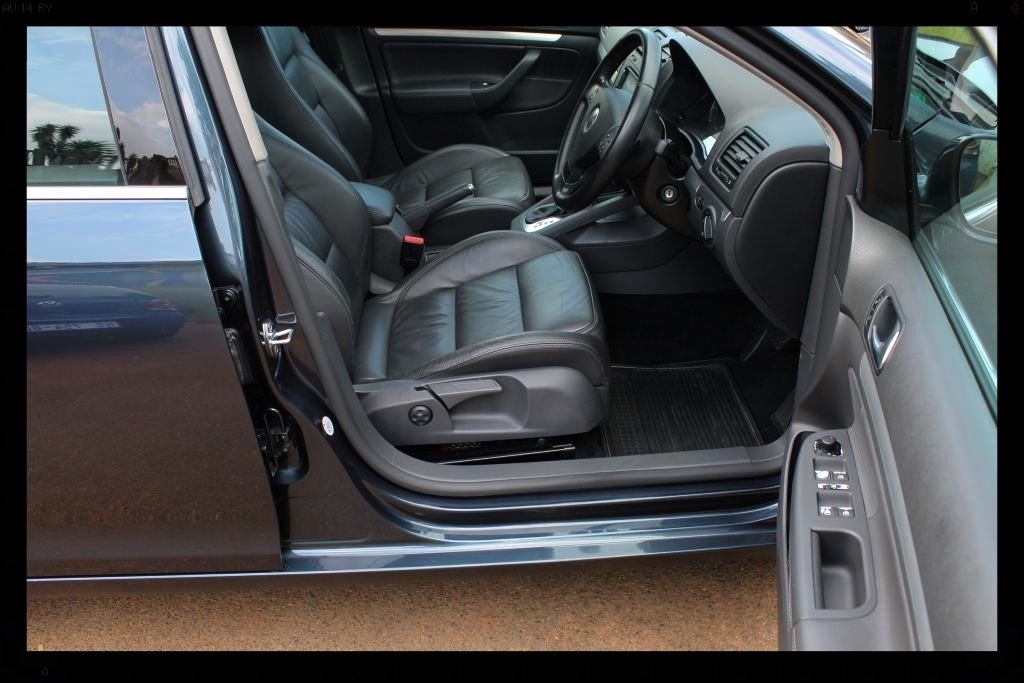
Interior
-Blower
-Autofinesse Spritz
-Autofinesse Hide
-Collinite #855
-Vacuum (Flex)
Before
After
Exhaust Tips
-Cyclo APC
-Meguiars NXT All Metal Polish
Before
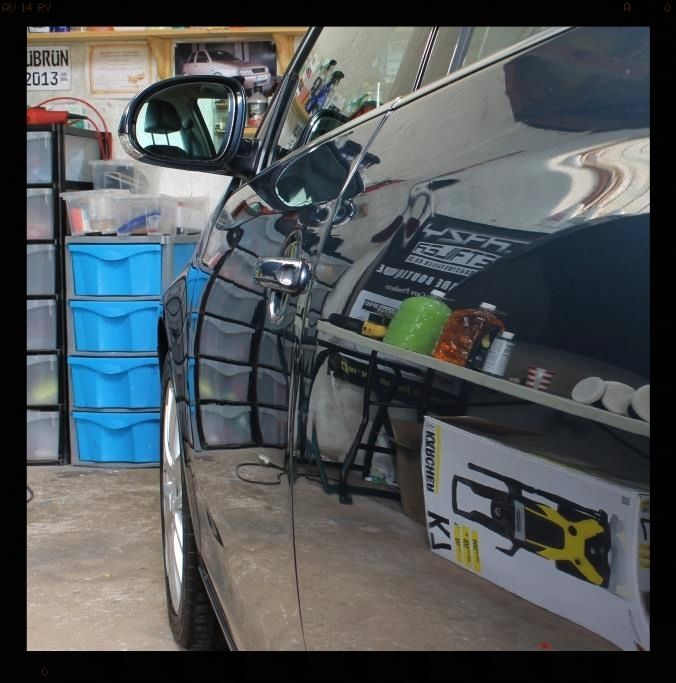
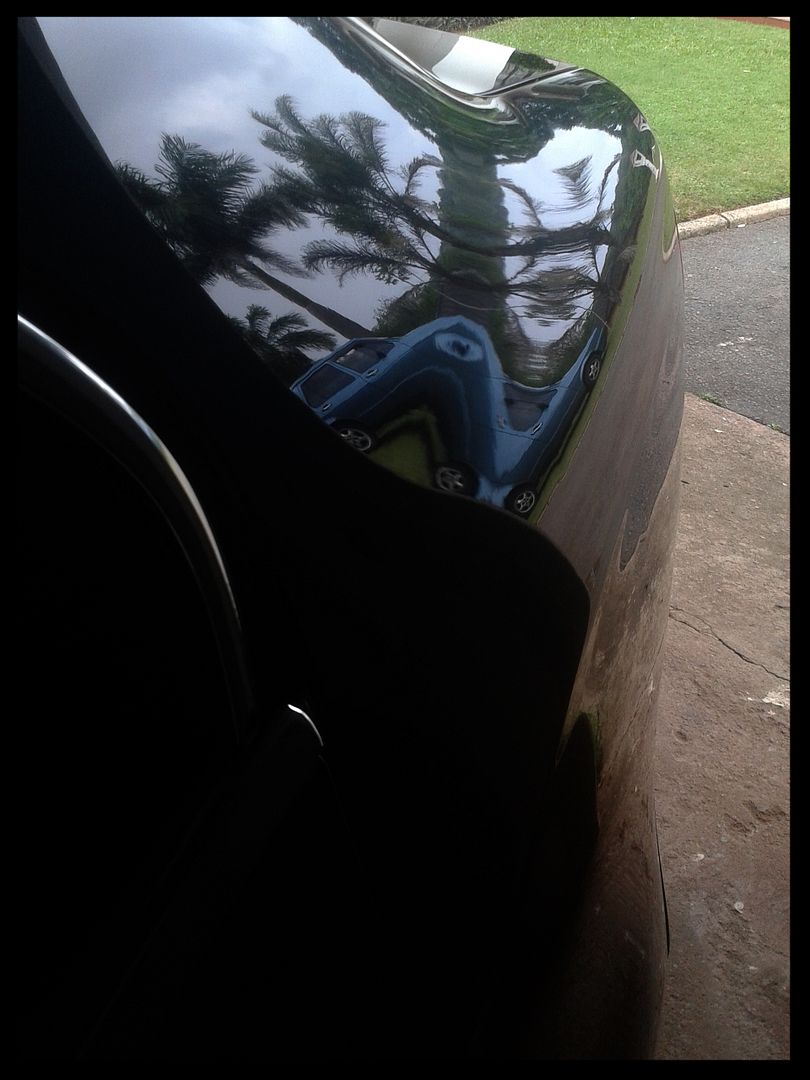
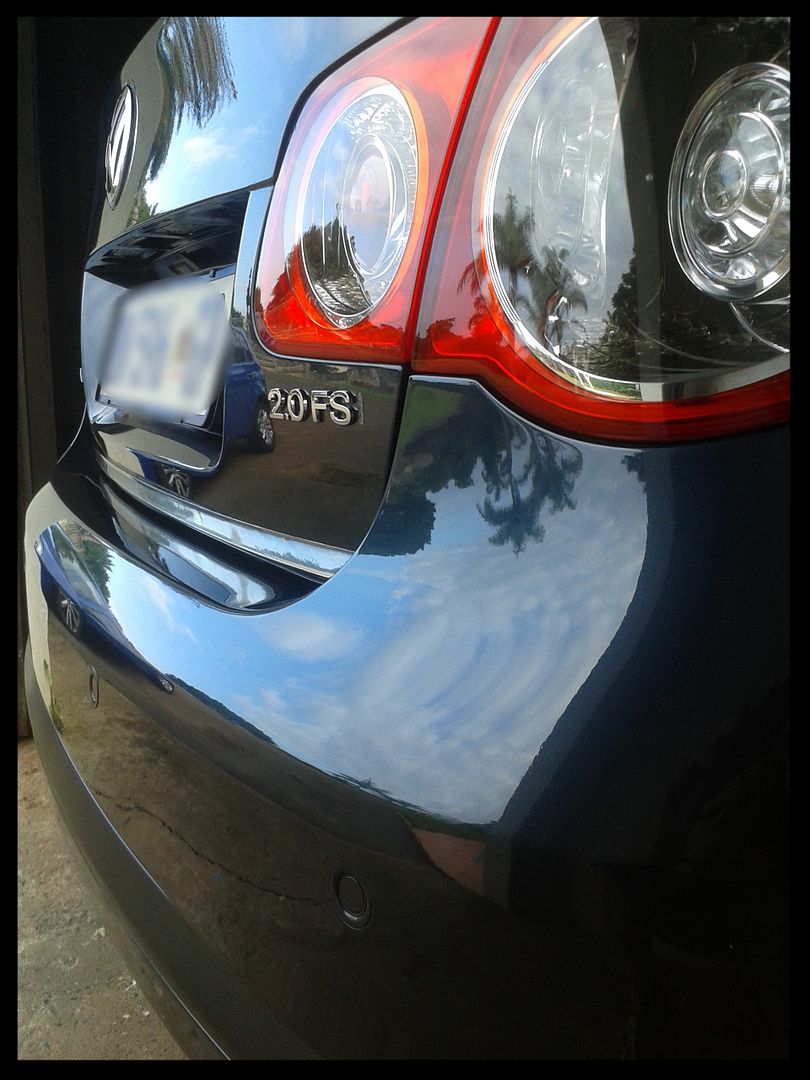
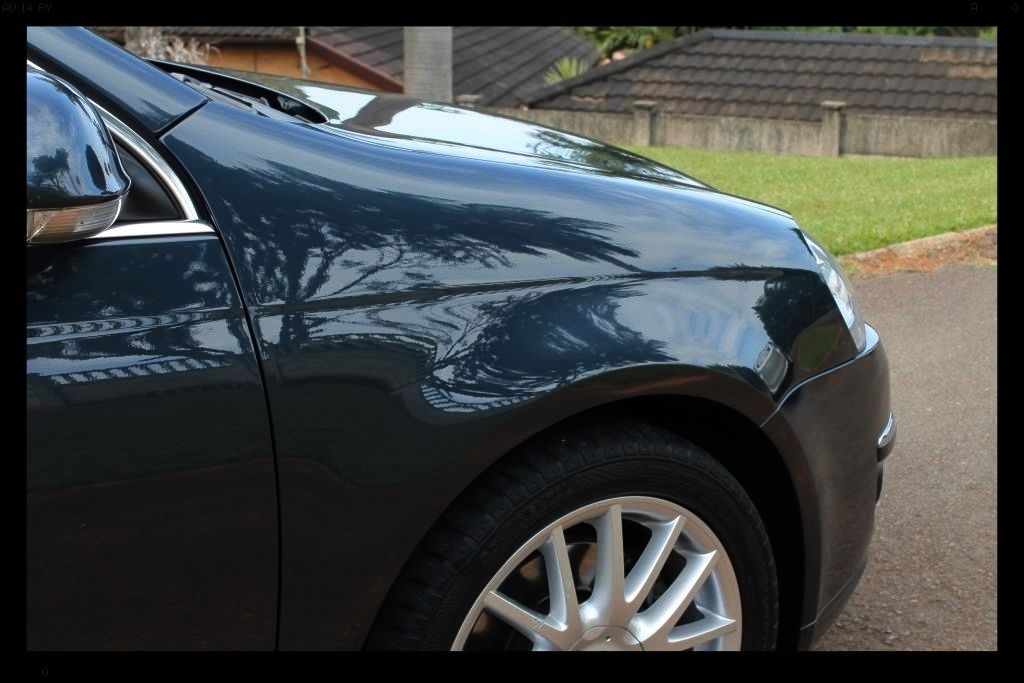
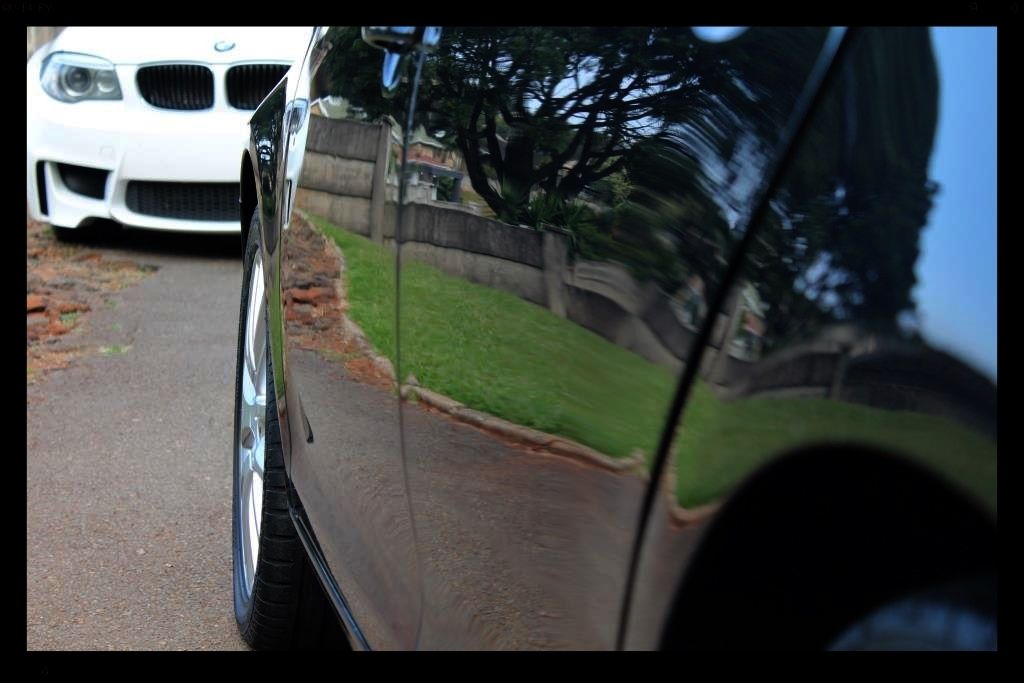
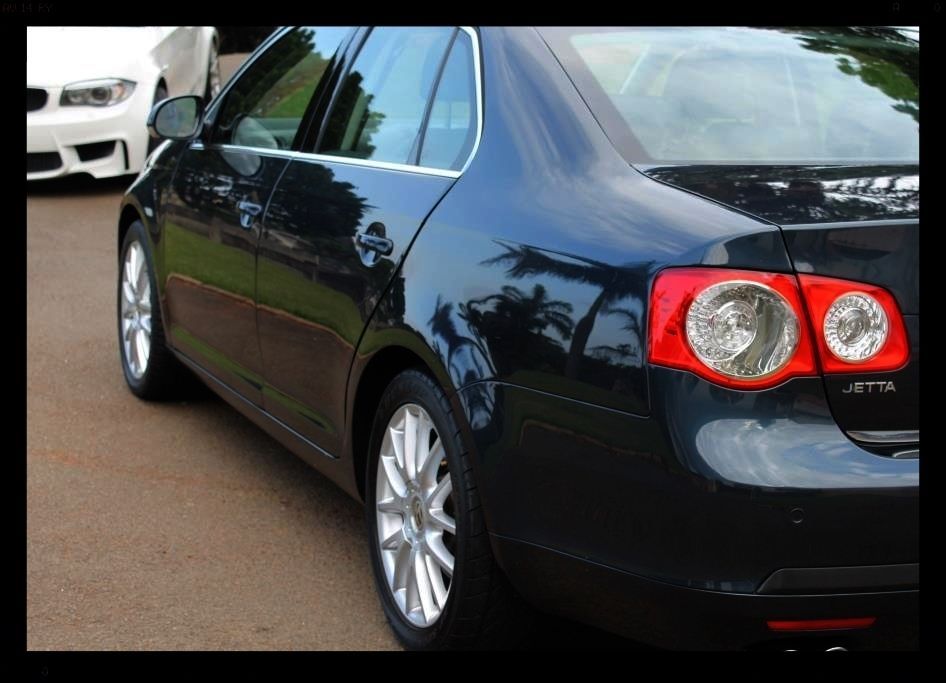
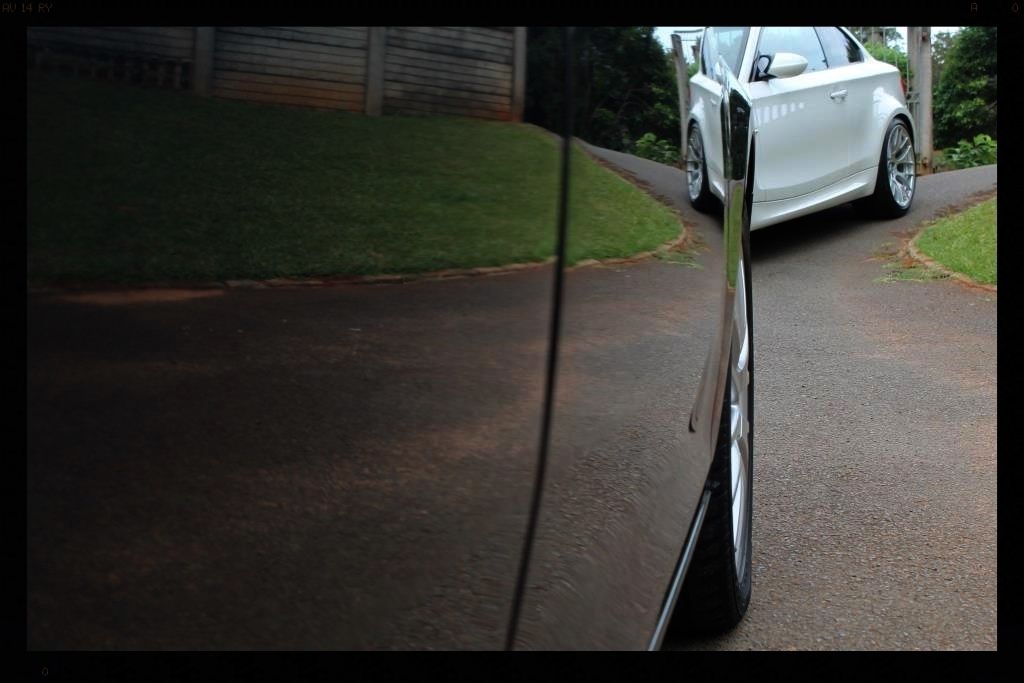
A few shots with the car still inside the garage
So let's get into it...
First up I was asked to remove the old lamin-x on the headlights, which as you can see from the pic below, was in quite a state
I heated the film up with a hair-dryer then removed exposing the underlying glue residue.
I then tackled this with Valet Pro Citrus Glue and Tar Remover and a MF towel leaving the headlight looking new again. I found 1 very small area where the OEM film was just starting to fail - not enough to warrant a full wet-sand and re-polish, so they were protected with Optiseal instead.
Then it was time to tackle the engine bay.
Before
The liner under the hood was removed, sprayed with APC, agitated with a brush and throughly HP rinsed, then left out in the sun for the remainder of the day to dry. Valet Pro Citrus prewash was sprayed over the entire bay and this was then followed with APC, various brushes and MF towels and a HP rinse to remove all the years of dirt and grime. The painted surfaces were then cleaned/polished/protected using Autofinesse Tripple on a MF applicator pad. Plastics and rubbers were cleaned using Shield Heavy Duty Vinyl and Rubber cleaner and dressed using Aerospace 303 Protectant.
After
Then it was time to tackle the dirty wheels, tires and arches
Before
Arches
-HP rinse
-Clean with Cyclo APC using a Mothers Fenderwell Brush
-HP rinse
-Dressed with Aerospace 303
Tires
-Clean tires with Valet Pro Billbery Wheel Cleaner @ 1:6 and a Mothers Tire brush.
-HP rinse
-Repeat tire cleaning
-HP rinse
-Dressed with 2 coats of Optimum Tire Sheen 12 hours apart
Wheels
-HP rinse
-VP Bilberry Wheel Cleaner @ 1:6, Daytona and Daytona Jnr brushes and Valet Pro Boars Hair Brushes
-HP rinse
-Dry
-Remove tar using VP Citrus Tar Remover
-Spray with APC and HP Rinse
-Dry
-Remove bonded and embedded ferrous contaminants on wheels and brake calipers with Valet Pro Dragon's Breath, Daytona (big and small) brushes and Valet Pro Boars Hair Brushes
-HP Rinse + flood rinse
-Dry
-Polished with Meznerna FG400 and a MF applicator by hand
-Protected with Collinite #845
Then it was time to tackle the door/trunk shuts and fuel flap - you want to do this before you wash the car as you do not want to have any dirt from the door shuts then dripping down onto your cleaned paint, which would necessitate washing the paint a second time, thus increasing the risk of swirls.
Before
-HP rinse
-Clean with Cyclo APC and Valet Pro Boars Hair Brushes
-HP rinse
Later these would be cleaned/polished/protected using Autofinesse Tripple
Then I removed the rear number plate holder revealing this
And gave it a good clean using some APC - this section was the also polished and sealed leaving it looking a lot better
Then it was time to give the car a decent wash. There were obviously some bugs on the front end from the drive down and a fair amount of dirt on the car. The first step was to thoroughly HP rinse the car to try and remove as much dirt as possible. This was then followed by a full foaming using Chemical Guys Maxi Suds II using the CD ver 2 Foam Cannon and a Karcher K7 HP washer. The below pics are after dwelling for around 4 minutes
This was followed by another HP rinse, then I sprayed Valet Pro Citrus Prewash through a pump sprayer, let that sit on the paint for around 5 minutes and HP rinsed that off. This left the car a lot cleaner than it initially was, and much less prone to any further damaged during the subsequent 2 bucket wash, which was done using 4 Lambswool wash mitts, and CarChem shampoo. The vehicle was then flood rinsed, sprayed with ONR at QD dilution as a drying aid dried using 3 x waffle weave drying towels.
The paint was then fully decontaminated using Valet Pro Citrus Tar Remover, Valet Pro Dragons Breath and Shield Heavy Duty Clay with ONR as lube. There was a significant amount of contamination on the paint, which felt like sandpaper to the touch, especially when using a bag for inspection purposes.
Time to see the damage that was lurking below. There were swirls, some really bad deep scratches (one in particular on the trunk), bird etchings, water spots but fortunately, no evidence of any repaints, and therefore no sanding marks to deal with.
Paint readings were taken, which were mostly between 110µ and 130µ - more than enough to work with.
The hood and roof had a lot of water spotting and the trunk had some really heavy scratches so these were tackled with the Flex 3401, a Lake Country Blue Hybrid Wool Pad and Menzerna FG400 for the intial cut, followed by a White Hybrid Pad and Menzerna SF4000
Here is the trunk before
And following the initial cut
Here is the roof with some water spots before
After the initial cut
The rest of the car was tackled using the Flex 3401 with Lake Country Orange Hybrids and FG 400 followed by a White Hybrid Pad and Menzerna SF4000.
The paint on the B-pillars is typically a lot softer than the rest of the car and so I switched to the Shield DA with 4" Lake Country White and Grey pads and used Menzerna PF2300 and SF4000 respectively to correct them. The idea was not to chase perfection, especially given the deeper damage, but rather just a decent improvement.
Before
After
The paint was then stripped of any oils and fillers using Gyeon Prep and given a coat of Meznerna Powerlock which was left to cure for 12 hours, before it was topped with Collinite 915.
Then all the other bits and pieces were tackled.
Glass
-Shield Heavy Duty Clay / ONR
-Glossworx Glass Cleaner
-Wynns C-Thru
Badges
-Autofinesse Tripple
-Cotton buds
Door rubbers, window rubbers, exterior plastic trim
- Cleaned using Shield Heavy Duty Vinyl and Rubber Cleaner
- Protected using Aerospace 303
Interior
-Blower
-Autofinesse Spritz
-Autofinesse Hide
-Collinite #855
-Vacuum (Flex)
Before
After
Exhaust Tips
-Cyclo APC
-Meguiars NXT All Metal Polish
Before
A few shots with the car still inside the garage
")
 rops:
rops: