lawrenceSA
New member
- Feb 7, 2012
- 1,713
- 0
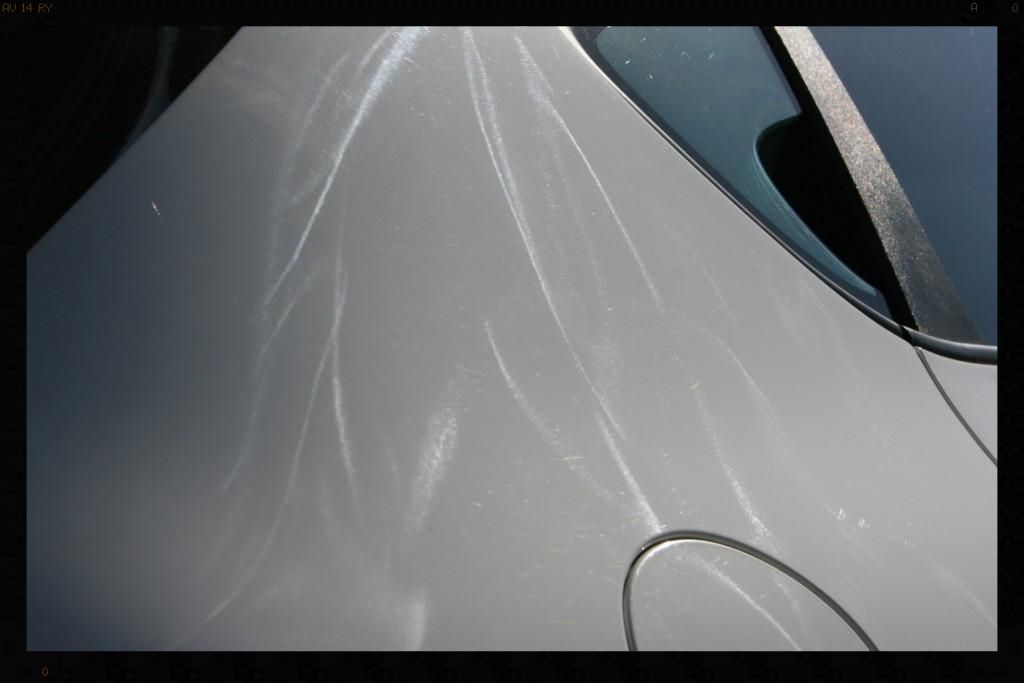
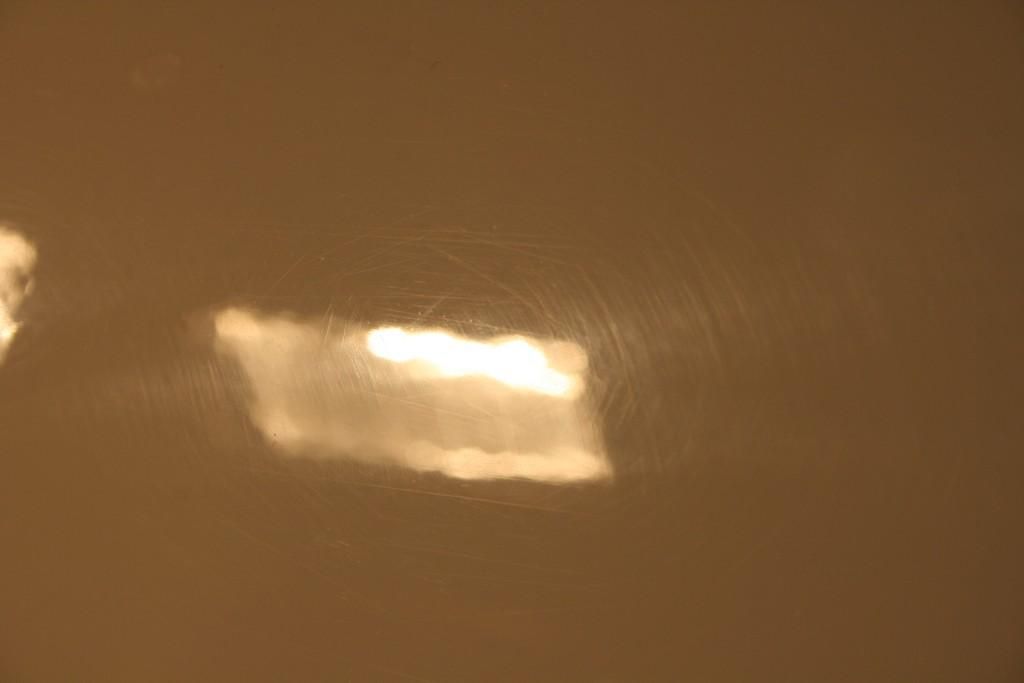
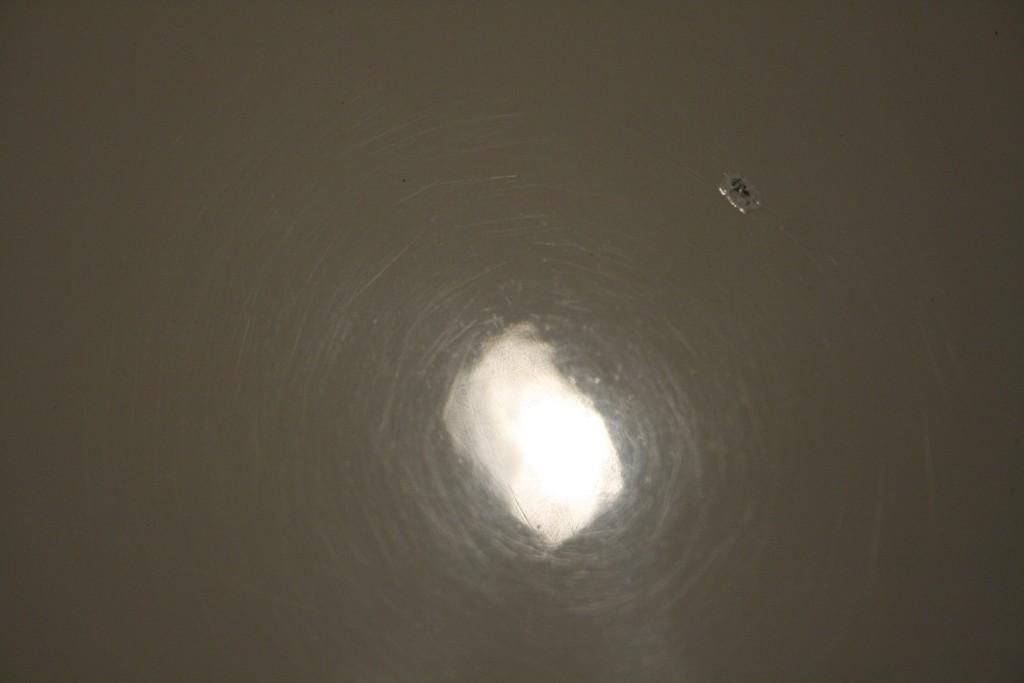
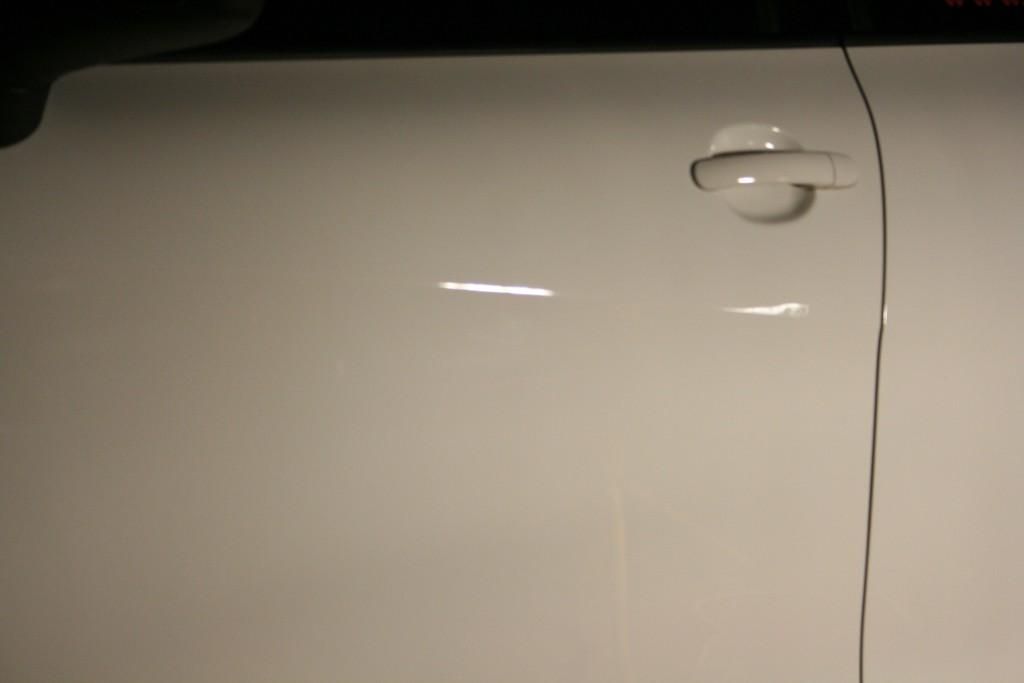
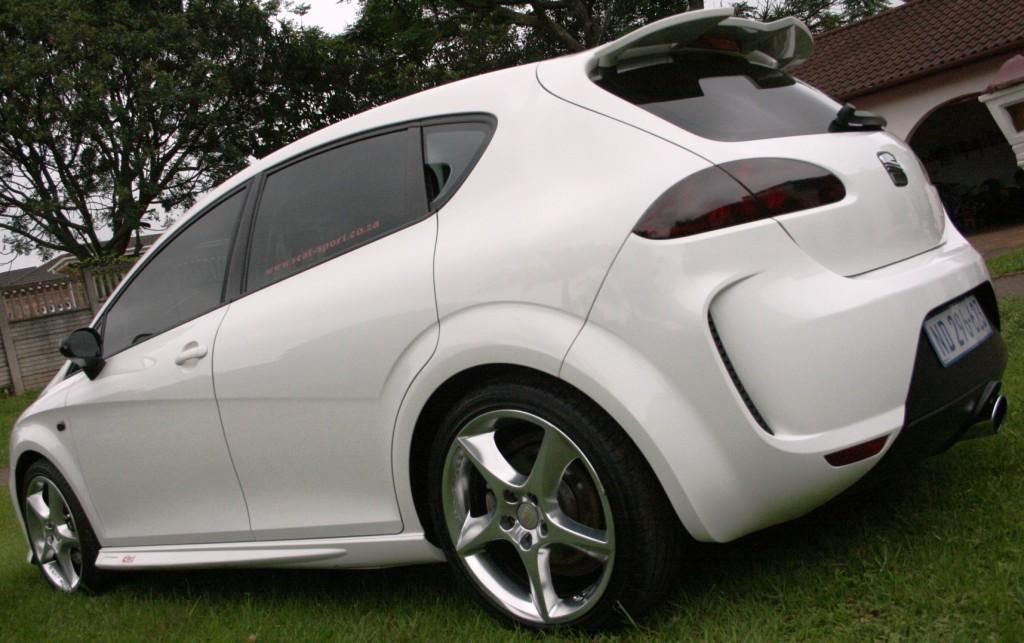
The weekend before last I detailed a customer's Seat Leon Cupra and this weekend past he bought his wife's Seat Leon FR to me for some love. What was supposed to be a relatively normal detail for me turned into a bit of a nightmare as on Sunday morning at 05:30 I picked up where I left off the previous evening physically correcting the paint (defect removal via machine polisher) only to find at 08:00 the power to my neighborhood went off.
It only came back on at 20:00 on Sunday evening and I managed to squeeze in another 3 hours of polishing before calling it a night :yawn: Fortunately the client was not in a rush for the vehicle and I therefore had the opportunity to finish it off during the day yesterday (was at home anyway as the spawn's school was closed for Diwali).
So, onto some pics and details ('scuse the pun :lol: )
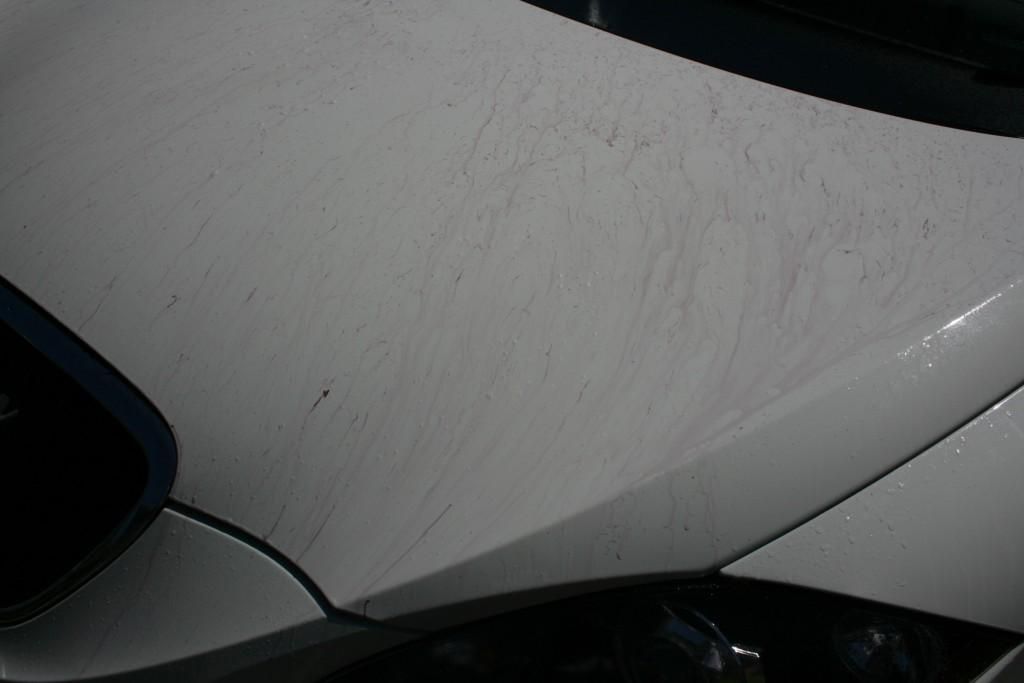
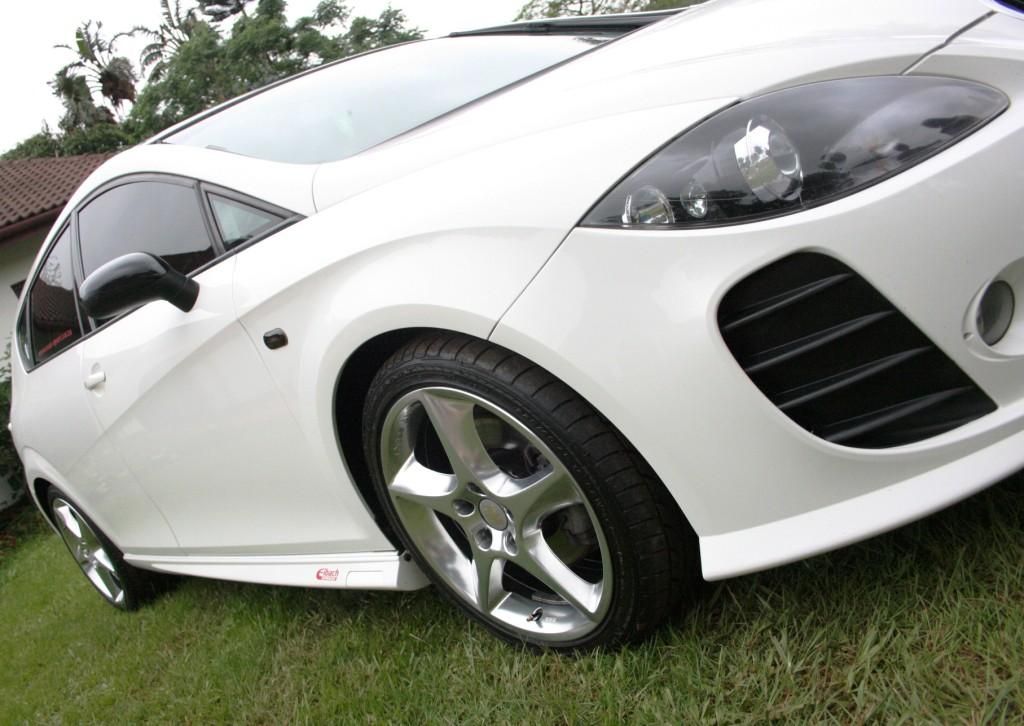
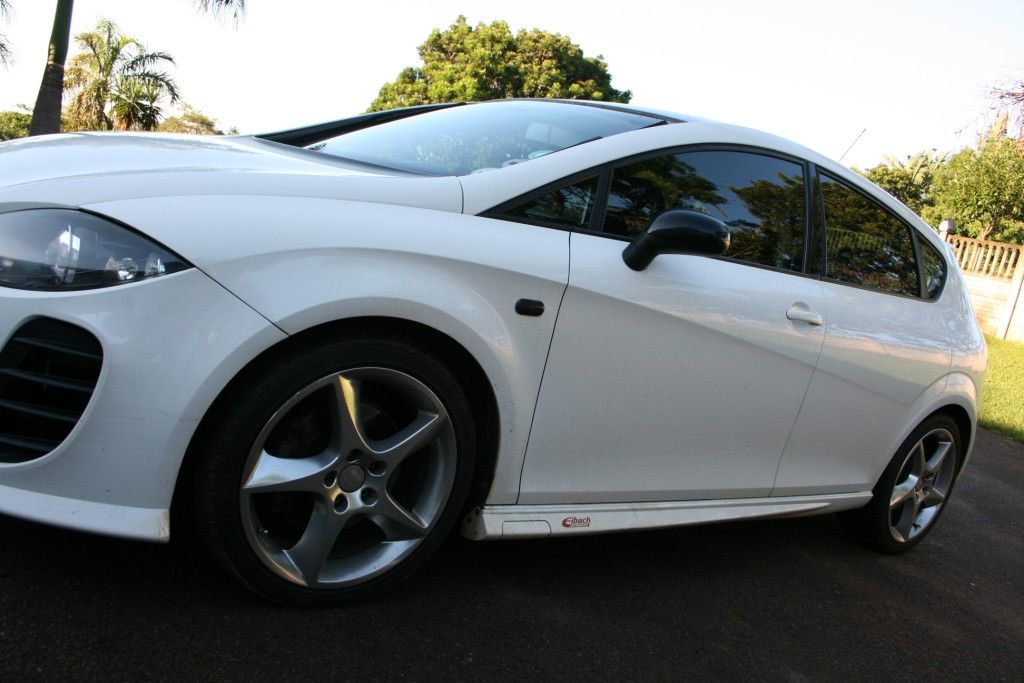
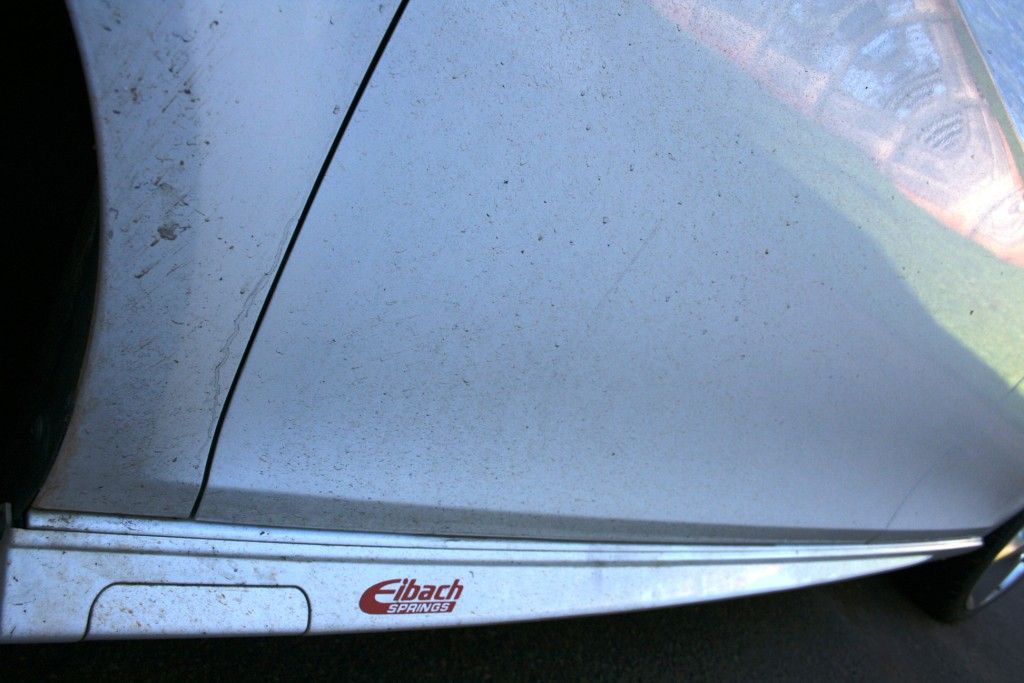
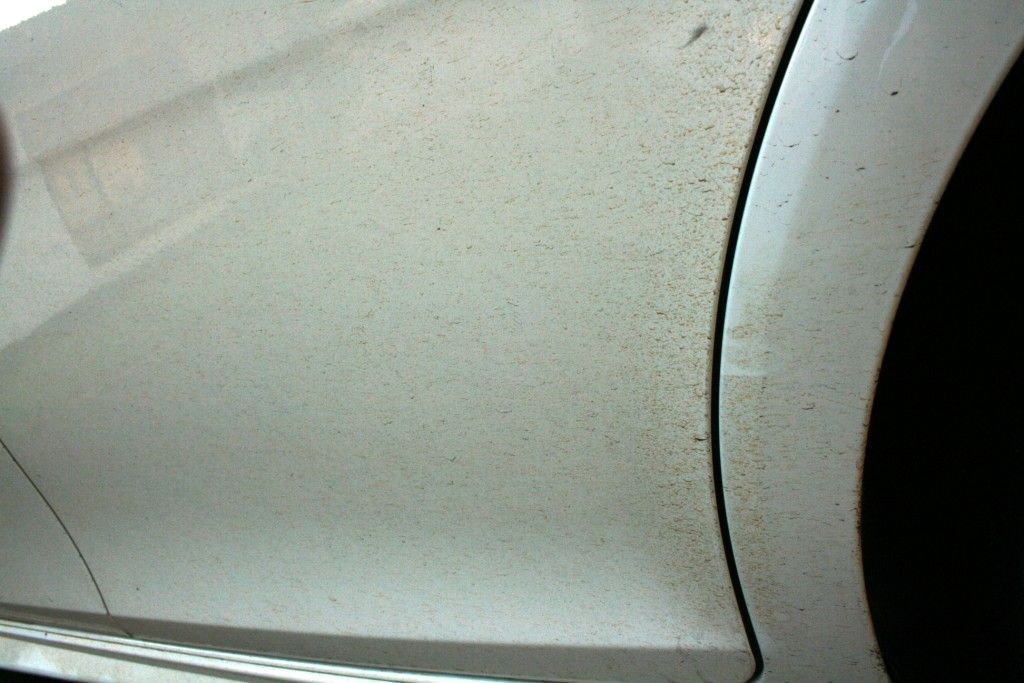
On arrival the vehicle was covered in surface dirt
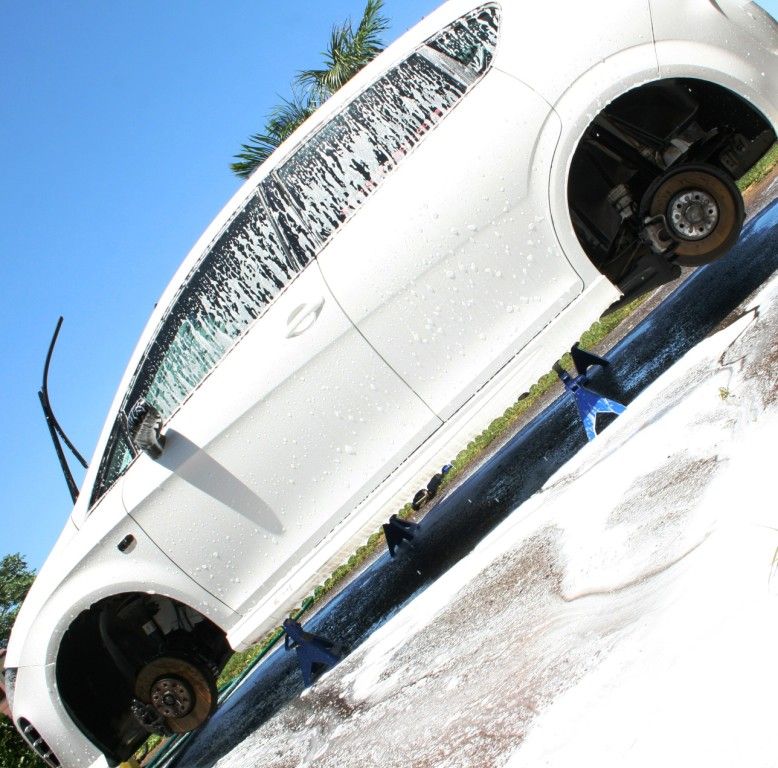
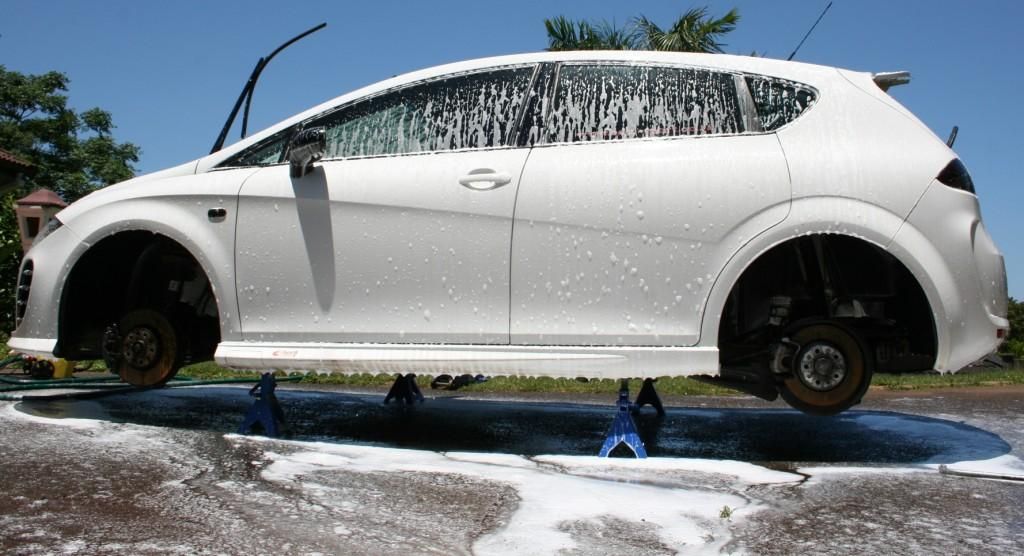
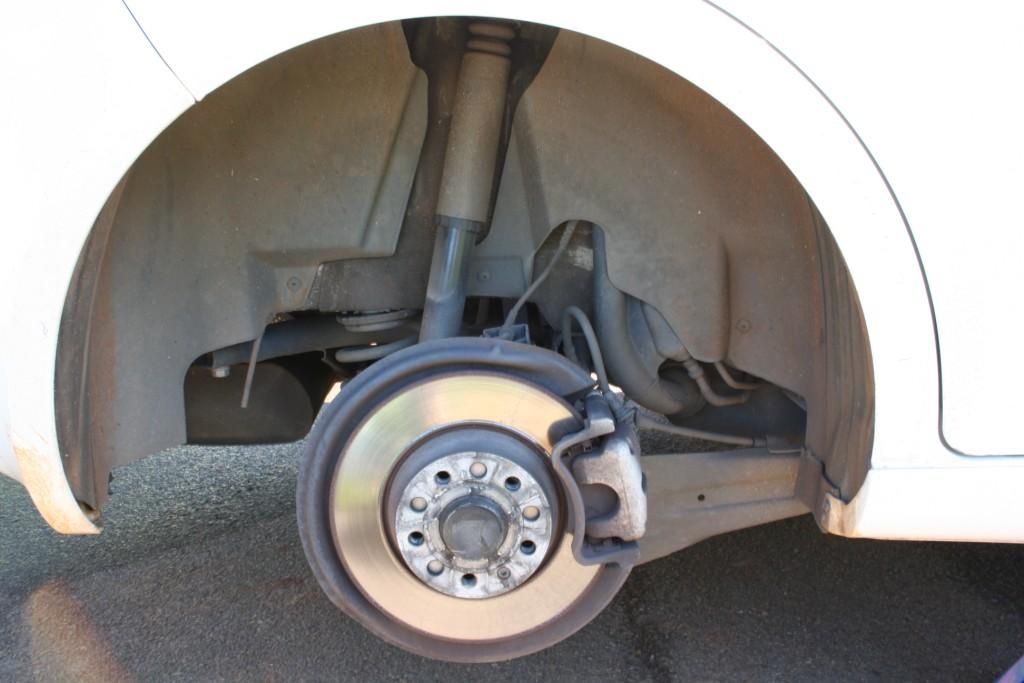
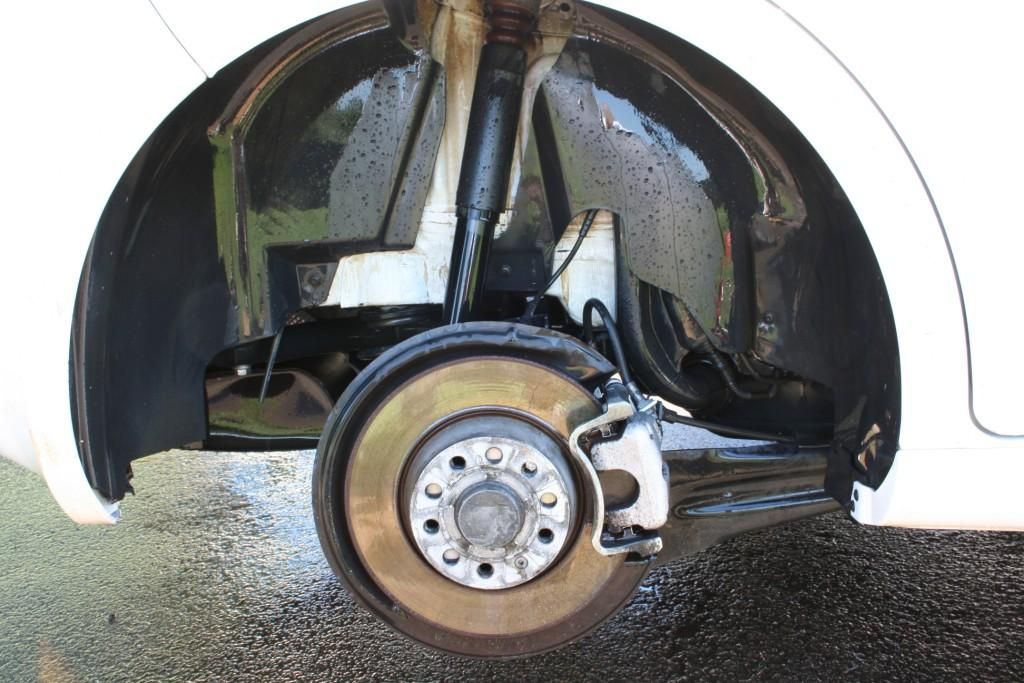
First order of business was to get the car jacked up and on axle stands and the wheels off so I could clean the wheel arches
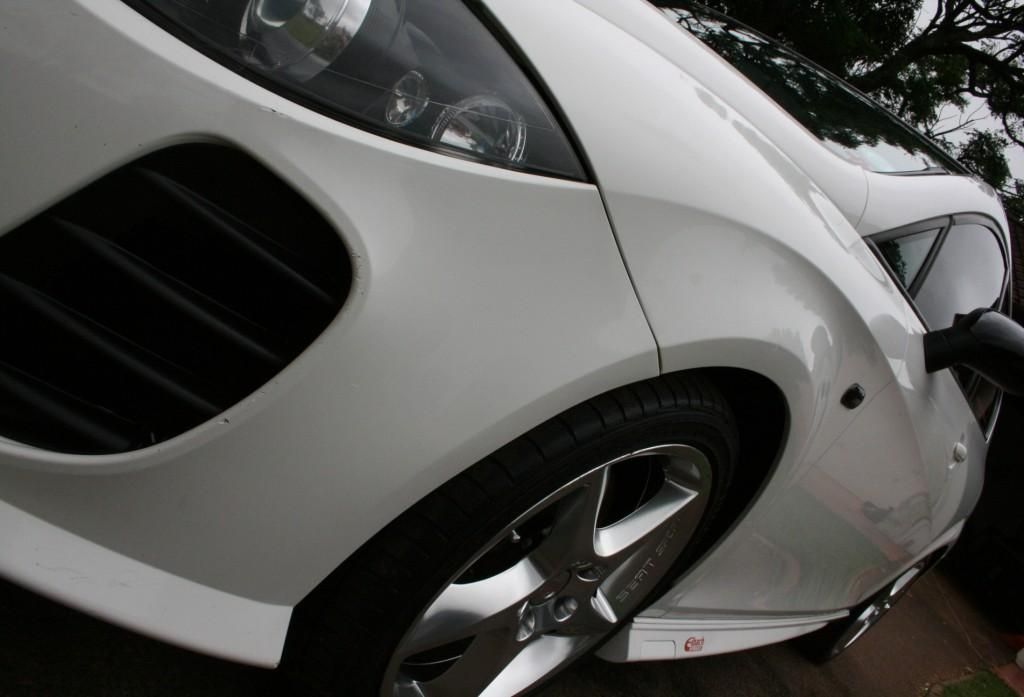
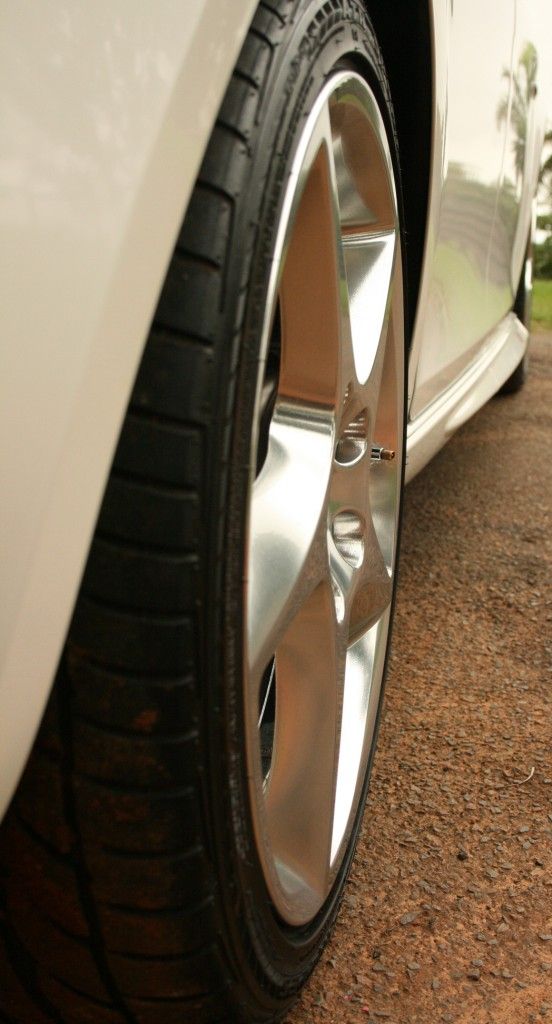
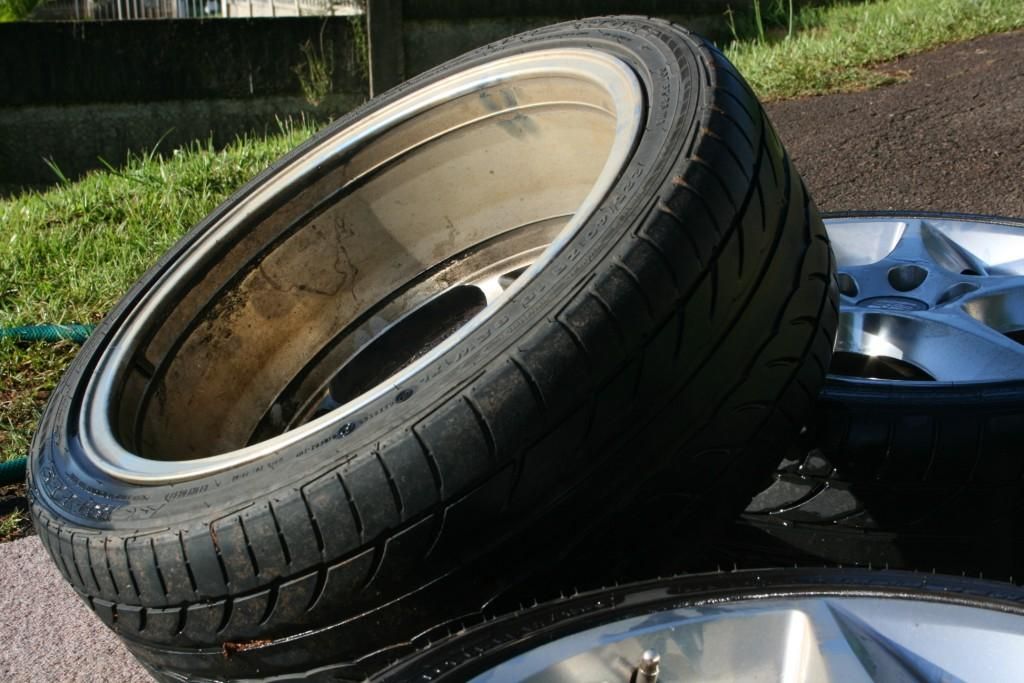
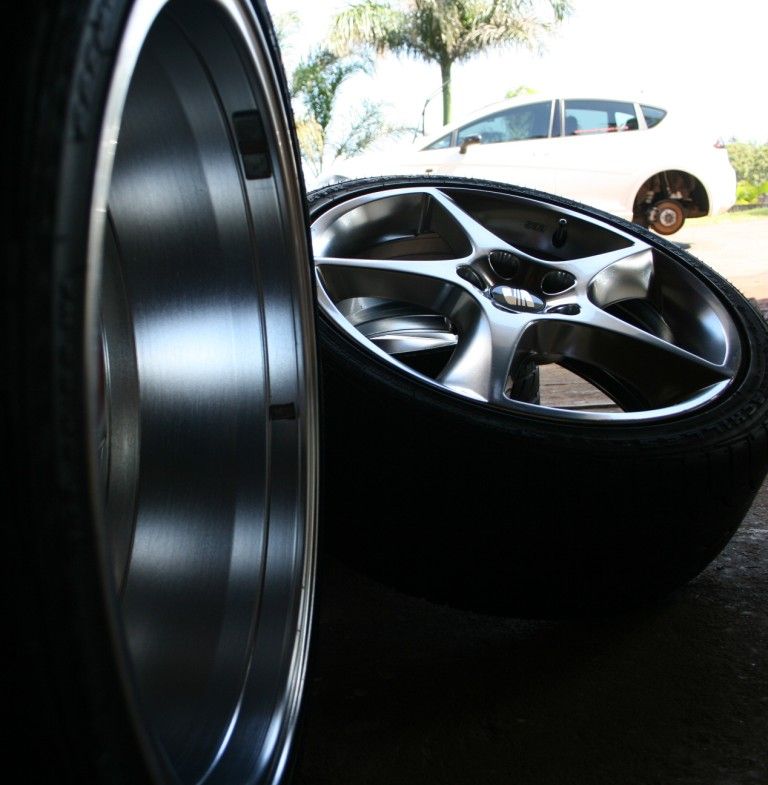
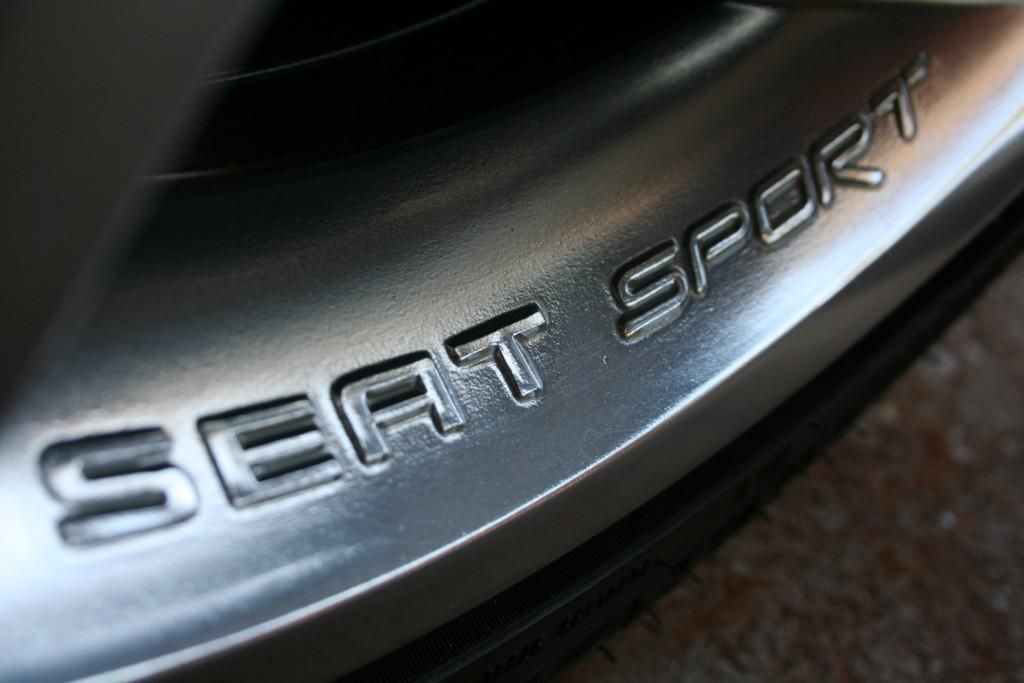
Then I moved onto the wheels themselves. They were in relatively good condition but did have a few curb rashes, the odd scratch and a few random stains around the valves.
Before
After wash with dedicated wheel cleaner
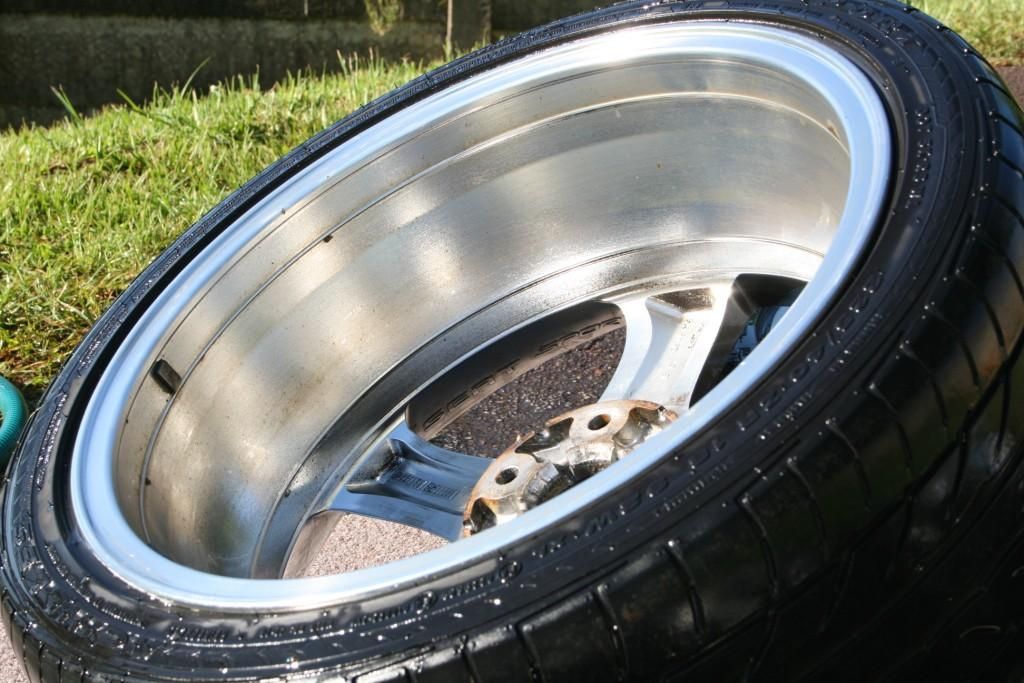
Looking good right.... wrong
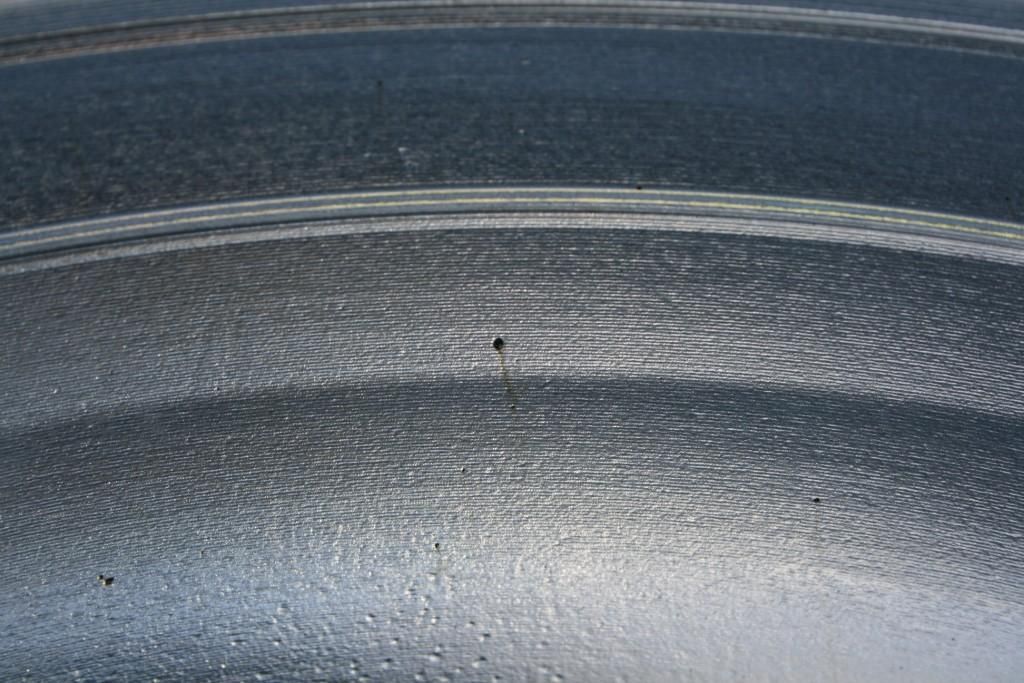
On closer inspection a few tar spots were found and these were then removed with Autfiness ObliTARate
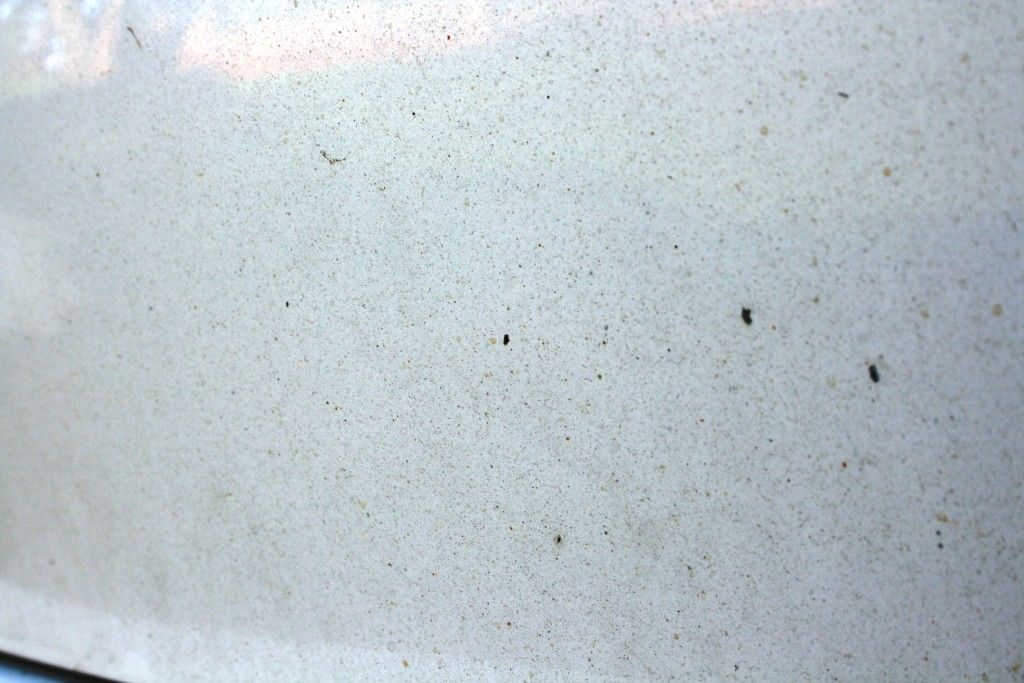
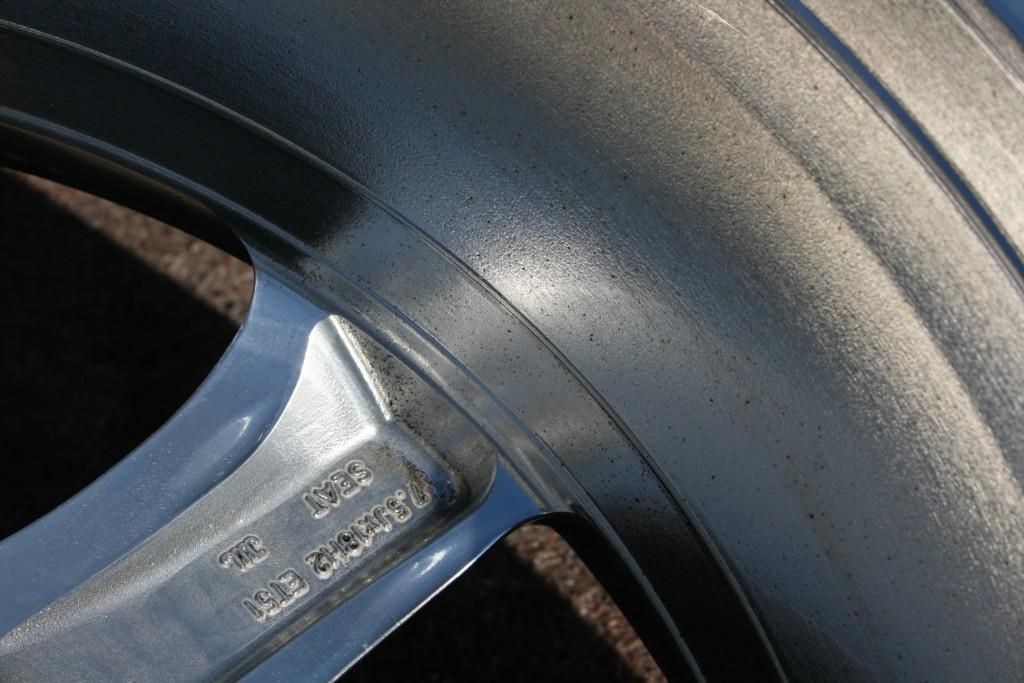
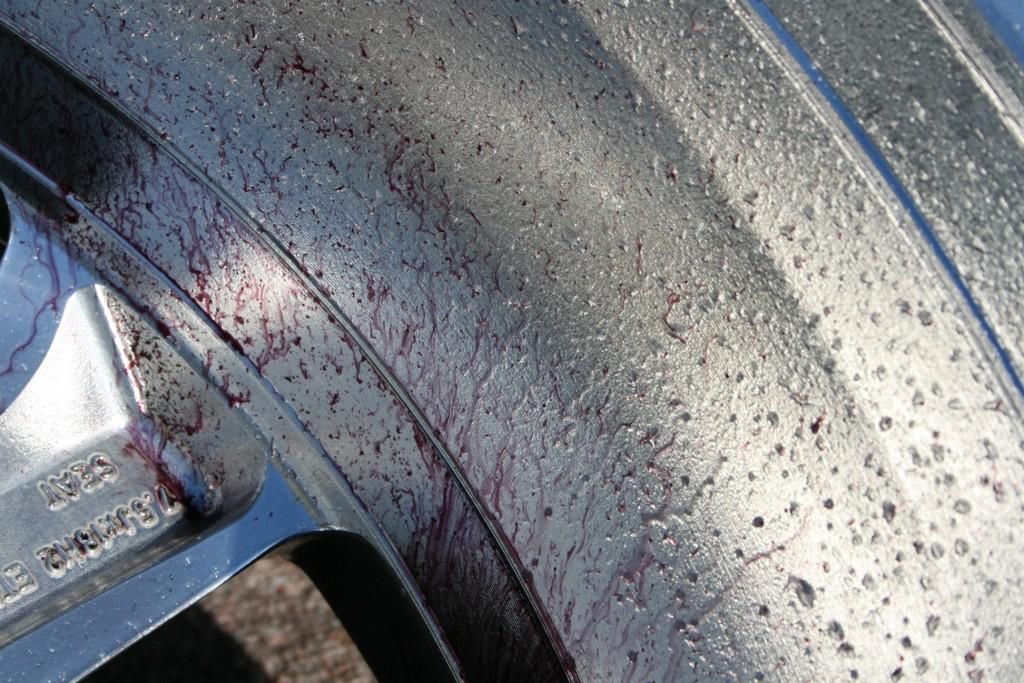
and then some more 'nasties'.... a buildup of embedded brake dust and other iron particles
Iron-x at work
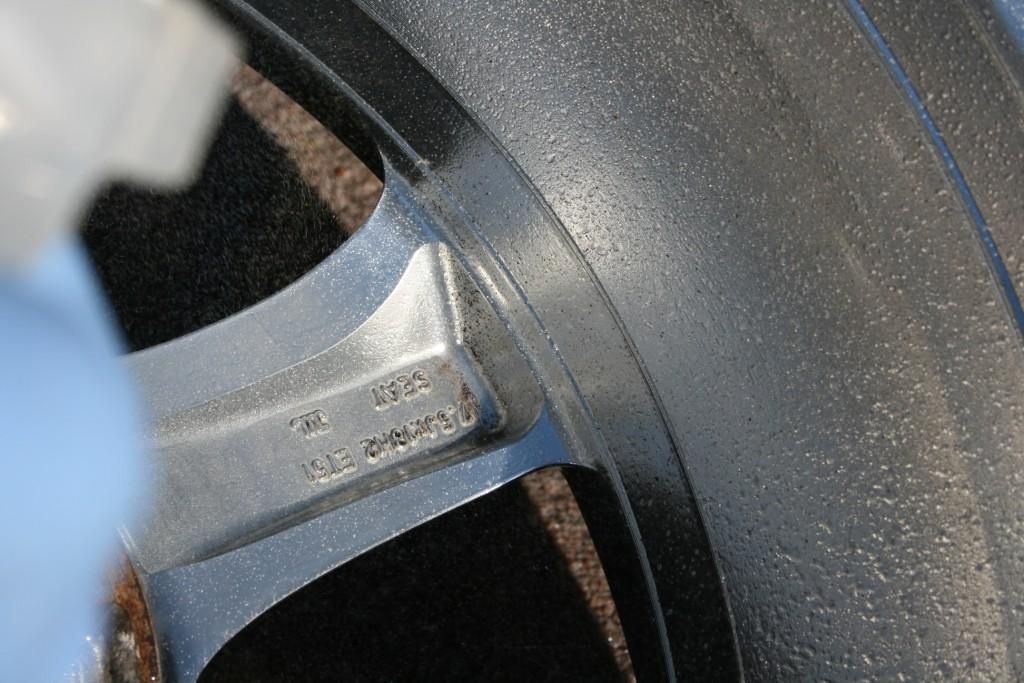
Starting to react with the iron
Once all were cleaned they were then clayed and polished with Meguiars All Metal Polish and then finally sealed with Collinte # 845 and tires treated with Turtle Wax tire dressing
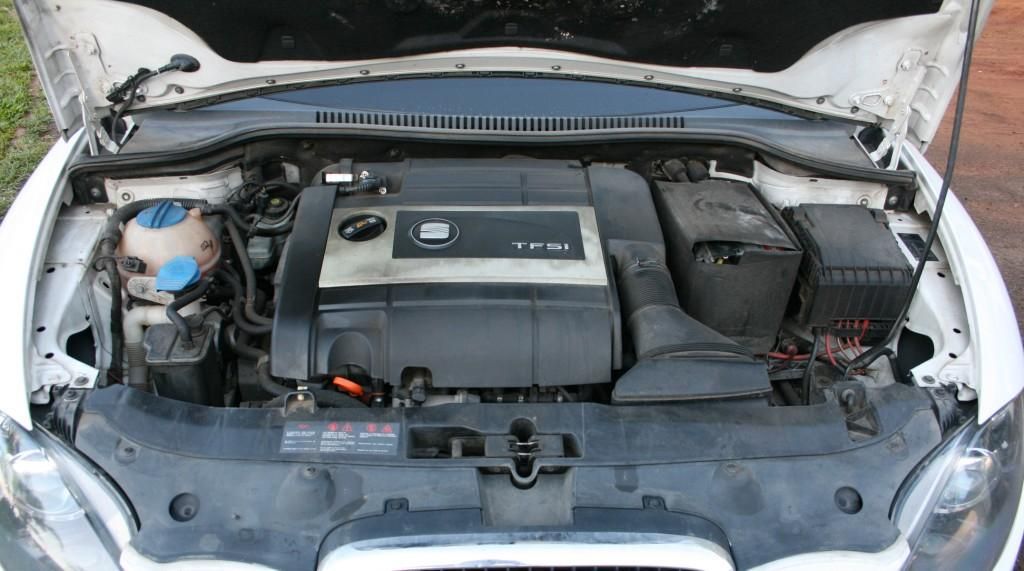
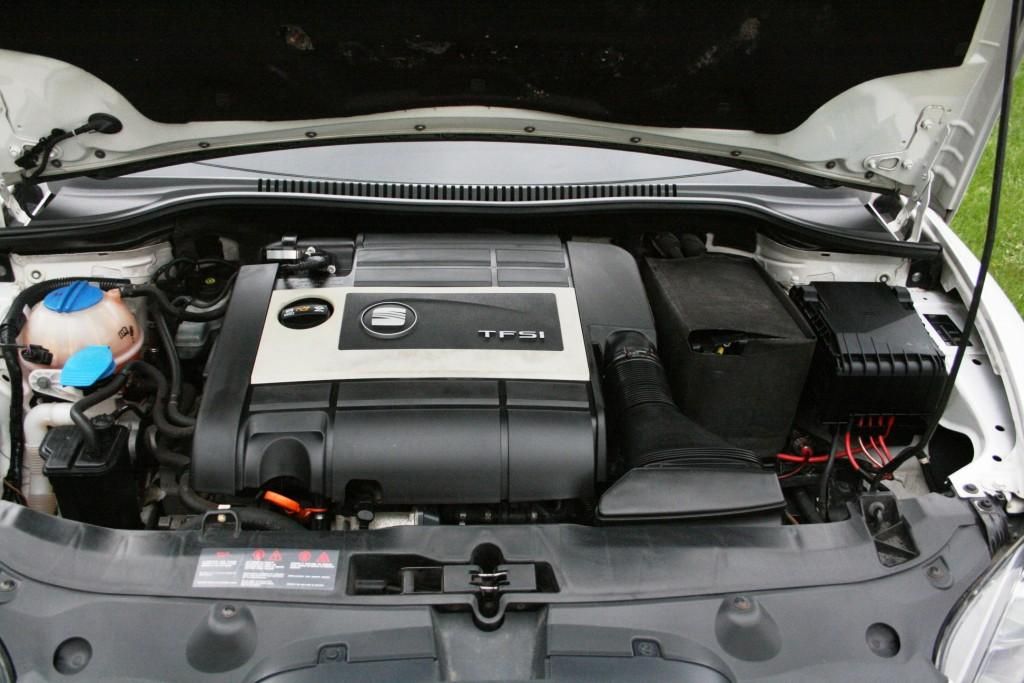
I then moved onto the engine bay which was just given a quick clean up
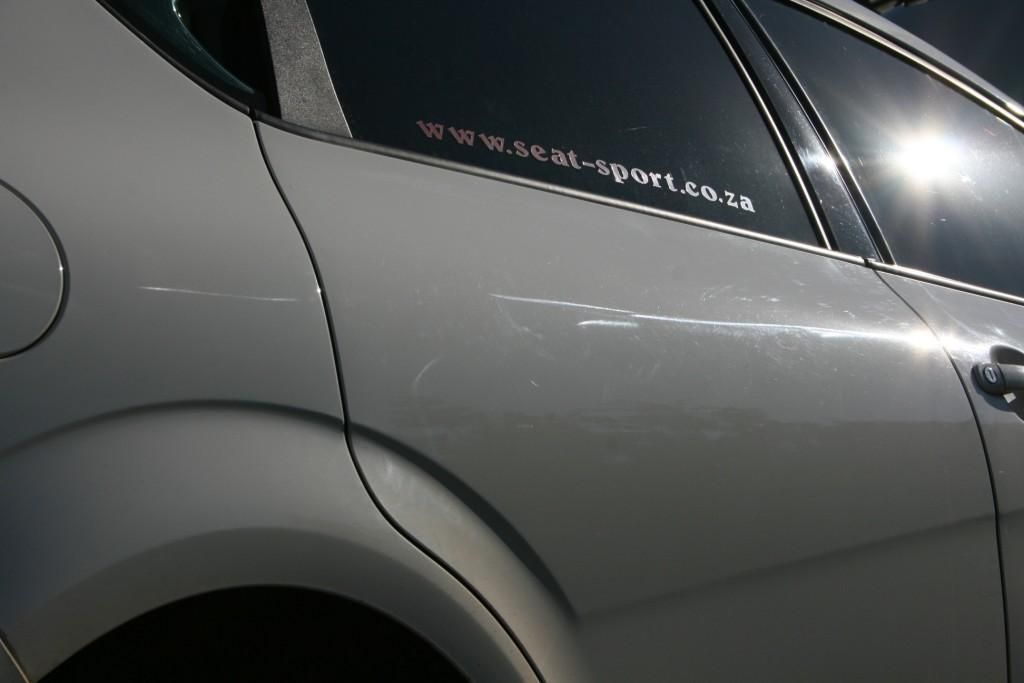
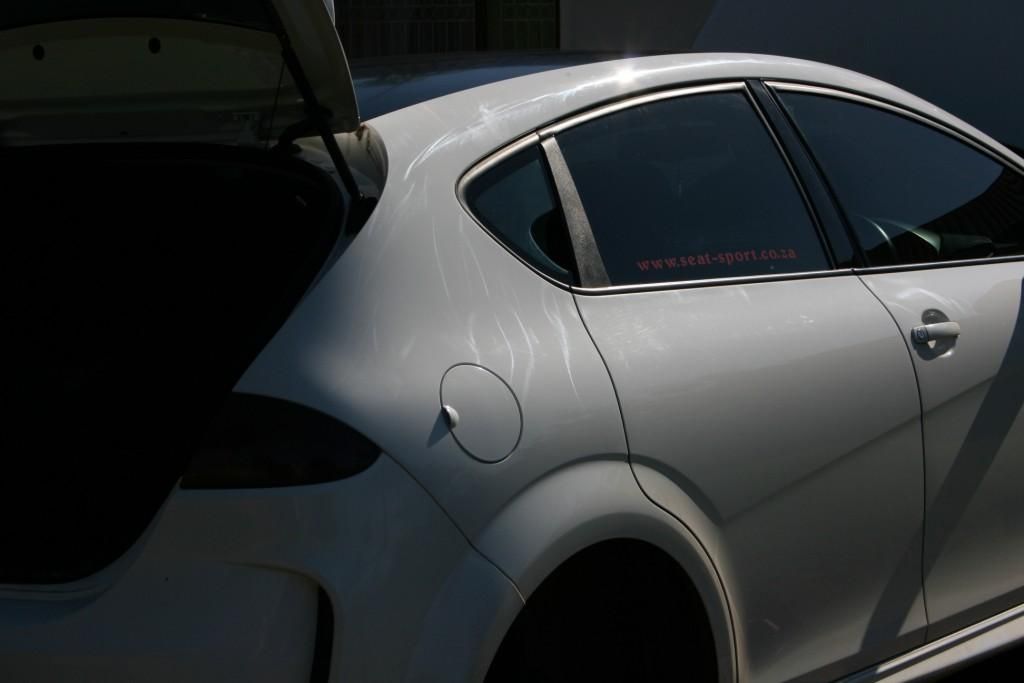
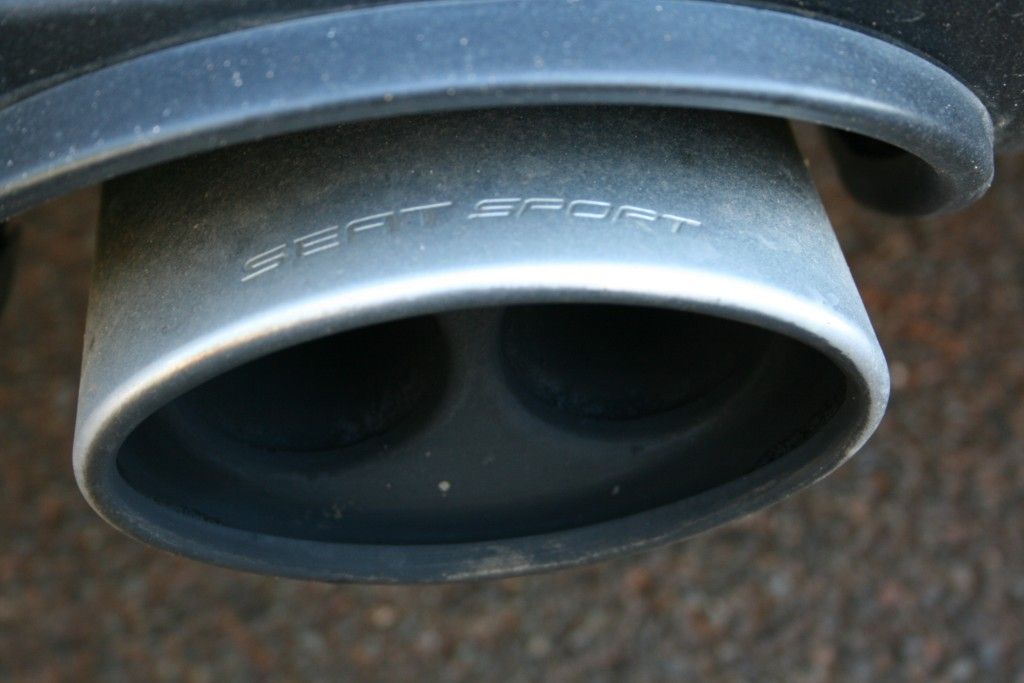
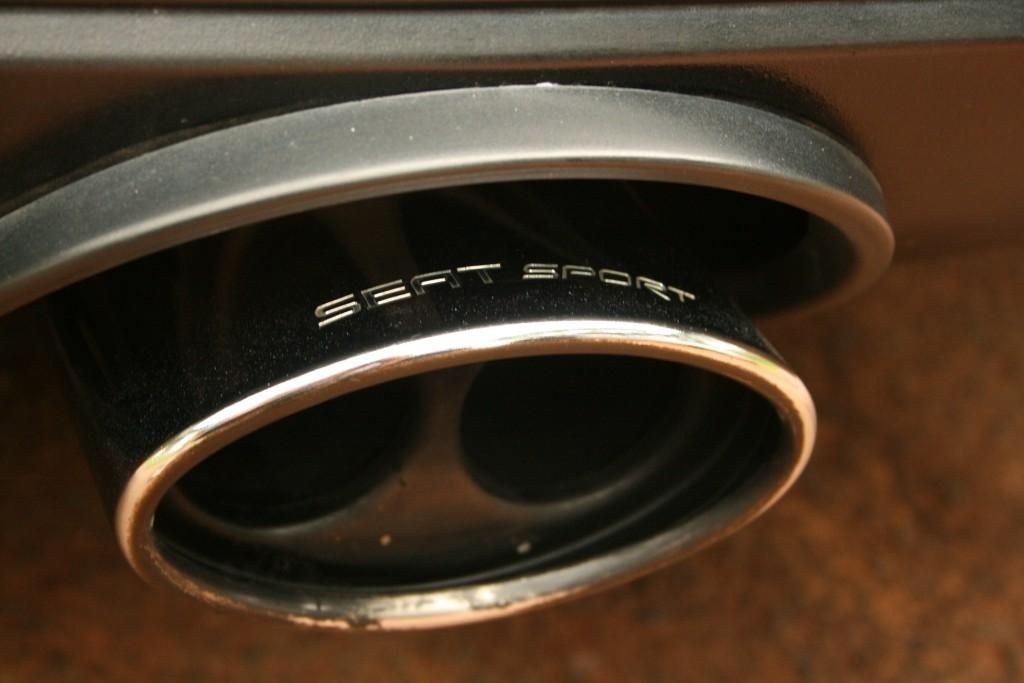
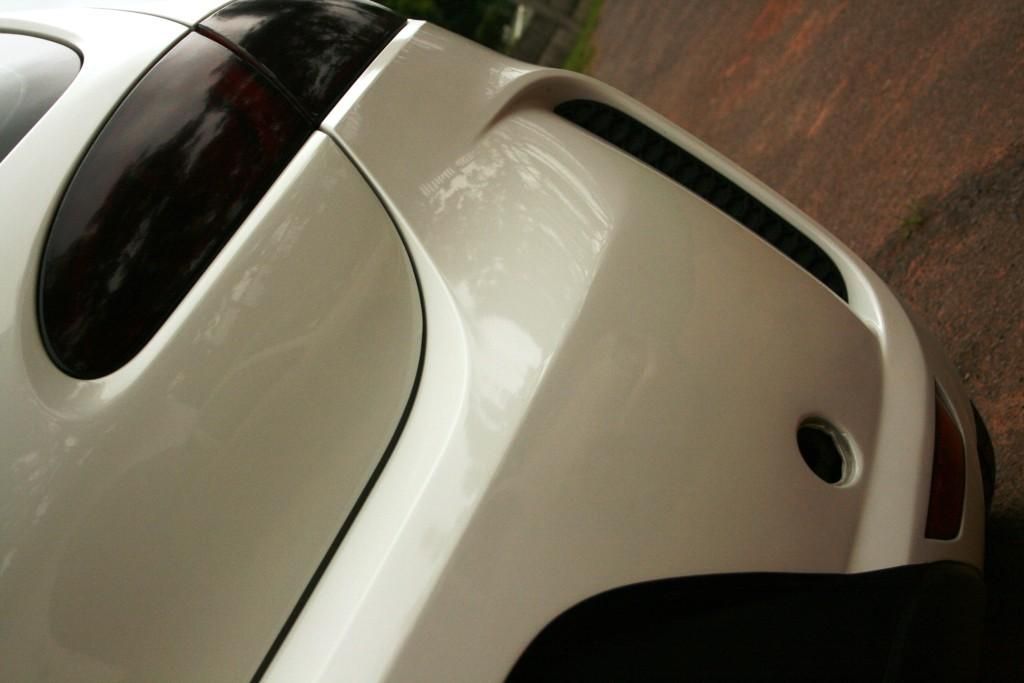
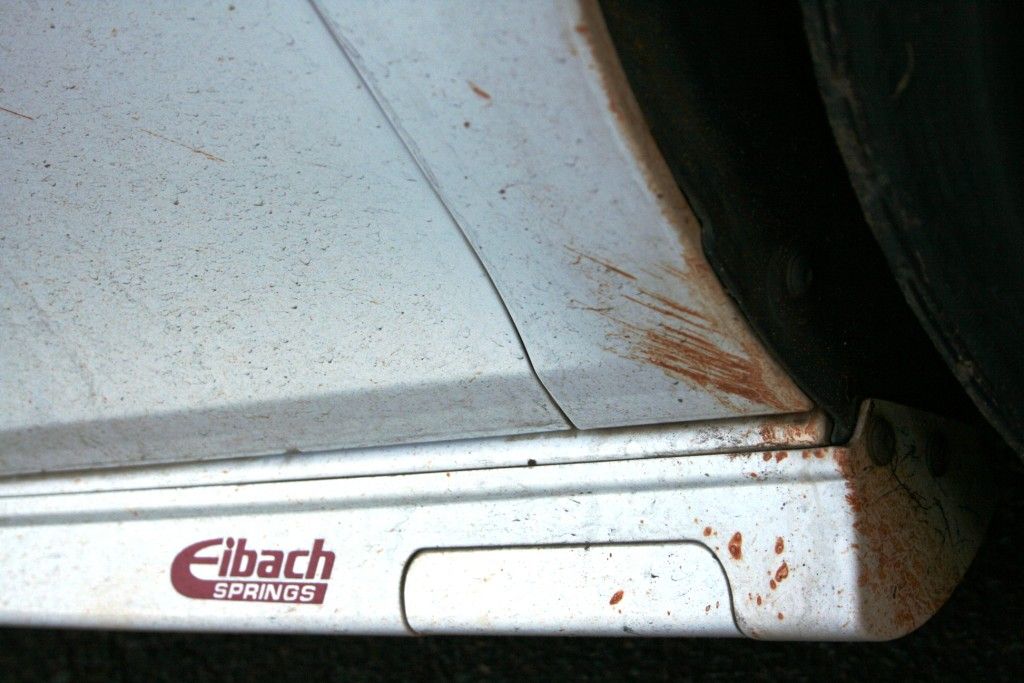
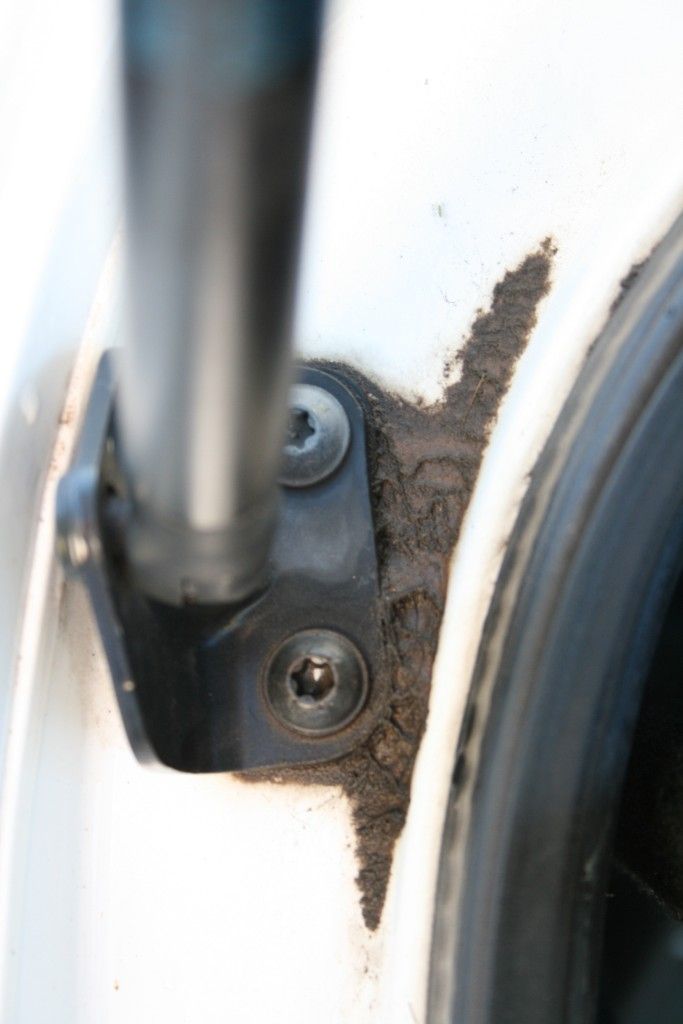
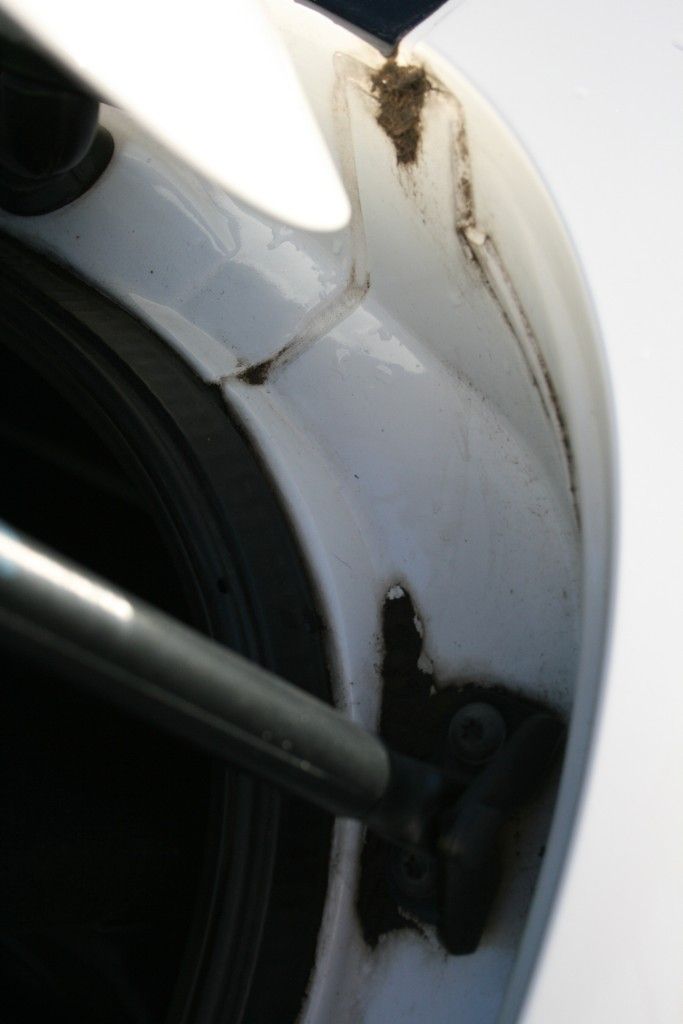
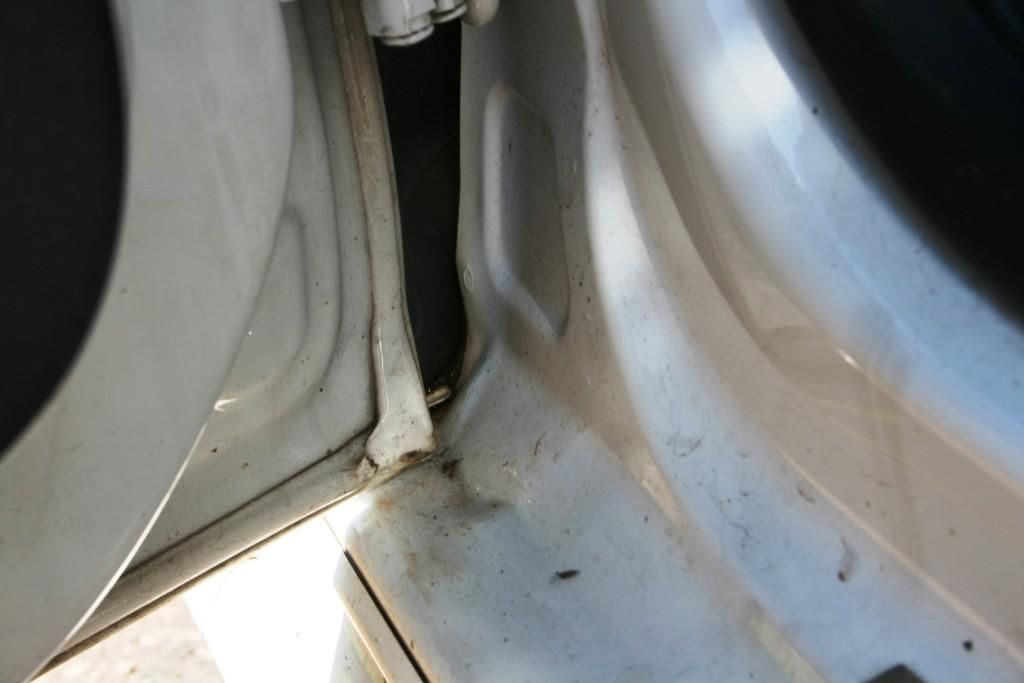
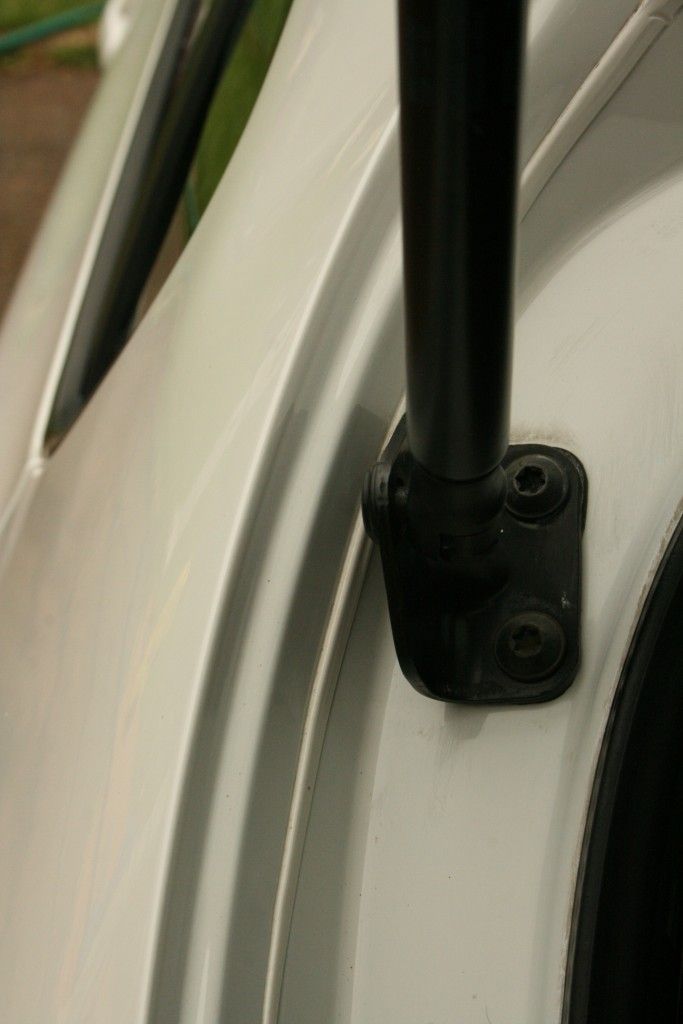
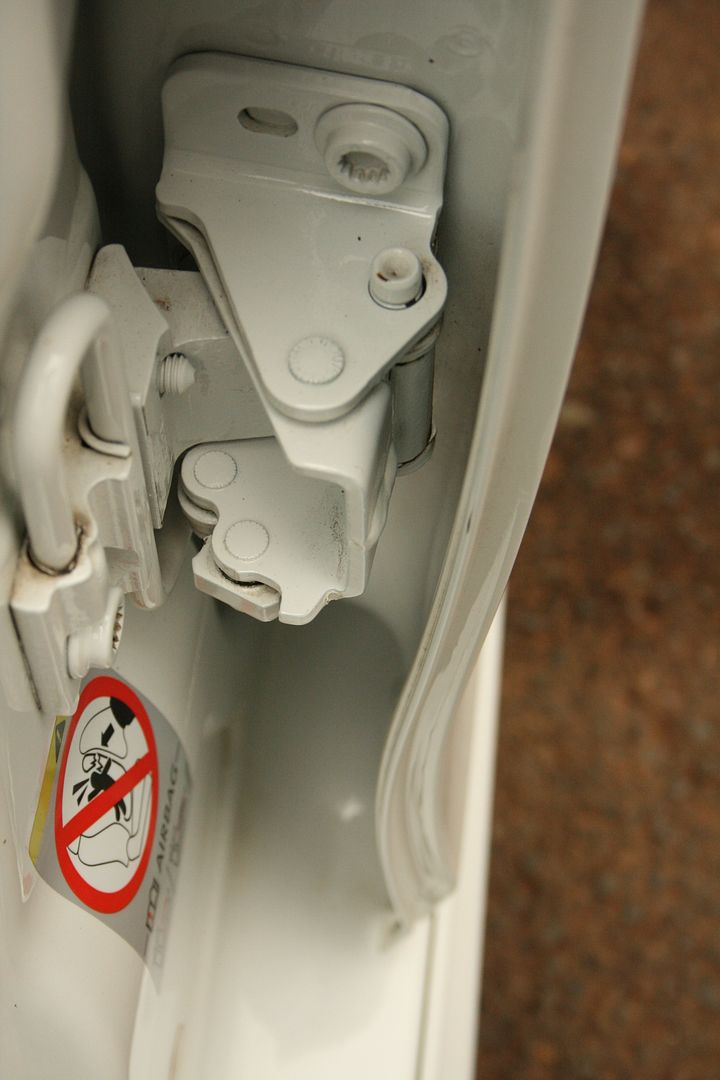
Once this was completed it was time to clean out the door and boot jambs, petrol cap, around badges and emblems etc which were cleaned with a combo of Autofiness Citrus Power Wash and Cyclo CM 30 APC
Before
After
It only came back on at 20:00 on Sunday evening and I managed to squeeze in another 3 hours of polishing before calling it a night :yawn: Fortunately the client was not in a rush for the vehicle and I therefore had the opportunity to finish it off during the day yesterday (was at home anyway as the spawn's school was closed for Diwali).
So, onto some pics and details ('scuse the pun :lol: )
On arrival the vehicle was covered in surface dirt
First order of business was to get the car jacked up and on axle stands and the wheels off so I could clean the wheel arches
Then I moved onto the wheels themselves. They were in relatively good condition but did have a few curb rashes, the odd scratch and a few random stains around the valves.
Before
After wash with dedicated wheel cleaner
Looking good right.... wrong
On closer inspection a few tar spots were found and these were then removed with Autfiness ObliTARate
and then some more 'nasties'.... a buildup of embedded brake dust and other iron particles
Iron-x at work
Starting to react with the iron
Once all were cleaned they were then clayed and polished with Meguiars All Metal Polish and then finally sealed with Collinte # 845 and tires treated with Turtle Wax tire dressing
I then moved onto the engine bay which was just given a quick clean up
Once this was completed it was time to clean out the door and boot jambs, petrol cap, around badges and emblems etc which were cleaned with a combo of Autofiness Citrus Power Wash and Cyclo CM 30 APC
Before
After