Deep Gloss: Jet Black 2010 BMW M3 - HACKED!

Joined
Jun 16, 2007
Messages
2,038
Reaction score
0
Deep Gloss Auto Salon

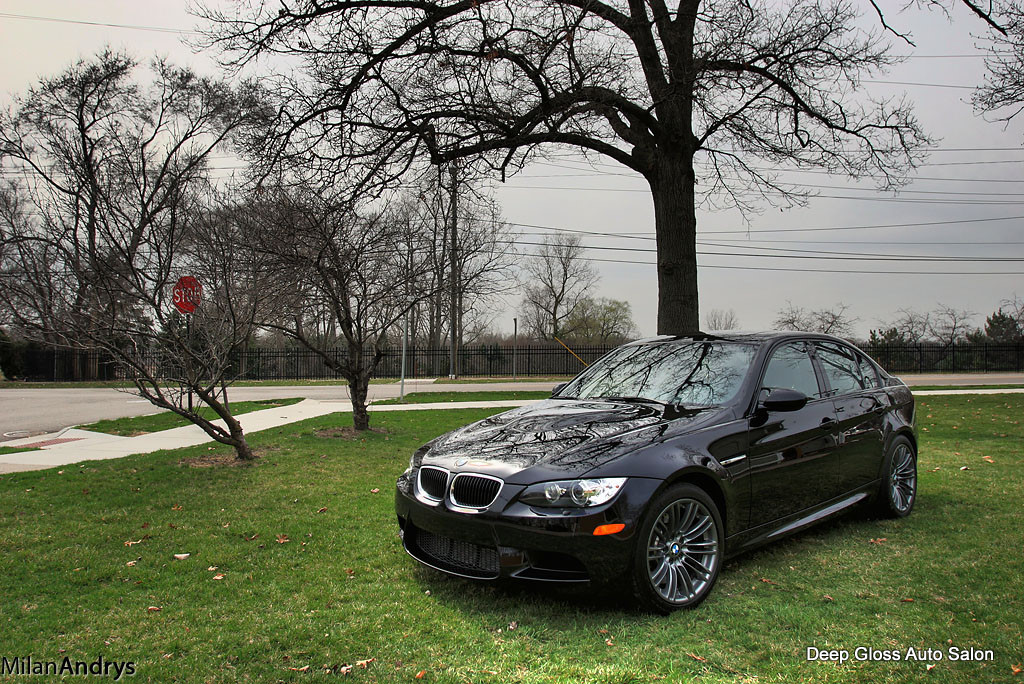
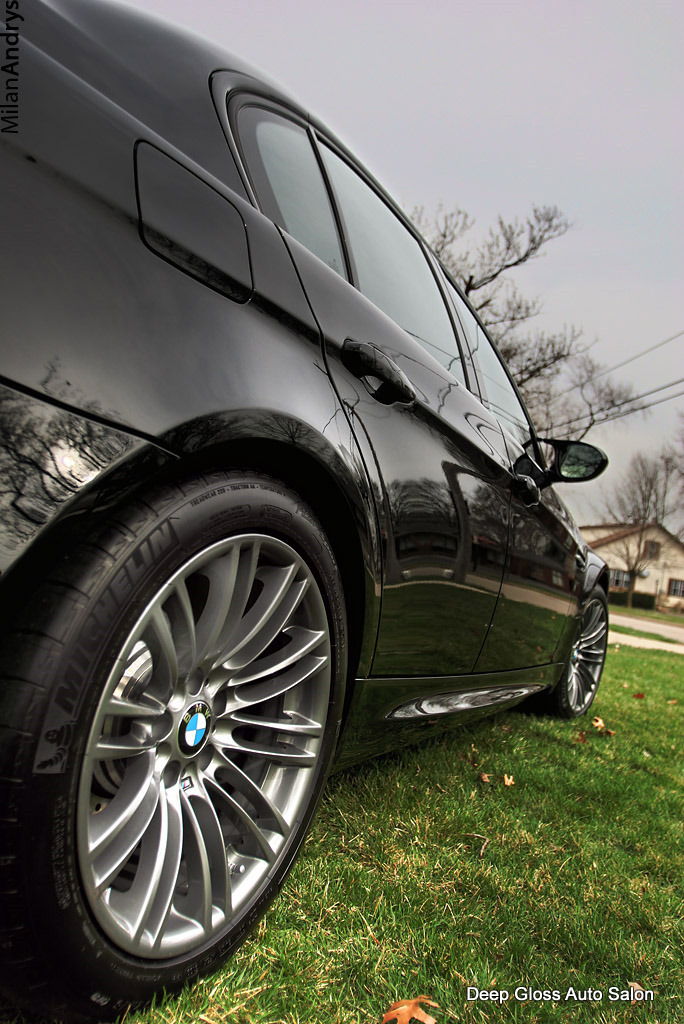
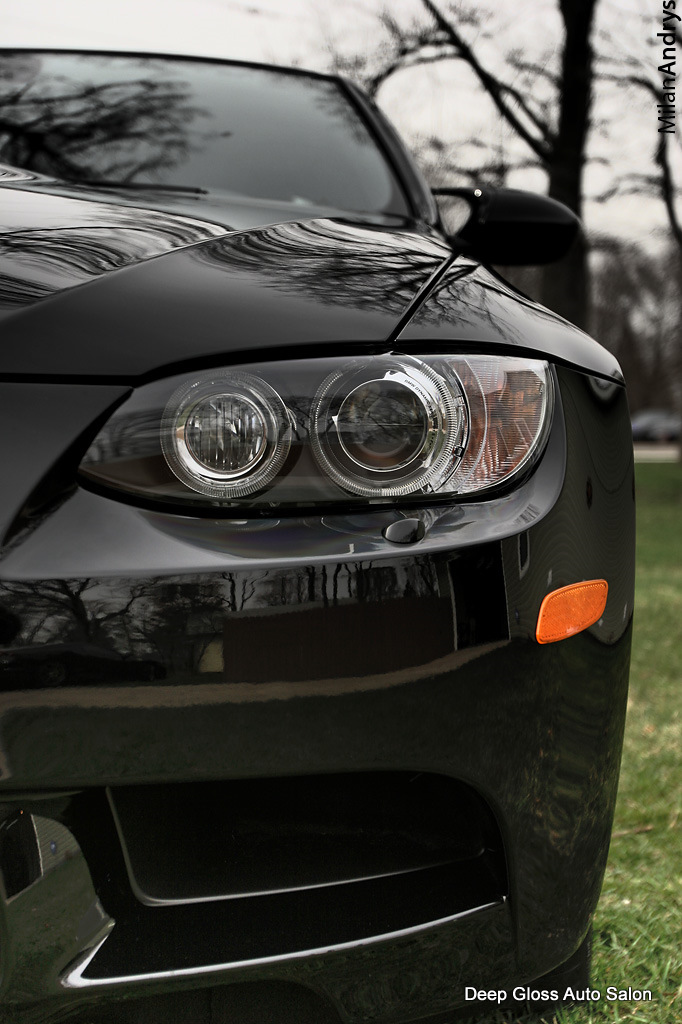
2010 BMW M3 in Jet Black
Saved From the Hackers


IMG_2412.jpg


The owner of this beautiful M3 knew all to well the difficulty in getting a Jet Black bimmer with perfect paint let alone keeping it that way. For this reason he factory ordered this beauty as well as instructed the dealership to not wash his vehicle.

When he went to pick up his vehicle I am sure you can imagine his horror when he was greeted with a swirled up mess. Unfortunately the dealership took it upon themselves to be so kind as to treat his new machine to a “Hand Wash” as they so proudly touted.


When the owner expressed his dissatisfaction the dealership reassured that their “Hand Wash” could not have been the culprit but, they would send this out to a detail shop and have the problem rectified.

Want to guess how that turned out?

Fast forward to when the owner picks up the car after being “detailed”. The vehicle looked no better that before (worst actually), as the dealer explained it the detail shop “was not able to remove the swirls”, they also informed the owner that this is “how all cars look, swirls are just inherent to paint”…..

As you will see, not only was the detail shop not able to remove the heavy wash induced swirls but they were also kind enough to leave evidence of their shoddy work in the form of holograms throughout and left over compound/wax etc.

So, as they say… On with the show!

As always the cleansing process started with the wheel areas. Products used were

Chemicals:
AutoGlym Custom Wheel Cleaner: Used on rims and tires
Meg’s Super Degreaser: Used on arches

Tools:
Raceglaze XL Brush: Used for barrels on rims and to get into small clearance to scrub arches
Black Magic Tire Brush: used to scrub tires
Wash Mitt: Used to clean face of rims
Megs Wheel Brush: Used to clean face of rims
WheelToolsandChems.jpg


AG CWC hard at work.
IMG_2400.jpg


After the wheels/arches/tires were sorted out it was time to clean the paint.
Wash process is below:

Entire exterior generously pressure washed
Entire exterior generously showered with foam cannon (Chemical Guys Citrus Clear) and left to dwell for 5 minutes
Entire exterior generously pressure washed
Entire exterior generously showered with foam cannon (Chemical Guys Citrus Clear) and left to dwell for 5 minutes
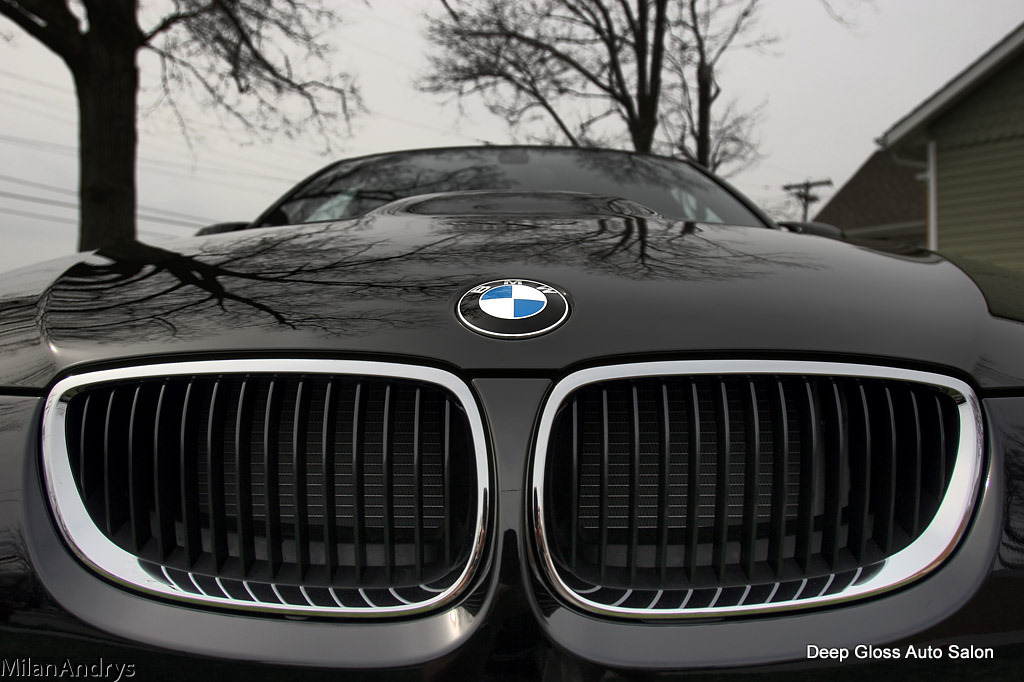
While foam was dwelling the emblems and crevices were cleaned with Megs slide lock brush and bucket of diluted Chemical Guys Citrus Clear
Entire exterior generously pressure washed
Exterior was clayed with Riccardo yellow clay and ONR as lube
Entire exterior generously pressure washed
Exterior was blown dry and then dried with waffle weave micro fiber towels

Thick layer of foam working its magic
IMG_2401.jpg


After dwell time
IMG_2403.jpg


Condition of “freshly detailed” car by bimmer approved detail shop???? As can be seen there was a consistent level of scratches/marring/swirls/holograms throughout the entire paintwork of this vehicle.
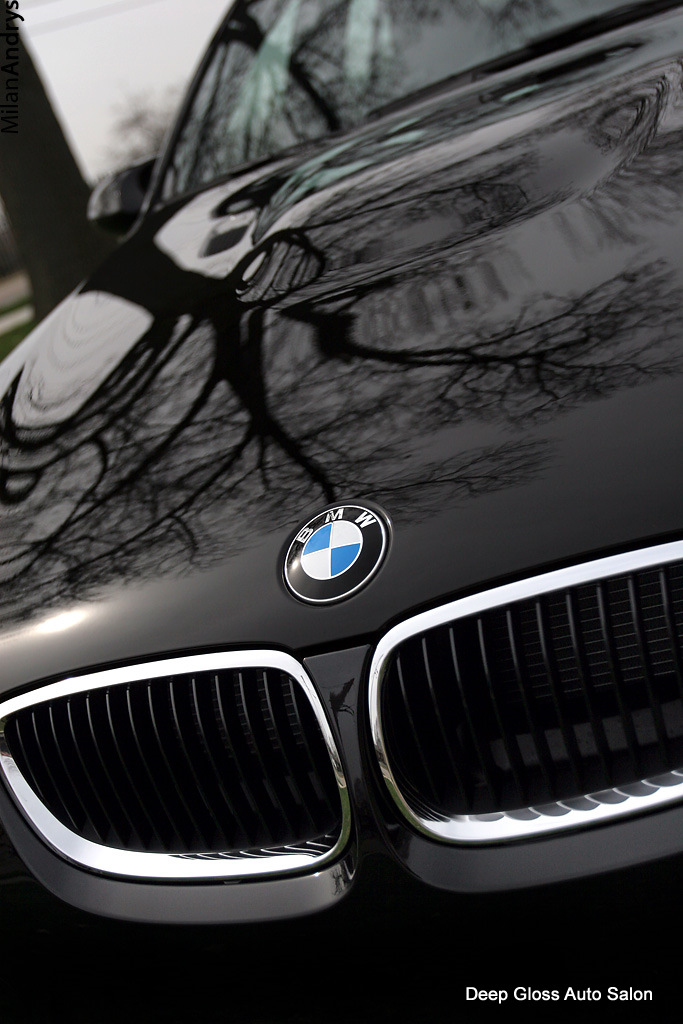
Hood Before:
HoodBefore2.jpg

HoodBefore.jpg

HoodBefore15.jpg


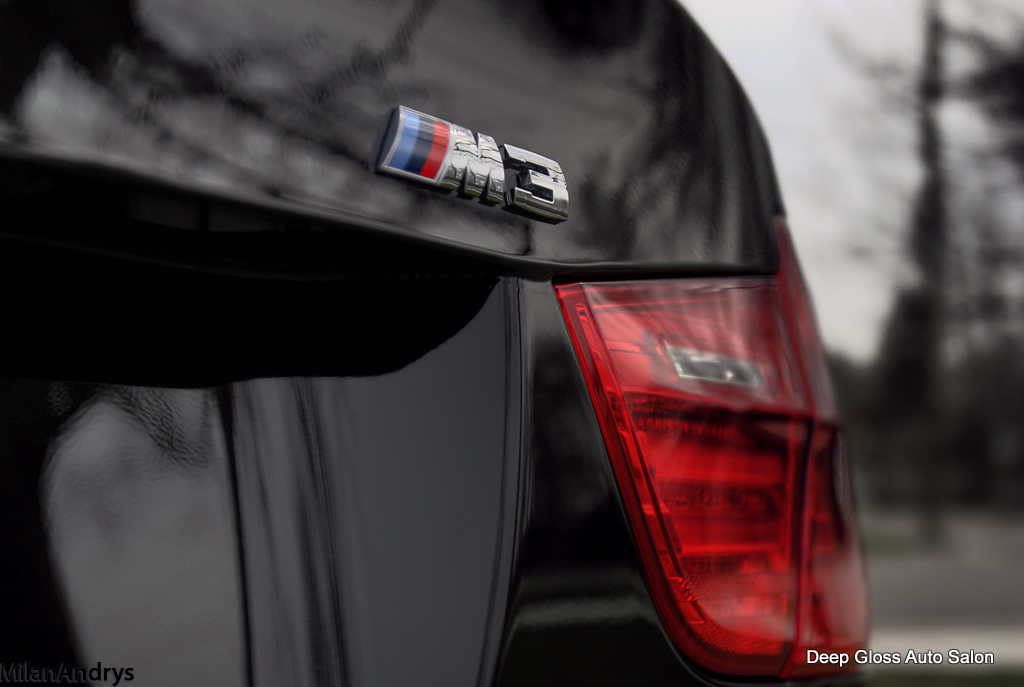
Rear Deck Lid Before:
DeckLidBefore2.jpg

DeckLidBefore3.jpg

DeckLidBefore.jpg


Drivers Side C Pillar Before:
DriversCPillar.jpg


Drivers Door Before:
DriversDoorBefore.jpg


Drivers ¼ panel before:
DriversFrQrtBefore2.jpg


Nice holograms even on the side lip of hood before:
DriversFrQrtBefore.jpg


Drivers Rear ¼ Panel Before:
DriversRrQrtBefore.jpg


Passenger C Pillar Before:
PassCpillarBefore.jpg


Passenger Door Before:
PassDoorBefore.jpg


Mirror Housing Before:
PassMirrorHousing.jpg


Roof Before:
RoofBefore.jpg
 
Continued.....

Paint Correction:

As always, a test section was isolated in order to identify the best method for correcting the paint while removing as little clear coat as possible.

MANY different polish/pad combos were used. This paint was different than the soft Jet Black bimmer paint of yesteryear which is not necessarily a bad thing considering how ridiculously soft it used to be but, this paint presented its own set of obstacles such as:

I used several different combos with my Makita 9227 and I was not getting the results I wanted… Medium pad/polish combo did not correct the paint so I decided to try wool.. The wool just tore the paint up and created more work just to clean up after the wool. Anything I tried with my Makita delivered sub standard results

What I realized was that this paint responded better to a DA machine so, out came my new Megs V2 DA… Viola, we are in the money

The process I dialed in was as follows:

Megs 105 with orange LC pad (two times)
Menzerna SIP with white LC pad
Menzerna 106ff with black LC pad
Menzerna 85rd with red LC pad
91% IPA wipedowns (multiple) to ensure true correction

Some in process shots

Test Spot Before:
TestSpotBefore.jpg


Sun validation of my process on the test spot (prior to 106/85rd):
TestSpotAfterNo106ff.jpg


Half and Half shot after all compounding / polishing steps (please excuse polish residue at bottom of panel):
50_50-1.jpg


After all paint correction was completed the vehicle was given a final wash to ensure all polishing oils/dust etc was removed.

Exhaust Tips: Never Dull & Surf City metal polish
DSC02504.jpg

DSC02505.jpg

DSC02508.jpg


Used 303 wipes for the 1st time
DSC02509.jpg


Tires/Wheels/Arches
Tires: Surf City Beyond Black Dressing
Have to get the full tire dressed right…OCD much?
DSC02512.jpg

Rims: Optiseal
DSC02511.jpg

Arches: Chemical Guys Bare Bones
Rubber Seals: 1Z Gummi Pfledge
Windows: Surf City Clearly Better
Engine: ONR wipe down/ dressed with CD2 engine dressing
Chrome bagding, appliqués, trim: Duragloss 501
Exterior plastic trim: Ultima or Duragloss 253
 
Continued......

LSP was Rubbish Boys OE.

Sun Shots:
DSC02501-1.jpg

DSC02503-1.jpg


This is a fun sun shot…

From this:
HoodBefore2.jpg


To this:
DSC02502-1.jpg


Beauty Shots:
IMG_2417-1.jpg

DSC02539-1.jpg
[/FONT]
DSC02543-1.jpg

IMG_2433-1.jpg


Indoor gloss shot
IMG_2456-1.jpg


HDR beauty shots:
4488759970_8593923cbc_o.jpg

4488110201_4116149820_o.jpg

4488110141_9bc43feb0b_o.jpg

4488110087_b045c11d30_o.jpg

4488110017_8318725a93_o.jpg

4488759478_c3e680b482_o.jpg


Always Leave a Card (or two)
DSC02554-1.jpg


Thanks for looking!
 
Last edited by a moderator:
:drool::bowdown:

To both the work and that beautiful car (after you were done with it :dblthumb2:)!!!!
 
Nice job, now where are the pictures of the Scuderia behind it?!
 
Jason..I would have blown chunks on his hood after seeing that! Great save, buddy, great save! Hopefully he takes your bill and shoves it up the dealer's ass!
 
Wow.... what a disgrace. Maybe send some pics to the dealer and so called detailer showing what a real detailer can do. I've only machine polished a car once and I didn't even leave swirls or holograms.
 
Wow.... what a disgrace. Maybe send some pics to the dealer and so called detailer showing what a real detailer can do. I've only machine polished a car once and I didn't even leave swirls or holograms.

Agreed... Totally unnaceptable

That is the plan....

Jason..I would have blown chunks on his hood after seeing that! Great save, buddy, great save! Hopefully he takes your bill and shoves it up the dealer's ass!

Hey Richy!

Thanks man.... That is the plan.. (well not exactly)...lol. Which is why the defects were documented (aka lotsa pictures)...

Nice job, now where are the pictures of the Scuderia behind it?!

Thanks Jon...:xyxthumbs:

I need to sort through the pictures on the Scuderia.. should be up in several days..

:drool::bowdown:

To both the work and that beautiful car (after you were done with it :dblthumb2:)!!!!

Thank you!

Outstanding! Nice save

Thanks jpegs
 
Awesome job Jason, I always enjoy seeing your details, since they are true details. :props:
 
Incredible work as ALWAYS Jason!! Also excellent write up, I enjoyed the story from start to finish (especially the way it ended/beautifully)! Thanks for sharing!
 
All I can say is......WOW!!, and that goes for both before and after. Cant believe what the dealer did to that car, and how nice you turned it around. Maybe you can show the dealer the before and afters, and let them know to bring future details to you instead of the other shotty, so called detailers
 
Nice save man! The dealership doesn't like to listen when you insist on them not touching the car do they? I guess they take pride in their hack jobs. Good work sir.....good work!
 
Awesome job Jason, I always enjoy seeing your details, since they are true details. :props:

Thanks Dana.. As always, I appreciate the kind words!:dblthumb2:

Incredible work as ALWAYS Jason!! Also excellent write up, I enjoyed the story from start to finish (especially the way it ended/beautifully)! Thanks for sharing!

Thanks a lot Tad!!

Nice save man! The dealership doesn't like to listen when you insist on them not touching the car do they? I guess they take pride in their hack jobs. Good work sir.....good work!

Thanks...

You are right, they really don't like to listen. That is why it is suggested to speak to the manager nd make sure he understands how serious you are!

All I can say is......WOW!!, and that goes for both before and after. Cant believe what the dealer did to that car, and how nice you turned it around. Maybe you can show the dealer the before and afters, and let them know to bring future details to you instead of the other shotty, so called detailers

Thanks OCD..
 
WooooooHooooooooo EXCELLENT save my man!!!! Great write up, pic's & thanks for sharing the story. Yeah, I'd personally go down to the Dealership & take the pic's, to show them how a PROFESSIONAL Details!!! Man I thought I was the only one who uses a Q-tip to remove the excess tire dressing between the rim & tire!!! Again EXCELLENT work!!!!:xyxthumbs:
 
The work of a TRUE professional. At least the hacks didn't burn off any paint, a miracle in itself!
 
With AWESOME details like that, I'm sure you're a rich man! :dblthumb2:
 
WooooooHooooooooo EXCELLENT save my man!!!! Great write up, pic's & thanks for sharing the story. Yeah, I'd personally go down to the Dealership & take the pic's, to show them how a PROFESSIONAL Details!!! Man I thought I was the only one who uses a Q-tip to remove the excess tire dressing between the rim & tire!!! Again EXCELLENT work!!!!:xyxthumbs:

Thanks Dave....

I really appreciate the kind words...

The dealership will be presented with a special write up just for them!

The work of a TRUE professional. At least the hacks didn't burn off any paint, a miracle in itself!

Thansk a lot Rick...As always you are too kind

I was also amazed not to find any burnt edges!

With AWESOME details like that, I'm sure you're a rich man! :dblthumb2:

Thanks Z...... Rich??? Rich in love maybe.... ha ha
 
Back
Top