ReLoaDeD BuLLiTT
New member
- Dec 8, 2007
- 142
- 0
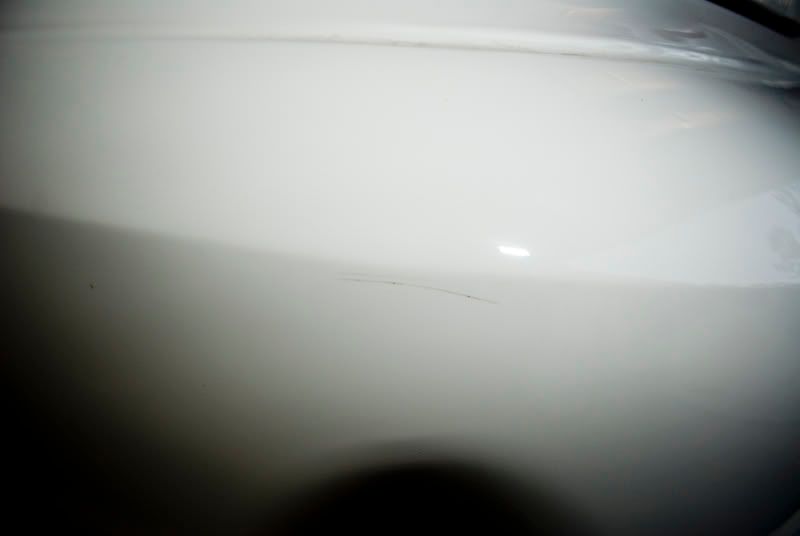
Got started on the Cobra's paint today. (it is in very rough shape...even my most aggressive pad combo isn't doing squat on this paint without 5-6 passes per pad. :shrug:
Process:
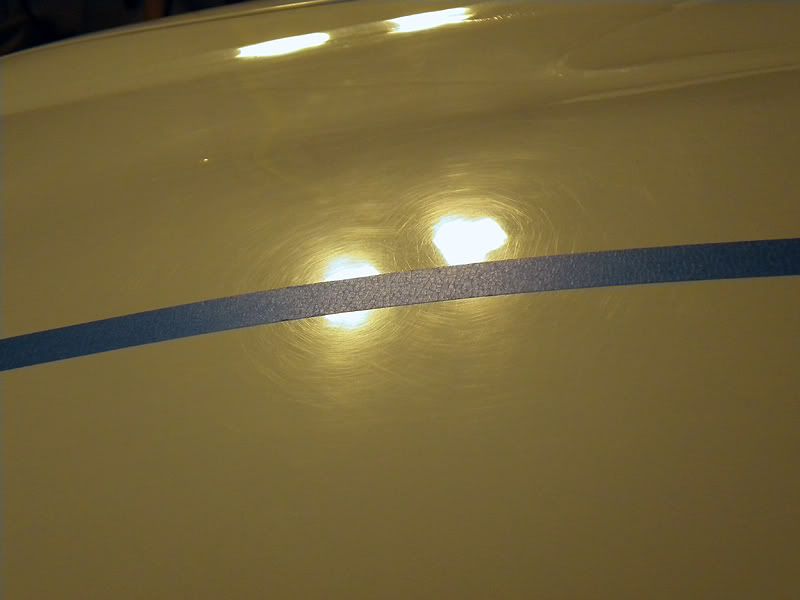
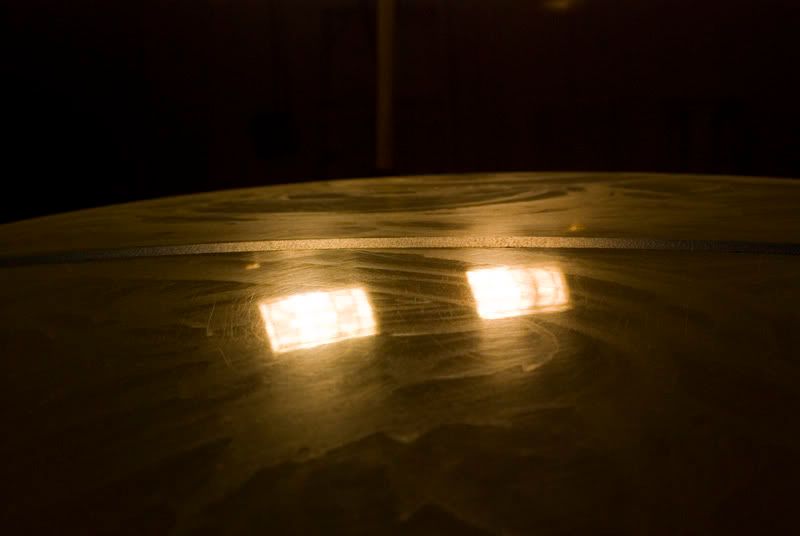
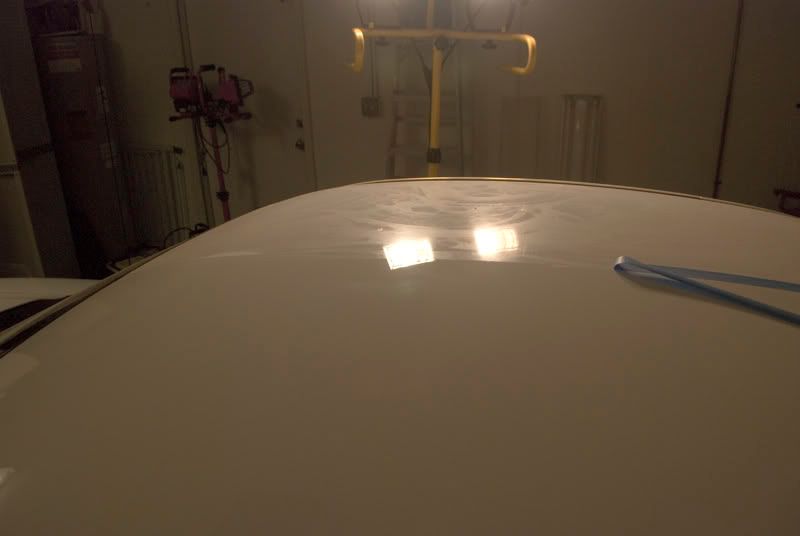
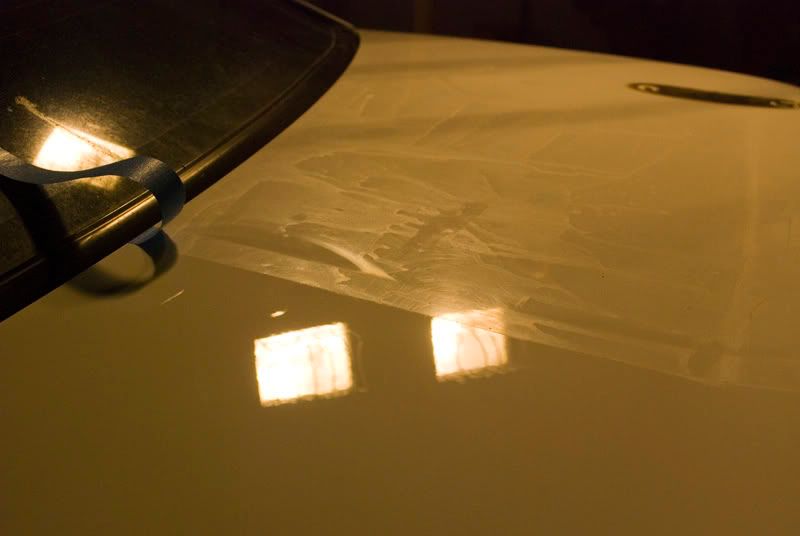
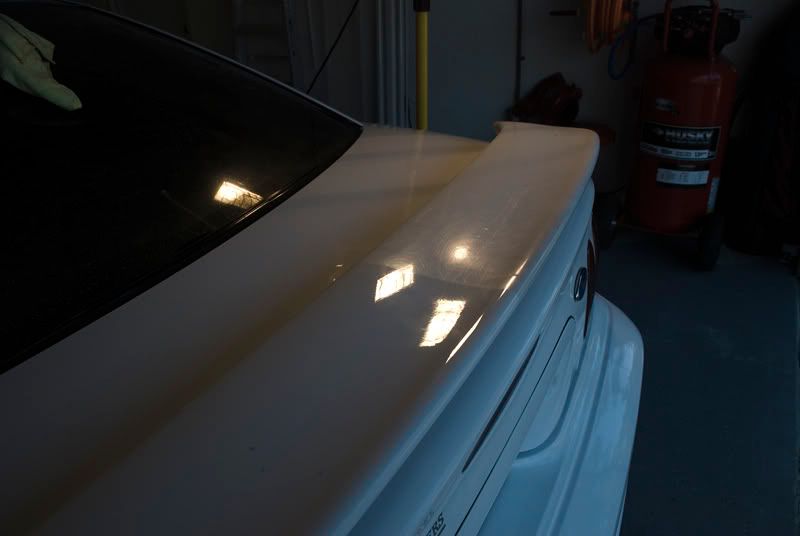
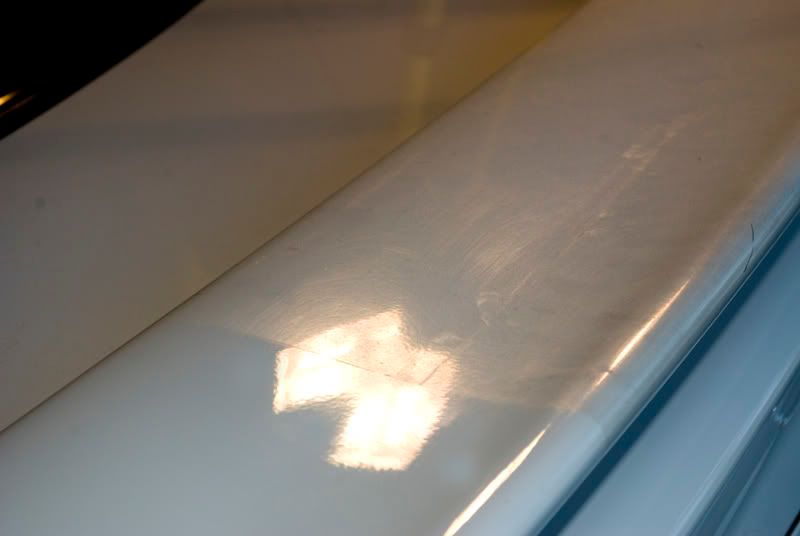
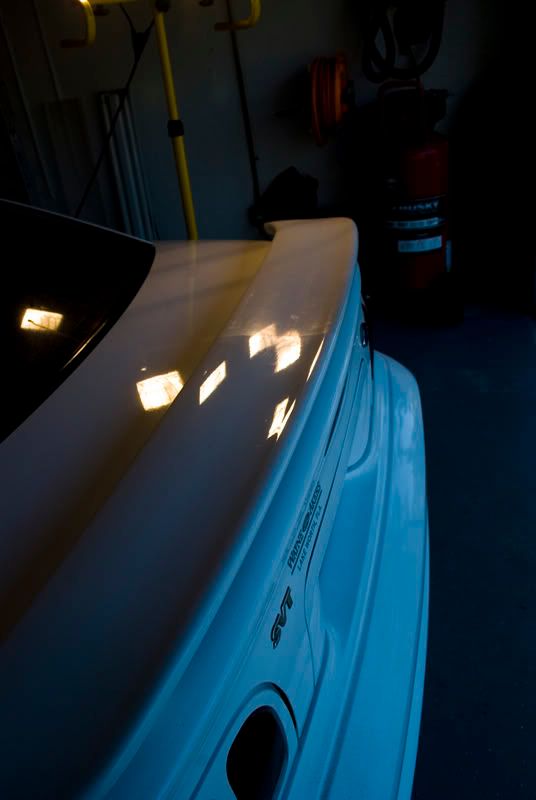
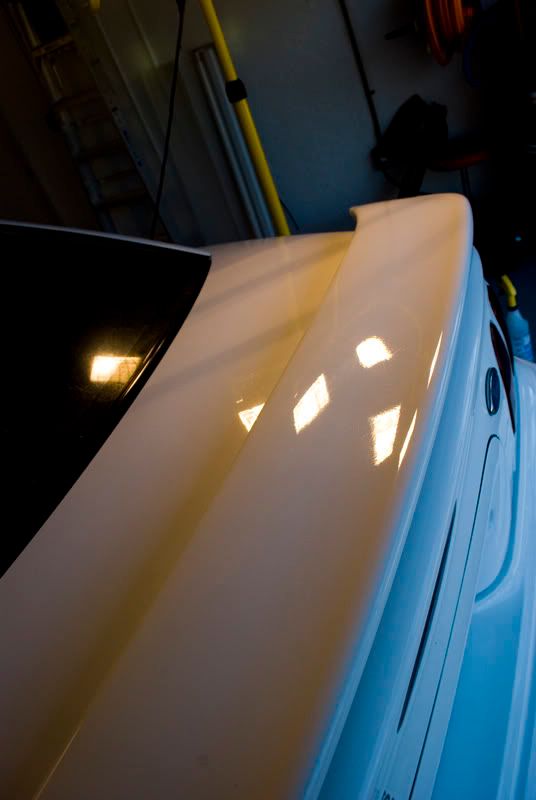
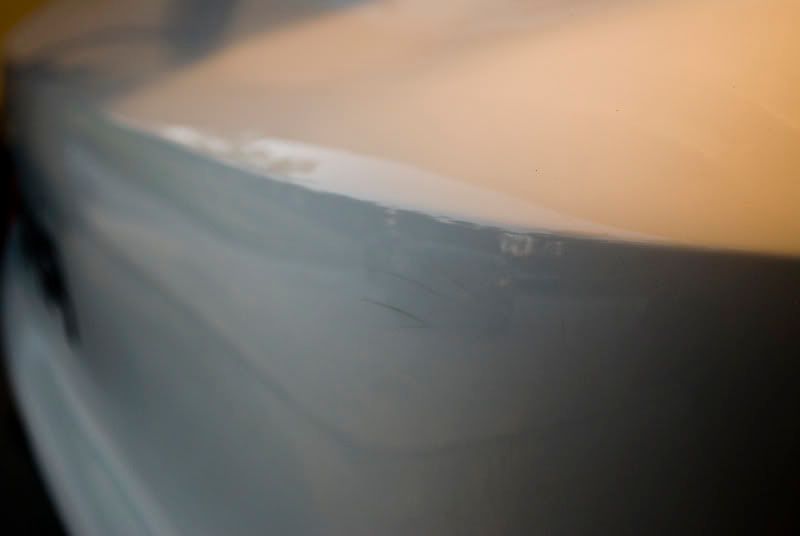
Also, it's VERY difficult to see the swirls unless you look at certain angles, as shown here:
BEFORE:
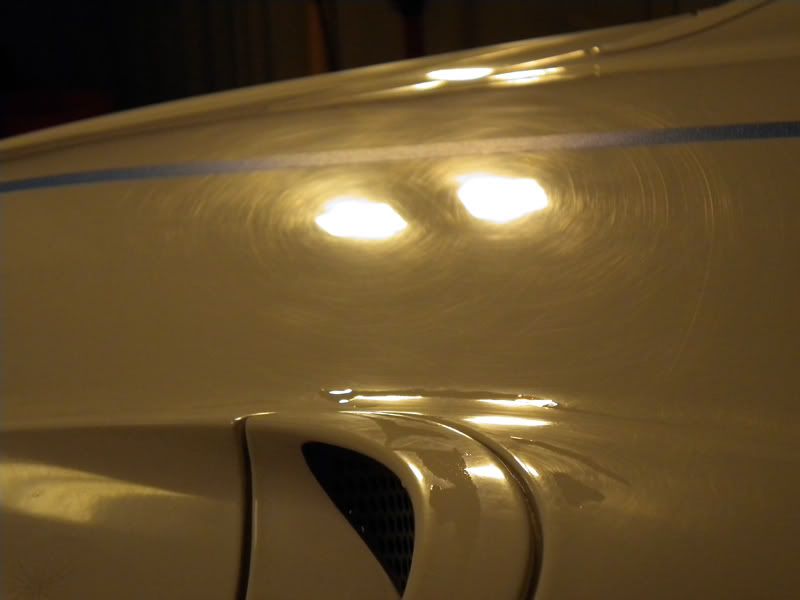
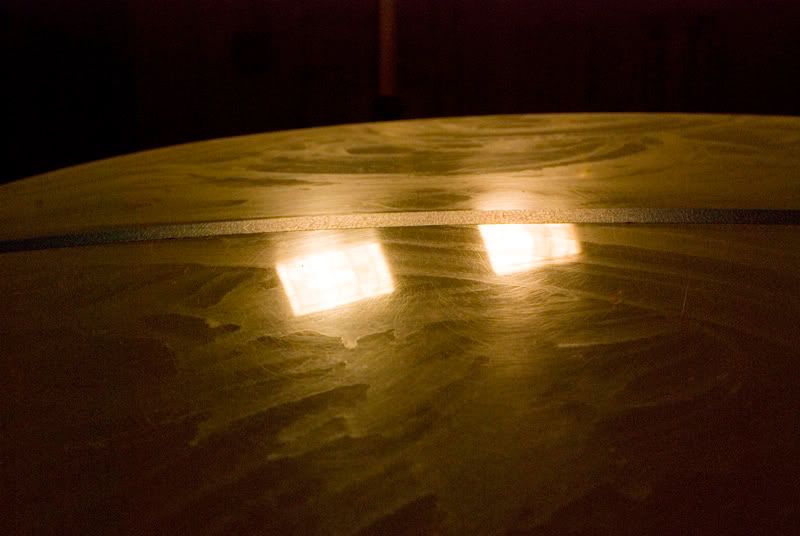
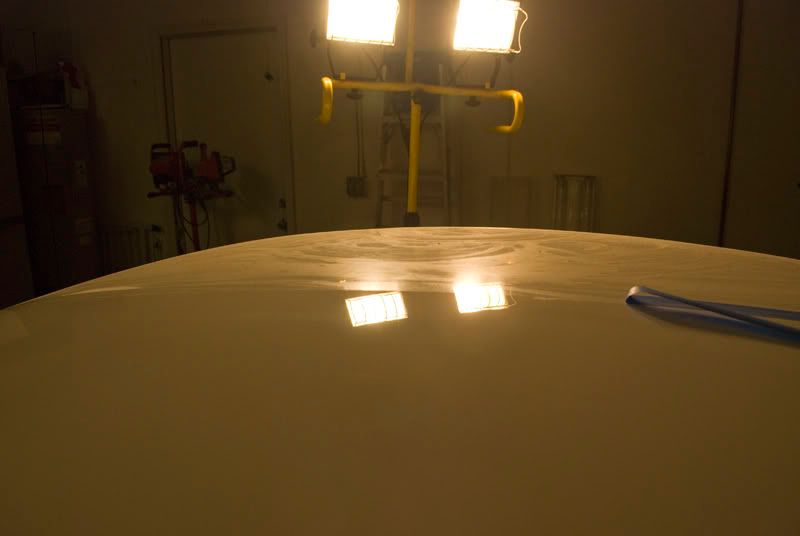
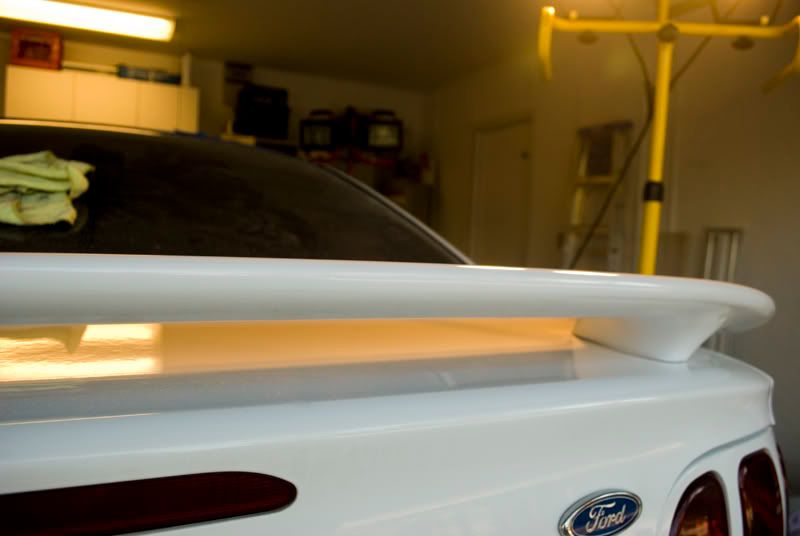
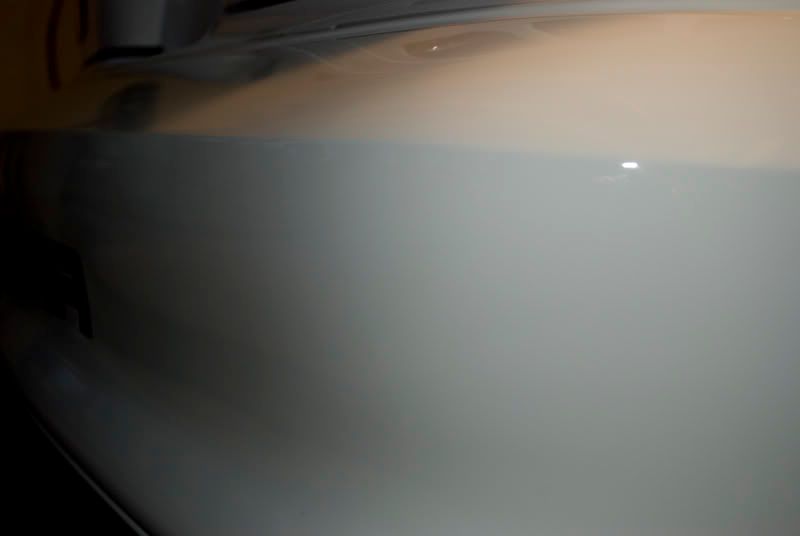
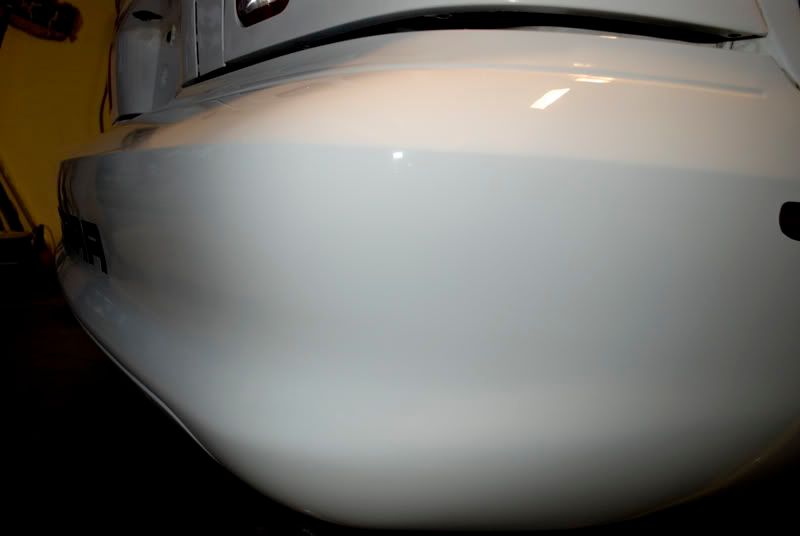
AFTER:

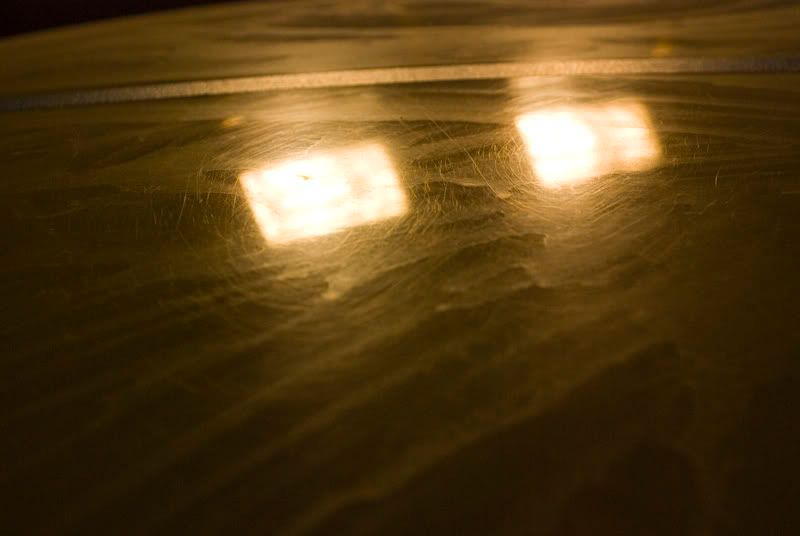
This is just a 'teaser' thread of the full detail. I will be working on this car for a week straight due to the poor paint condition. Even though it's white, you can still see the paint is rough. frown2.gif
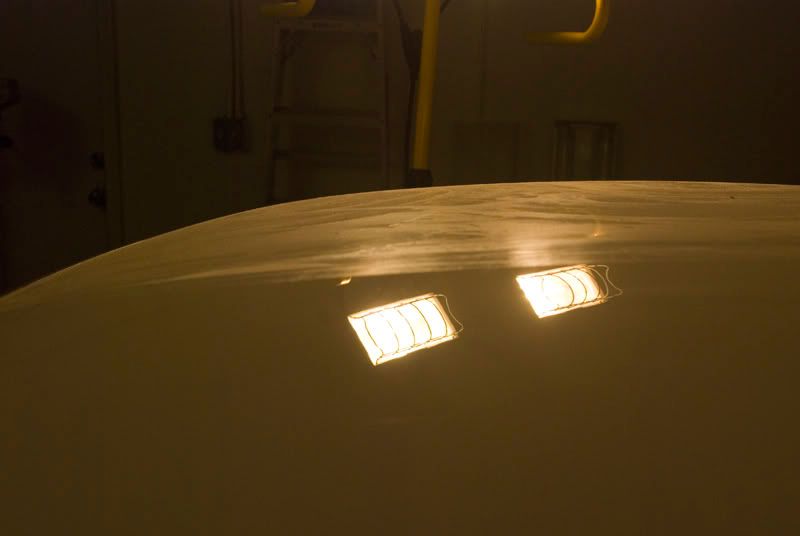
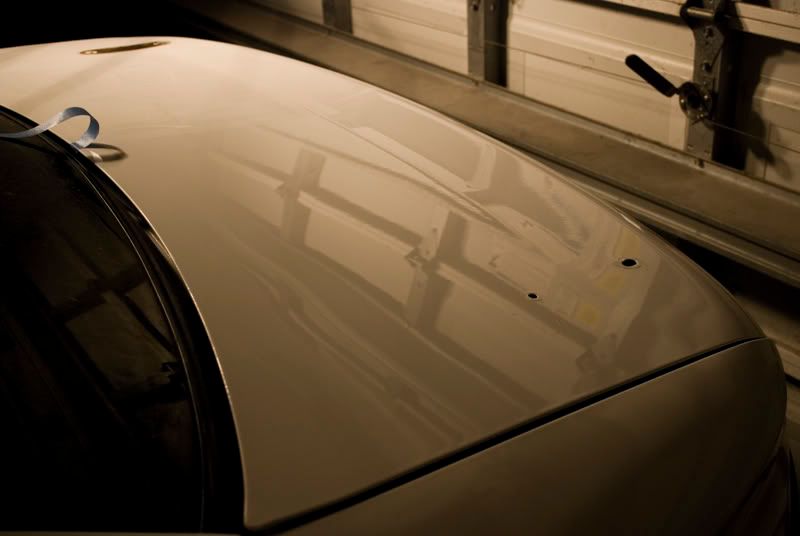
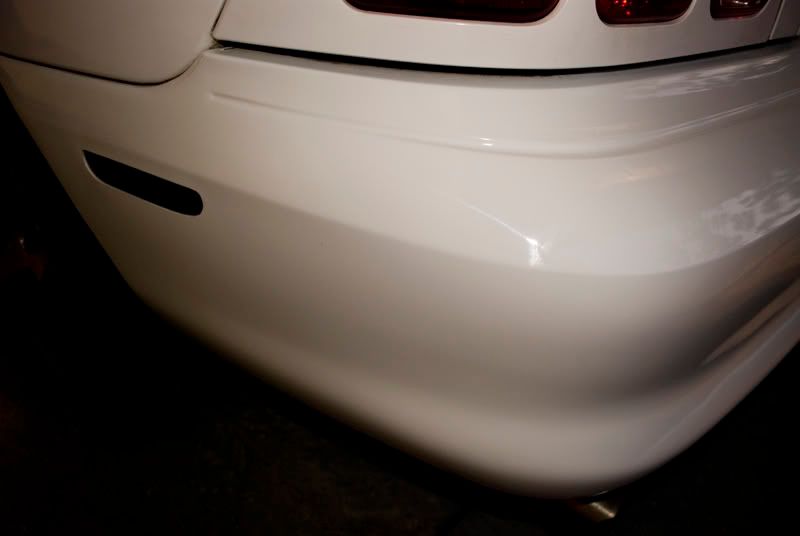
Made some progress on the roof today. MAN was it worse than the hood! After 10 total passes, I finally got it how I wanted it. I had to use M105 and a burgundy wool on it due to how deep the swirls/rids were.
Here's some pictures of the progress:
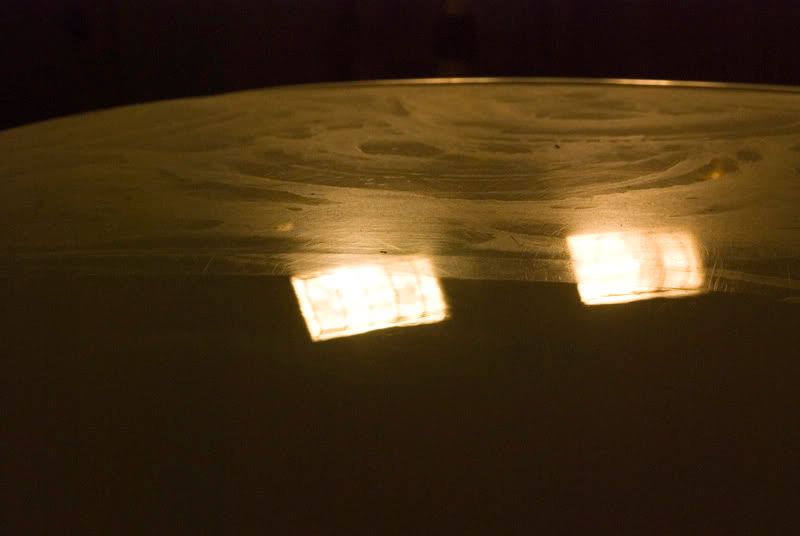
BEFORE:
AFTER:

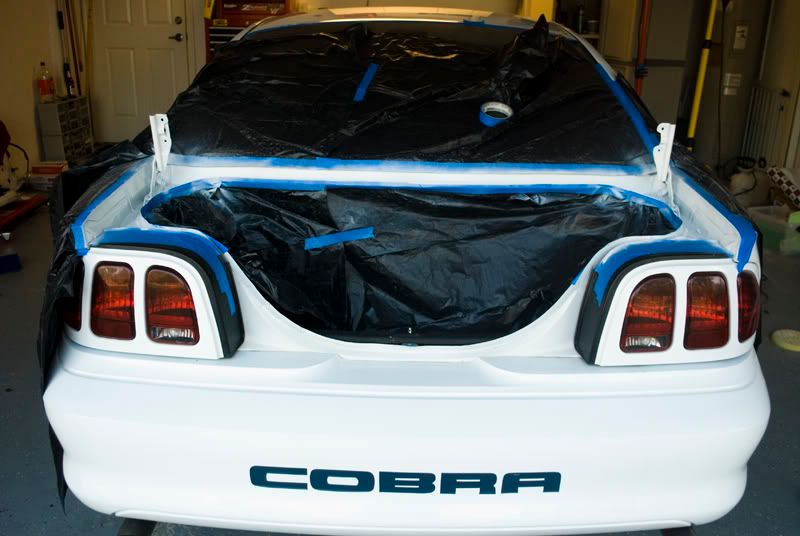
Update from today: (01/09/10)
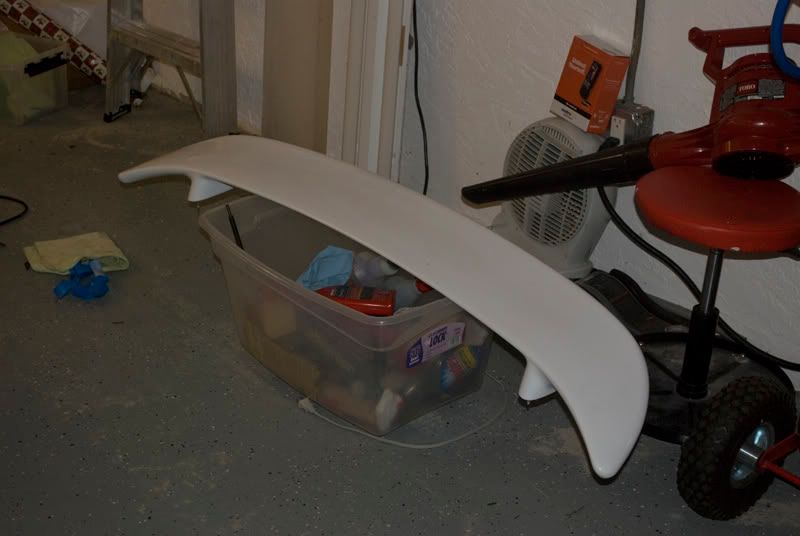
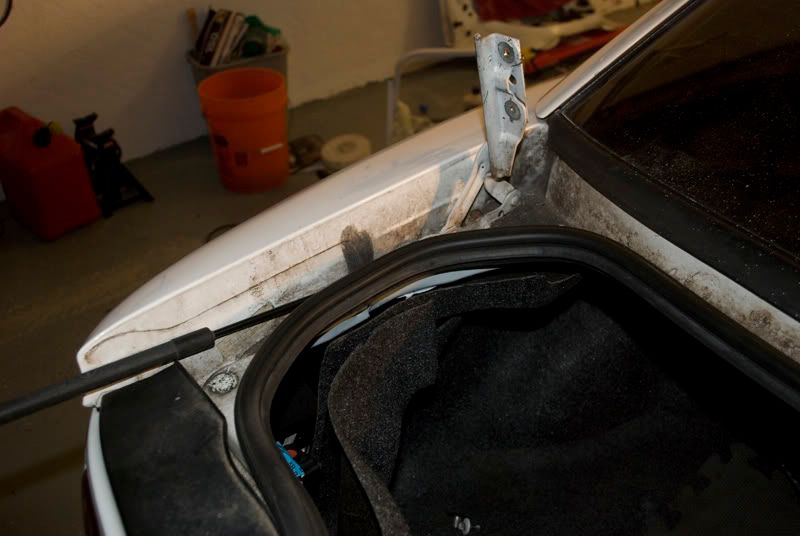
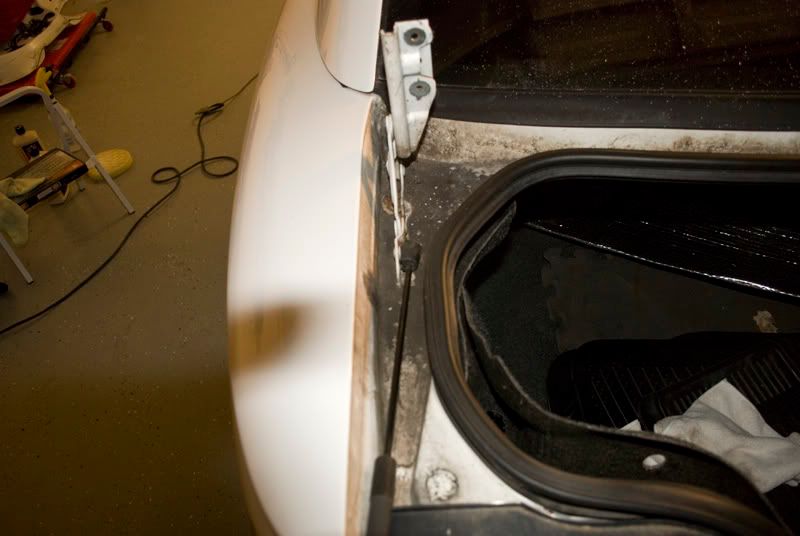
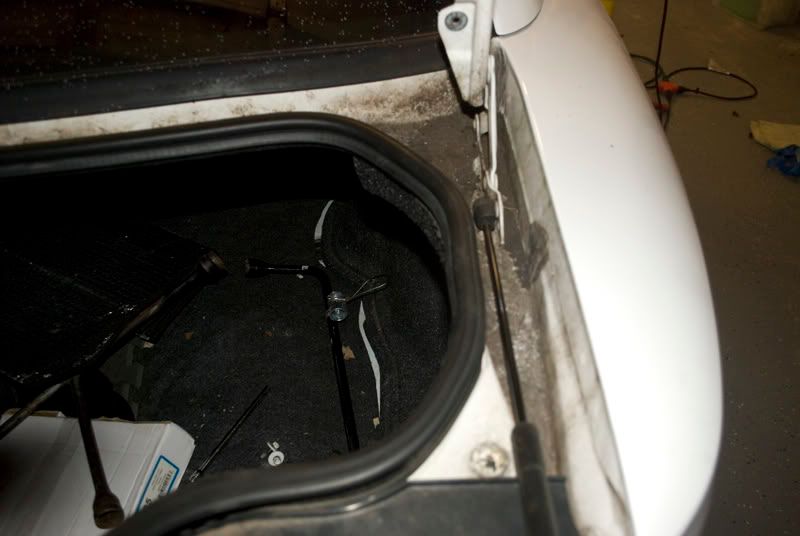
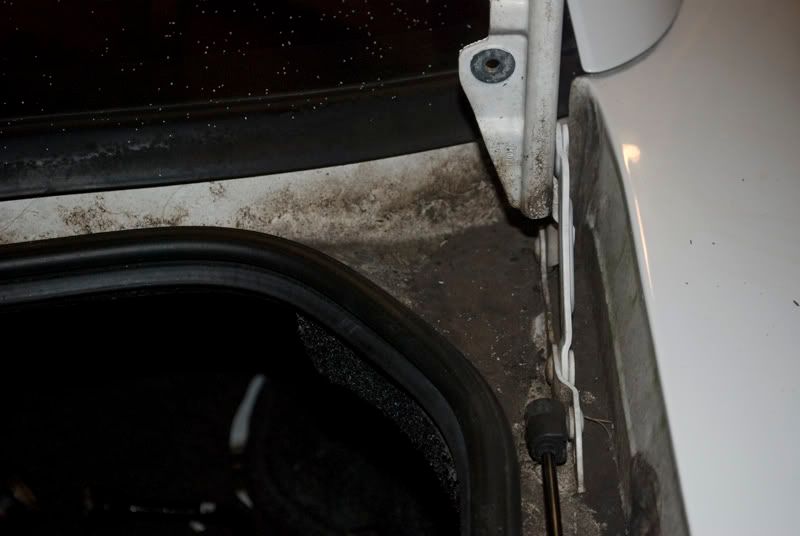
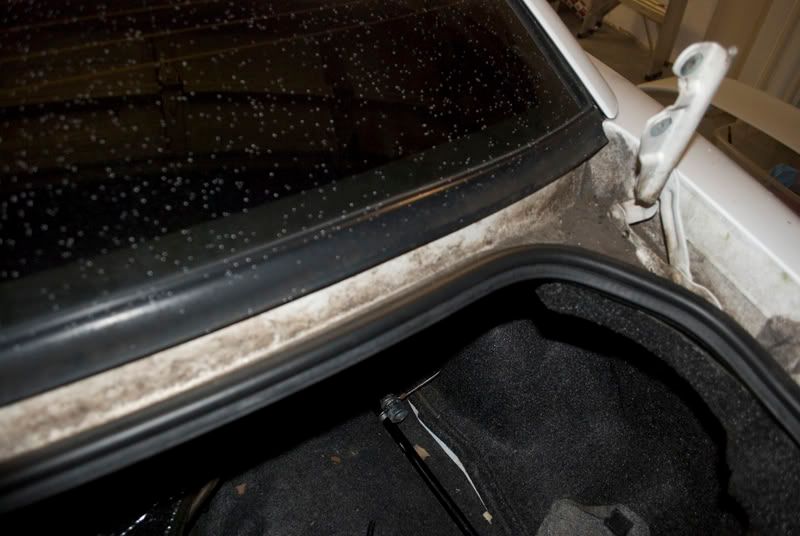
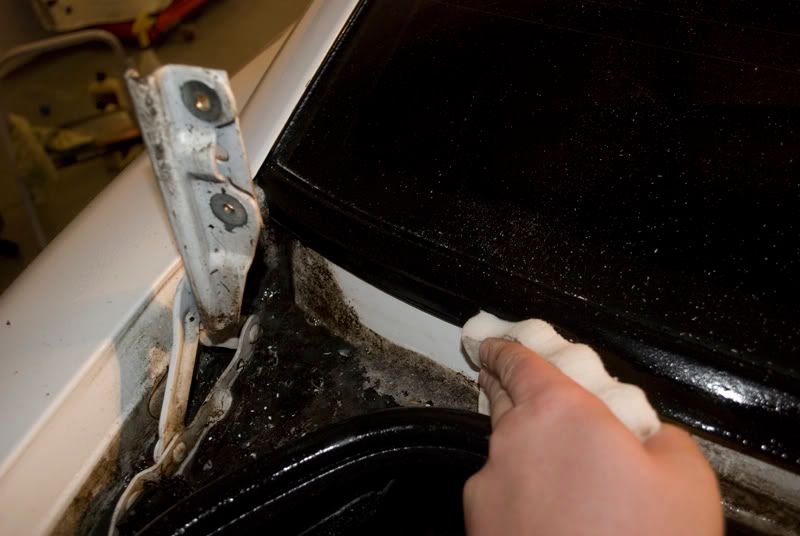
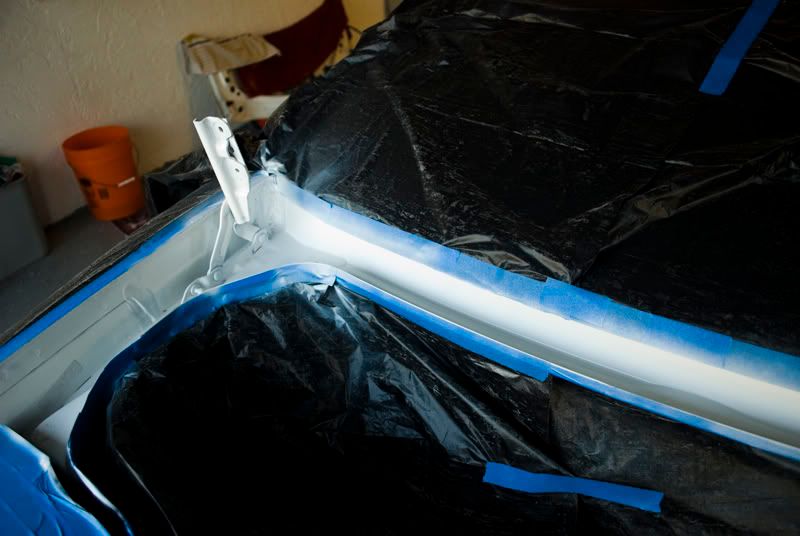
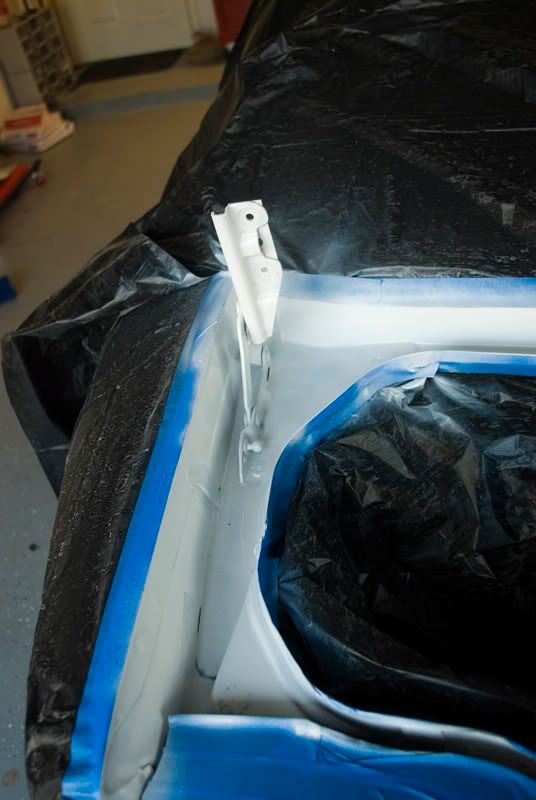
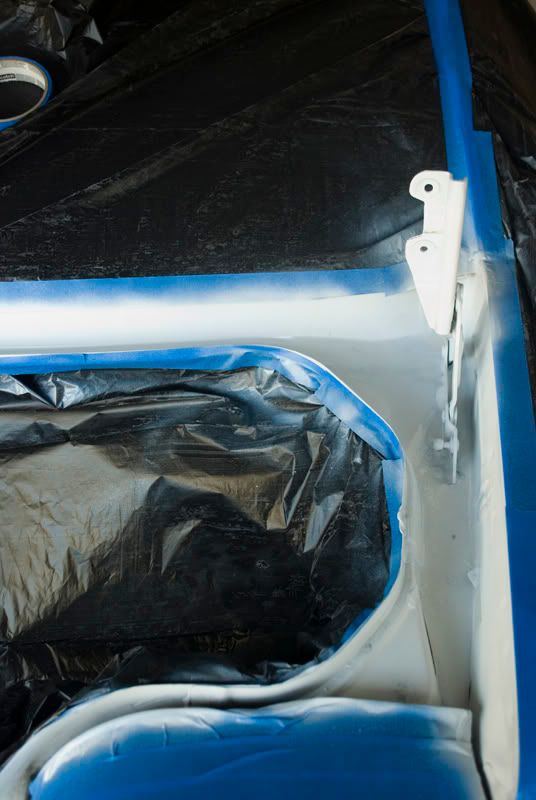
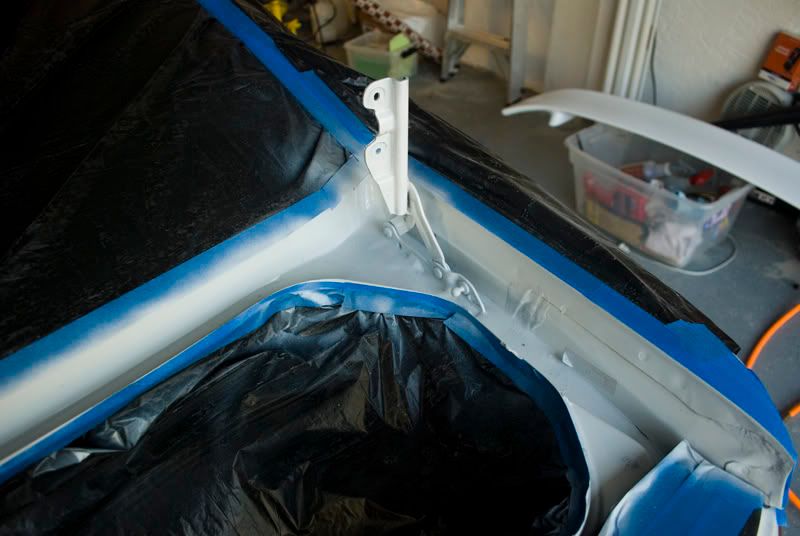
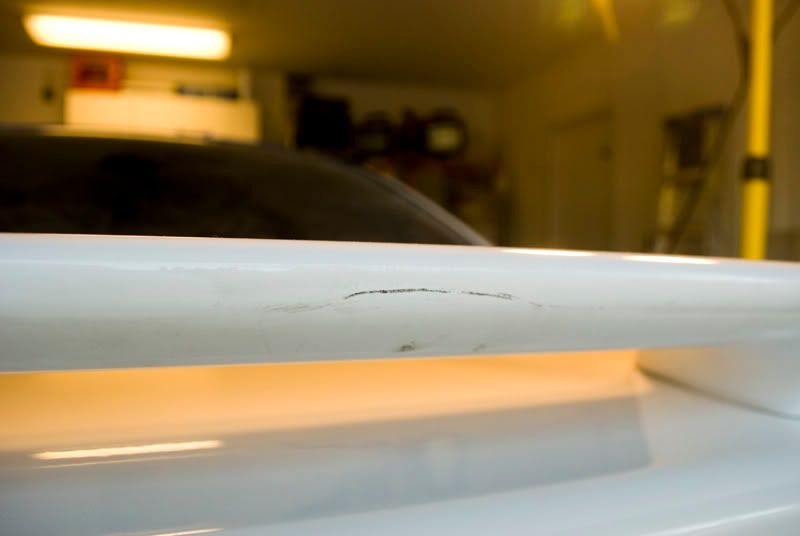
Took the wing off to be able to correct the entire trunk.
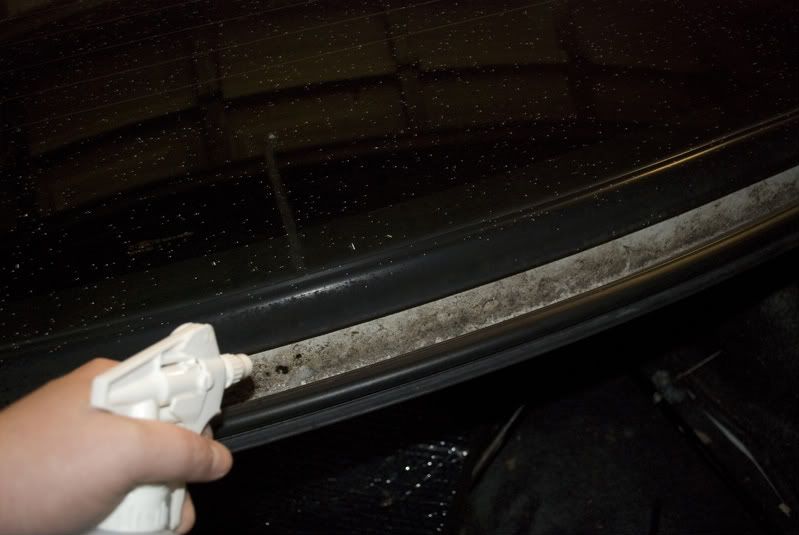
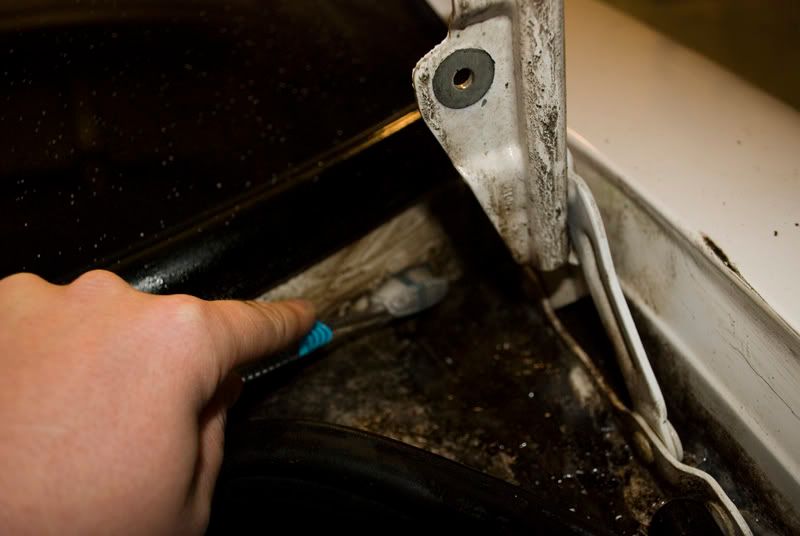
Took the trunk off to clean the disgusting grunge out from underneath it:
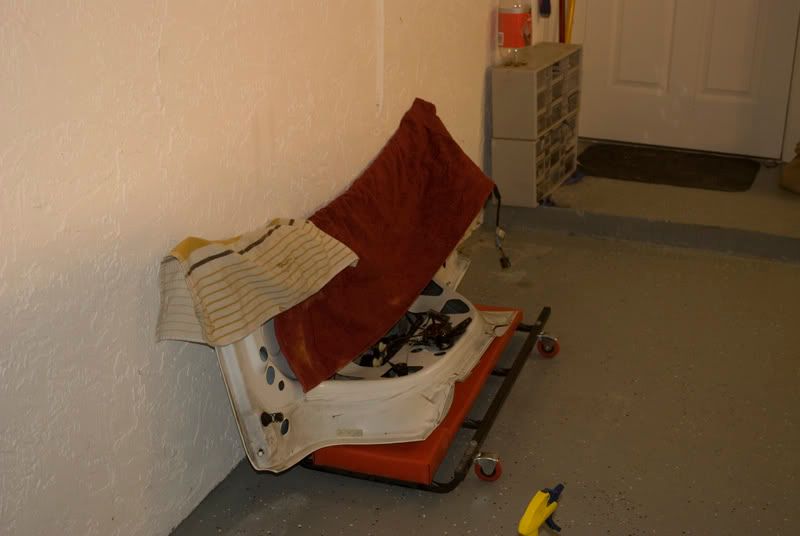
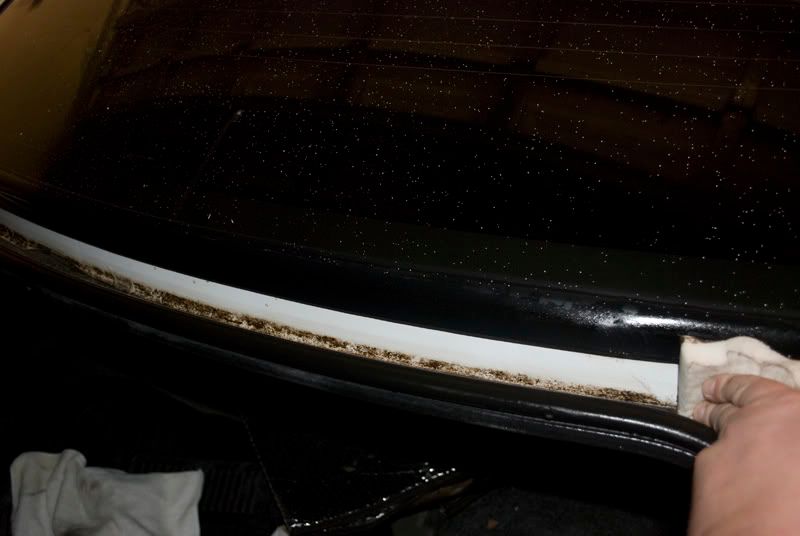
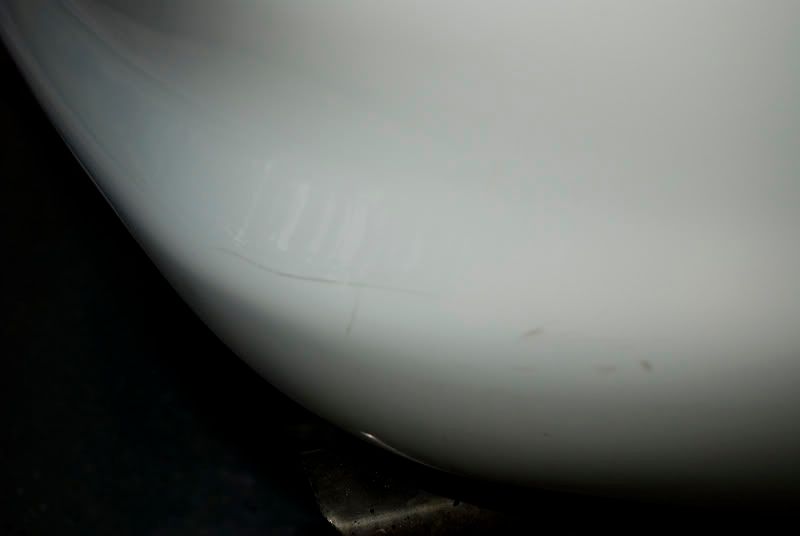
As you can see, it really needed it:
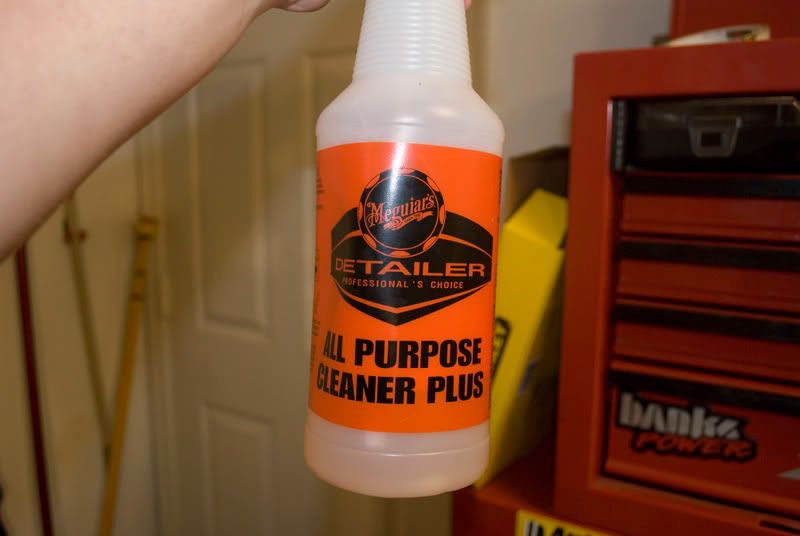
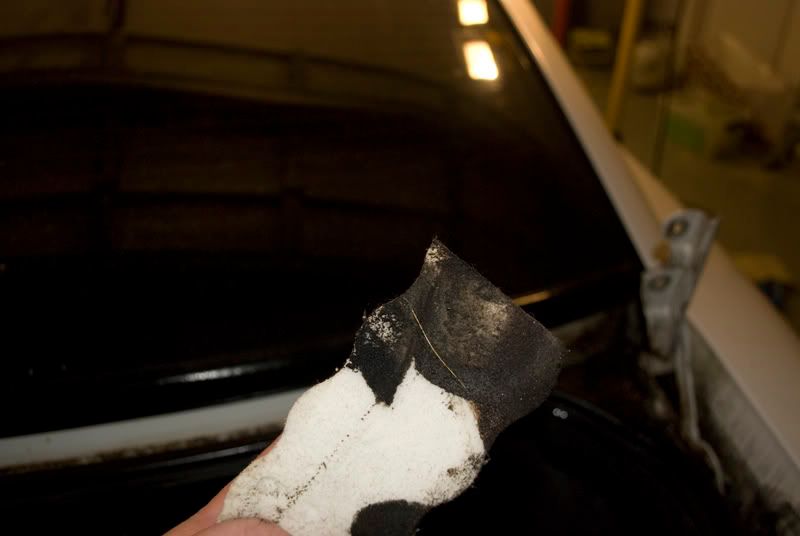
It was going to take a lot of scrubbing and soaking to get this trunk area back to where it should be, so I soaked with Meguiars All-Purpose cleaner, and then thoroughly scrubbed all areas with a mr clean magic eraser and an old toothbrush.
Me spraying down the areas and letting them soak:
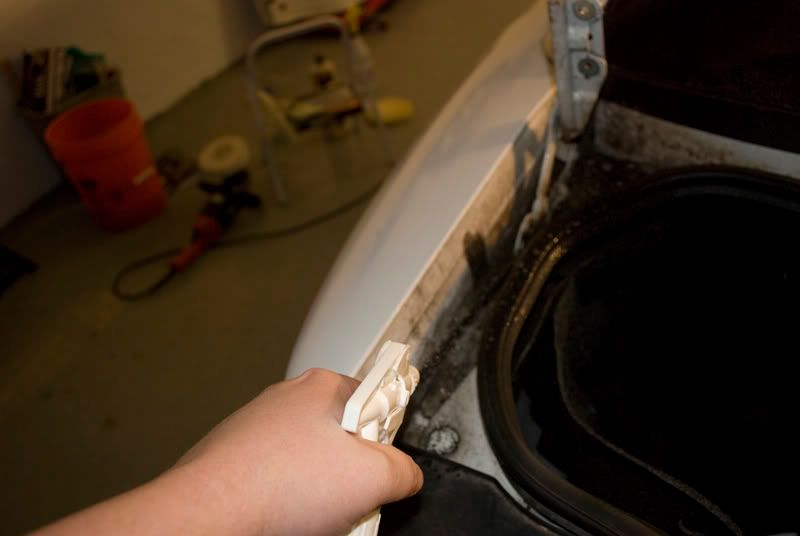
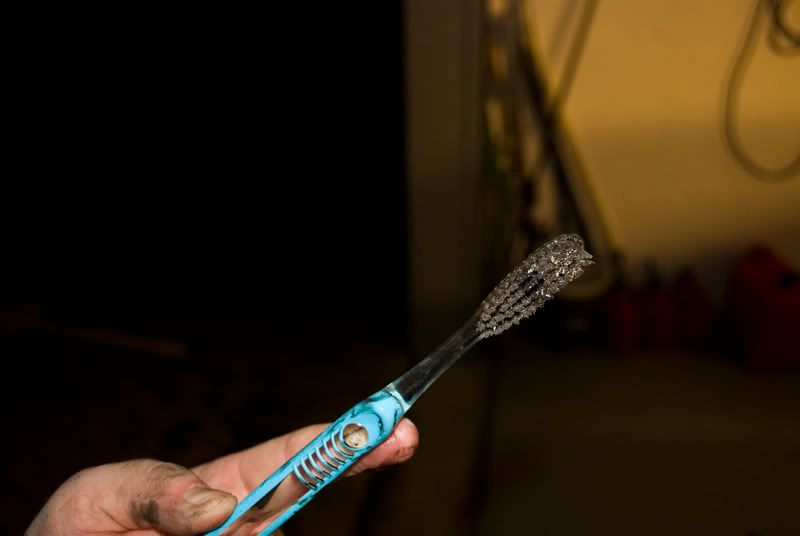
Here's me scrubbing the areas with a magic eraser until it fell apart:
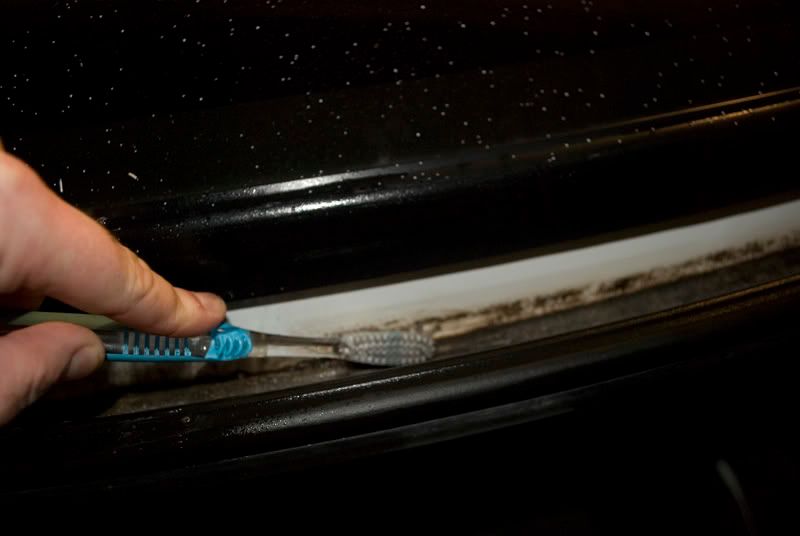
Scrubbing the hard to reach areas with a toothbrush:
Process:
- washed entire car with dishwashing soap to strip all wax off the vehicle
- claybarred entire car with megs claybar kit
- used burgundy wool (red) and menzerna power gloss 5x via rotary
- used megs m205 w/ orange ccs pad
- 2 coats of poorboys ex-p sealant
- 1 coat of s100 wax
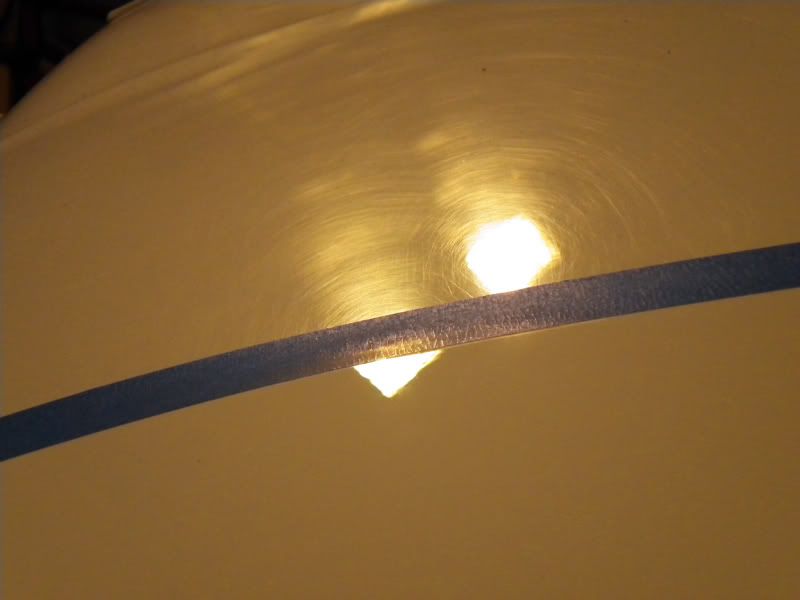
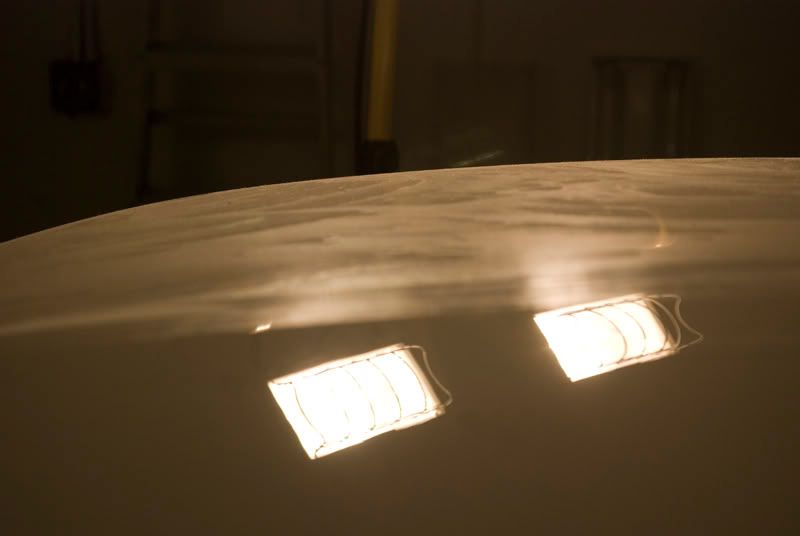
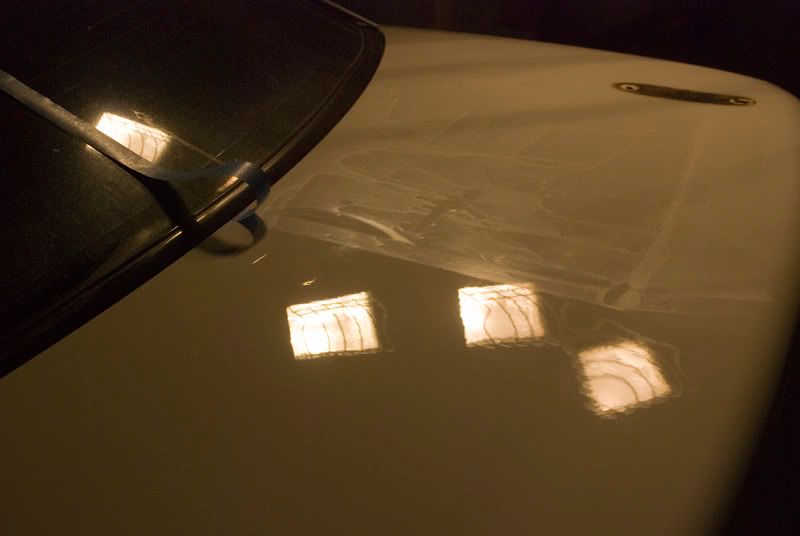
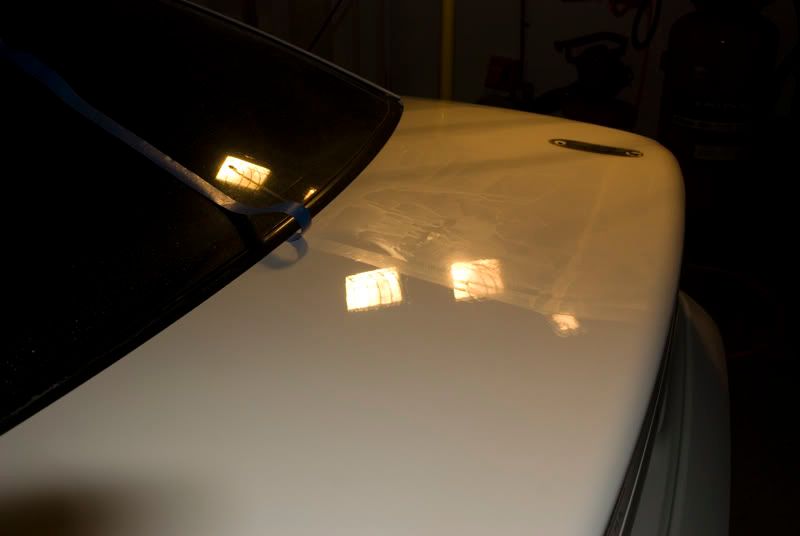
Also, it's VERY difficult to see the swirls unless you look at certain angles, as shown here:
BEFORE:
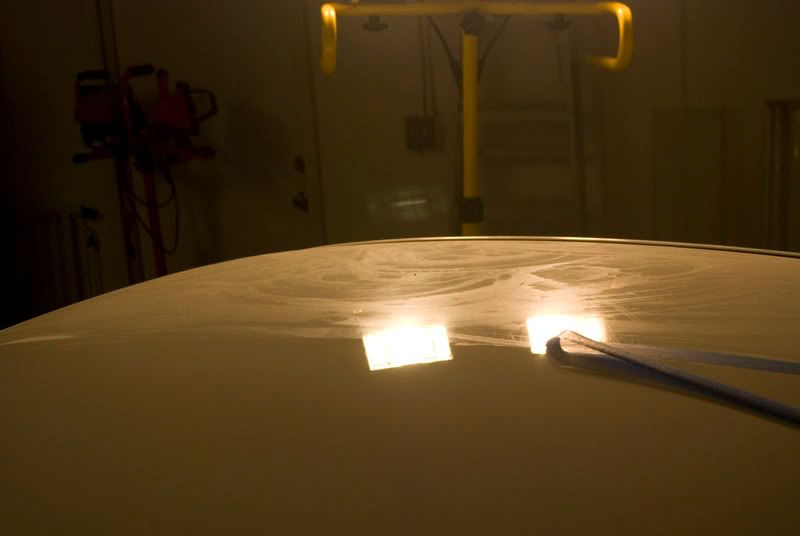
AFTER:
This is just a 'teaser' thread of the full detail. I will be working on this car for a week straight due to the poor paint condition. Even though it's white, you can still see the paint is rough. frown2.gif
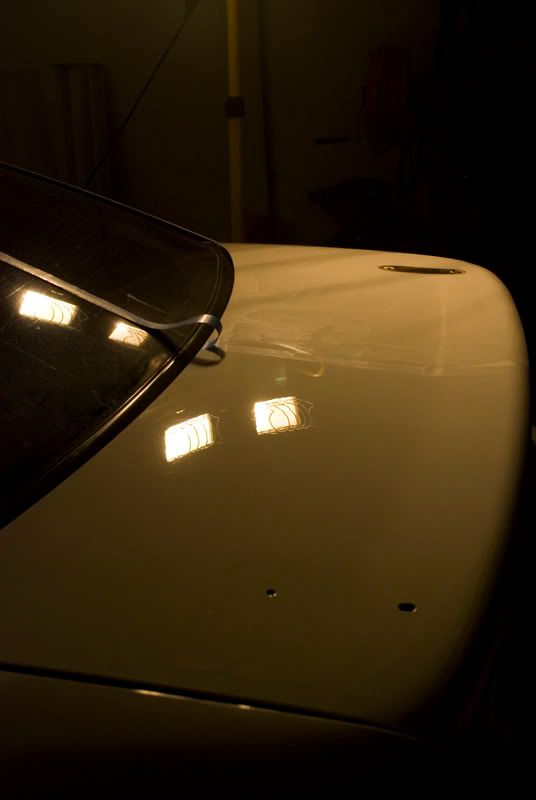
Made some progress on the roof today. MAN was it worse than the hood! After 10 total passes, I finally got it how I wanted it. I had to use M105 and a burgundy wool on it due to how deep the swirls/rids were.
Here's some pictures of the progress:
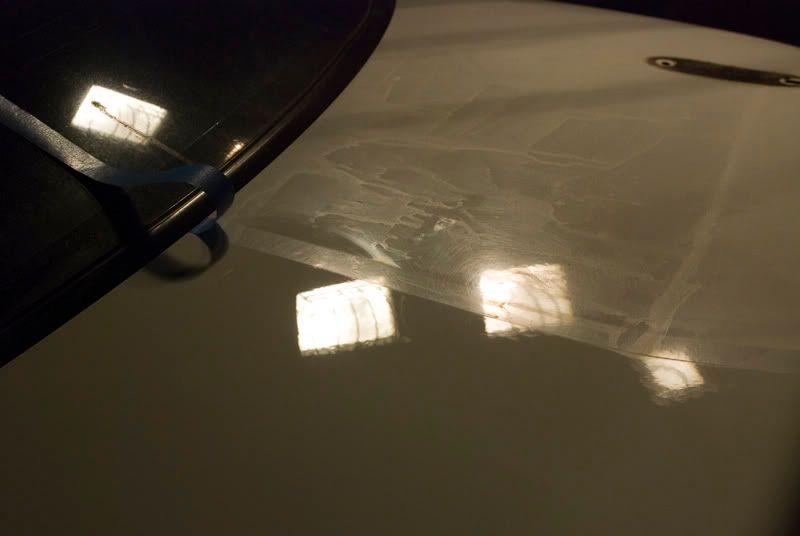
BEFORE:
AFTER:
Update from today: (01/09/10)
Took the wing off to be able to correct the entire trunk.
Took the trunk off to clean the disgusting grunge out from underneath it:
As you can see, it really needed it:
It was going to take a lot of scrubbing and soaking to get this trunk area back to where it should be, so I soaked with Meguiars All-Purpose cleaner, and then thoroughly scrubbed all areas with a mr clean magic eraser and an old toothbrush.
Me spraying down the areas and letting them soak:
Here's me scrubbing the areas with a magic eraser until it fell apart:
Scrubbing the hard to reach areas with a toothbrush:
")