detailing 1950 Mercury

Buggy Bath

New member
Joined
Feb 19, 2012
Messages
115
Reaction score
0
Hello Mike, I am going to be preparing a 1950 Merc for a car show and I imagine I will have to do some light paint correction. I have never buffed a single stage painted car and would like your suggestions and tips on how to approach it.

Perhaps you have an article on single stage paint correction?

I don't have any pics of it at the moment.

Thank you!
 
Hello Mike, I am going to be preparing a 1950 Merc for a car show and I imagine I will have to do some light paint correction.

VERY COOL!

I have never buffed a single stage painted car and would like your suggestions and tips on how to approach it.

Perhaps you have an article on single stage paint correction?

The article shared above is about "restoring" antique and/or original single stage paint in an effort to preserve it versus repainting the car. That said the tips and techniques can be used for any single stage paint that is neglected whether it's old or not if the paint is important to the owner. Some people really care about their car's paint some people don't, my article is for people that care.


The Secret to Removing Oxidation and Restoring a Show Car Finish to Antique Single Stage Paints


With the exception of single stage white paint, most other colors of single stage paint will tend to be soft, at least softer than most any basecoat/clearcoat finish. I touch on the white paint hardness factor in this article written in 1997 that includes a reference to the Mohs Hardness Scale.

The Lesson White Paint Teaches Us


To your question on how to polish single stage paints...


First, use the least aggressive product to get the job done. Always.

Do a Test Spot and dial in a process that works to make the paint look AWESOME to one small area before buffing out the entire car.

Tape-off or avoid any raised body lines as the paint is soft, (as discussed), and paint on raised body lines tends to be thin for a number of reason, one of which is because all the detailers that have buffed the car out before you probably WERE NOT careful and did not avoid buffing on the raised body lines.

So just buff up to raised body lines, don't buff on them.

Be prepared to CLEAN YOUR PAD OFTEN - If you're using a DA Polisher have plenty of terry cloth hand towels on hand and clean the dead, oxidized paint AND the spent polish residue off the face of the pad after buffing each section or at least after buffing out ever other section.

Work small areas at a time, about 20" square or so, 2' by 2' as recommend by most companies/people/articles etc. is too large.

Don't use anything with harsh solvents in it or archaic abrasive technology, stick with the premium brands and you won't have a problem.

If the paint is dark, consider using #7 after all the mechanical abrading steps are over and before you apply the wax. The polishing oils in the #7 will bring out the full richness of color and beauty in the pigments. This is a purposefully built in feature of these specific oils.

That's it off the top of my head, I would also do things like knock out the roof first and then tackle the rest of the car, I have an article on this on my article page.


I don't have any pics of it at the moment.

Thank you!

IF the finish is neglected AT ALL and you want to use this car to promote yourself and your skills, the read this article,

The power in the after shots is created in the before shots


And consider watching this video we made last week where we buffed out a 1970 Mustang Mach 1 with VERY THIN single stage paint. So thin we could not put painter's tape on it without the tape pulling off the paint. Ouch!


[ame=http://www.youtube.com/watch?v=LbppD4opsGs]1970 Mustang Mach 1 - How to polish single stage paint by hand - YouTube[/video]

:)
 
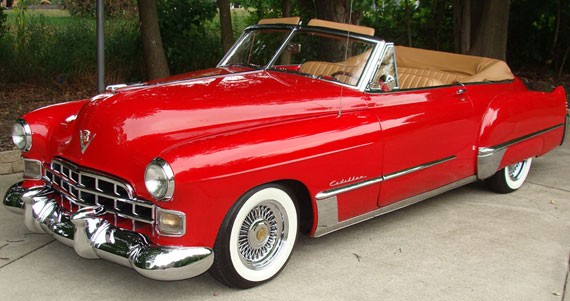
Just to note, our project car for next week is similar to what you're going to be working on and it has single stage red paint...


Sign-up - 1948 Cadillac Convertible - Detailing Class

Blinky's 1948 Cadillac Convertible
1948Cadillac01.jpg


Looks great in pictures and on TV but is in Category #2 to #3 in my how-to book.


1948CadillacConvertible.jpg


The paint on the Cadillac above looks good on camera but just like the 1970 Mustang Mach 1 it has oxidation and lots of shallow swirls and scratches, so we're going to take the paint on this classy Cadillac to its maximum potential.

:)
 
This is the merc I will be doing. It looks to be in good shape. Maybe I will just put some #7 on it? I have not seen it in person yet.

It is the red one. The black one is a 51.

Thanks for all the help Mike! I read article, very informative.

003.jpg
 
That is one fine lookin' chooped Merc!

Now, I must insist you post pictures of the end game...

Bill
 
This is the merc I will be doing. It looks to be in good shape. Maybe I will just put some #7 on it? I have not seen it in person yet.

It is the red one. The black one is a 51.

Thanks for all the help Mike! I read article, very informative.

003.jpg


Wow! Both cars are awesome!

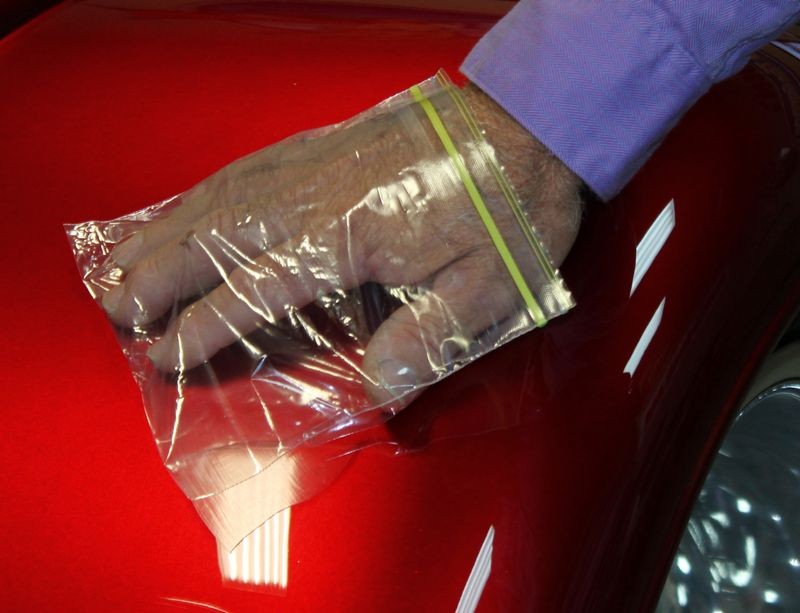
Do the Baggie Test, chances are very good you're going to want and need to clay the paint.

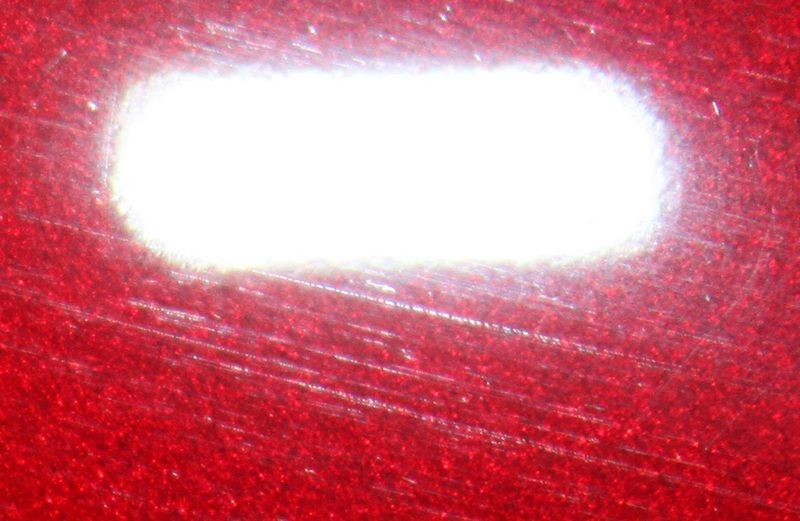
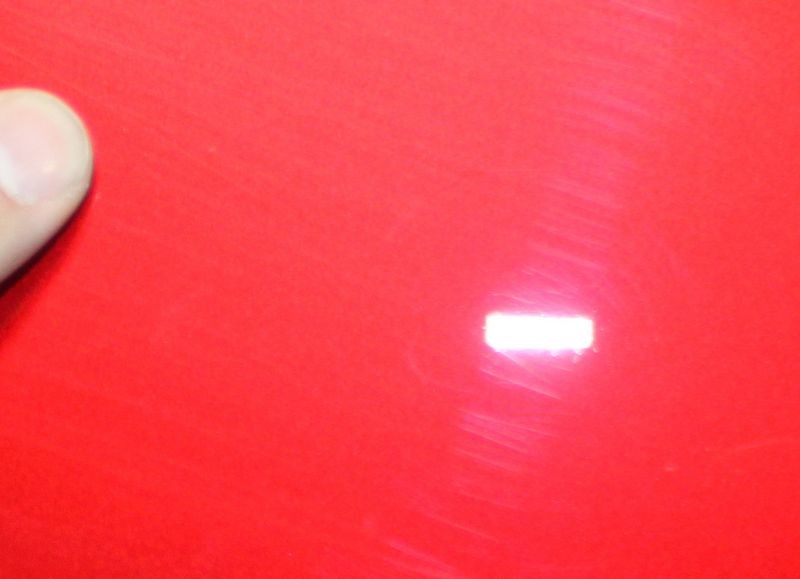
Then machine polish with SOMETHING, a medium or light cut polish. Never underestimate how many microscopic scratches are in the paint that cloud the surface diminishing clarity.

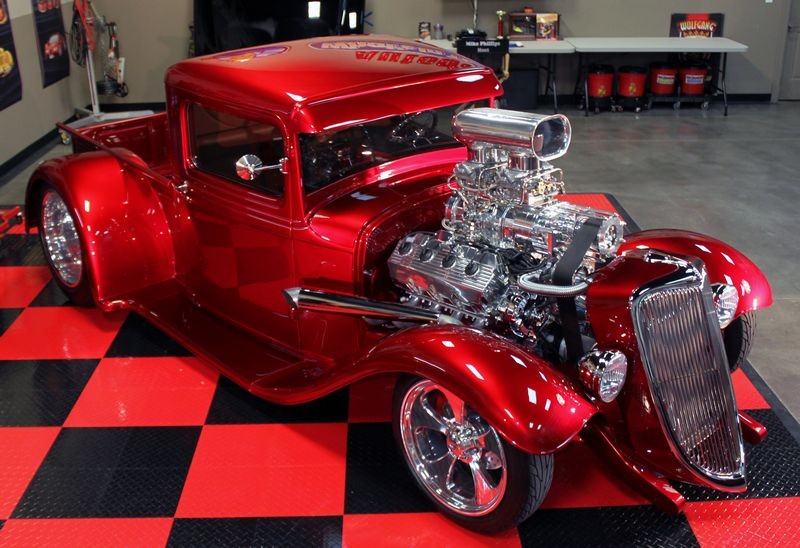
Here's an example, the paint on this car looked great to the average person but to me I saw all the millions of fine scratches from being wiped with spray detailers over and over again...

Blown 1934 Ford Pick-up - Show Car Makeover - Modeled by Kristin

After wiping the finish down we felt the paint using our clean hands and also using The Baggie Test.

The Baggie Test - How to inspect for above surface bonded contaminants


Both methods of inspecting the paint revealed a very clean and contaminant free finish so we skipped claying the paint.

Project34002.jpg


Project34003.jpg


Then I did my best to capture the fine or shallow swirls and scratches in the paint... hard to do with a camera but easy enough to see in person with your eyes...


Project34019.jpg


Project34020.jpg


Project34021.jpg


Project34022.jpg


Finished...

Project34008.jpg


Project34012.jpg


So,

  • Inspect for claying
  • Machine Polish with something
  • #7 to bring out the full richness of color and a deep, wet look
  • Seal with a Show Car Finishing Wax
Something the owner can also apply and get great results down the road, Pinnacle Souveran Paste Wax would be a good choice.


:xyxthumbs:
 
Let me know how the hood louvres work out!


Buggy Bath aka Mitchell says he's buffing out the read one and while it might have louvers they don't stand out like the ones on the black Mercury.


Louvers just require being INCREDIBLY careful on the edges. For the most part, DON"T buff on the edges or you're going to see primer or steel real fast.

Usually won't be entirely your fault but the fault of all the people that have worked on the car before you that were NOT careful around the edges of the louvers.


Somewhere there are pictures of a 1950's Allard I buffed out live at a Barrett-Jackson auction and I rubbed all the louvers out by hand. The thread on SCG is long gone but the thread that references it still exists on Autopia.org


:laughing:
 
Mike, that car looks amazing! It truly is remarkable what can be done with the right product, technique and know-how. I am not sure when I will get the car and how long I will have it. Hopefully enough time to get it to its full potential. The car show is this Saturday. I will post some pics of some of them.

Thanks for all your help Mike, it is appreciated.

I have a few different waxes on hand, I am wondering if I should top with a carnuba or polymer and would paste be better than liquid?

Thanks,

Mitchell
 
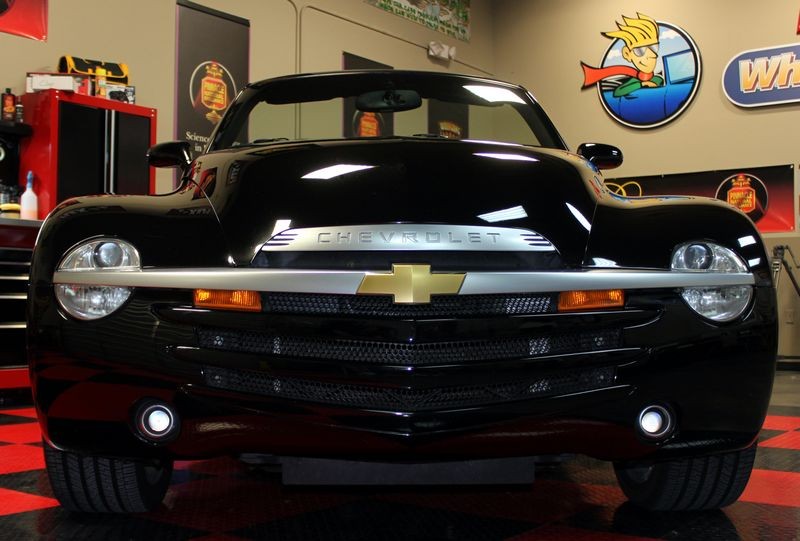
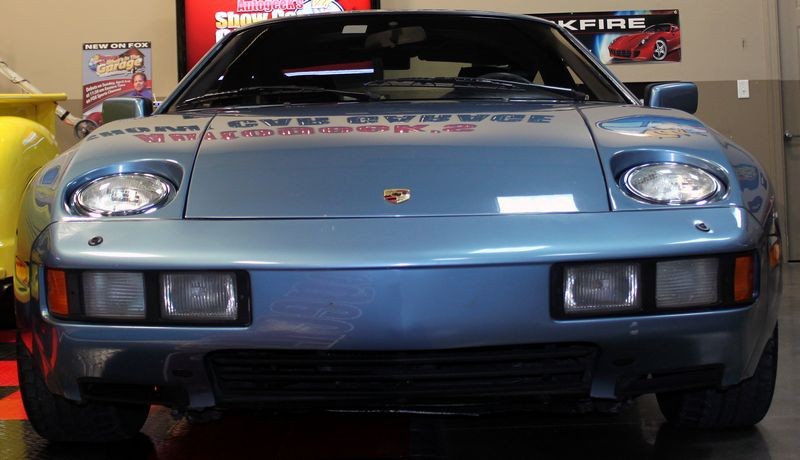
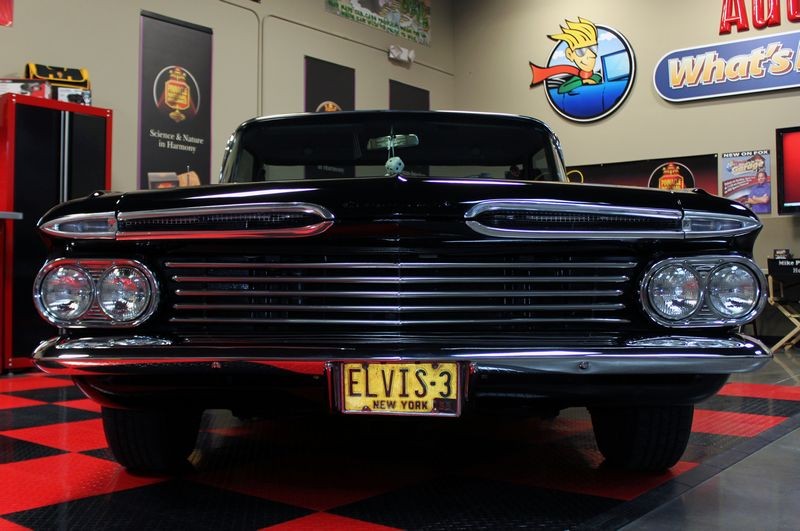
Also, make sure you get this shot, the down in front grill shot... that Merc has a way-cool grill and iconic body style that needs to be showcased with your best photography skills after the final wipe...

Project34010.jpg


1939LincolnZephyr080.jpg


1957BelairExtremeMakeover102.jpg


ChevySSR086.jpg


DoubleTrouble035.jpg


DoubleTrouble040.jpg


1959ElCamino081.jpg


1969CamaroIndyPC088.jpg


54Ford105.jpg


1970Camaro060.jpg


I could have been a little lower for this shot...
CobraPackard009.jpg


I could have been a little lower for this shot...
CobraPackard003.jpg


1965Plymouth077.jpg


:)
 
Mike, here is my wax/sealant arsenal at present:

DP Poli Coat Sealant
Klasse sealant
Wolfgang Deep Gloss Sealant
Pinnacle Liquid Souveran
Pinnacle XMT 180 paste wax
 
Hey guys, unfortunately I was not able work on the Mercury. There was road construction and going on and the owner did not want to bring it over. I completely understand, but am a little bummed I was not able to work on it. I do appreciate the help though Mike and am glad I now have some knowledge for the next classic car.

Thanks,

Mitchell
 
That's the pits!

Maybe he'll come over when the construction is finished? Hope so.

Bill
 
Back
Top