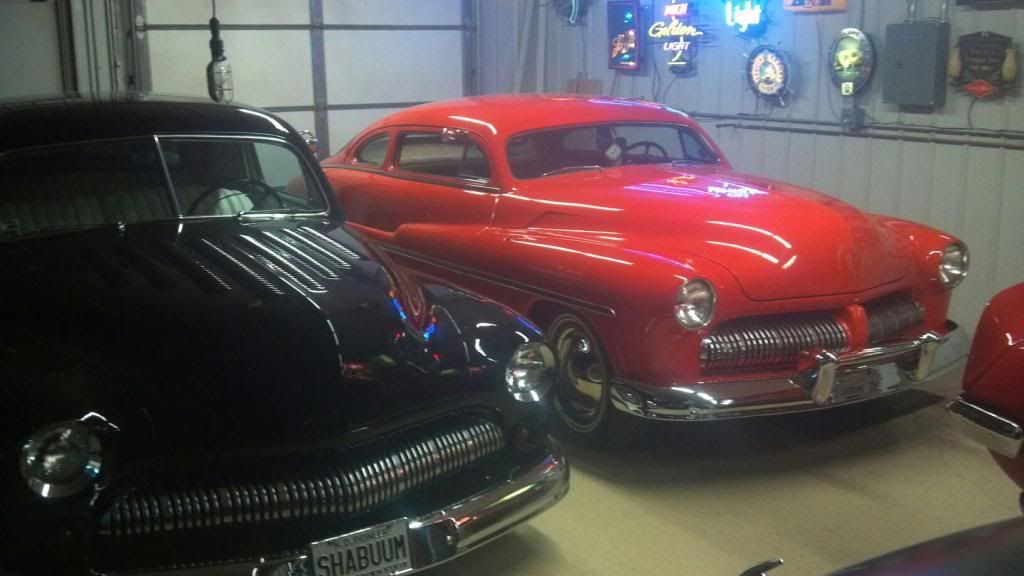
Hello Mike, I am going to be preparing a 1950 Merc for a car show and I imagine I will have to do some light paint correction.
VERY COOL!
I have never buffed a single stage painted car and would like your suggestions and tips on how to approach it.
Perhaps you have an article on single stage paint correction?
The article shared above is about "restoring" antique and/or original single stage paint in an effort to preserve it versus repainting the car. That said the tips and techniques can be used for any single stage paint that is neglected whether it's old or not if the paint is important to the owner. Some people really care about their car's paint some people don't, my article is for people that care.
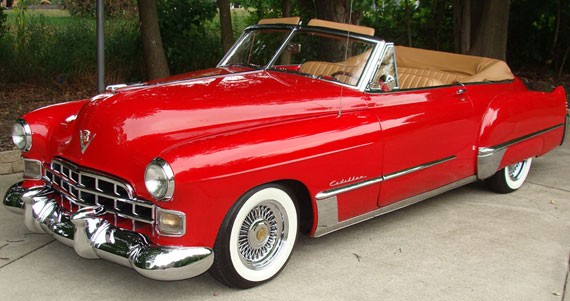
The Secret to Removing Oxidation and Restoring a Show Car Finish to Antique Single Stage Paints
With the exception of single stage white paint, most other colors of single stage paint will tend to be soft, at least softer than most any basecoat/clearcoat finish. I touch on the white paint hardness factor in this article written in 1997 that includes a reference to the Mohs Hardness Scale.
The Lesson White Paint Teaches Us
To your question on how to polish single stage paints...
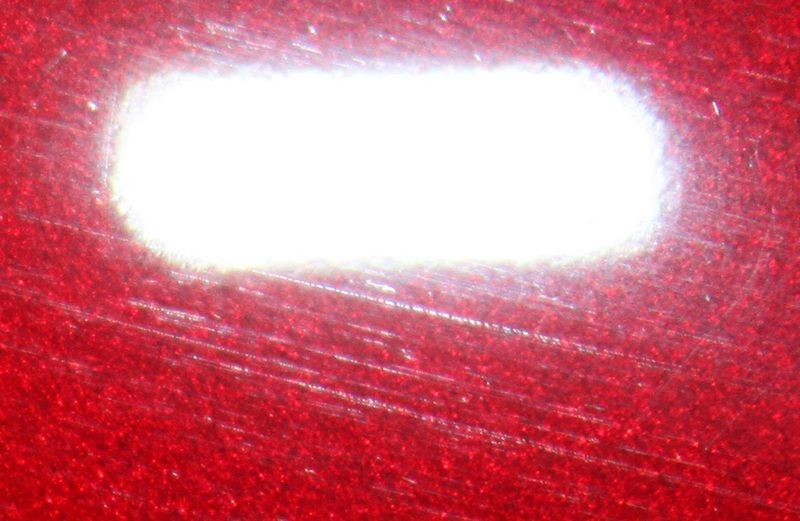
First, use the least aggressive product to get the job done. Always.
Do a Test Spot and dial in a process that works to make the paint look AWESOME to one small area before buffing out the entire car.
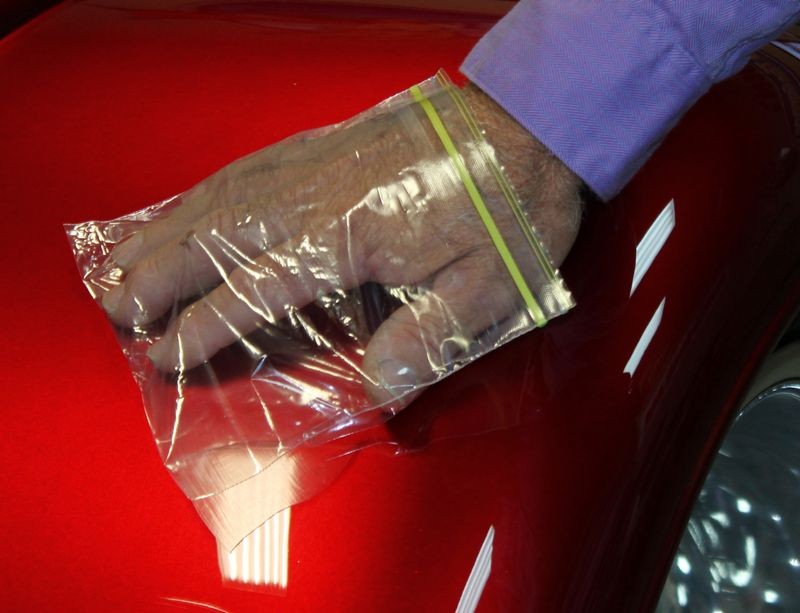
Tape-off or avoid any raised body lines as the paint is soft, (as discussed), and paint on raised body lines tends to be thin for a number of reason, one of which is because all the detailers that have buffed the car out before you probably WERE NOT careful and did not avoid buffing on the raised body lines.
So just buff up to raised body lines, don't buff on them.
Be prepared to CLEAN YOUR PAD OFTEN - If you're using a DA Polisher have plenty of terry cloth hand towels on hand and clean the dead, oxidized paint AND the spent polish residue off the face of the pad after buffing each section or at least after buffing out ever other section.
Work small areas at a time, about 20" square or so, 2' by 2' as recommend by most companies/people/articles etc. is too large.
Don't use anything with harsh solvents in it or archaic abrasive technology, stick with the premium brands and you won't have a problem.
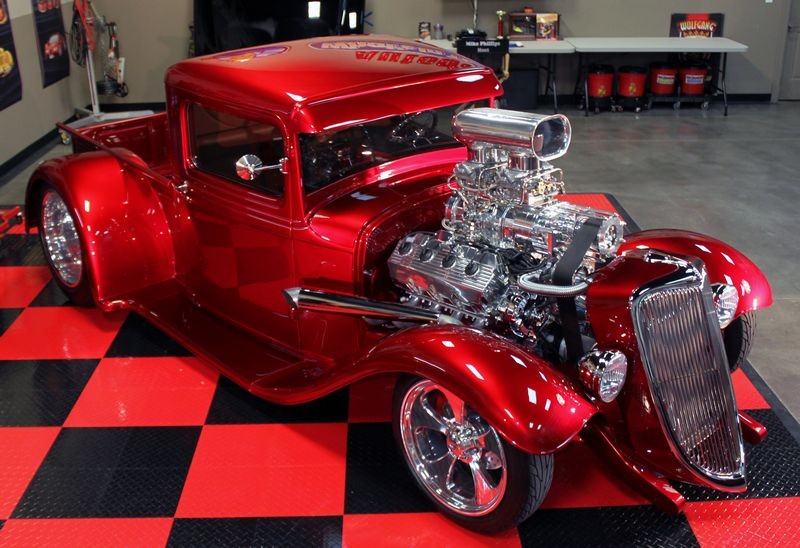
If the paint is dark, consider using #7 after all the mechanical abrading steps are over and before you apply the wax. The polishing oils in the #7 will bring out the full richness of color and beauty in the pigments. This is a purposefully built in feature of these specific oils.
That's it off the top of my head, I would also do things like knock out the roof first and then tackle the rest of the car, I have an article on this on my article page.
I don't have any pics of it at the moment.
Thank you!
IF the finish is neglected AT ALL and you want to use this car to promote yourself and your skills, the read this article,
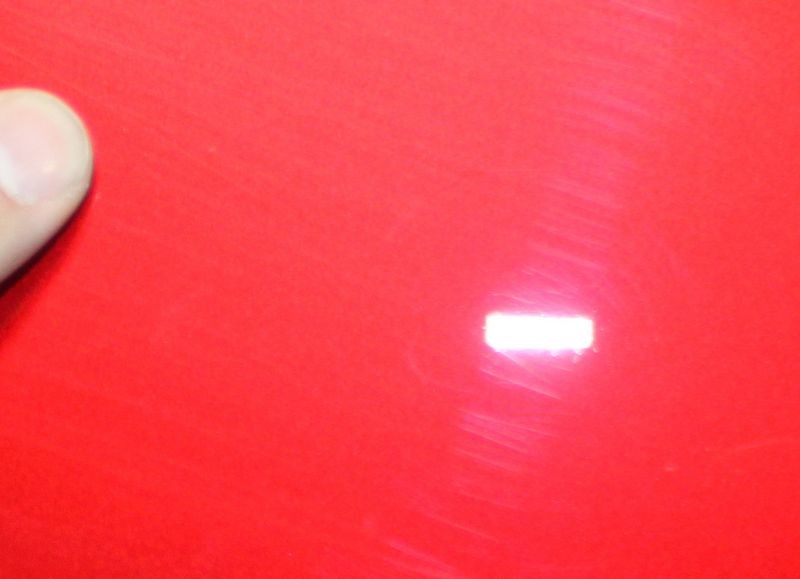
The power in the after shots is created in the before shots
And consider watching this video we made last week where we buffed out a 1970 Mustang Mach 1 with VERY THIN single stage paint. So thin we could not put painter's tape on it without the tape pulling off the paint. Ouch!
[ame=http://www.youtube.com/watch?v=LbppD4opsGs]1970 Mustang Mach 1 - How to polish single stage paint by hand - YouTube[/video]
")