Tasmania
Well-known member
- Jan 12, 2017
- 1,545
- 833
I still can't comment on your YT videos? Deyon send me a message and tell me what's happening or if I have offended you in anyway.A second video from today, this time a POV and edited in 4K.
Follow along with the video below to see how to install our site as a web app on your home screen.
Note: This feature may not be available in some browsers.
I still can't comment on your YT videos? Deyon send me a message and tell me what's happening or if I have offended you in anyway.A second video from today, this time a POV and edited in 4K.
Trust me, no, you haven't offended me, I'm not sure what's happening. I thought I fixed it, so I'll look into it againI still can't comment on your YT videos? Deyon send me a message and tell me what's happening or if I have offended you in anyway.
I put a comment up to test it, it works fine from my end. Maybe YT has cancelled Tassie because he's actually a 14 year old and he's not allowed on social media anymore.Trust me, no, you haven't offended me, I'm not sure what's happening. I thought I fixed it, so I'll look into it again
For some reason it has been holding comments back, hopefully that is sorted out now. Nothing malicious on my end.I put a comment up to test it, it works fine from my end. Maybe YT has cancelled Tassie because he's actually a 14 year old and he's not allowed on social media anymore.
I logged in using my brother's account and I can't see any of my comments.....WeirdTrust me, no, you haven't offended me, I'm not sure what's happening. I thought I fixed it, so I'll look into it again
I'm telling my mum on you Dave!I put a comment up to test it, it works fine from my end. Maybe YT has cancelled Tassie because he's actually a 14 year old and he's not allowed on social media anymore.
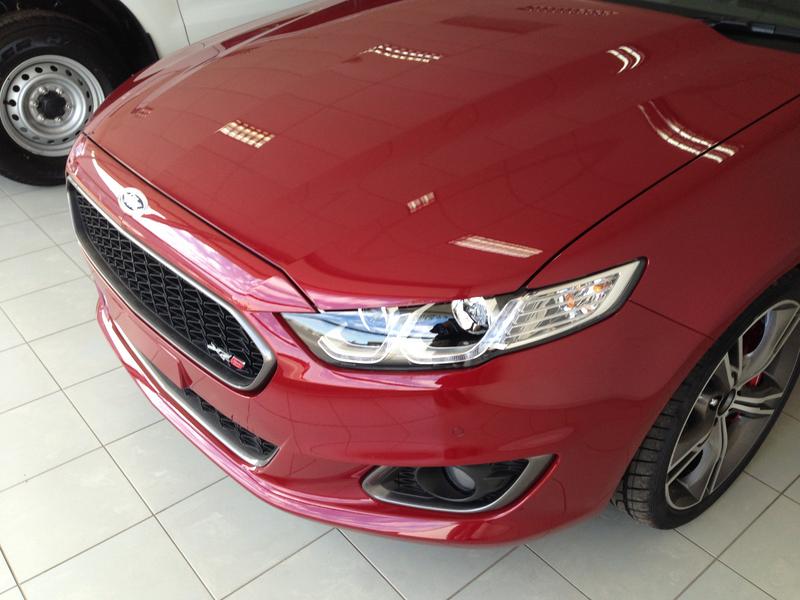


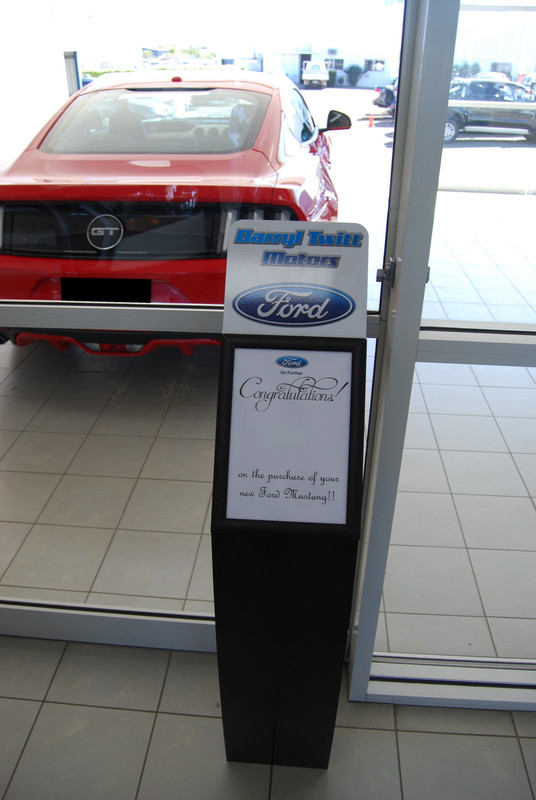




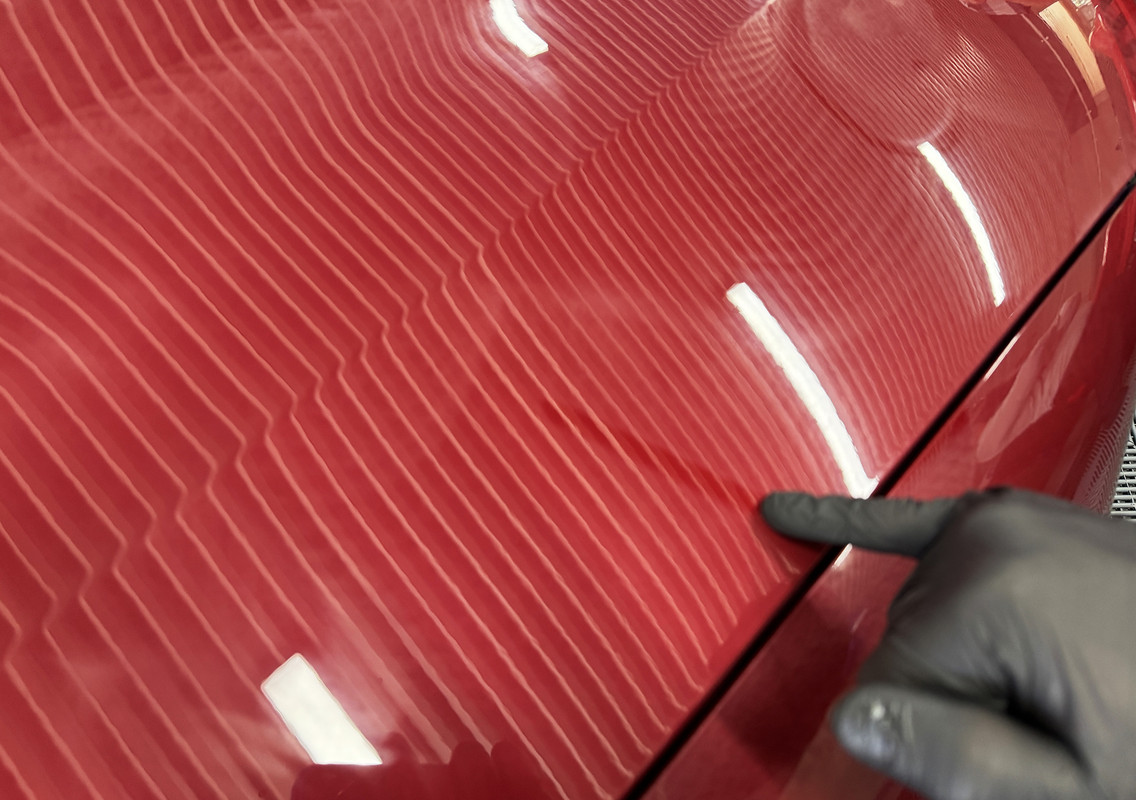




Made the two-hour trip to Melbourne this afternoon, tomorrow is my Advanced Polishing Clinic with Sandro at Waxit. The class starts at 8.30am, so I didn't want to be up early to drive, then the training session, then make the trip home.........................would have been a big day, so I booked a hotel a 10 min drive from Waxit.
I'm not a confident long distance/city driver, and its been more than 4-years since I last drove to Melbourne. It poured rain for a large portion of the drive, then I nearly got side-swiped by some halfwit at 60 mph on the four lane hwy leading into Melbourne, cue full panic braking and screeching tires. And there was no way I was driving my new car either, I was stressed enough as it was without having to be paranoid about the car that took me so long to get. The Ranger is on the border line of being uncomfortable for long distance drives, especially on the disgraceful state of Victoria roads.
And I thought it looked good yesterday, stunning. Those last two shots in the sunshine are glowing.XR8 Paint Enhancement Continued……………….
With the rest of the polishing finished up, it was time to prepare for the application of some protection. To start, I wiped the car down with KCx PPS, I had forgotten how good this stuff is.
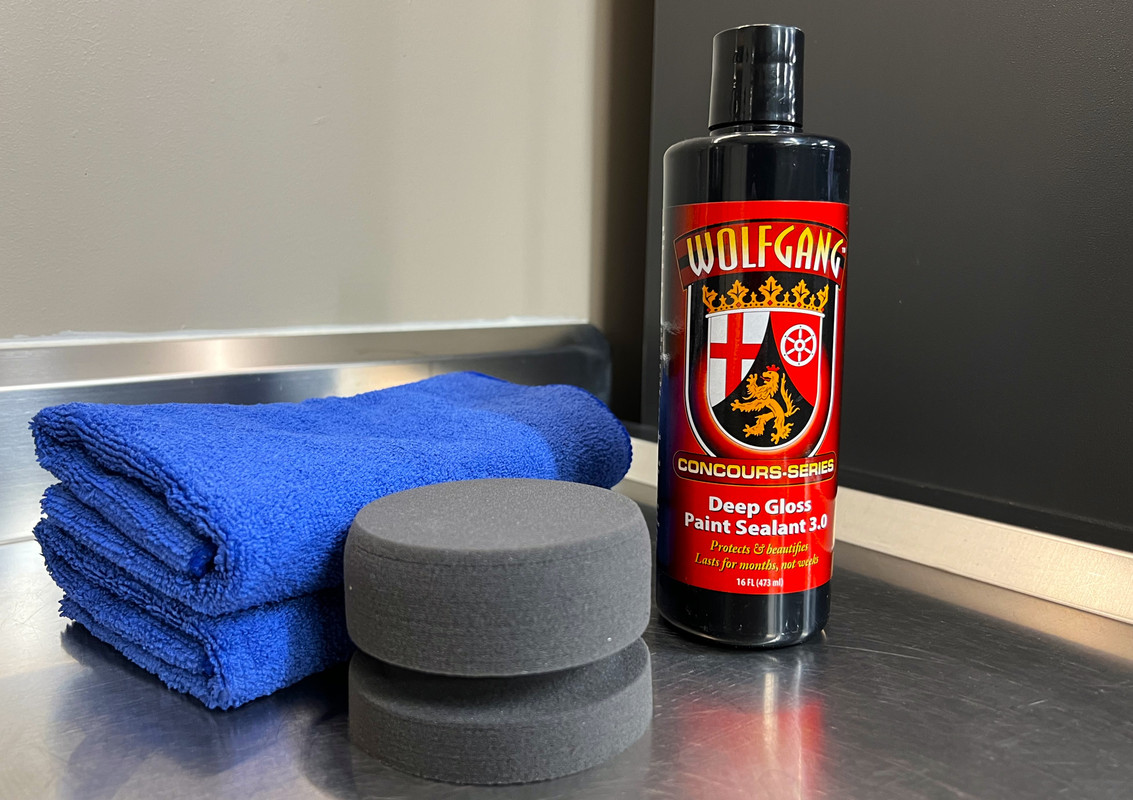
At the moment, I have three products that could have gone on this car. Gyeon Can Coat EVO would have been a quick, easy product to apply and would have delivered an excellent washing experience. But I just feel that Can Coat isn’t appropriate here. Collinite 845 has been a favorite of mine for so long, it certainly delivers on the tactility front. But, I’ve decided to reacquaint myself with another old favorite, a product that I know works really well on this colour and rewards the extra effort and time needed to apply. Wolfgang Deep Gloss Paint Sealant (DGPS), a product that is sadly no longer offered in Australia. I actually got sent a bottle in error, so I have enough to last me the rest of my life.
Wolfgang Deep Gloss Paint Sealant
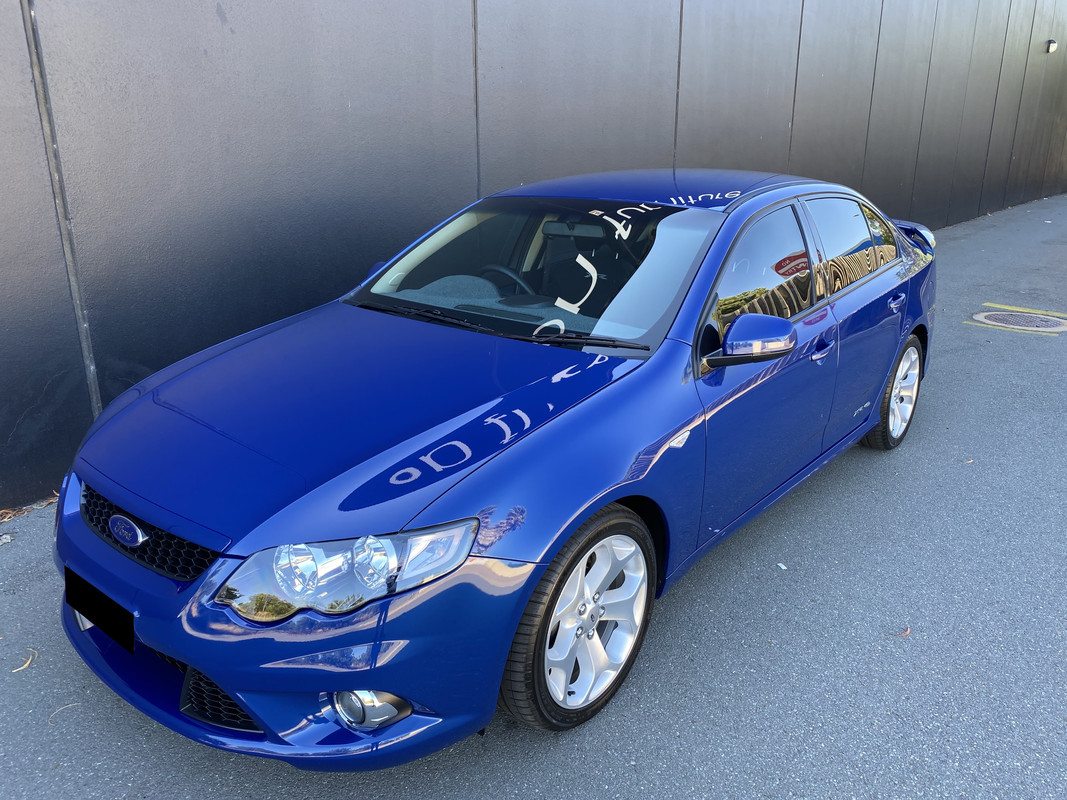
I first tried this product after reaching out to Waxit, who were actually a forum sponsor at one point. I wanted something to use on my XR6 above and beyond the Meguiar’s wax I had been using prior. Waxit suggested Wolfgang DGPS to enhance the deeper tones within the Sensation blue paint. This was back in the early 2010’s, a time before ceramic coatings and spray sealants becoming a mainstream option. After using DGPS, the gloss and slickness levels were insane, as were the hydrophobics. For the first time, I was being asked what I was using on the paint!
Application -
Deep Gloss Paint Sealant is a cross-linking polymer paint sealant, with longevity said to last up to 6 months. Having said that, I can get years out of it on a garage queen. Wolfgang also make note of the anti-static properties DGPS provides, helping to repel dust, dirt and grime.
There are a few key reasons why I come back to the product –
- The glossy, wet look it creates. After application, Wolfgang suggest that the “paint looks like a clear glossy coating was just poured over it”
- The slickness! No toppers required!
- The depth that it adds to paint, enhancing the colour beyond its natural state
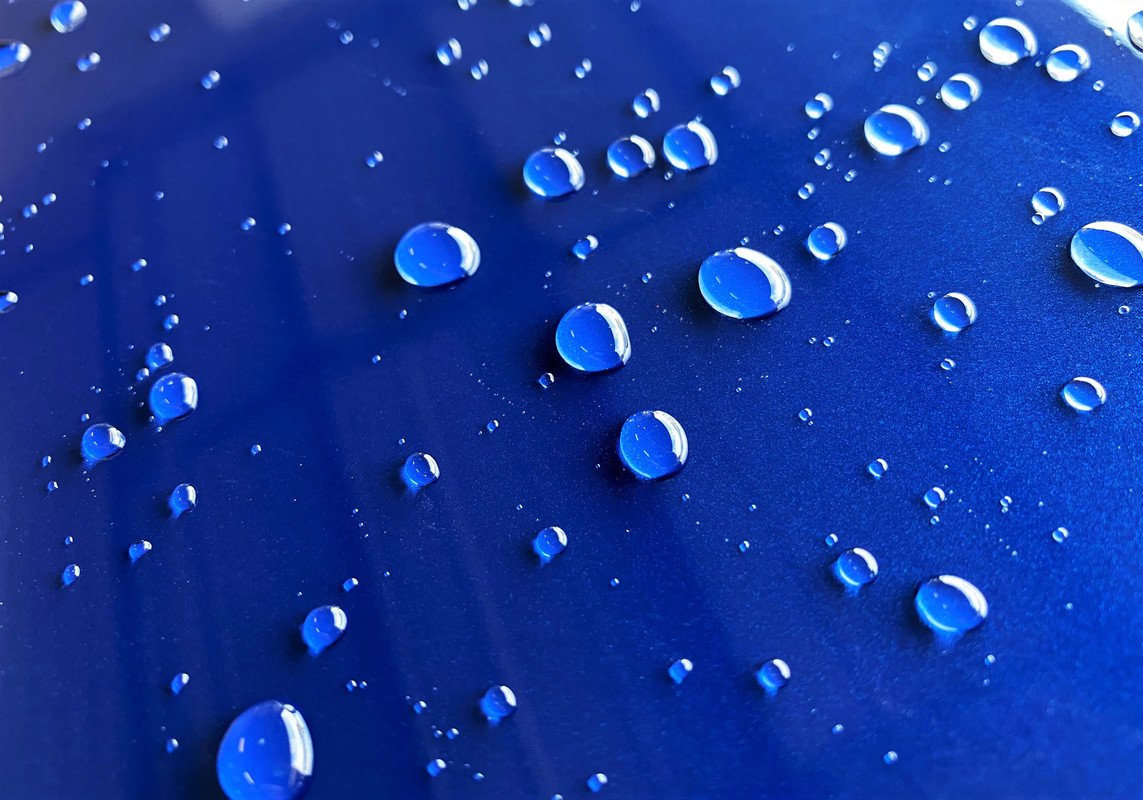
- Hydrophobic qualities that rival fancier ceramic coatings
Wolfgang Deep Gloss Paint Sealant can be used on all painted surfaces. This is a product I would avoid getting on unpainted rubber and plastic trims, it will otherwise stain. DGPS can be applied to the car by hand or via machine. I prefer to use the machine with a black waxing pad to speed up the process and ensure even coverage, swapping to a small foam hand applicator for intricate areas like the wing mirrors and bumpers. Working panel by panel, apply a thin coat to the whole car, reapplying product to the pad as needed. Remember, a little goes a VERY long way. Be sure to also shake the bottle prior and during application. You will also notice it smells like an old school product, all solventy and no with attempt to lace it with fruity scents.
Note that I'm using the ShineMate and not the Rupes, the ShineMate on speed 1 is much slower running than the Rupes on the same setting. For wax and sealant application, you really don't want or need pad speed here, so the slower rpm is more than sufficient to do the job and won't cause any accidental splatter.
From here, you then need to be patient, DGPS needs to sit for untouched for 30 to 45 minutes to set up. After setting, you can then remove the residue with a microfiber towel, starting where you began the application. When applied thinly, buffing off DGPS is a dream, way way easier than leveling a ceramic coating.
The curing of DGPS is activated by oxygen, so exposure to moisture during the first 12 hours will compromise proper curing and tamper with the long-term durability. So, just like a ceramic coating, you need to think ahead.
While the sealant was setting up, I went around and removed the tape and deep cleaned the plastic and rubber trims with Meguiar’s M39 and PPS. I then applied Carpro Reload to the areas not coated with DGPS, including the grill surrounds, fog light area, front fender features, and plastic trims.
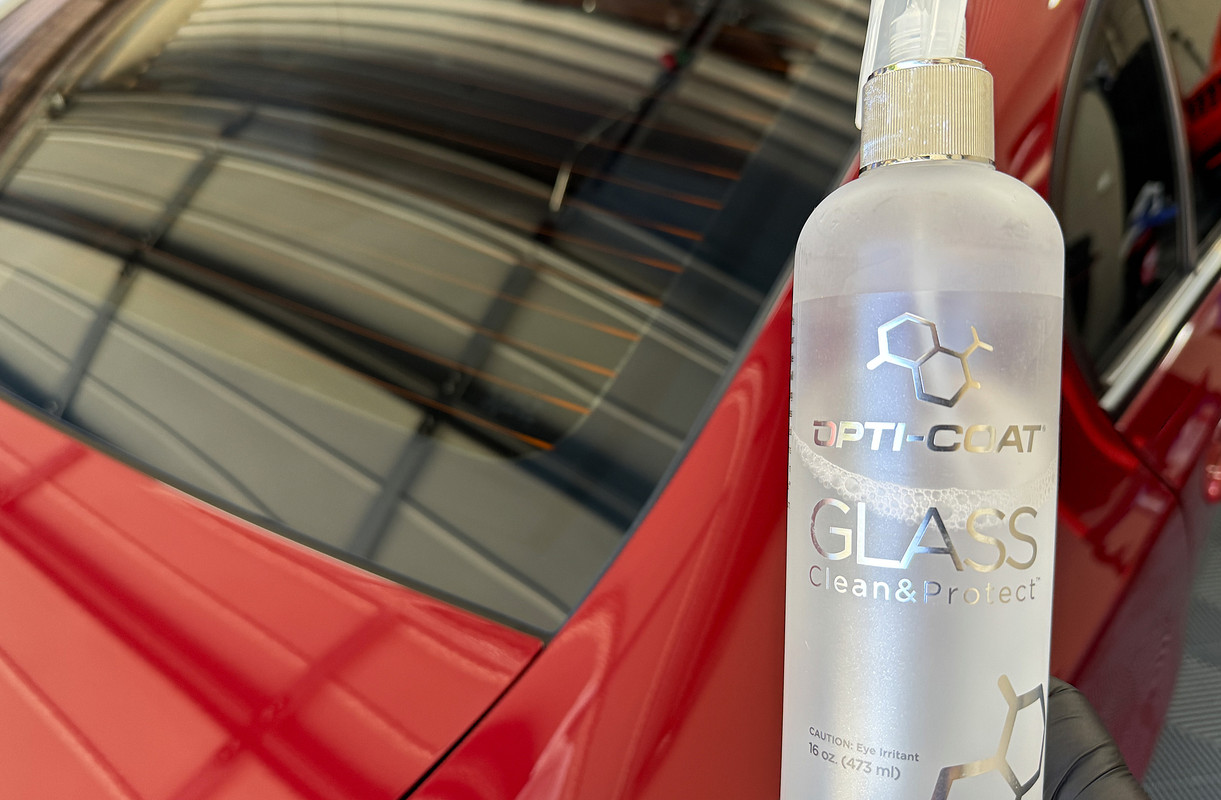
Finishing up, the door jambs and engine bay were wiped down with ECH20 to remove any accumulated polishing and sealant dust. Using towel dampened with ECH20, I went around and lightly wiped the car down to pick up any remaining sealant dust. The glass was then cleaned with Opti-Coat Glass Clean & Protect.
Products Used Today -
KCx PPS Panel Prep
The Rag Company Eagle Edgeless 500 Towels
Wolfgang Deep Gloss Paint Sealant
ShineMate EB351 5/15 5-inch Polisher
ShineMate Black Foam Waxing Pad (6-inch)
Foam Wax Applicator Puck
The Rag Company Creature Edgeless Sealant Removal Towel
Meguiar's M39 (NLA), Nexzett Plastic Deep Cleaner the alternative
Carpro Reload
Opti-Coat Glass Clean & Protect
Carpro ECH20
Note - While you can clean a pad or applicator used with DGPS, it's a tedious and annoying task that won't totally remove it. Once dried, the pad will be very dusty. To me, it's not worth the trouble, so count on binning them.
The Result -
This is not the first time I have applied DGPS to the XR8. Other than a variety of toppers since, the last sealant applied to this car was Gyeon Q2 Wax. The Gyeon wax certainly had the gloss and extremely good hydrophobics, but I feel like DGPS has an edge in gloss and slickness.
After applying mostly ceramic coatings over the last couple of years, it was like stepping back in time with this car. No, a sealant like this won't have the chemical resistance or longevity of a coating, but for a car like this, its the better option. I also have waaaay less anxiety applying a sealant over a coating, which overall, made it a much more pleasurable experience.
This is what I love about Emperor Red, in the shade it takes on a glassy, pearl-like finish. But in the sun, it transforms into a glowing beacon of gloss and metal flake................................
And so, with that, Happy Anniversary Miss. Jane
My favorite of your fleet!


That's my picLove that sensation blue!


Well, the native pressure pump did its job! Was in and out of hospital in 5 hours, and despite the usual runaround with paperwork, I managed to hit theater at the exact time I was booked for, can't ask for more than that. Pump and tube are gone, wound finally stitched up. It felt like I took ages to go under this time, which I suspect I got dosed up more than last time because apparently it took me a while to wake up, and I still feel groggy.
Many thanks to those who reached out. I have had sick pay substituted instead of burning my leave. I needed that push because I was just going to ignore it and just focus on getting better.
I'm still a little movement restricted, but.........................LETS GET THIS SHOW BACK ON THE ROAD!