dbreeze225
New member
- Mar 6, 2015
- 52
- 0
I'm a little unclear because for some reason water doesn't come out as much as it seems you guys are saying. I cemented everything except the tubes going to the springs, but it doesn't seem to have a lot of pressure. Any ideas to make it squirt more water?
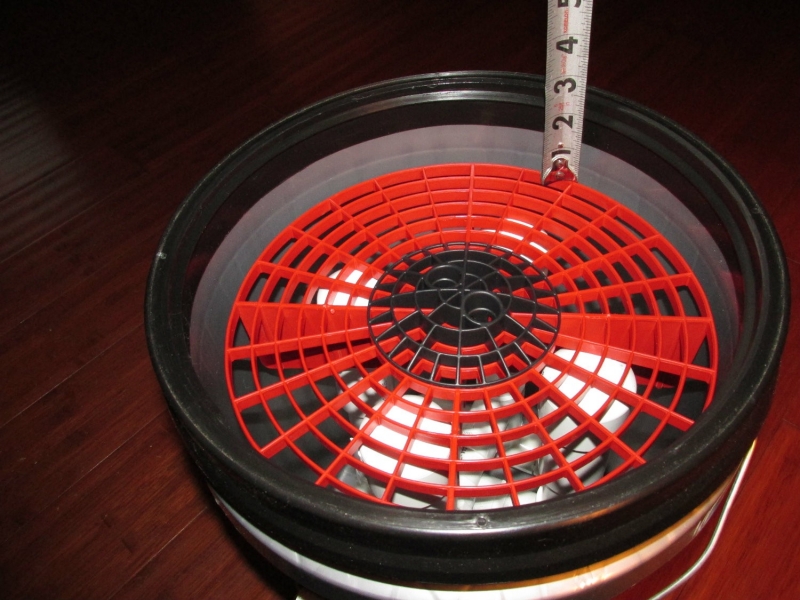
hey try a lil more water in the bucket. when i first tested it i got nothing but air and played around with the water level before i got it to the point where water is just below the "grit guard" (when it is pressed down not when its up) but also has to be higher than the pipes that come up (where the spring is) otherwise water wont be able to fill the contraption and u get air not water. also depends on how hard and fast you push down on the "grit guard" (or substitute). i am going to post some pics later today but hope this helps for now by the way you don't need to much water or water and soap solution. all you need is enough to get the pad wet (not damp but also not soaked) and you are not going to achieve this with one press on the springs the way mine is it will probilly get it decently wet in like 6 or 7 pushes on the springs (not 100% on that just estimating haven't had the opportunity to fully clean a pad yet just put together and tested it) i might dirty up a pad today to try it out real good ill let everyone know how it turns out

 rops: take care of the important stuff first. we can wait :dblthumb2:


 Any newer links available? Thanks much.