I took a shot at the passenger rear fender yesterday. I got it done, but I am struggling. I was put back on 12 hrs/day at work, and that coupled with the time change has really taken its toll. My goal is to do at least one panel start to finish, but it is very hard to do in a decent time frame with the amount of correction that is needed. I am driving the car, so I don't want to be cruising around with blue tape hanging out on it, and that's the reason I try to fully complete each panel. There just seems to be so much damage. It is getting frustrating.
I made my first mistake last night. I'm getting up at 2am and going into work, so I can still get off by 3:30pm and have a tad of daylight when I get home. Yesterday I got after it at about 4:15pm. By 5pm it was dark. At 7pm, I was still working on the same fender. Working in the dark is doable, but it is just easier when you have light to see everything better.
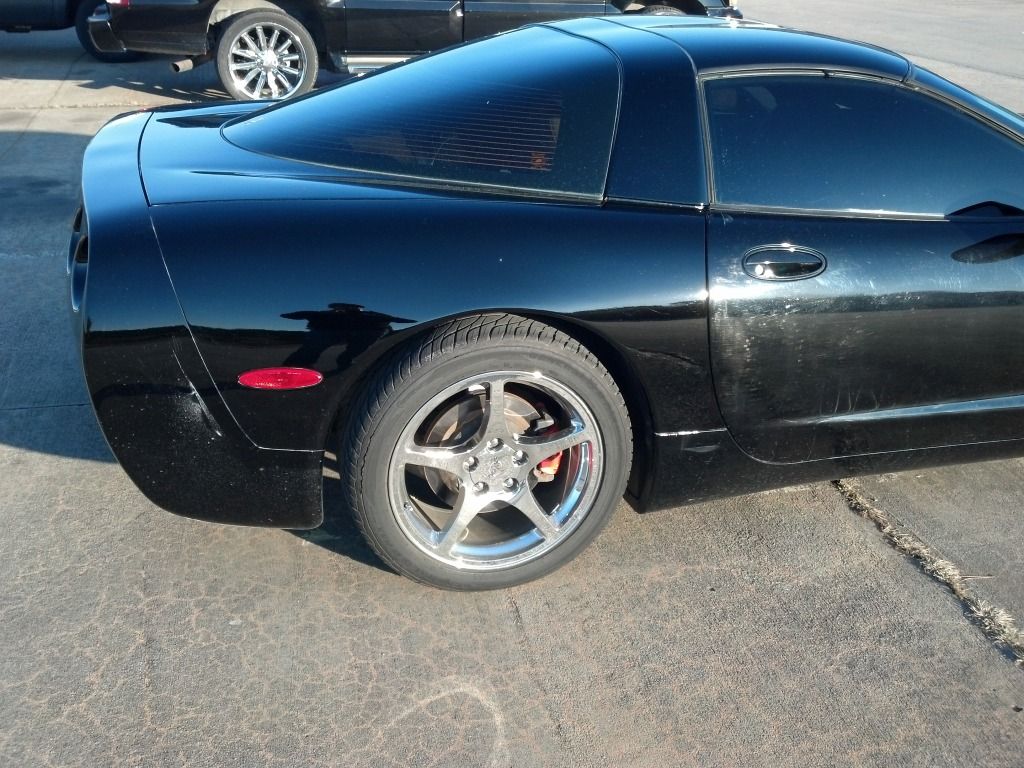
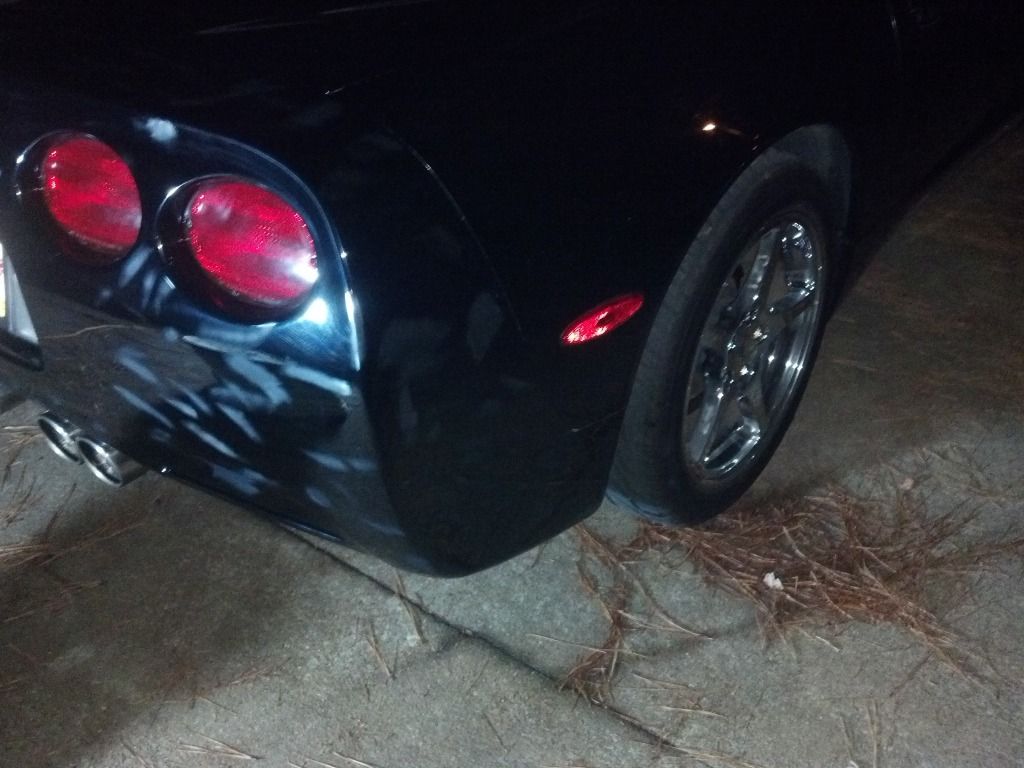
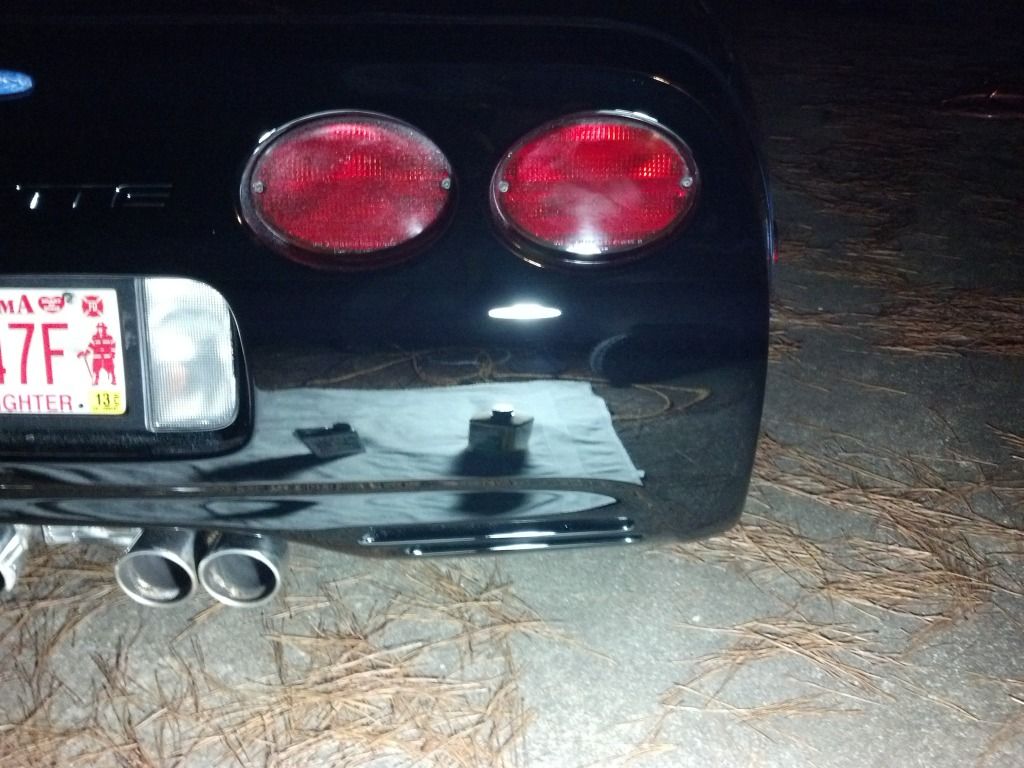
Here is a picture before I started
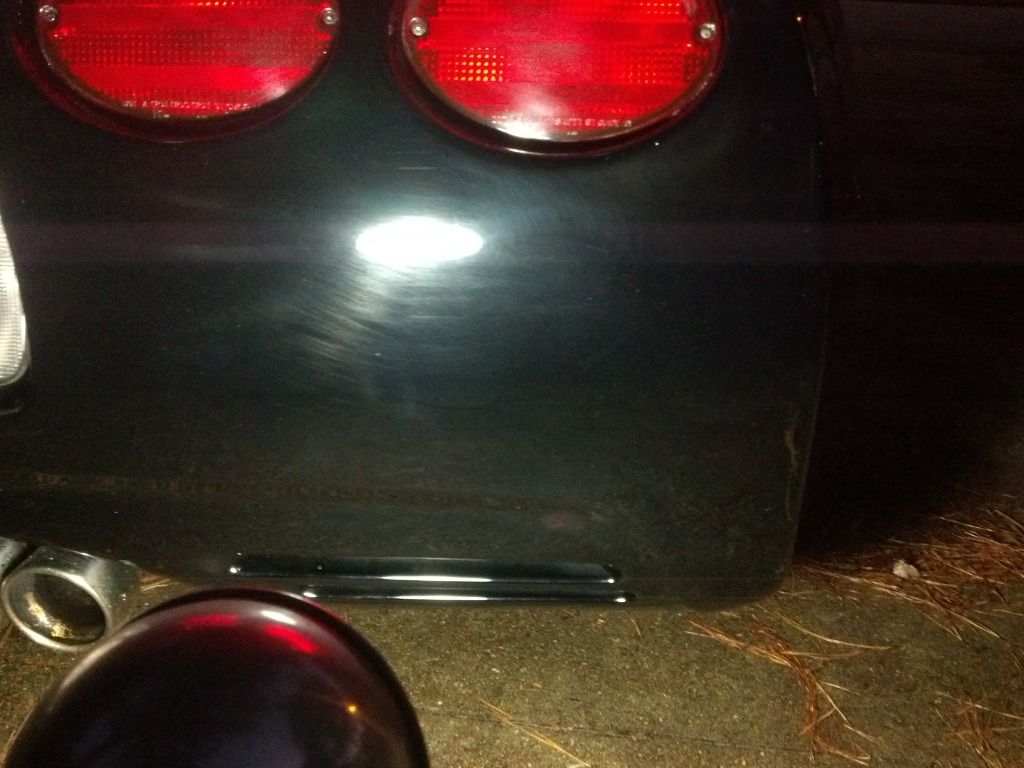
I have washed and dried it, taped it off, and started sanding the scratches. It is just very discouraging to hit these panels with a bright light and see numerous scratches..all of them deep enough where the DA and M105 wont get them out. My only option is to sand every single one. Usually, after I complete an area, I can still see the scratches (some are slightly deeper than others), so I have to go back over them. Just seems like I can't ever get past this sanding step in order to get to the compounding steps.
And then once I do, I usually start with one set of five section passes. I can still see scratches after that, and I have to do another set of five section passes. This usually g4ets them all out.
So in order, my steps are like this:
1. wash/dry
2. tape
3. compound with about five section passes of M105 to expose the deeper scratches where I can see them better (this step is optional, sometimes there are few enough of them where I can just go straight to the next step)
4. Sand the scratches
5. compound with five section passes of M105
6. come back and sand any scratches again that may still show through (rare that this happenes but it does every so often)
7. another five section passes of M105
8. five section passes with Wolfgang TSR
9. four section passes with Wolfgang Finishing glaze
10. wipe with IPA well, buff with Microfiber
11. Paint sealant
12. Buff paint sealant off.
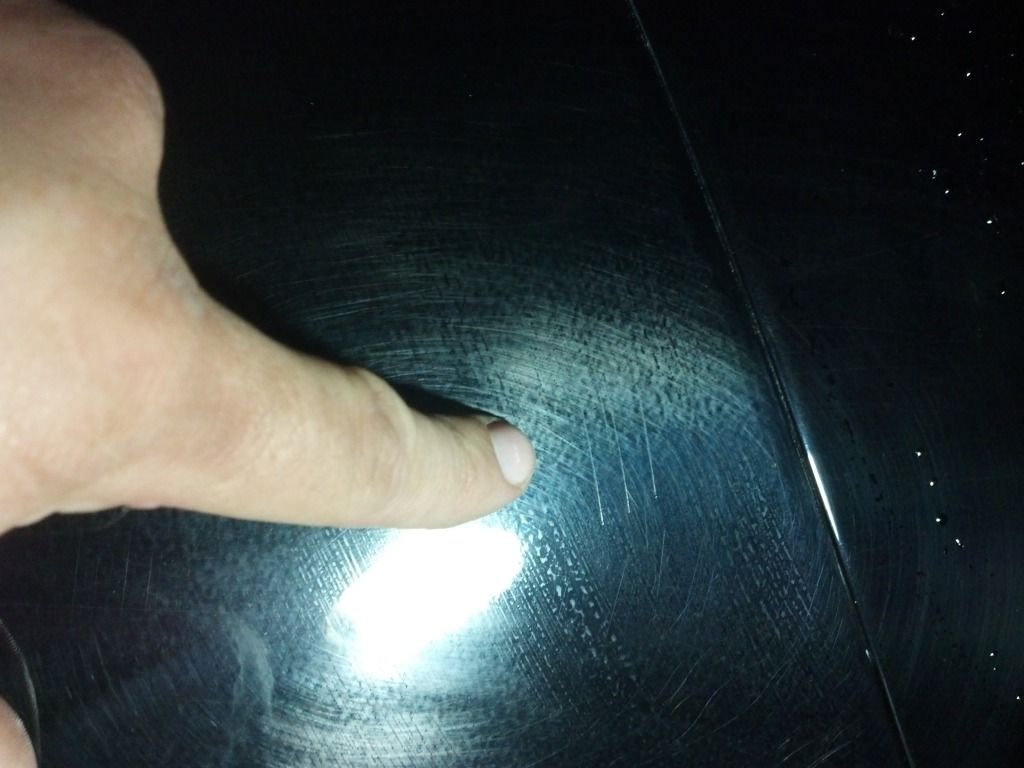
Last night, I skipped number seven. I thought that the first set of compounding section passes had sufficiently removed all the scratches...but it had not. By the time I did the TSR step, I still could not see the true condition of the paint. After I did the finishing glaze step and wiped with IPA, that's when I could still see the light holograms and spiderweb swirls that the section set of section passes with M105 would have gotten out. At this point, I just gave up and went ahead and sealed it. I will just go back to it later. It still looks about 90% better than the damaged panels, but it isn't as good of a job as I have done on the previously corrected panels. I am going to keep moving and come back to that one after the whole car is complete. If I had slowed down, wiped with IPA after every step, and done the necessary steps to ge tthe defects out before moving to the next, I'd be ok. Since I didn't I just caused mysef more work.
The point of this post is just to re-emphasize several things I've learned.
1. Don't try to do too big of a panel or work area at a time.
2. Don't move faster than you should, and don't skip steps. They may not show up until later on, and then you have wasted the time since the skipped step. Since compounds usually get progressively less in cut, the only feasable way to get the defects out is to go back to that step in the process. Theoretically it could be done with the compound that is not so aggressive you have arrived at, but it would be quicker to just go back and use the agressive stuff. But..at this point, rememeber, you will still have to come back down the line of steps to get back to the point you are at.
 rops:
rops: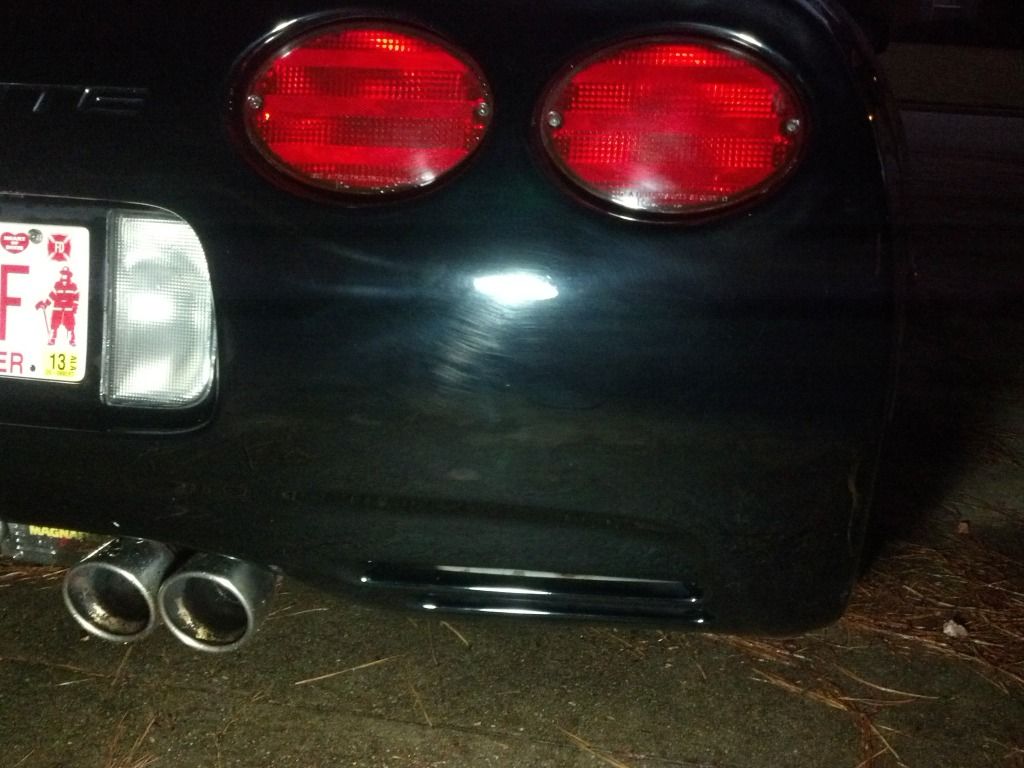


")