lawrenceSA
New member
- Feb 7, 2012
- 1,713
- 0
Friday night was spent sorting out the interior of the double-cab. I started by removing the existing seat covers (which were looking rather tired) revealing some extremely dirty leather seats that looked like they had never received any cleaning/conditioning. There was also a rather nasty black stain on the right rear door card and upholstery insert, which the owner wanted me to remove. All the plastic surfaces as well as the leather were scrubbed with APC and various brushes before being wiped clean and dried. I then treated the leather with Cyclo Leather Tone. The interior was vacuumed out and plastic panels and dash treated with Smart Wax Smart Dressing.
Moving on to Saturday I started with the wheels first (to ensure that any splash-back would fall on dirty paint that still had to be cleaned). The wheels themselves had the usual build up of dirt, road grime, iron and tar.
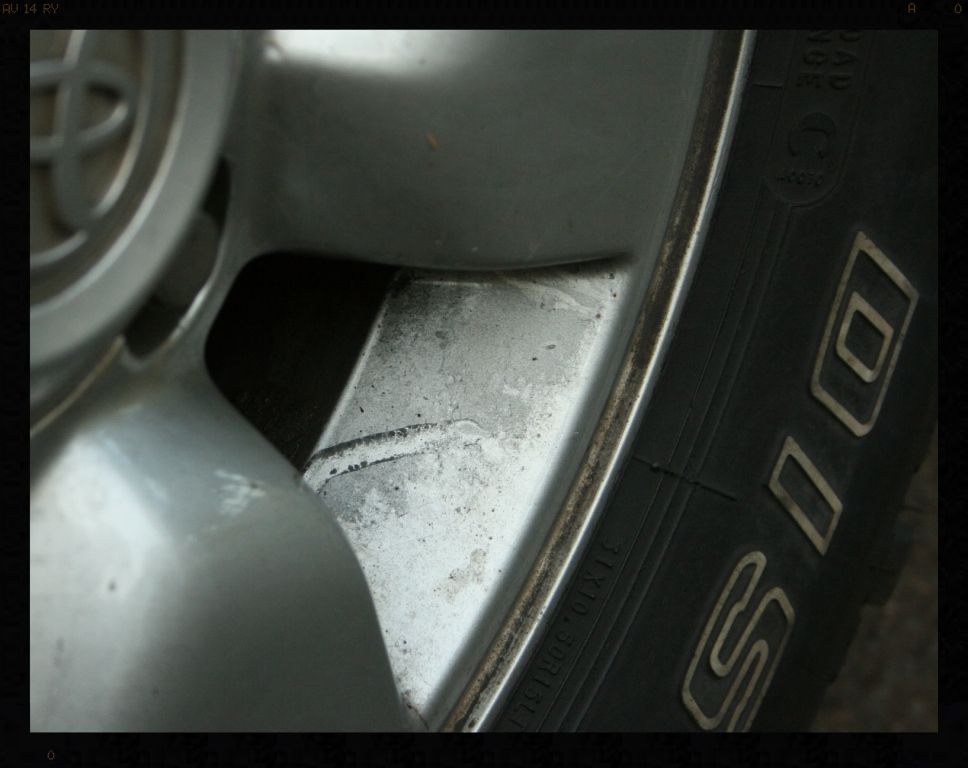
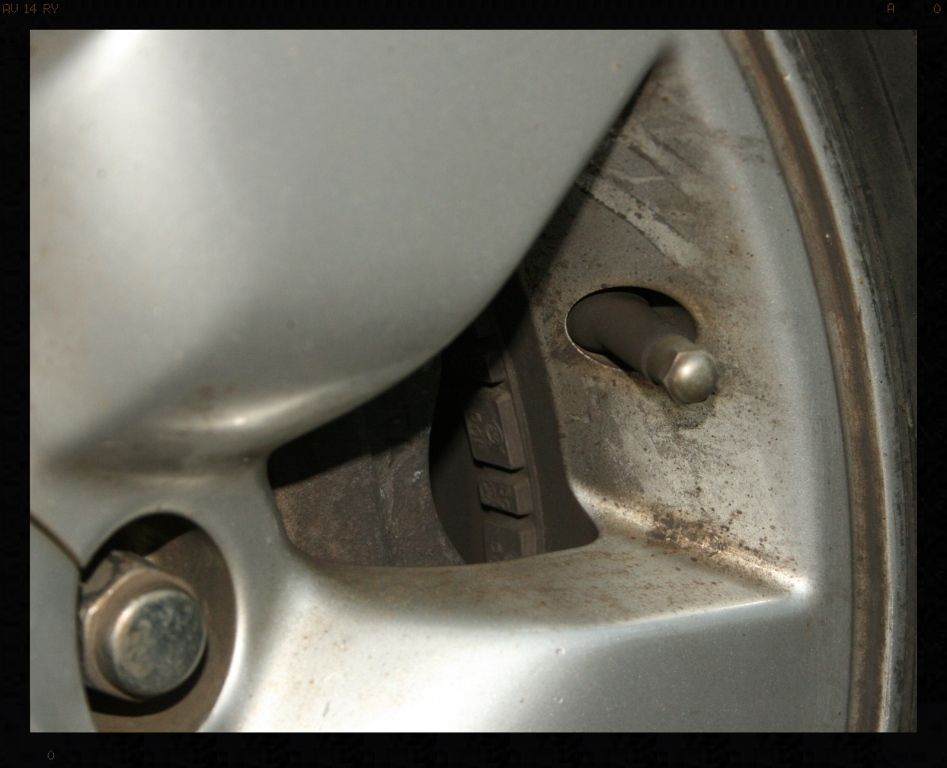
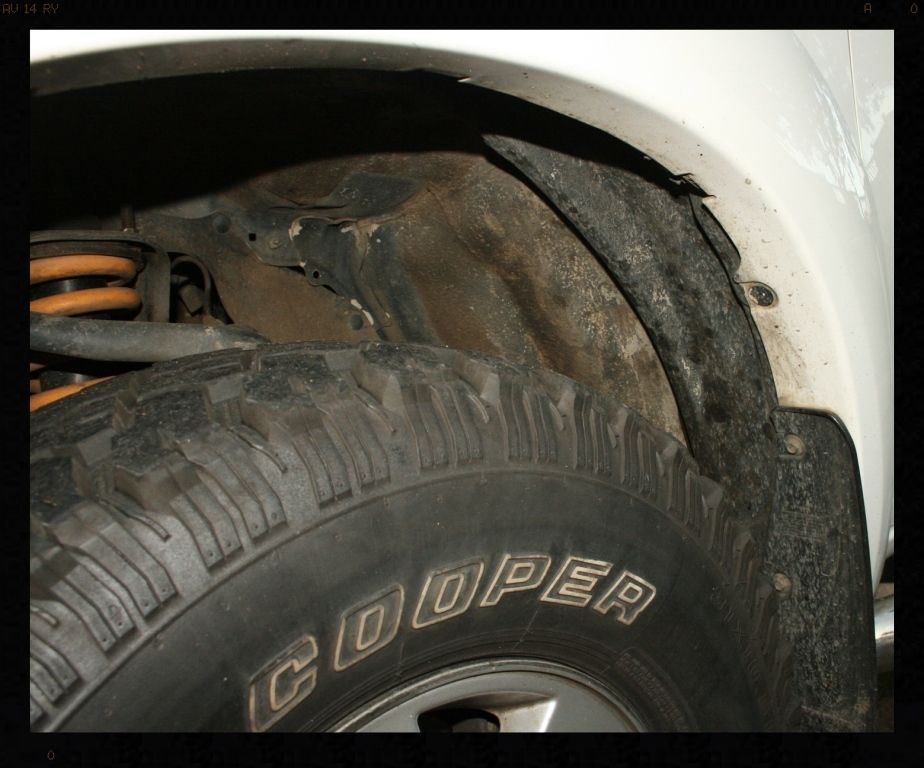
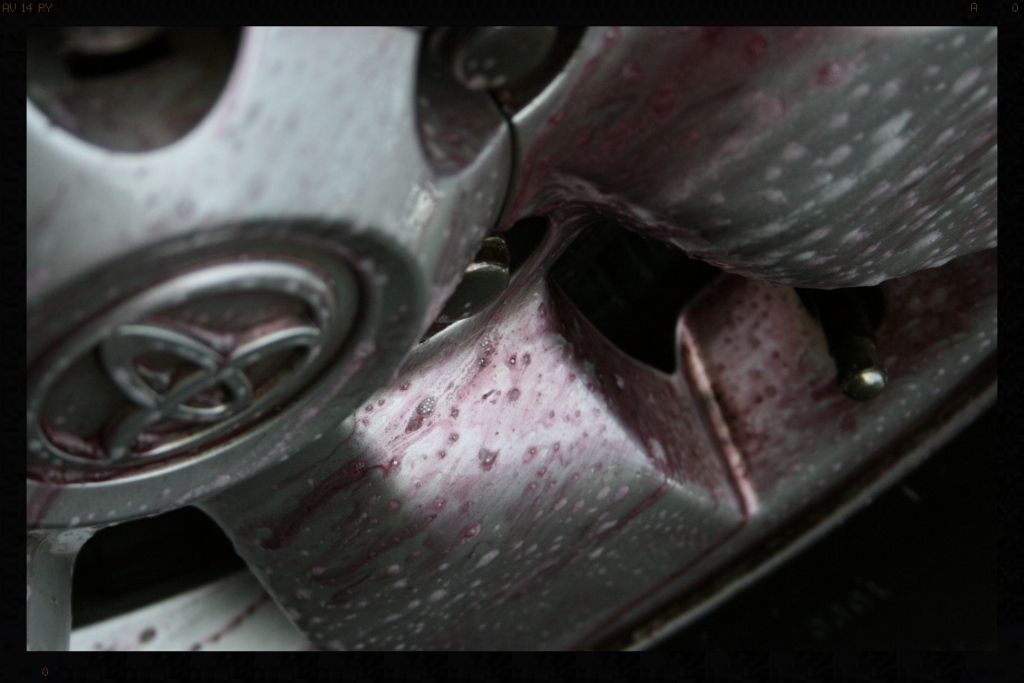
The tires and arches were scrubbed clean using Cyclo CM30. Once this was done the wheels were cleaned using AF Imperial Wheel Cleaner which was followed by tar removal using AF Oblitarate and iron removal using AF Iron Out.
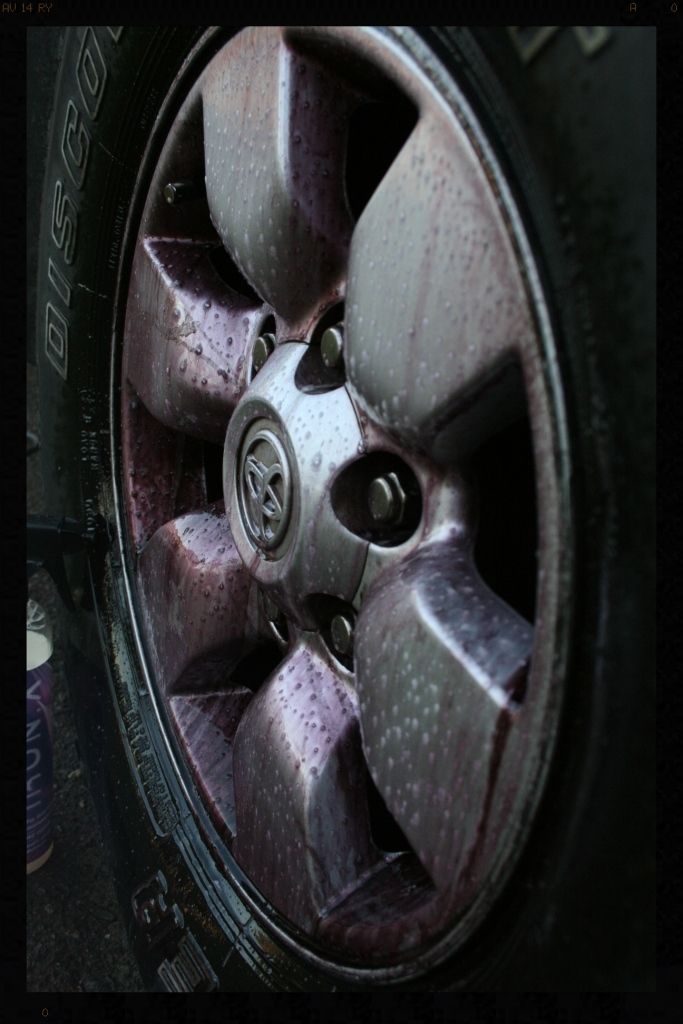

Tires were dressed later on in the detail using Optimum Opti Bond Tire Gel.
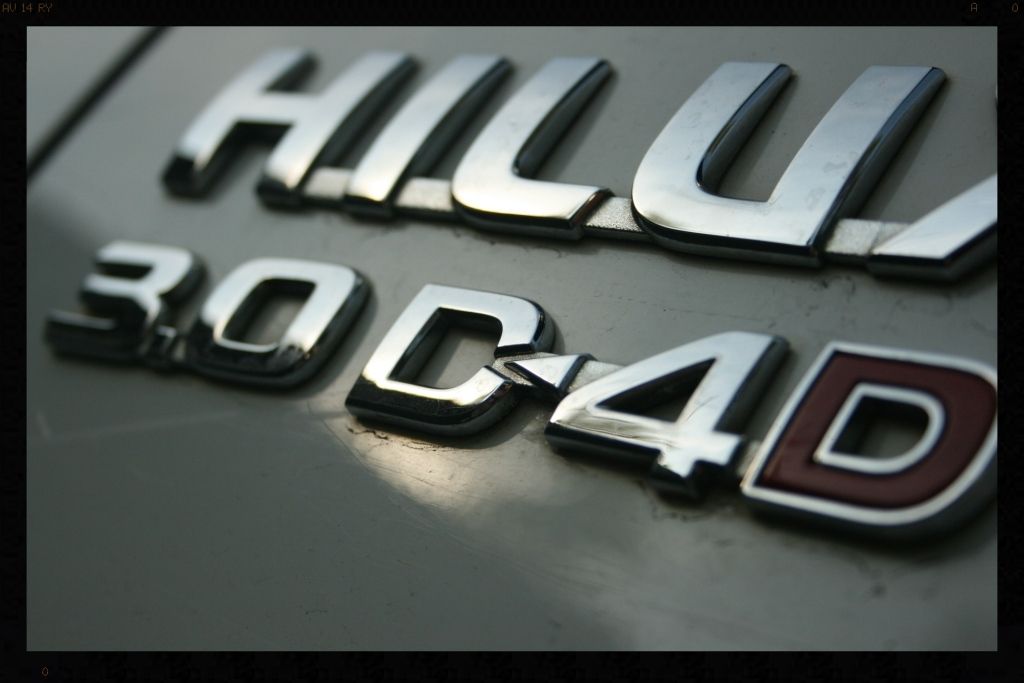
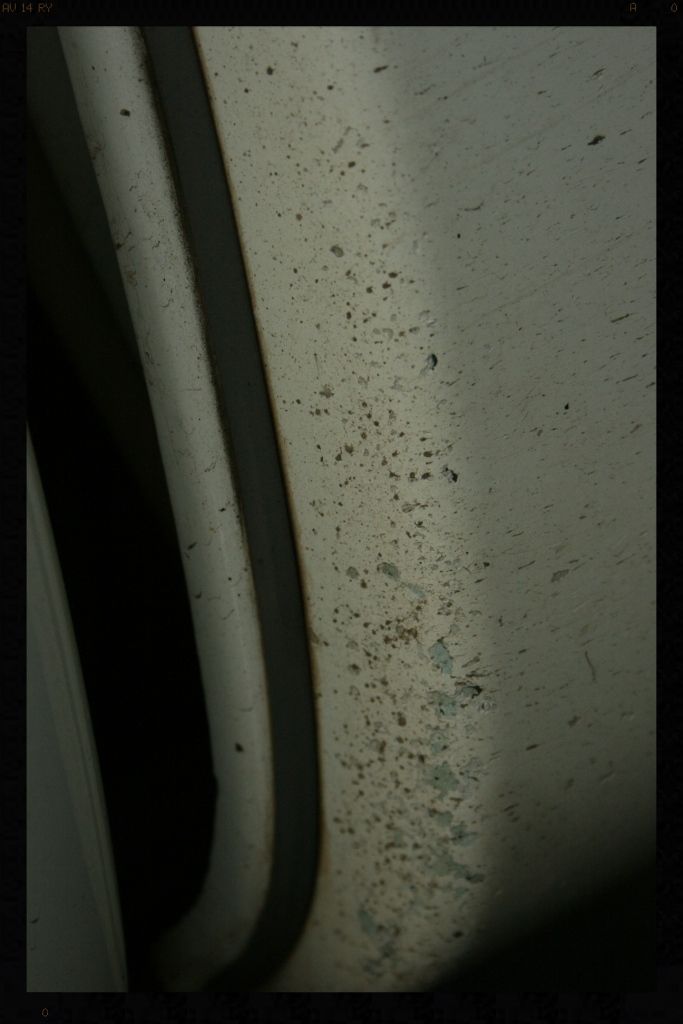
I then spent some time cleaning up the areas always over-looked in a normal car wash
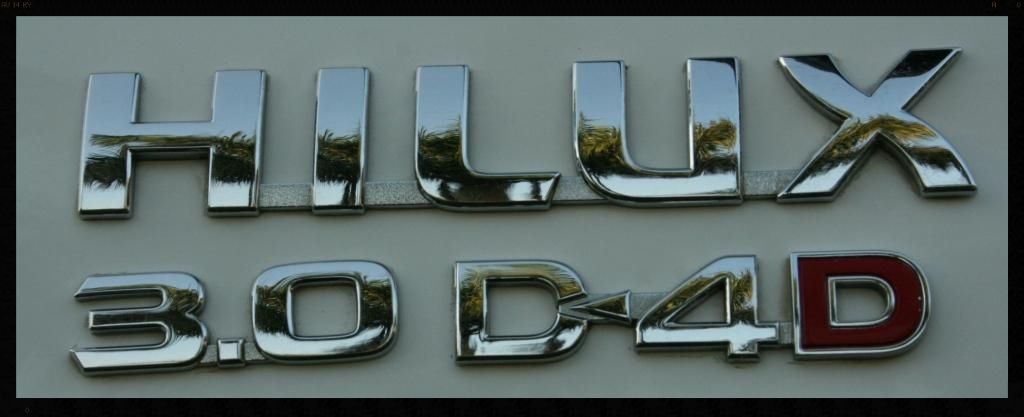
Badges before
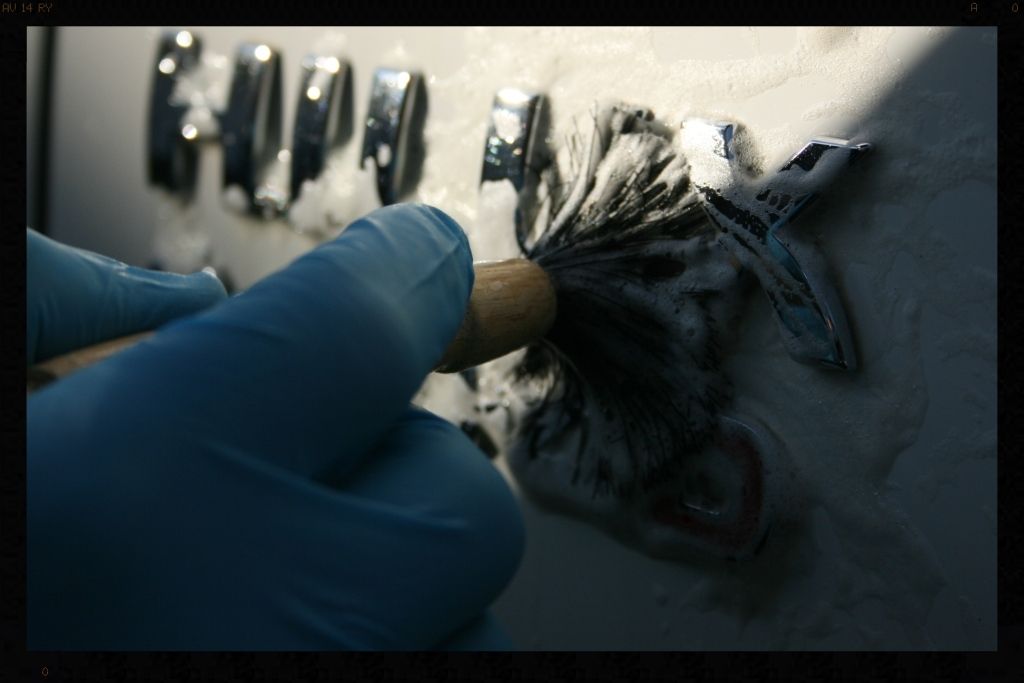
During
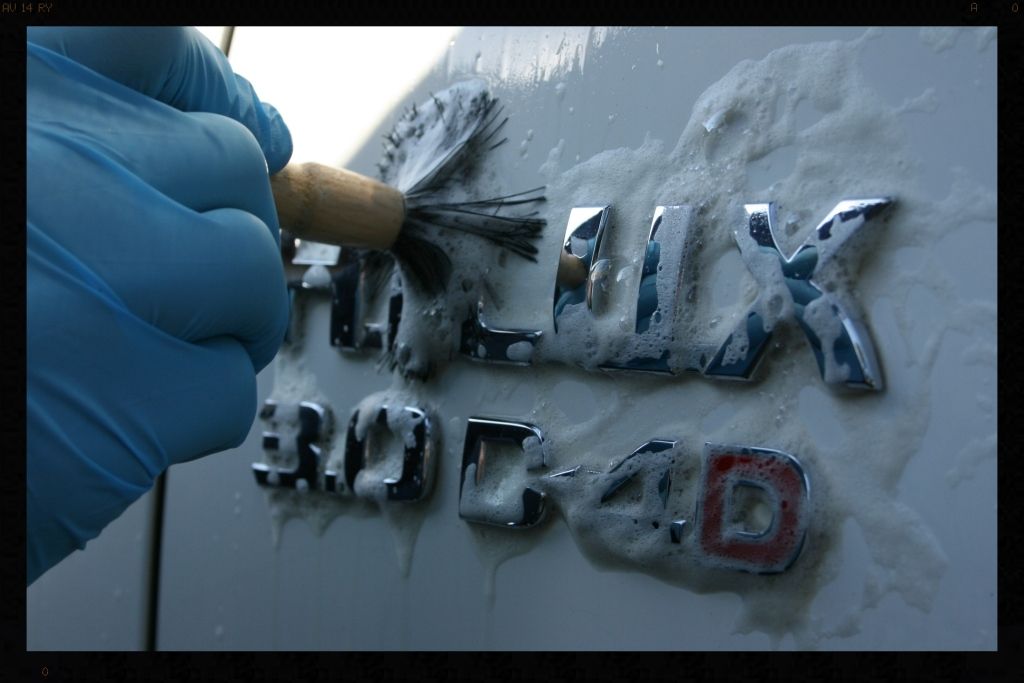
After
Door shuts before
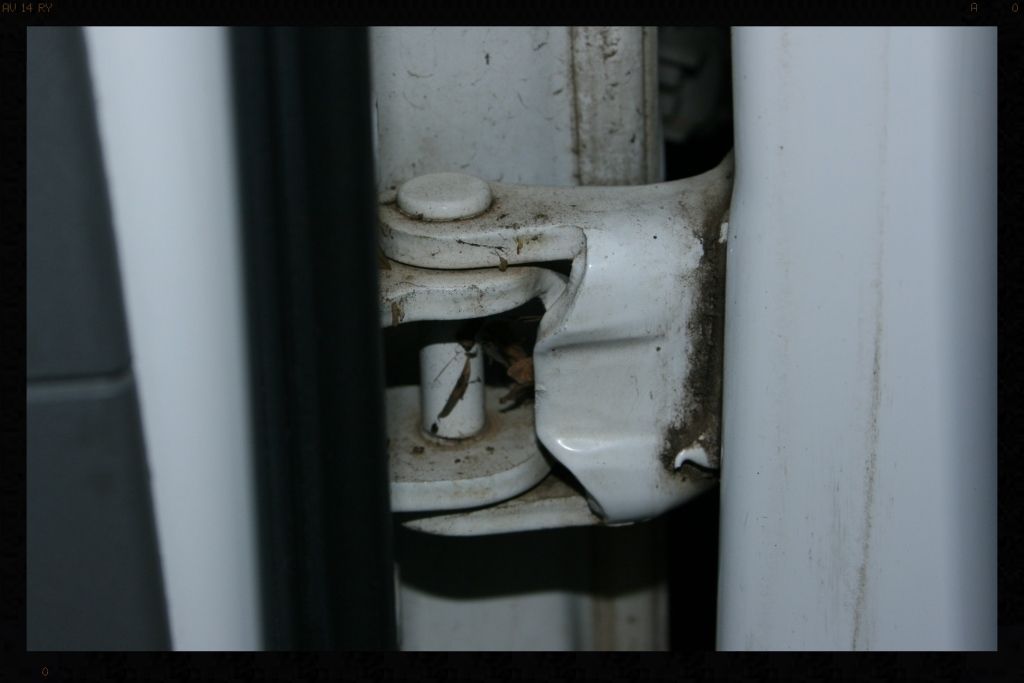
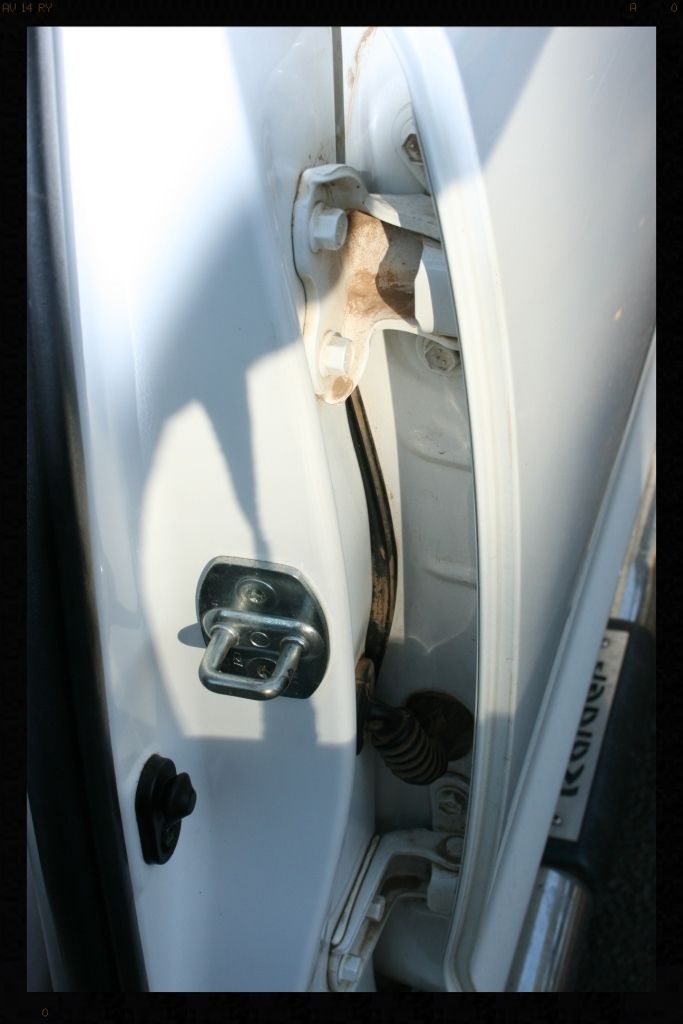
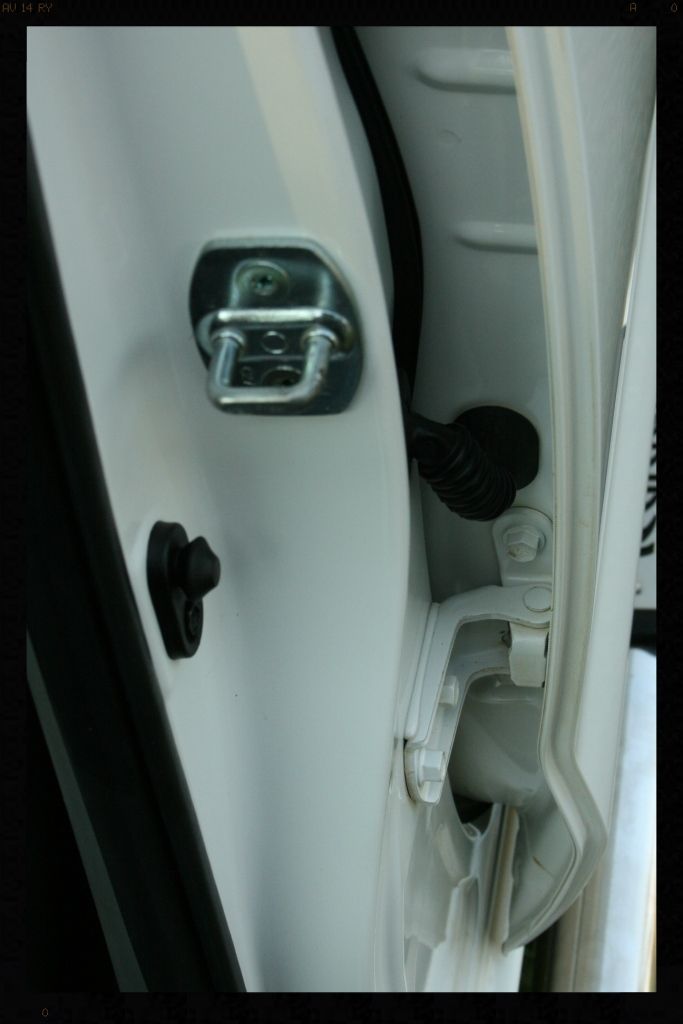
After
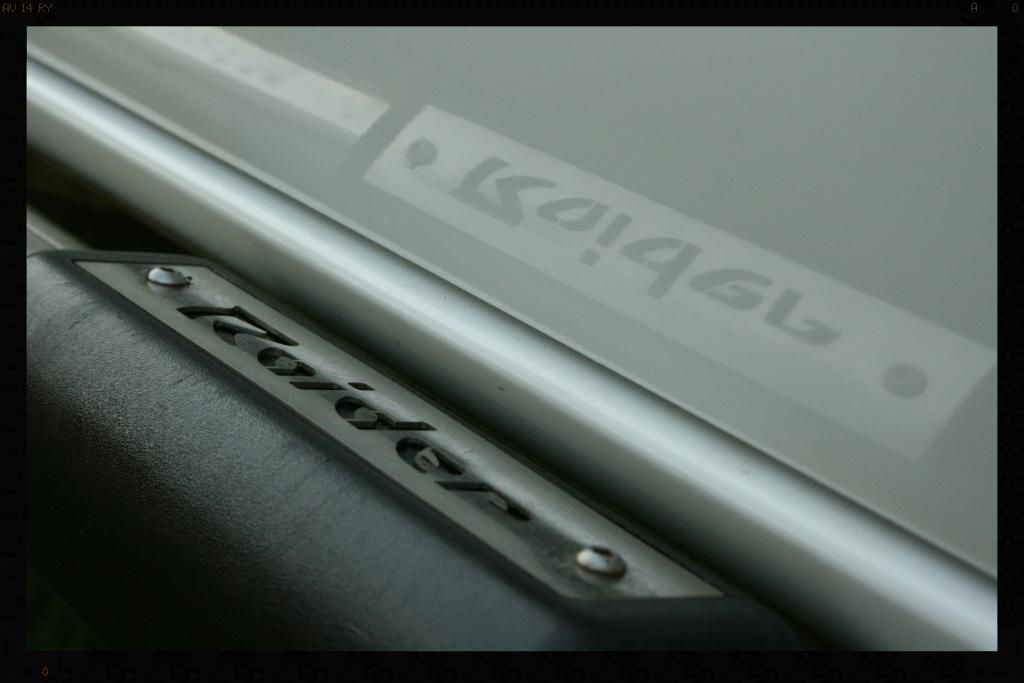
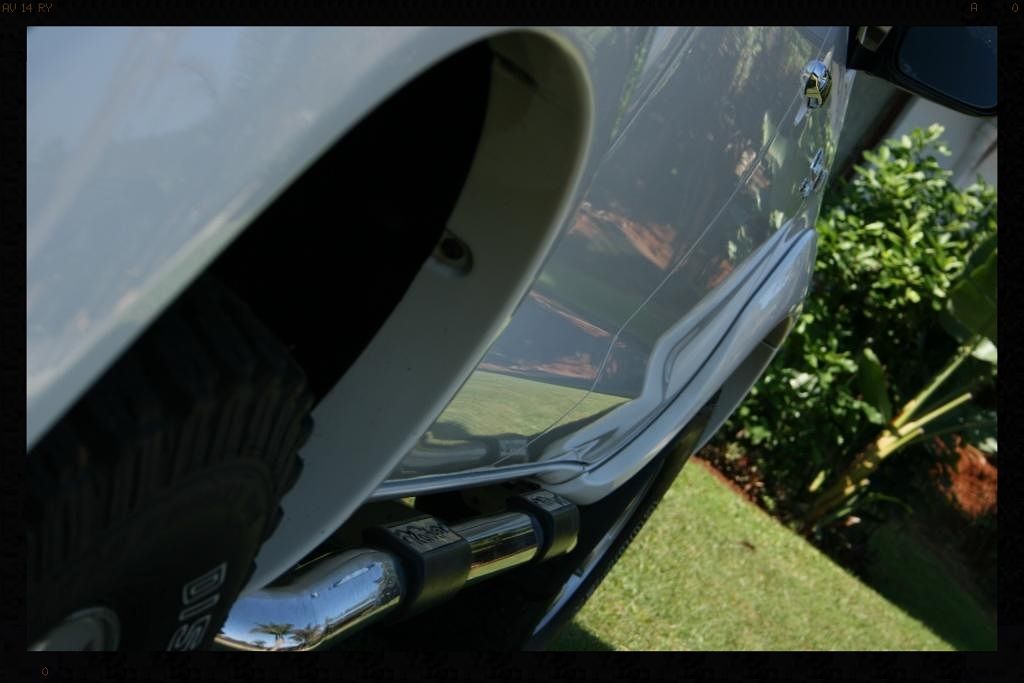
Stepsills
Before
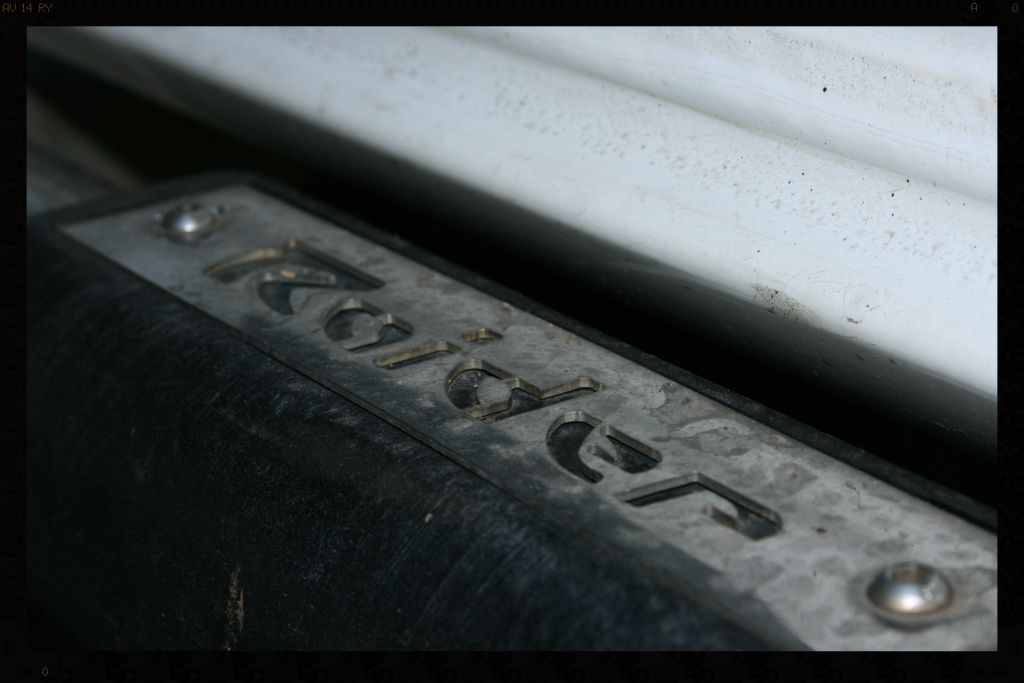
After
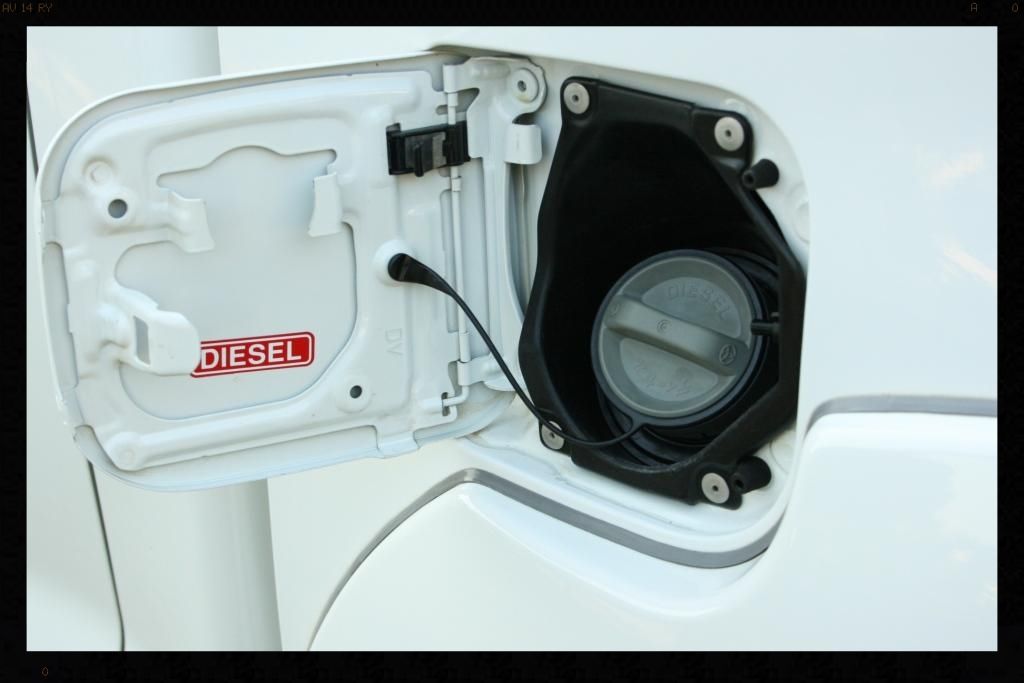
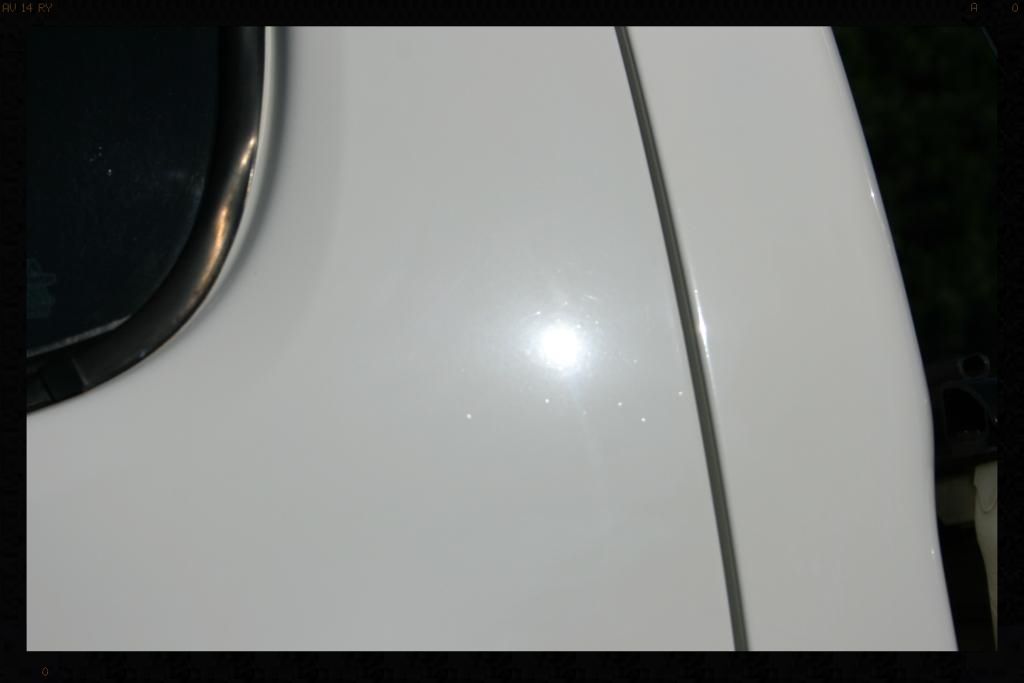
Inside fuel flap before
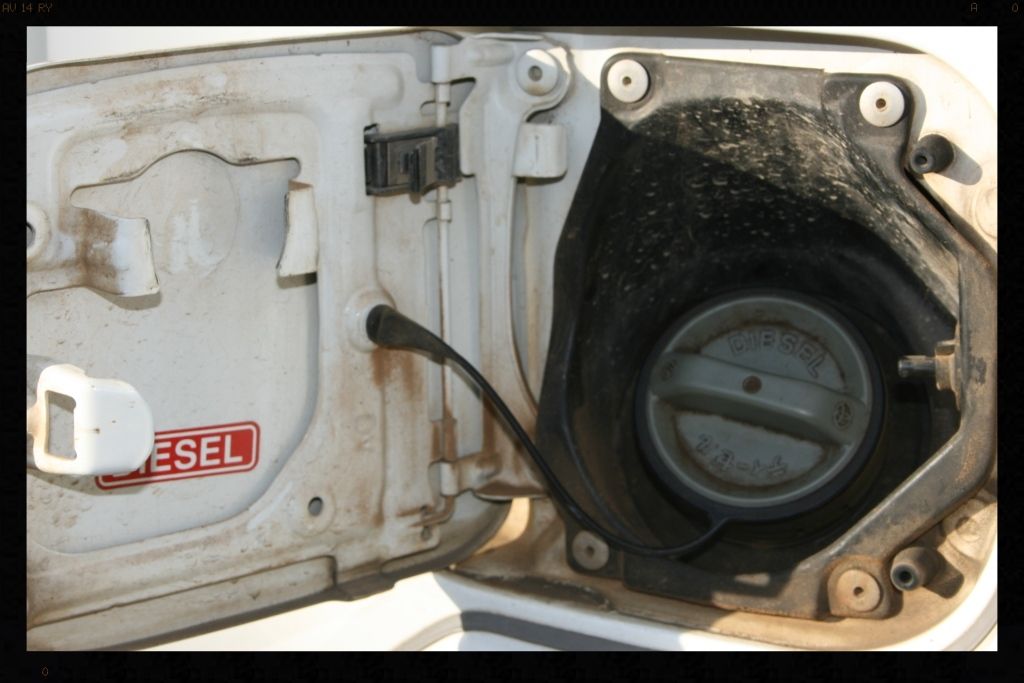
After
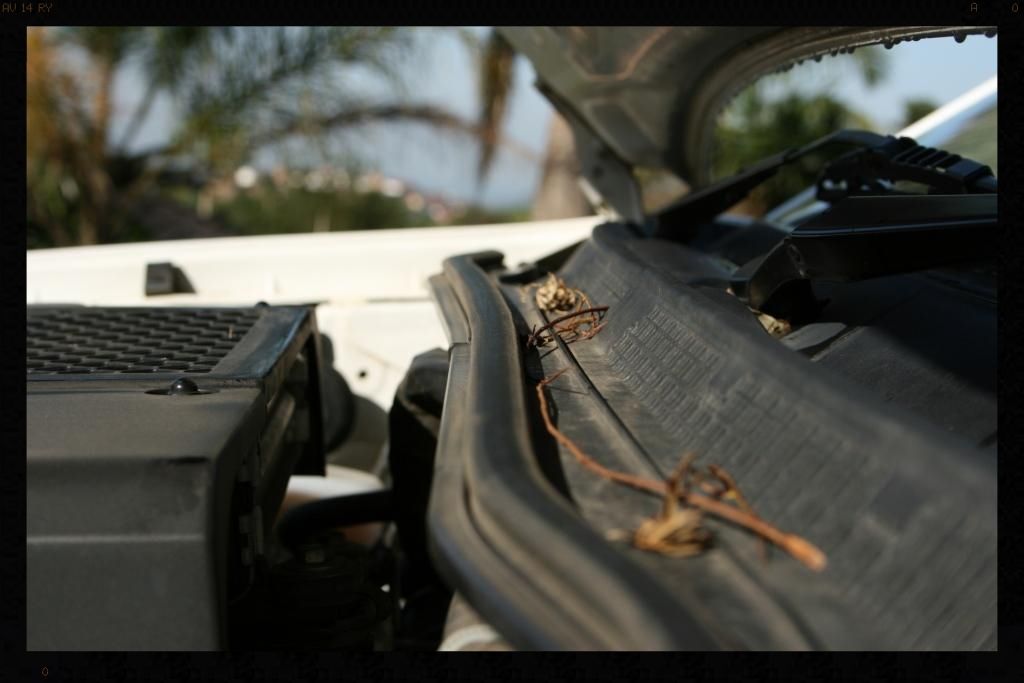
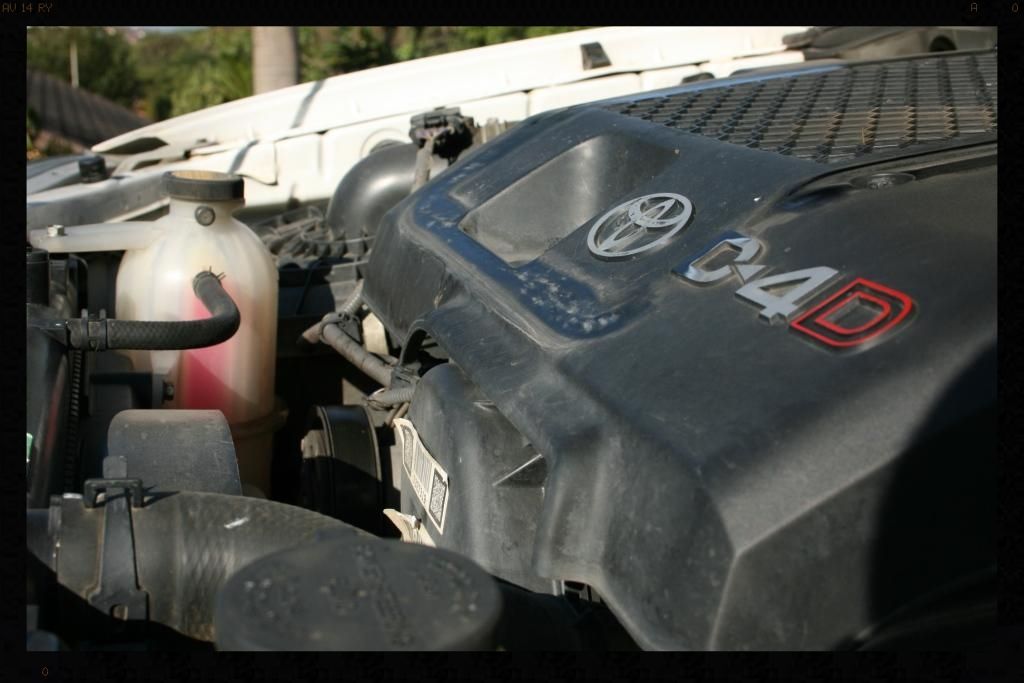
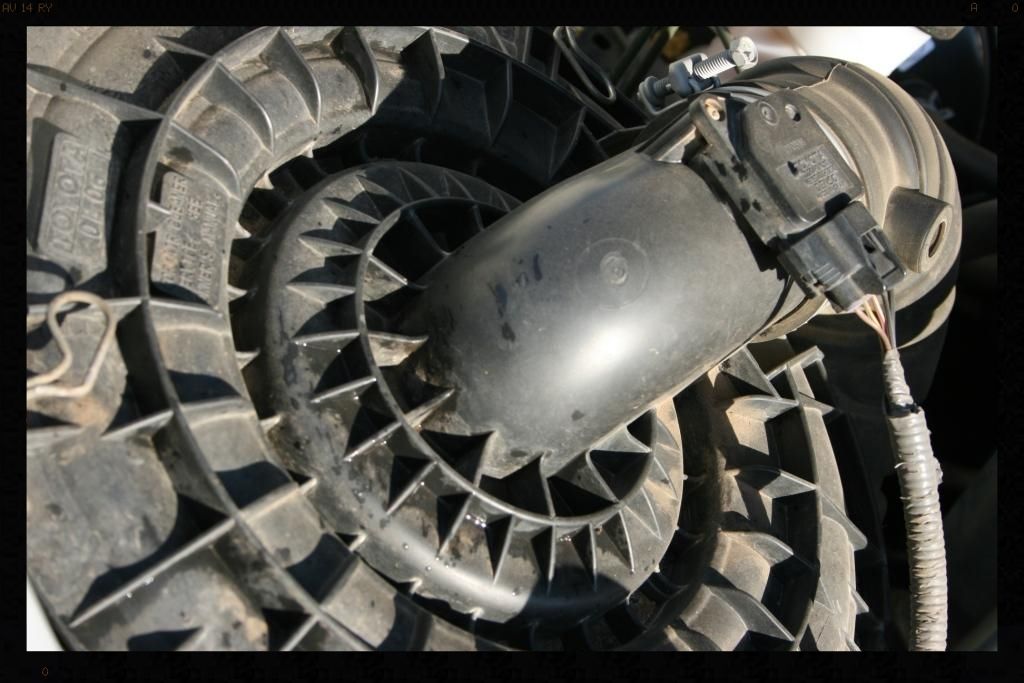
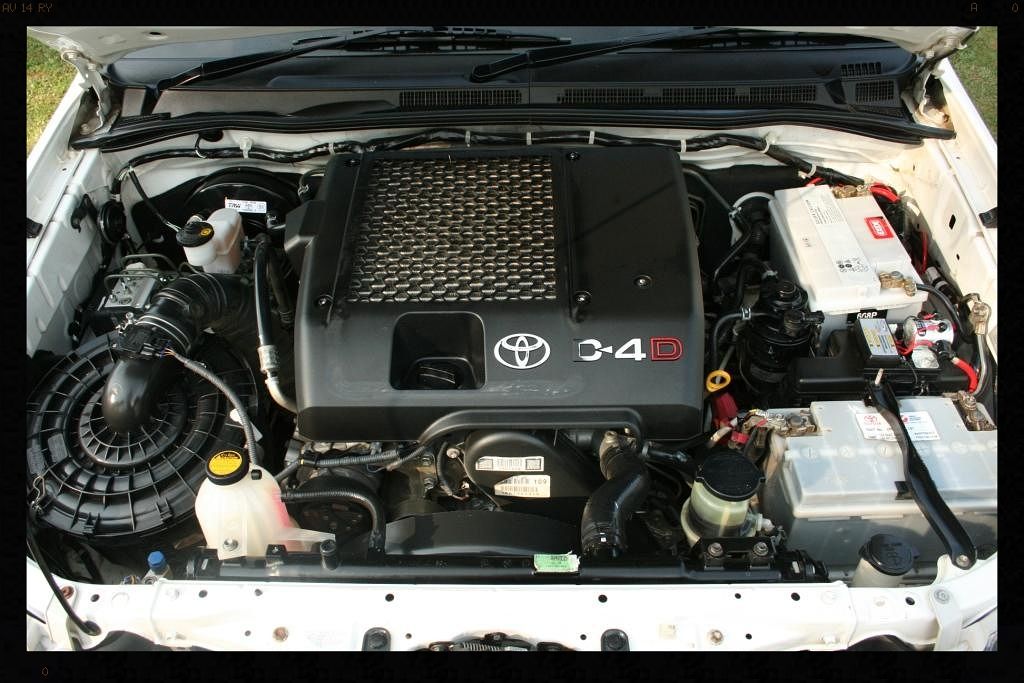
Once this was completed I moved on to the engine bay
Before
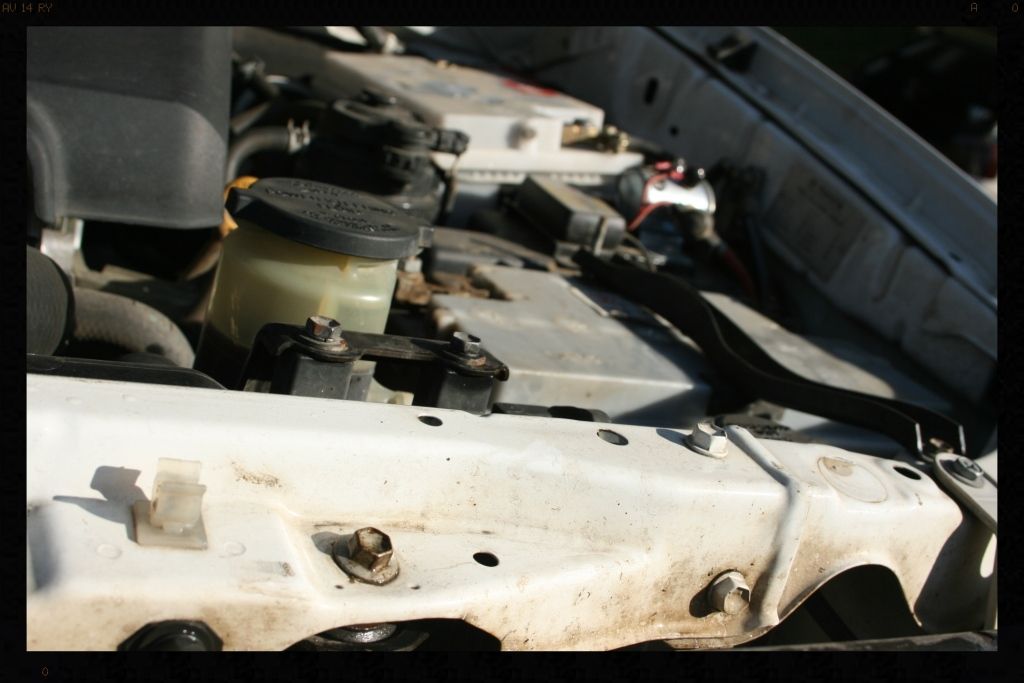

After
Moving on to Saturday I started with the wheels first (to ensure that any splash-back would fall on dirty paint that still had to be cleaned). The wheels themselves had the usual build up of dirt, road grime, iron and tar.
The tires and arches were scrubbed clean using Cyclo CM30. Once this was done the wheels were cleaned using AF Imperial Wheel Cleaner which was followed by tar removal using AF Oblitarate and iron removal using AF Iron Out.
Tires were dressed later on in the detail using Optimum Opti Bond Tire Gel.
I then spent some time cleaning up the areas always over-looked in a normal car wash
Badges before
During
After
Door shuts before
After
Stepsills
Before
After
Inside fuel flap before
After
Once this was completed I moved on to the engine bay
Before
After


") cannot be underestimated....
cannot be underestimated.... rops:
rops:
